French Dip Sandwiches
")
My good friend , Kae Curtis, shared this idea with me. It is a great crowd pleaser and so easy to throw together. The garlic from the bread adds that little bit of extra favor to make this a delicious sandwich.
Everyone will love these great french dip sandwiches!

These sandwiches only take 4 ingredients –
1 loaf of garlic bread
roast beef (I used 1 pound for 1 loaf of bread. It is best to buy rare roast beef because it will cook when you heat up the loaf.)
cheese – any type you like
au jus mix
onions (optional)
mushrooms (optional)

Place garlic bread on a long piece of aluminum foil. Lay roast beef inside garlic bread. Top with cheese.
")
Wrap uncut loaf with another piece of aluminum foil.

Place in 350 degree oven and heat for approximately 30 minutes or until roast beef is hot and the cheese has melted.
I forgot to take a picture – but we also grilled some onions and mushrooms to add to the sandwich once it came out of the oven. This was an added bonus that we will definitely do again.
Serve with au jus for dipping.
Bran Muffins
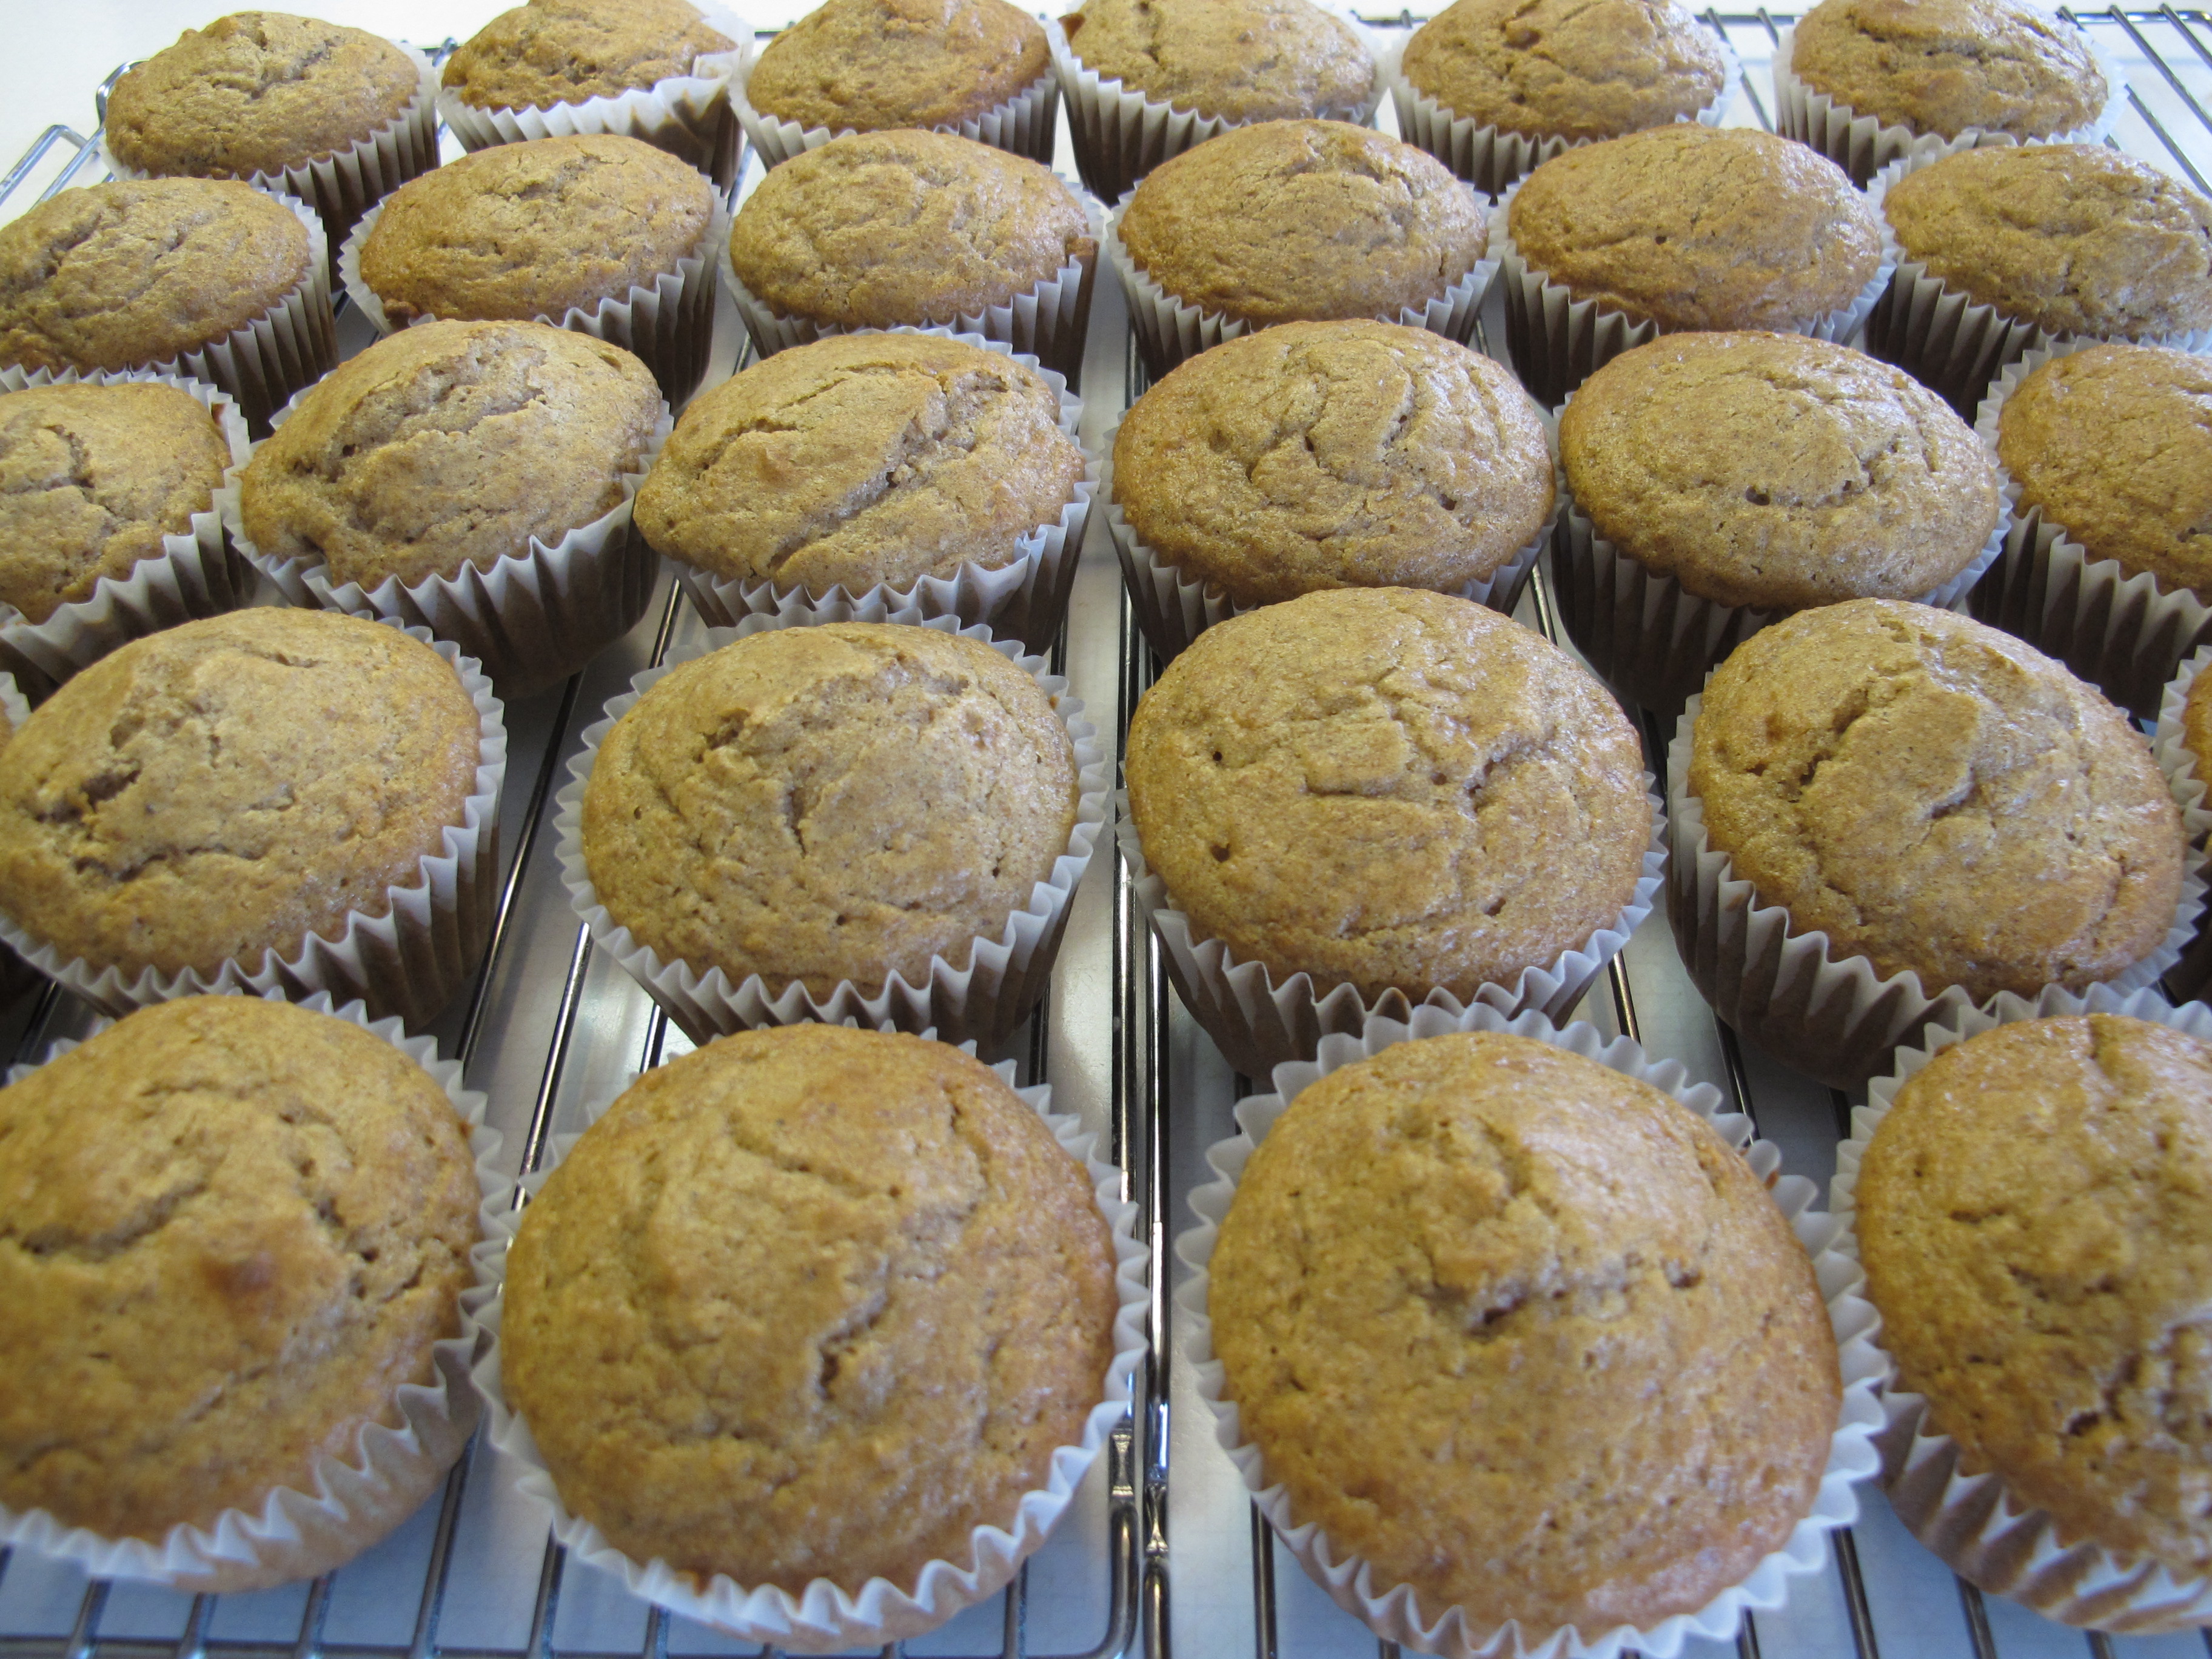
These muffins will make a delicious addition to your breakfast each morning. The batter can be stored in the refrigerator up to 6 weeks so you can make them fresh each day. If you make the entire recipe – they freeze very well too.

The recipe calls for 100% Bran Flakes and Raisin Bran. We do not like raisins in our muffins so I chose to just use all 100% bran. If you like raisins, you will love using Raisin Bran.
2 cups 100% All Bran Flakes
1 cup 50% bran cereal (such as Raisin Bran). If you don’t like raisins, just use all Bran Flakes.
1/2 cup shortening
1 cup boiling water
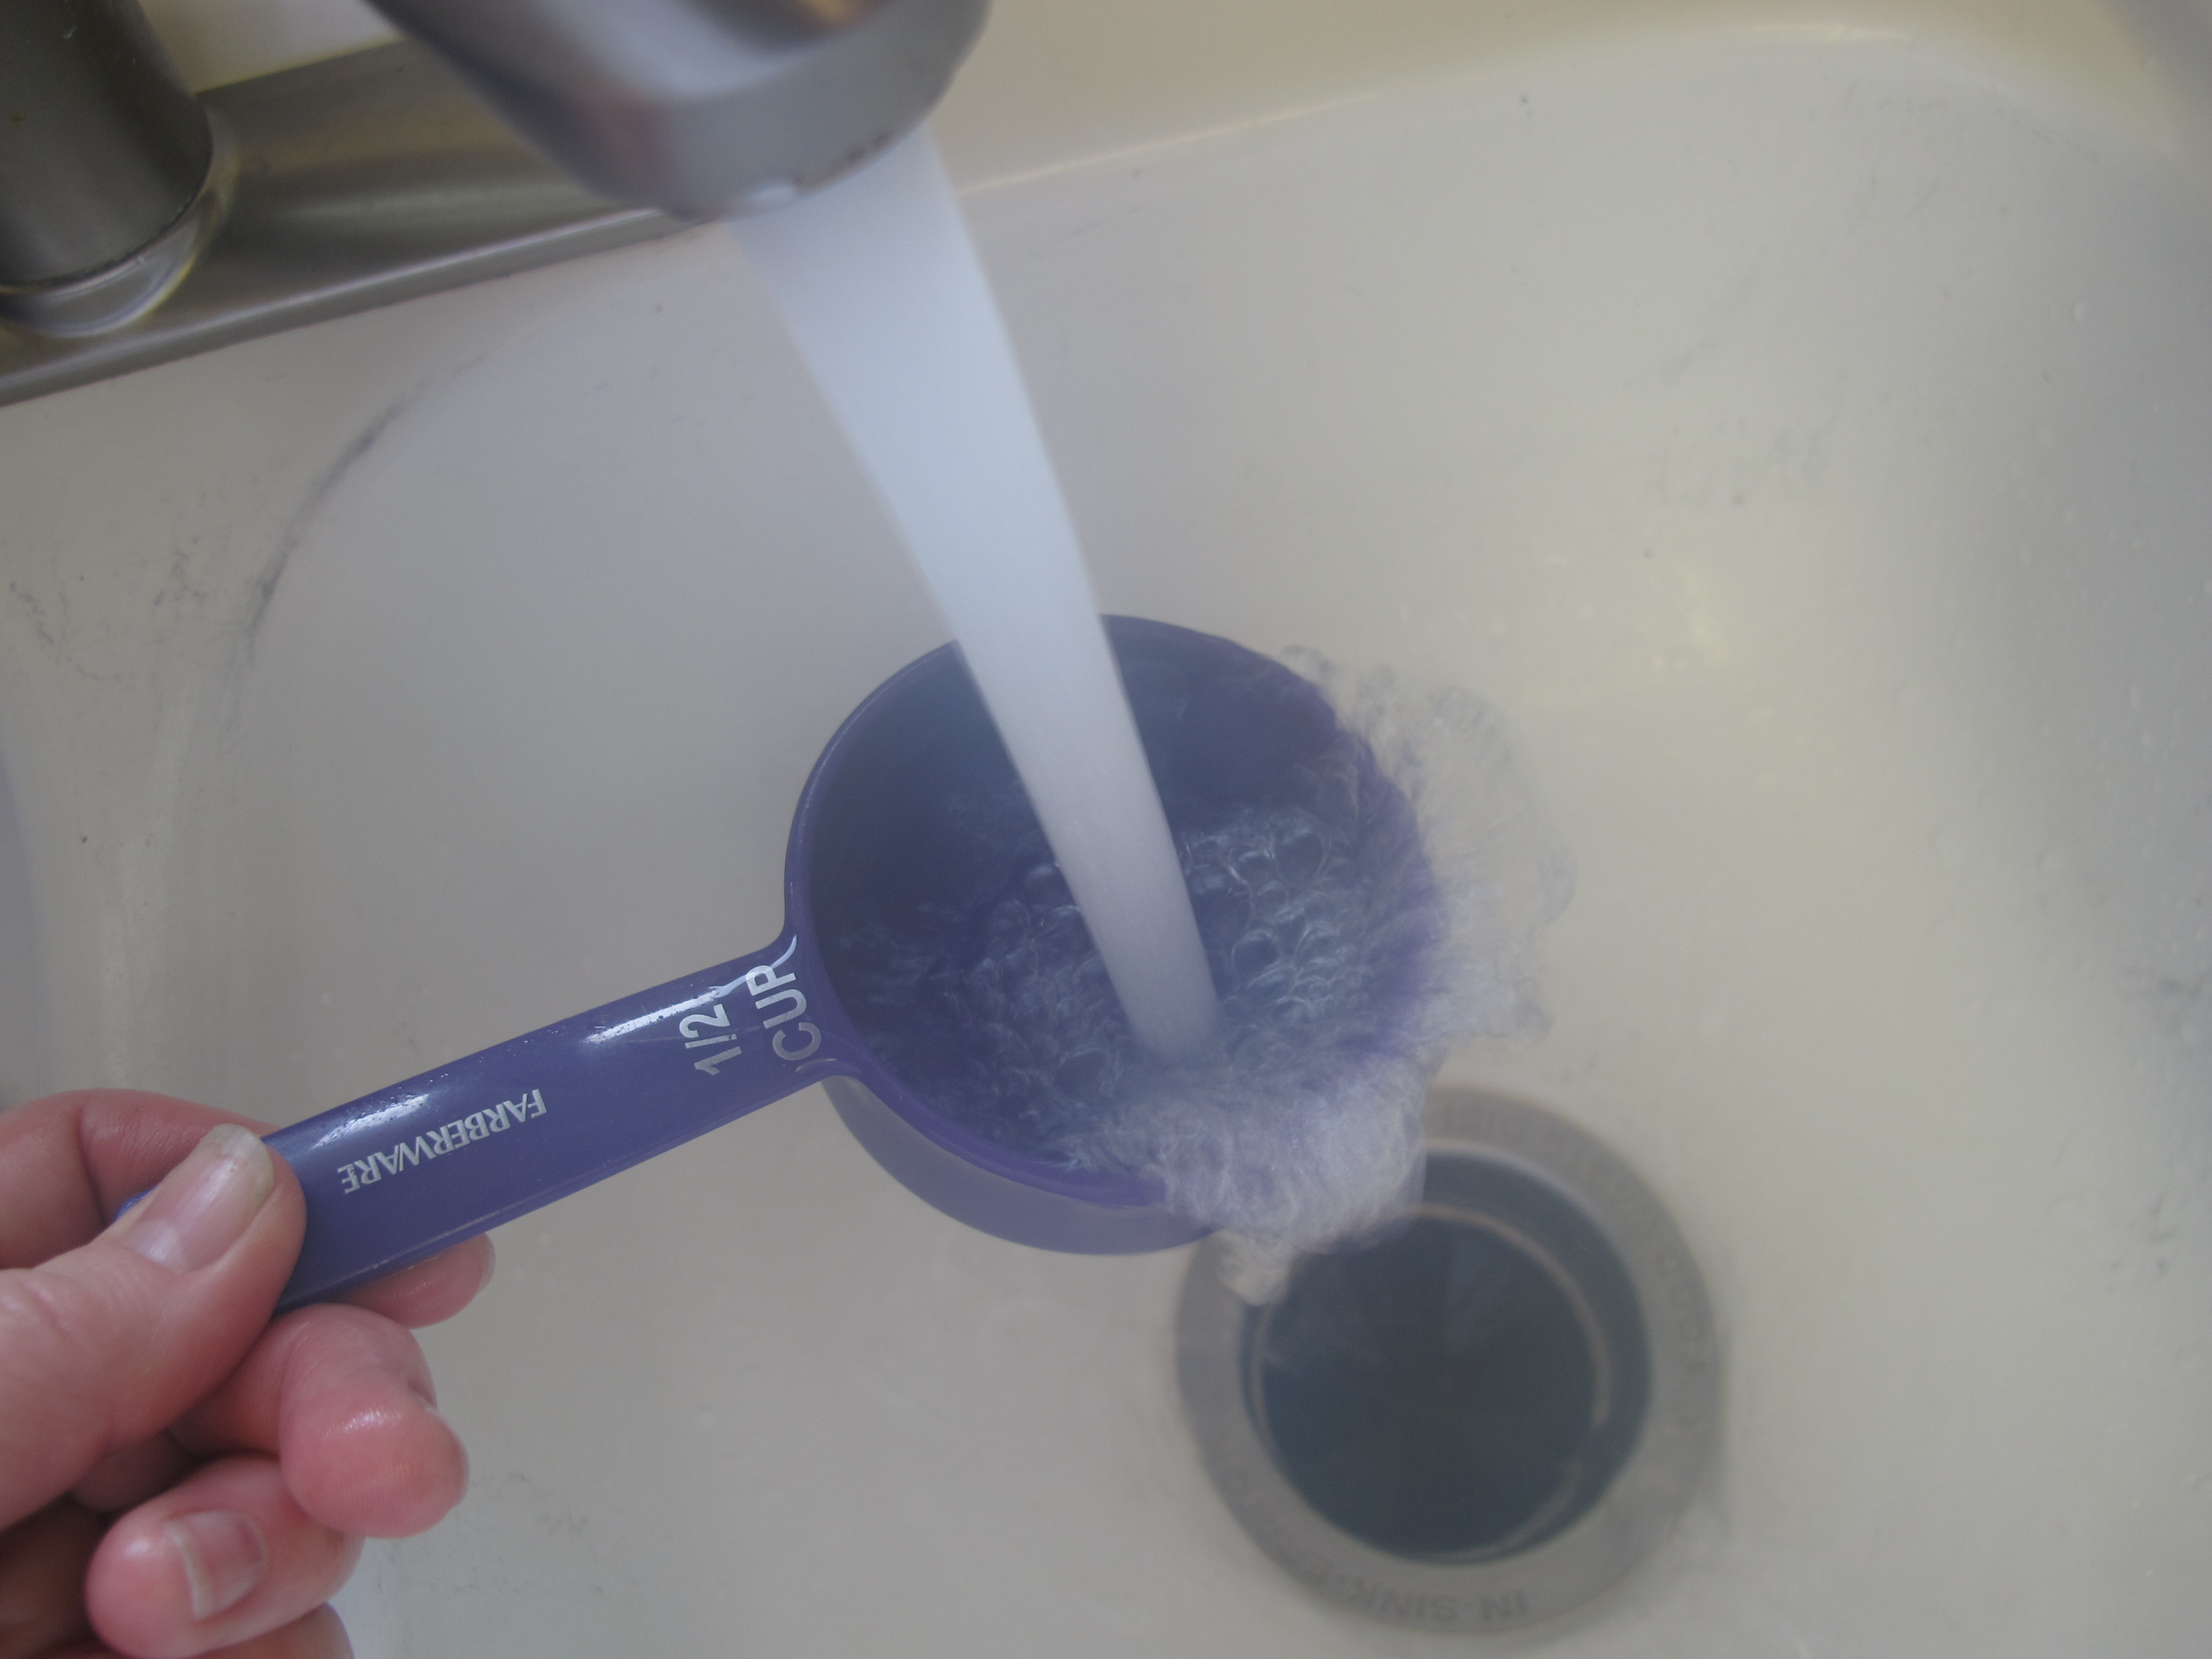
A note about using shortening, butter, honey or any other ingredient that sticks to the measuring cup:
Run hot water over the measuring cup before measuring ingredient and it will slide right out.

Measure cereal into a large bowl. Add shortening. Pour boiling water over this.
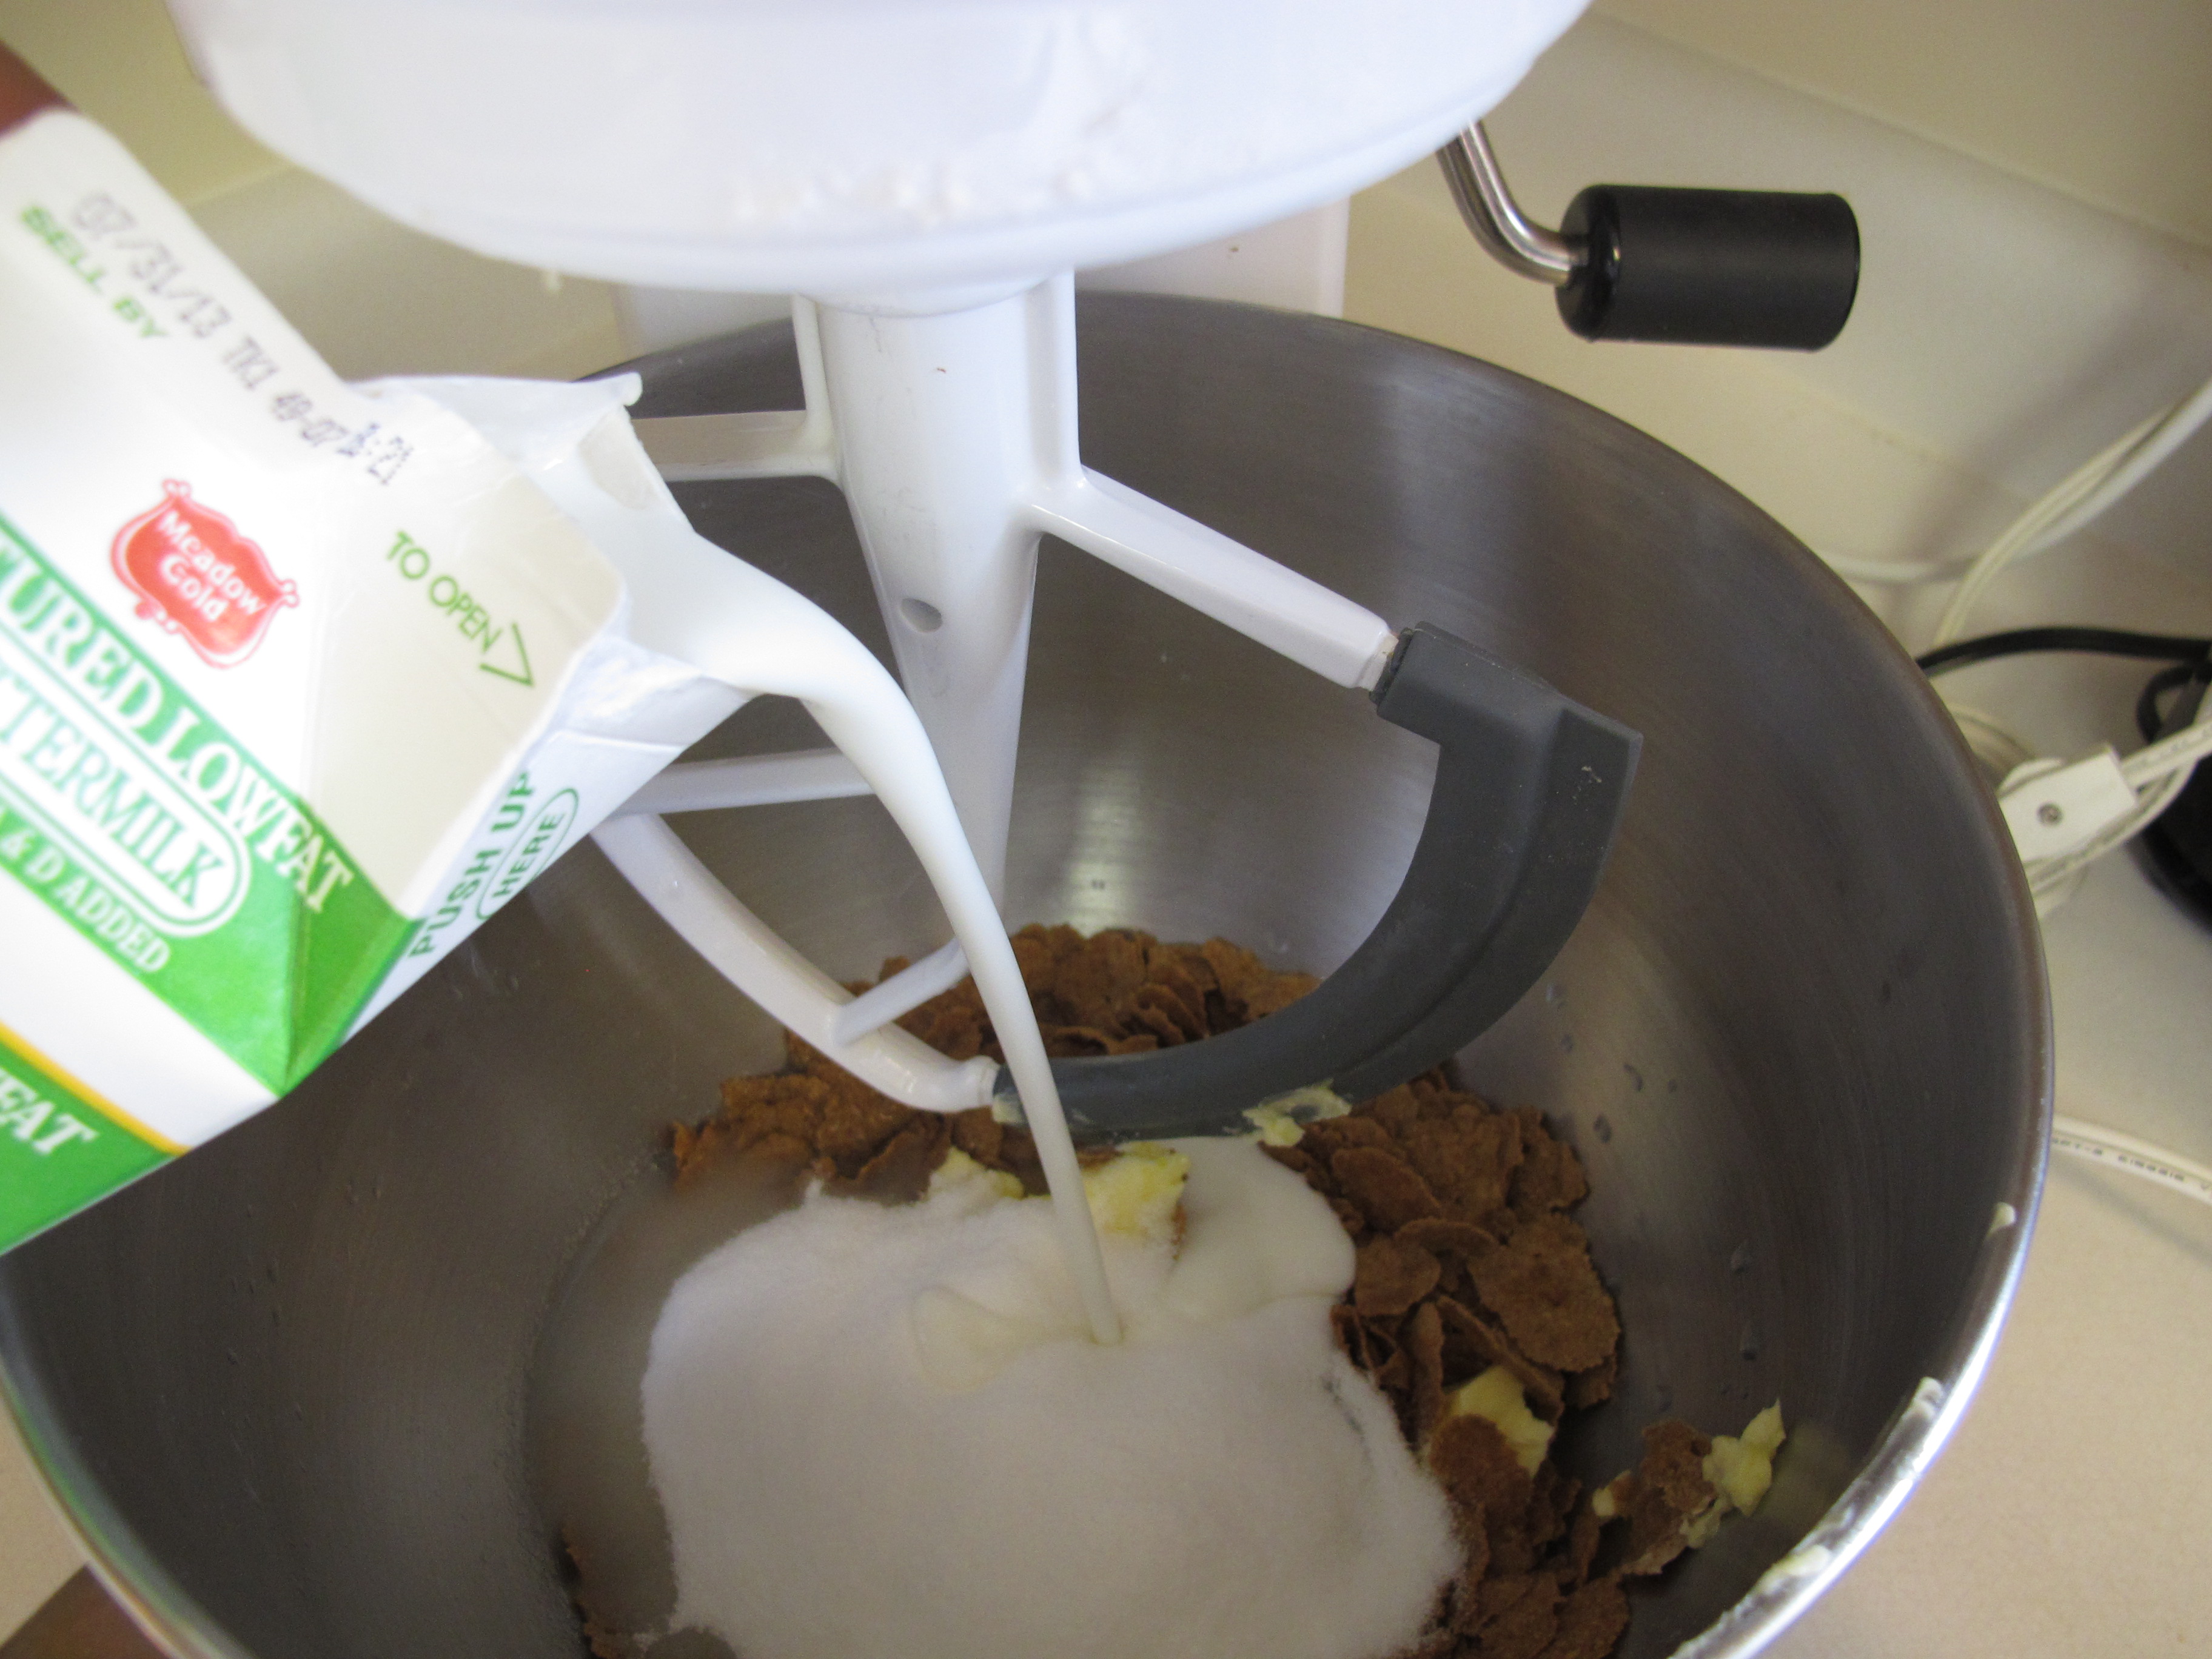
1 1/4 cups sugar
2 cups buttermilk *
2 eggs, beaten
Add sugar, buttermilk and eggs.


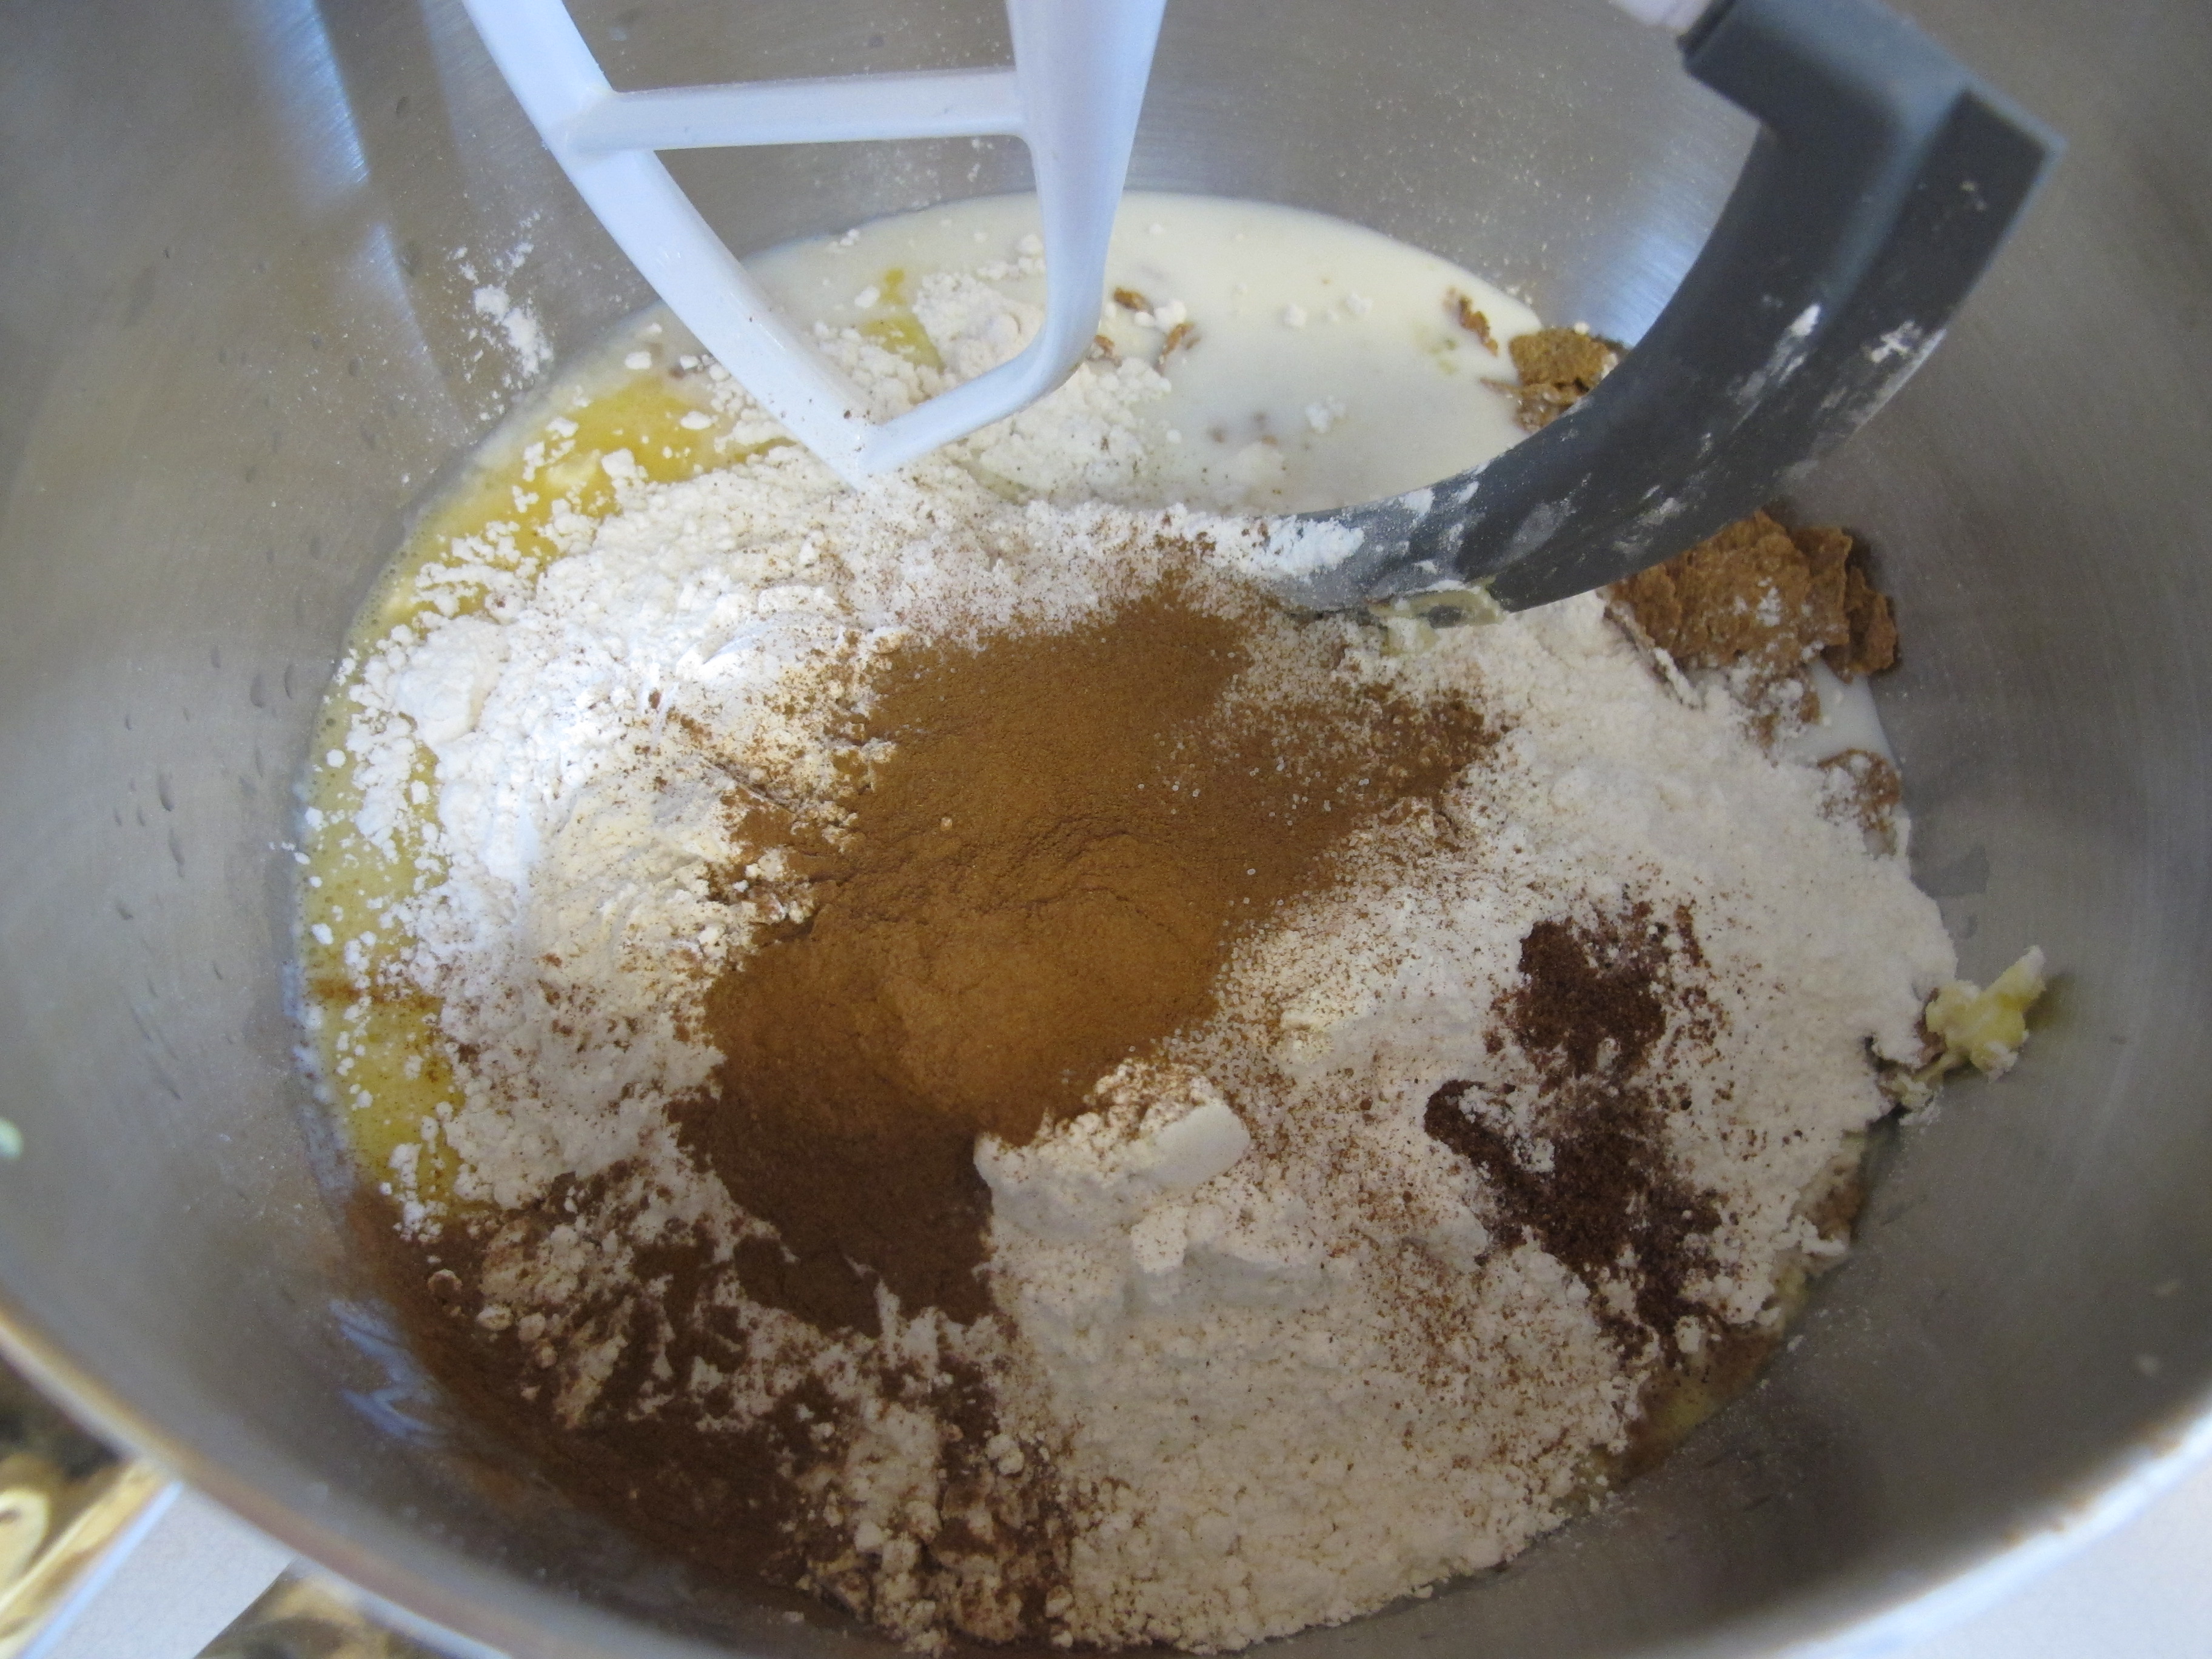
2 1/2 cups flour
2 1/2 tsp. baking soda
2 tsp. salt
1 1/2 tsp. cinnamon
1/4 tsp. nutmeg
Add all dry ingredients. Blend well.
At this point the batter can be stored in the refrigerator in an air-tight container for up to six weeks.
To bake: Use cupcake papers or spray muffin tins with cooking spray. Fill cup 1/2 full. If you use cupcake papers – just know that if you try to eat these before they are completely cool, the muffin will stick to the paper and you will be very sad because you will lose half your muffin! Once they are cool, this does not happen – so be patient.
")
Bake at 425 degrees for 16 – 17 minutes or until done. Check with a toothpick.
Makes 30 muffins
* If you do not have buttermilk on hand – Mix 2 T. of white vinegar or lemon juice plus enough milk to measure 2 cups. Stir, then let stand for 1-2 minutes.
Food Storage: All listed ingredients can be stored in your pantry, other than the buttermilk and eggs. Use powdered milk, with the vinegar or lemon juice to make the buttermilk and use powdered eggs in place of real eggs.
FULL RECIPE WITHOUT PICTURES —
REFRIGERATOR BRAN MUFFINS
2 cups 100% all bran cereal
1 cup 50% bran cereal (such as raisin bran). If you don’t like raisins, just use bran flakes.
1/2 cup shortening
1 cup boiling water
1 1/4 cups sugar
2 cups buttermilk
2 eggs, beaten
2 1/2 cups flour
2 1/2 tsp. baking soda
2 tsp. salt
1 1/2 tsp. cinnamon
1/4 tsp. nutmeg
Measure cereal into a large bowl. Add shortening. Pour hot water over this.
Add sugar, buttermilk and eggs.
Add flour, soda, salt, cinnamon and nutmeg. Blend well.
At this point the batter can be stored in the refrigerator in an air-tight container for up to six weeks.
To bake: spray muffin tins with cooking spray or use cupcake papers. Fill cup 1/2 full. If you use cupcake papers – just know that if you try to eat these before they are completely cool, the muffin will stick to the paper and you will be very sad because you will lose half your muffin! Once they are cool, this does not happen so be patient.
Bake at 425 degrees for 17 minutes or until done. Check with a toothpick.
Makes 30 muffins
* If you do not have buttermilk on hand – Mix 2 T. of white vinegar or lemon juice plus enough milk to measure 2 cups. Stir, then let stand for 1-2 minutes.
Food Storage: All listed ingredients can be stored in your pantry, other than the buttermilk and eggs. Use powdered milk, with the vinegar or lemon juice to make the buttermilk and use powdered eggs in place of real eggs.
Crunchy Pepper Jack Chicken
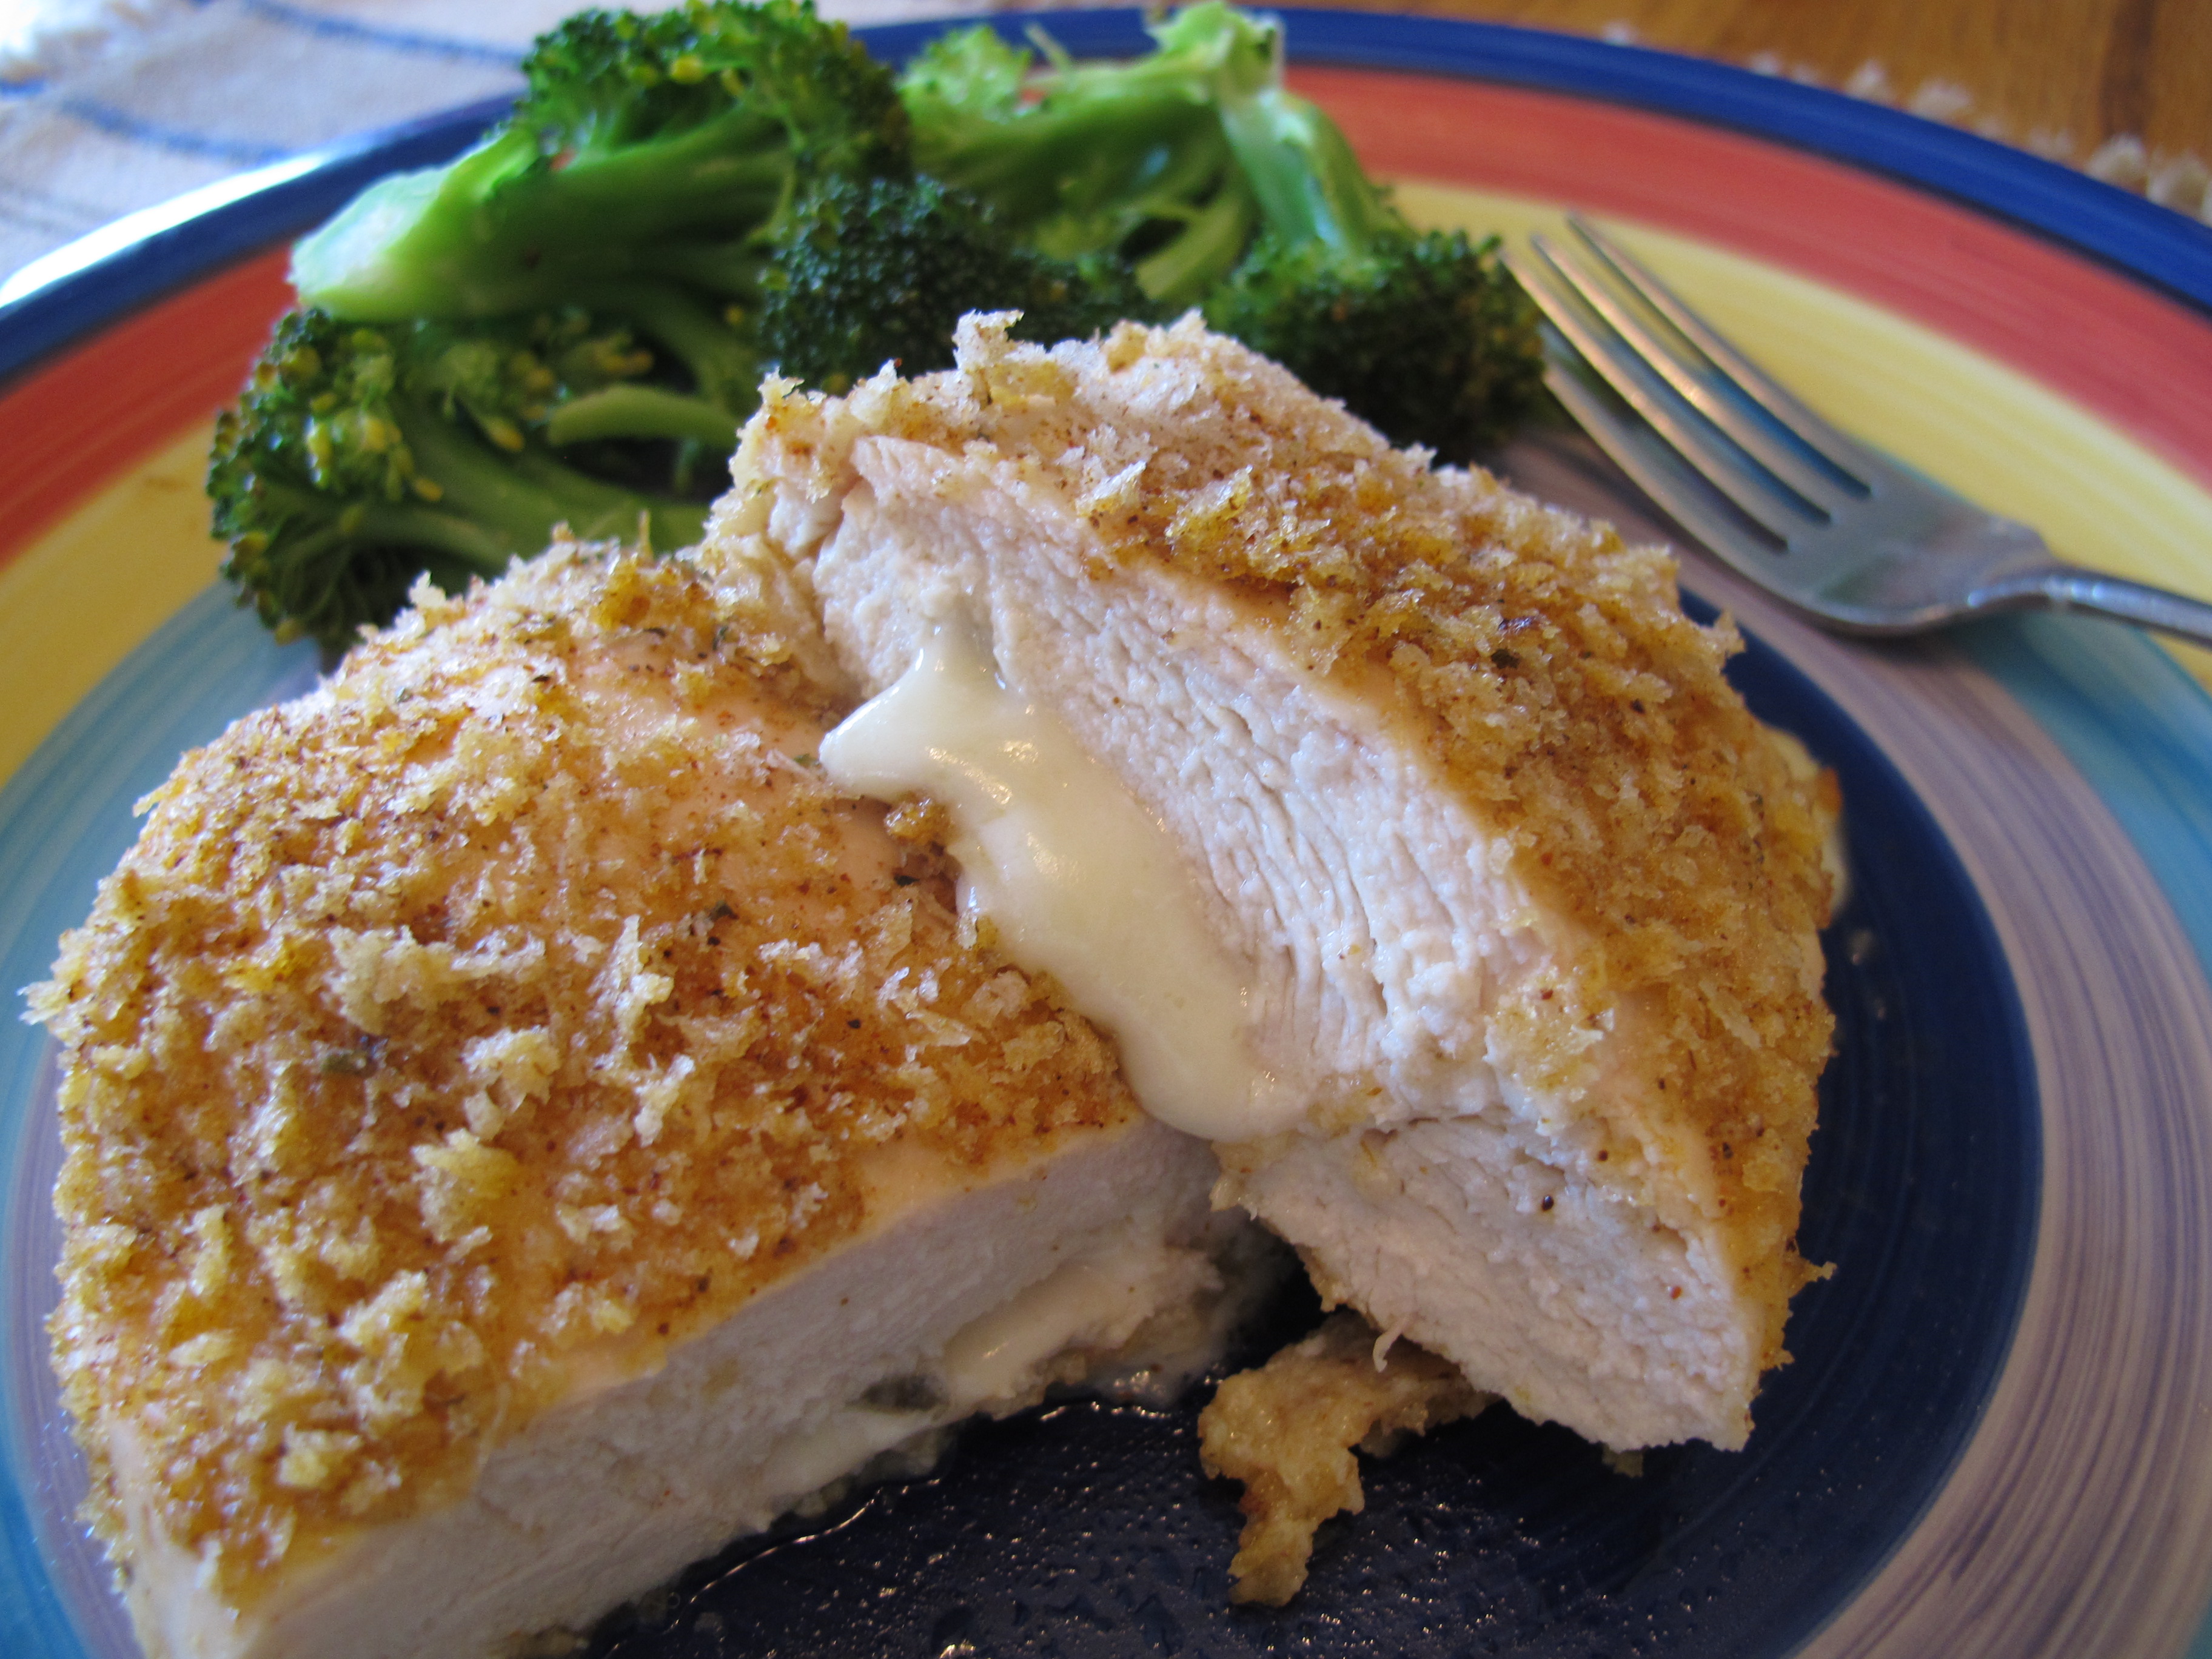
With it’s crispy outside coating and creamy, yet spicy filling, this chicken is delicious. Serve with sliced avocado or guacamole.
(Pictures show the recipe cut in half)
Preheat oven to 375 degrees.
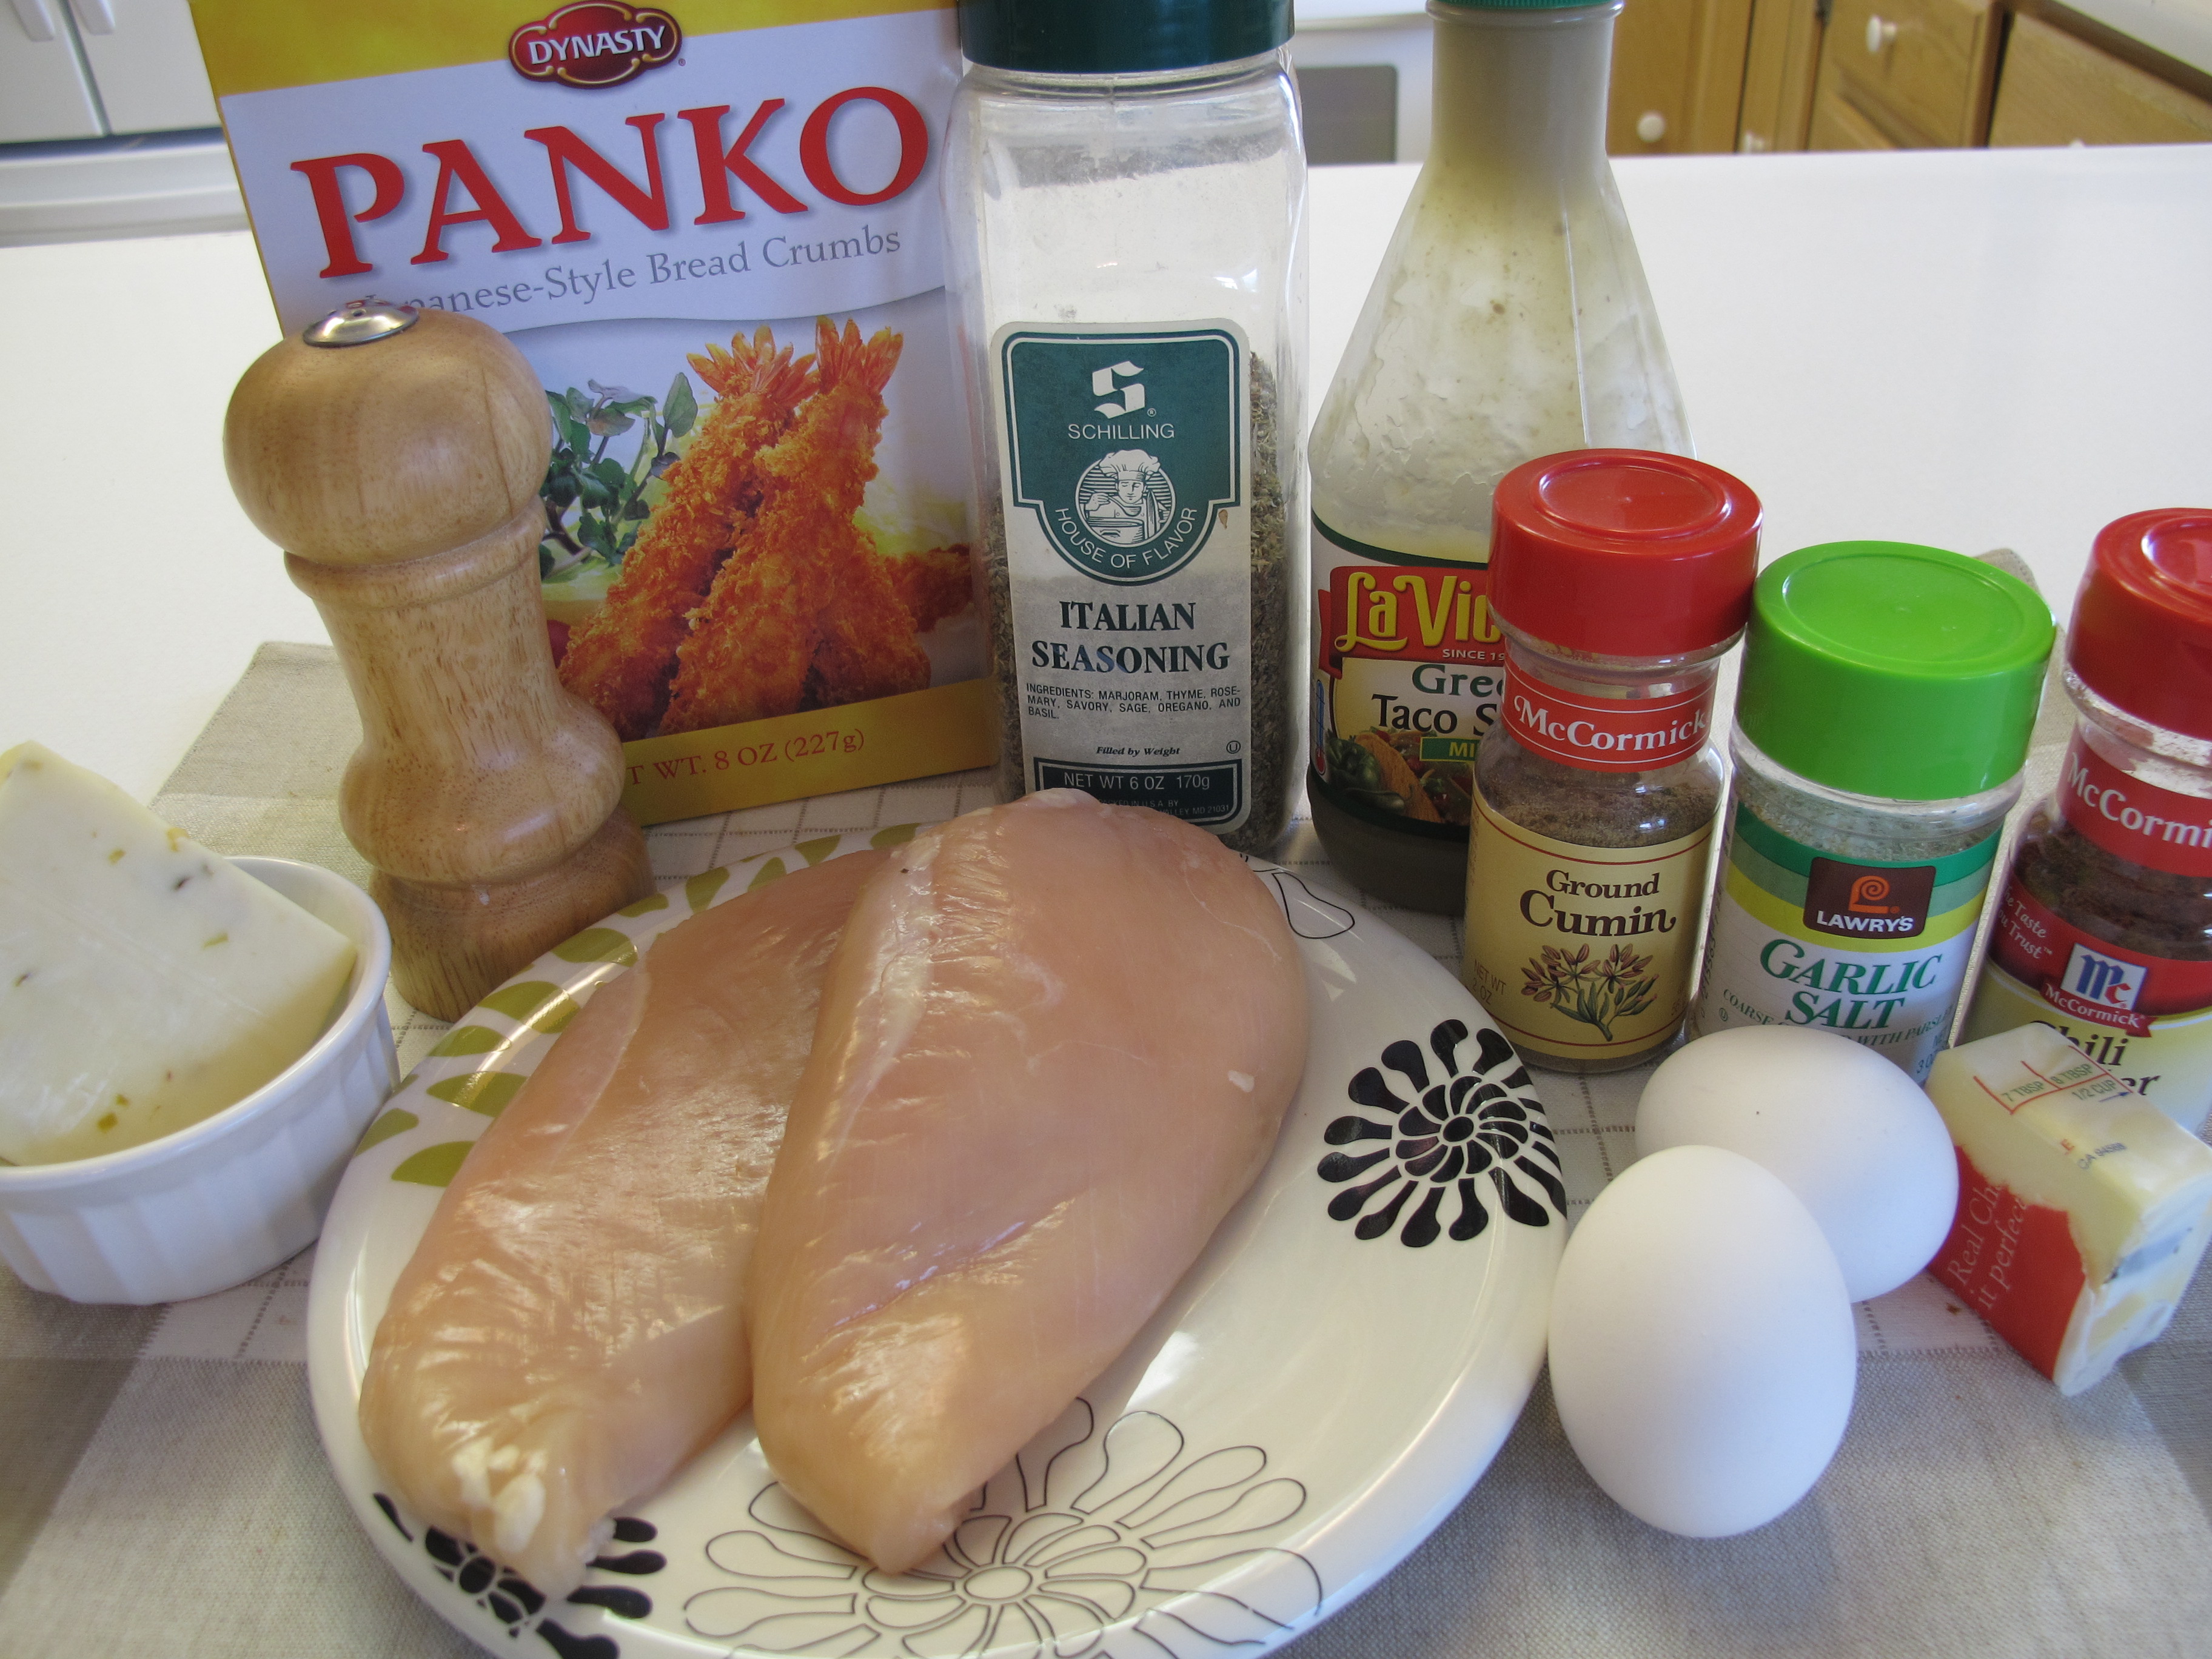
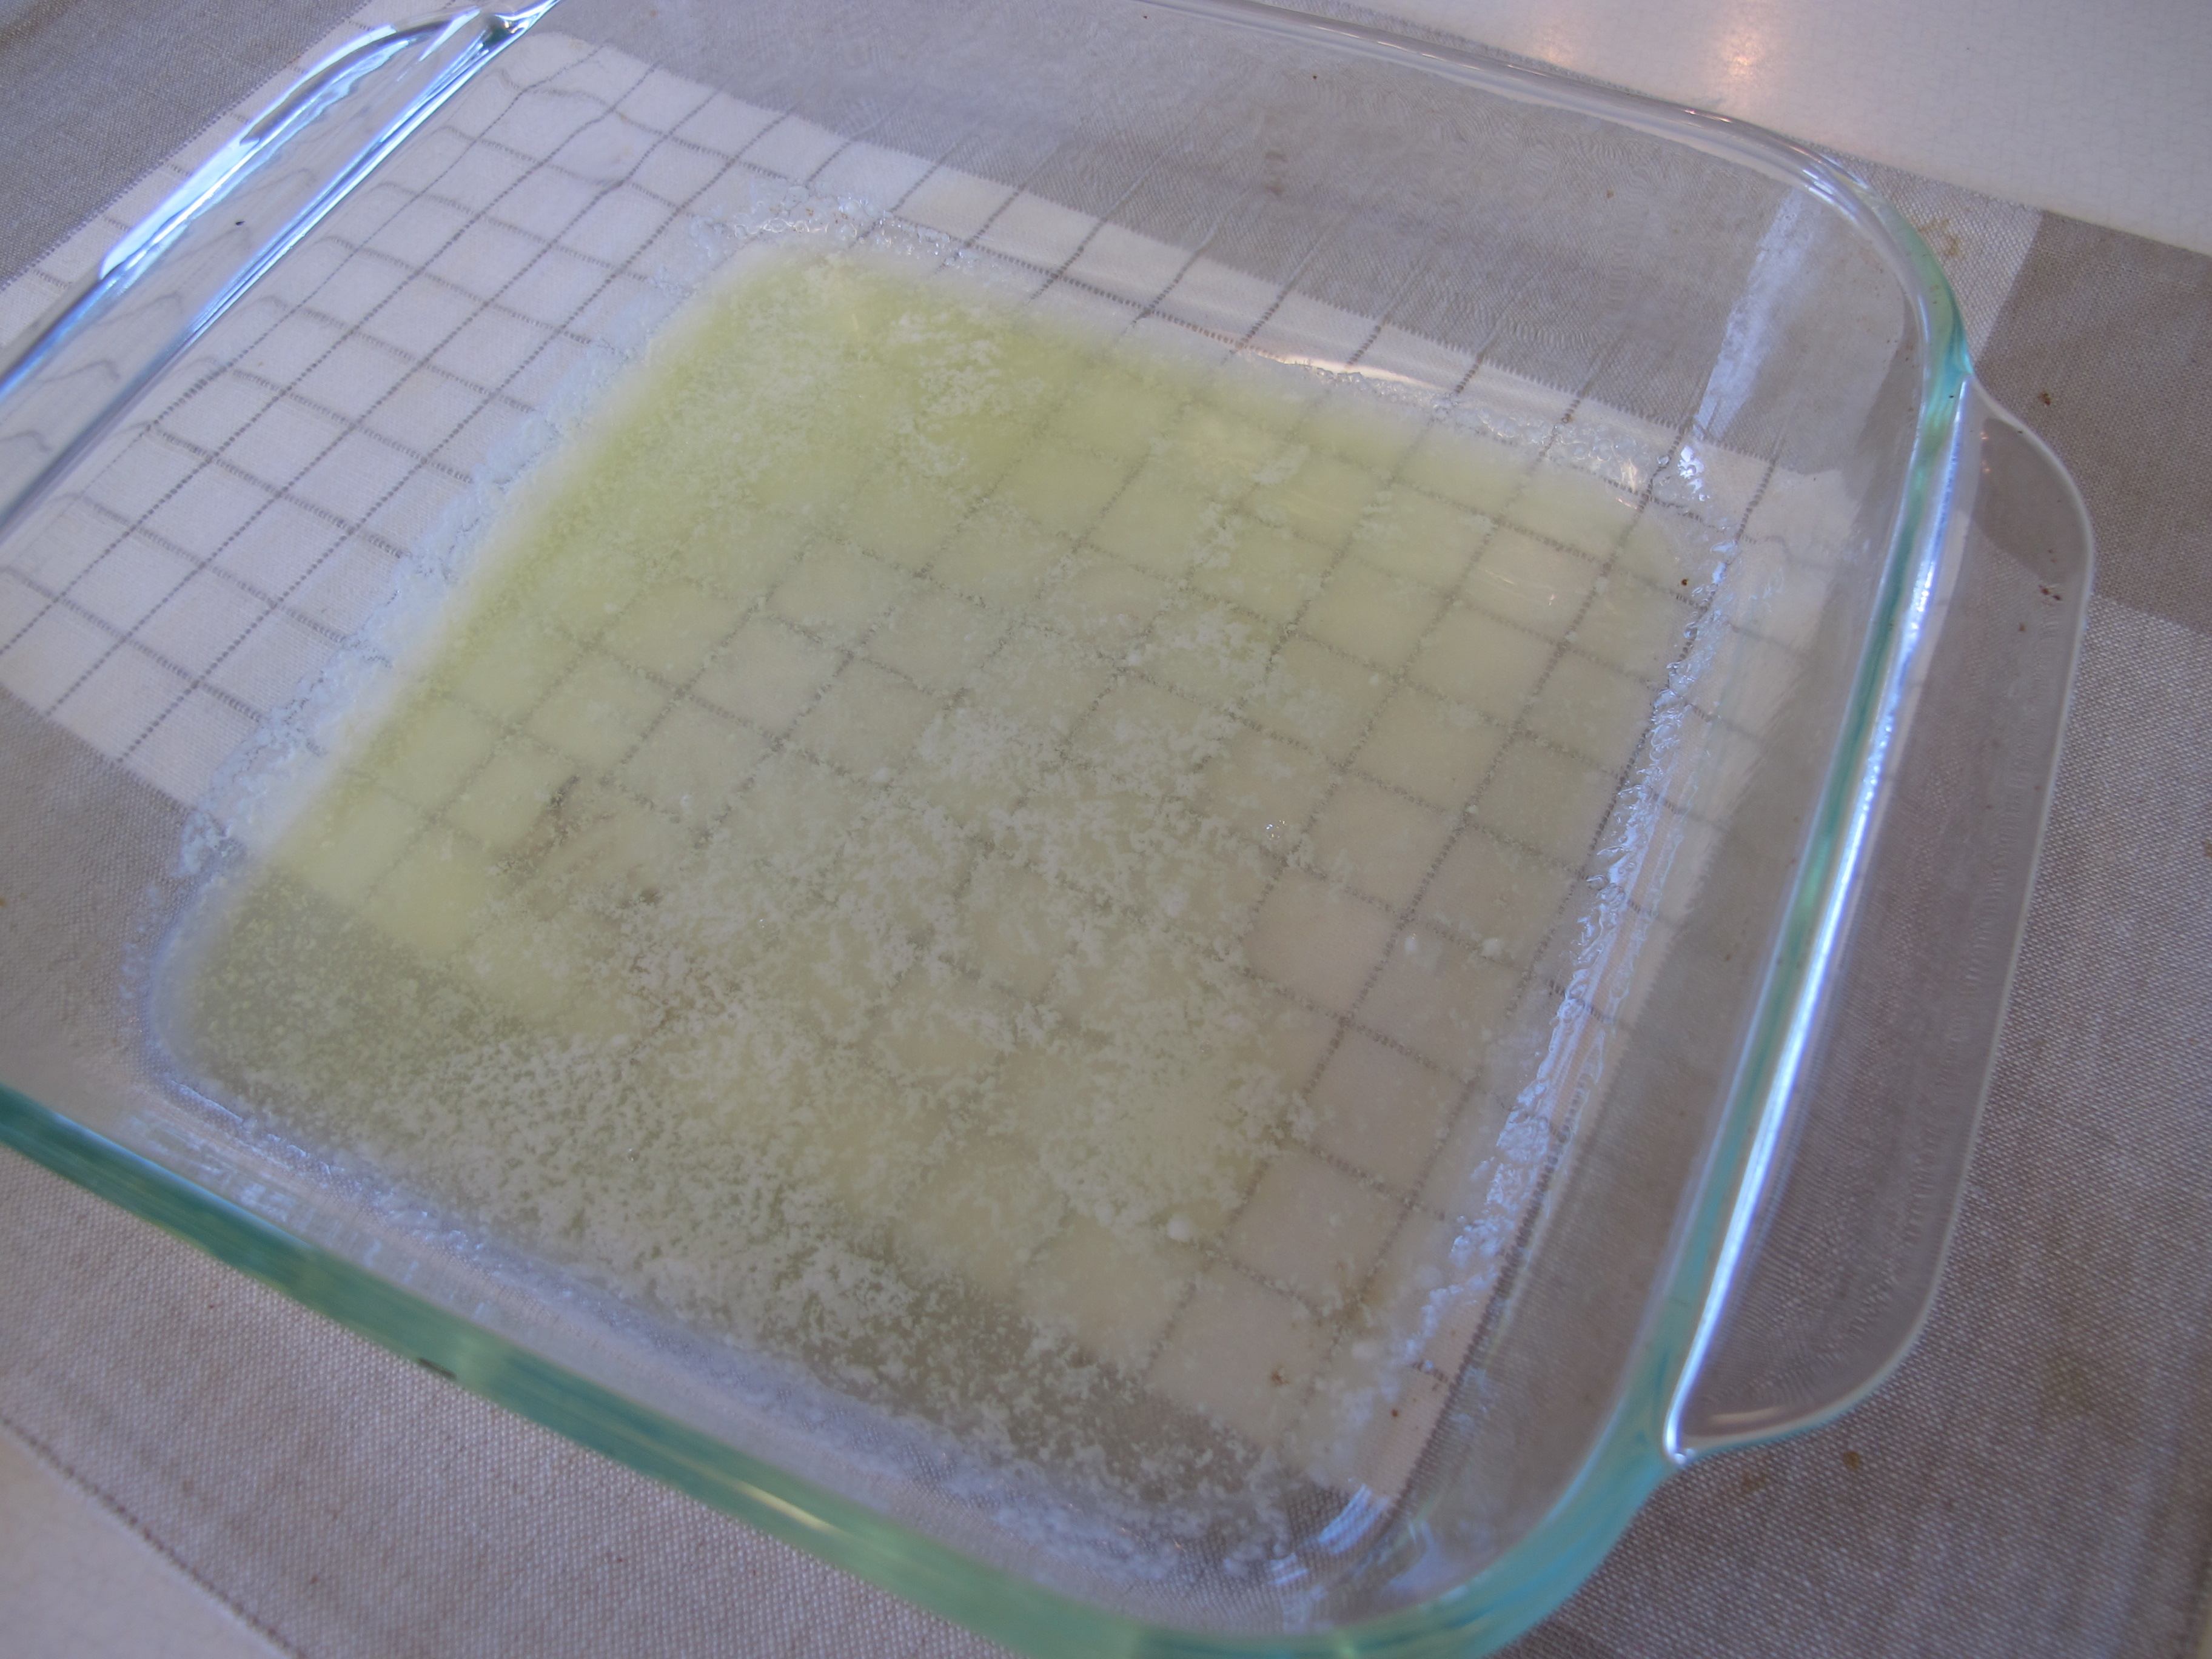
1/4 cup Brummel and Brown butter (not shown in the picture)
Place 1/4 cup butter in a 9 x 13 baking dish in the microwave and heat until butter is melted. Set aside.
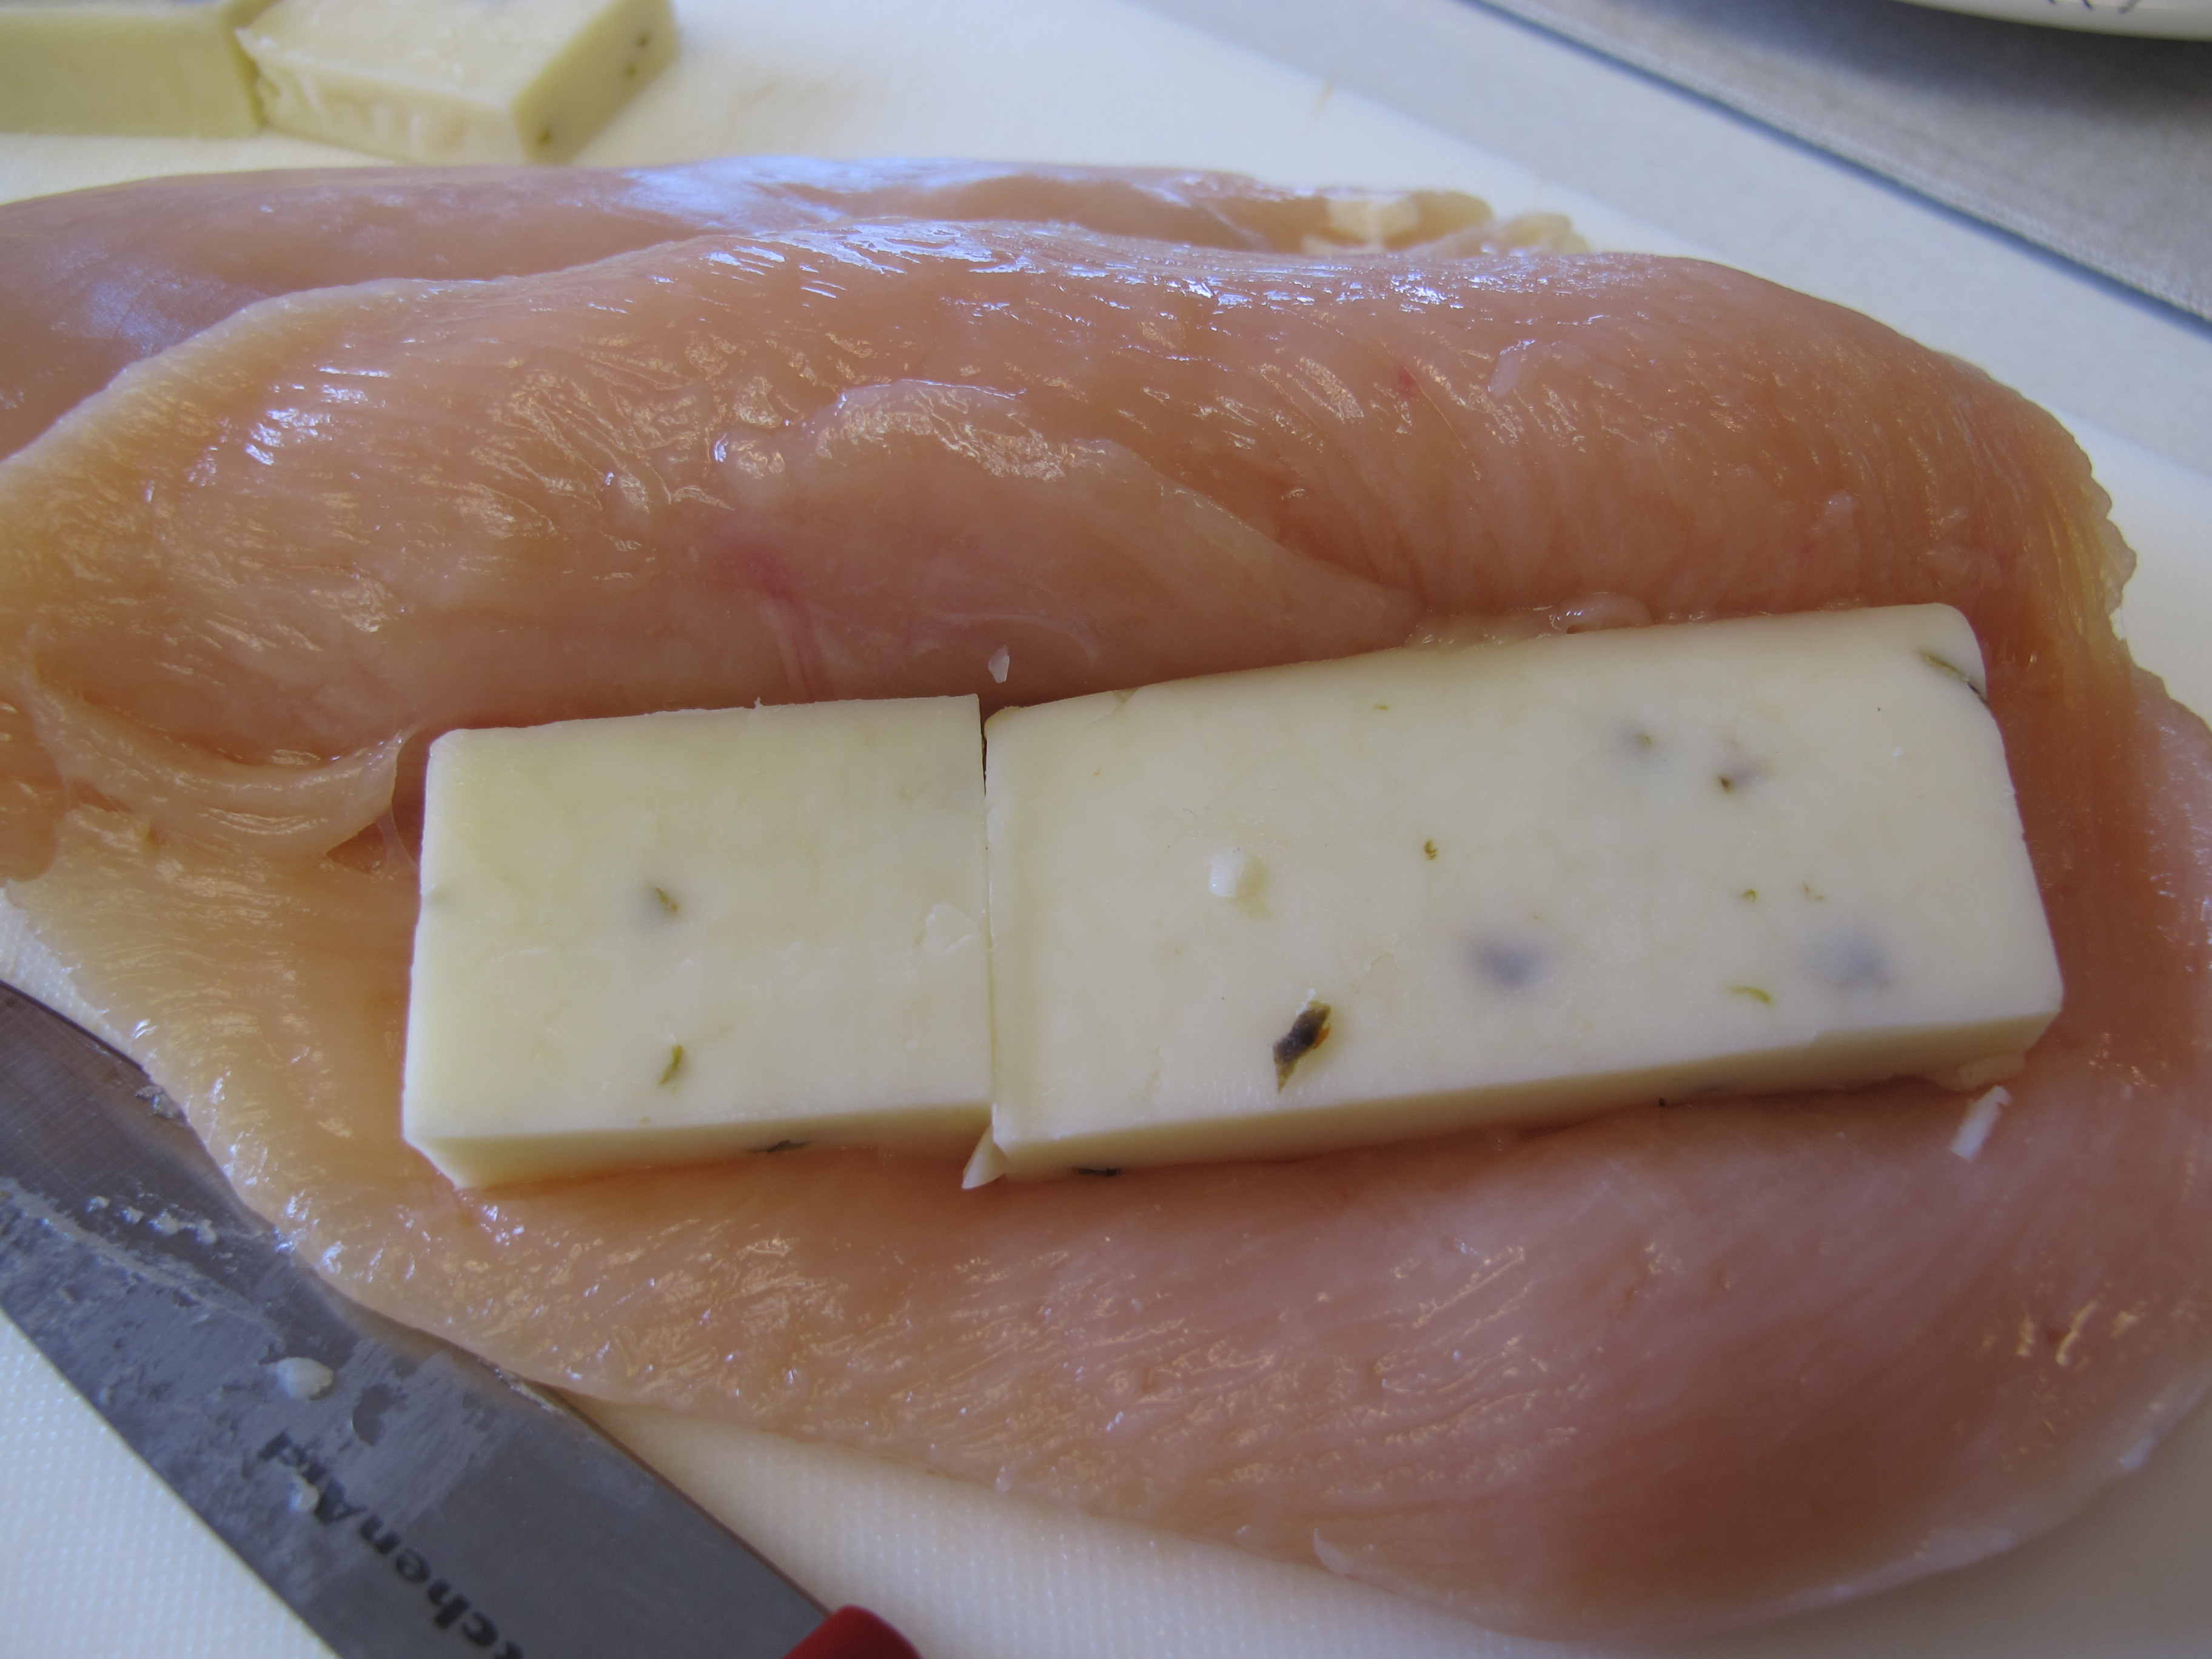
10 oz. Pepper Jack cheese (block)
6 boneless, skinless chicken breasts
Cut Pepper Jack cheese into 6 equal pieces (measuring about 3/8″ x 4″)
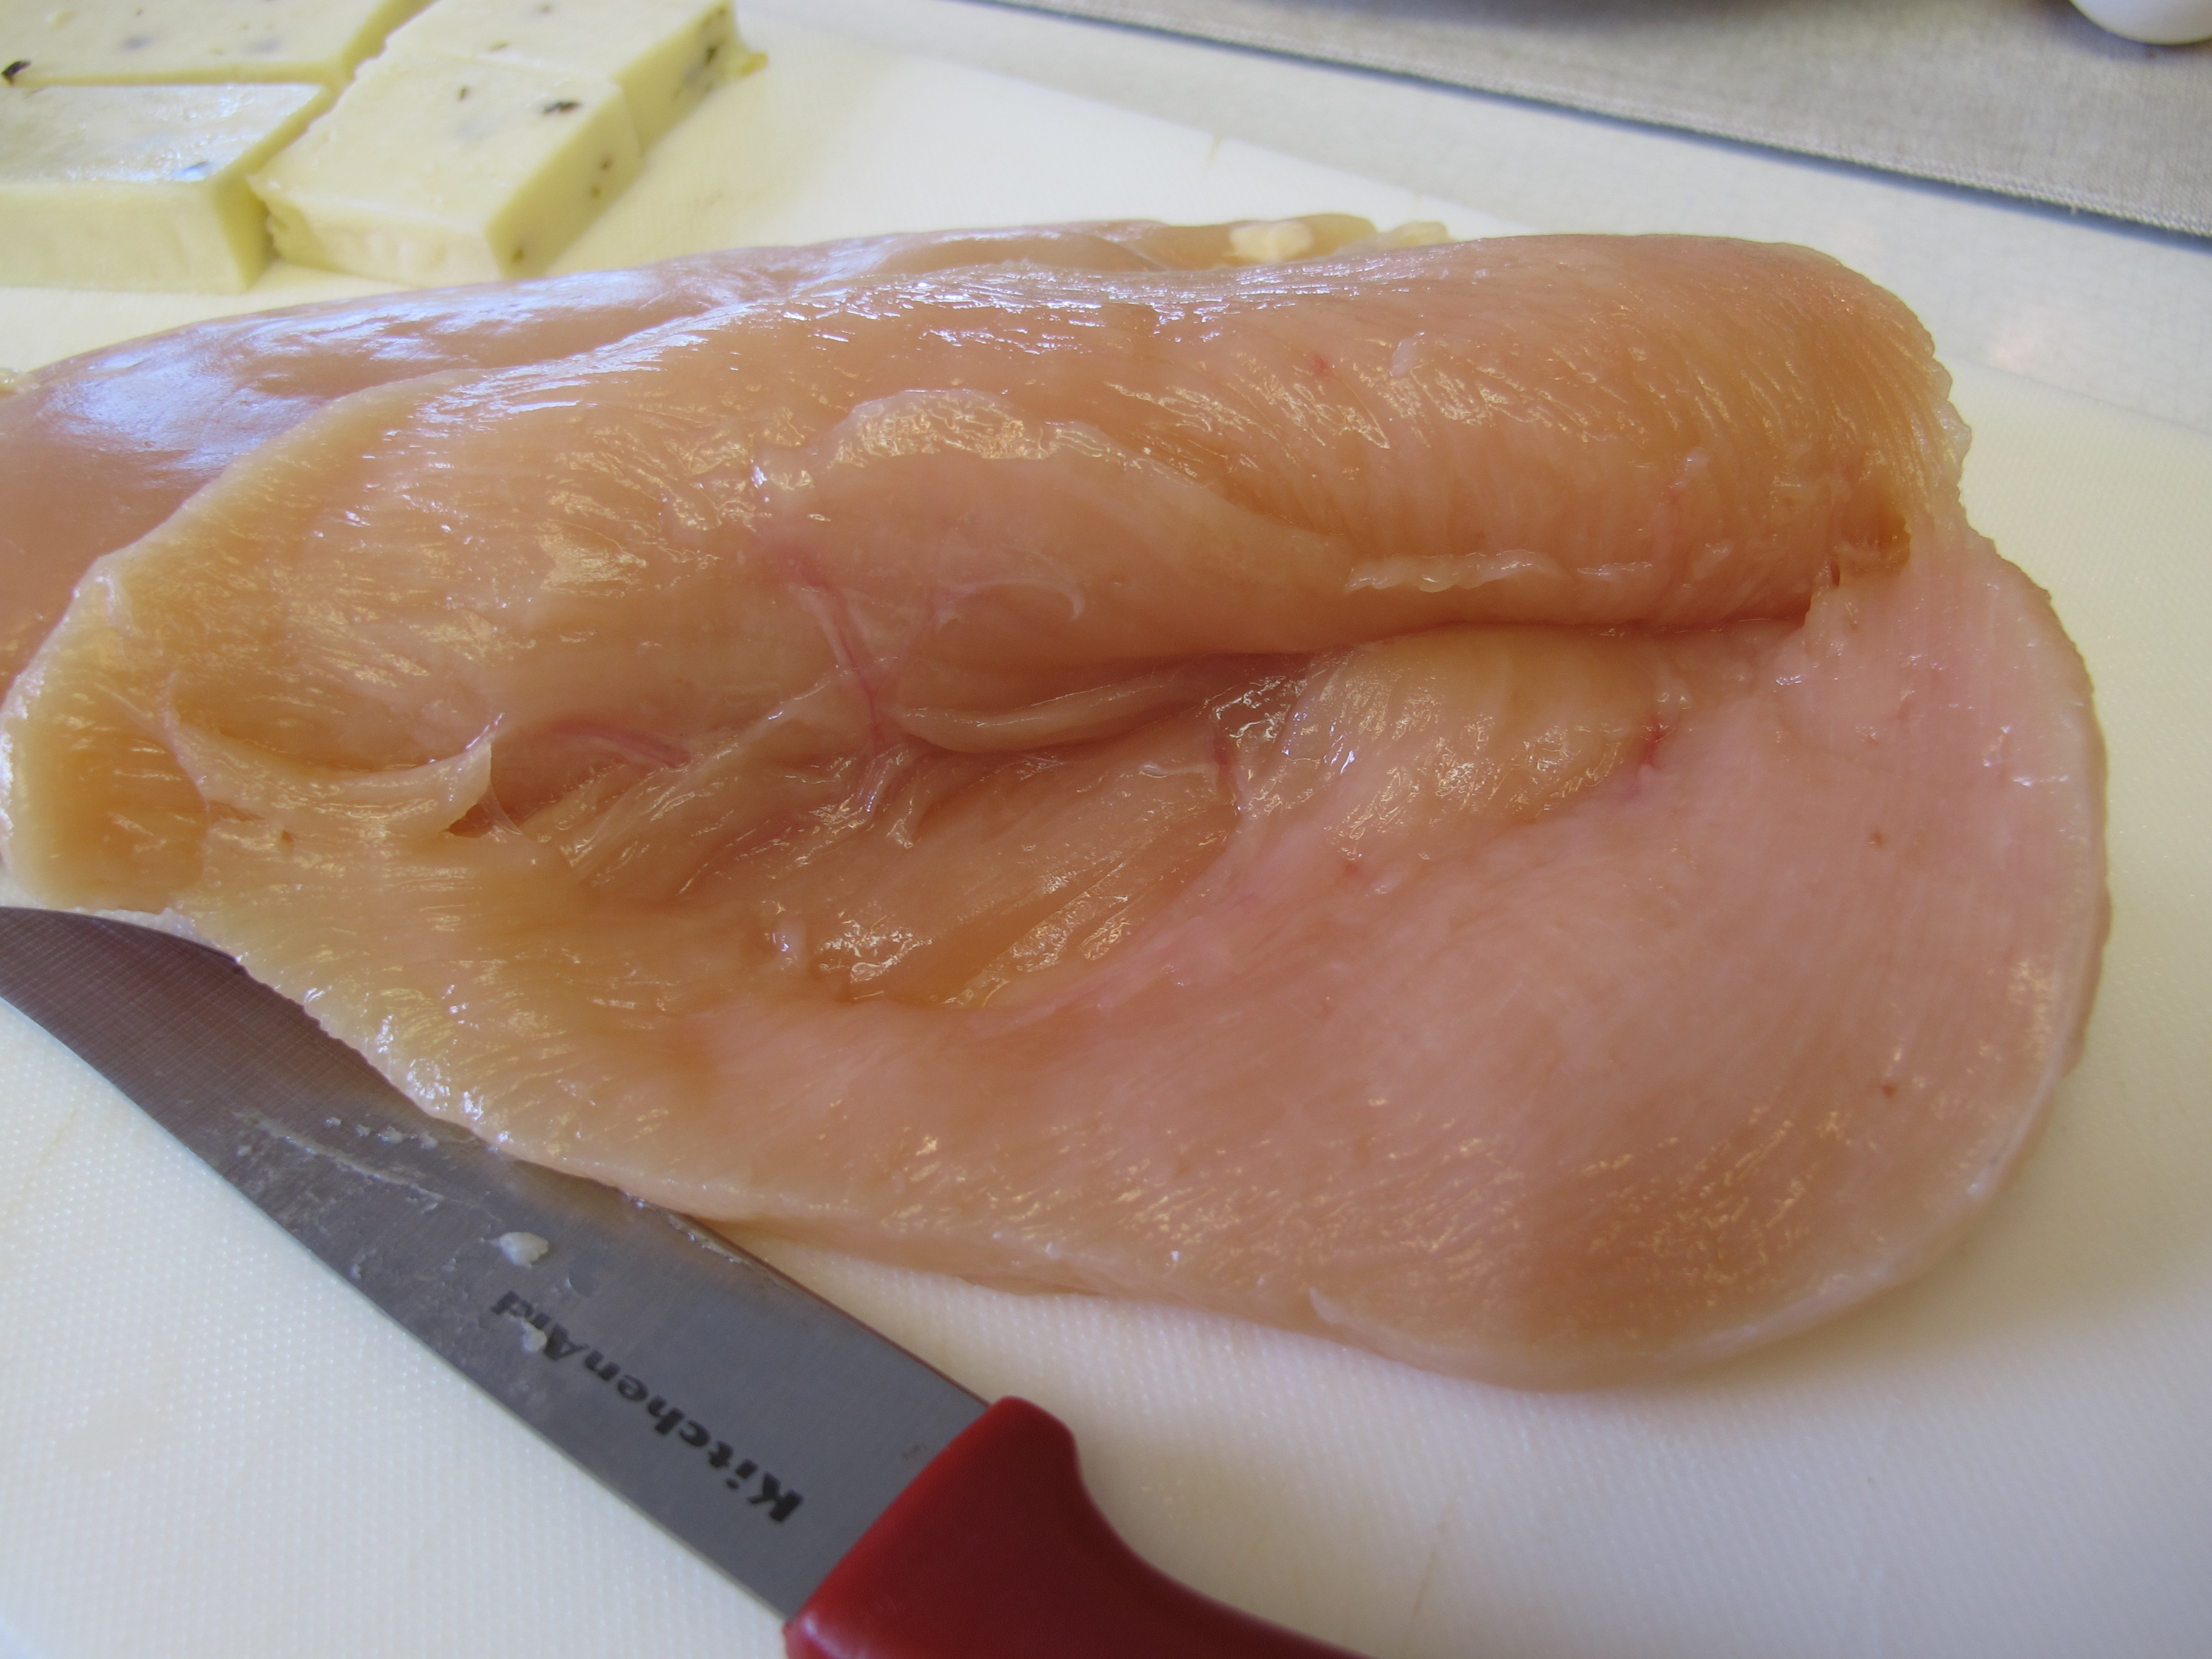
Cut a horizontal slit into the side of each chicken breast – don’t cut all the way through.
Place one piece of cheese in the pocket of each chicken breast.
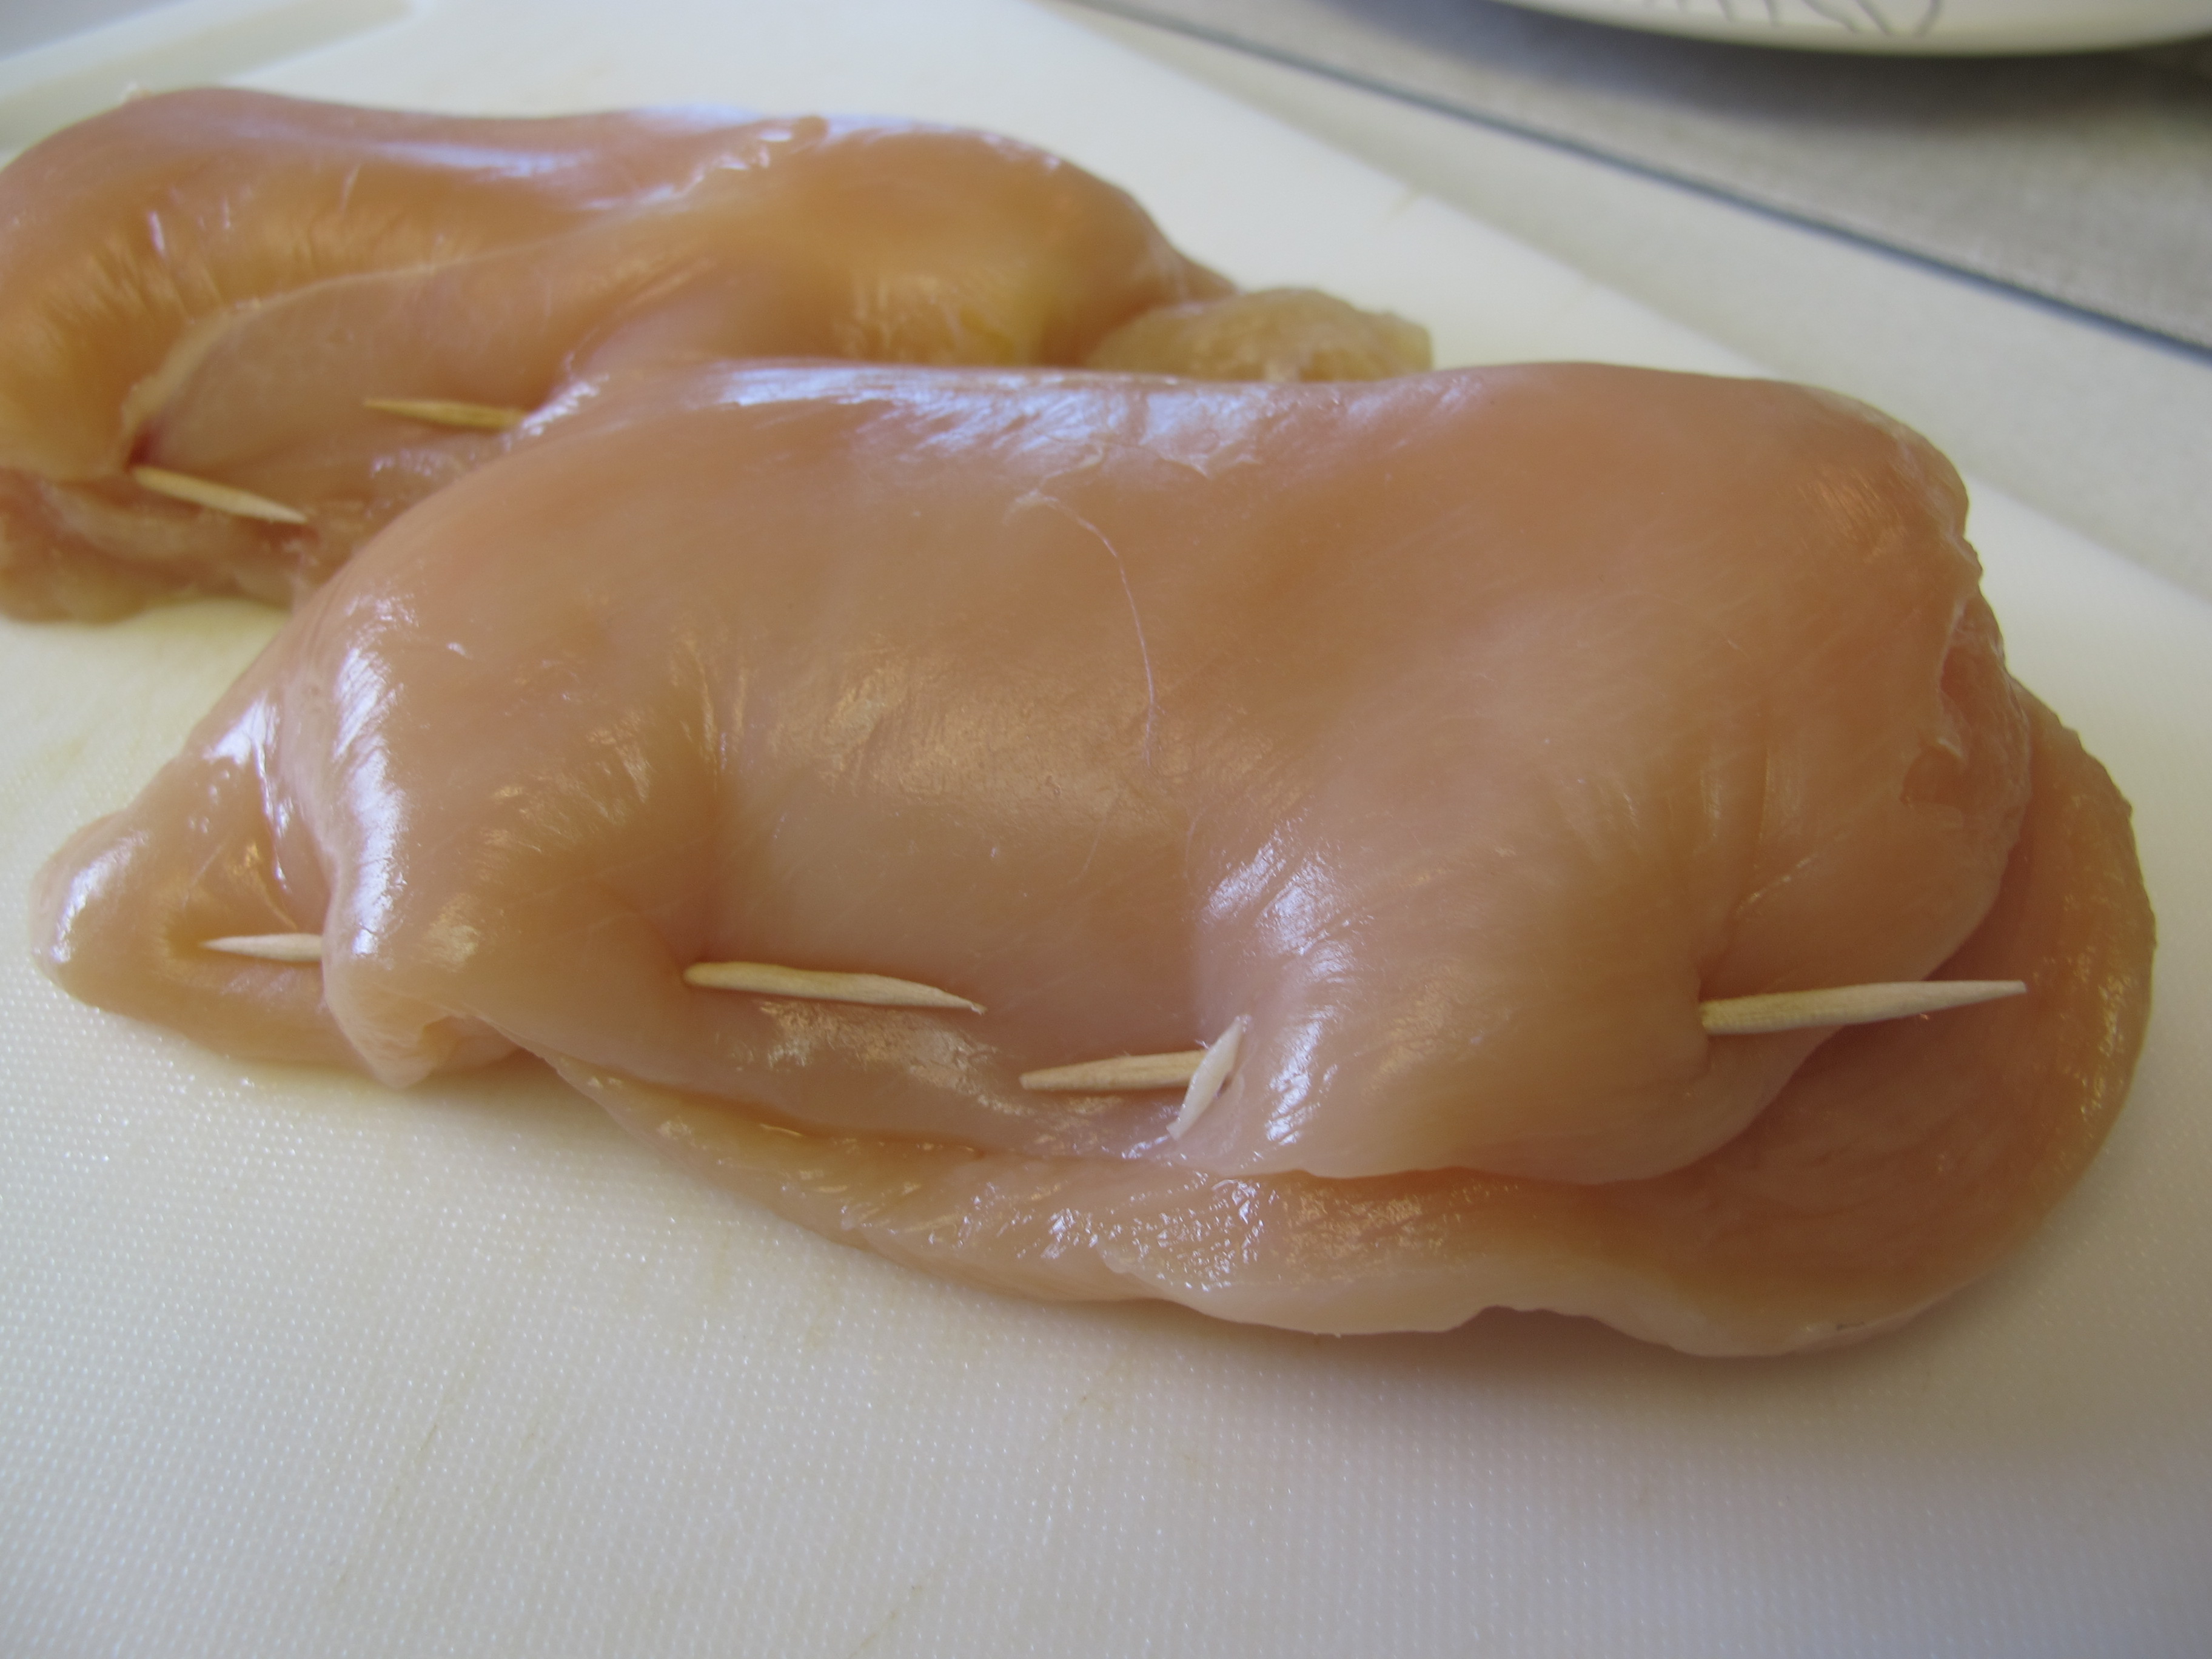
To secure the cheese in the pocket, use 2-3 wooden toothpicks.
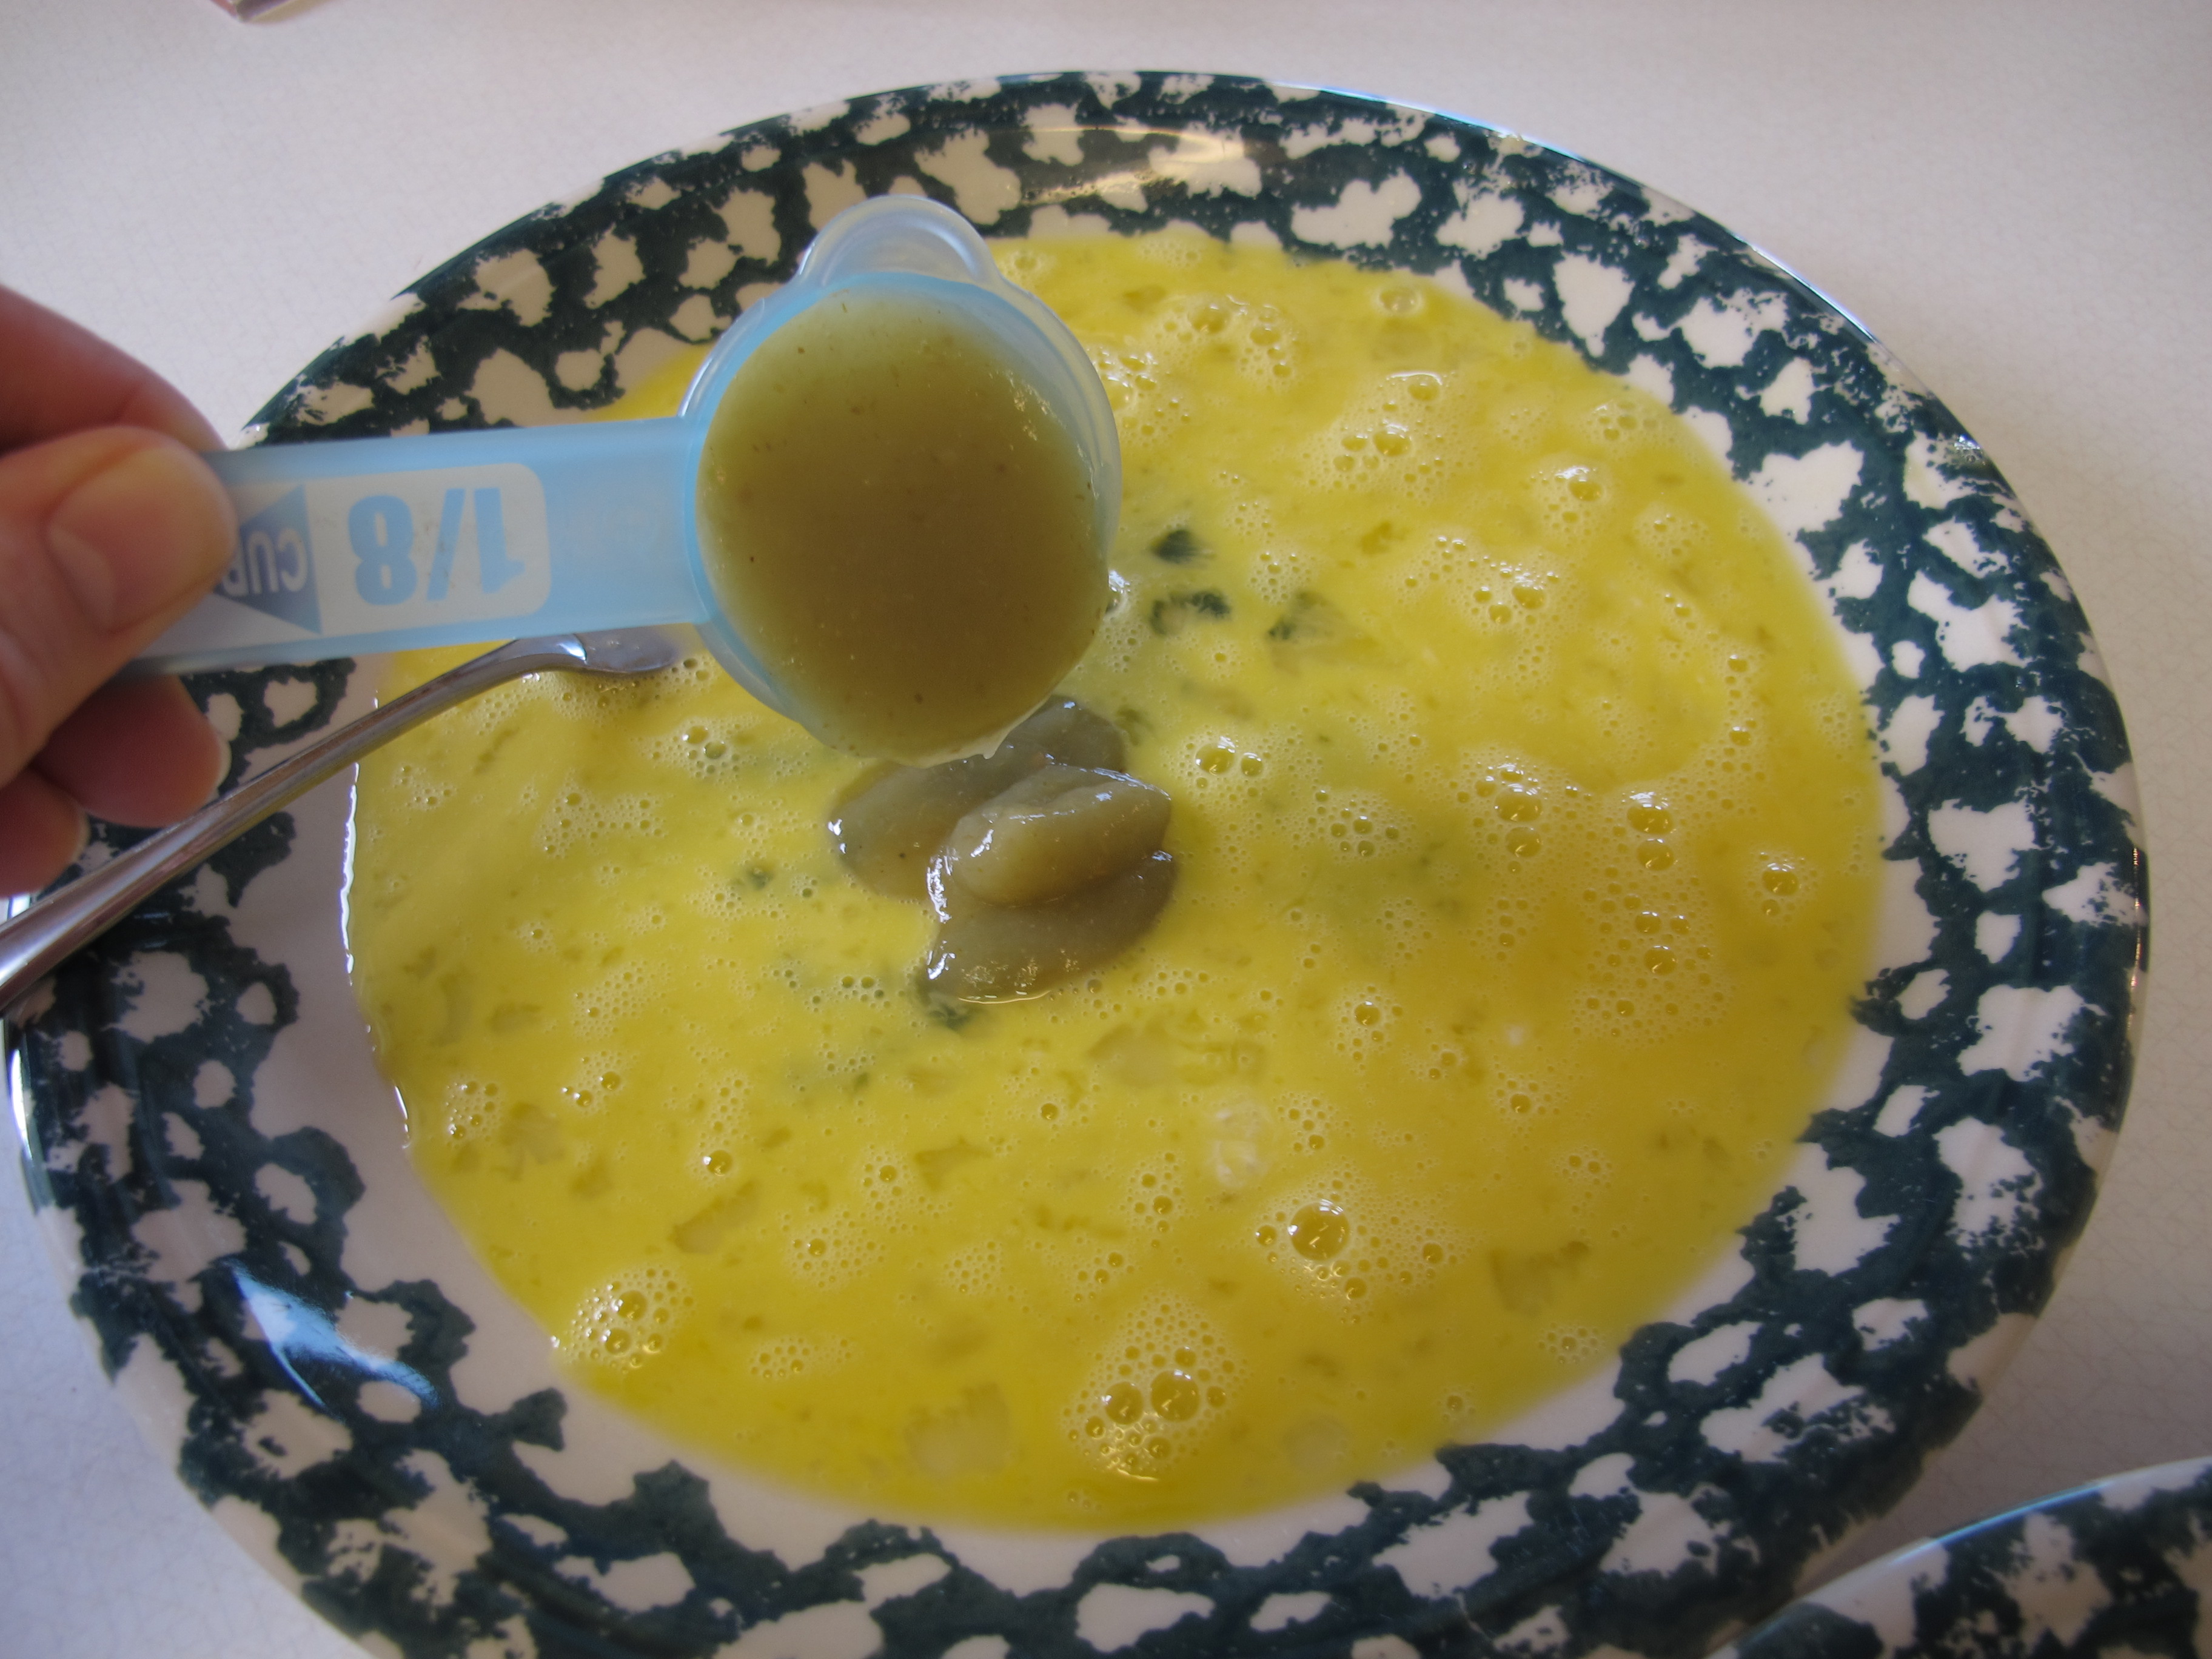
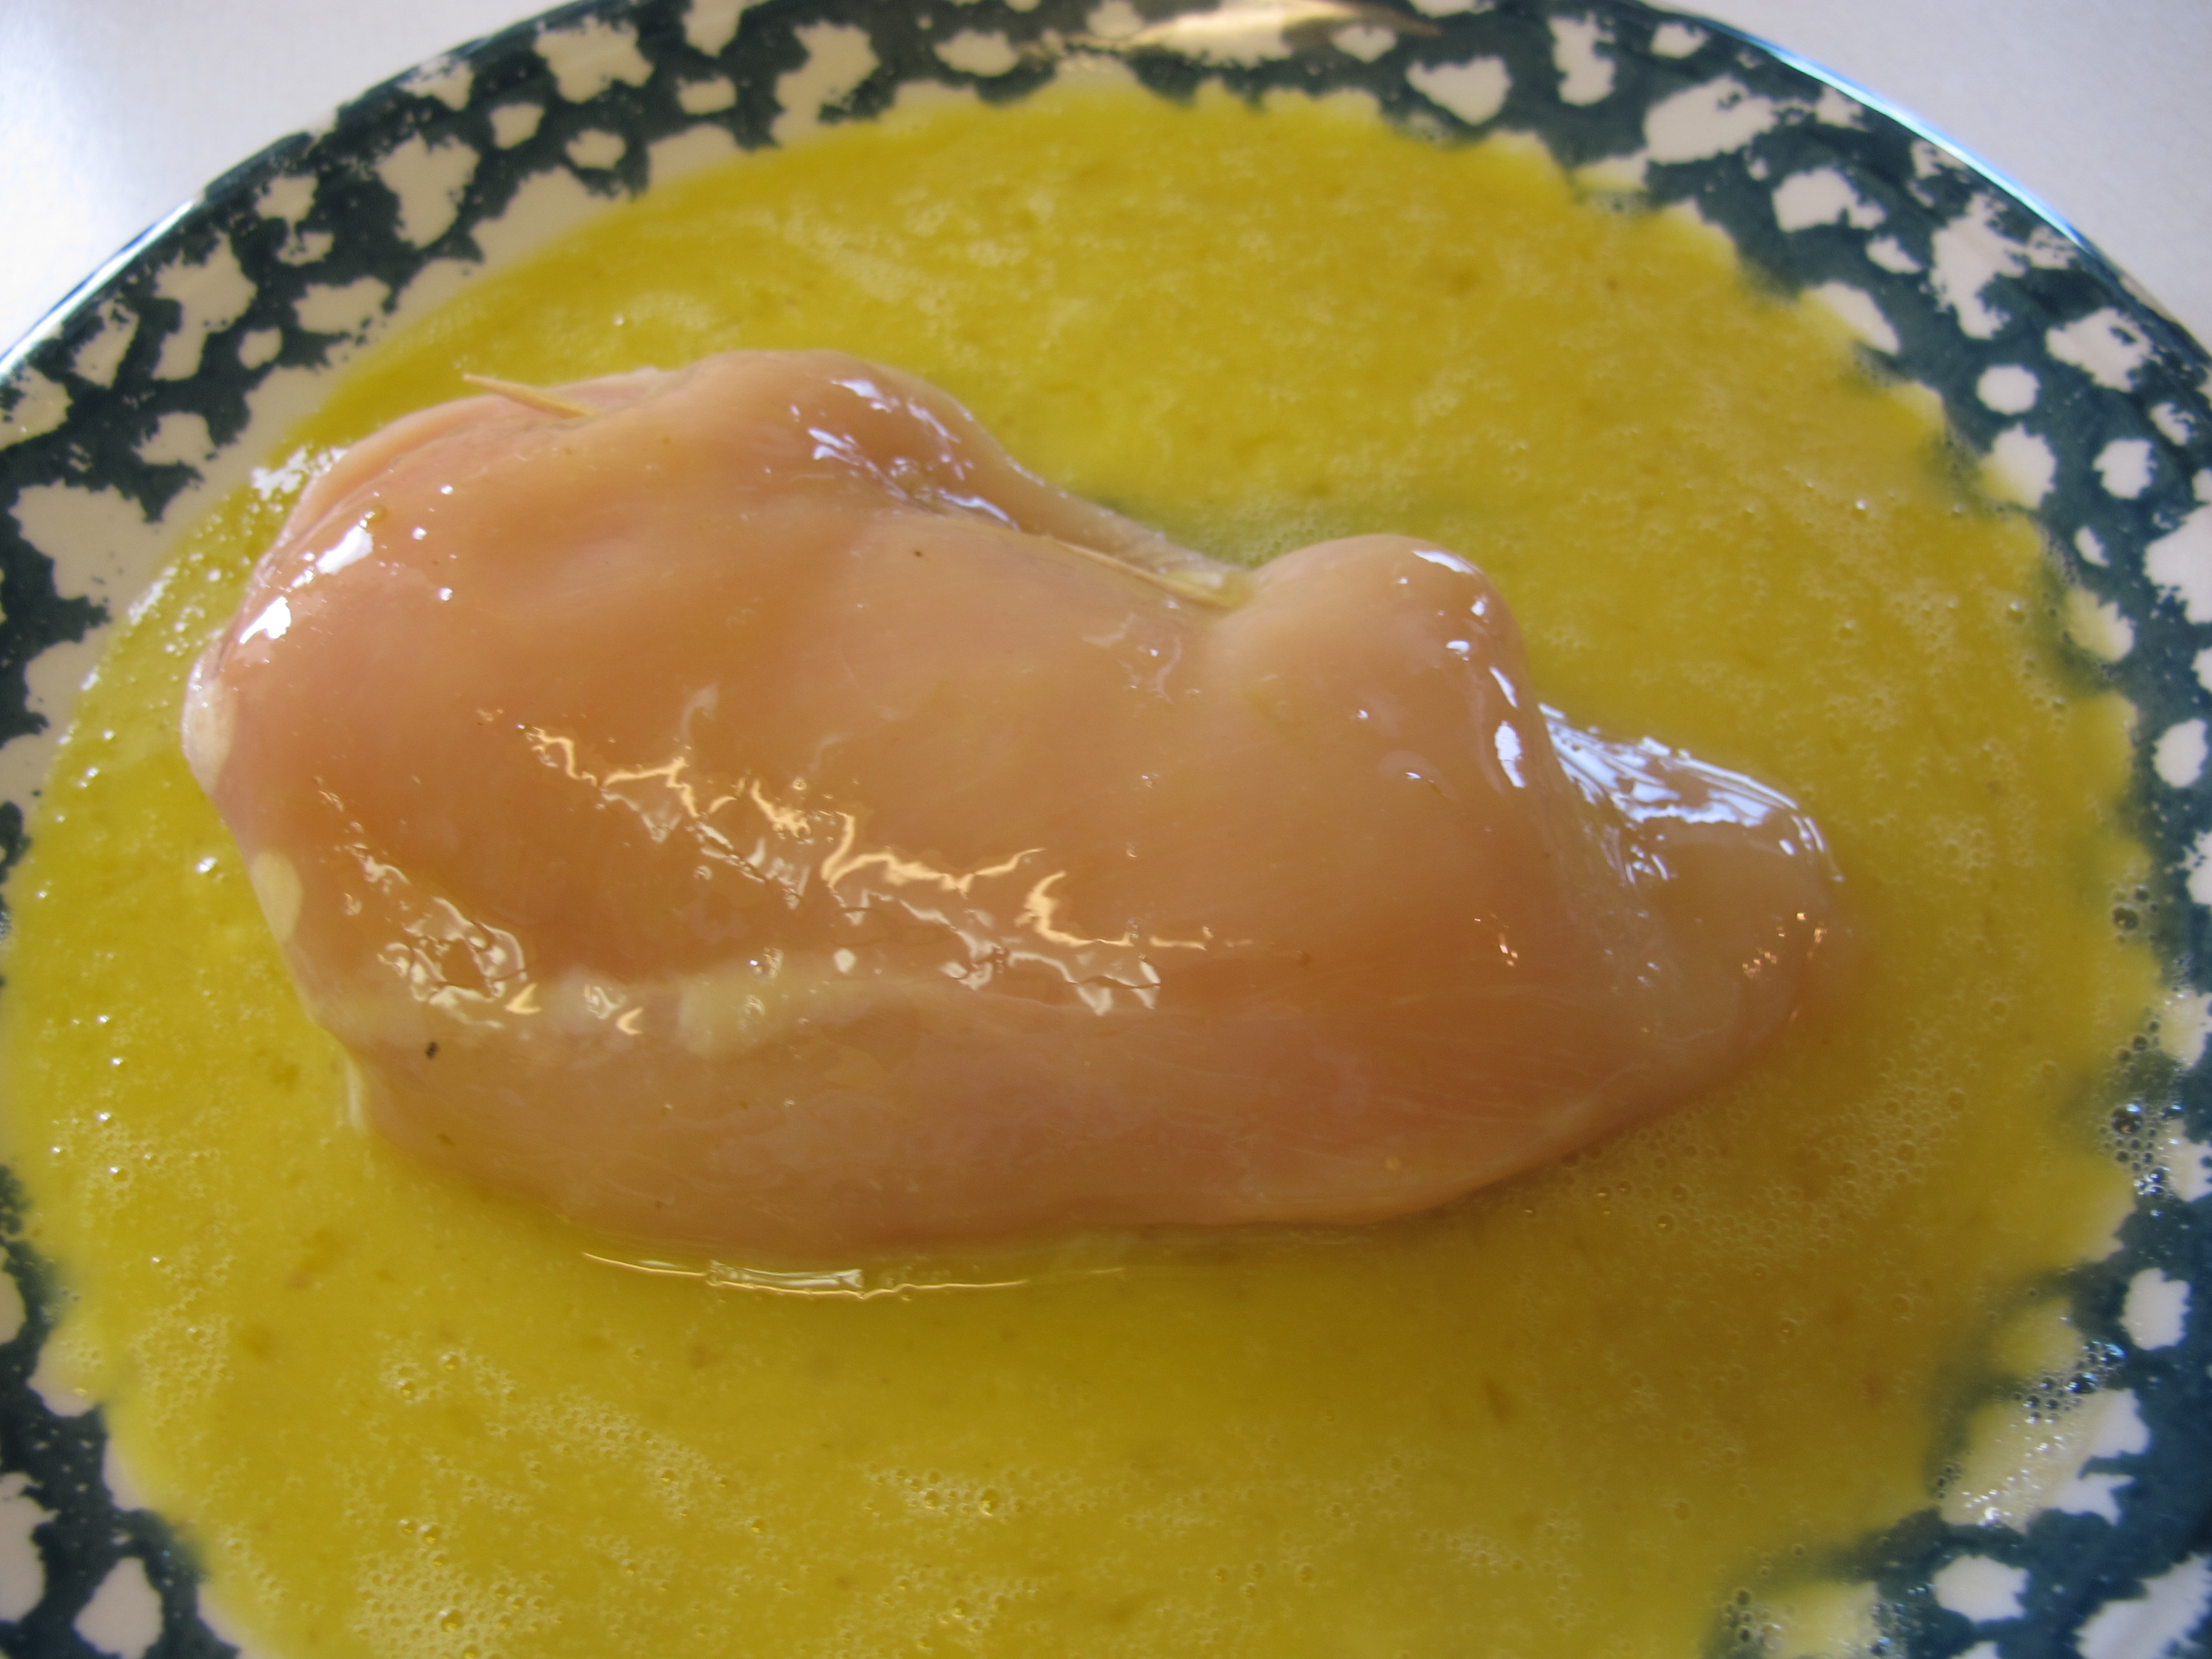
4 eggs, beaten
1/4 cup salsa (not chunky) or taco sauce (mild or medium) If you don’t have non-chunky salsa on hand, just blend your chunky salsa until smooth.
1/4 tsp. salt
In a shallow pan or plate, mix together the eggs, salsa and salt.
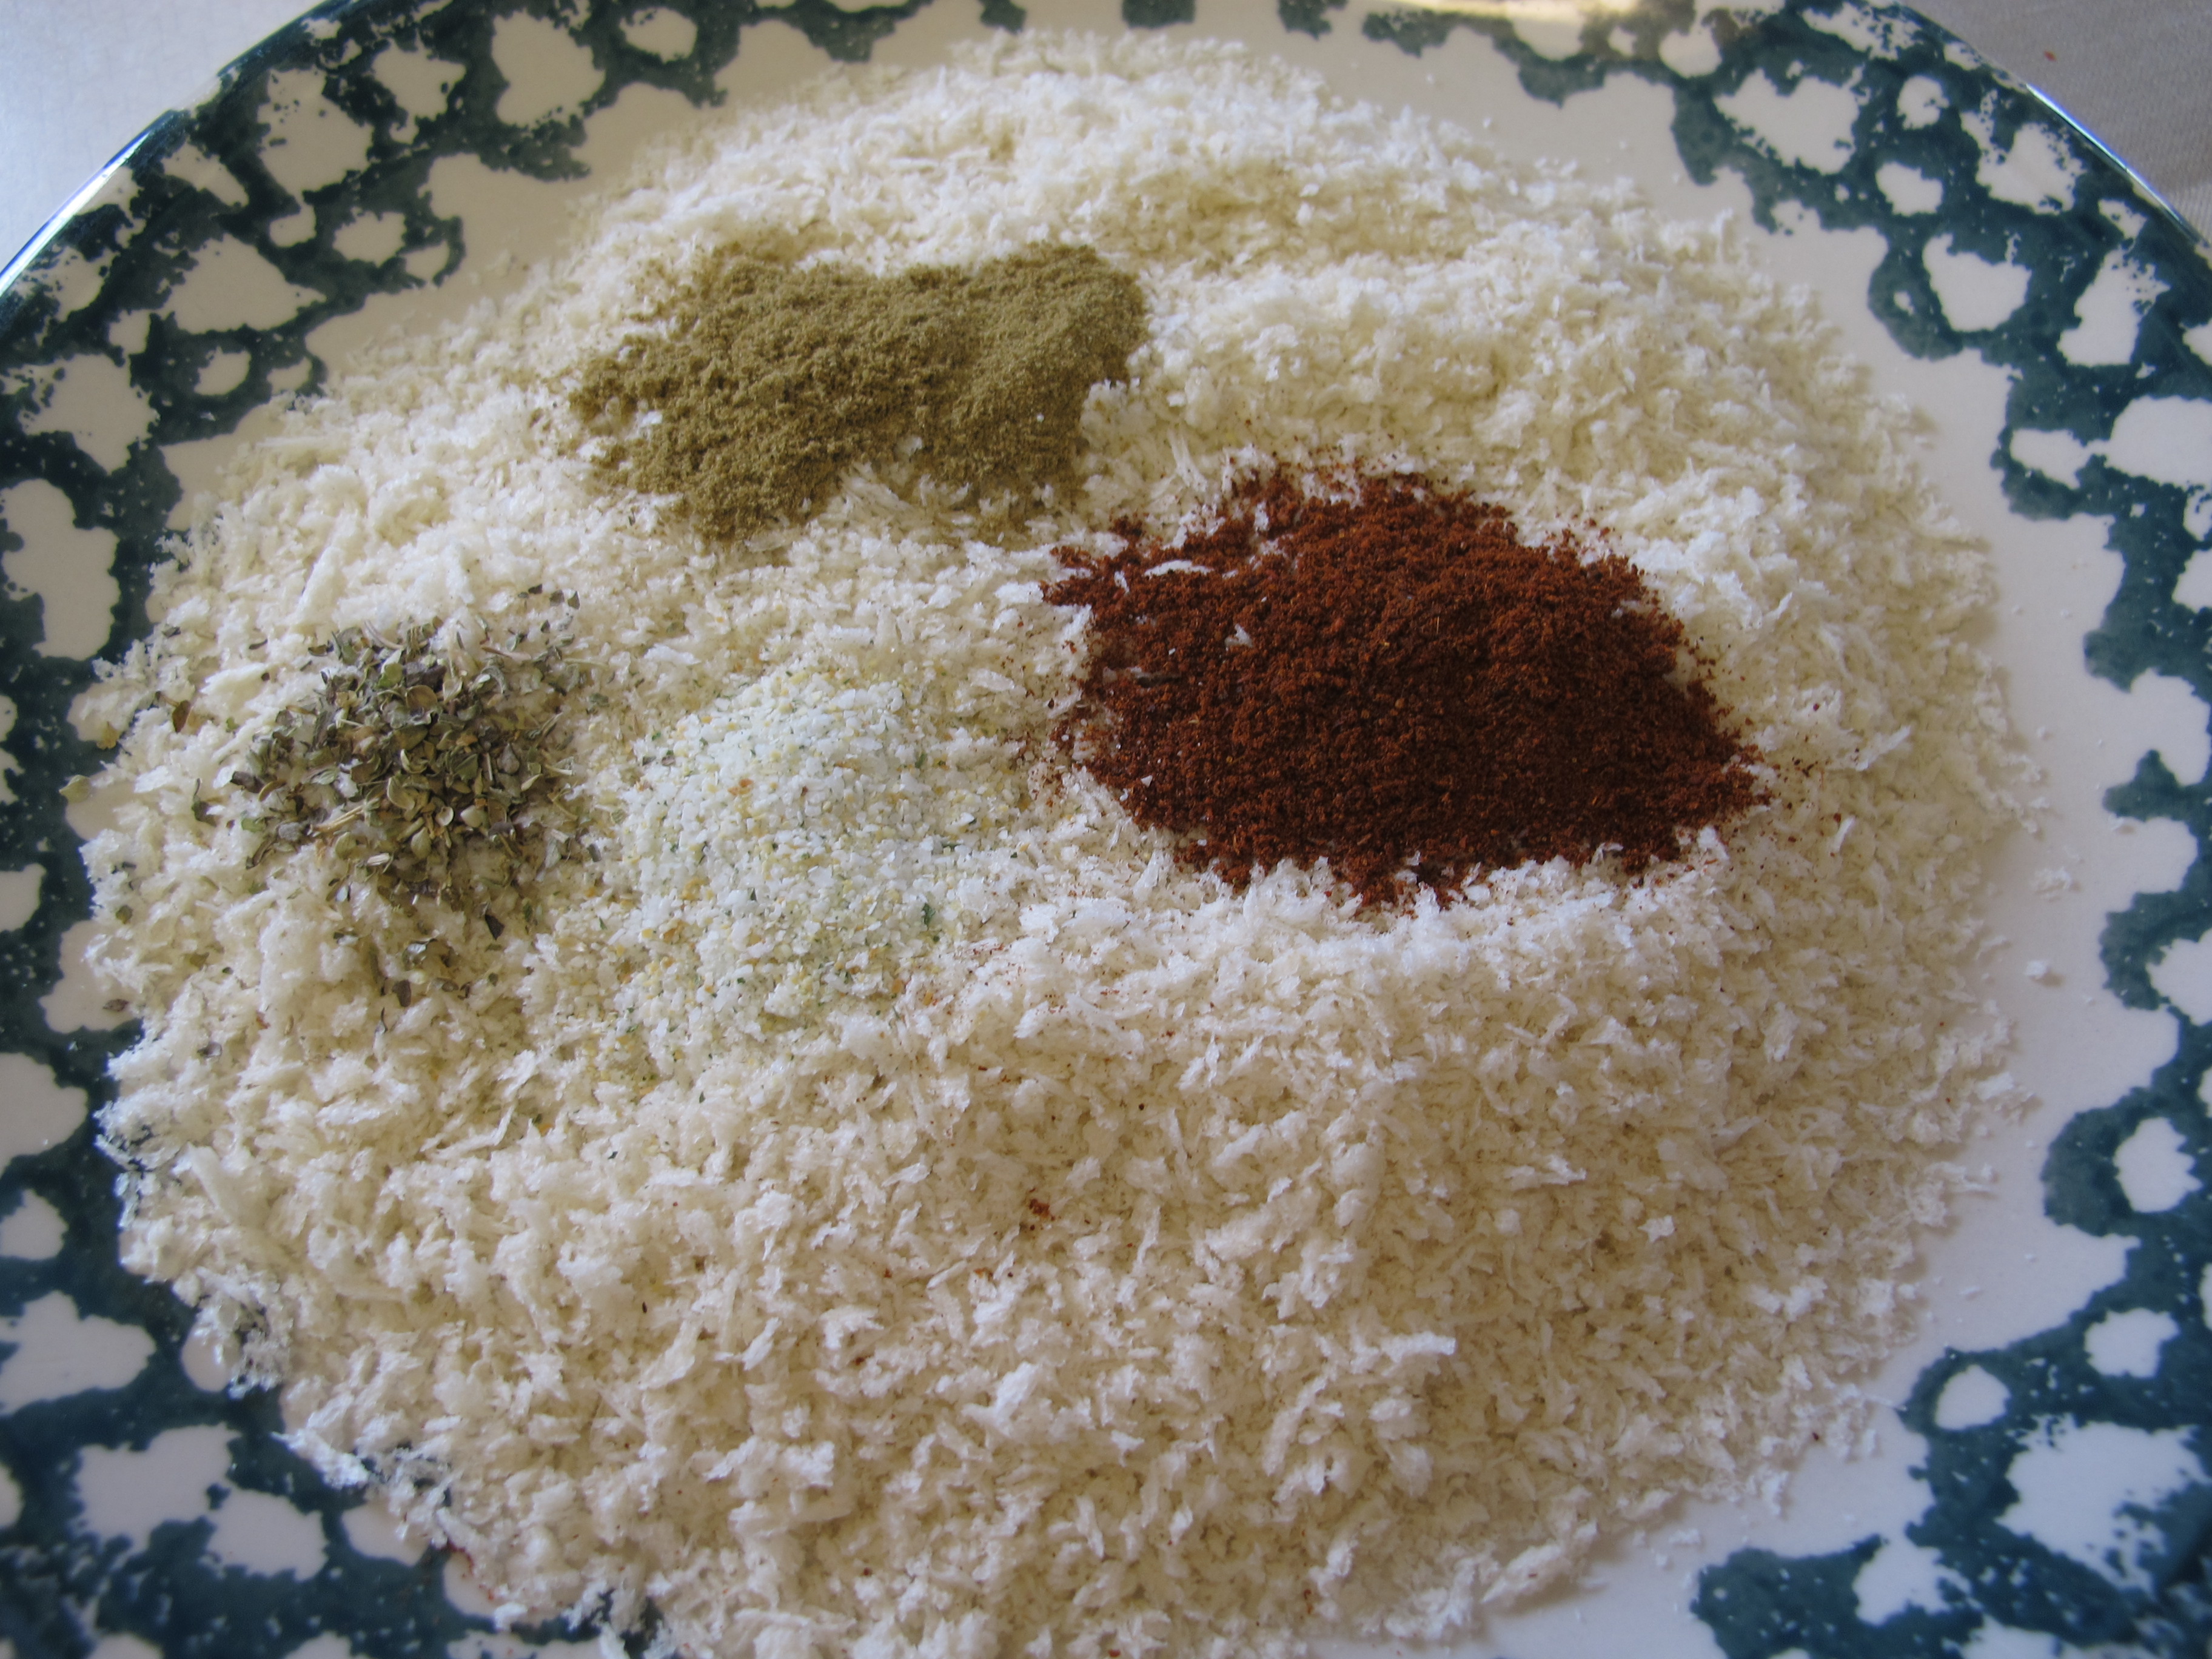
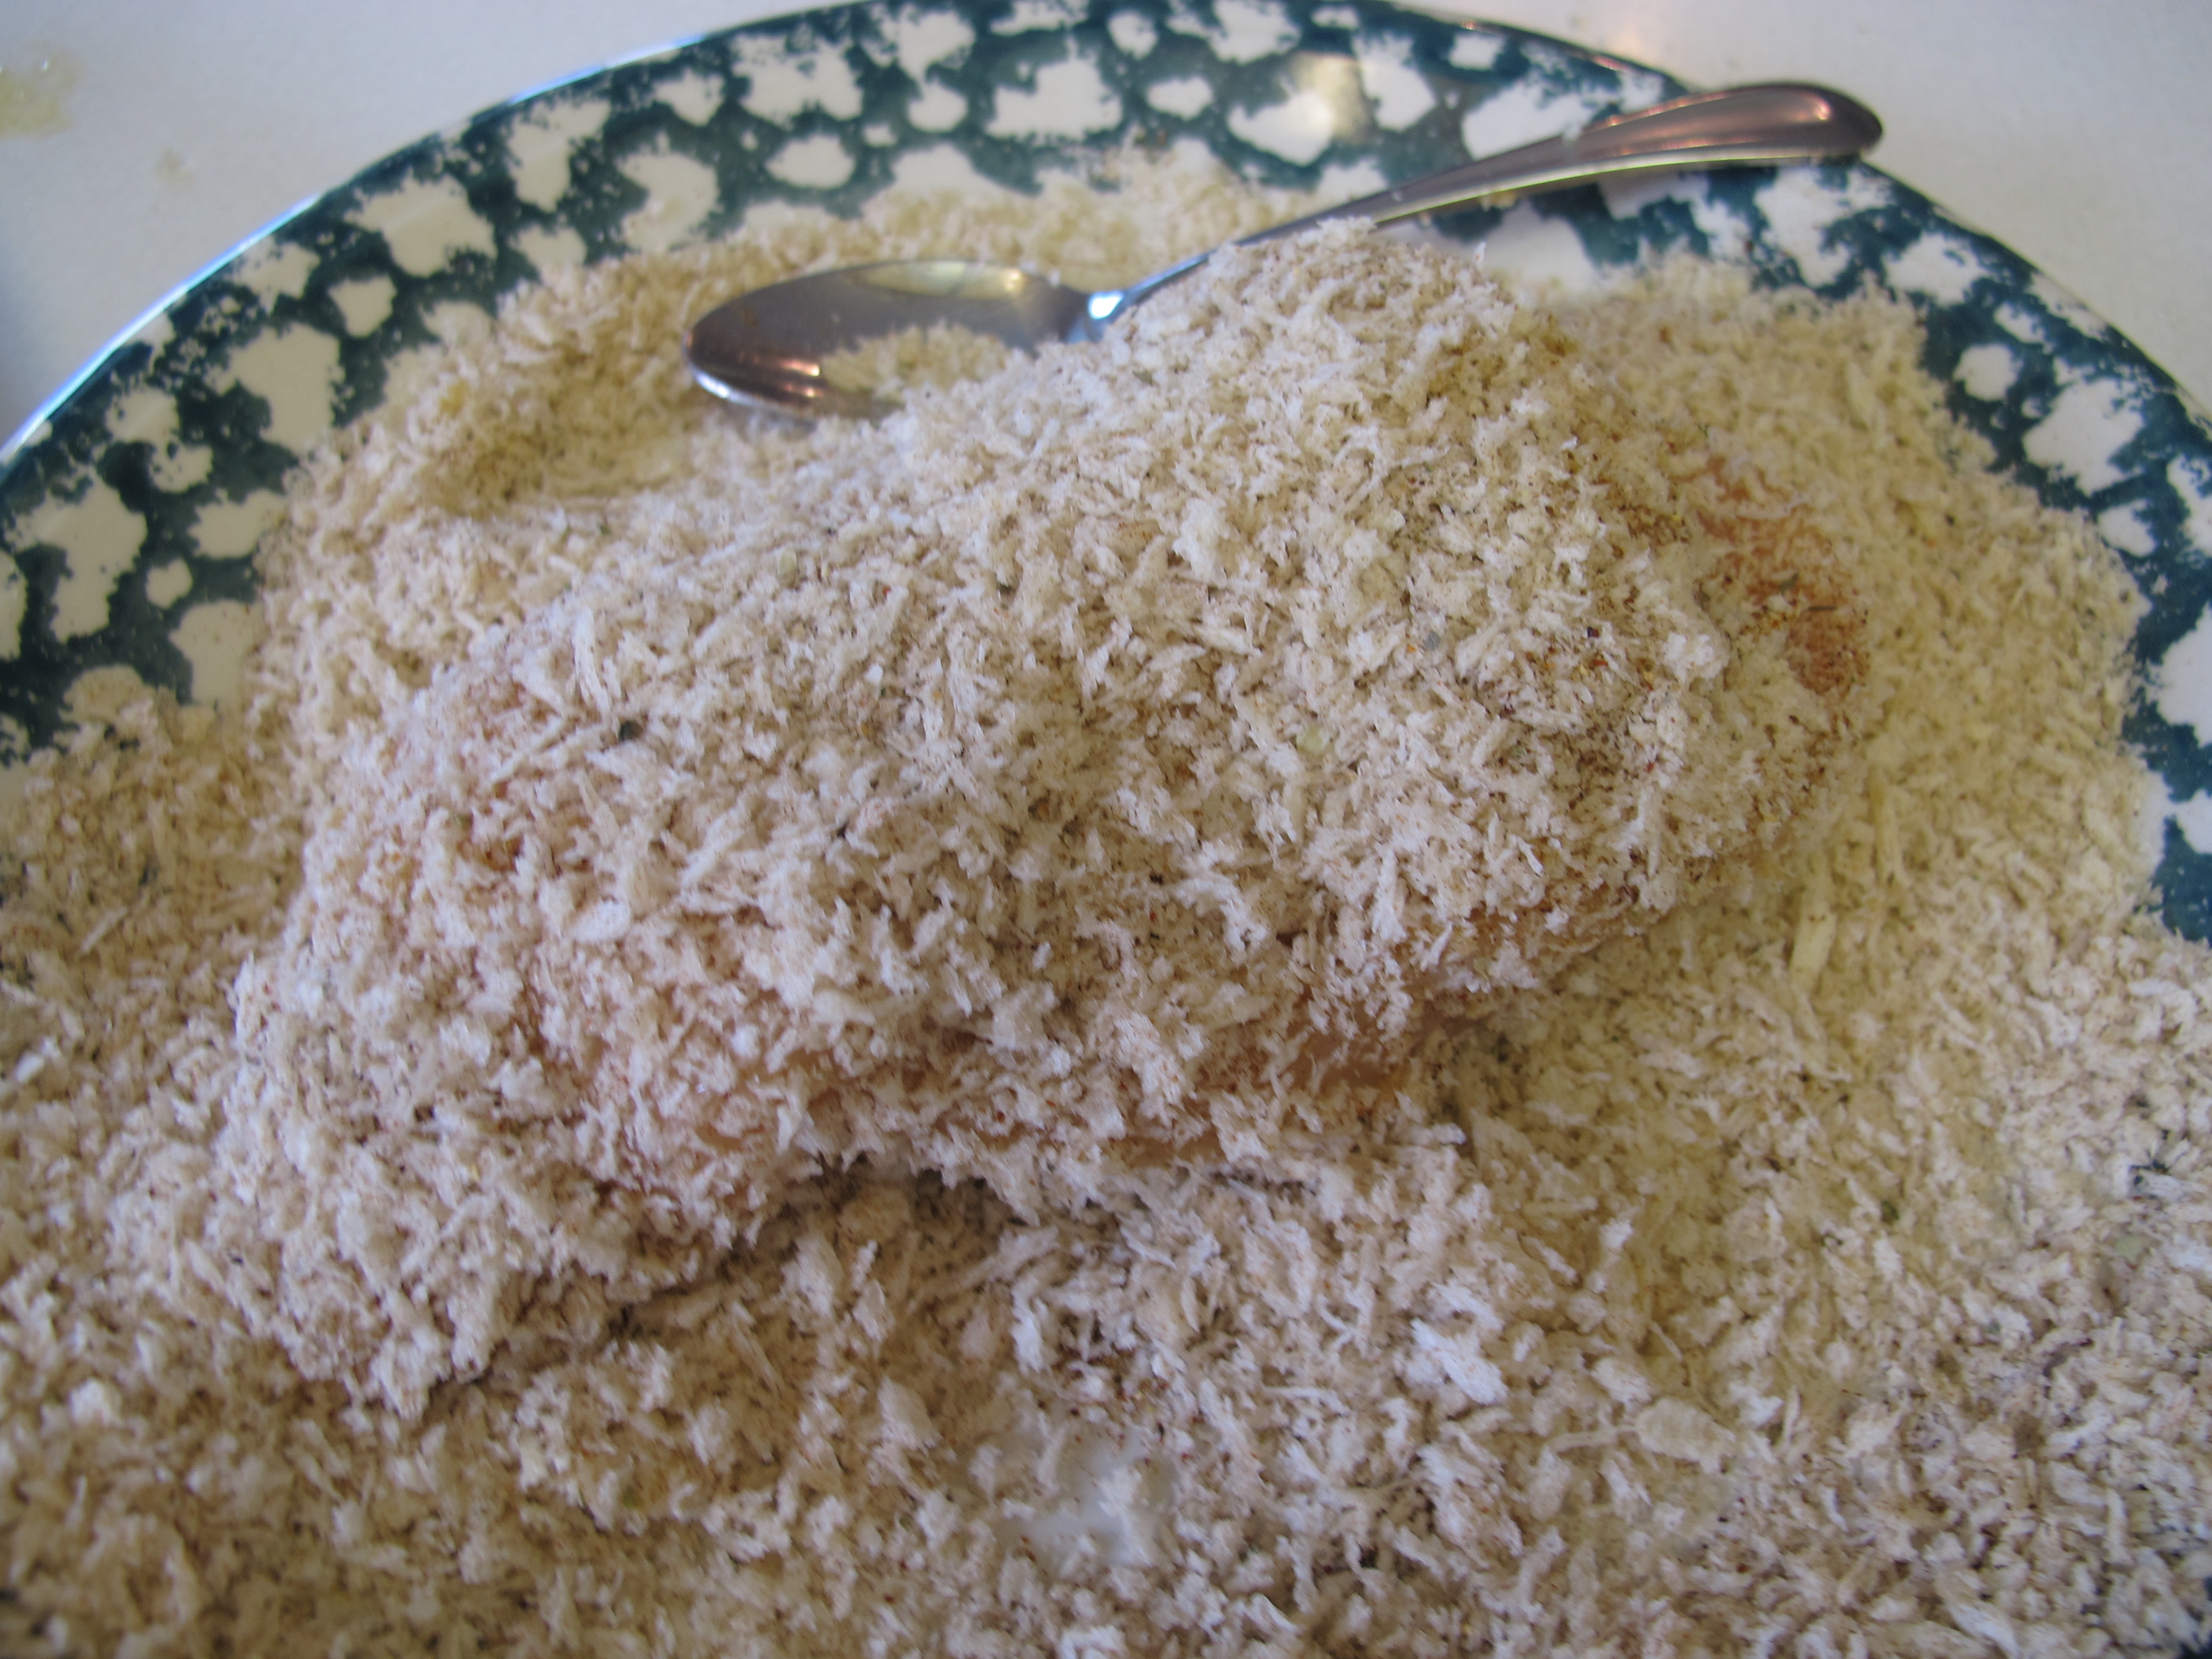
2 cups panko breadcrumbs *
2 tsp. chili powder
2 tsp. ground cumin
1 1/2 tsp. garlic salt
1/2 tsp. dried oregano or italian seasoning
* Japanese panko crumbs can be found in the ethnic section at the grocery store. Panko crumbs are much lighter than regular breadcrumbs and make a crunchier coating when baked.
In a separate shallow pan, combine the panko breadcrumbs, chili powder, garlic salt, and oregano or italian seasoning.
Dip each chicken breast in the egg mixture to coat, then dip in the panko crumb mixture.
Place chicken in melted butter, turning to coat with butter.
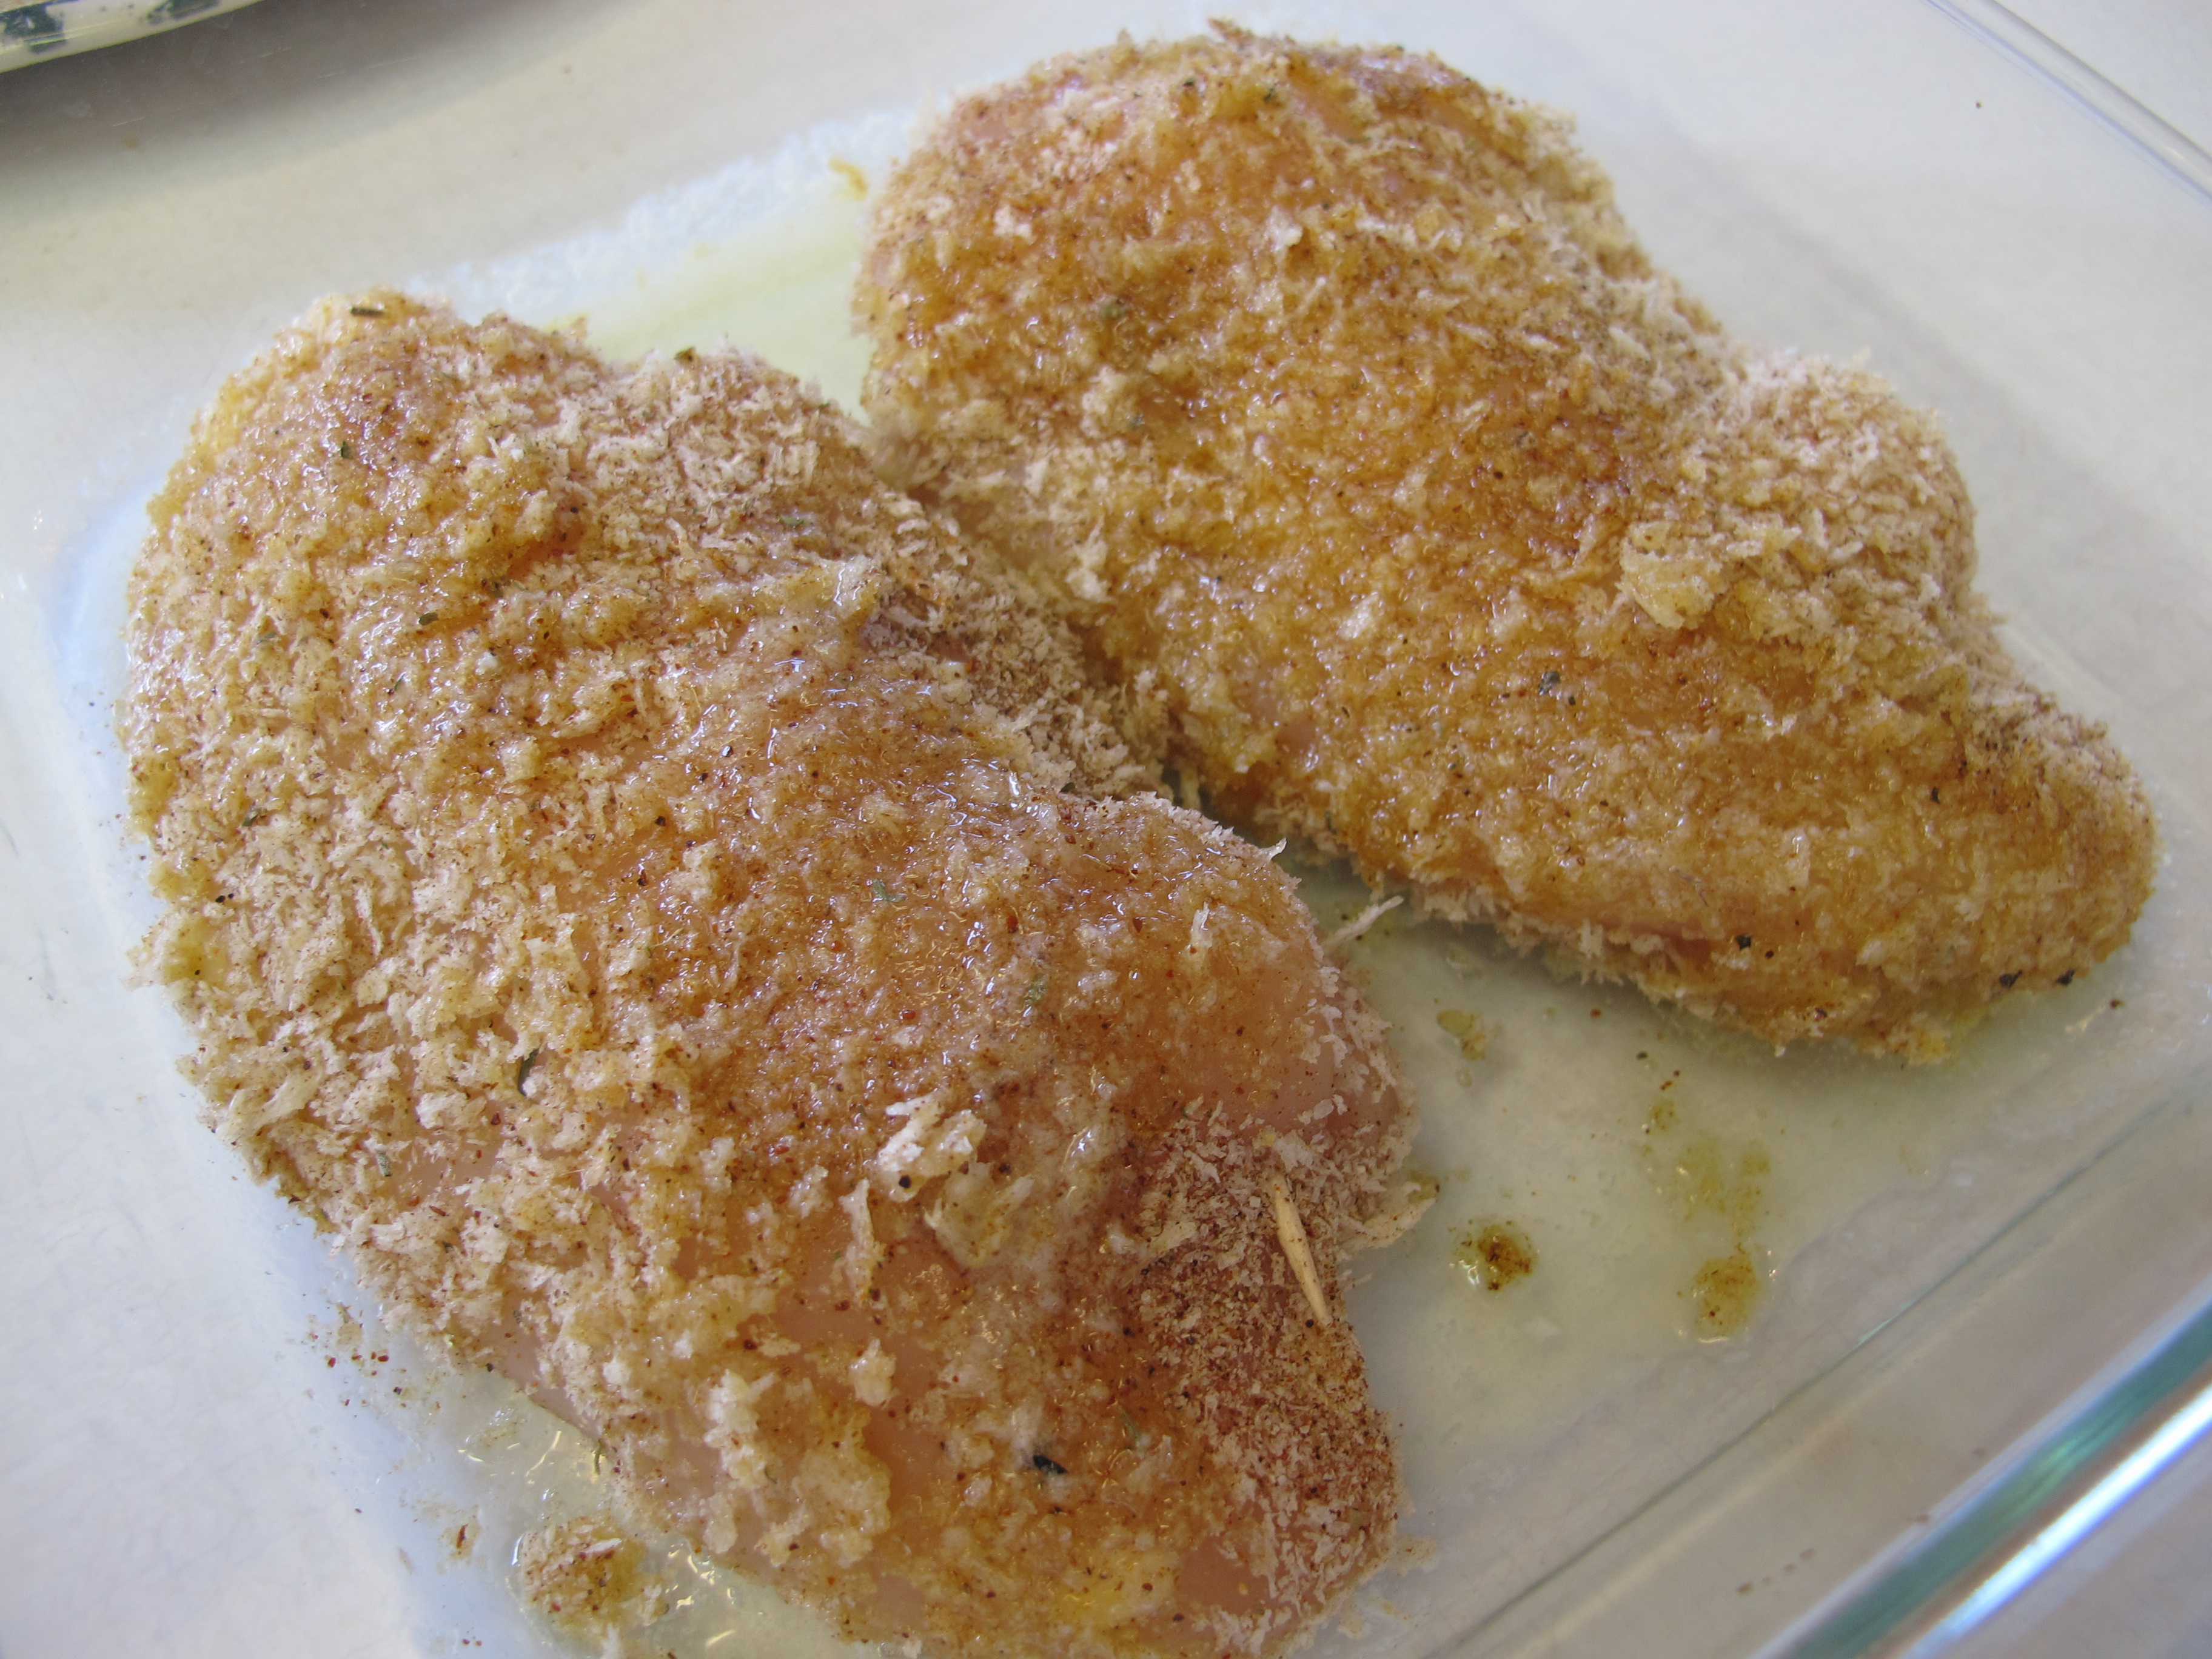
Bake uncovered about 35 – 40 minutes.
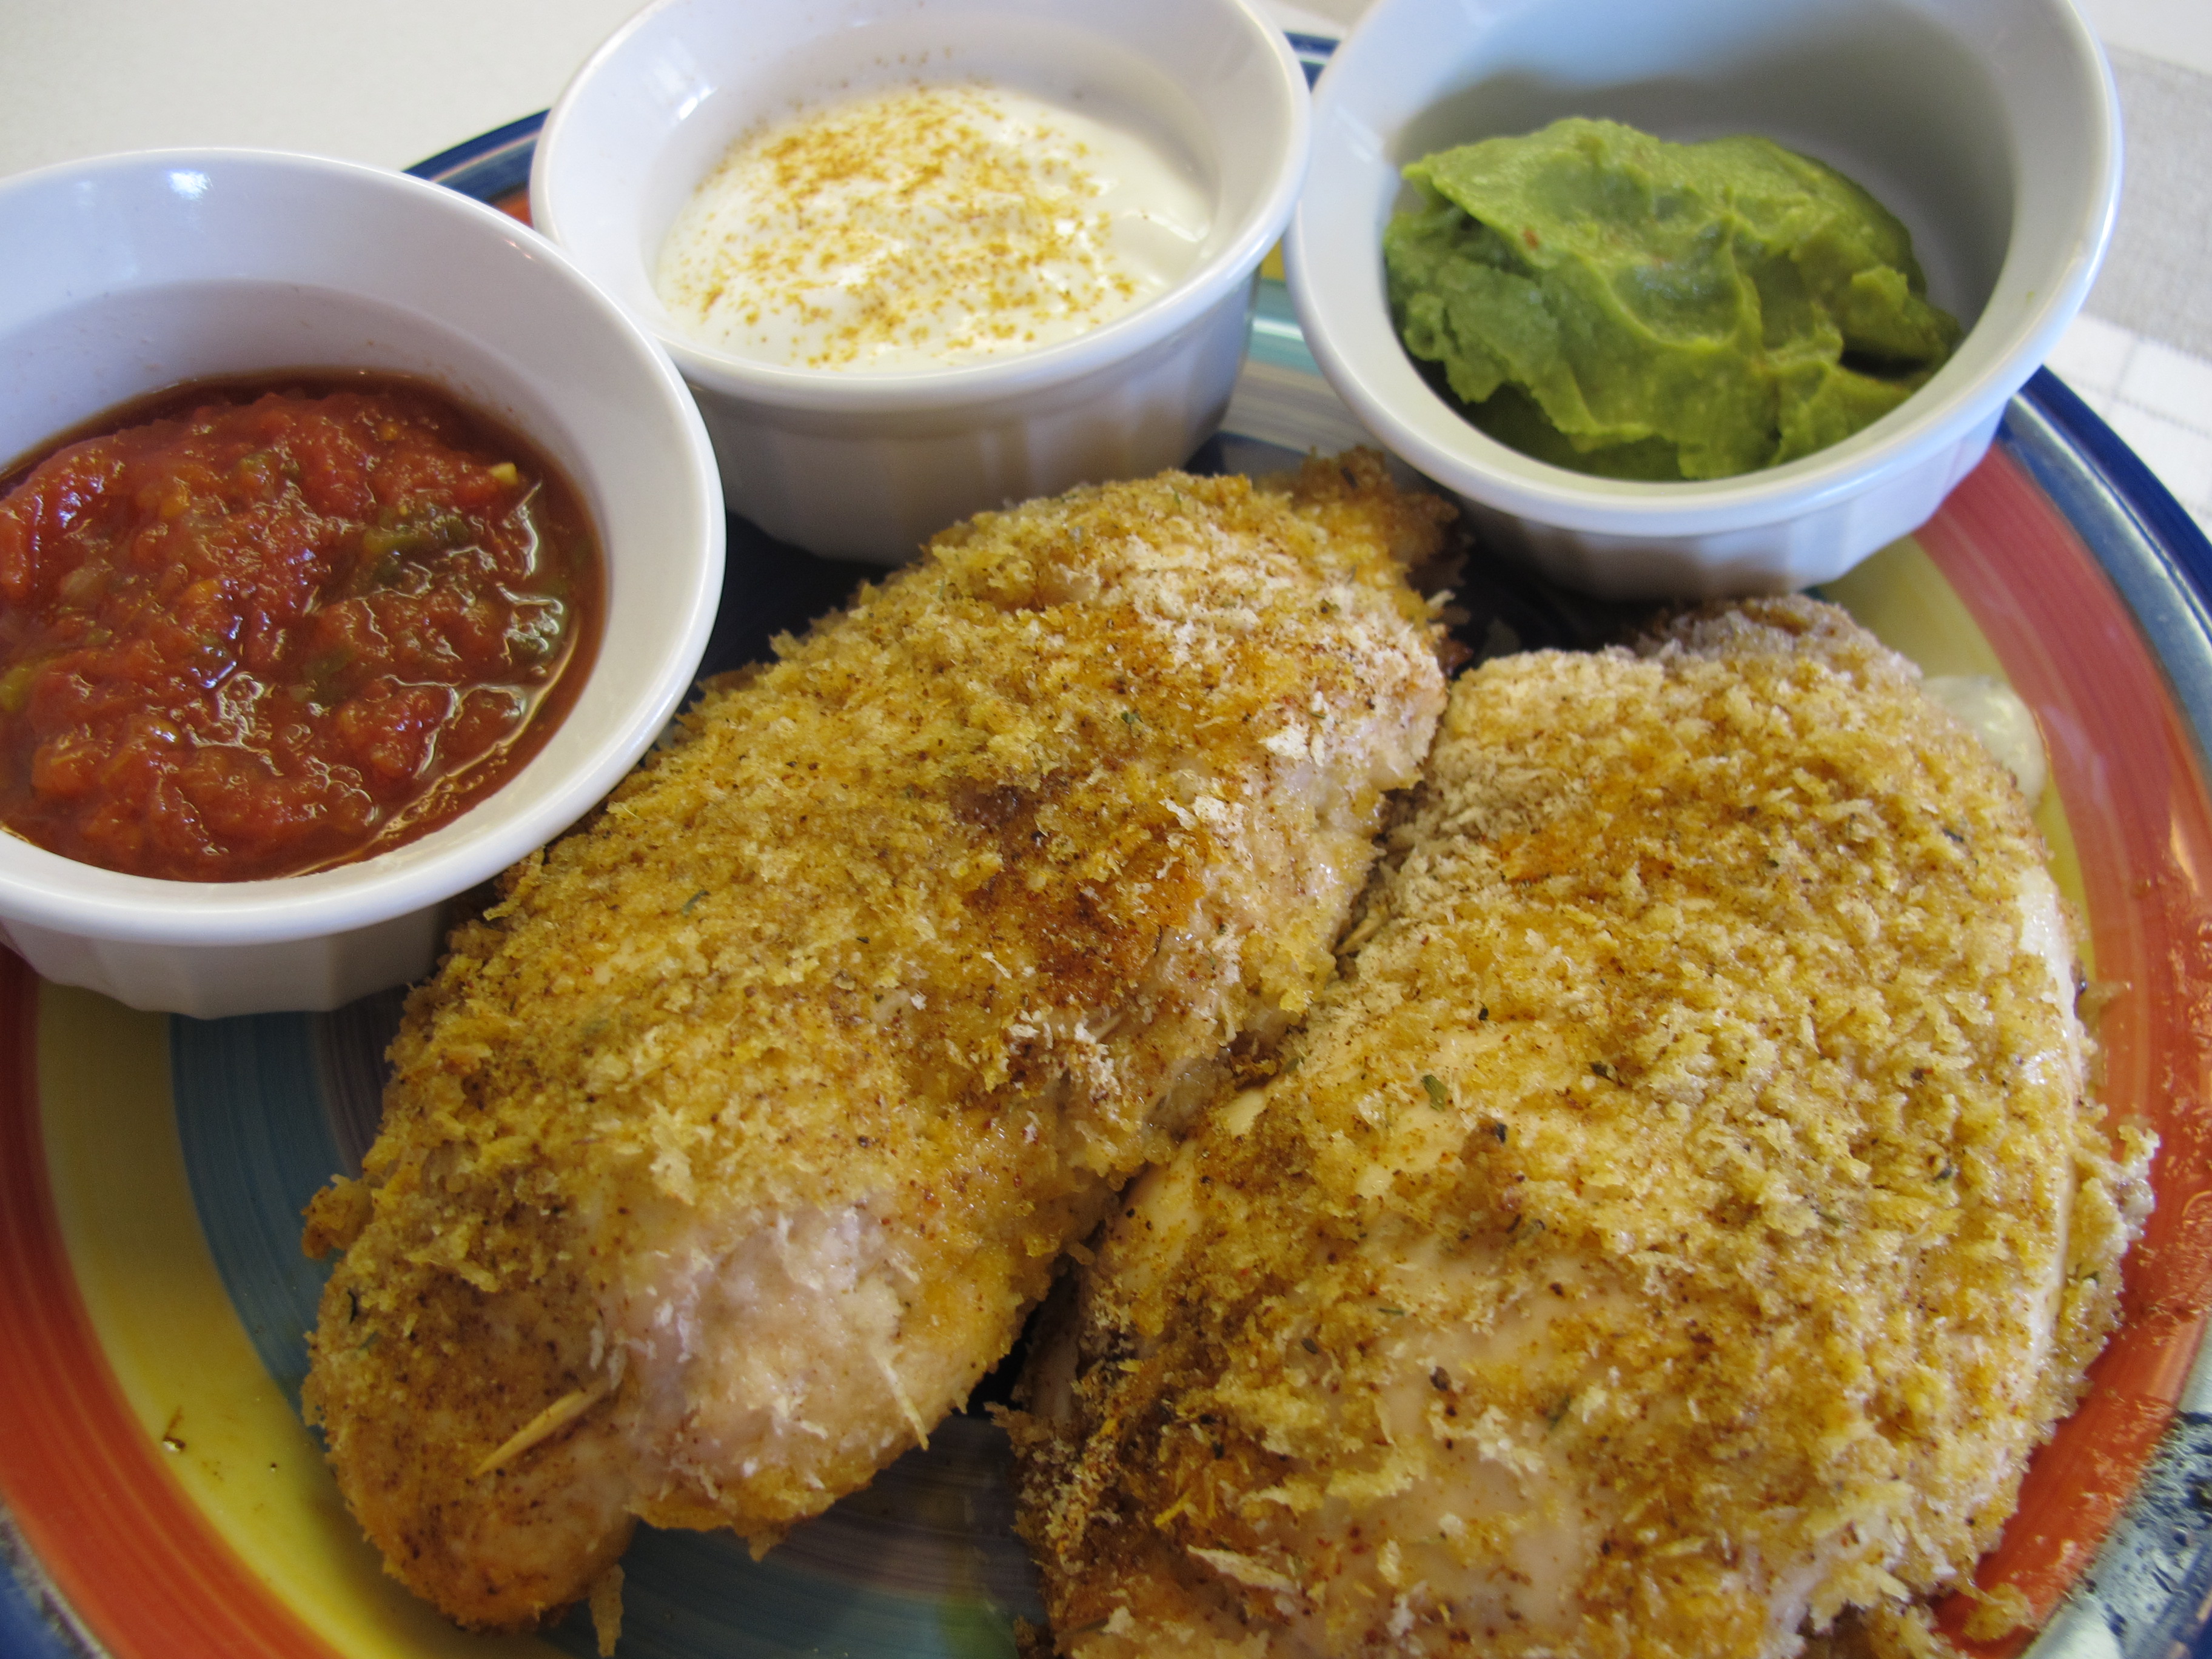
Serve with sliced avocado or guacamole, salsa, sour cream. Note: We just preferred the guacamole.
FREEZE AHEAD
Omit the first step of preparing the melted butter in the pan until serving day.
Prepare chicken and then place breaded chicken breasts in a shallow baking pan.
Freeze for 1 hour.
Carefully wrap each chicken breast individually in plastic wrap and place together in freezer bag.
FULL RECIPE WITHOUT PICTURES —
CRUNCHY PEPPER JACK CHICKEN
1/4 cup Brummel and Brown butter
6 boneless, skinless chicken breasts
10 oz. Pepper Jack cheese (block)
4 eggs, beaten
1/4 cup salsa (not chunky) or taco sauce (mild or medium) If you don’t have non-chunky salsa on hand, just blend your chunky salsa until smooth.
1/4 tsp. salt
2 cups panko breadcrumbs *
2 tsp. chili powder
2 tsp. ground cumin
1 1/2 tsp. garlic salt
1/2 tsp. dried oregano or italian seasoning
* Japanese panko crumbs can be found in the ethnic section at the grocery store. Panko crumbs are much lighter than regular breadcrumbs and make a crunchier coating when baked.
Preheat oven to 375 degrees.
Place 1/4 cup butter in a 9 x 13 baking dish in the microwave and heat until butter is melted. Set aside.
Cut Pepper Jack cheese into 6 equal pieces (measuring about 3/8″ x 4″).
Cut a horizontal slit into the side of each chicken breast – don’t cut all the way through.
Place one piece of cheese in the pocket of each chicken breast.
To secure the cheese in the pocket, use 2-3 wooden toothpicks.
In a shallow pan or plate, mix together the eggs, salsa and salt.
In a separate shallow pan, combine the panko breadcrumbs, chili powder, garlic salt, and oregano or italian seasoning.
Dip each chicken breast in the egg mixture to coat, then dip in the panko crumb mixture.
Place chicken in melted butter, turning to coat with butter.
Bake uncovered about 35 – 40 minutes.
Serve with sliced avocado or guacamole, salsa, sour cream. Note: We just preferred the guacamole.
FREEZE AHEAD
Omit the first step of preparing the melted butter in the pan until serving day.
Prepare chicken and then place breaded chicken breasts in a shallow baking pan.
Freeze for 1 hour.
Carefully wrap each chicken breast individually in plastic wrap and place together in freezer bag.
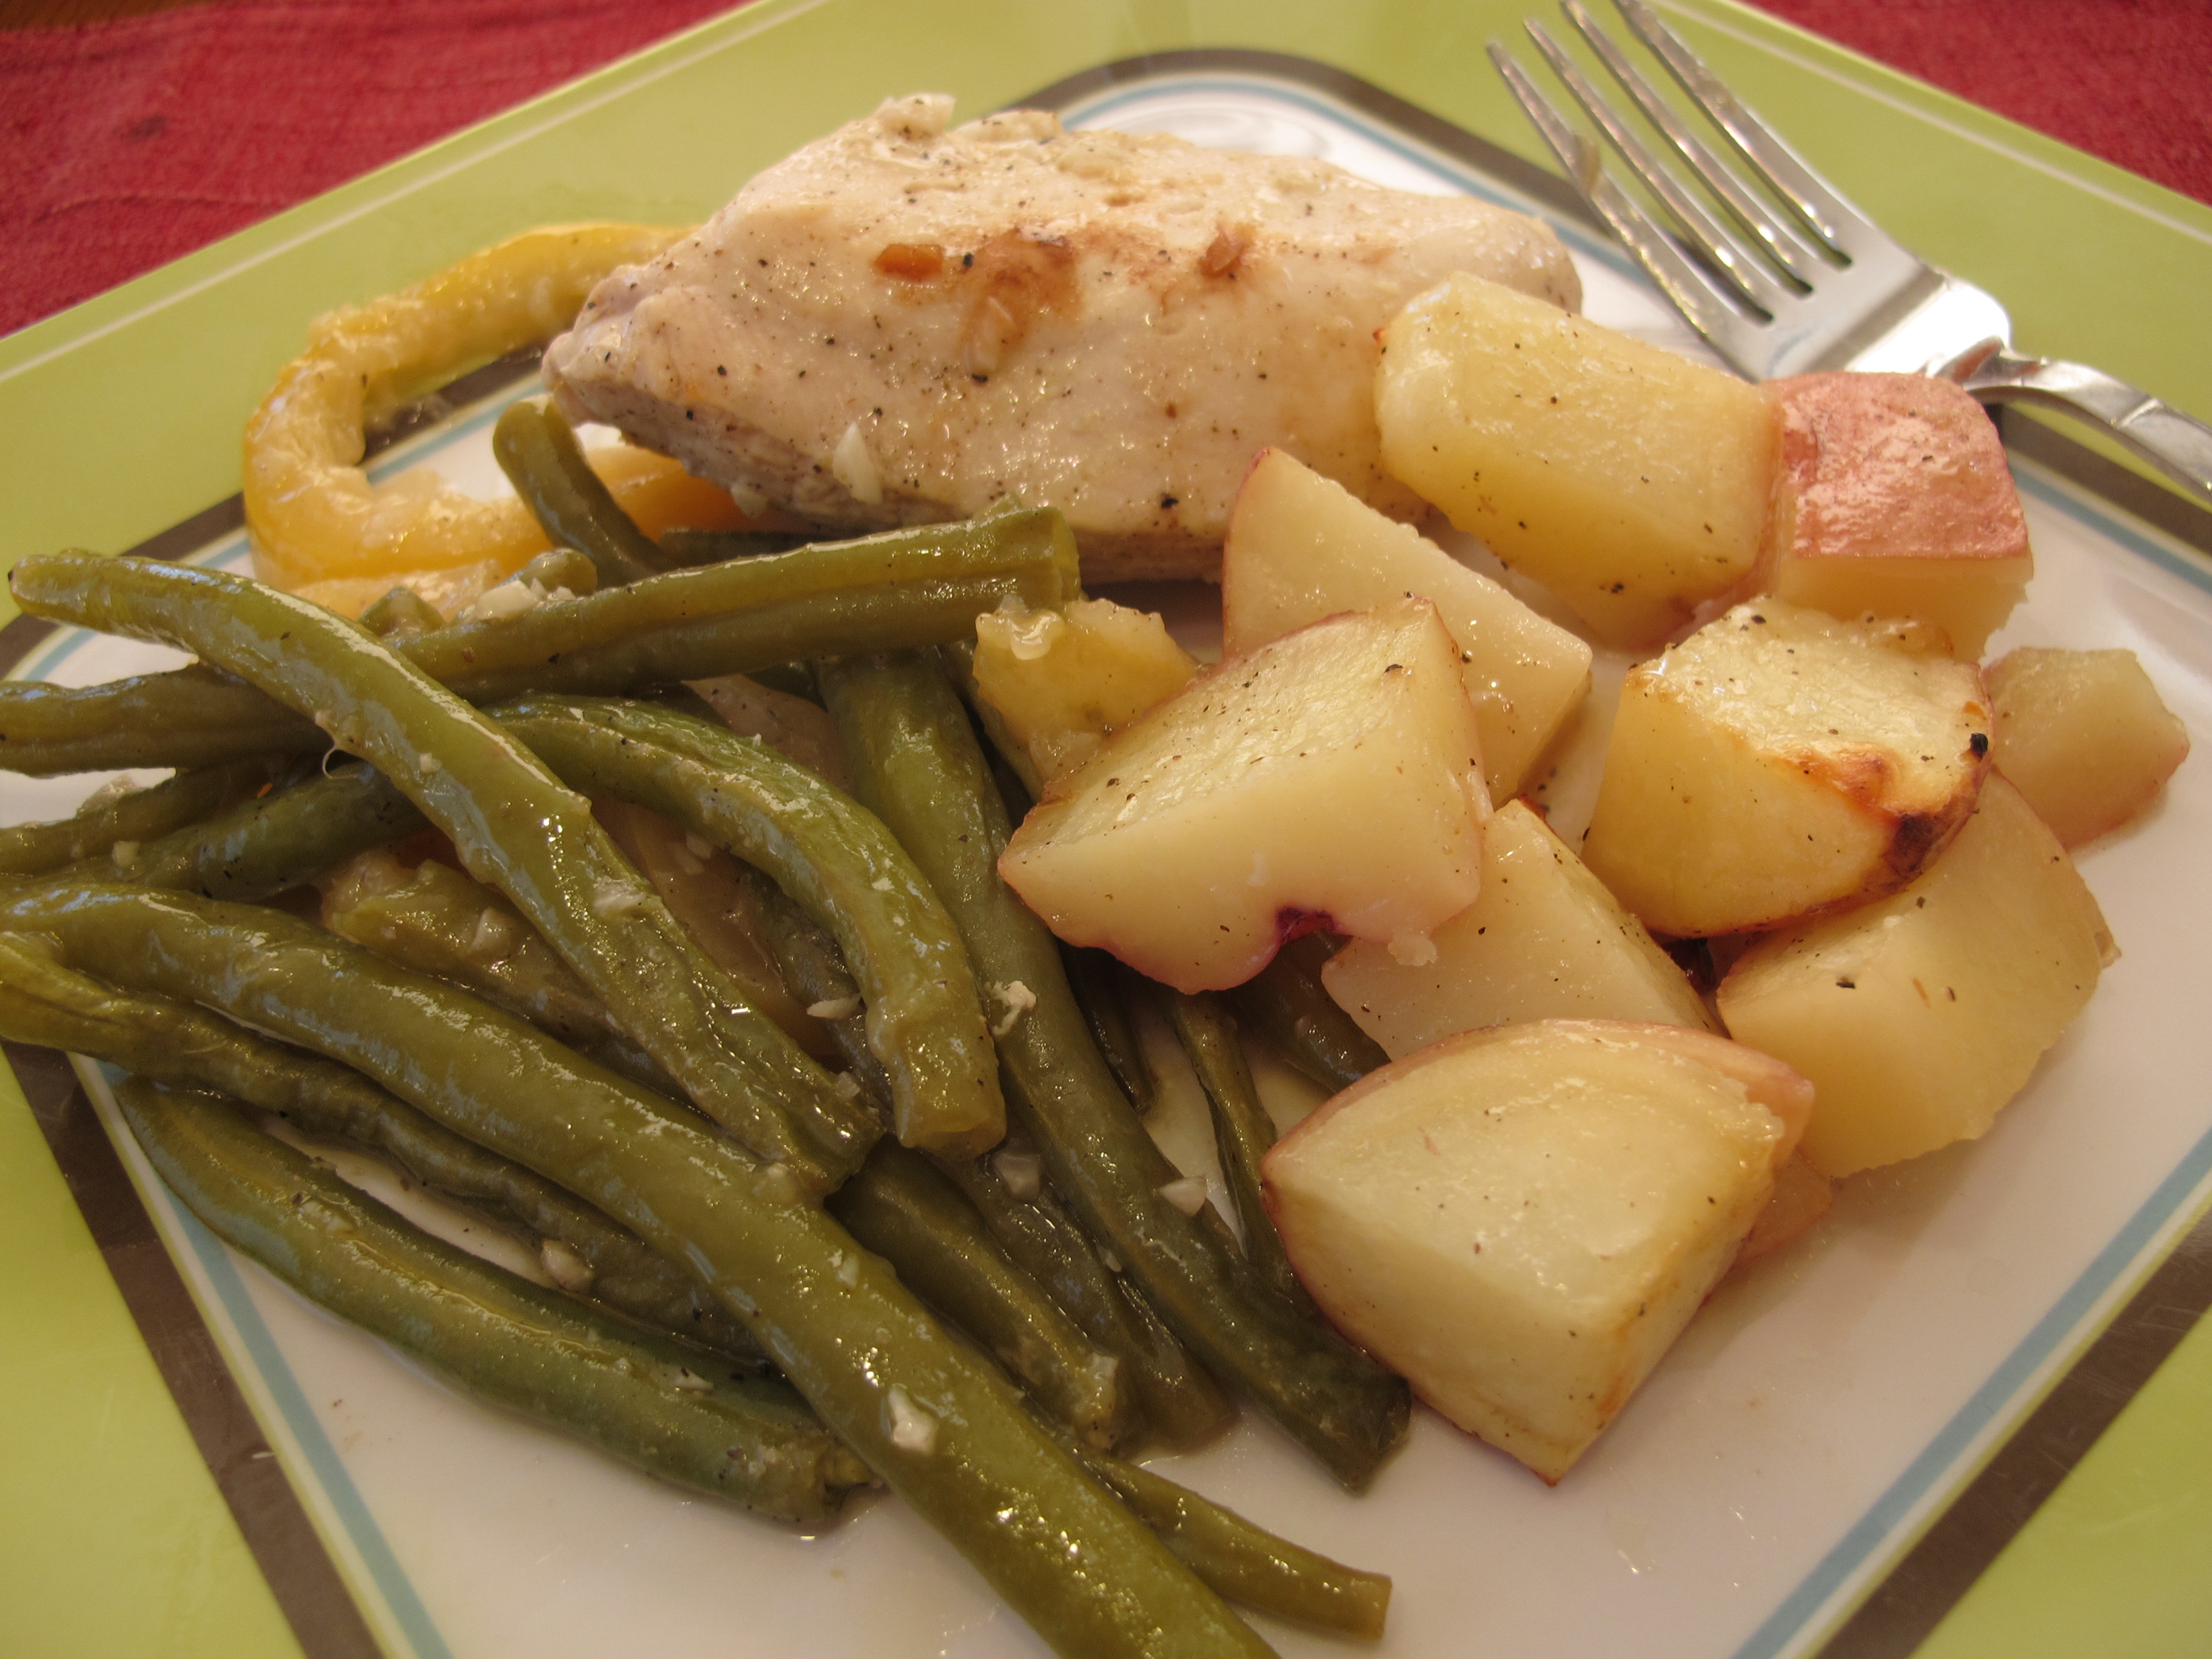
Corinne’s Lemon Chicken
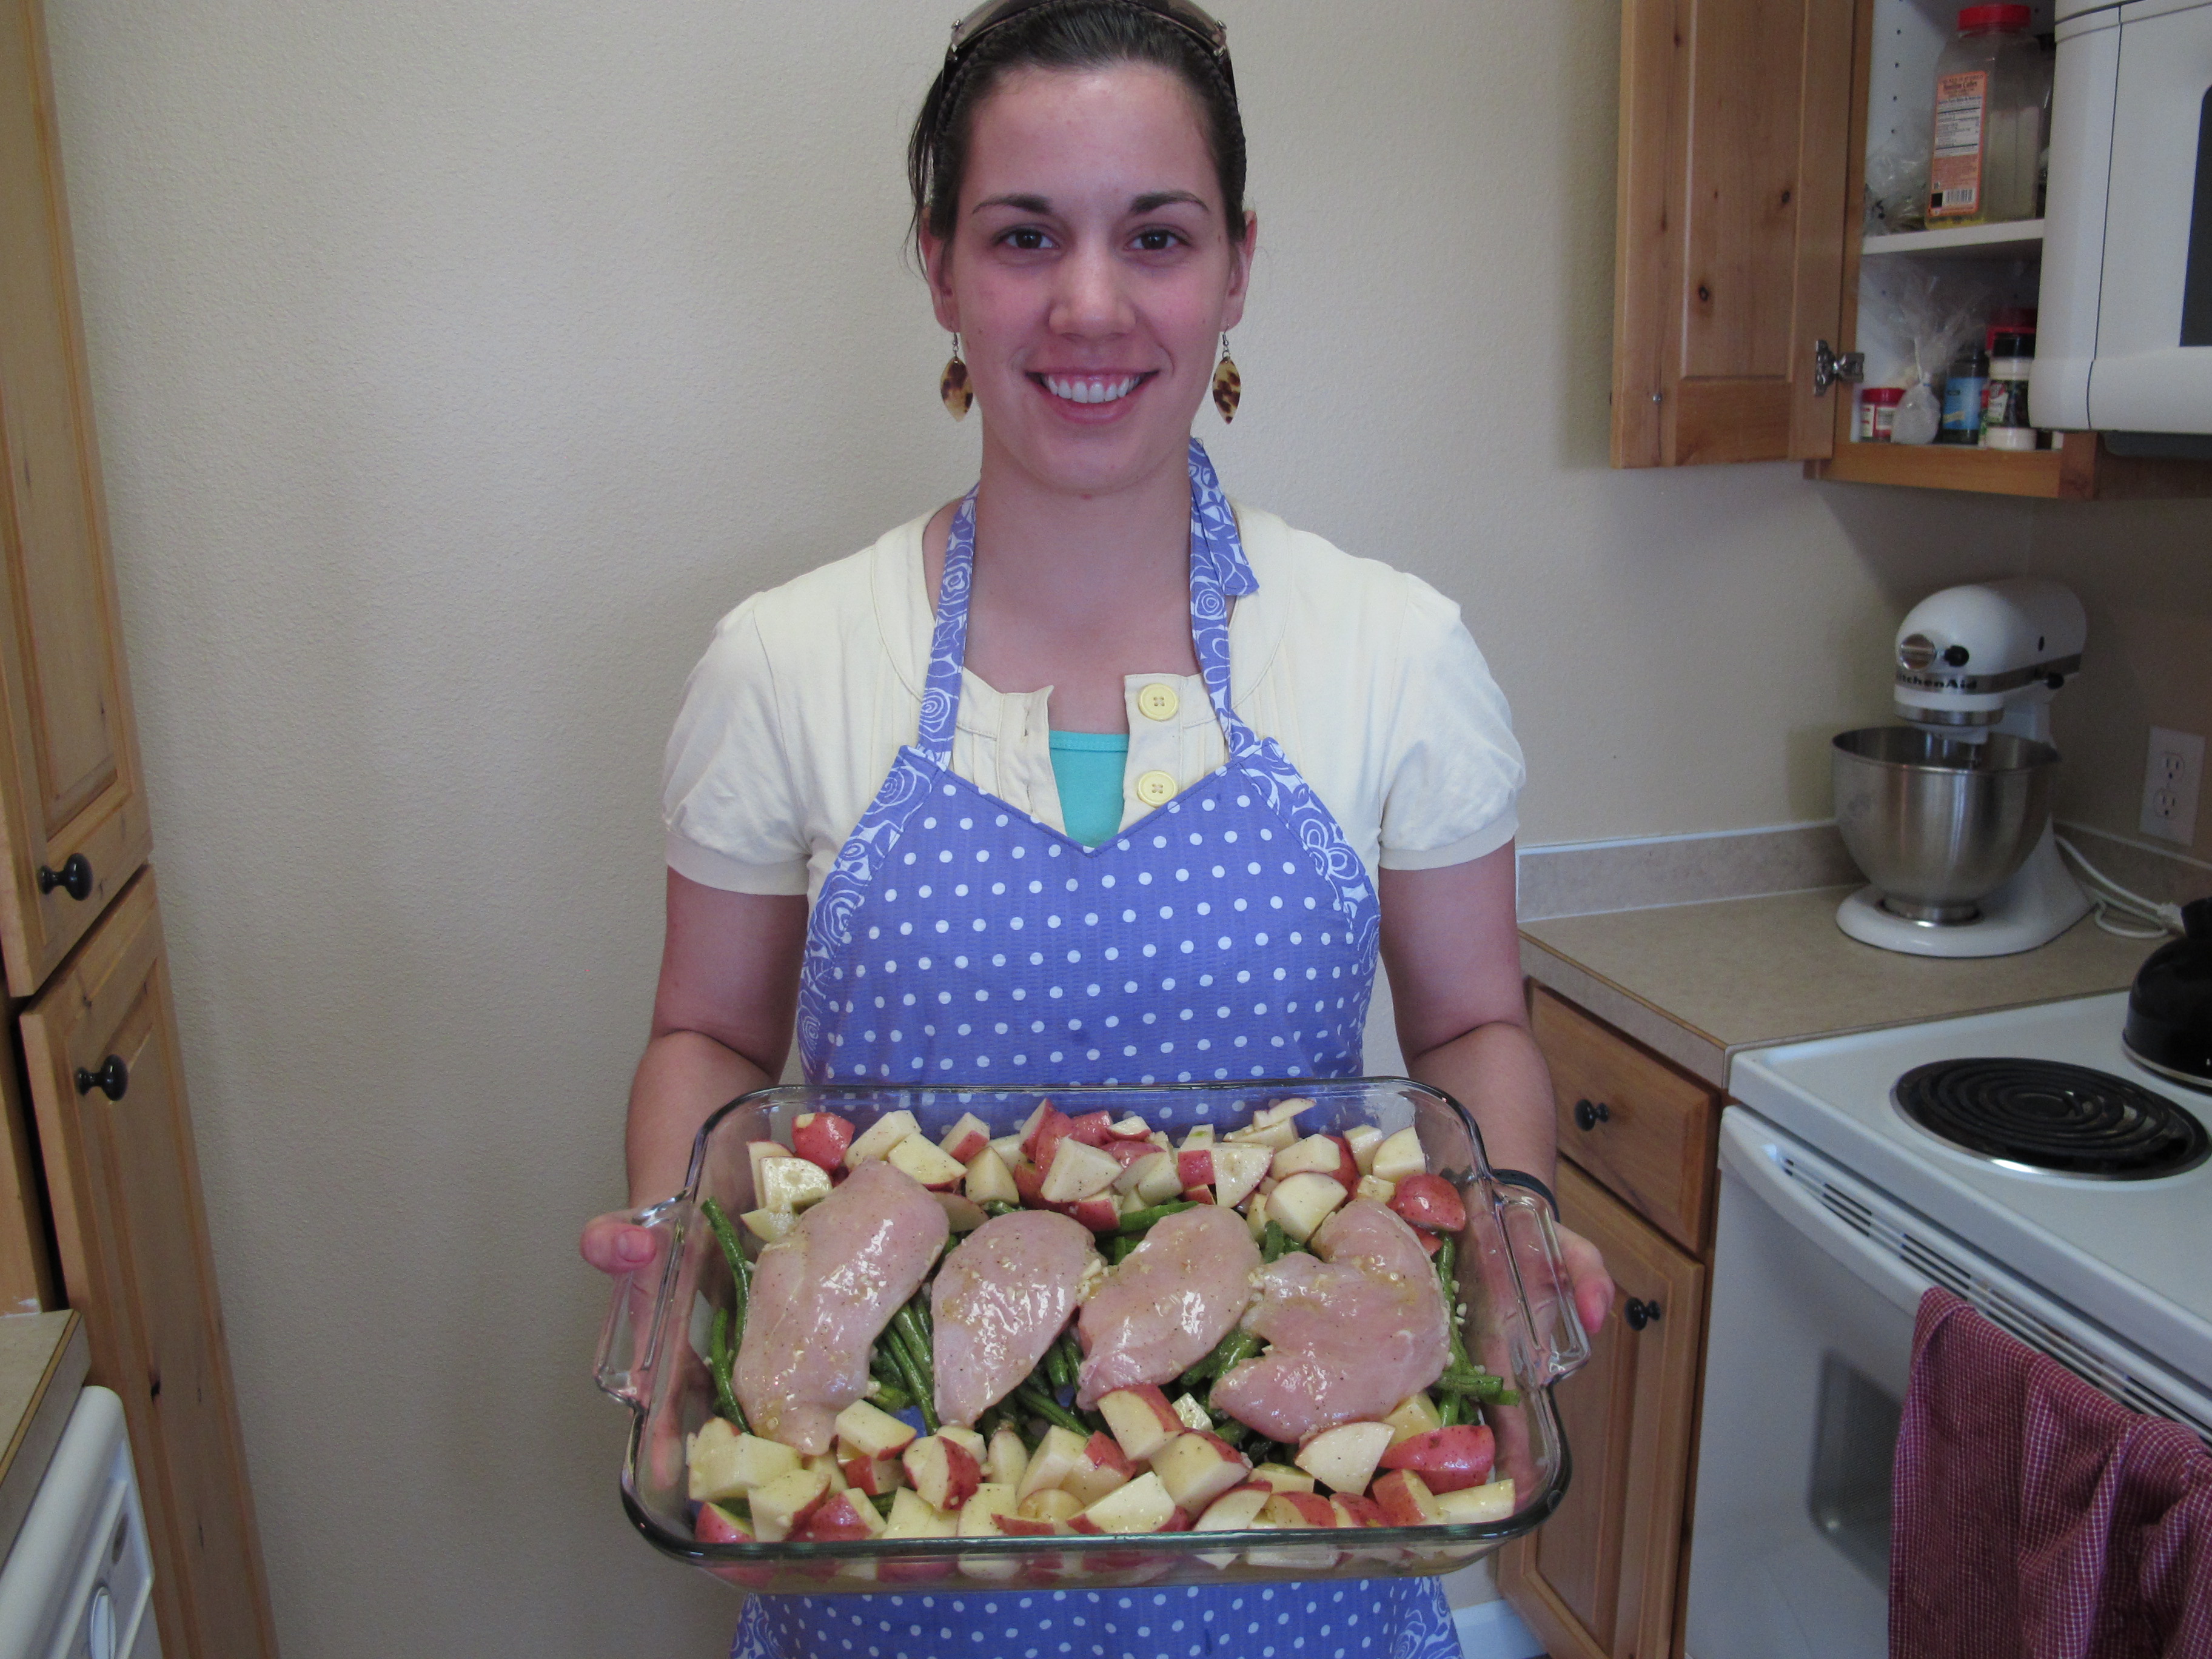 Meet my daughter-in-law, Corinne. She is a fantastic cook and everything she makes is absolutely delicious! This chicken dish is so delightful. It has such a fresh lemony flavor. The red from the potatoes and the green from the beans makes it a beautifully colorful dish too.
Thanks Corinne for sharing such a great meal with us. Cute apron too!!!
Preheat oven to 450°F.
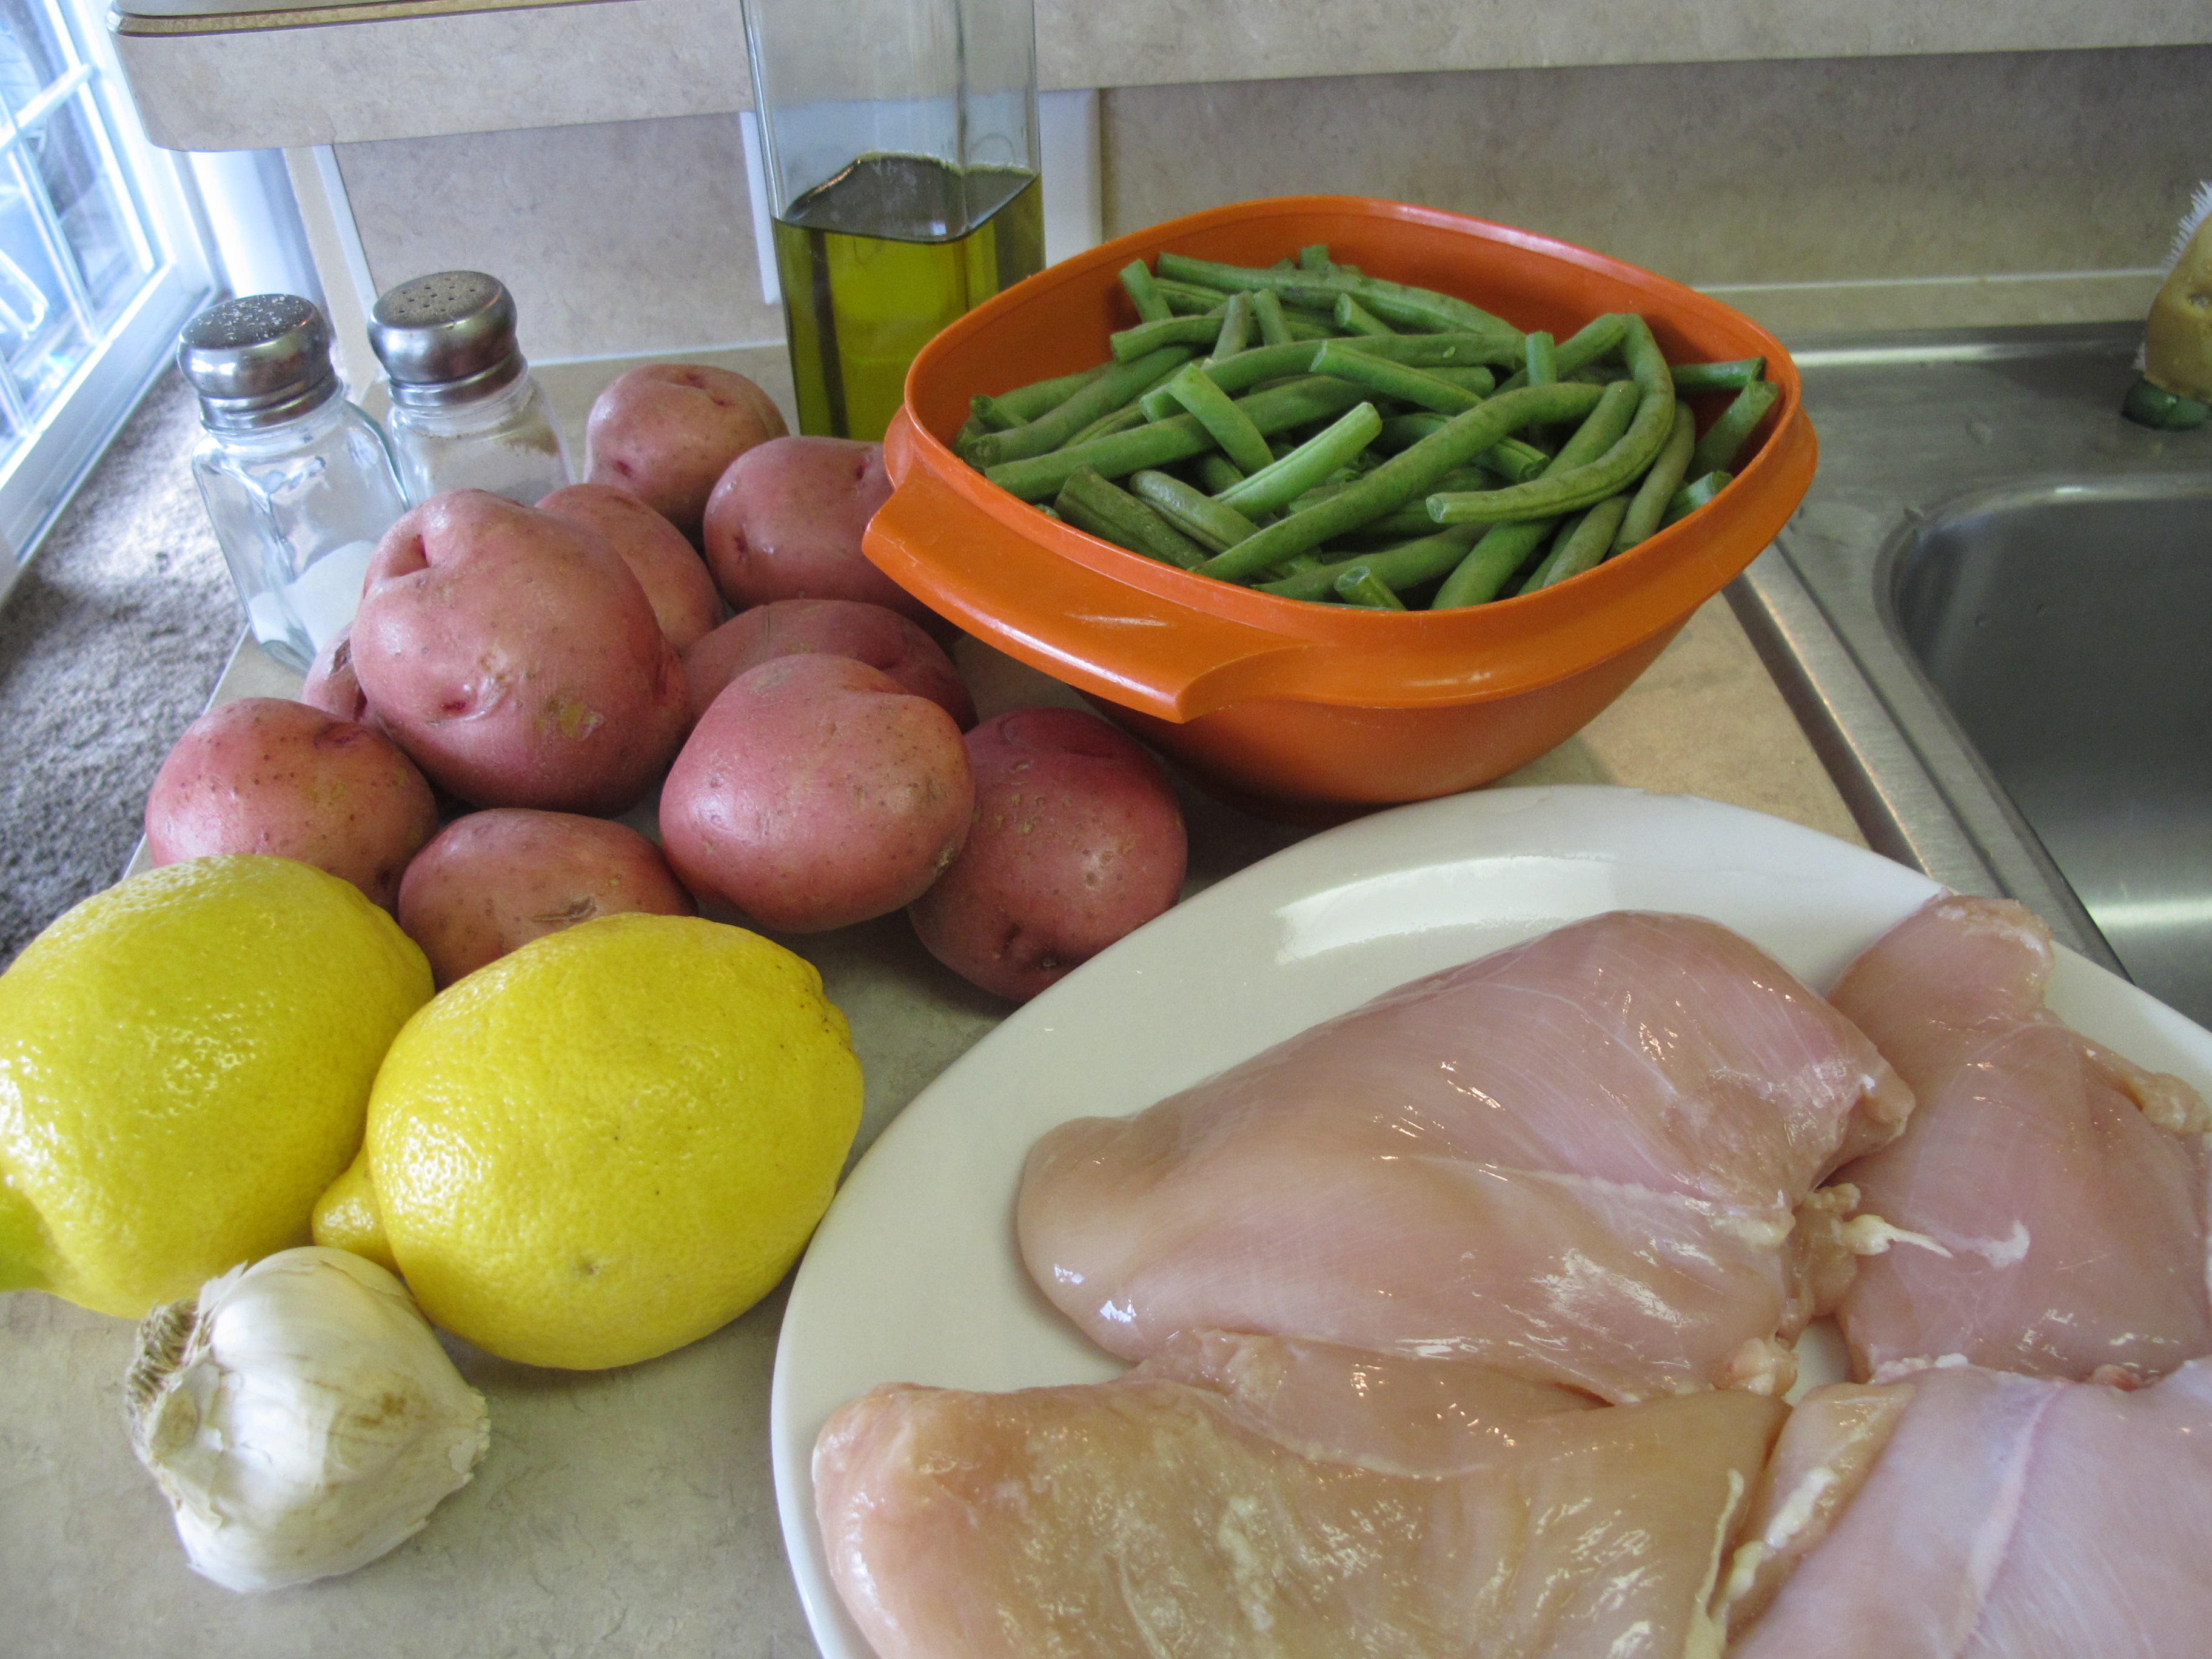
6 tablespoons olive oil, divided (1 T. and 5 T.)
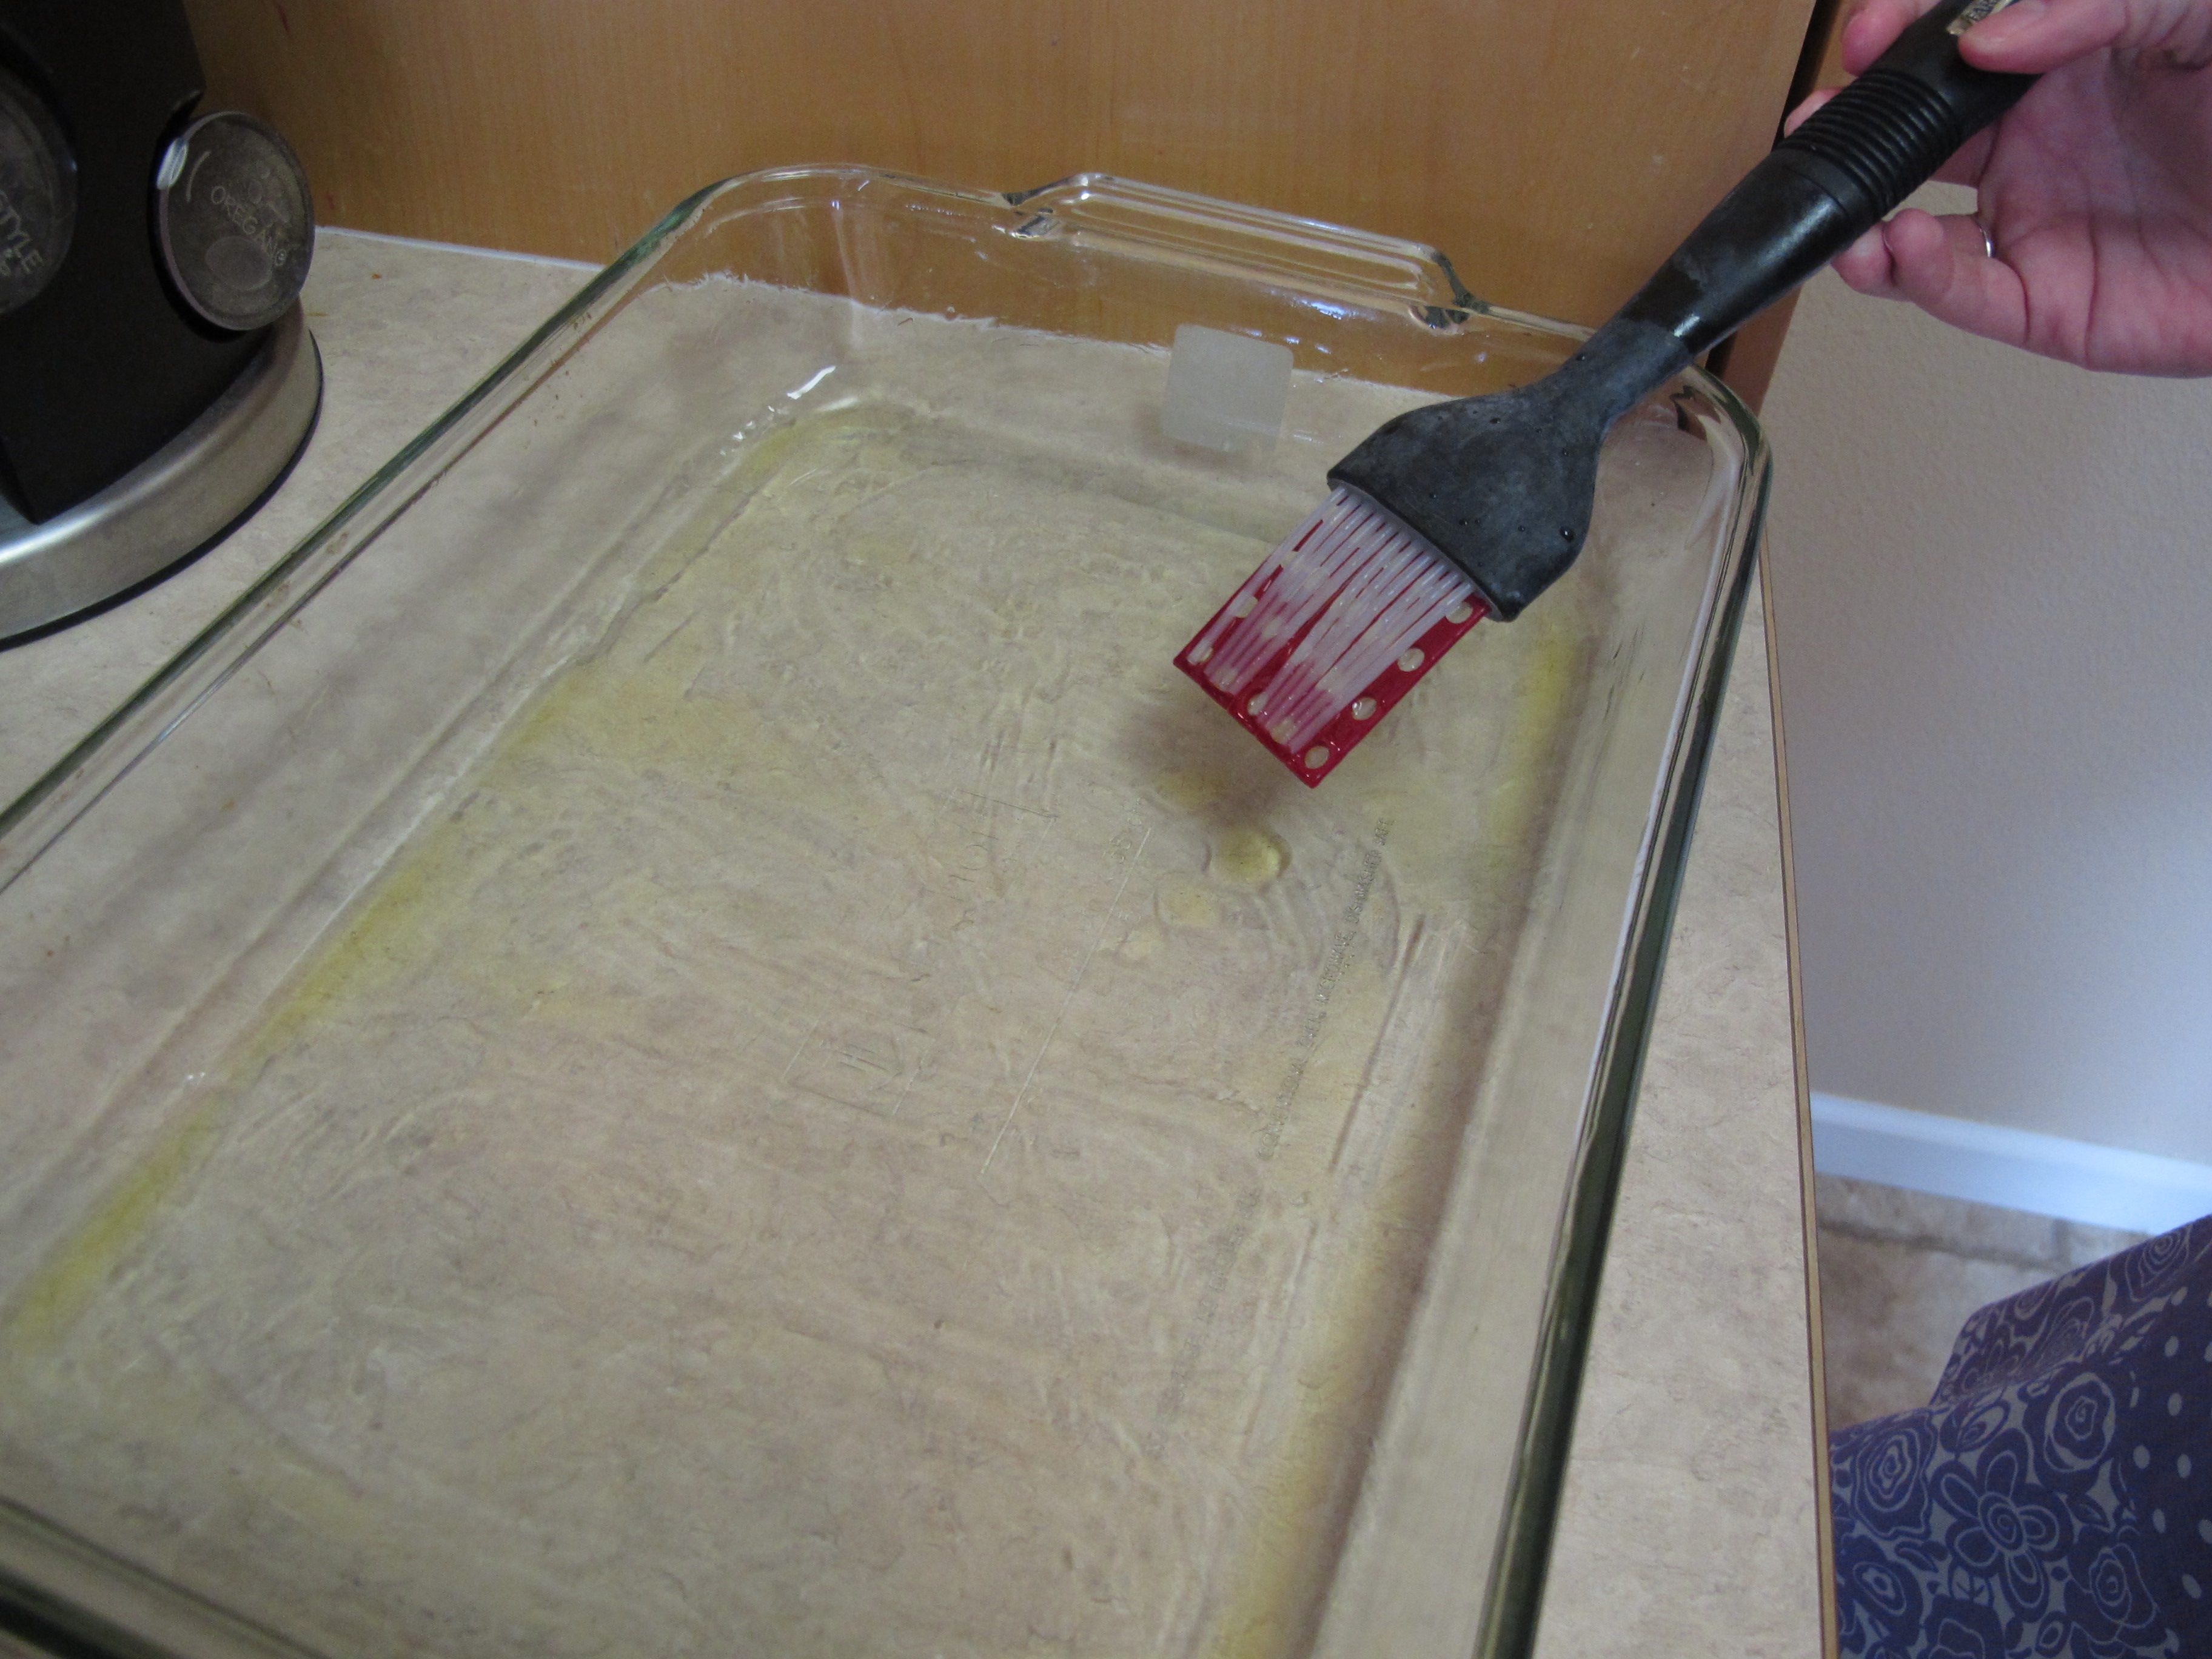
Coat a 9 x 13 baking dish with 1 tablespoon of the olive oil.
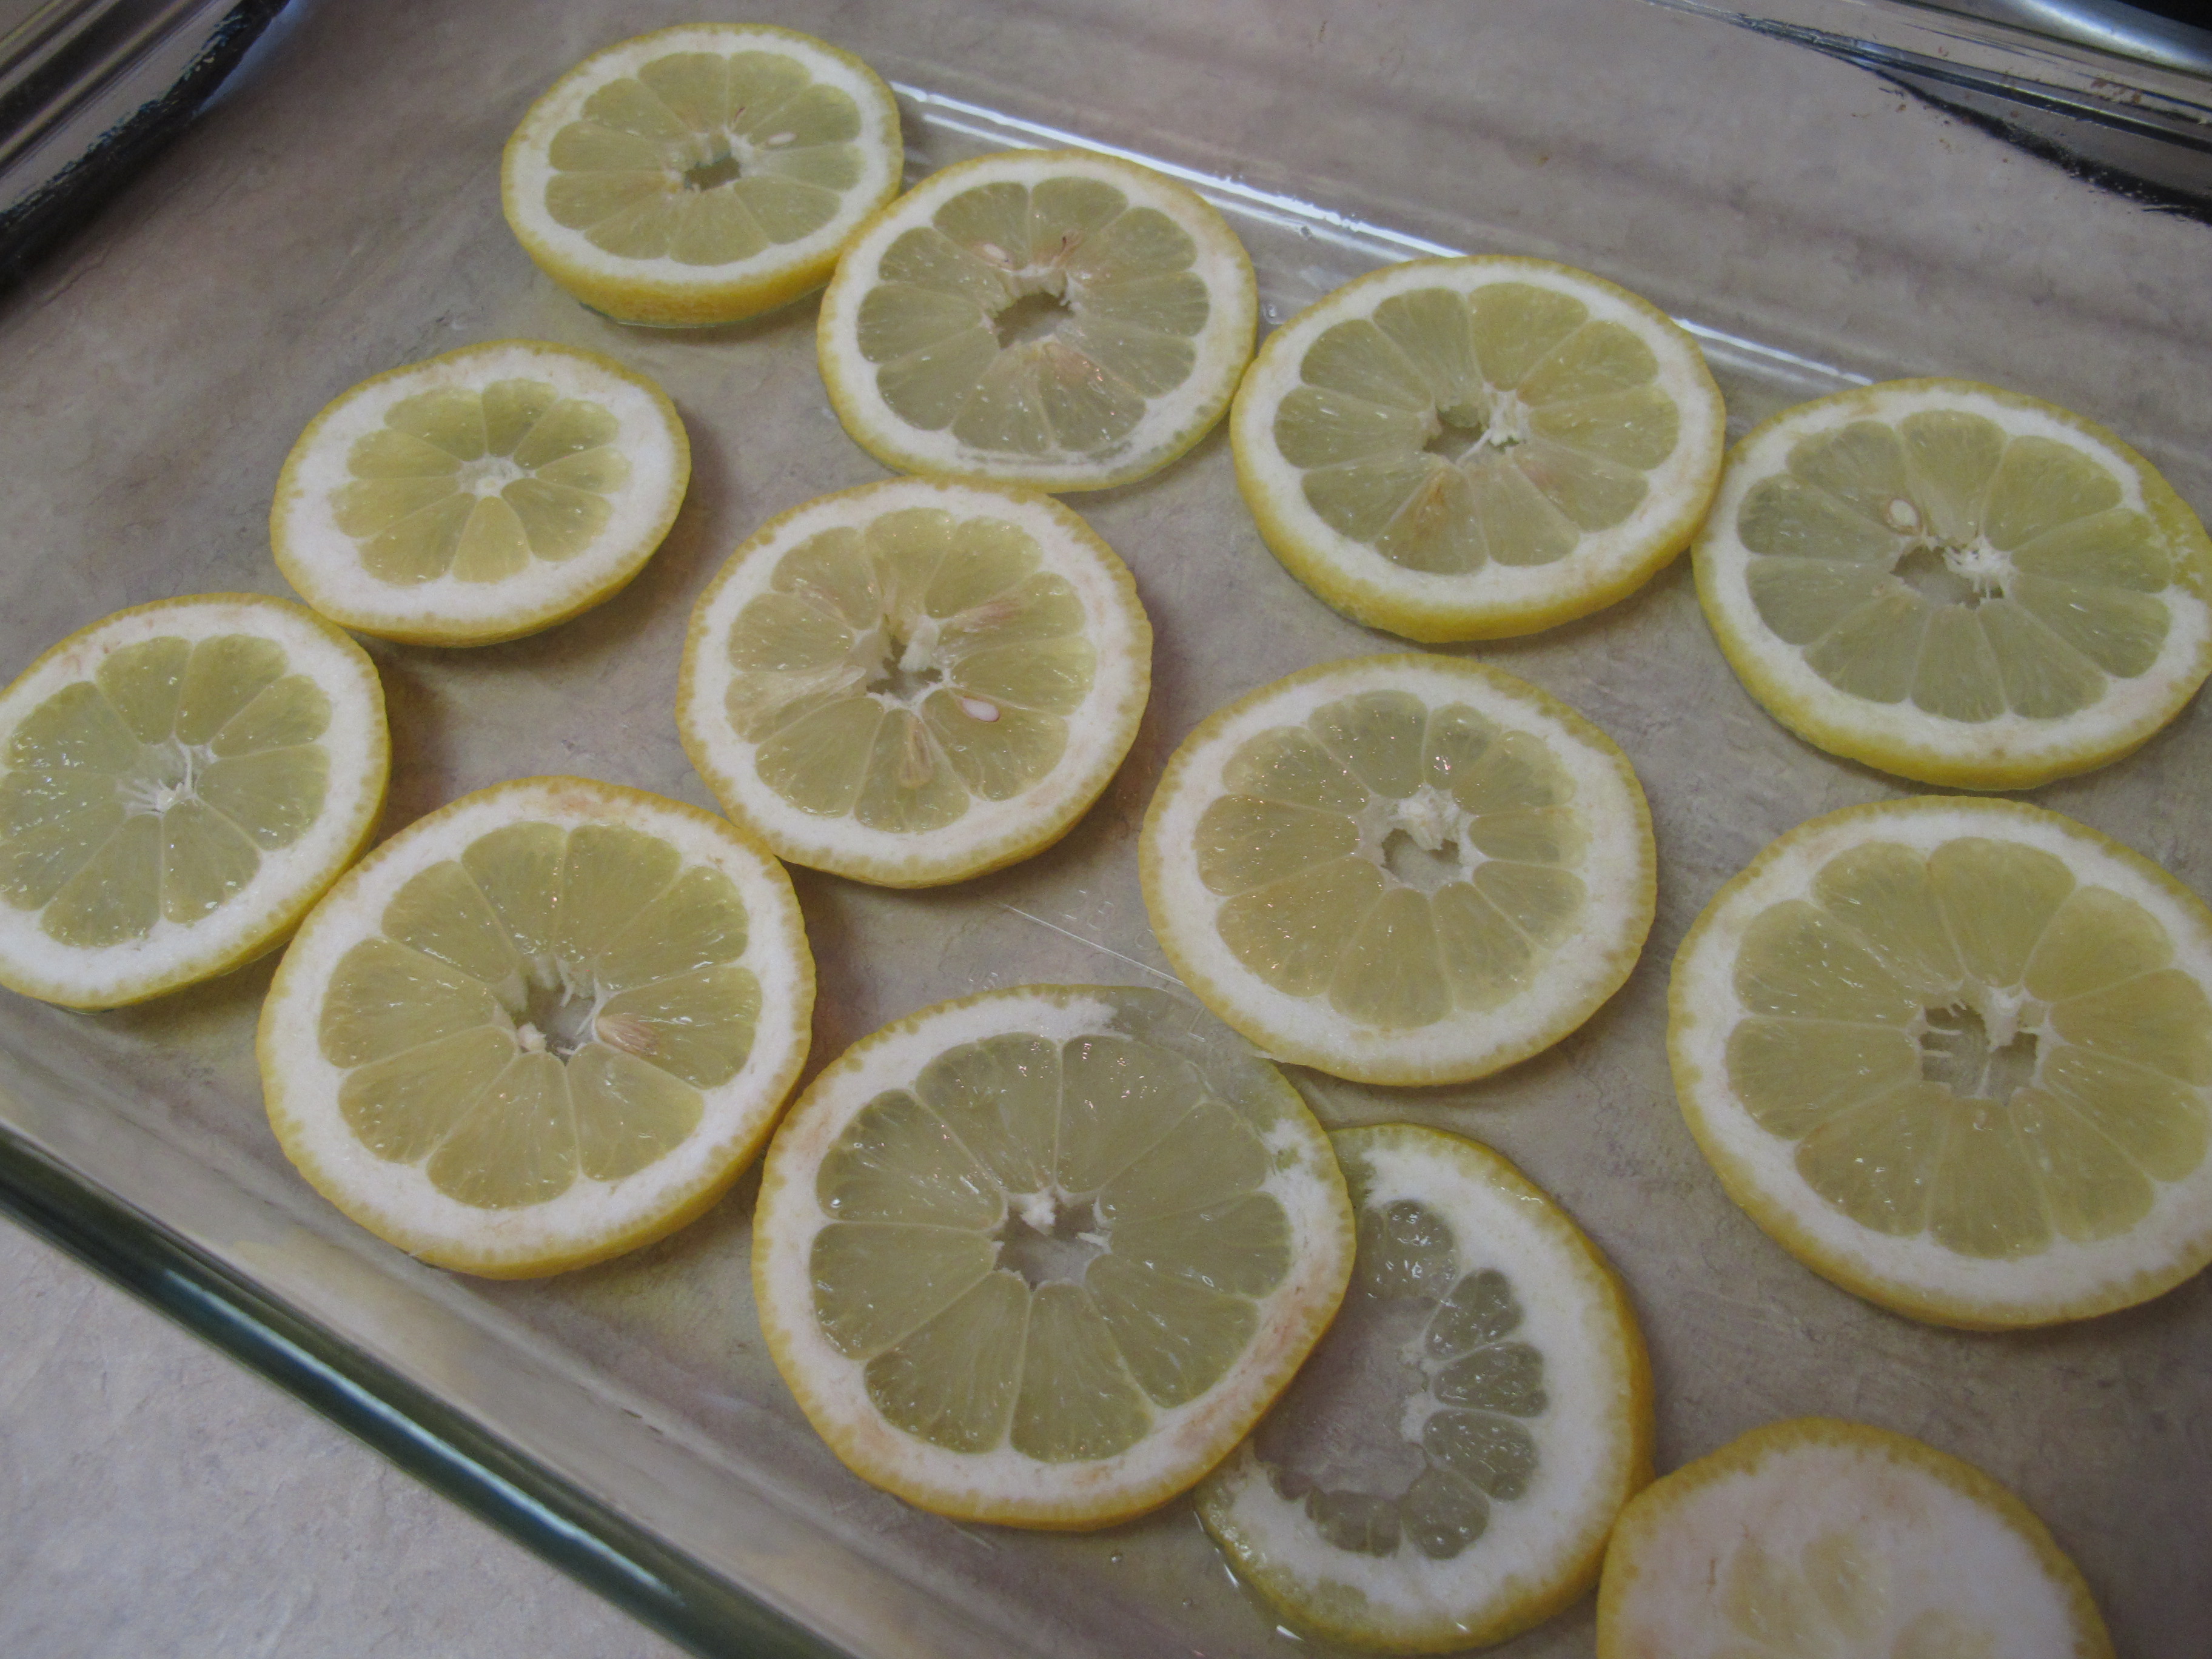
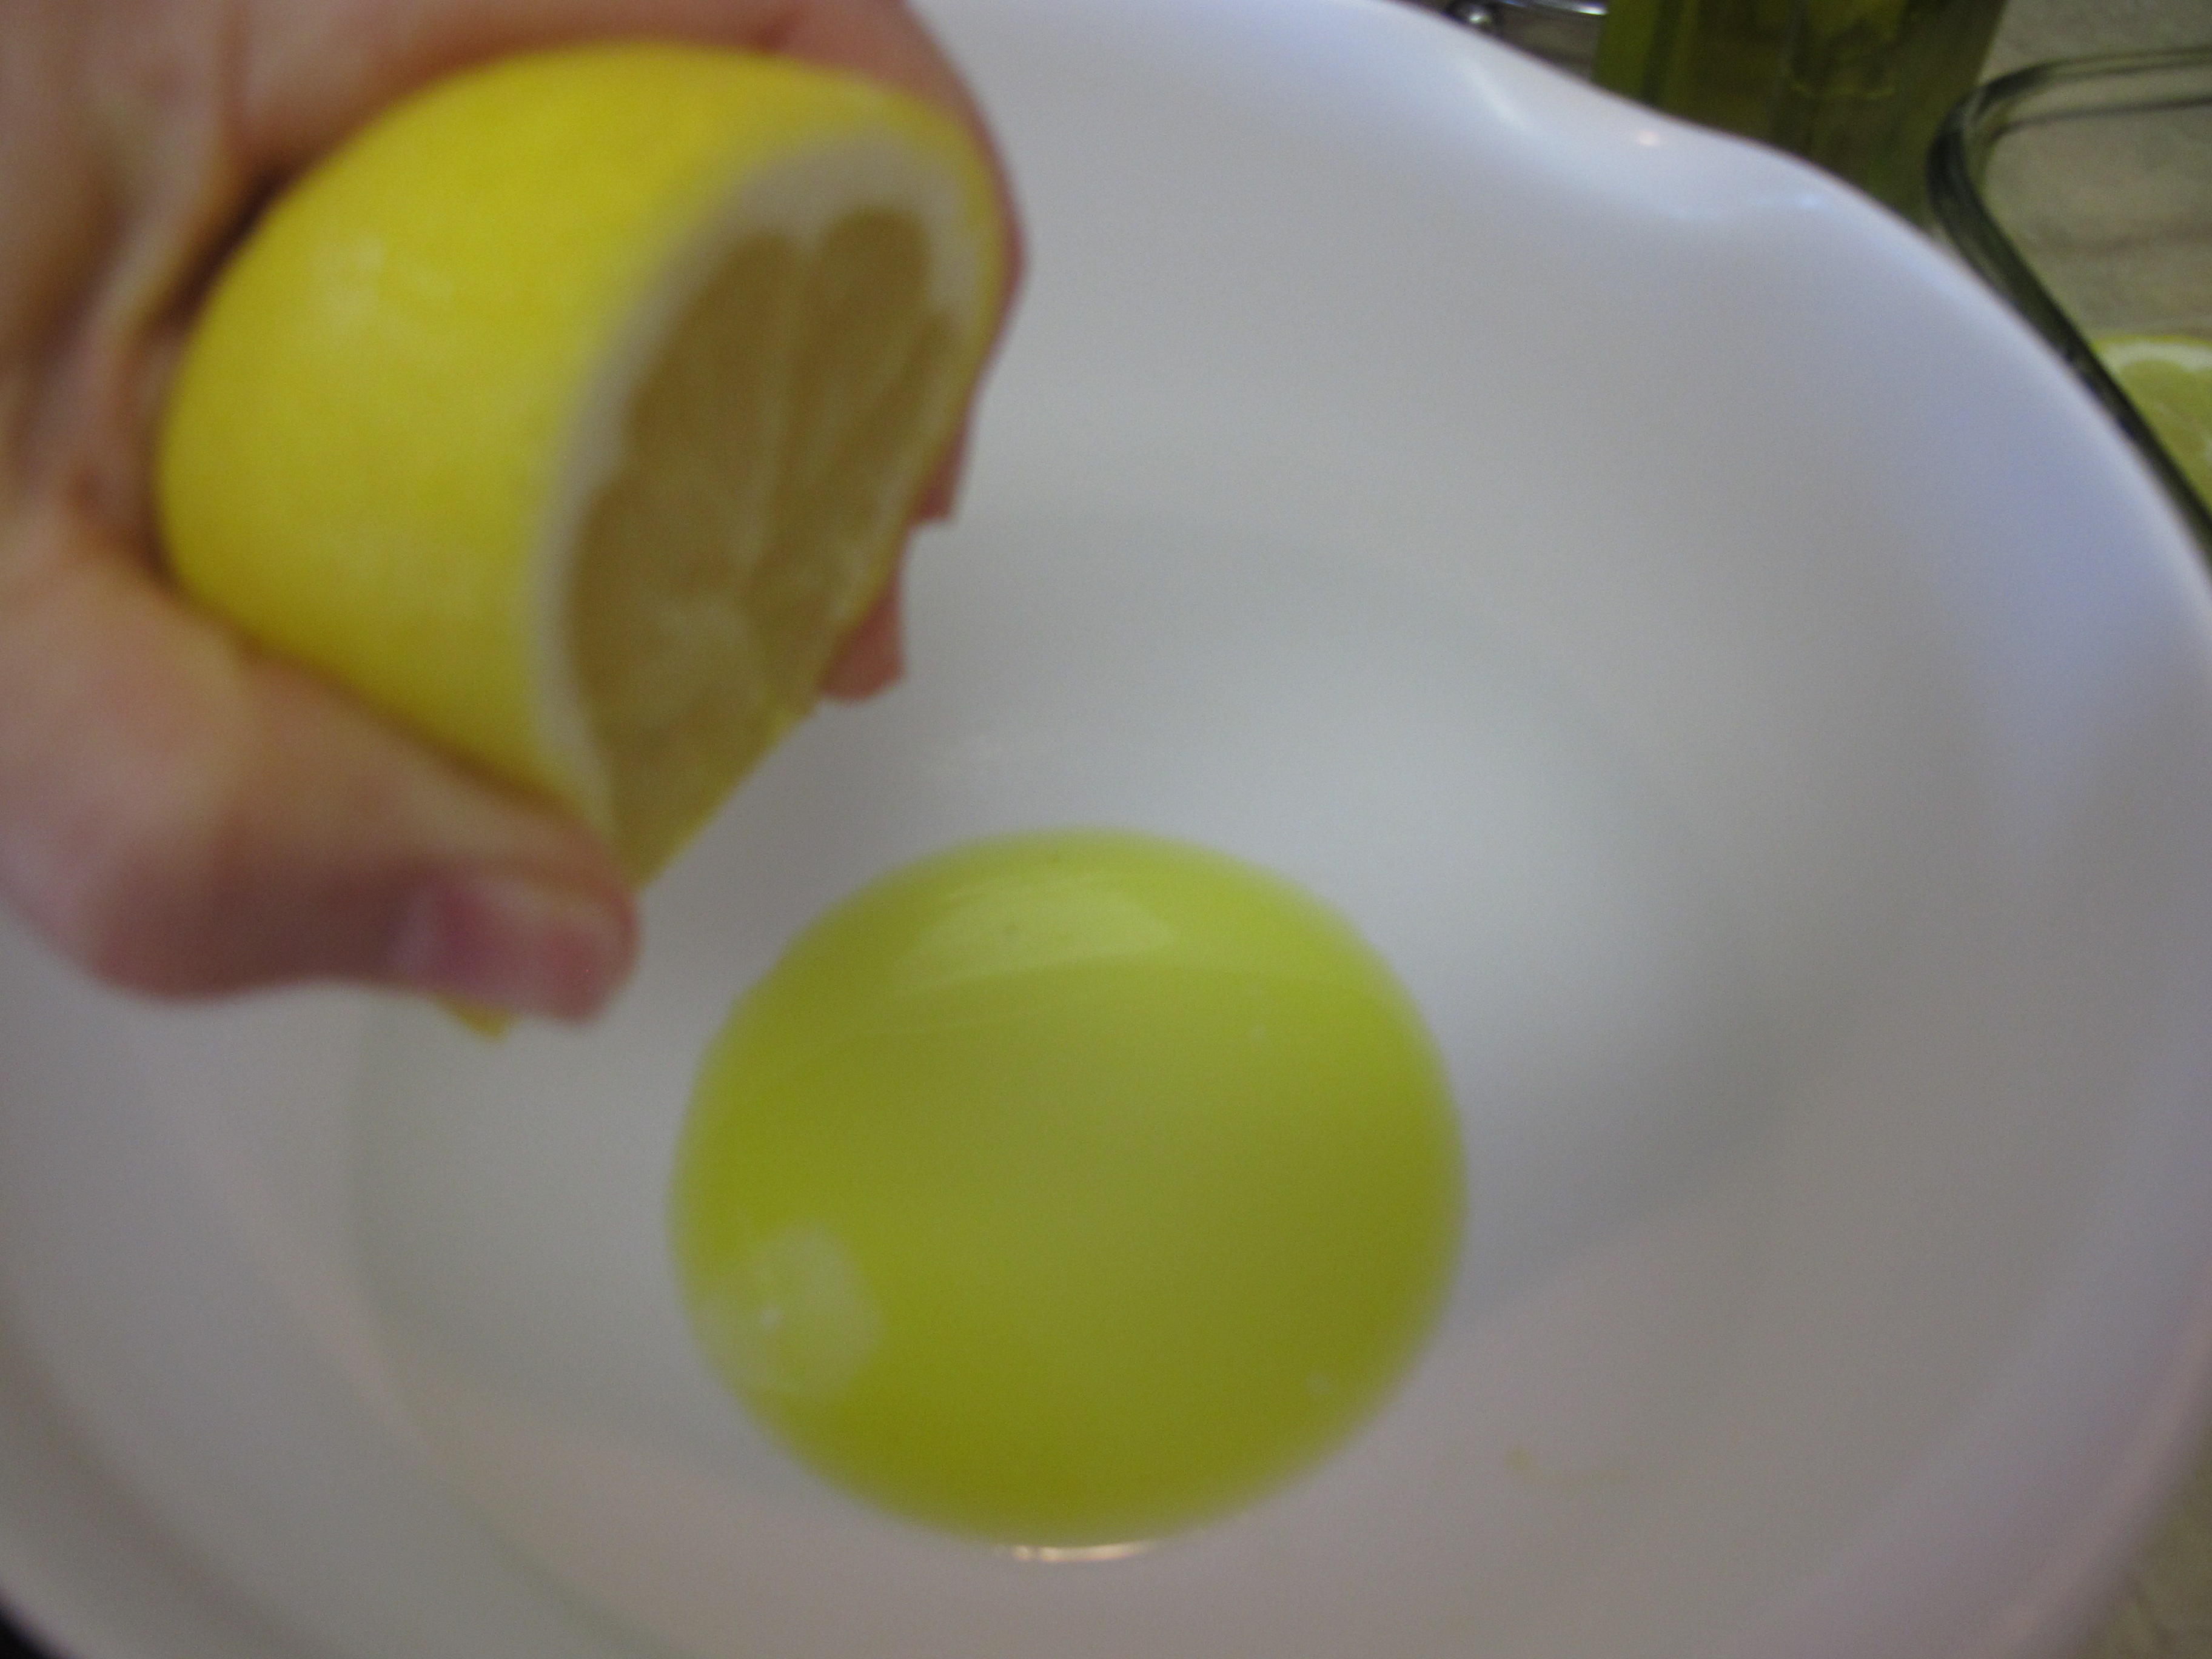
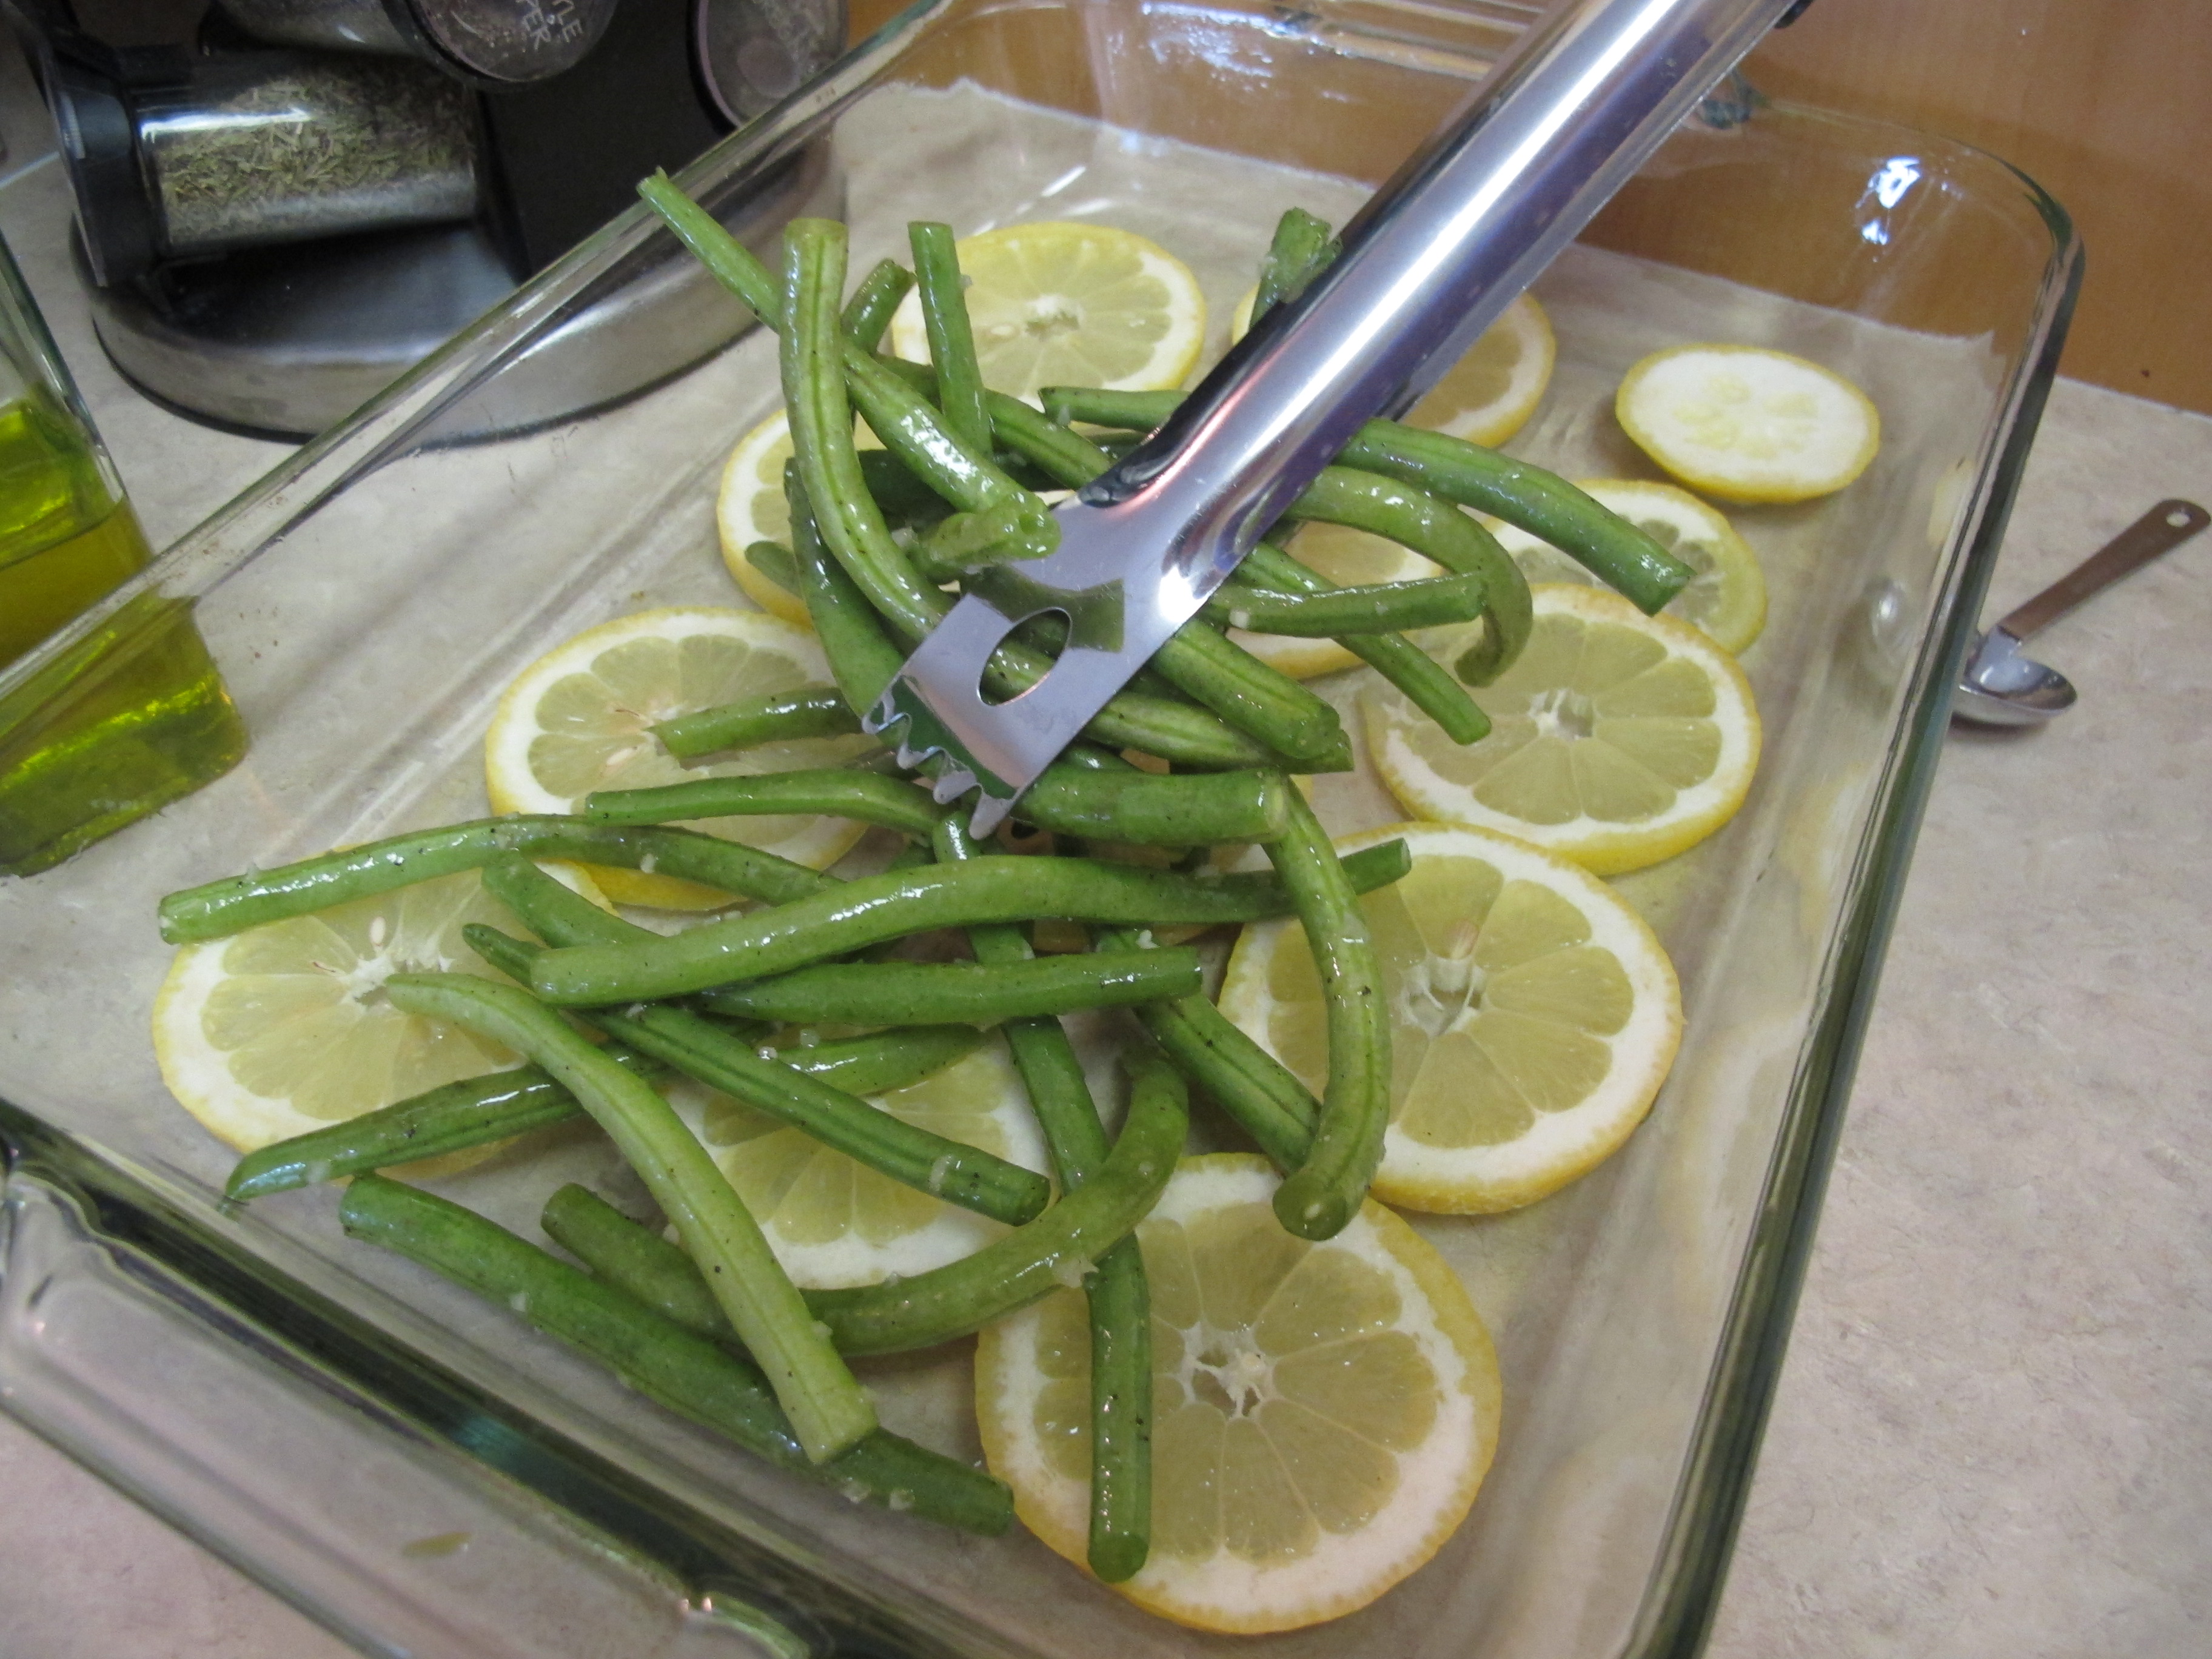
2 lemons, 1 thinly sliced, 1 juiced
Arrange the lemon slices in a single layer in the bottom of the dish.
4 cloves garlic, minced
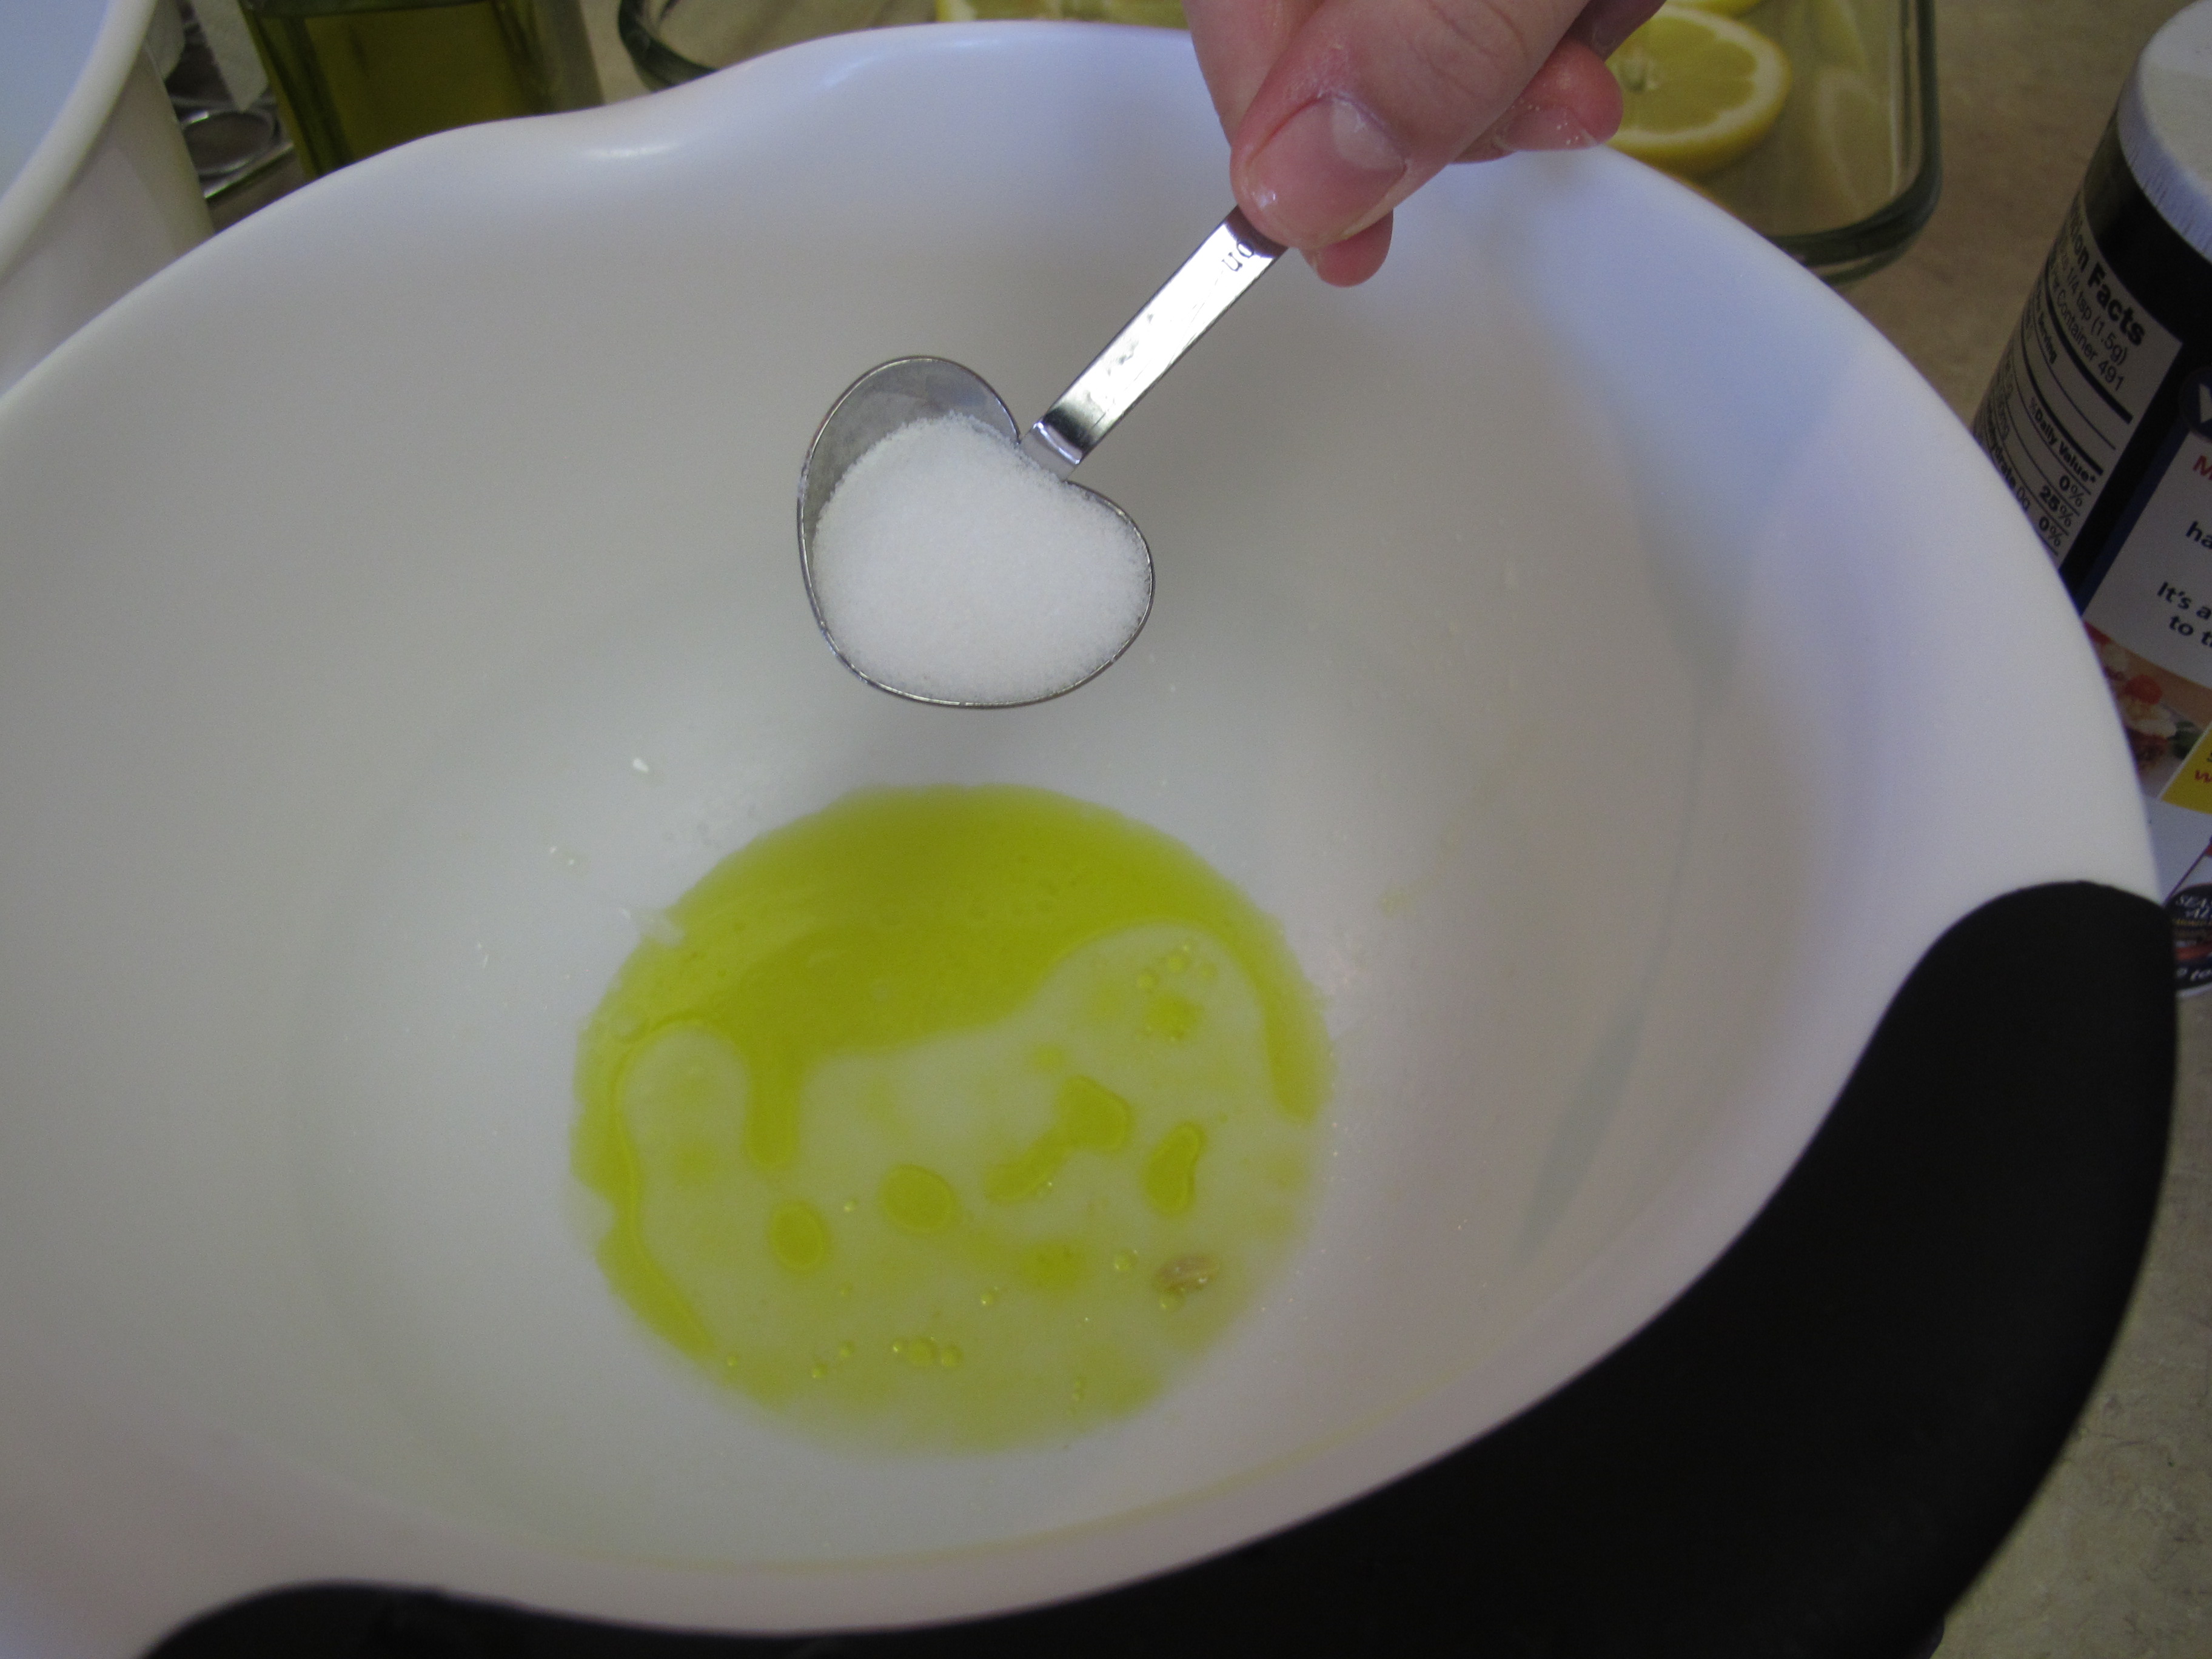
1 tsp. salt
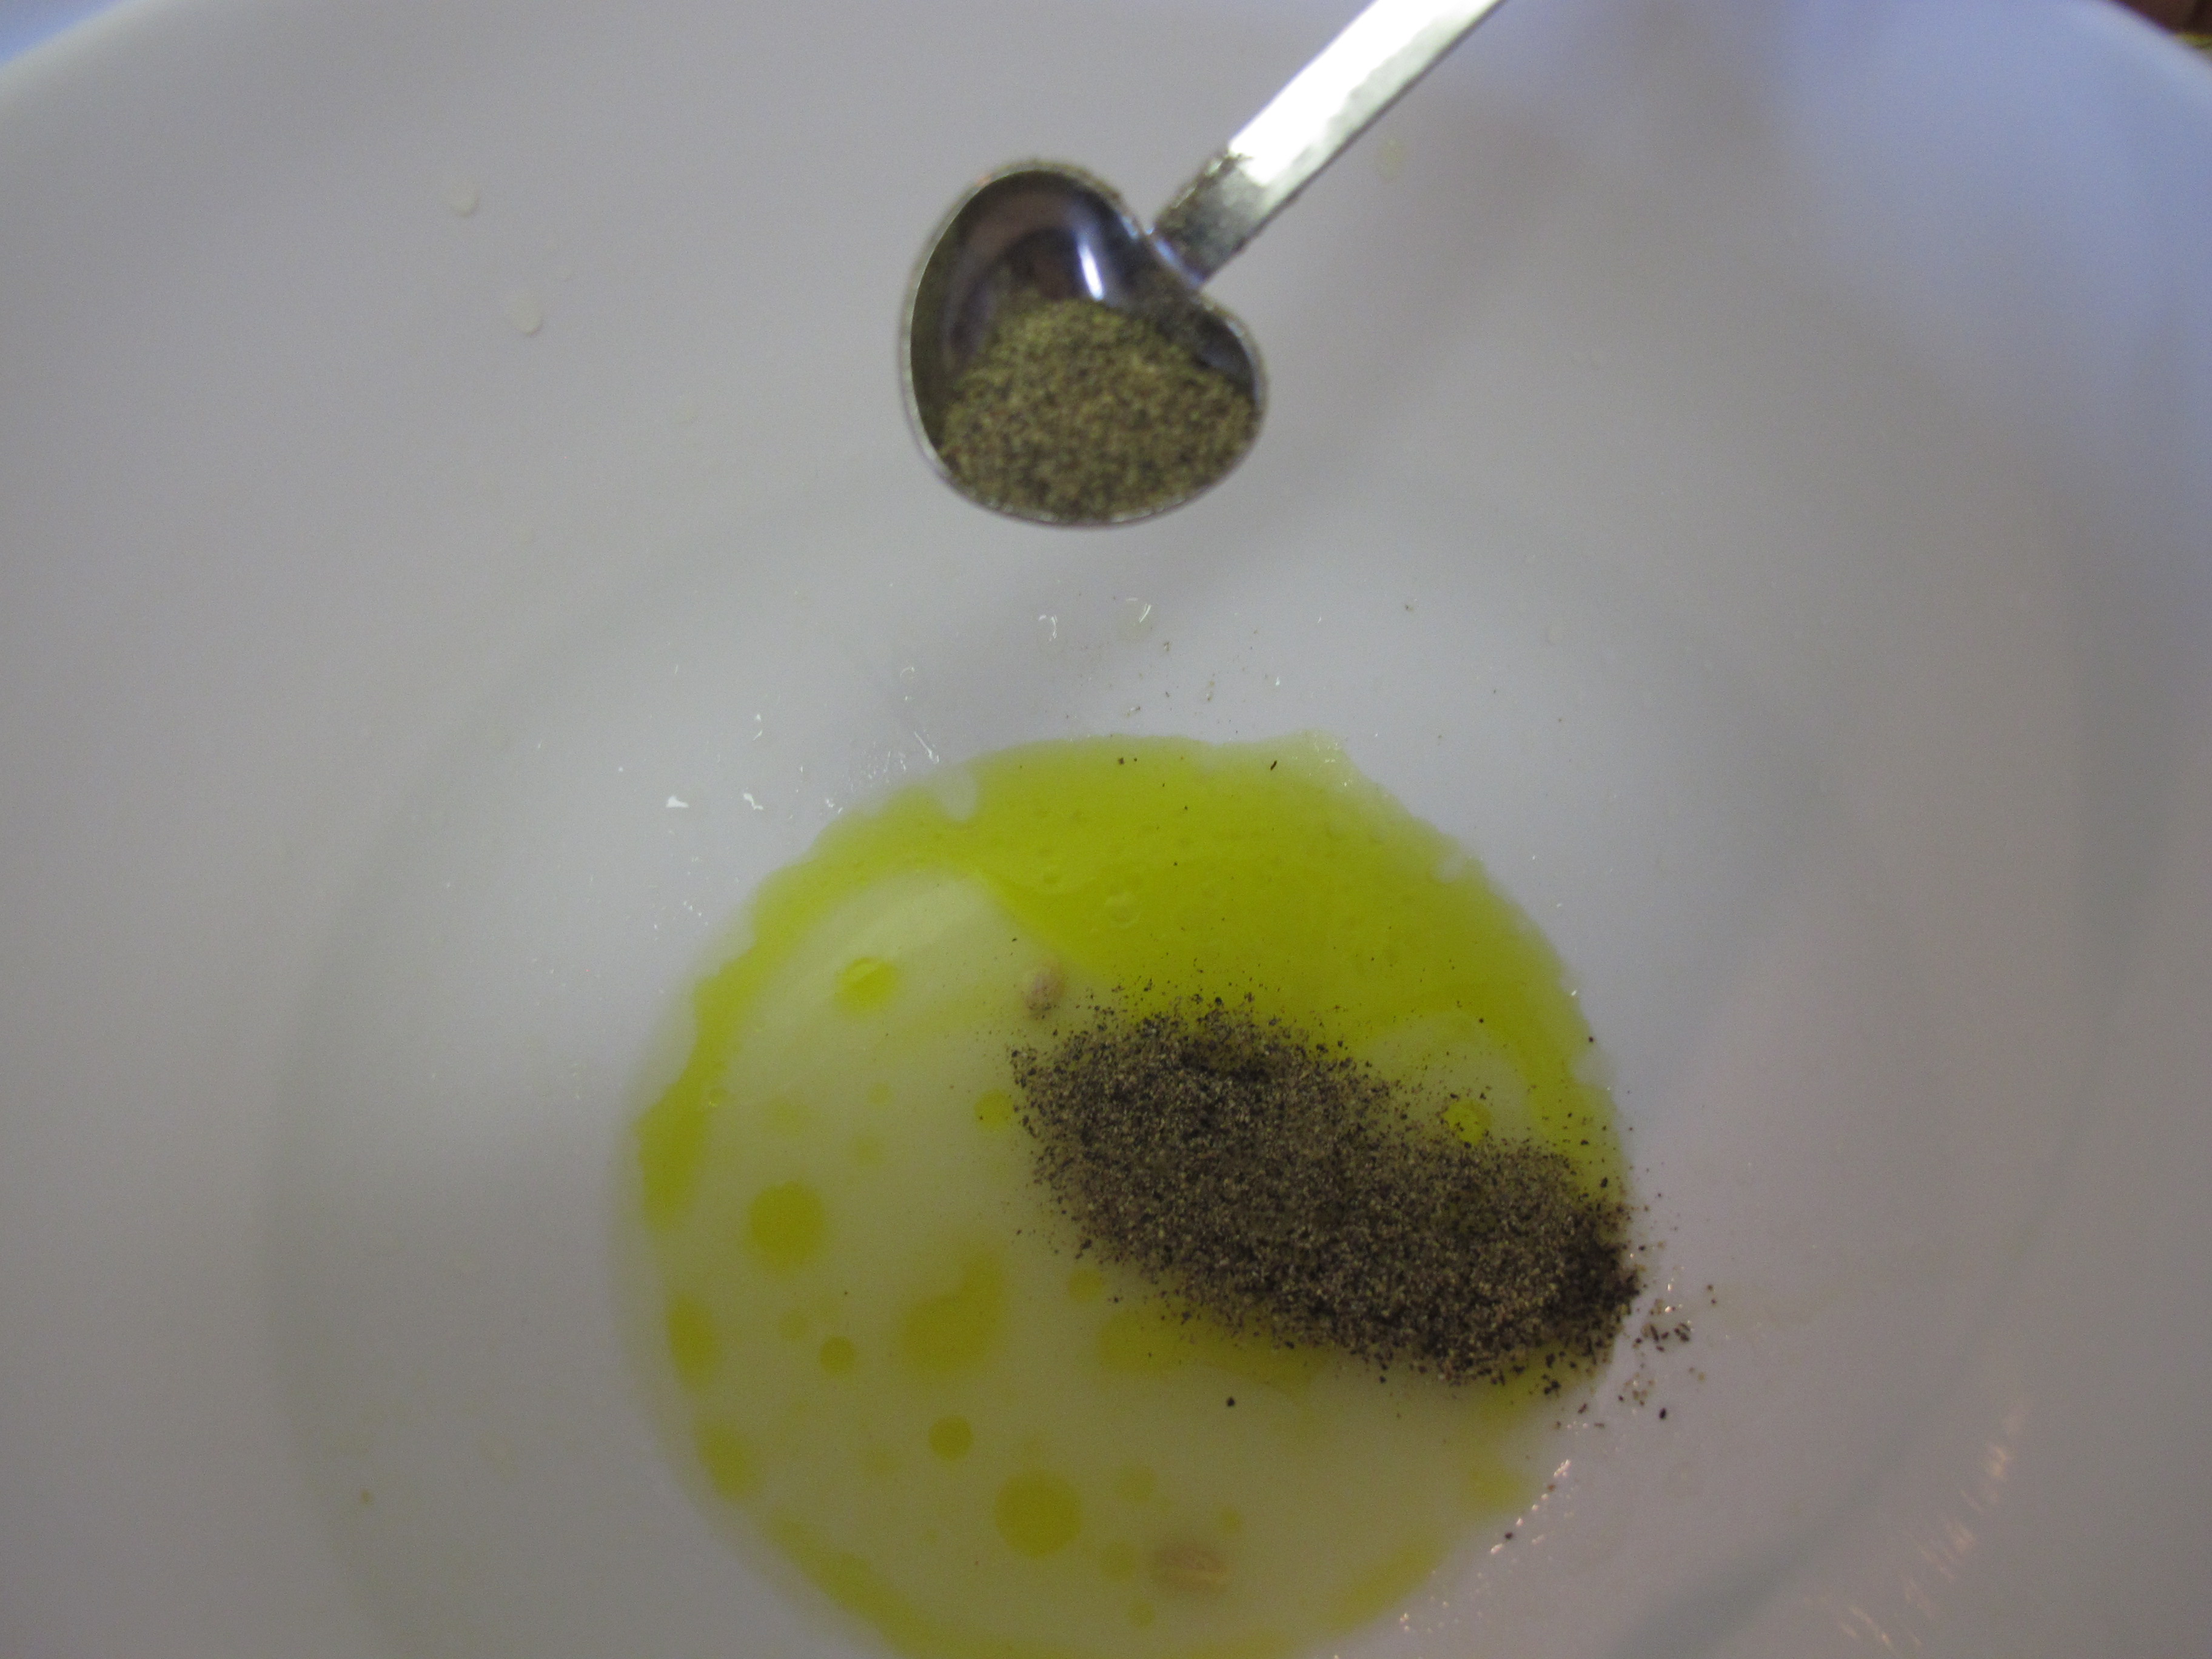
1/2 tsp. black pepper
In a large bowl, combine the remaining oil (5 T.), lemon juice, salt, pepper and garlic.

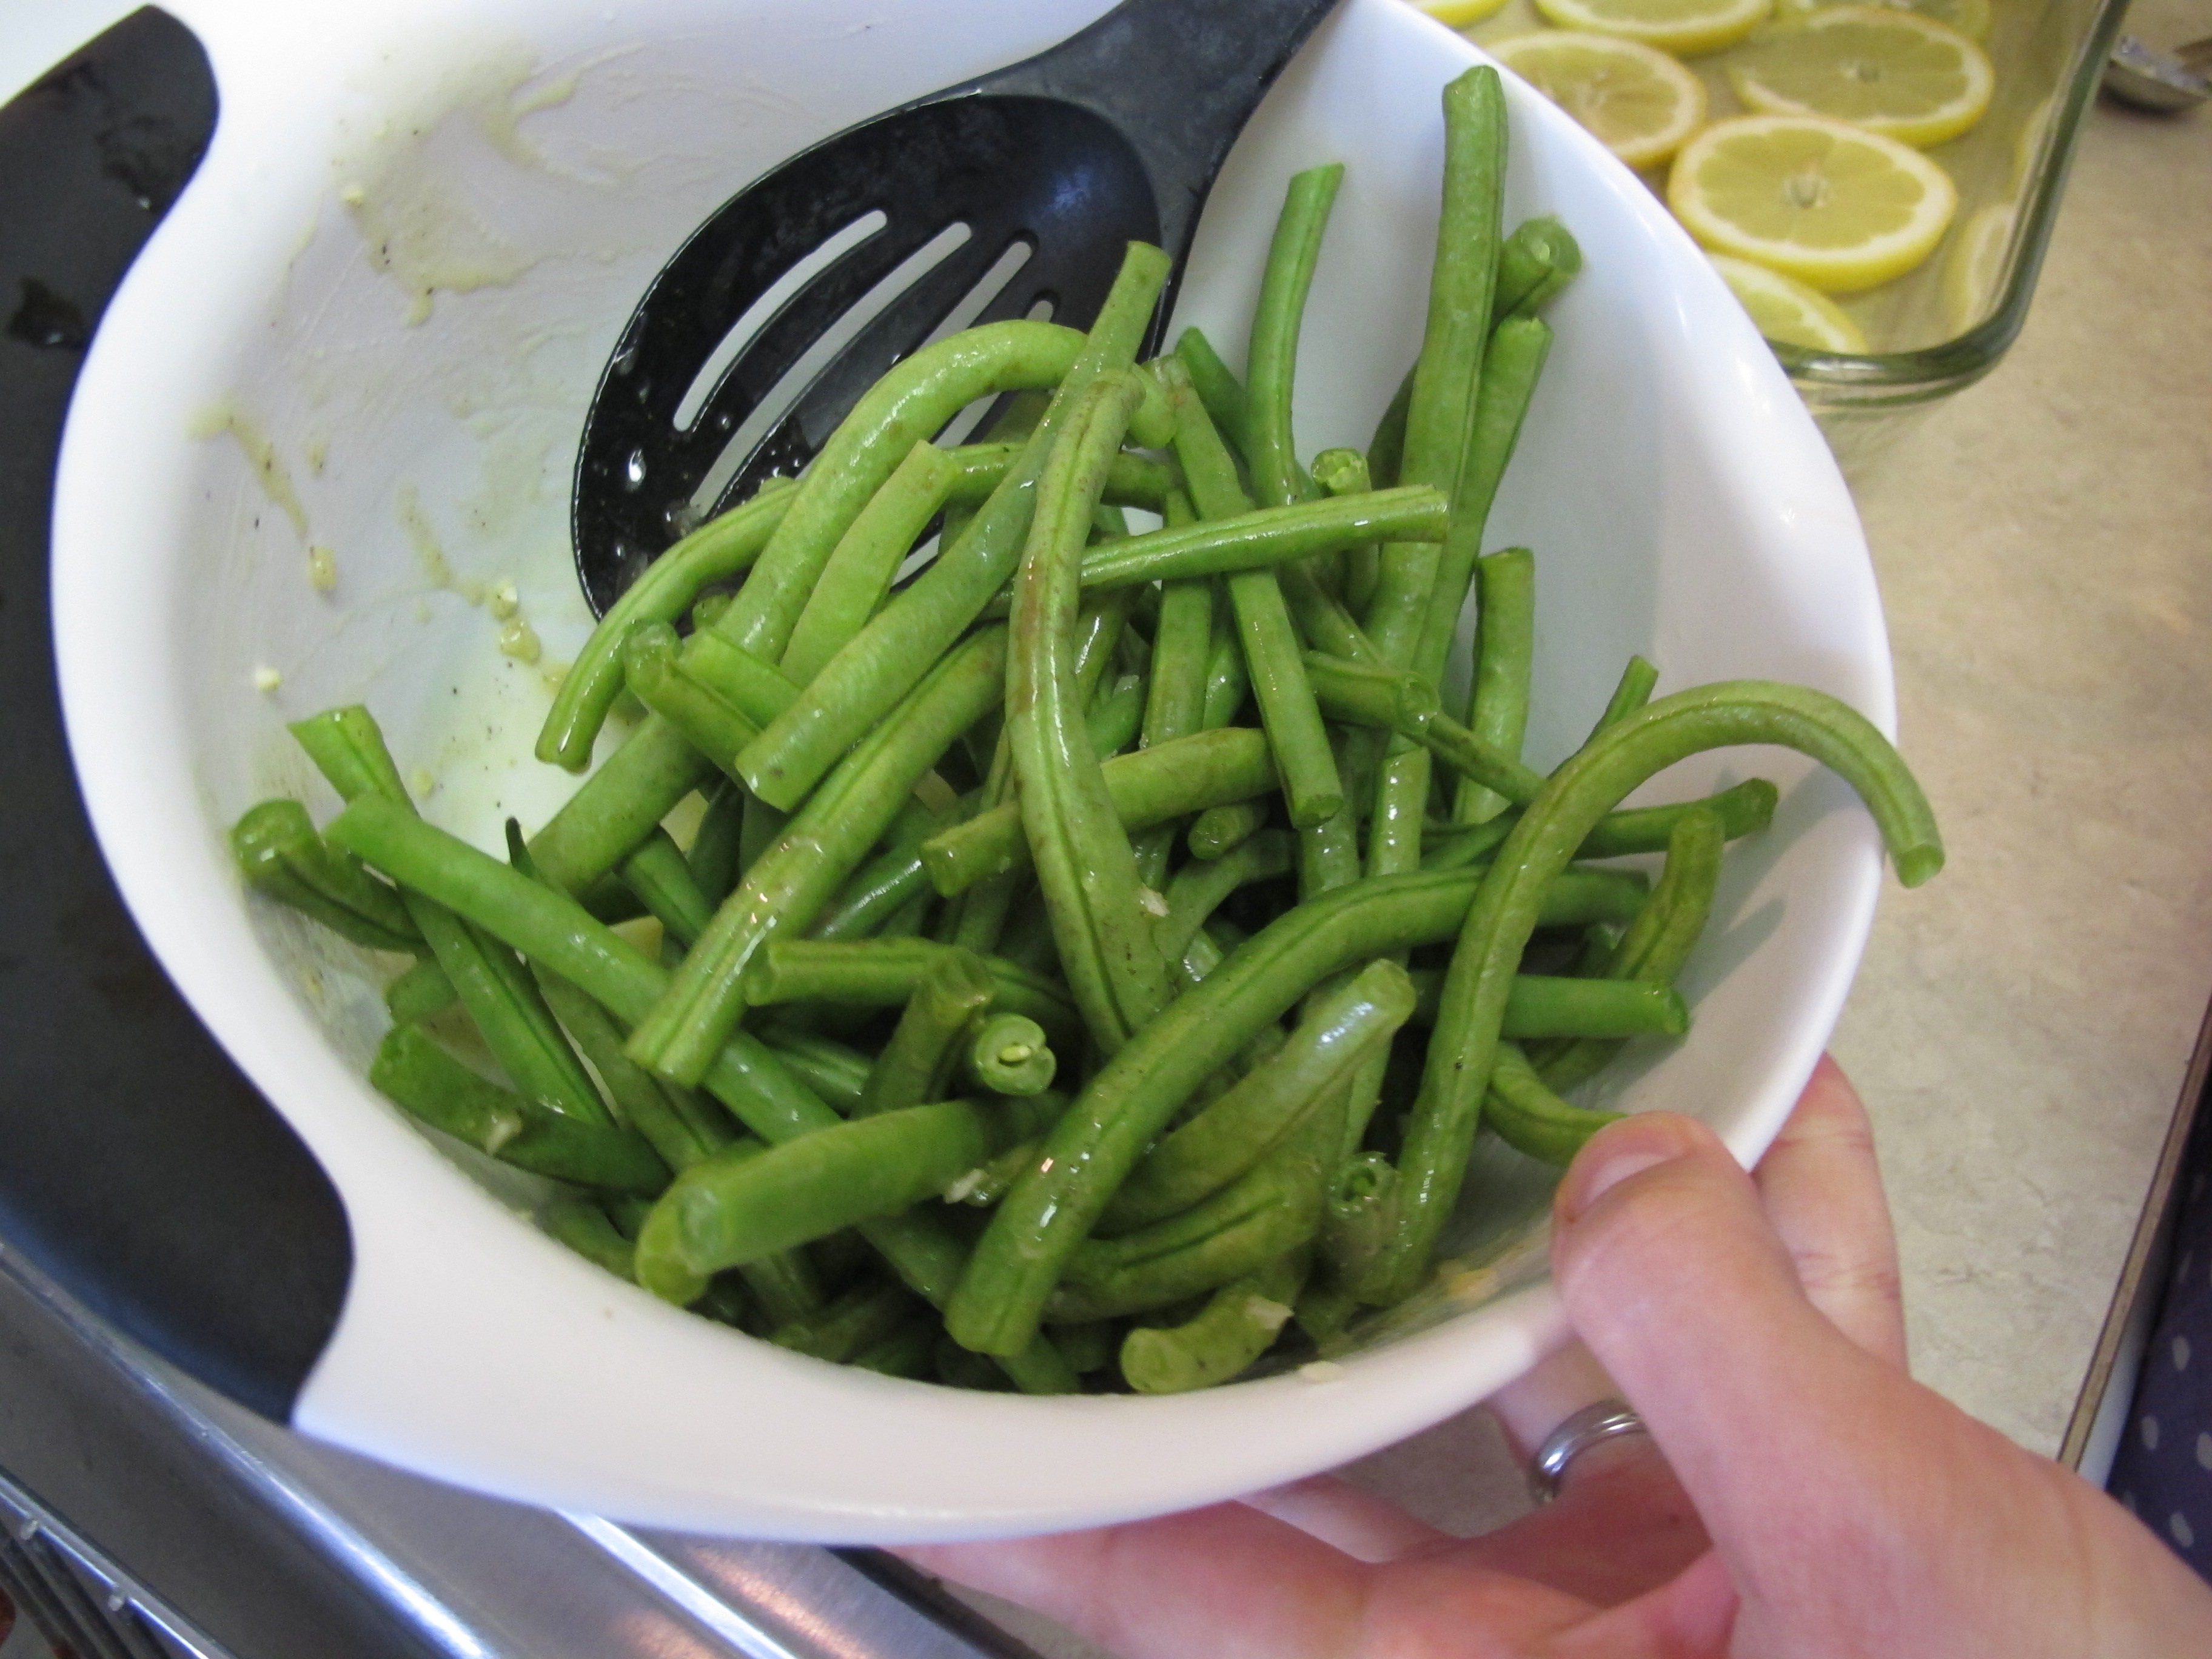
3/4 pound trimmed green beans
Add the green beans to this mixture and toss to coat.
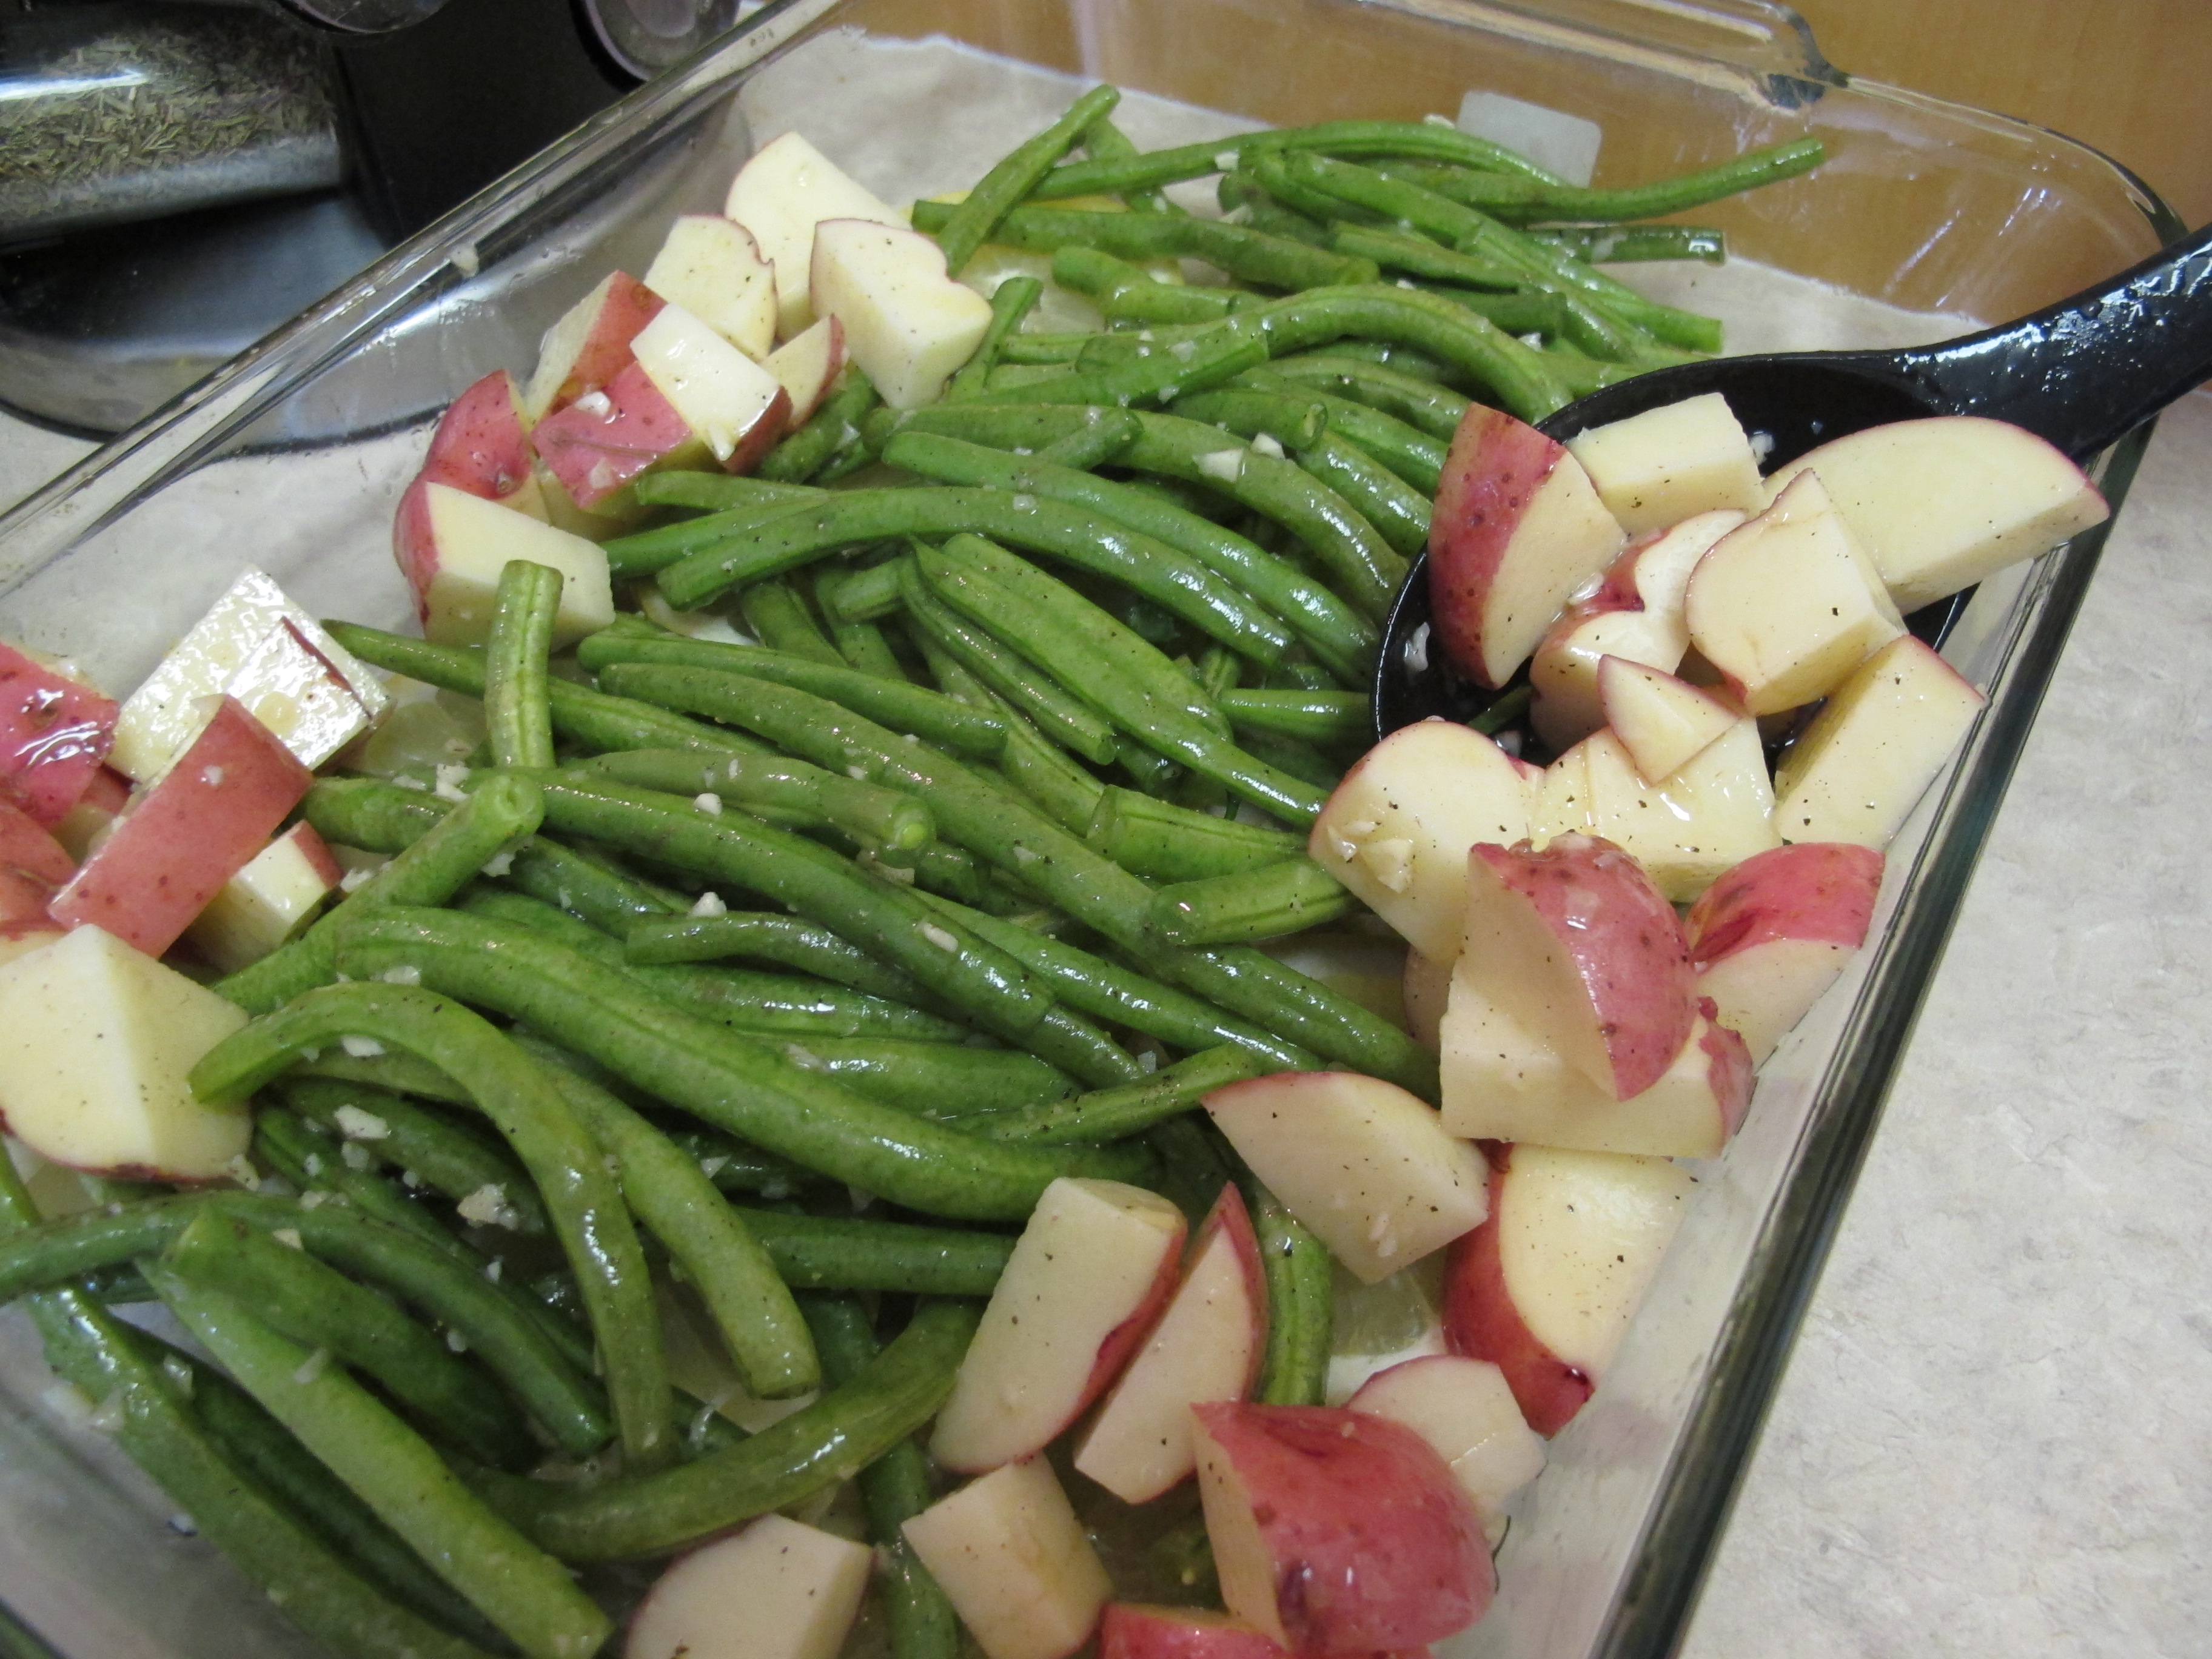
Using a slotted spoon or tongs, remove the green beans and arrange them on top of the lemon slices down the center of the pan.
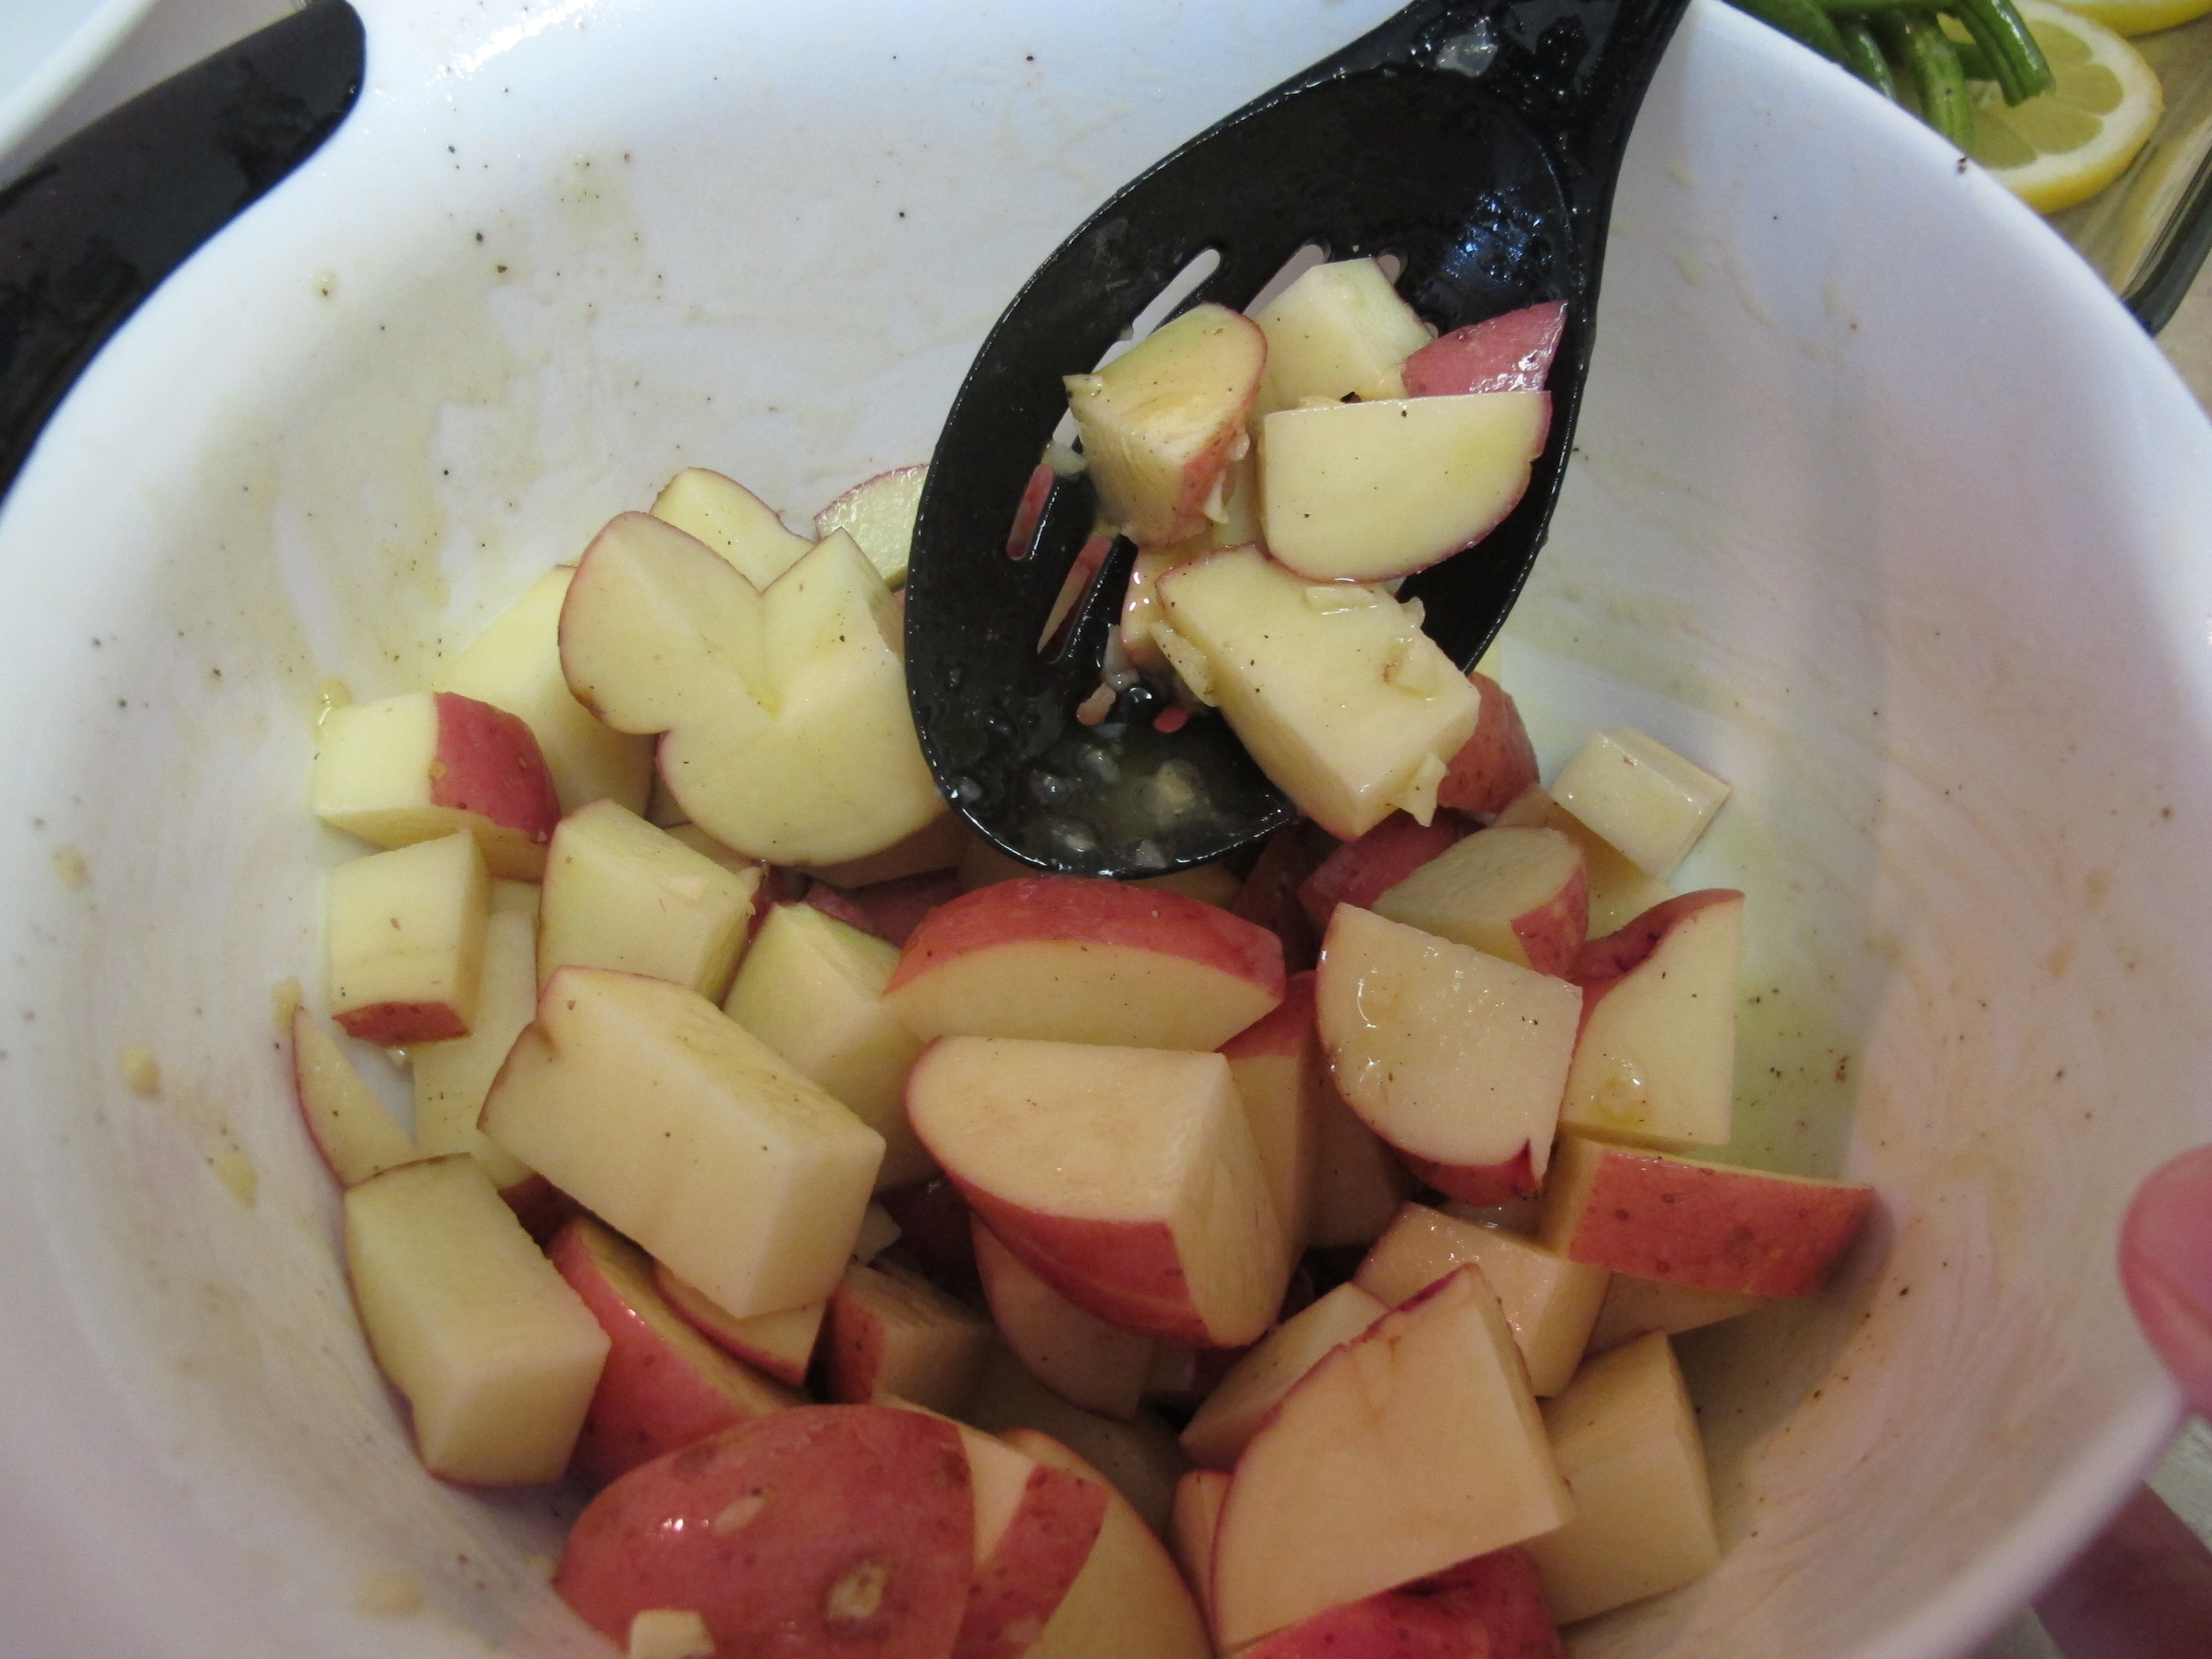
8 small red potatoes, quartered
Add the potatoes to the same olive-oil mixture and toss to coat.
Using a slotted spoon or tongs, arrange the potatoes along the sides of the pan.
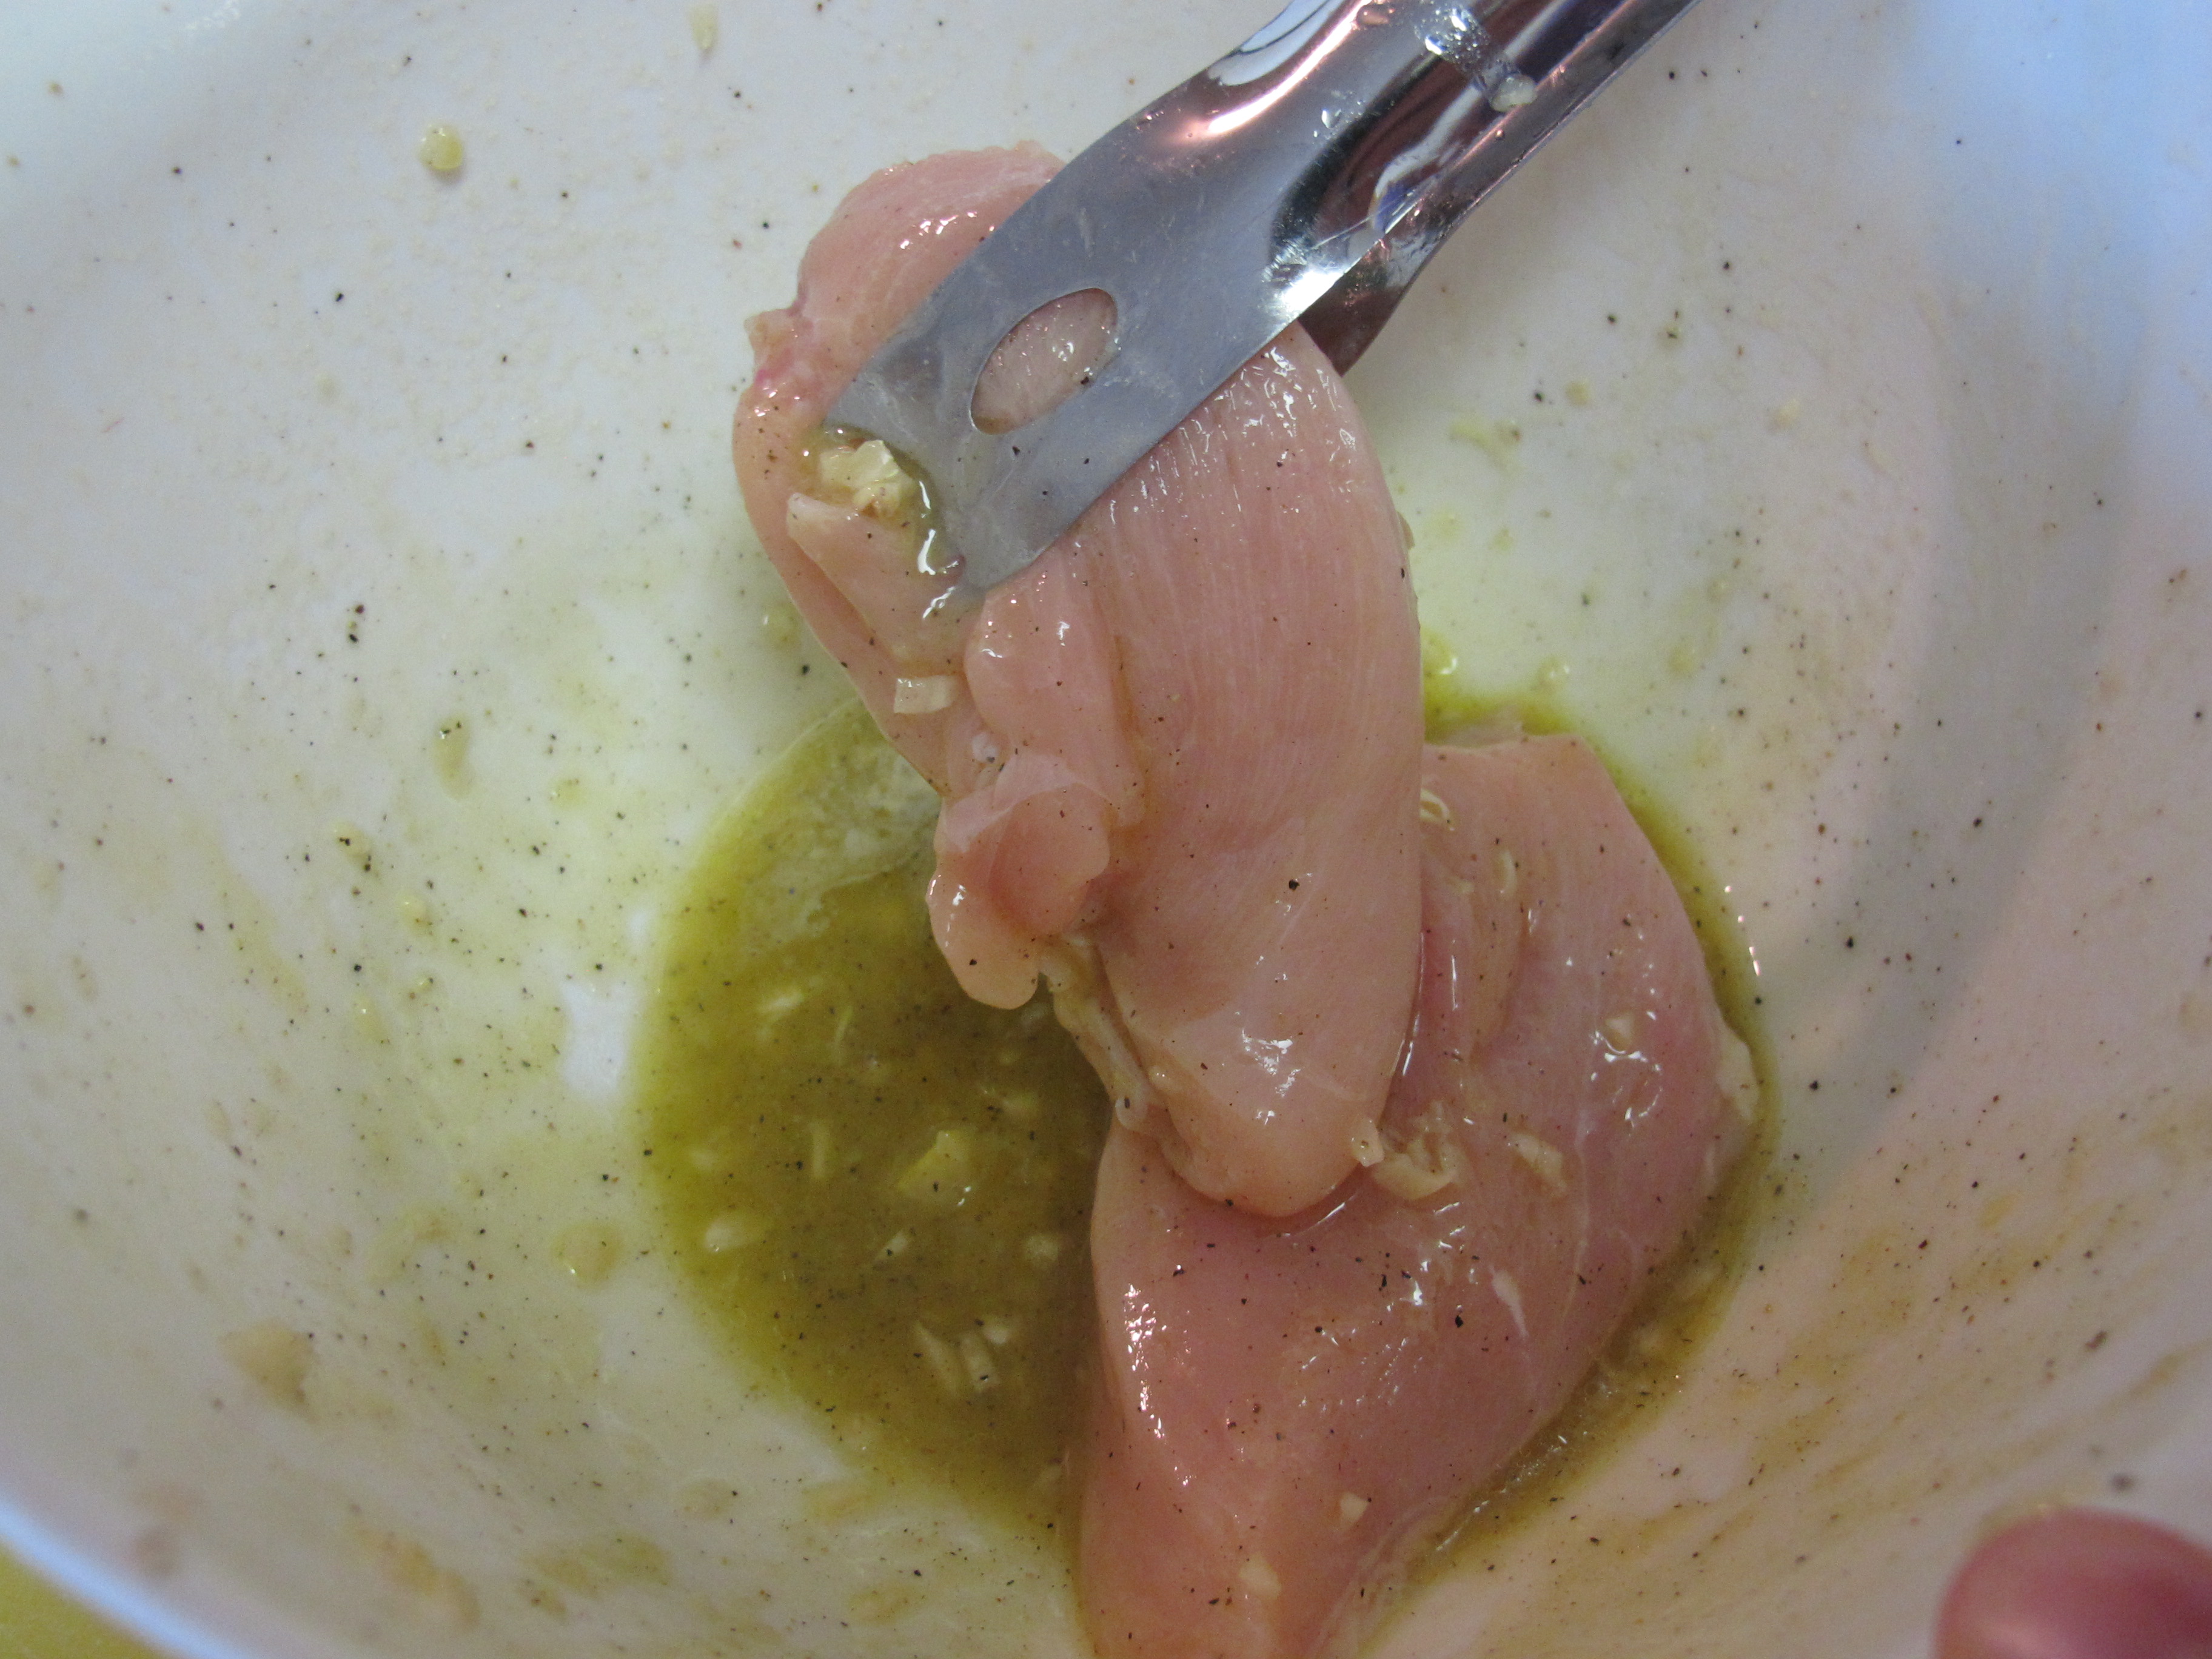
4 skinless boneless chicken breasts
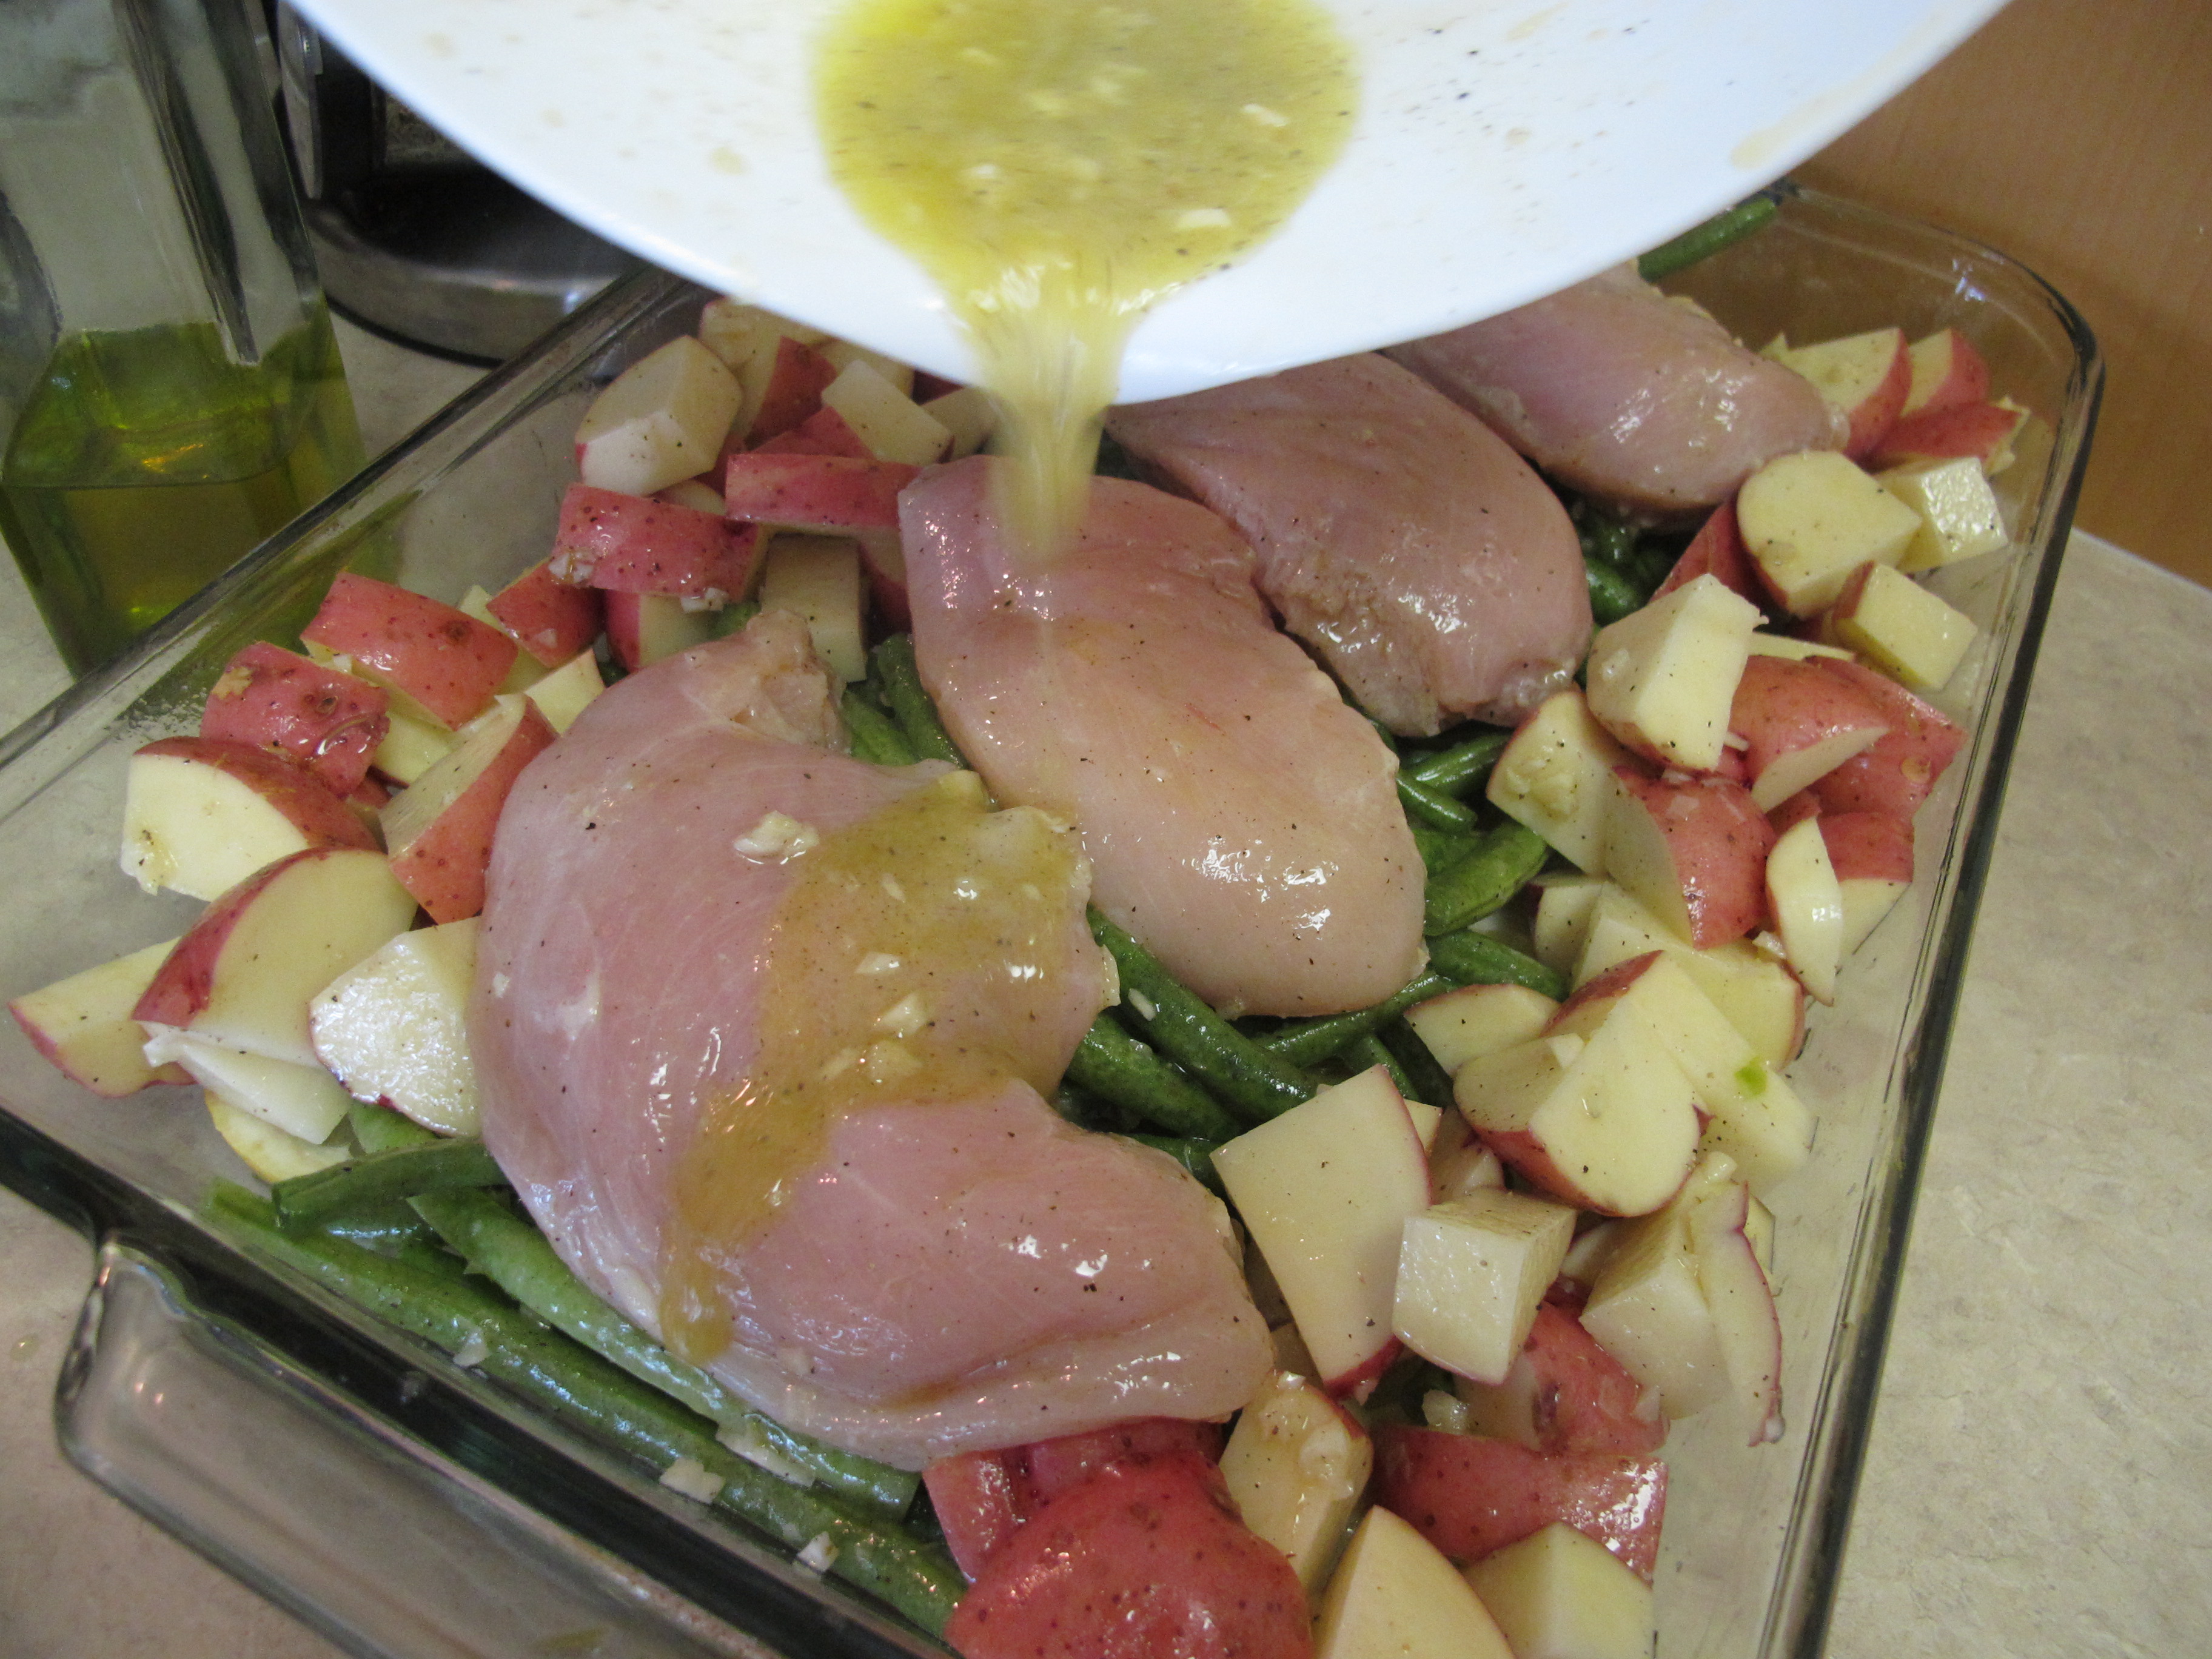
Place the chicken in the same bowl with the olive-oil mixture and coat thoroughly.
Place the chicken on top of the green beans down the center of the pan.
Pour any of the remaining olive-oil mixture over the chicken.
Cover pan with foil.
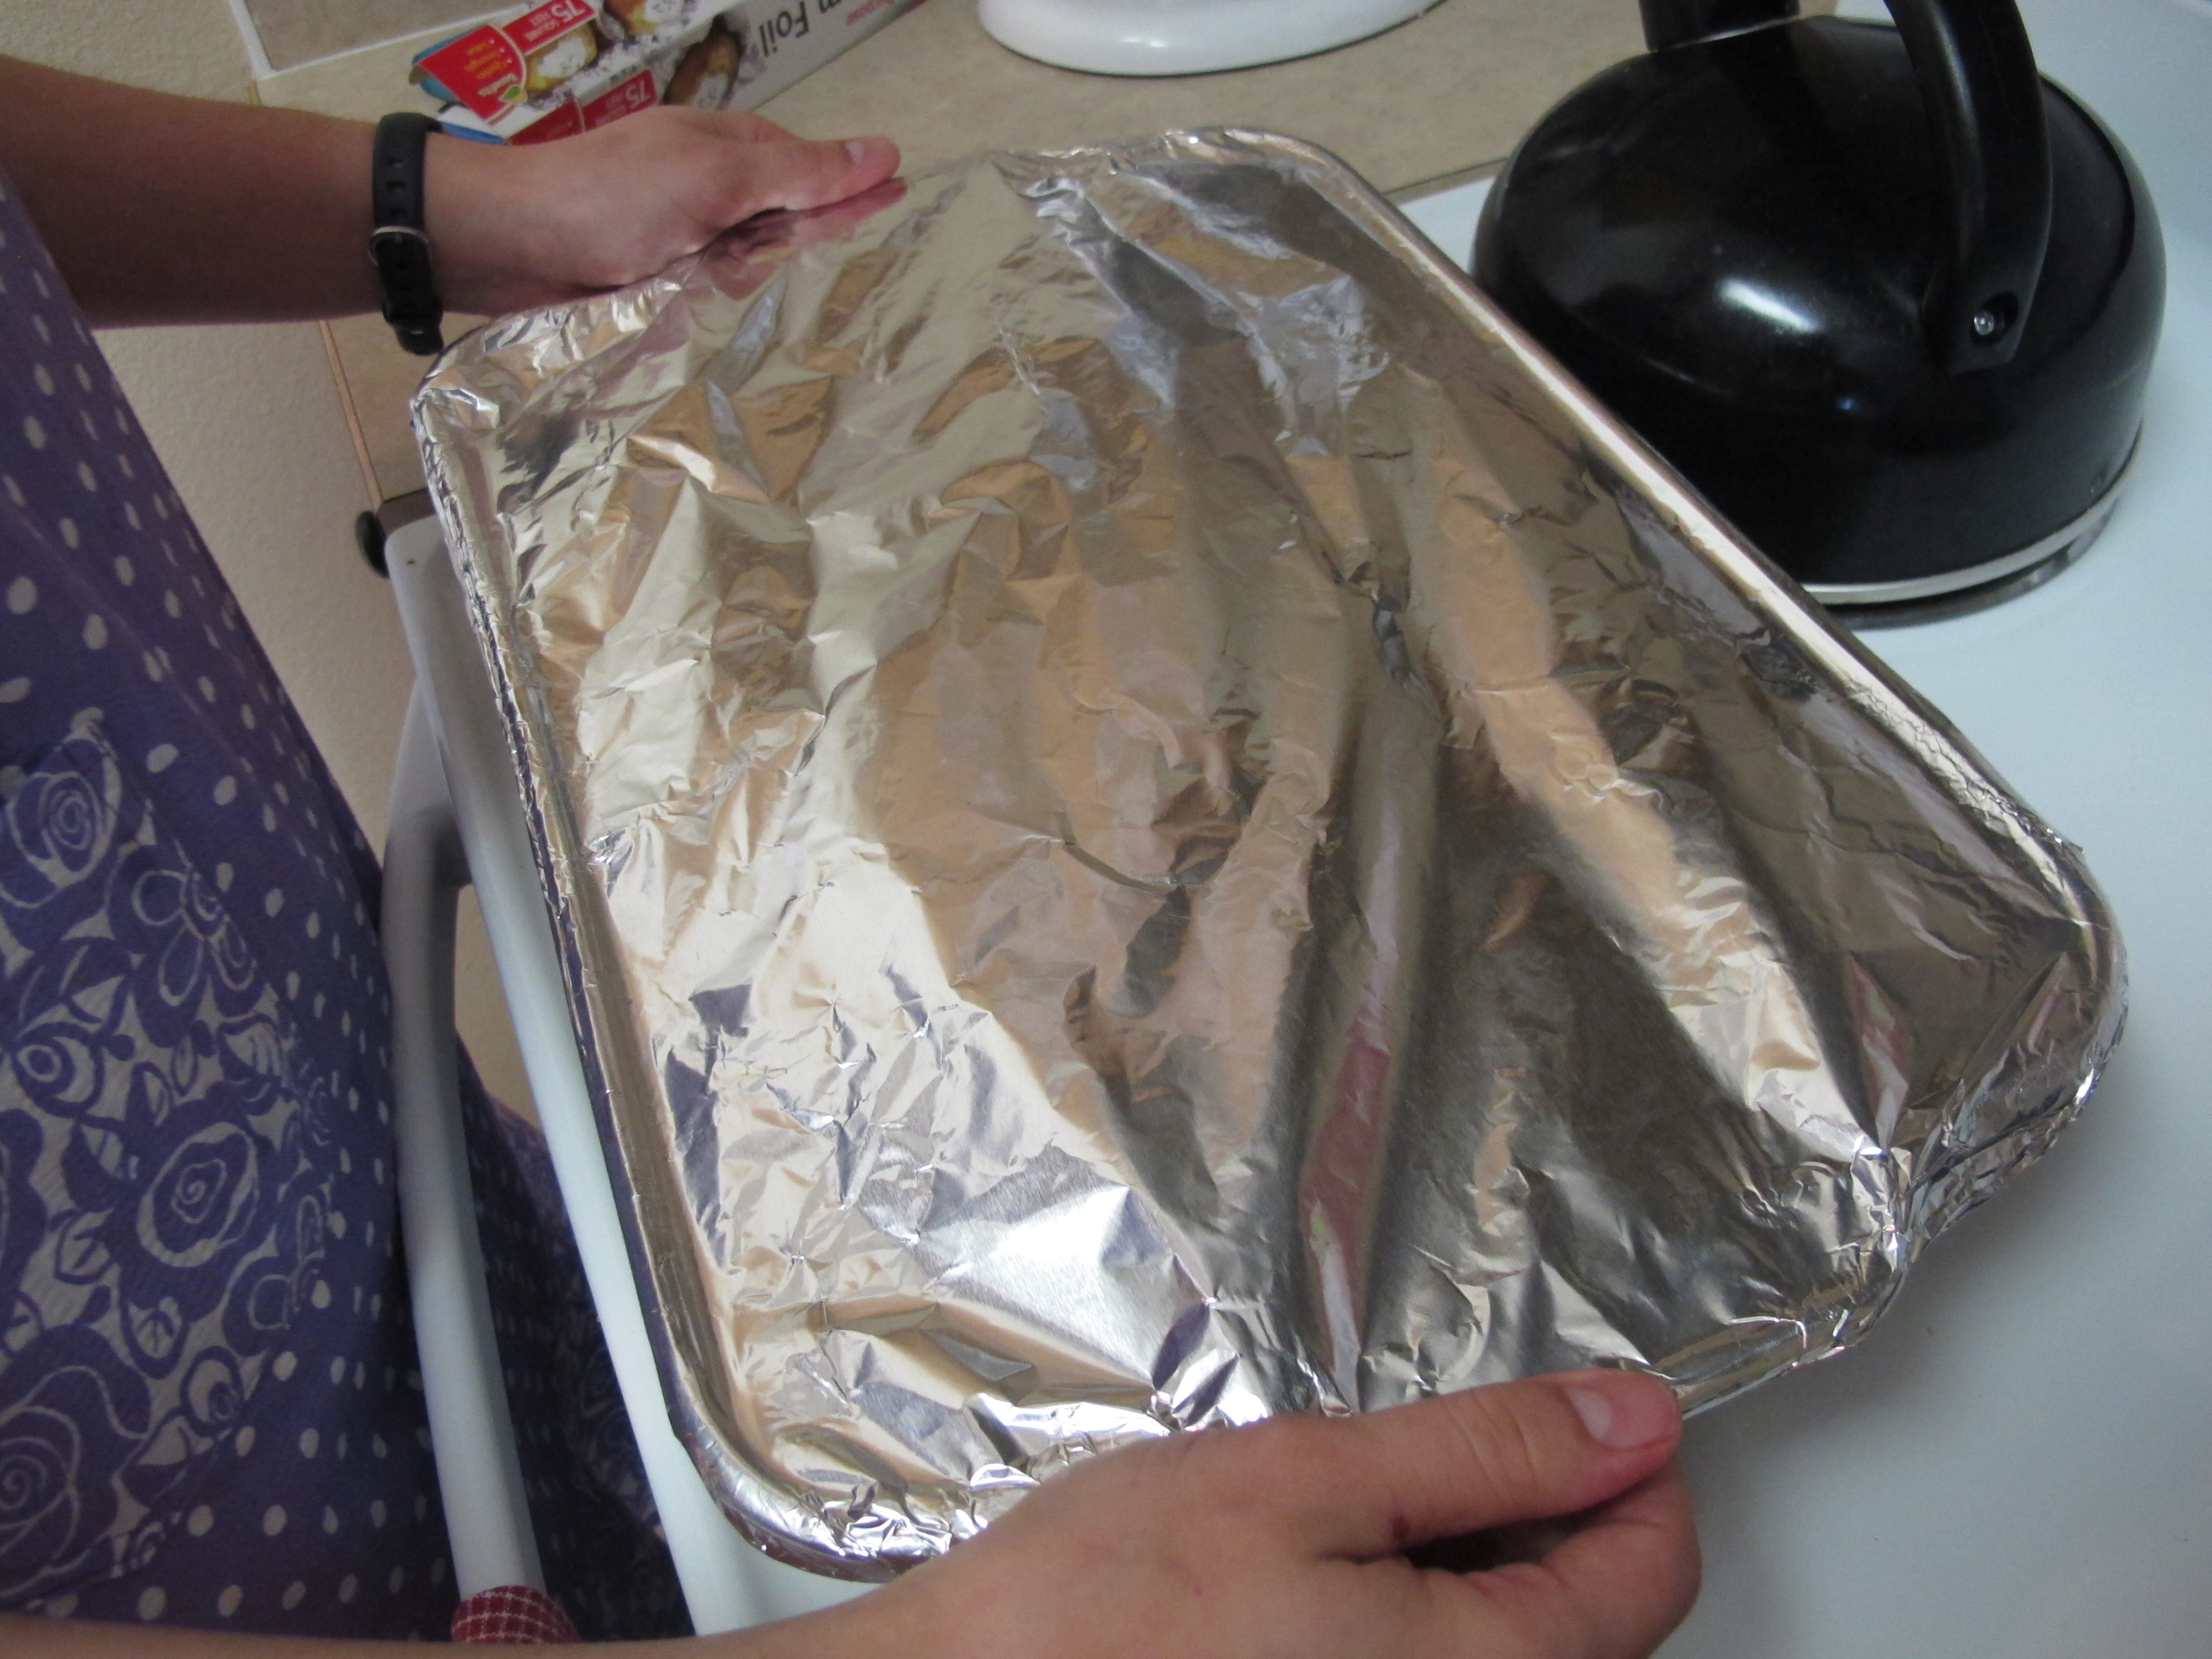
Bake for 50 minutes.
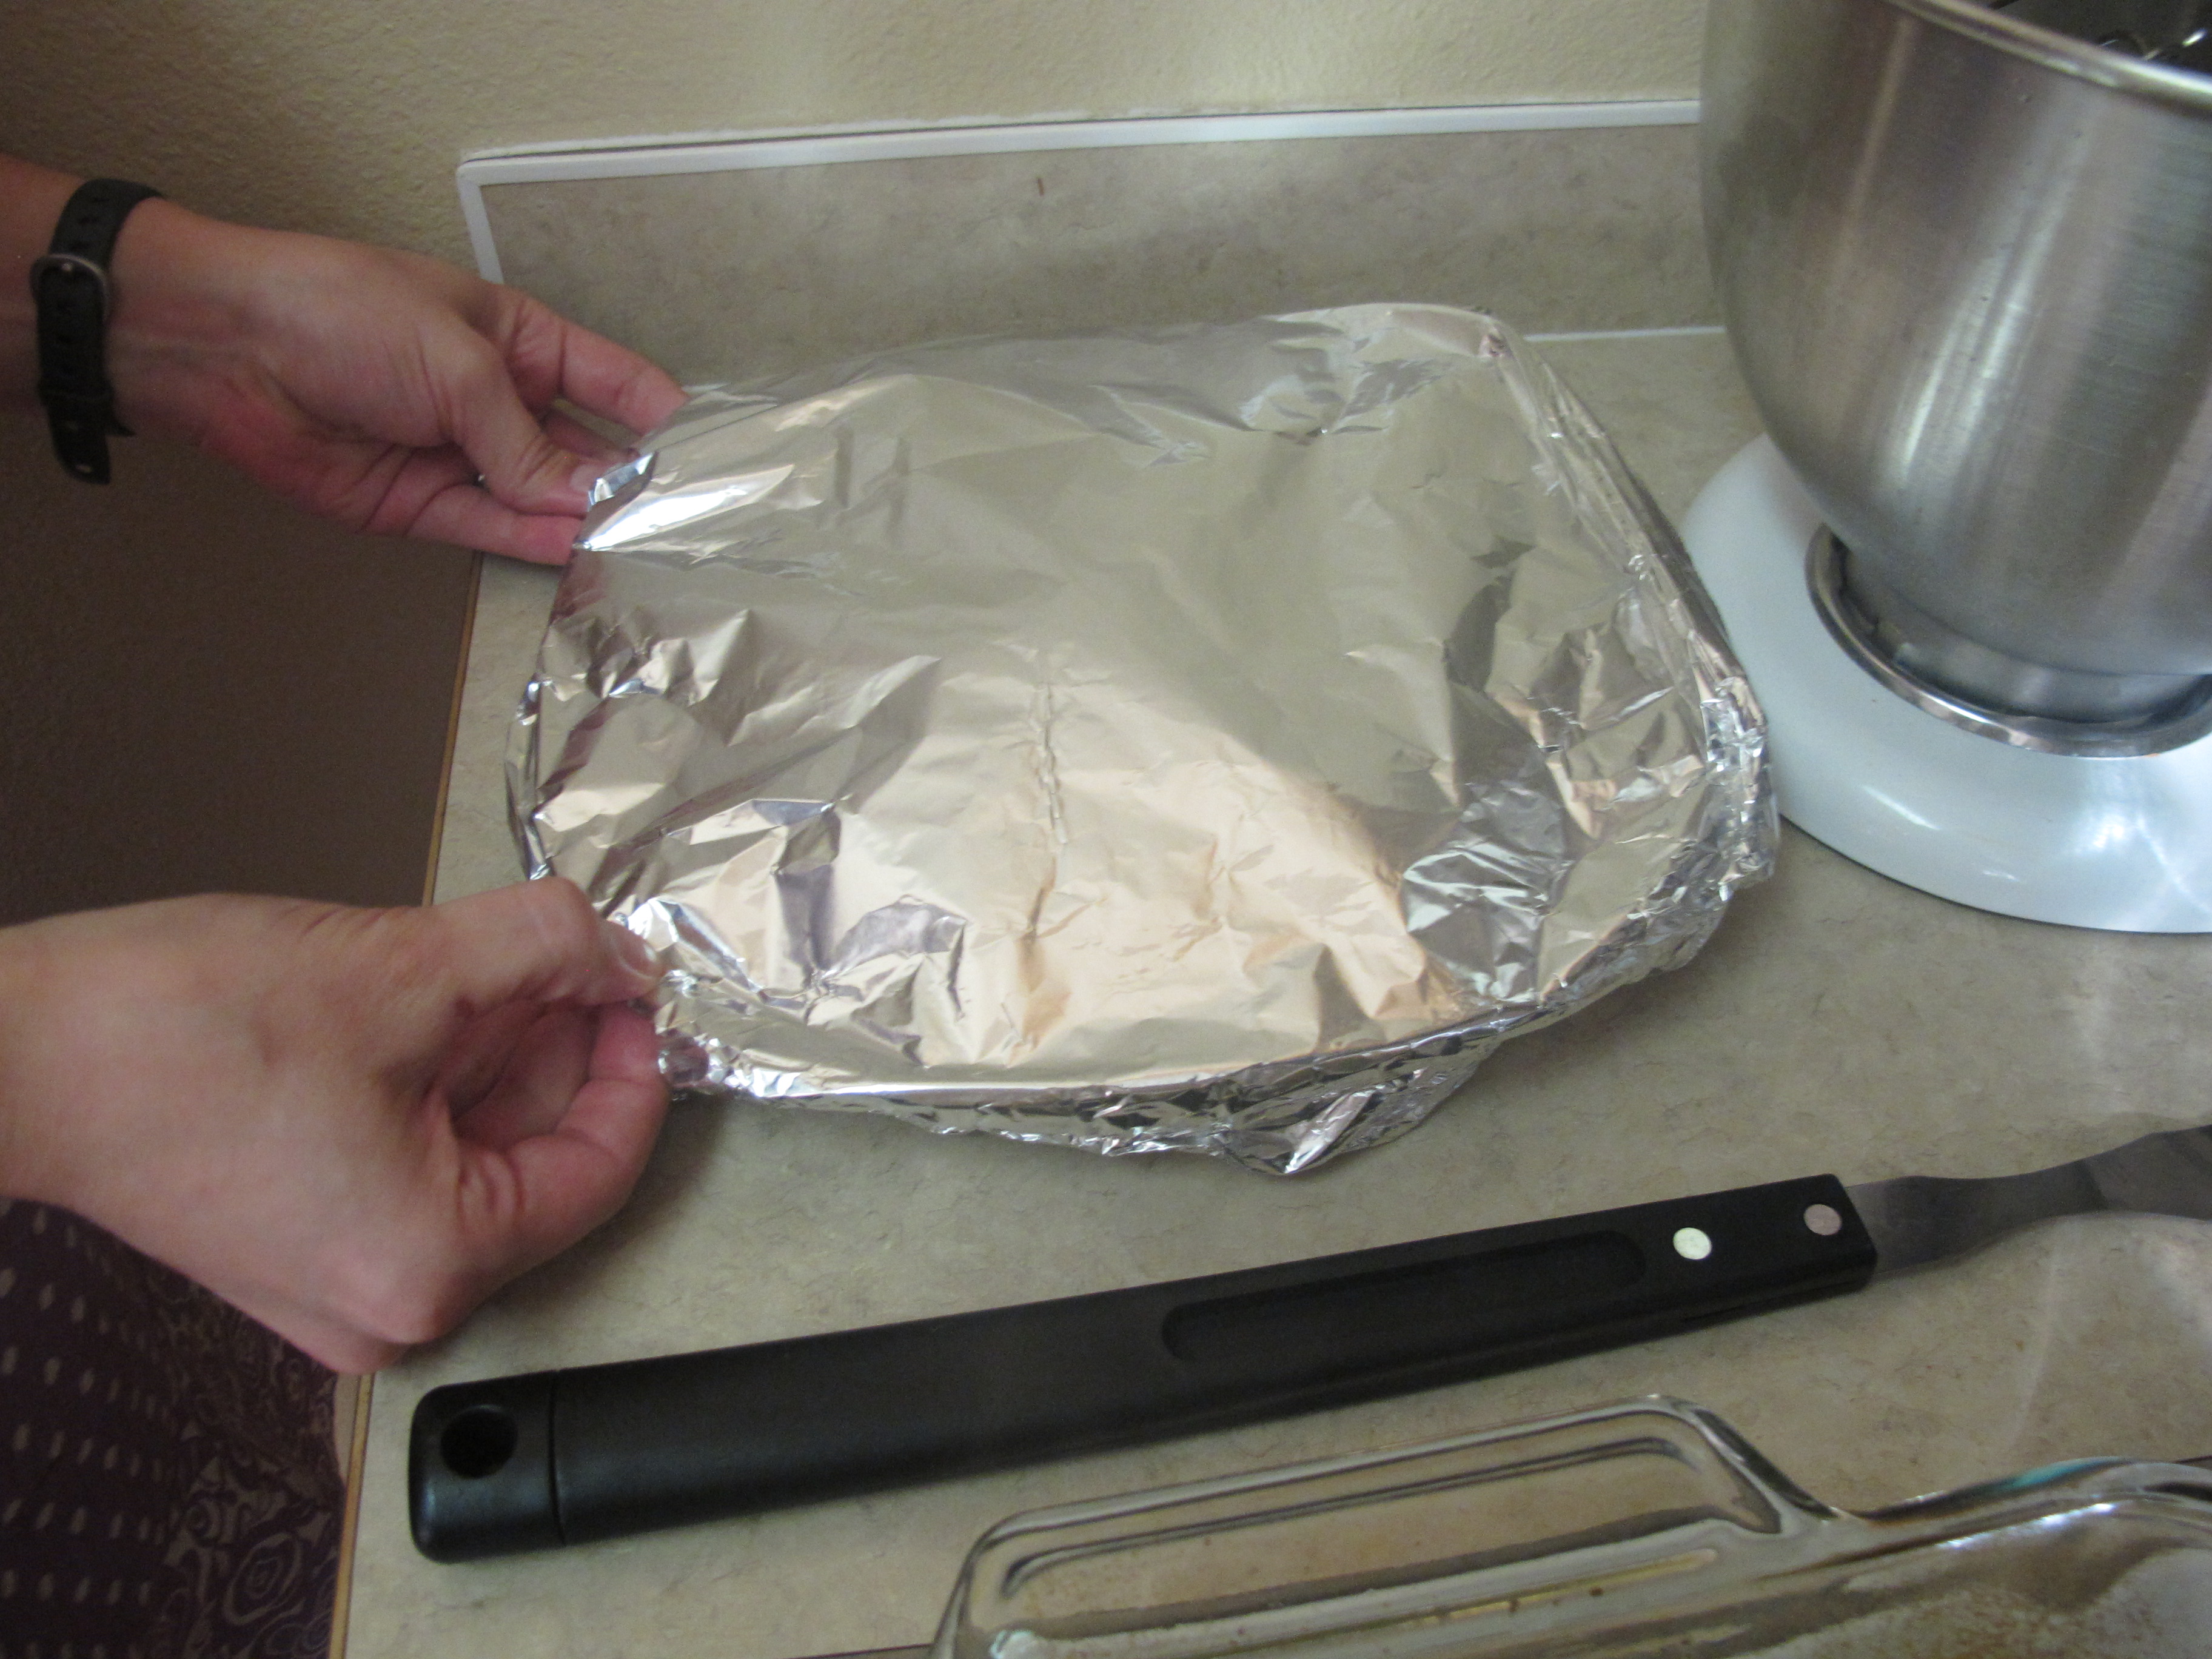
Remove the chicken from the dish and cover with foil to keep warm.
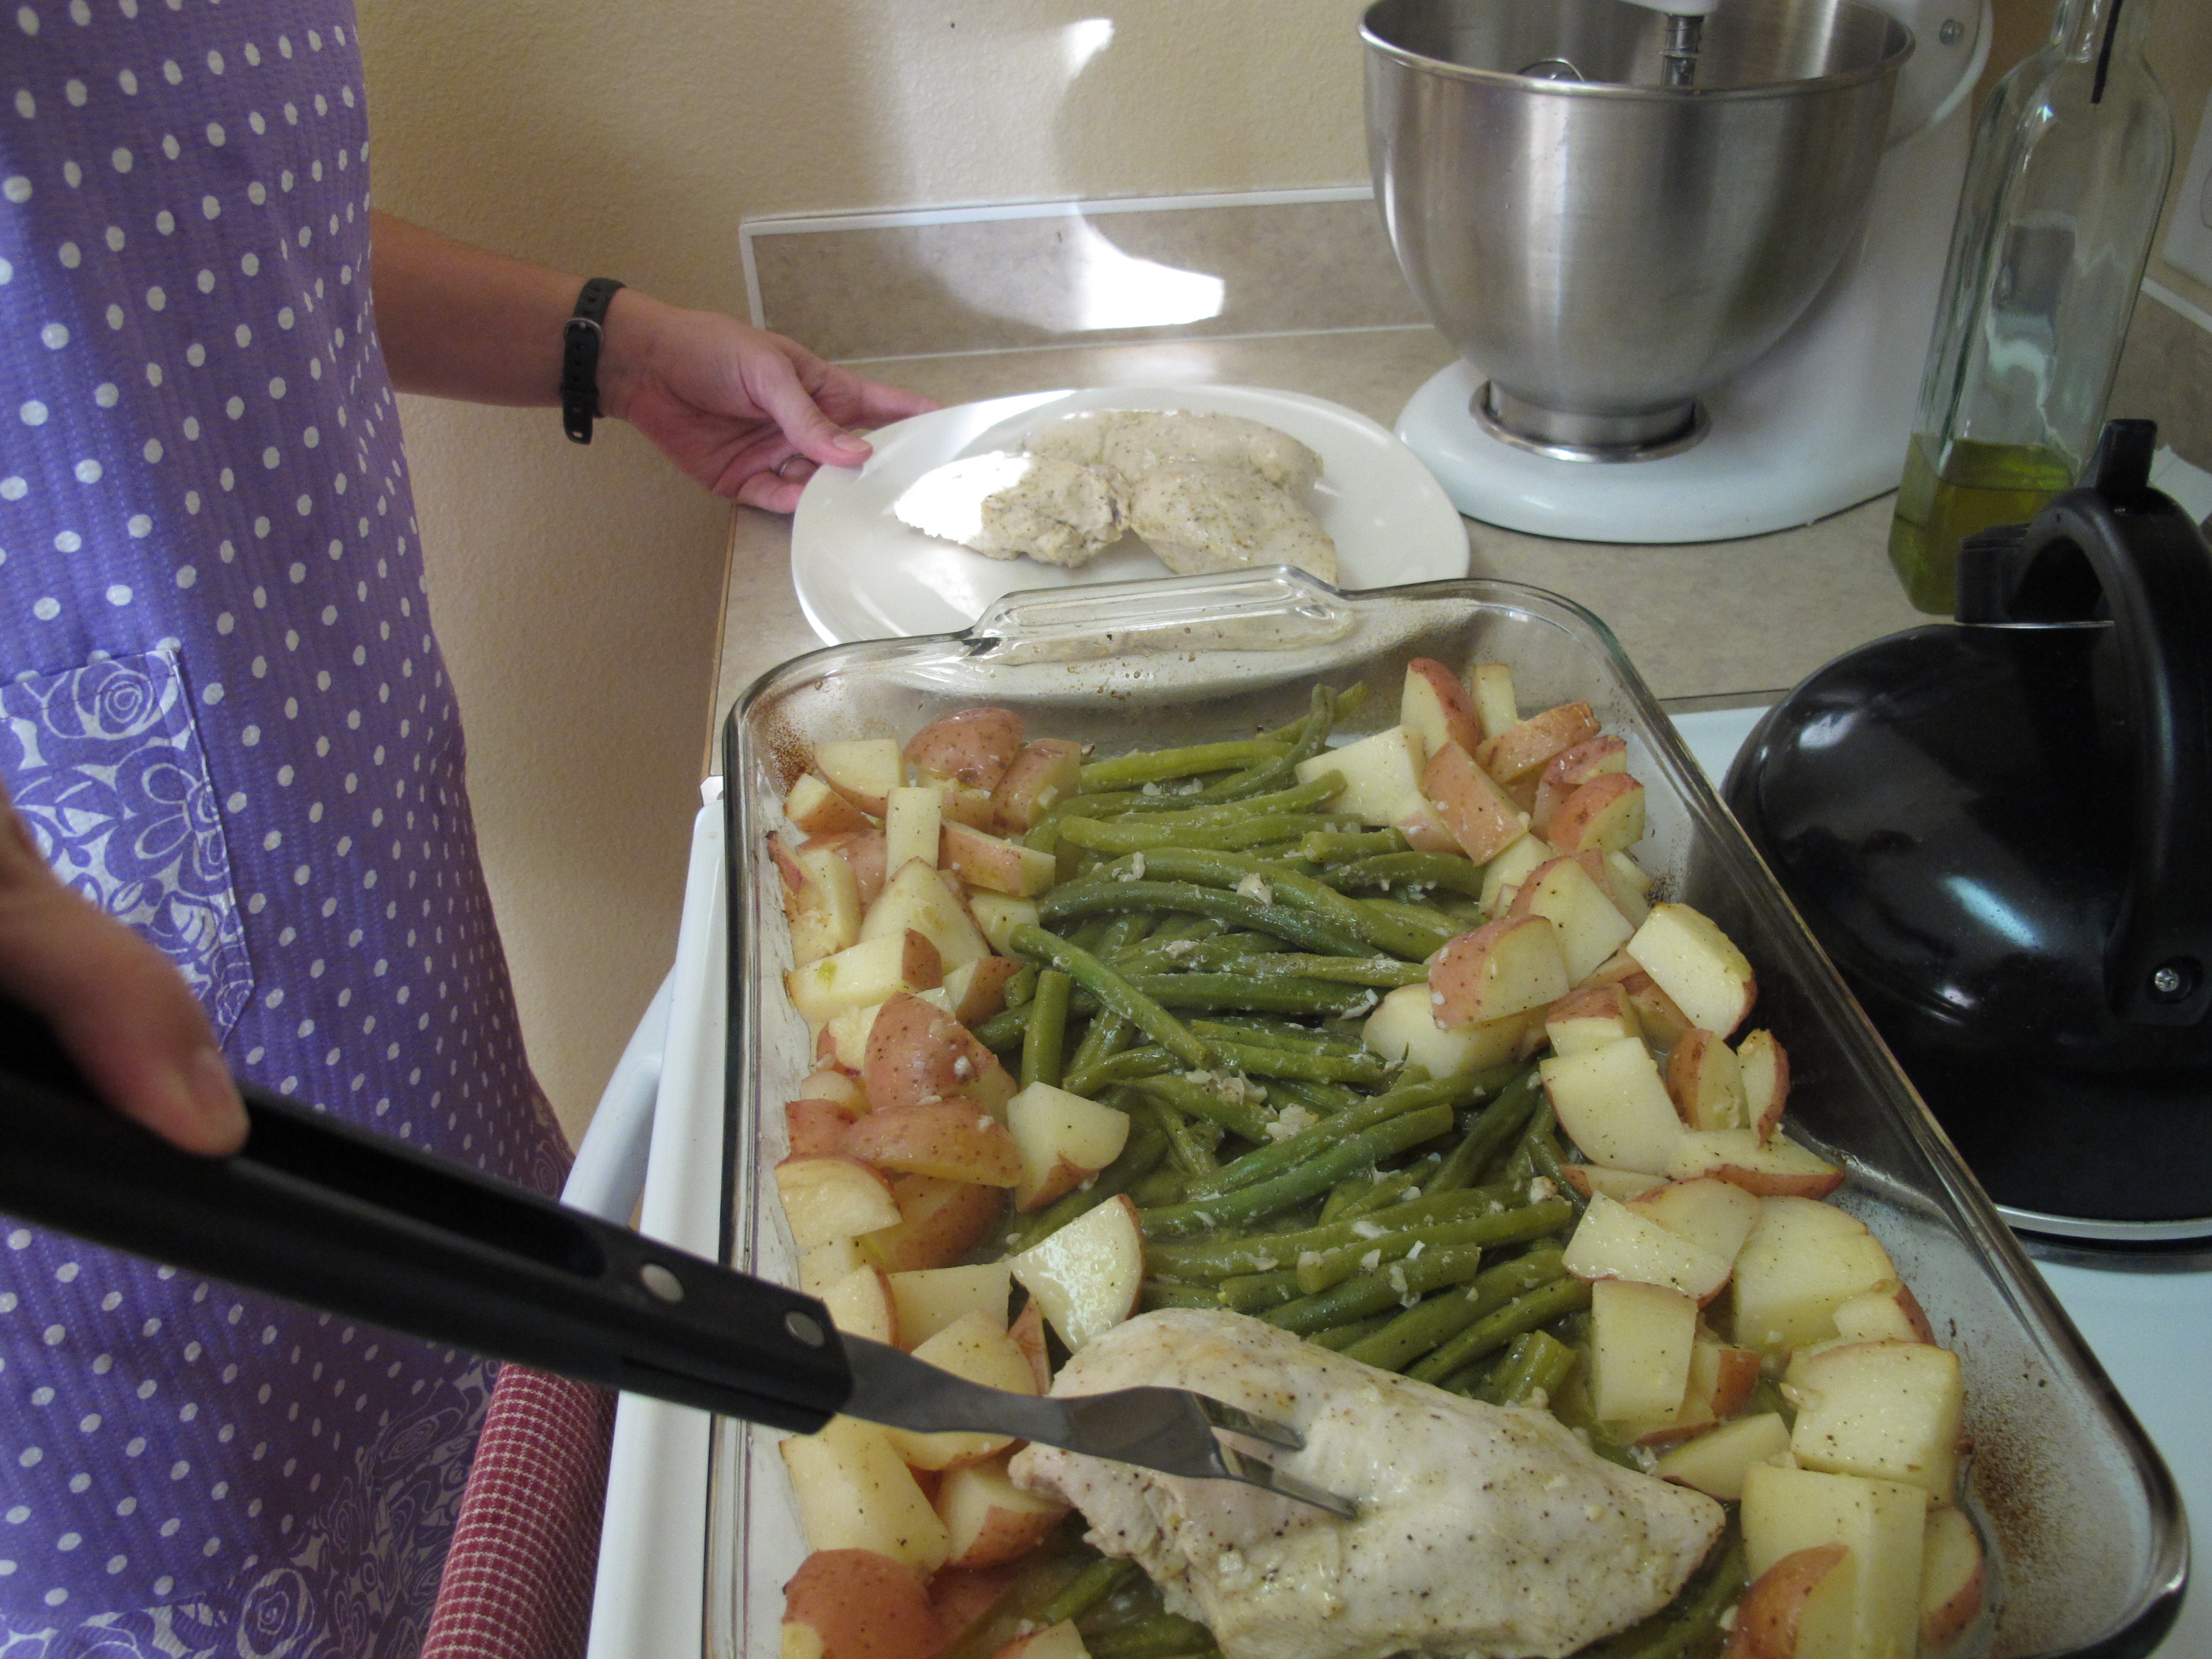
Place the beans and potatoes back in oven, uncovered, for 10 minutes more or until the potatoes are tender.
FULL RECIPE WITHOUT PICTURES —
CORINNE’S LEMON CHICKEN
6 tablespoons olive oil, divided
2 lemons, 1 thinly sliced, 1 juiced
4 cloves garlic, minced
1 tsp. salt
1/2 tsp. black pepper
3/4 pound trimmed green beans
8 small red potatoes, quartered
4 skinless boneless chicken breasts
Preheat oven to 450°F.
Coat a 9 x 13 baking dish with 1 tablespoon of the olive oil.
Arrange the lemon slices in a single layer in the bottom of the dish.
In a large bowl, combine the remaining oil (5 T.), lemon juice, garlic, salt, and pepper.
Add the green beans and toss to coat.
Using a slotted spoon or tongs, remove the green beans and arrange them on top of the lemon slices down the center of the pan.
Add the potatoes to the same olive-oil mixture and toss to coat.
Using a slotted spoon or tongs, arrange the potatoes along the sides of the pan.
Place the chicken in the same bowl with the olive-oil mixture and coat thoroughly.
Place the chicken on top of the green beans down the center of the pan.
Pour any of the remaining olive-oil mixture over the chicken.
Cover pan with foil.
Bake for 50 minutes.
Remove the chicken from the dish and cover with foil to keep warm.
Place the beans and potatoes back in oven, uncovered, for 10 minutes more or until the potatoes are tender.
Banana Pancakes

I saw this recipe on Pinterest but it just sounded way too healthy to me for pancakes! While visiting Corinne and Craig, Corinne made these for us and they are SO GOOD!!! They are super filling too. I had two big pancakes and was totally stuffed. They also taste excellent with peanut butter smeared on top! Don’t judge them for their healthy content. They are excellent!!!!
1 1/4 cups old fashioned oats
1/2 cup whole wheat flour
2 tsp. baking powder
1/2 tsp. salt
1 1/2 cups milk
2 ripe bananas
Blend all the ingredients in a blender, except the bananas. Now add the bananas and continue to blend in blender until the bananas are smooth.
Lightly spray griddle with cooking spray.
Pour batter onto the hot griddle. Once the pancakes bubble on one side, flip to the other side.
This makes a dozen, medium-sized pancakes, serving 4 people.
Quiche Corinne aka Egg Thingies
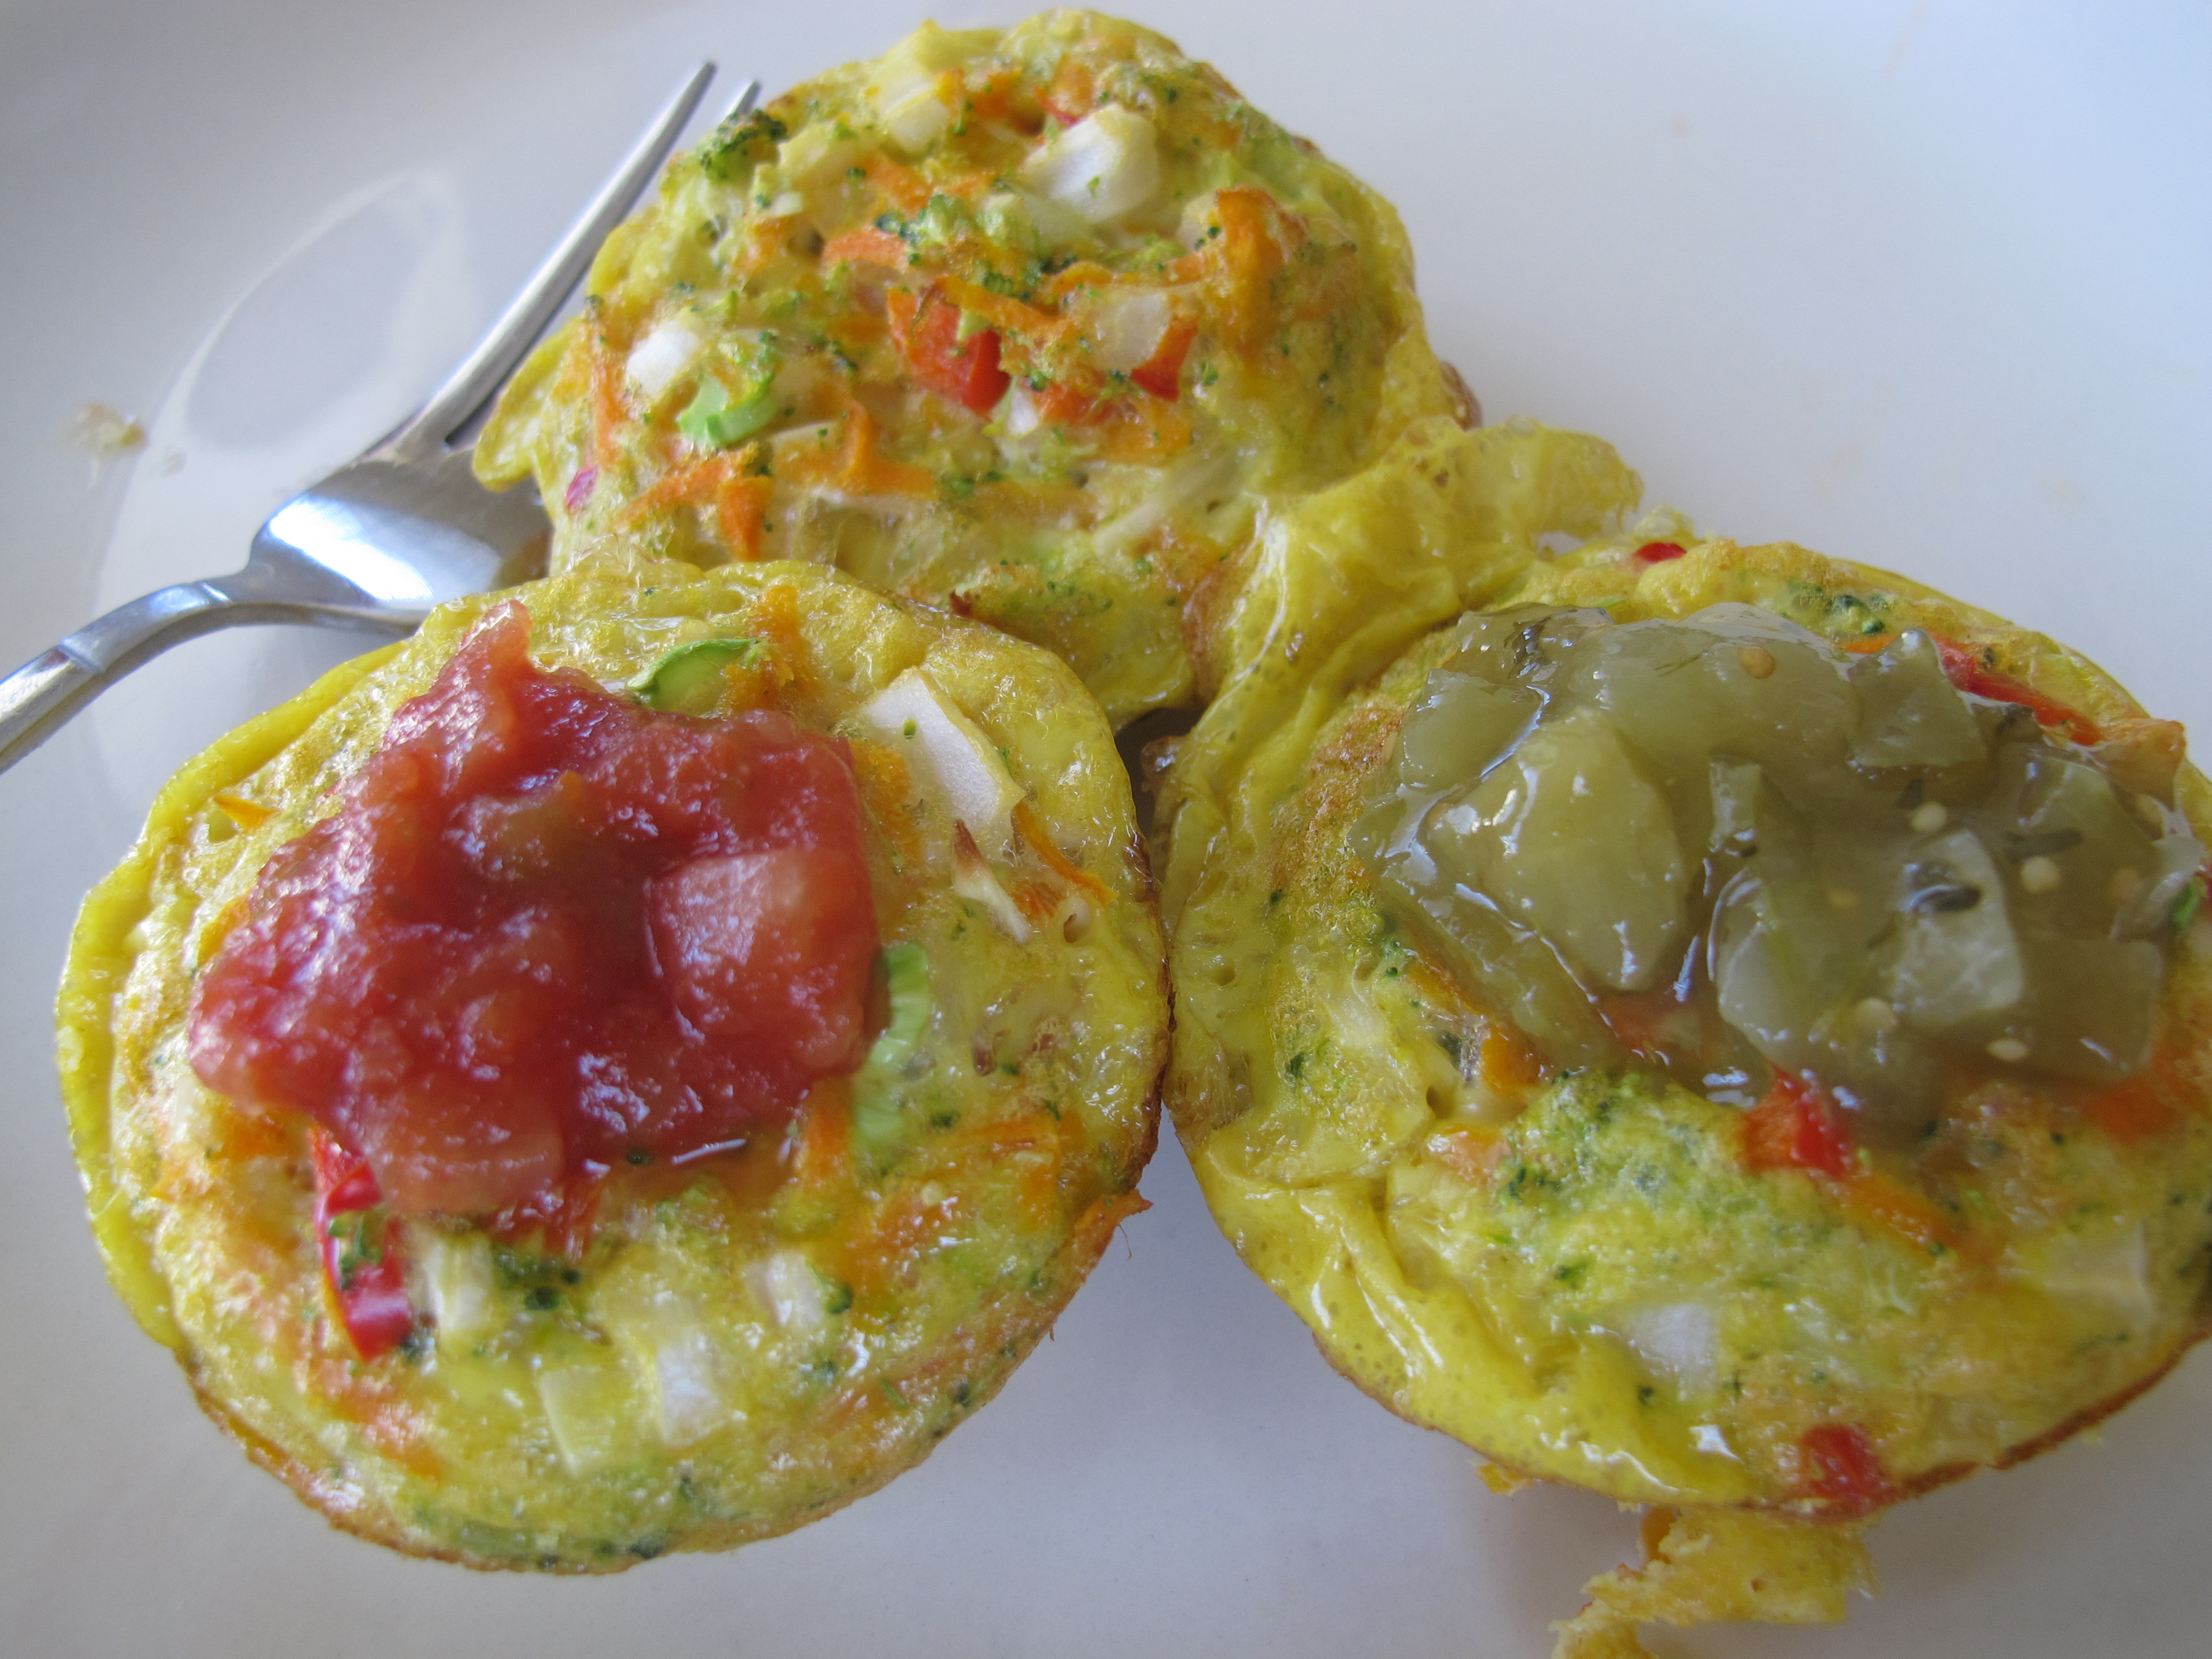
While visiting Corinne and Craig, Corinne made these wonderful Egg Quiches for breakfast. She calls them Egg Thingies! They are yummy, they are healthy and you can use any vegetables that you have on hand. Thanks Corinne – breakfast was delicious!
1 red pepper
1 onion
head of broccoli
2 carrots
garlic granules
seasoned salt
15 – 17 eggs, approx. – beaten
Chop vegetables very fine. Add vegetables to eggs.
Spray muffin tins. Fill approximately 2/3 full.
Bake at 375 degrees for 20 minutes.
Top with salsa.
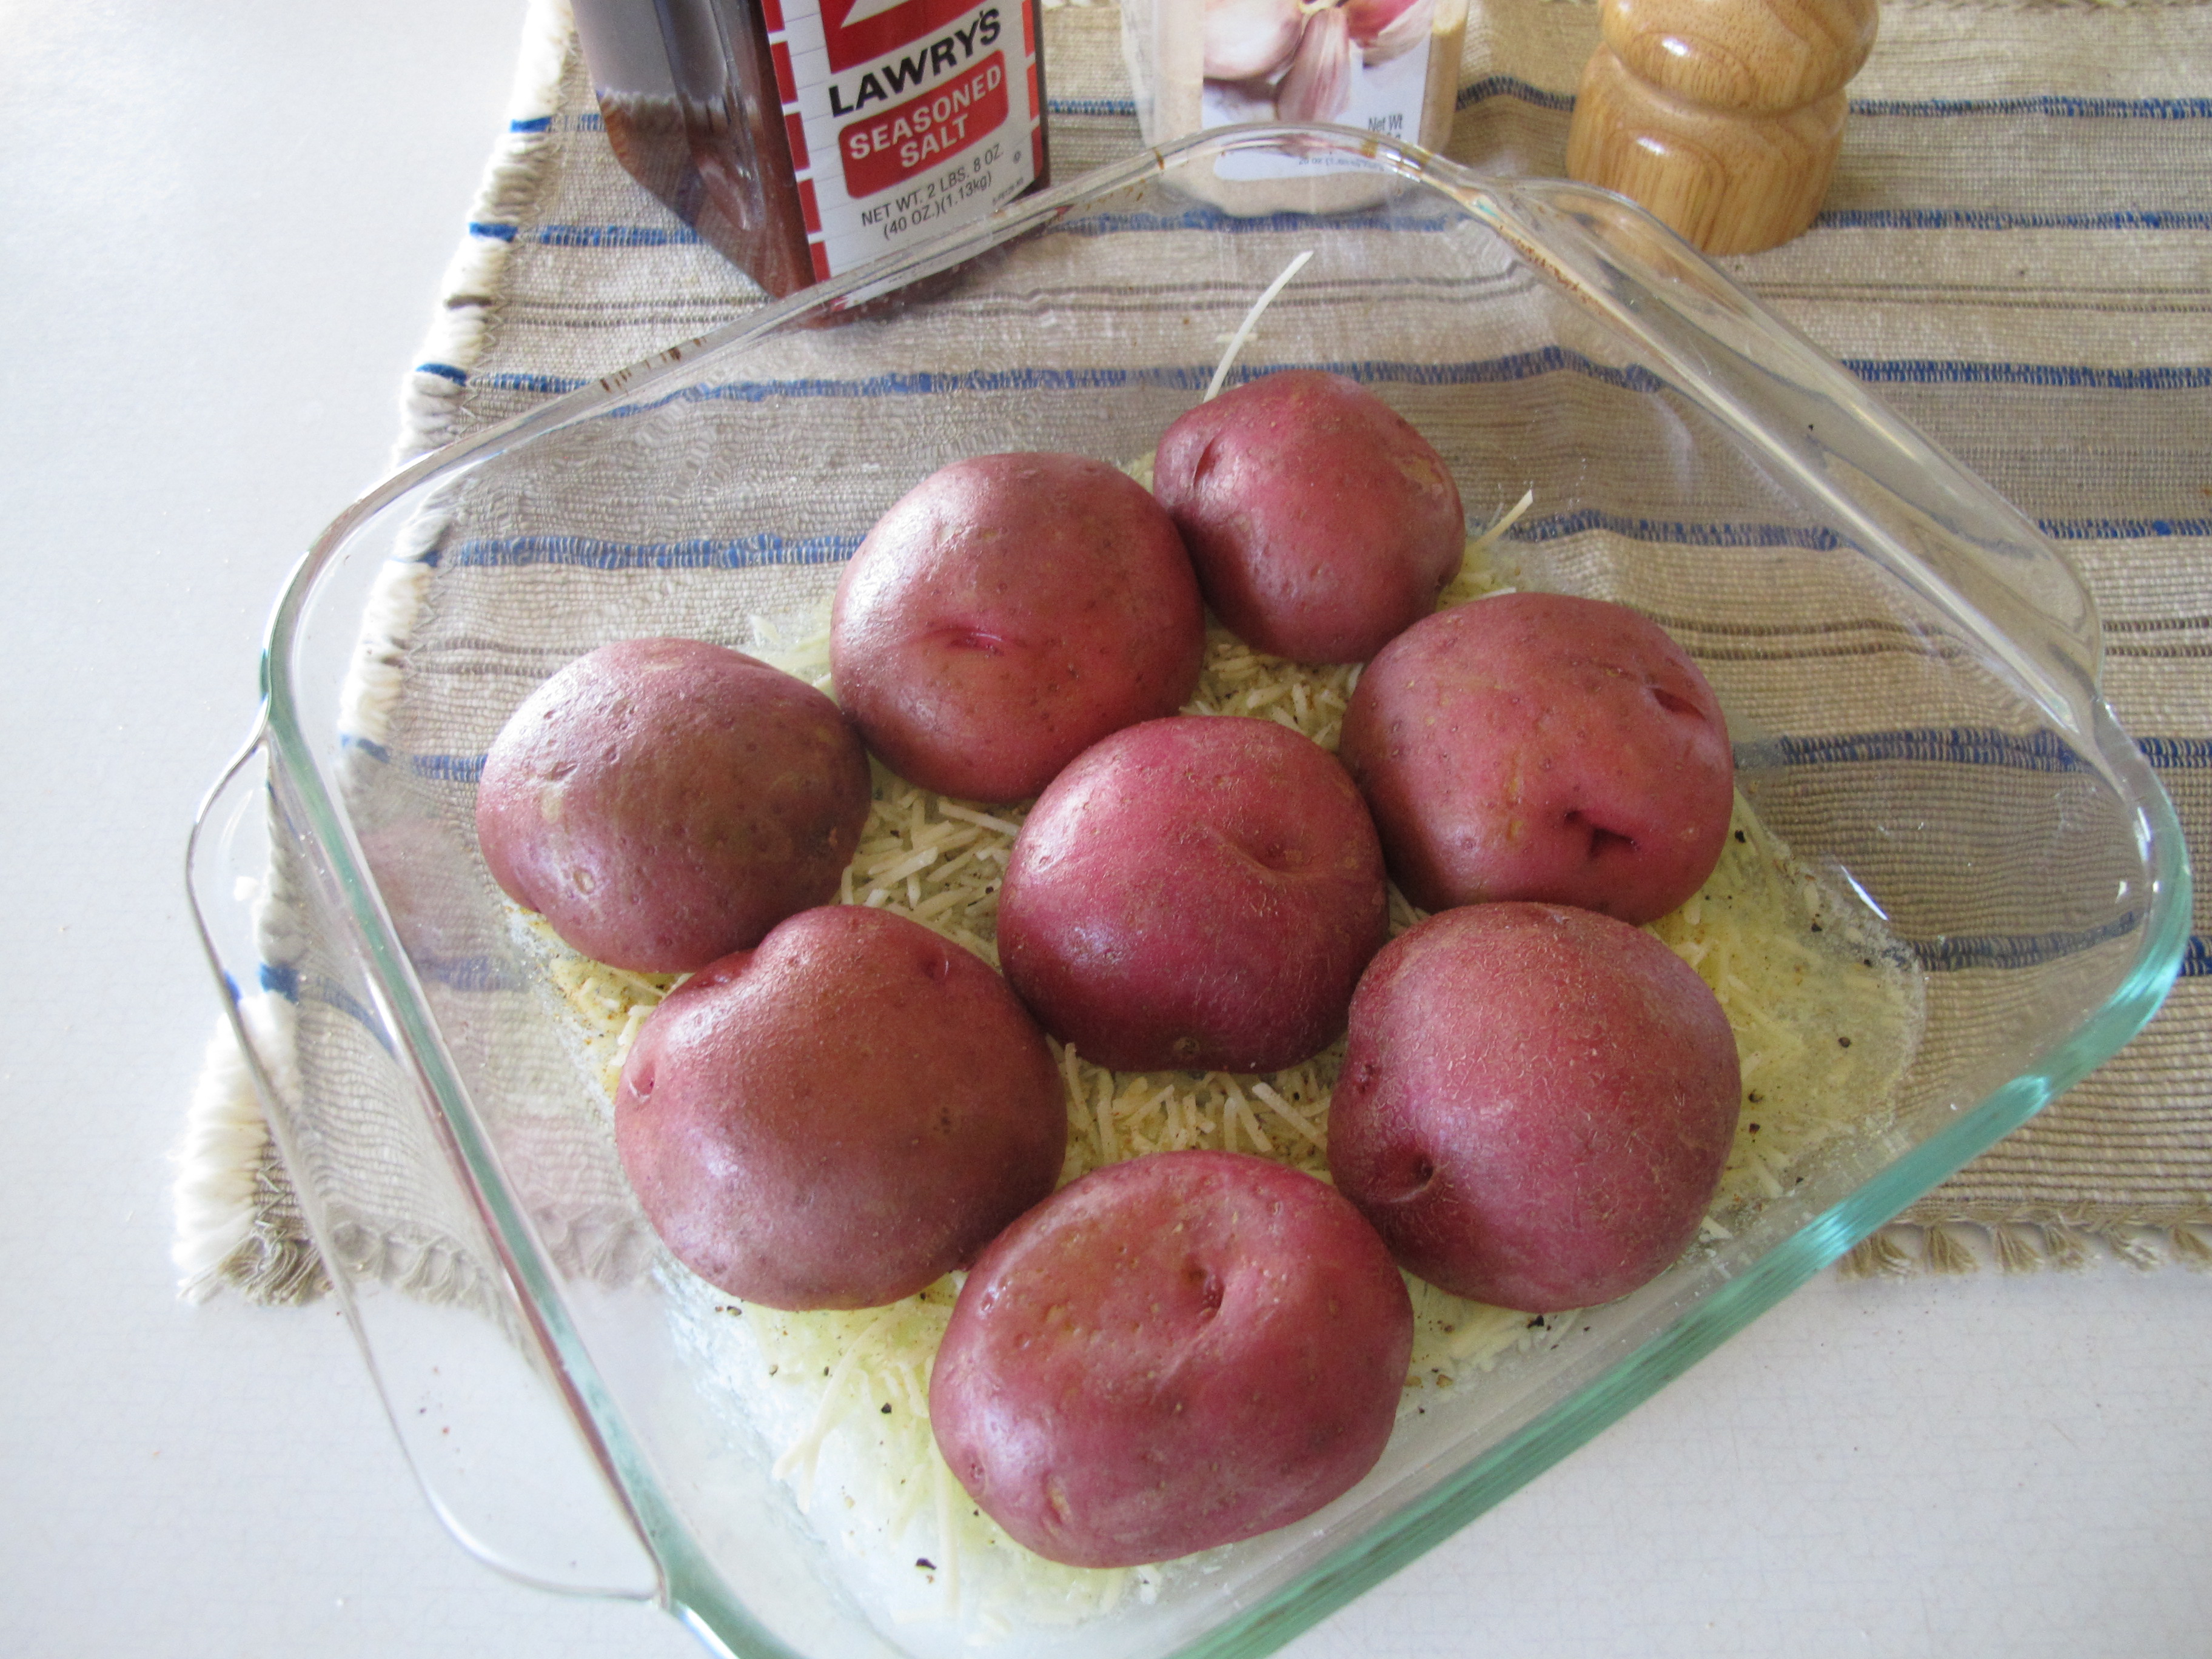
Cheesy Potato Mounds


(The rest of the pictures are shown with just 4 potatoes and half the amount of butter, made in an 8 x 8 pan.)
Preheat oven to 400 degrees.
1/4 cupBrummel and Brown butter
Melt butter in a glass 9 x 13 inch baking dish. Distribute evenly.

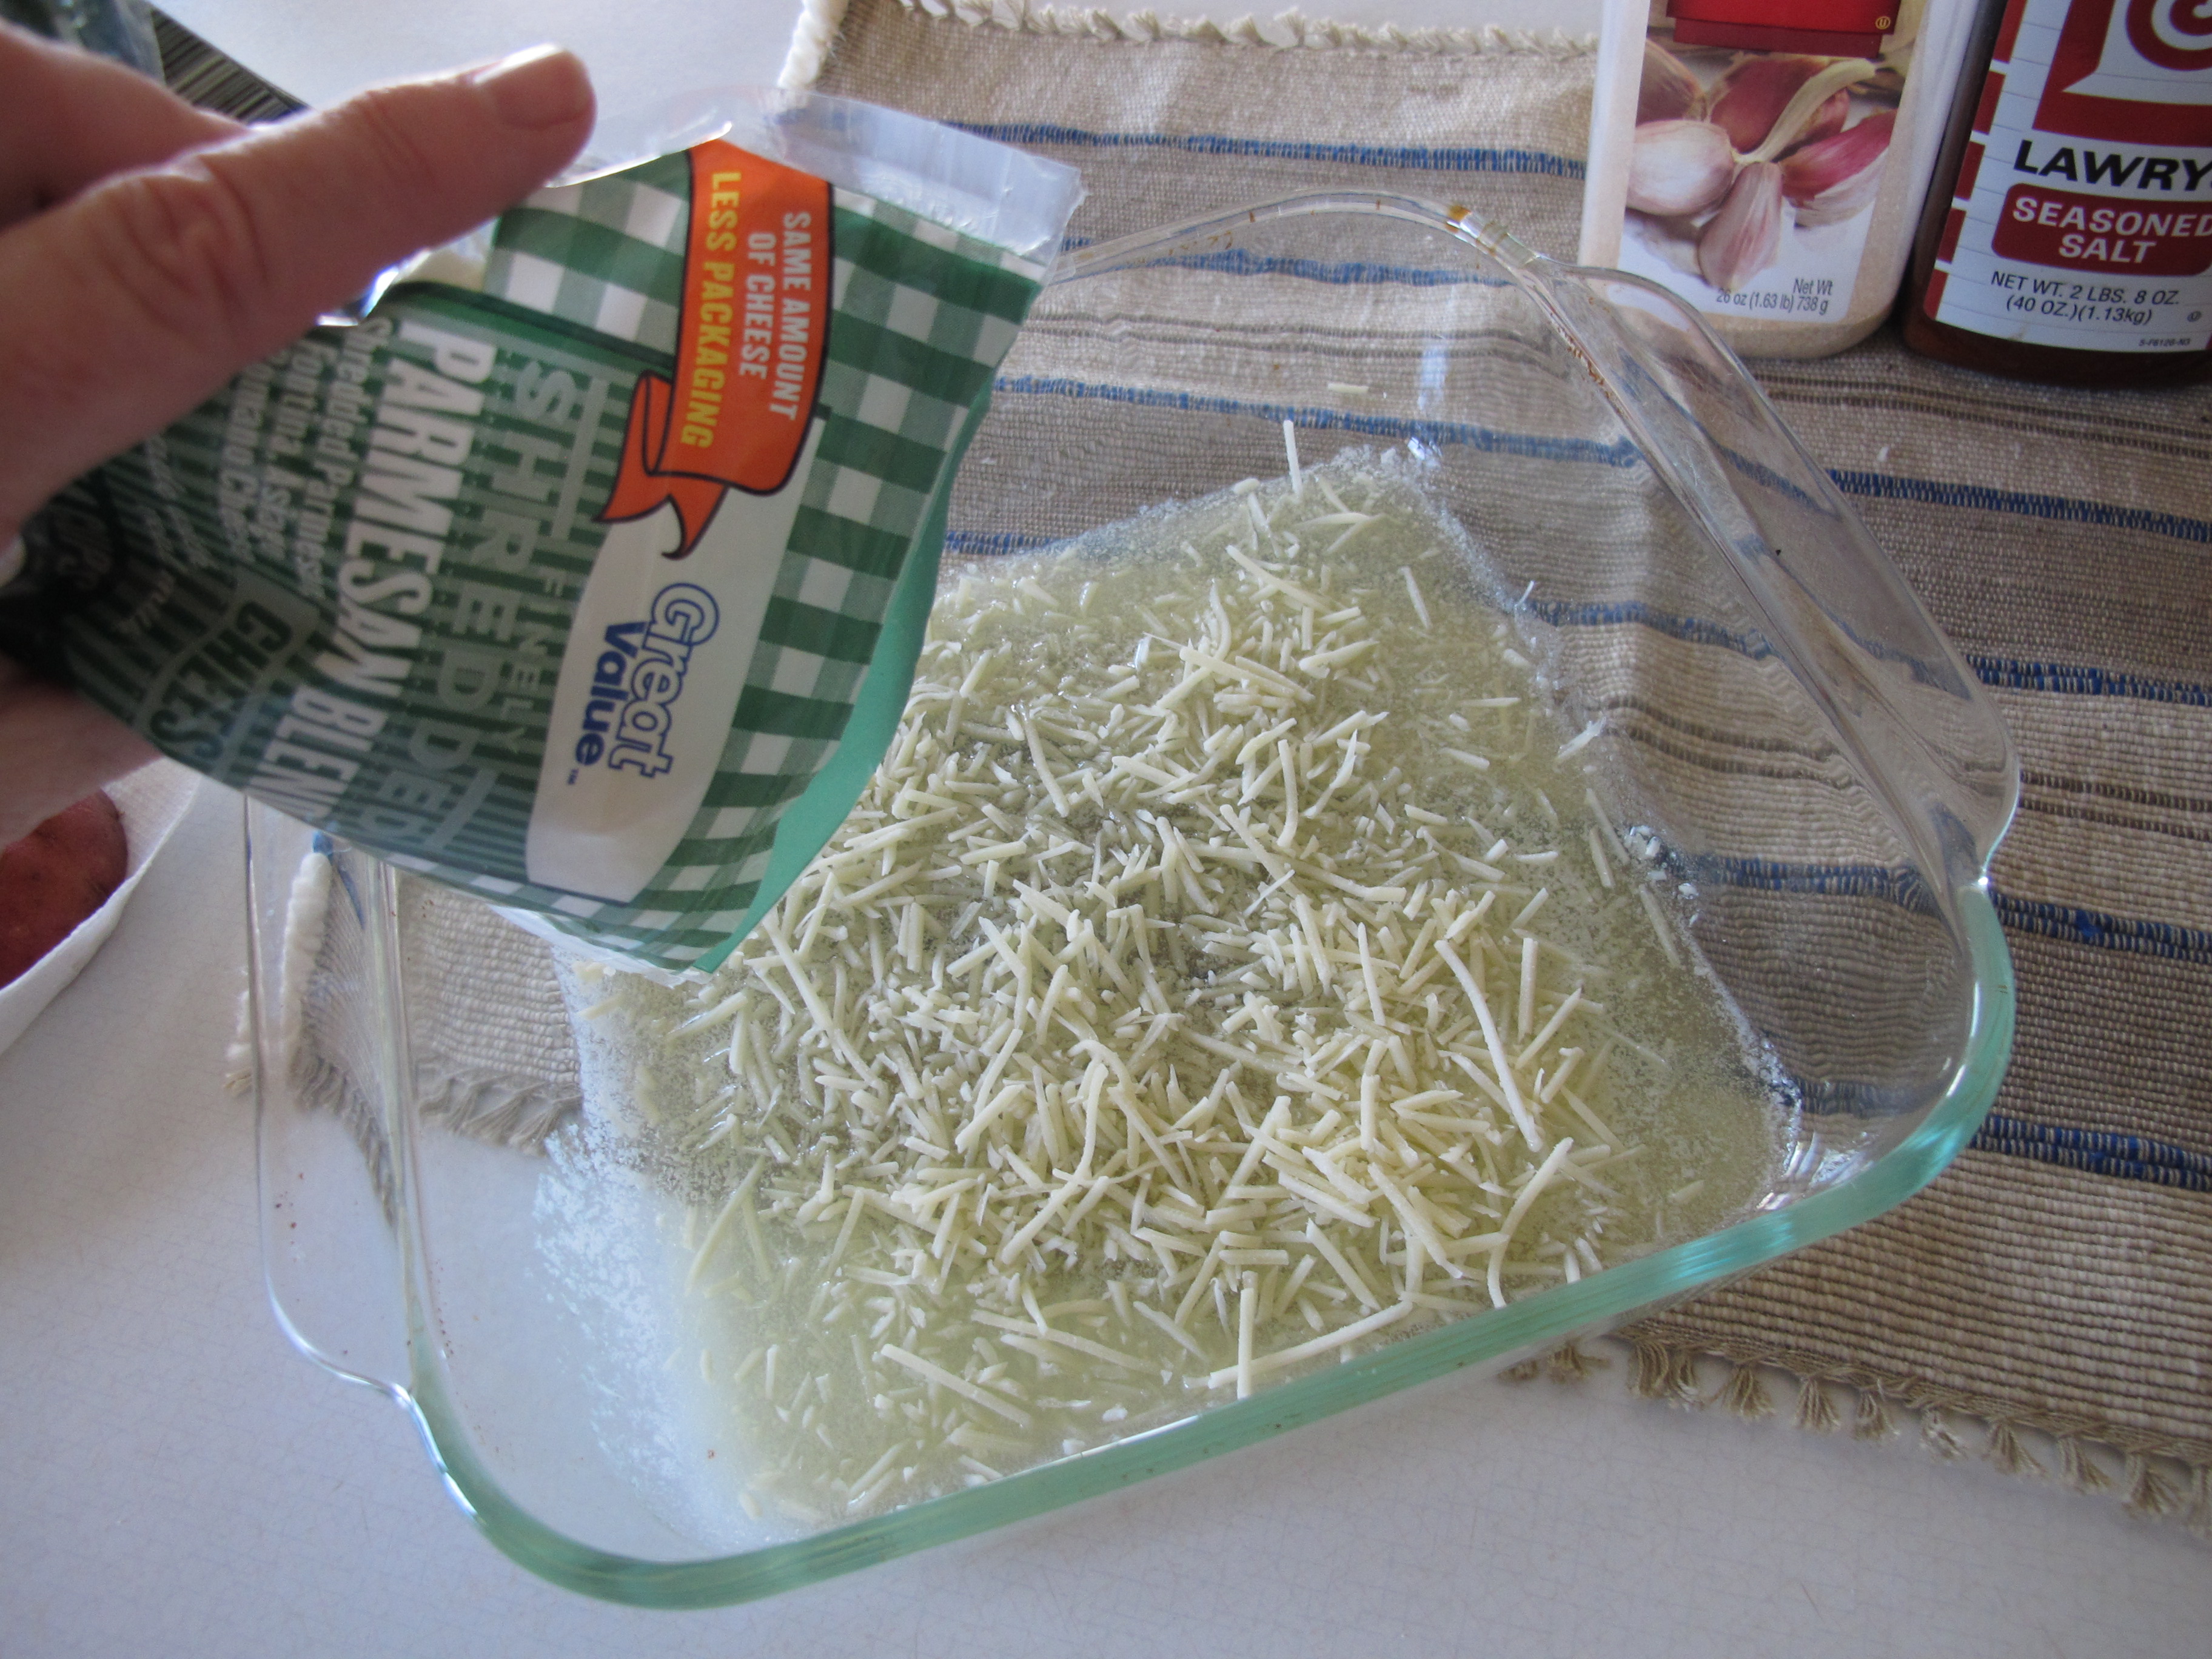
grated parmesan cheese
Generously sprinkle parmesan cheese over the melted butter.
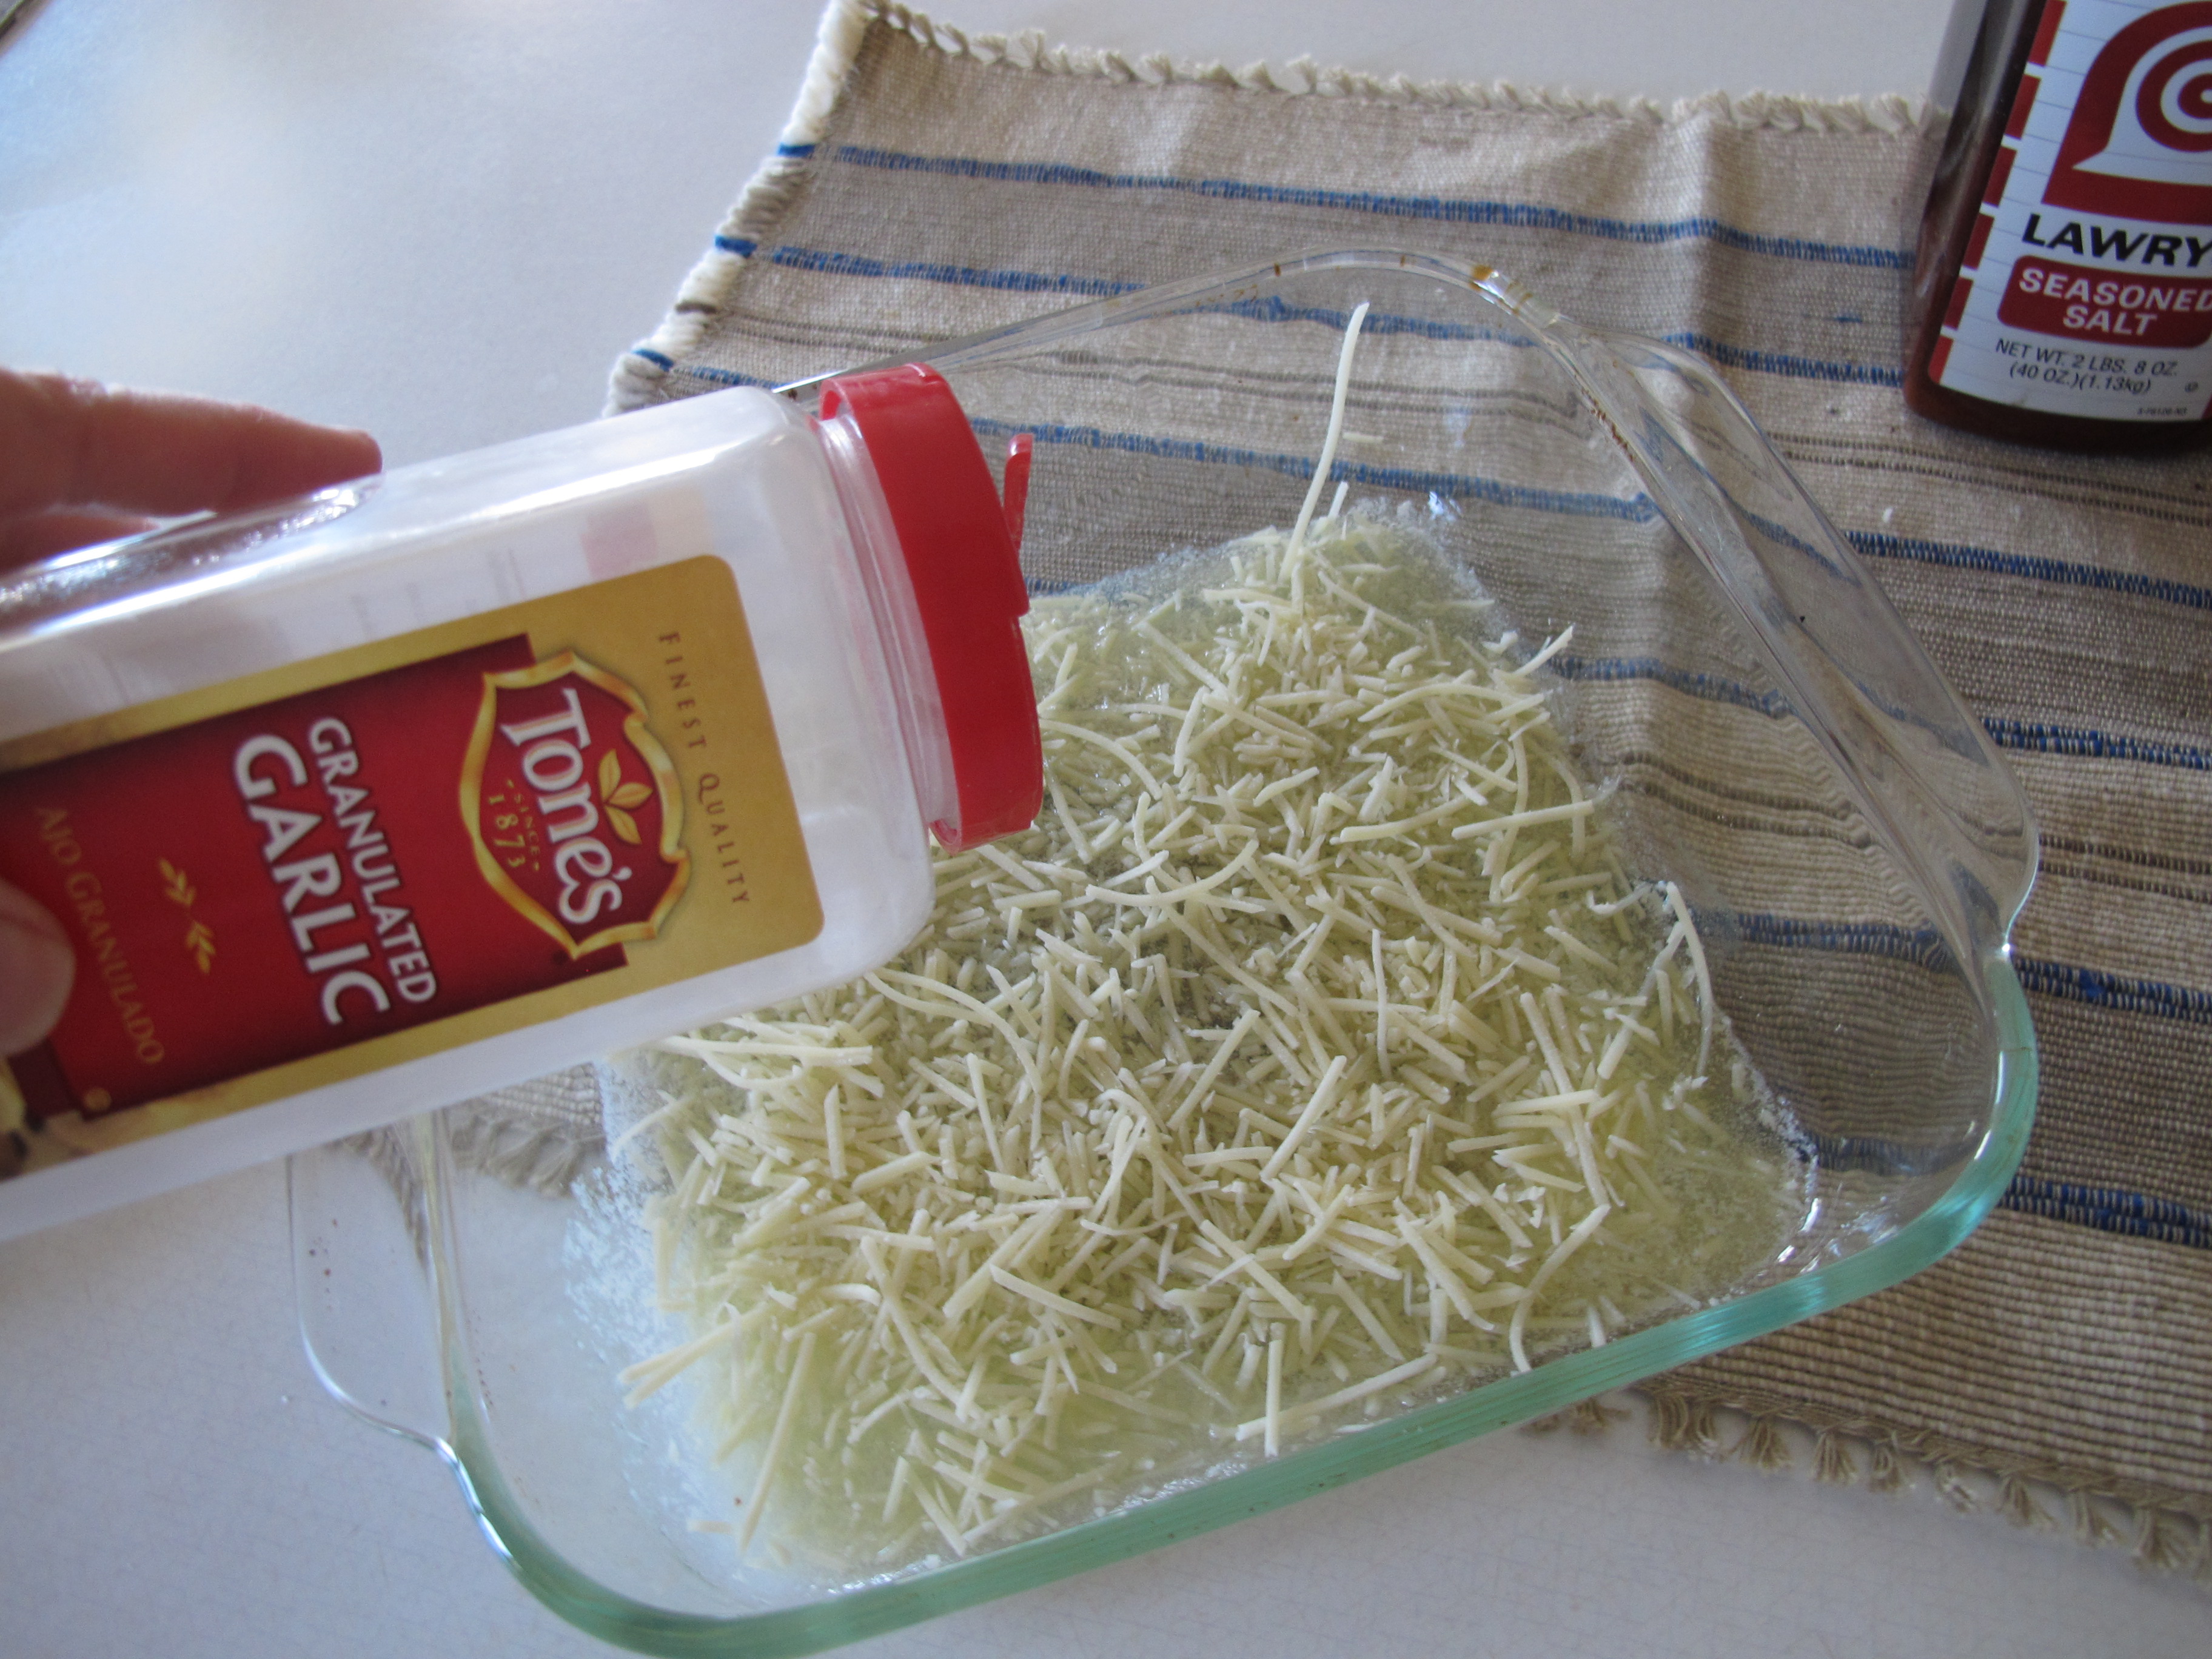
garlic granules
seasoned salt
pepper
Lightly sprinkle other seasonings over the parmesan cheese.
6 small potatoes, scrubbed and cut in half
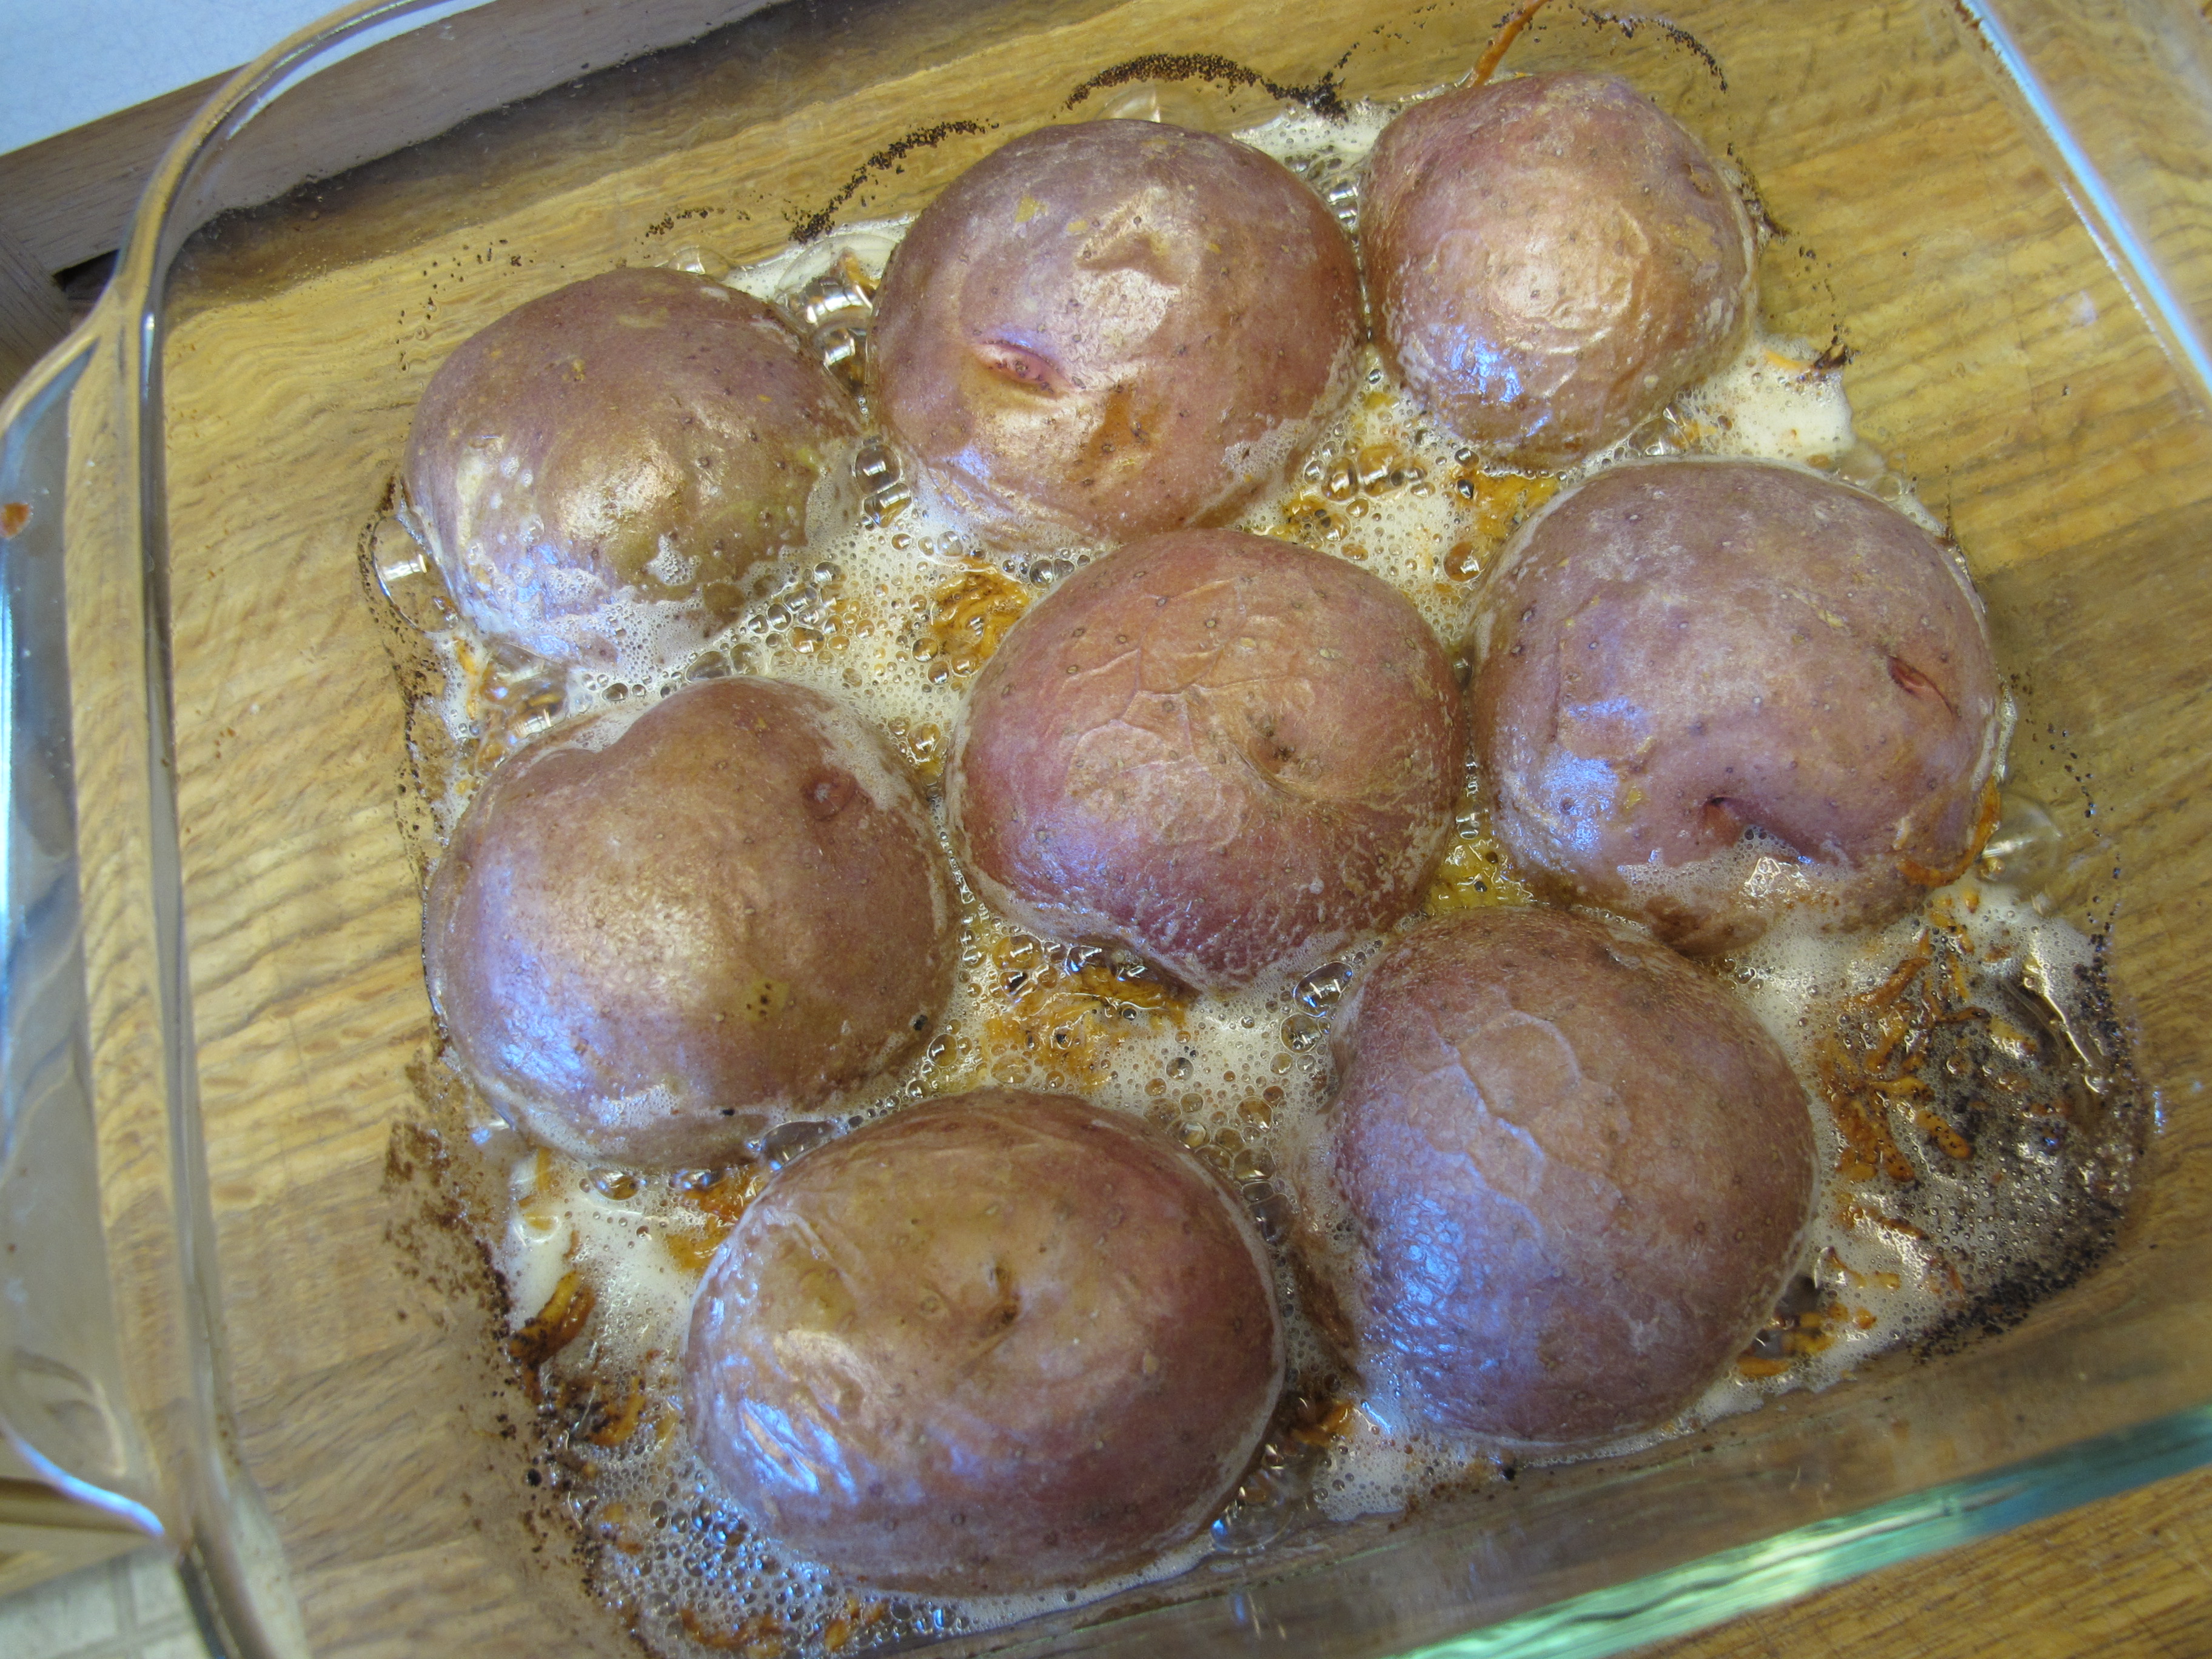
Place potato halves face down on the butter and seasonings.
Bake 40 – 45 minutes.
Cool for 5 minutes before removing from the pan. (You might need to separate the cheese between each potato.)
sour cream, ranch dip, or ranch dressing
Serve with sour cream, ranch dressing, or ranch dip.

FULL RECIPE WITHOUT PICTURES —
CHEESY POTATO HALVES
6 small potatoes, scrubbed and cut in half
1/4 cupBrummel and Brown butter
grated parmesan cheese
garlic granules
seasoned salt
pepper
sour cream, ranch dip, or ranch dressing
Preheat oven to 400 degrees.
Melt butter in a glass 9 x 13 inch baking dish. Distribute evenly.
Generously sprinkle parmesan cheese over the melted butter.
Lightly sprinkle other seasonings over the parmesan cheese.
Place potato halves face down on the butter and seasonings.
Bake 40 – 45 minutes. Cool for 5 minutes before removing from the pan. (You might need to separate the cheese between each potato.)
Serve with sour cream, ranch dressing, or ranch dip.
Lemon Cream Chicken
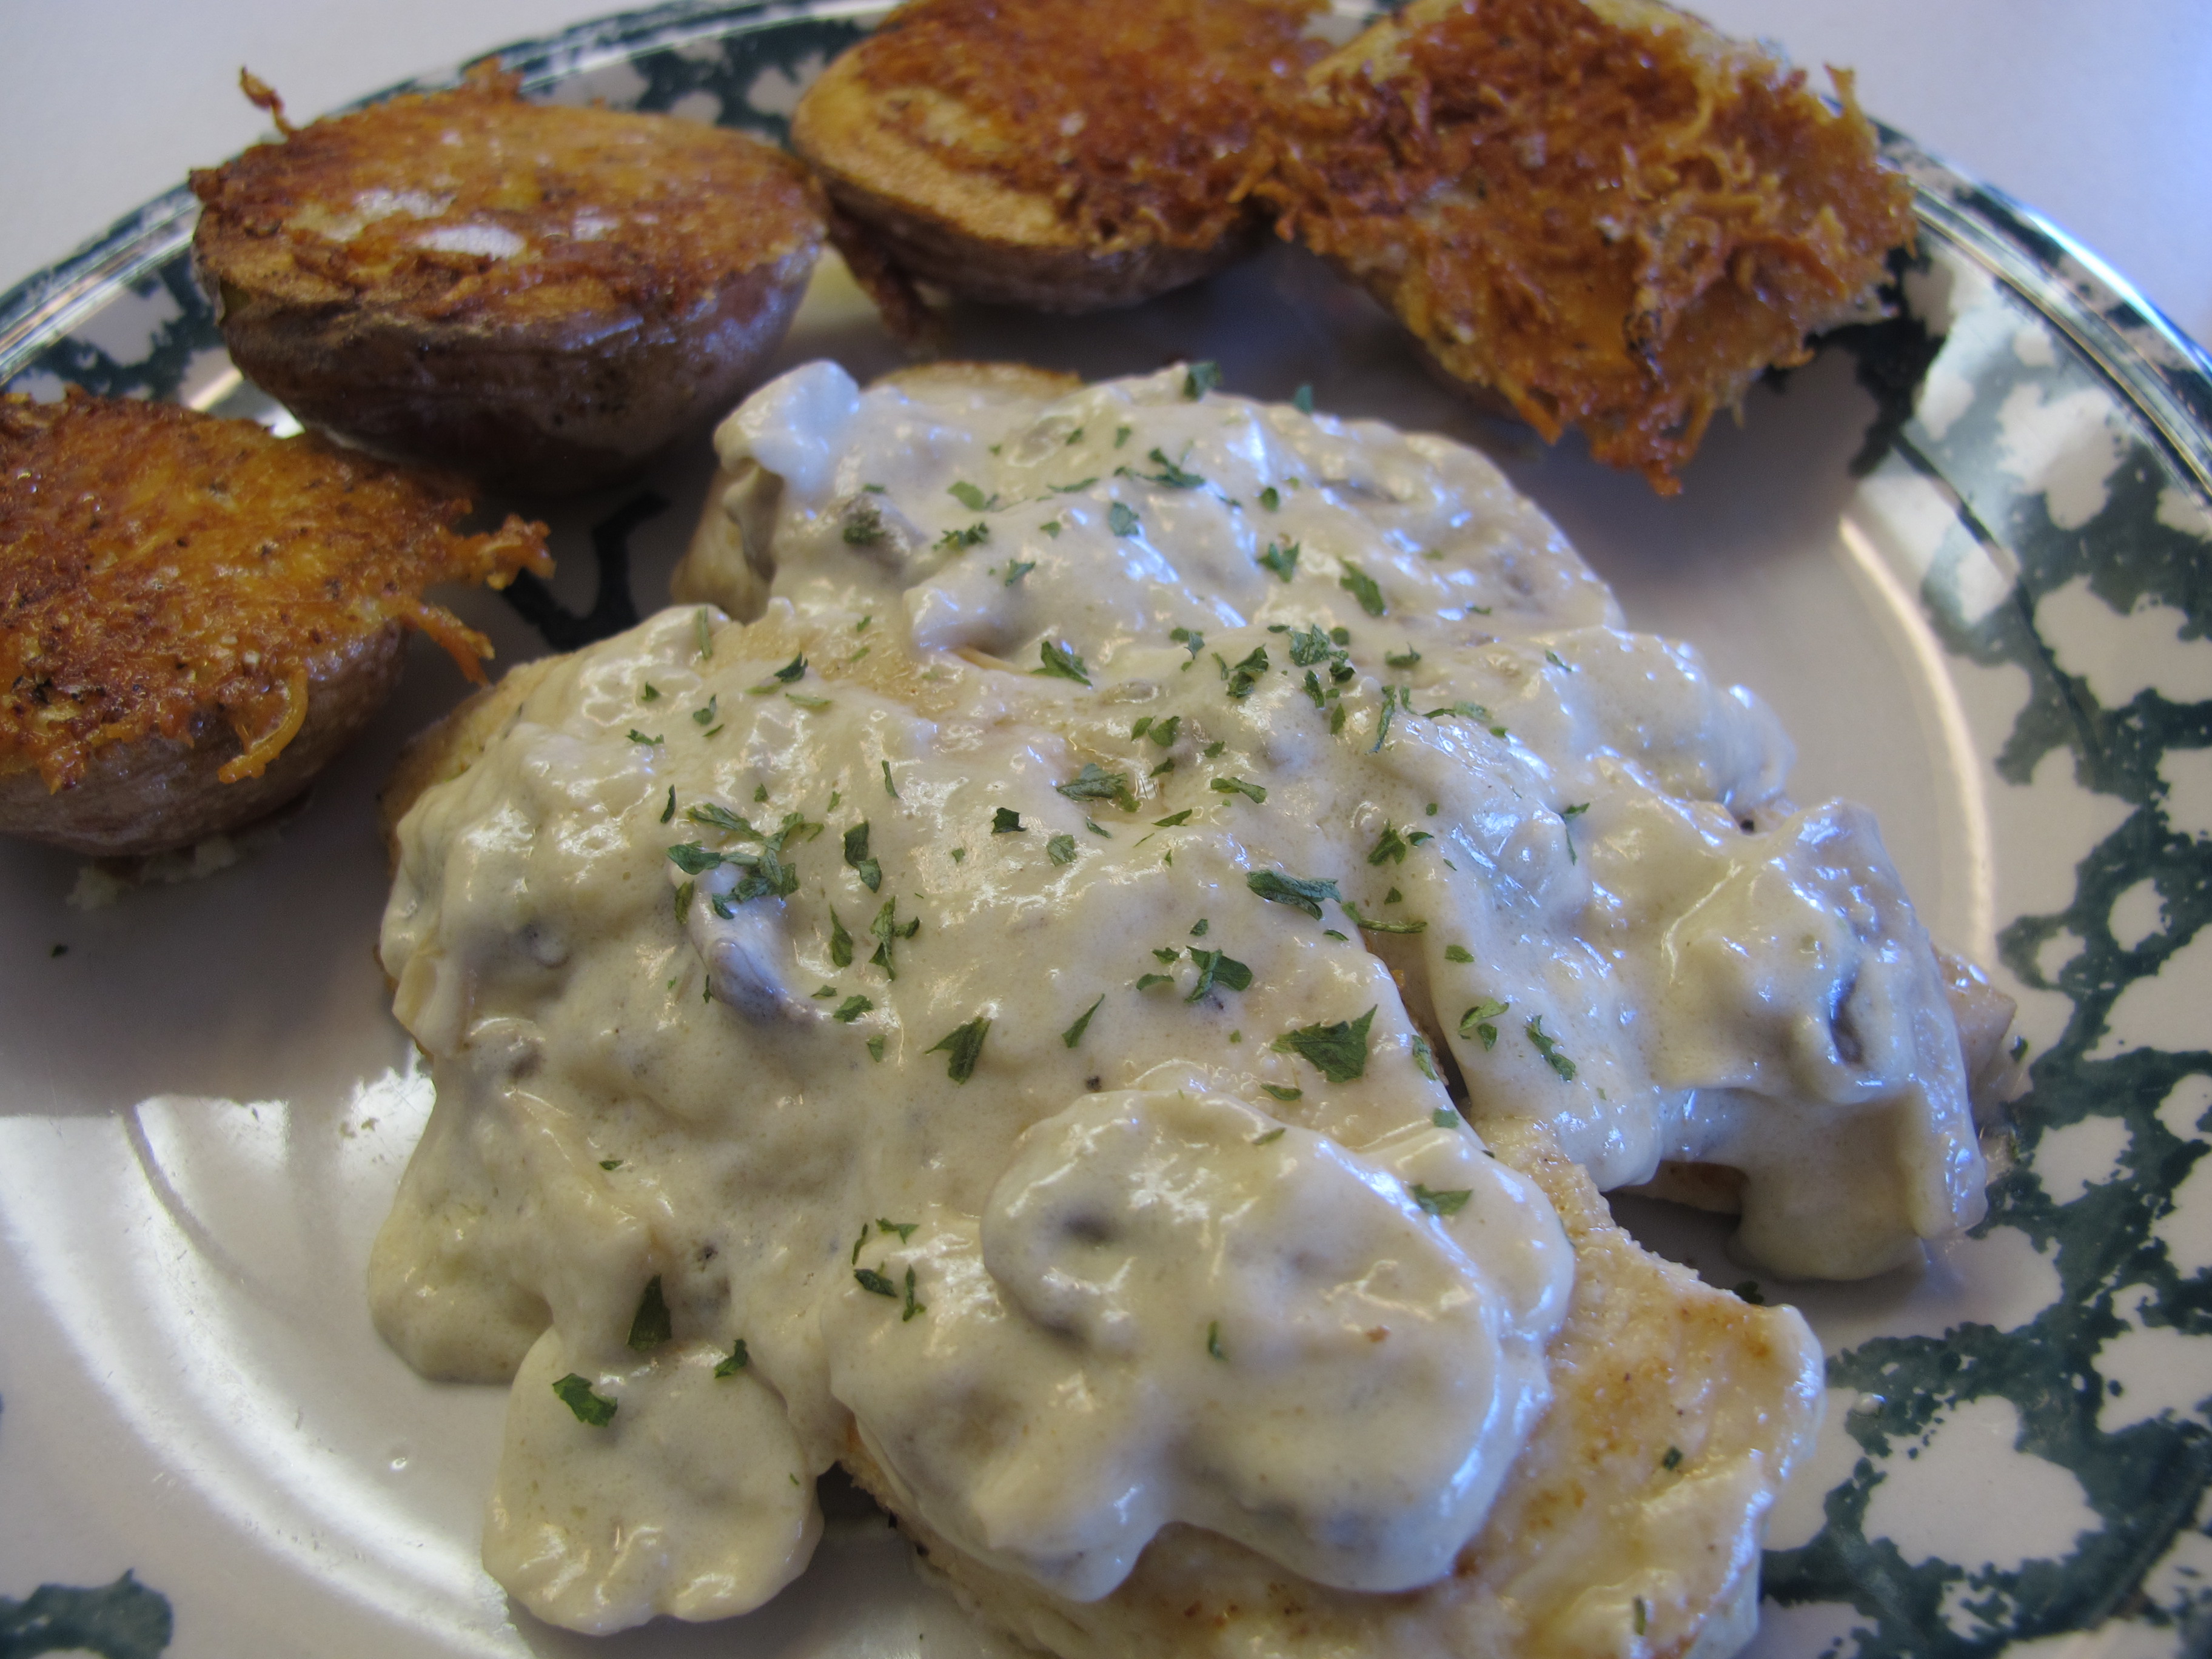
A rich, creamy, lemon sauce tops this delightful chicken dish. This dish is prepared quickly in a skillet on the stove top. Shown with Cheesy Potato Mounds. It looks kind of boring because the sauce is white, but it tastes really good! The lemon adds such a great flavor!
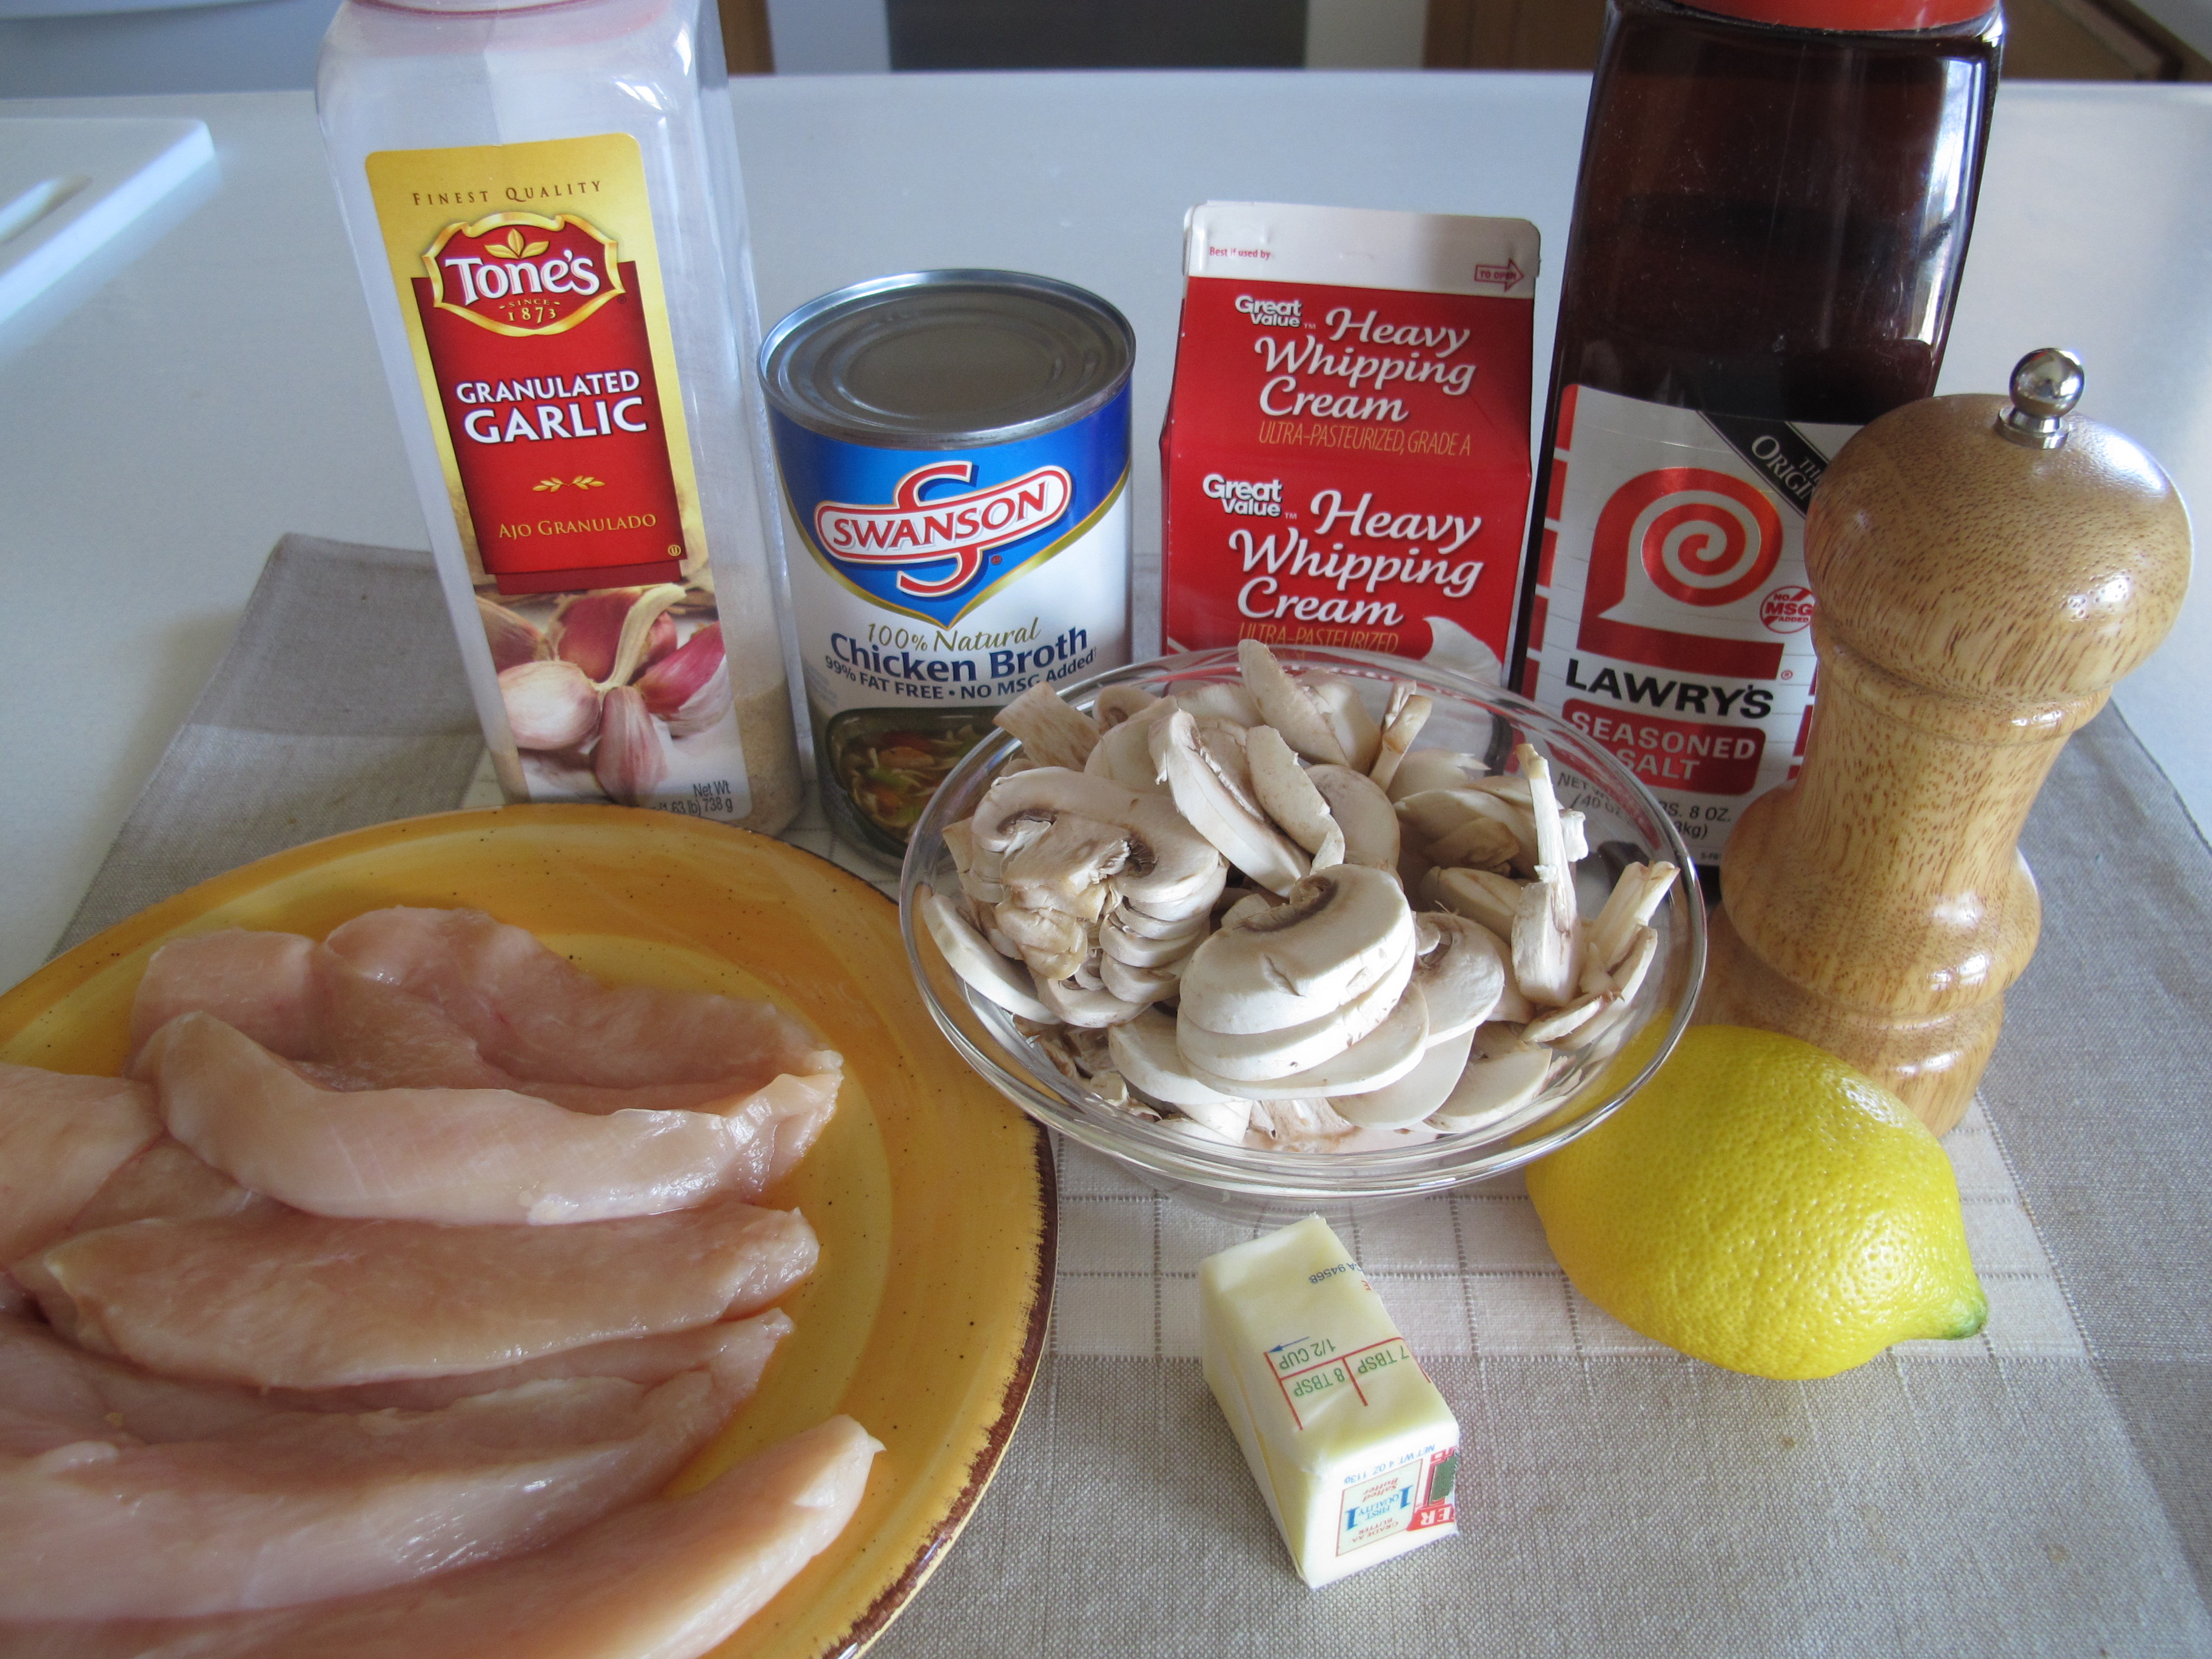
NOTE: Ingredients listed are for the full recipe. Pictures shown is using 2 chicken breasts and the sauce recipe is cut in half.
3 skinless, boneless chicken breasts
Fillet each chicken breast by cutting it in equal halves the long way.

Seasonings of your choice: I used seasoned salt, garlic granules, and pepper
Season chicken breasts on one side.

1/4 cup Brummel and Brown butter (not shown in pictures)
In a large skillet, melt butter.

Place chicken in the skillet, laying the seasoned side down. Season the other side once it is in the pan.
Cook chicken 6 – 7 minutes on each side, or until juices run clear.

Remove chicken to plate – cover with foil to keep warm.

1 cup chicken broth
Add broth to the drippings. Bring to a boil over medium heat; stir to loosen browned bits from the pan.
Simmer, uncovered, for 10 minutes or until broth is reduced by half.

1 cup whipping cream, divided 3/4 cup and 1/4 cup
Stir in 3/4 cup of cream.

3 T. lemon juice
Add lemon juice.

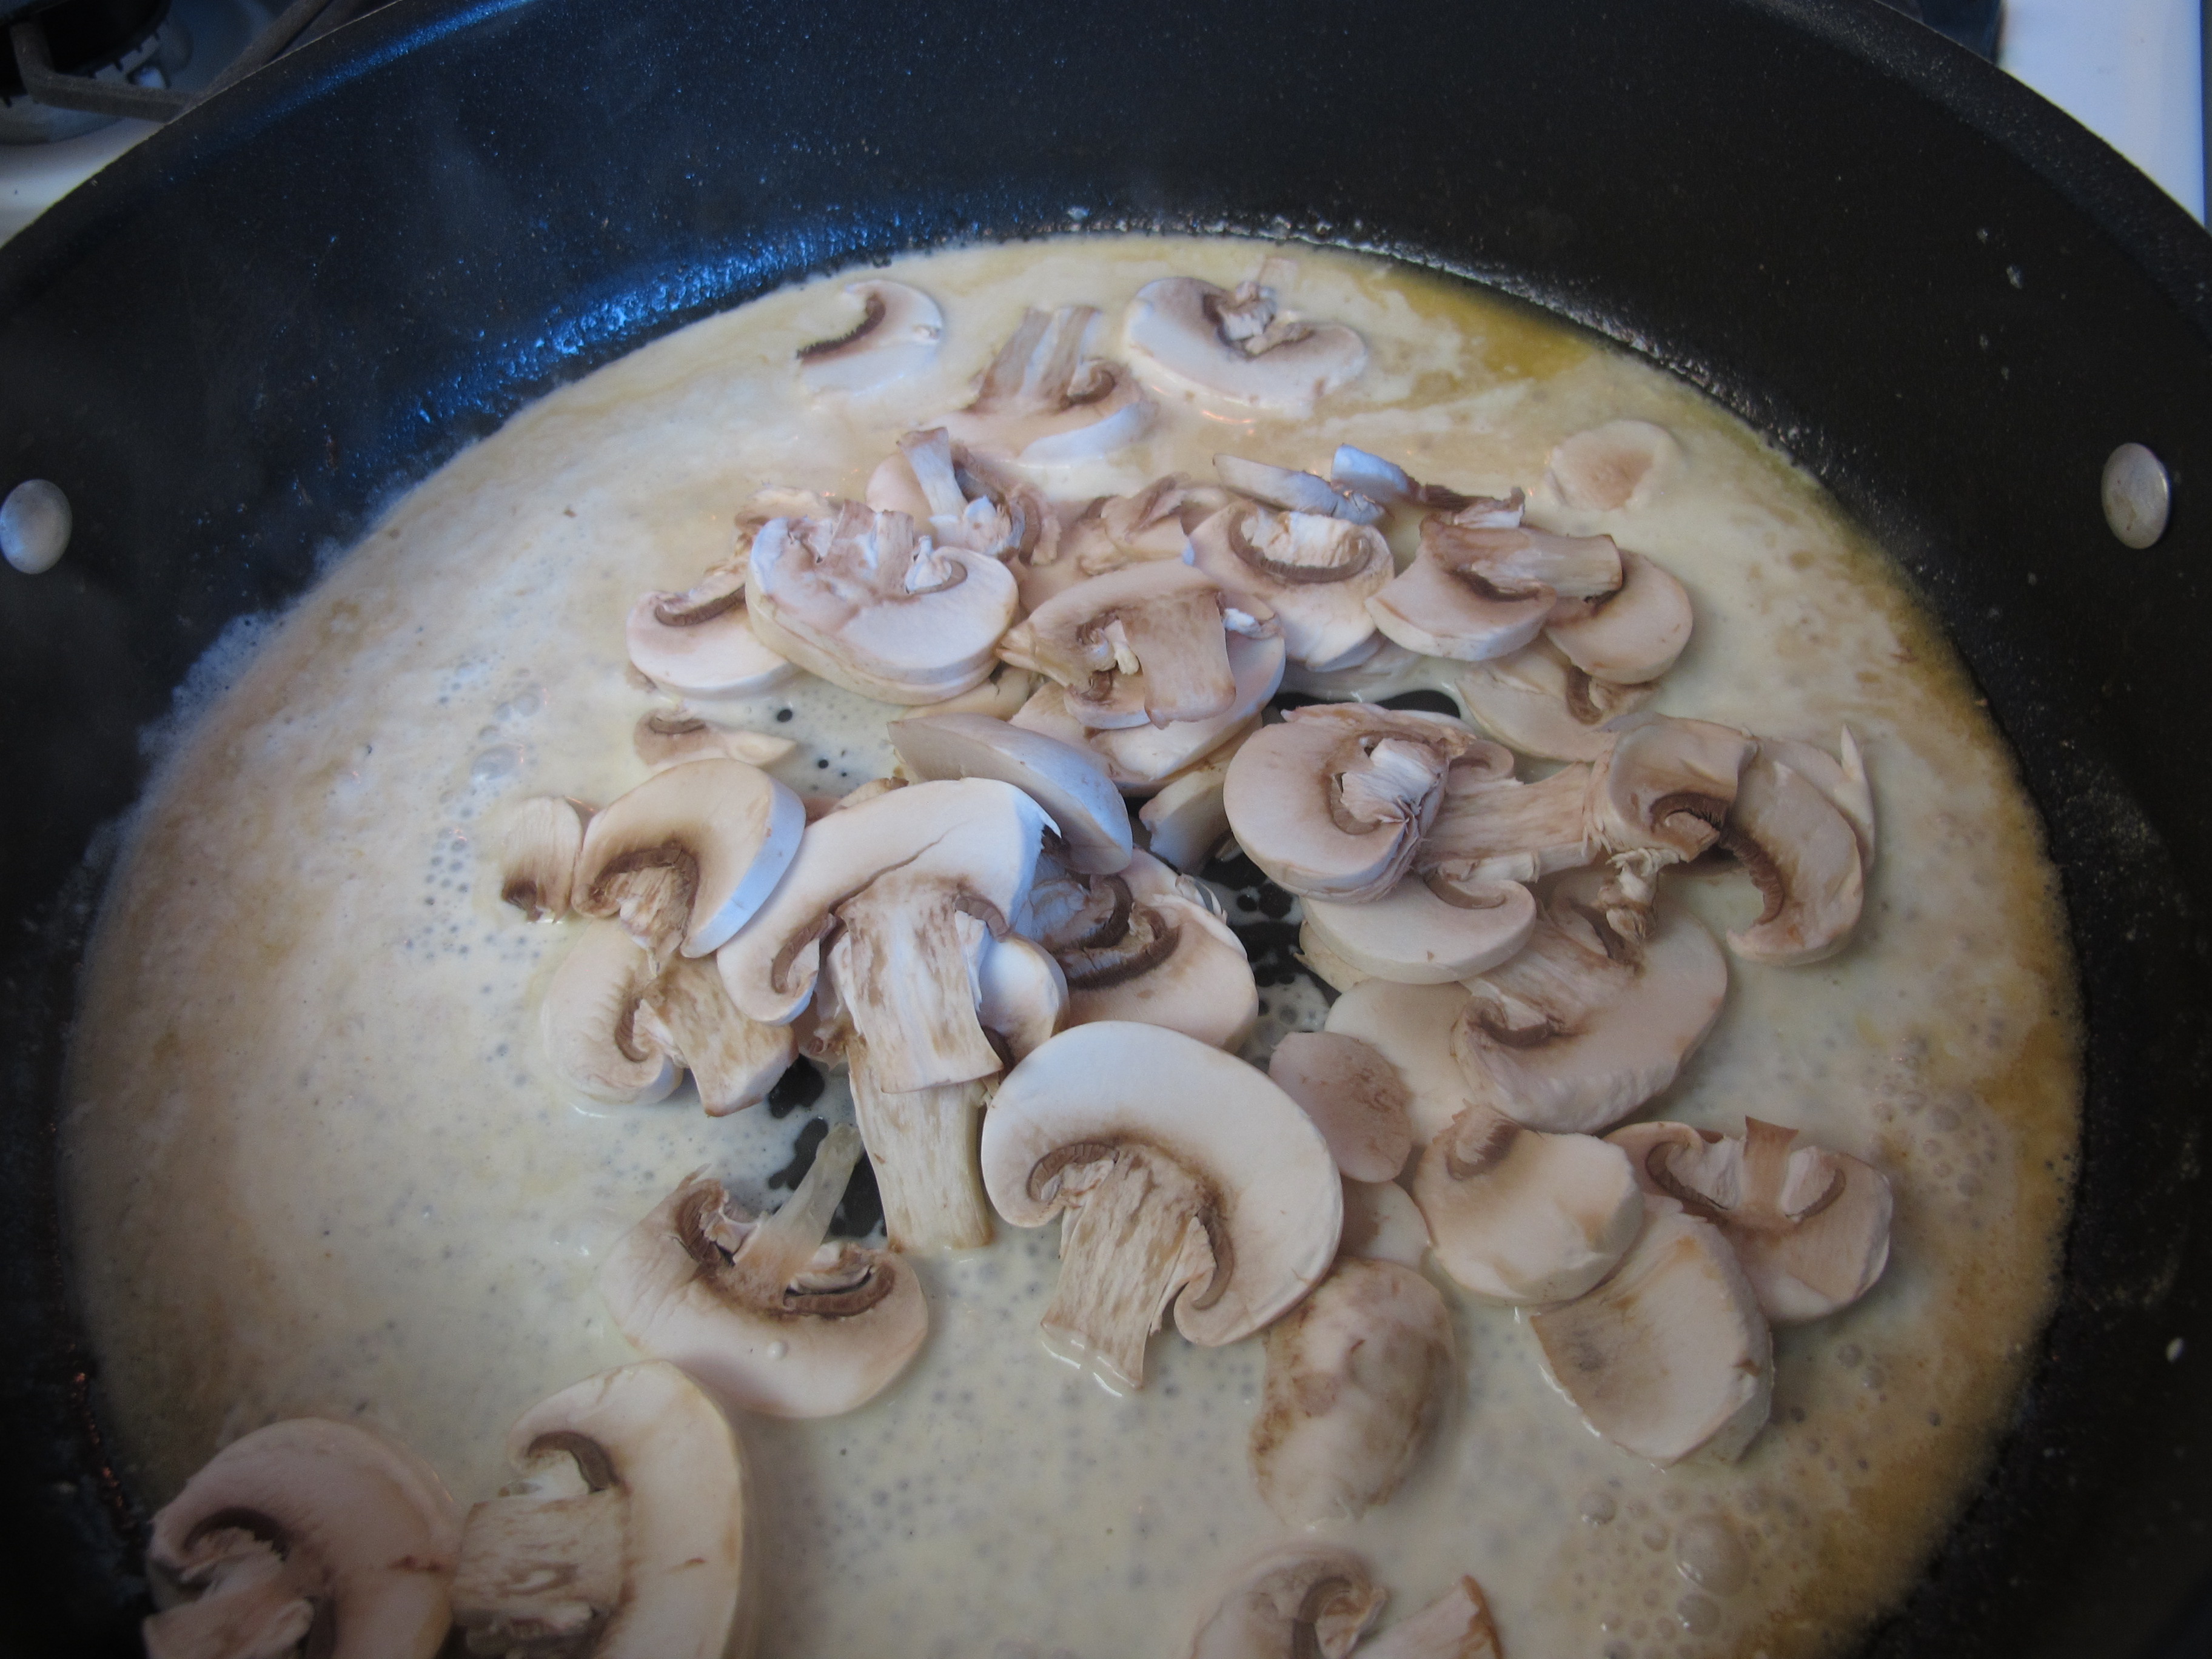
1/2 pound fresh mushrooms, sliced
Add mushrooms.
Cook over medium/low heat for 5 minutes.
1 T. flour
Combine flour with 1/4 cup cream, whisk until smooth. Stir into skillet. Simmer for about 2 minutes or until thickened.

Plate chicken and spoon mushroom cream sauce over chicken.
Makes 6 servings.
Recipe Source: Taste of Home Magazine
FULL RECIPE WITHOUT PICTURES —
LEMON CREAM CHICKEN
3 skinless, boneless chicken breasts
Seasonings of your choice: I used seasoned salt, garlic granules, and pepper
1/4 cupBrummel and Brown butter
1 cup chicken broth
1 cup whipping cream, divided 3/4 cup and 1/4 cup
3 T. lemon juice
1/2 pound fresh mushrooms, sliced
1 T. flour
Fillet each chicken breast by cutting it in equal halves the long way.
Season chicken breasts on one side.
In a large skillet, melt butter.
Place chicken in the skillet, laying the seasoned side down. Season the other side once it is in the pan.
Cook chicken 6 – 7 minutes on each side.
Remove chicken to plate – cover with foil to keep warm.
Add broth to the drippings. Bring to a boil over medium heat; stir to loosen browned bits from the pan. Simmer, uncovered, for 10 minutes or until broth is reduced by half.
Stir in 3/4 cup of cream.
Add lemon juice.
Add mushrooms.
Cook over medium/low heat for 5 minutes.
Combine flour with 1/4 cup cream, whisk until smooth. Stir into skillet. Simmer for about 2 minutes or until thickened.
Plate chicken and spoon mushroom cream sauce over chicken.
Makes 6 servings.
Recipe Source: Taste of Home Magazine
Peanut Butter Krispies

NOTE: Ingredients listed make a 9 x 13 inch pan. The pictures shown is the recipe cut in half .
Grease a 9 x 13 inch baking pan; set a side.

1 cup light brown sugar, packed
1 cup light corn syrup
Combine brown sugar and corn syrup in a large saucepan. It will be very thick at first. Heat over medium/low heat until sugar is dissolved, stirring frequently. Bring to a boil and remove from heat.

1 cup peanut butter, creamy or crunchy
1 tsp. vanilla
Stir in peanut butter and vanilla until smooth.

5 /12 – 6 cups rice krispies
Stir in the rice krispies until completely coated.

Press mixture evenly into the prepared pan.

1 bag chocolate chips, milk or semi-sweet
Melt chocolate chips in the microwave, stirring every 30 seconds, until melted.

Evenly spread over bars.

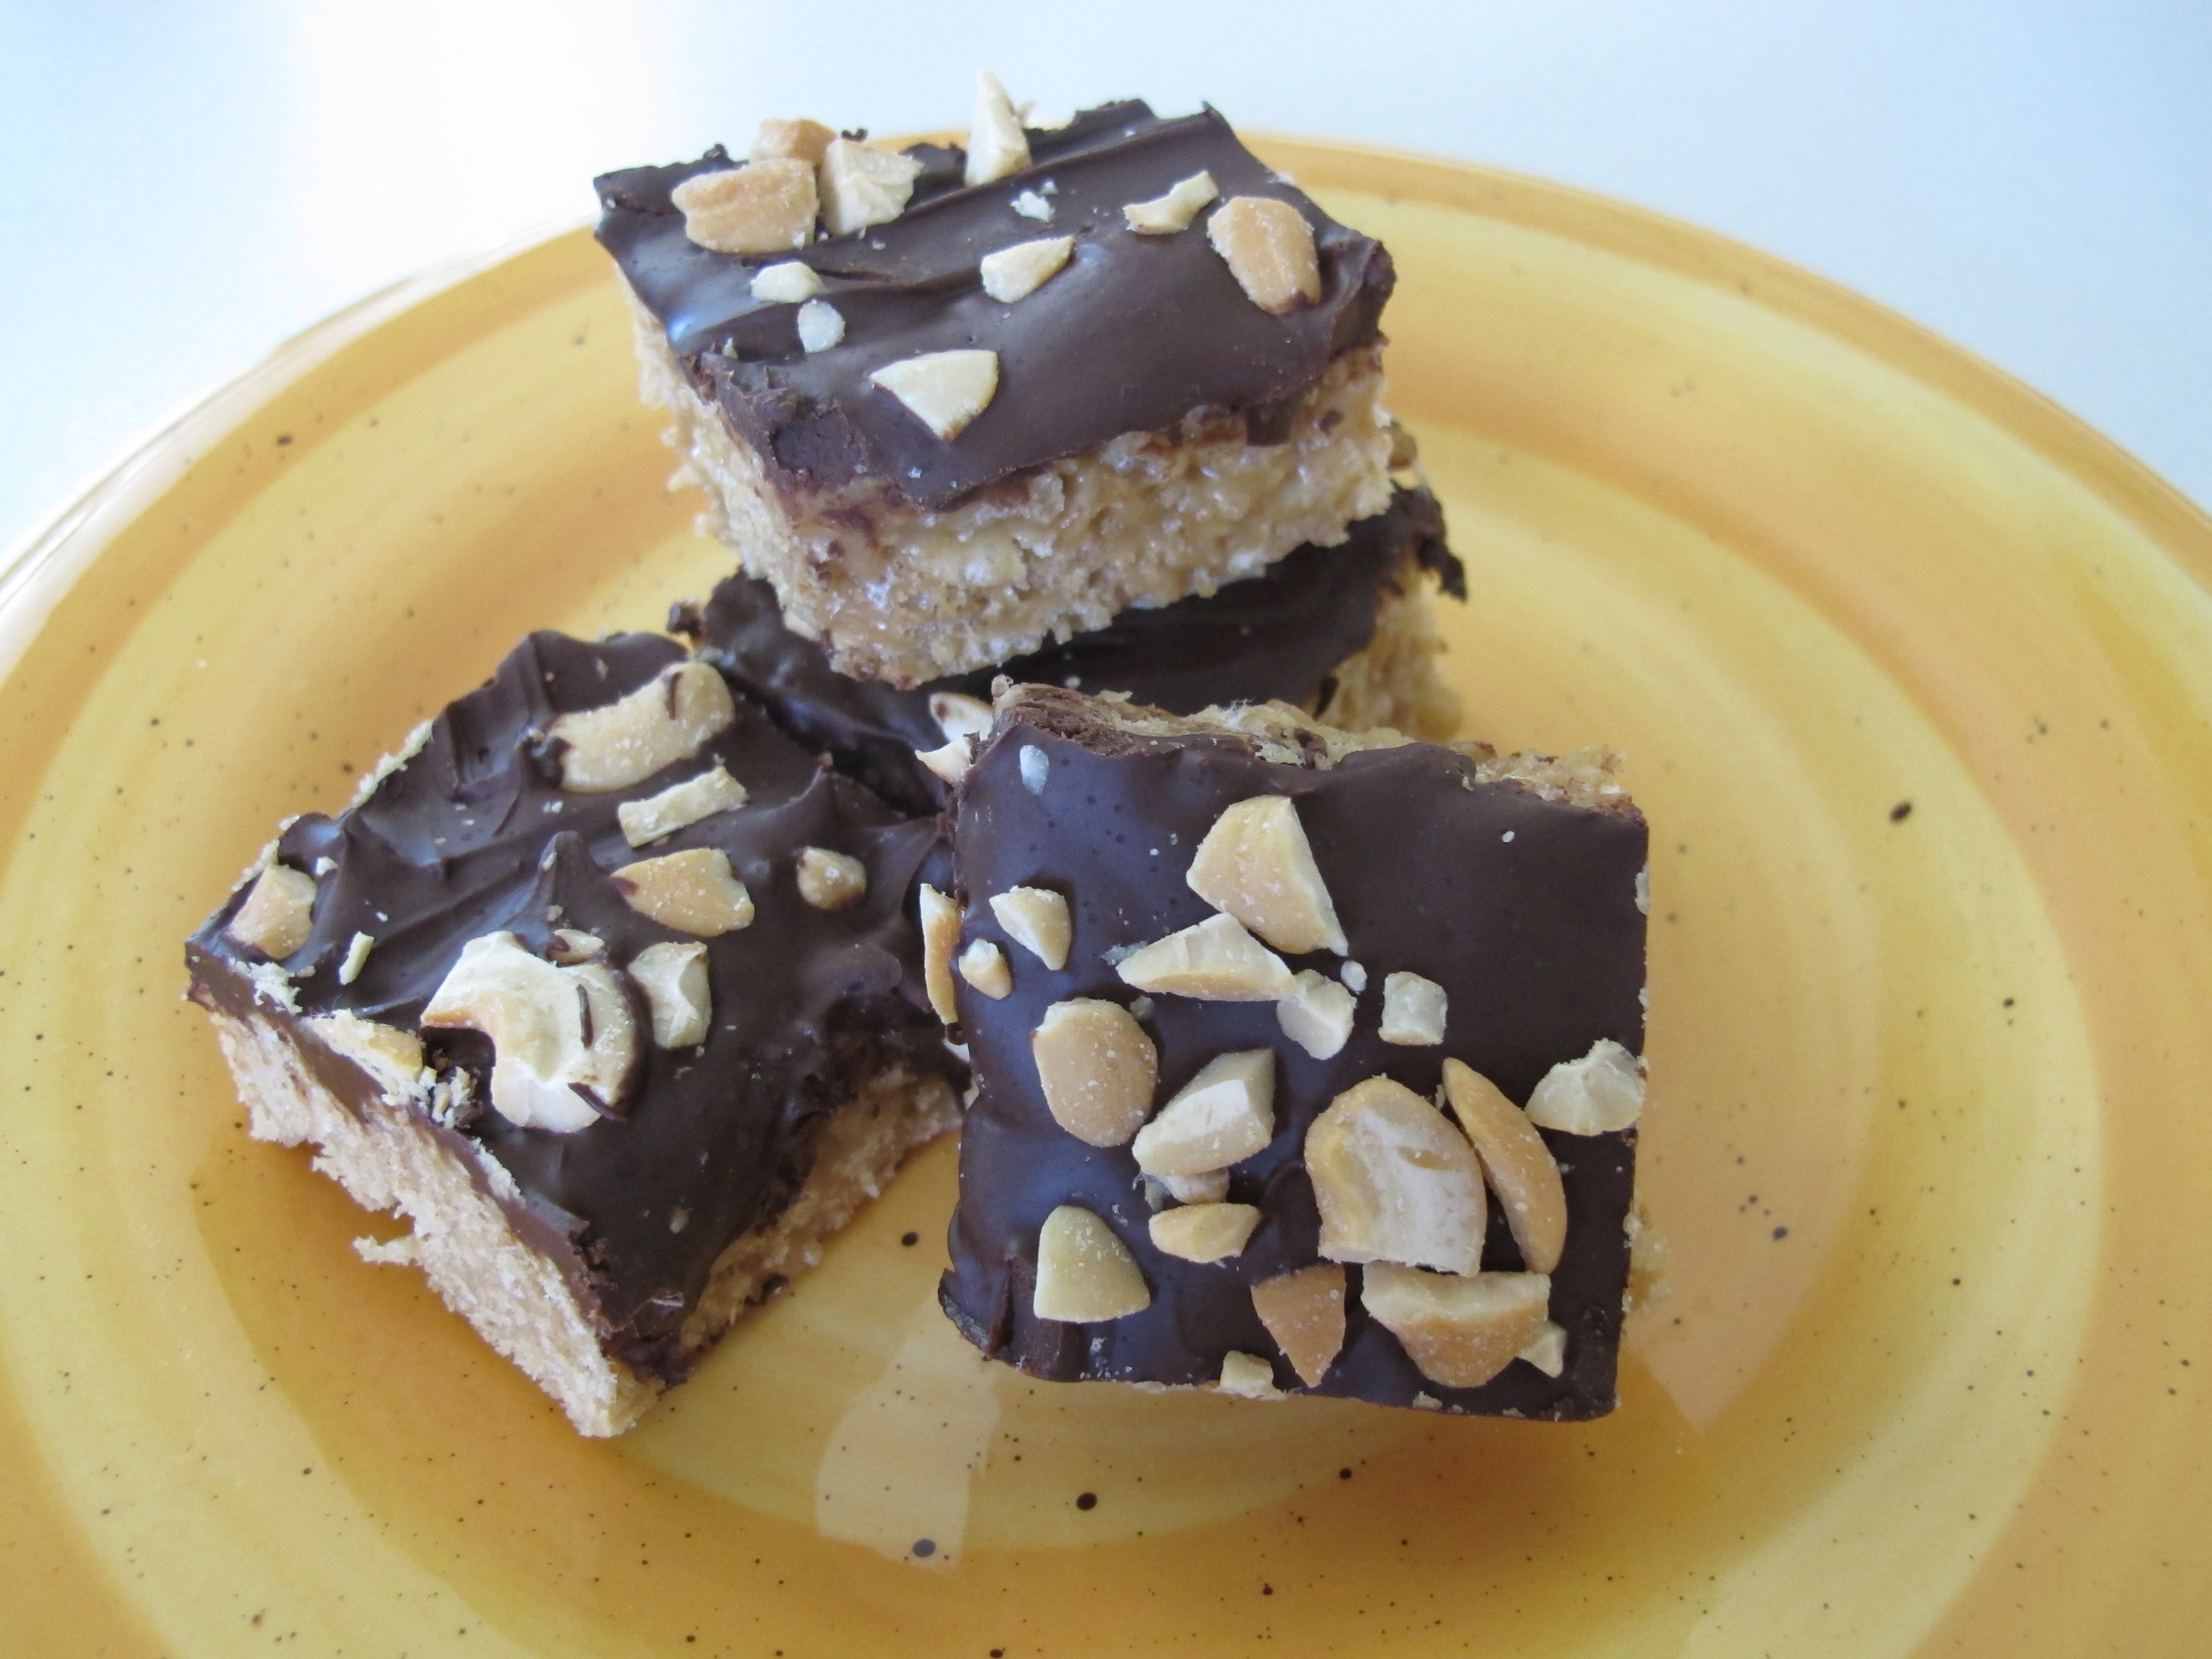
1/4 cup nuts, chopped (optional) I used salted cashews, roughly chopped
Sprinkle nuts on top.

Cut while still warm.
Allow to set.
If you eat them when they are still warm, they are ooey gooey rich! We prefer to eat them after they cool and the chocolate sets. Either way, they are delicious!!!
FULL RECIPE WITHOUT PICTURES —
PEANUT BUTTER KRISPIES
1 cup light brown sugar, packed
1 cup light corn syrup
1 cup peanut butter, creamy or crunchy
1 tsp. vanilla
5 /12 – 6 cups rice krispies
1 bag chocolate chips, milk or semi-sweet
1/4 cup nuts, chopped (optional)
Grease a 9 x 13 inch baking pan; set a side.
Combine brown sugar and corn syrup in a large saucepan. It will be very thick at first. Heat over medium/low heat until sugar is dissolved, stirring frequently. Bring to a boil and remove from heat.
Stir in peanut butter and vanilla until smooth.
Stir in the rice krispies until completely coated.
Press mixture evenly into the prepared pan.
Melt chocolate chips in the microwave, stirring every 30 seconds, until melted. Evenly spread over bars.
Sprinkle nuts on top.
Cut while still warm.
If you eat them when they are still warm, they are ooey gooey rich! We prefer to eat them after they cool and the chocolate sets. Either way – they are delicious!!!
Creamy Chicken Taquitos (Baked – not fried!)
I love taquitos but I have never made them because I hate frying food in oil. It just bothers me to see all that oil soaking into my food. When I saw this recipe, I just had to try it.
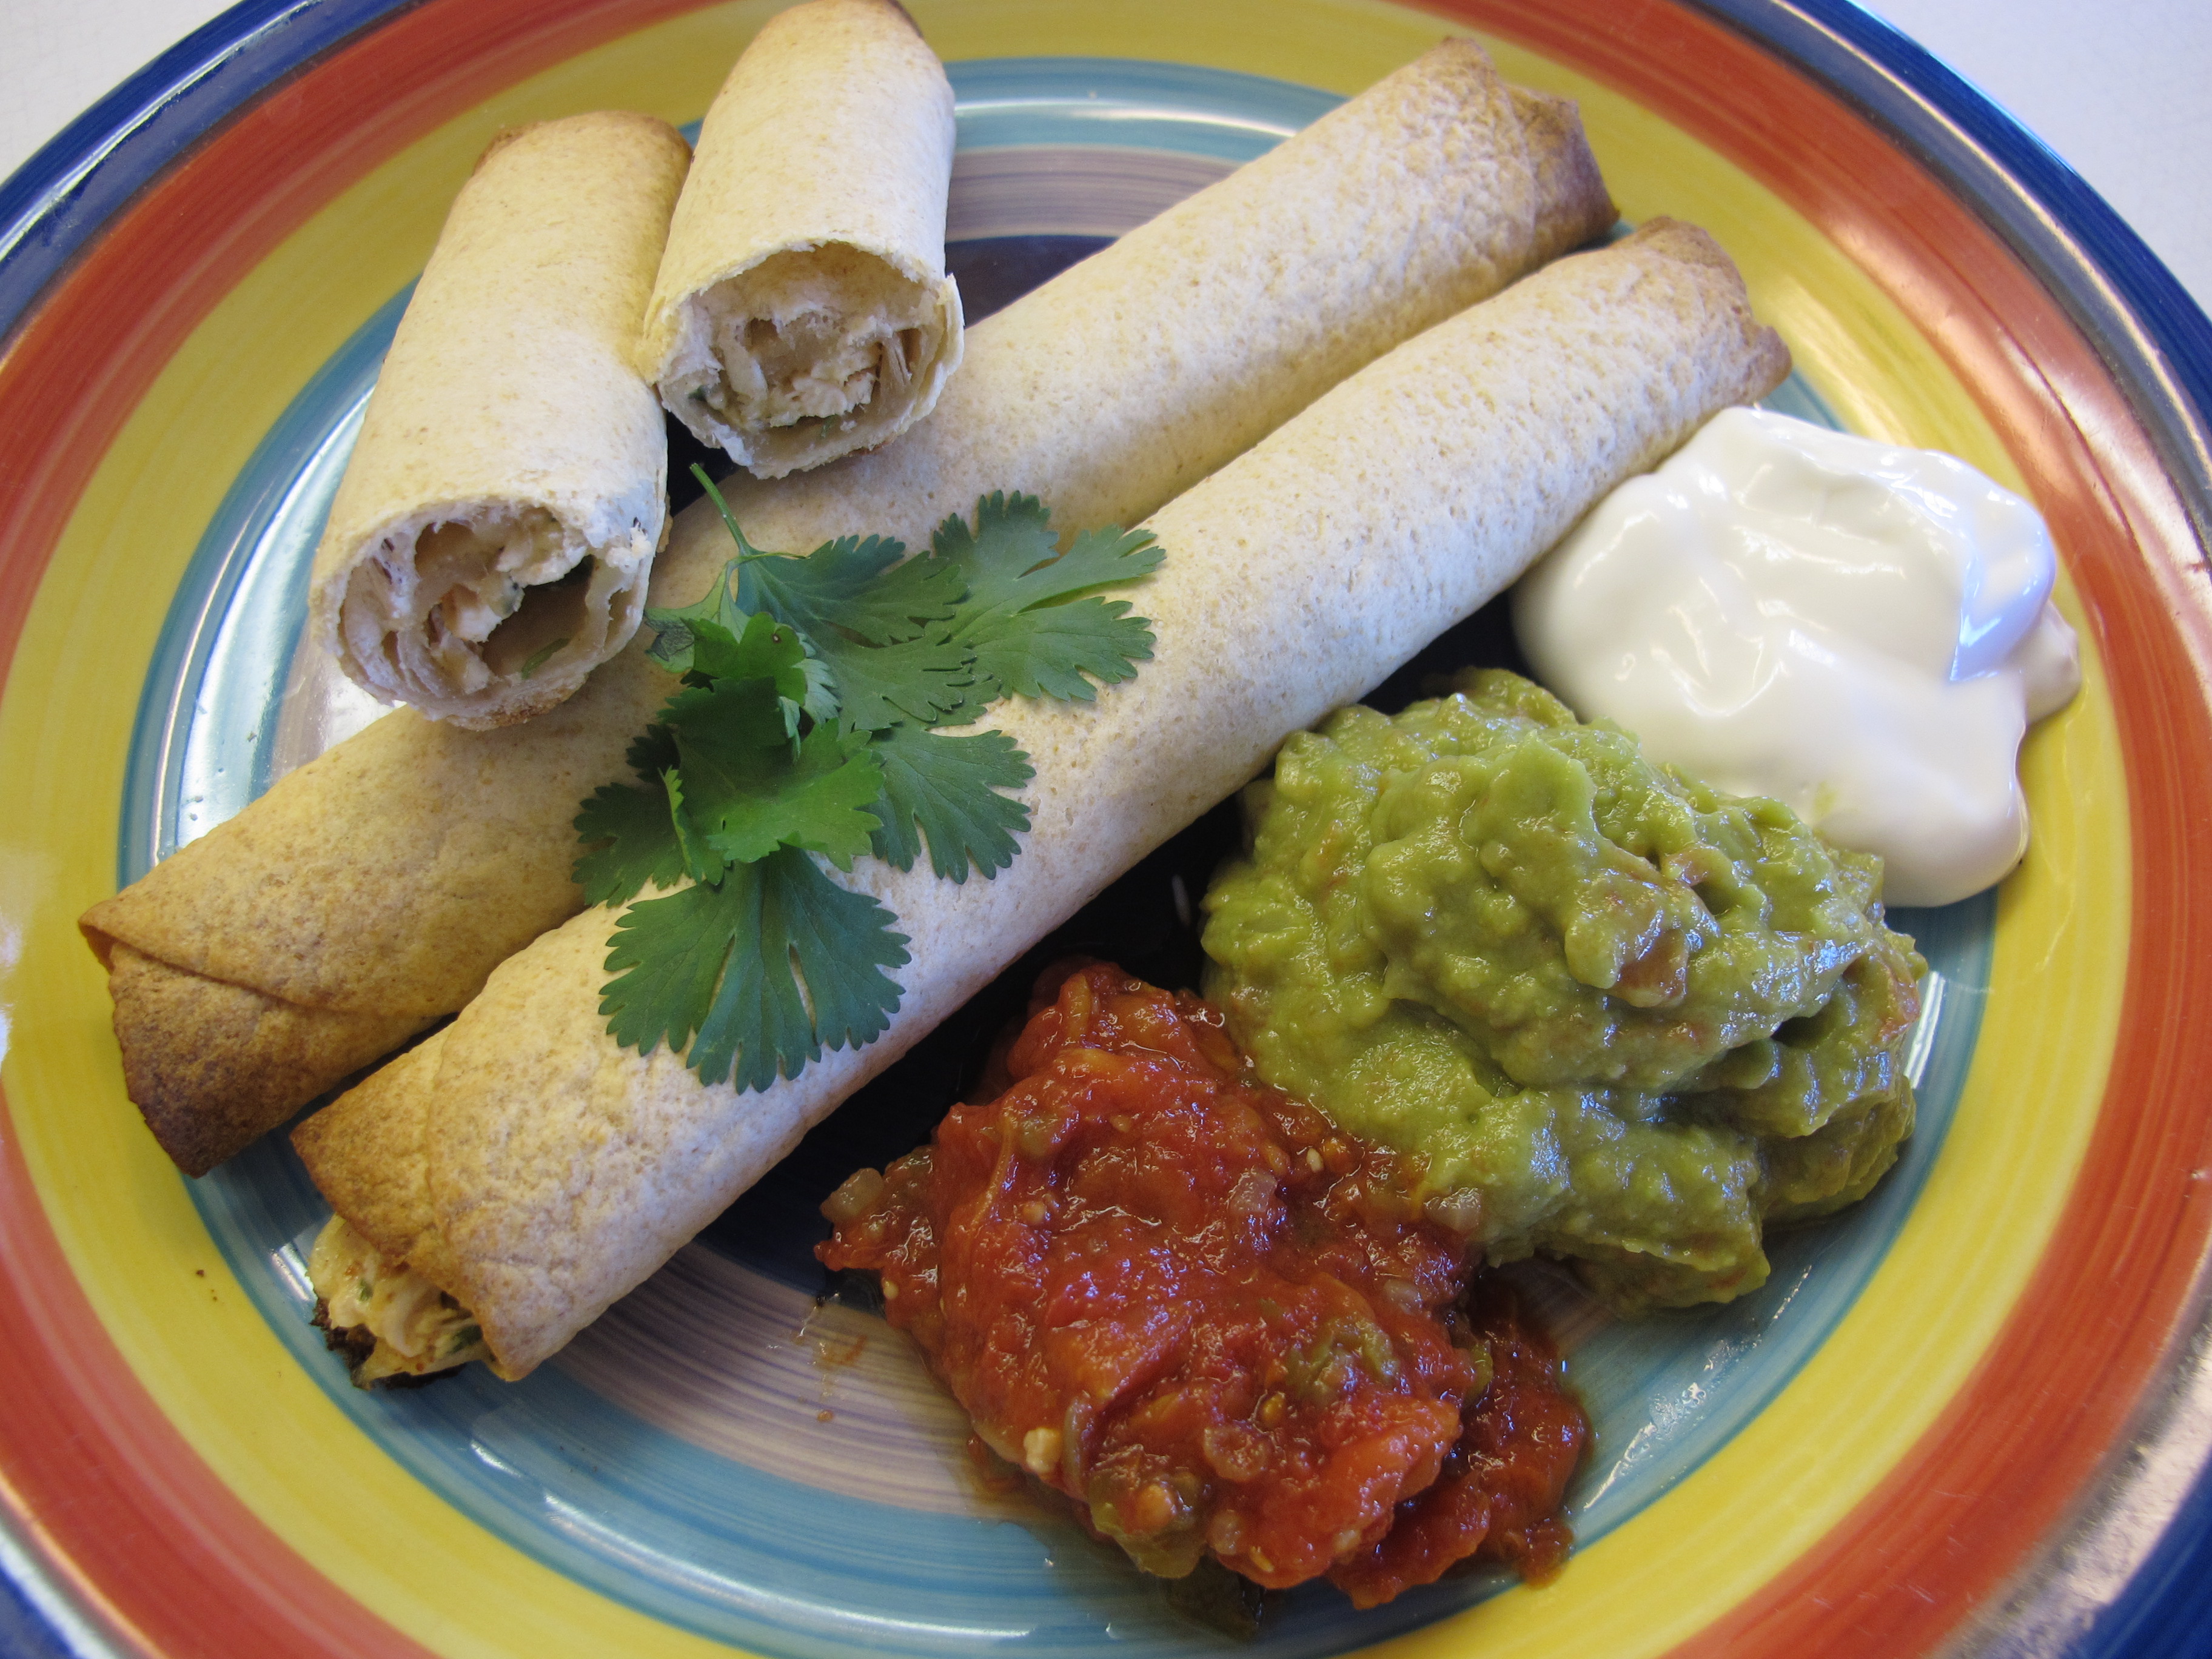
Baked Taquitos! No oil! So delicious! So filling!
The taquitos shown in the picture are the “skinnier” ones – making 12 from the recipe. We prefer making 6 fatter taquitos.
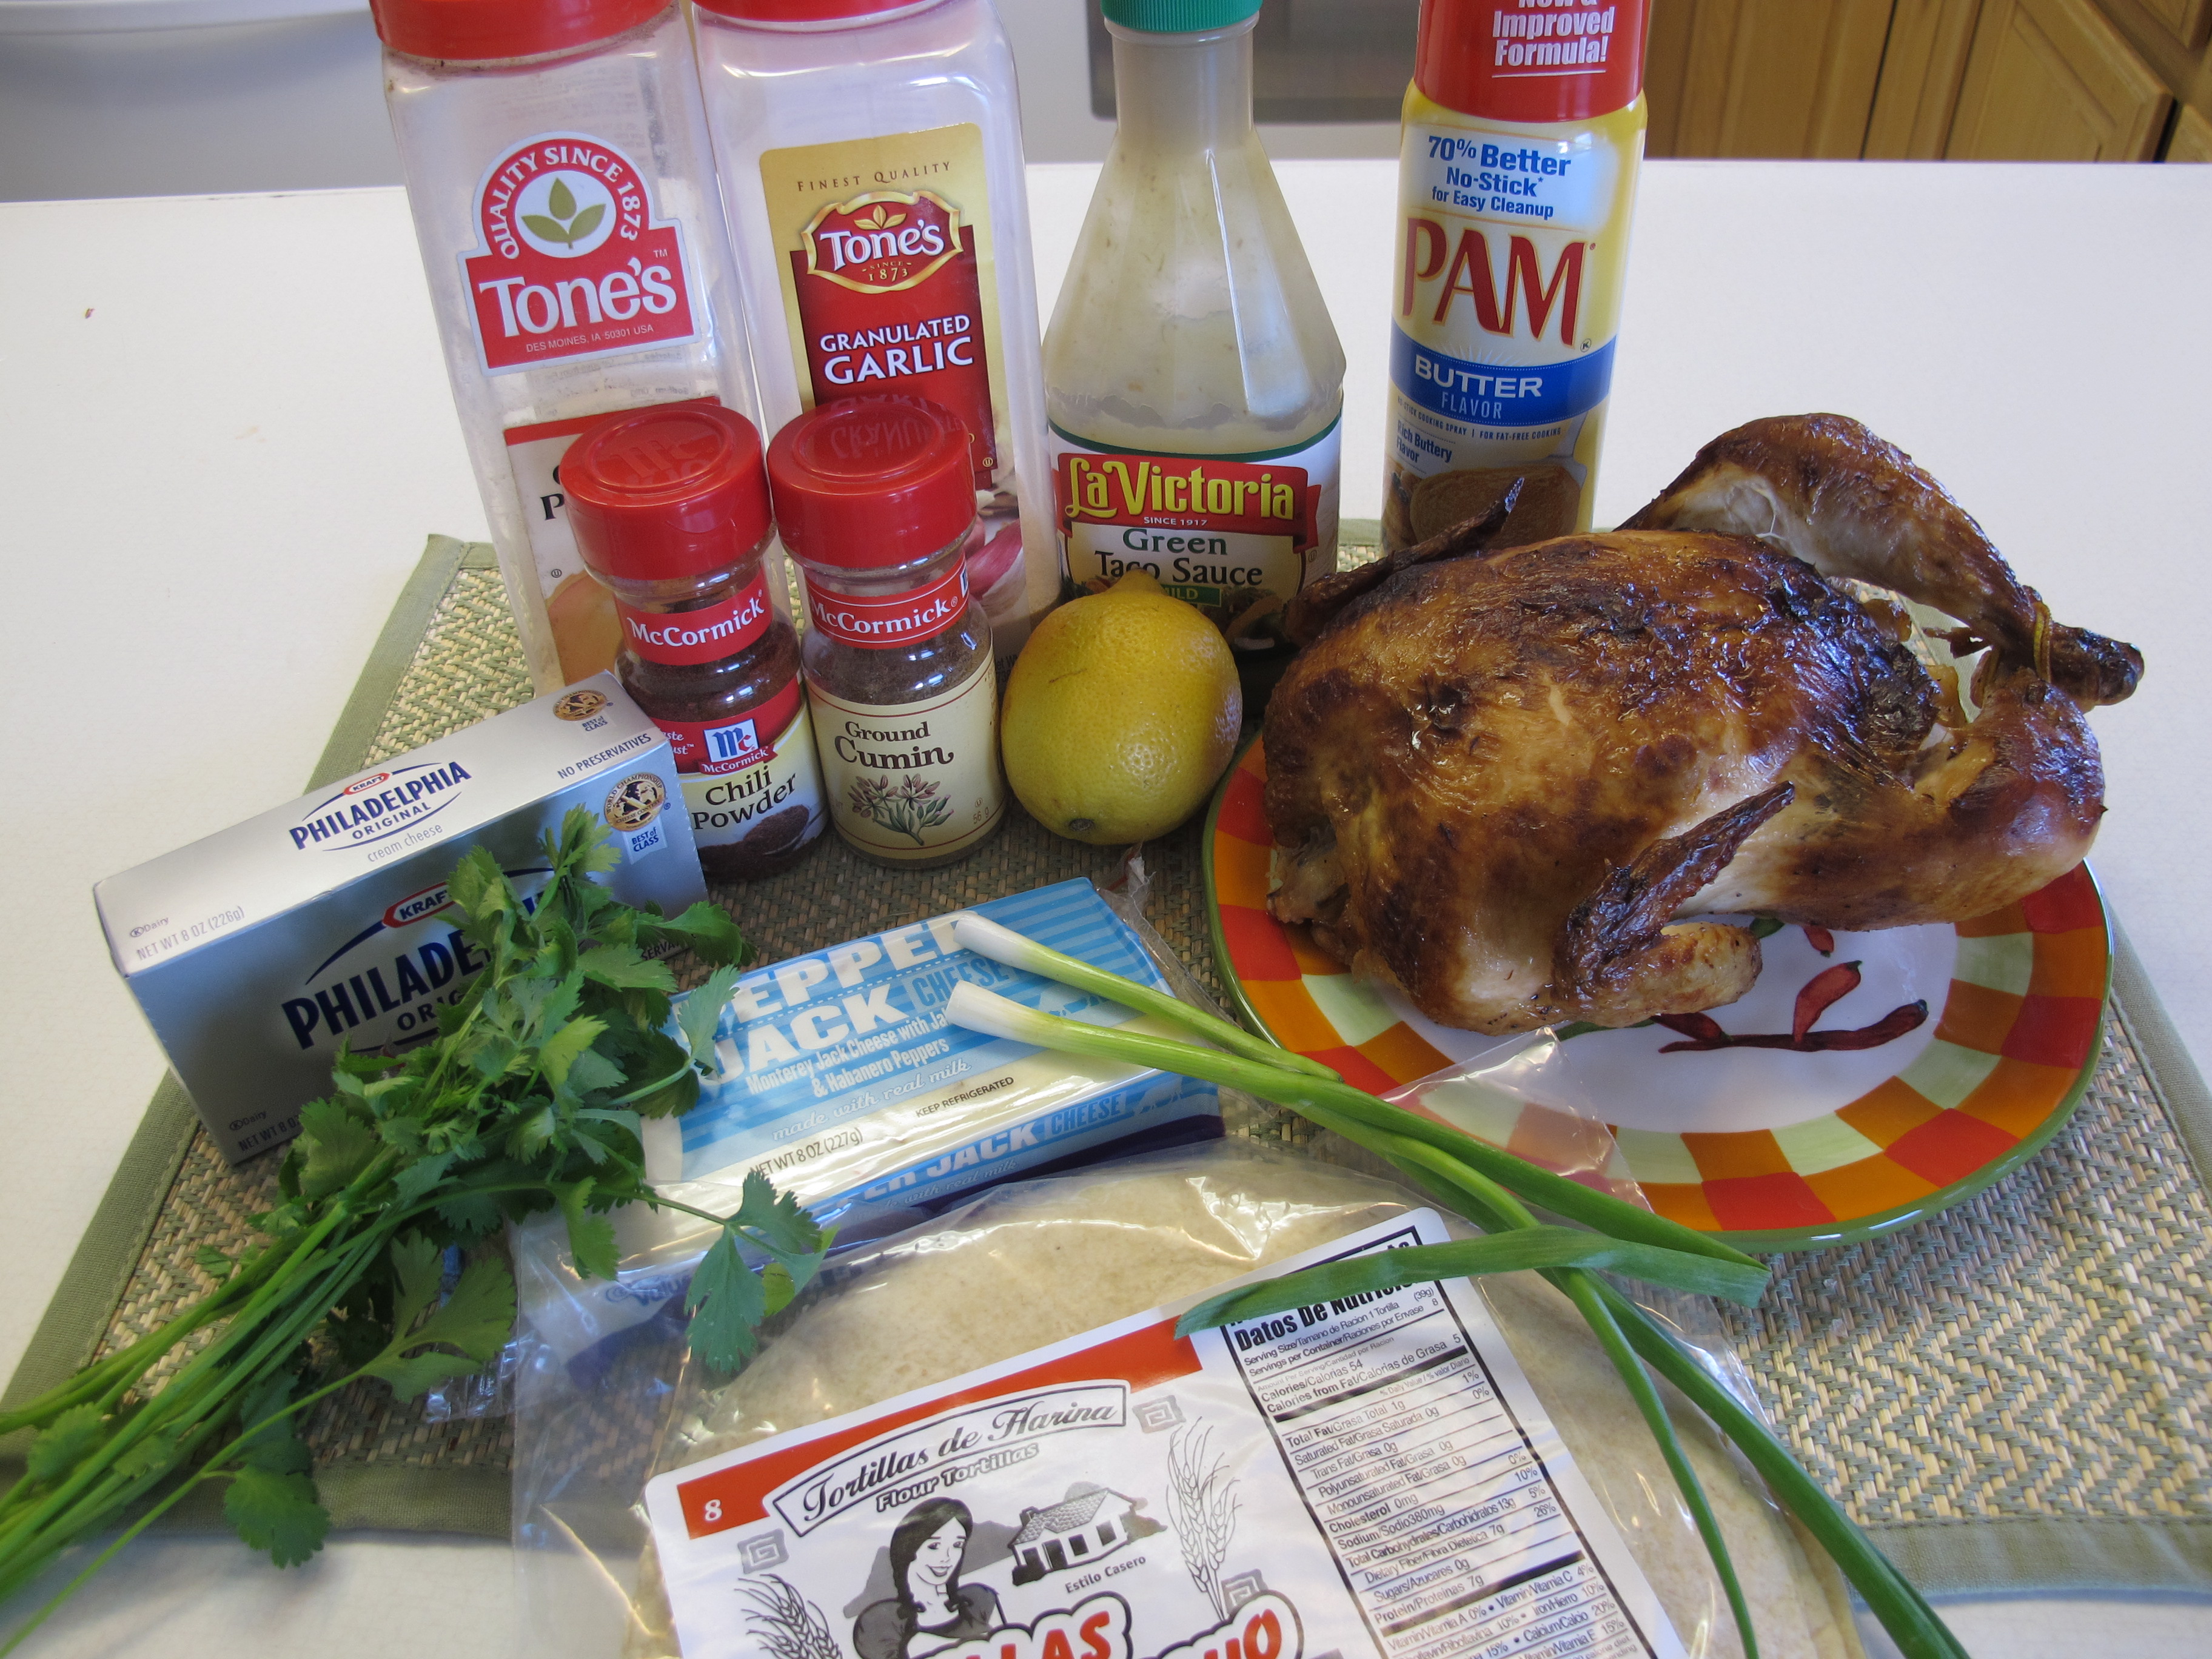
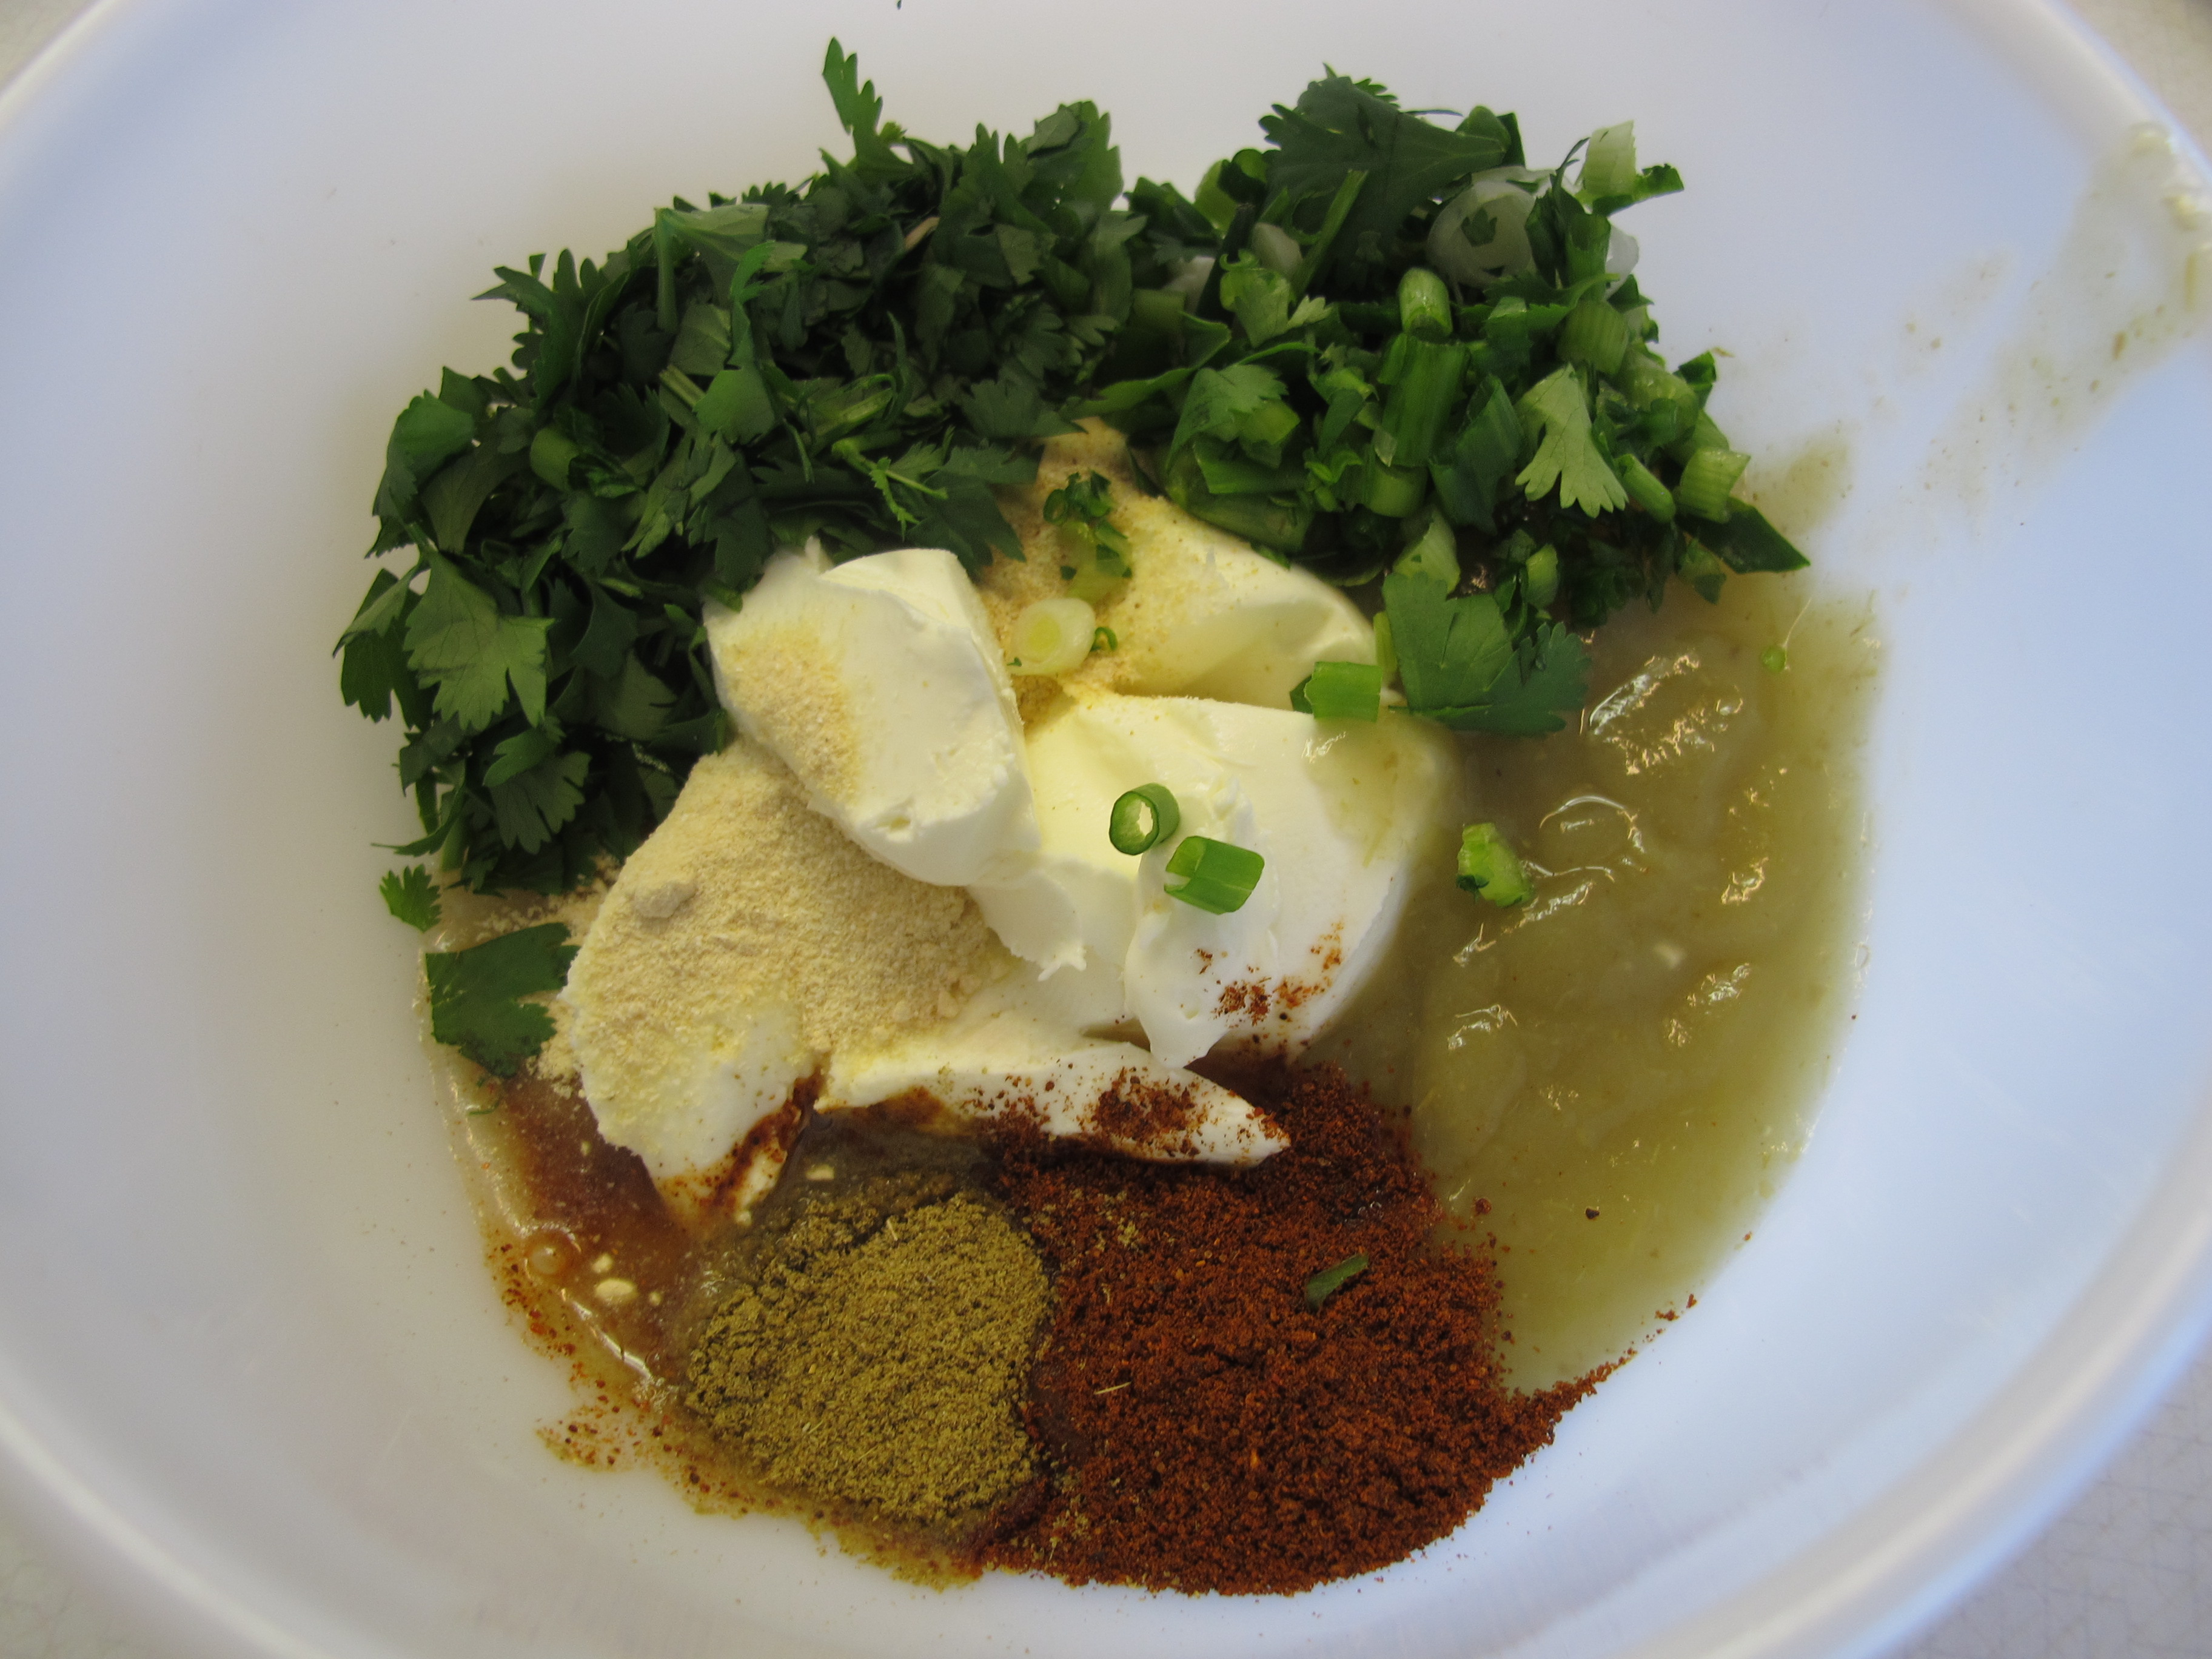
1/3 cup (3 oz.) cream cheese, softened
1/4 cup green salsa or green taco sauce
1 T. fresh lime or lemon juice
1 tsp. chili powder
1/2 tsp. cumin
1/2 tsp. onion powder
1/4 tsp. garlic granules
3 T. cilantro, chopped
2 T. green onions, finely chopped
Mix everything together.
2 cups shredded chicken (8 oz.) – I used a store-bought roasted chicken. Any leftover chicken or turkey would be great.
1 cup(2.5 oz.) pepperjack cheese, grated
Stir in shredded chicken and pepper jack cheese. Combine well.

NOTE: This can be made ahead of time and stored in the frig. Or use half one night and half the next!
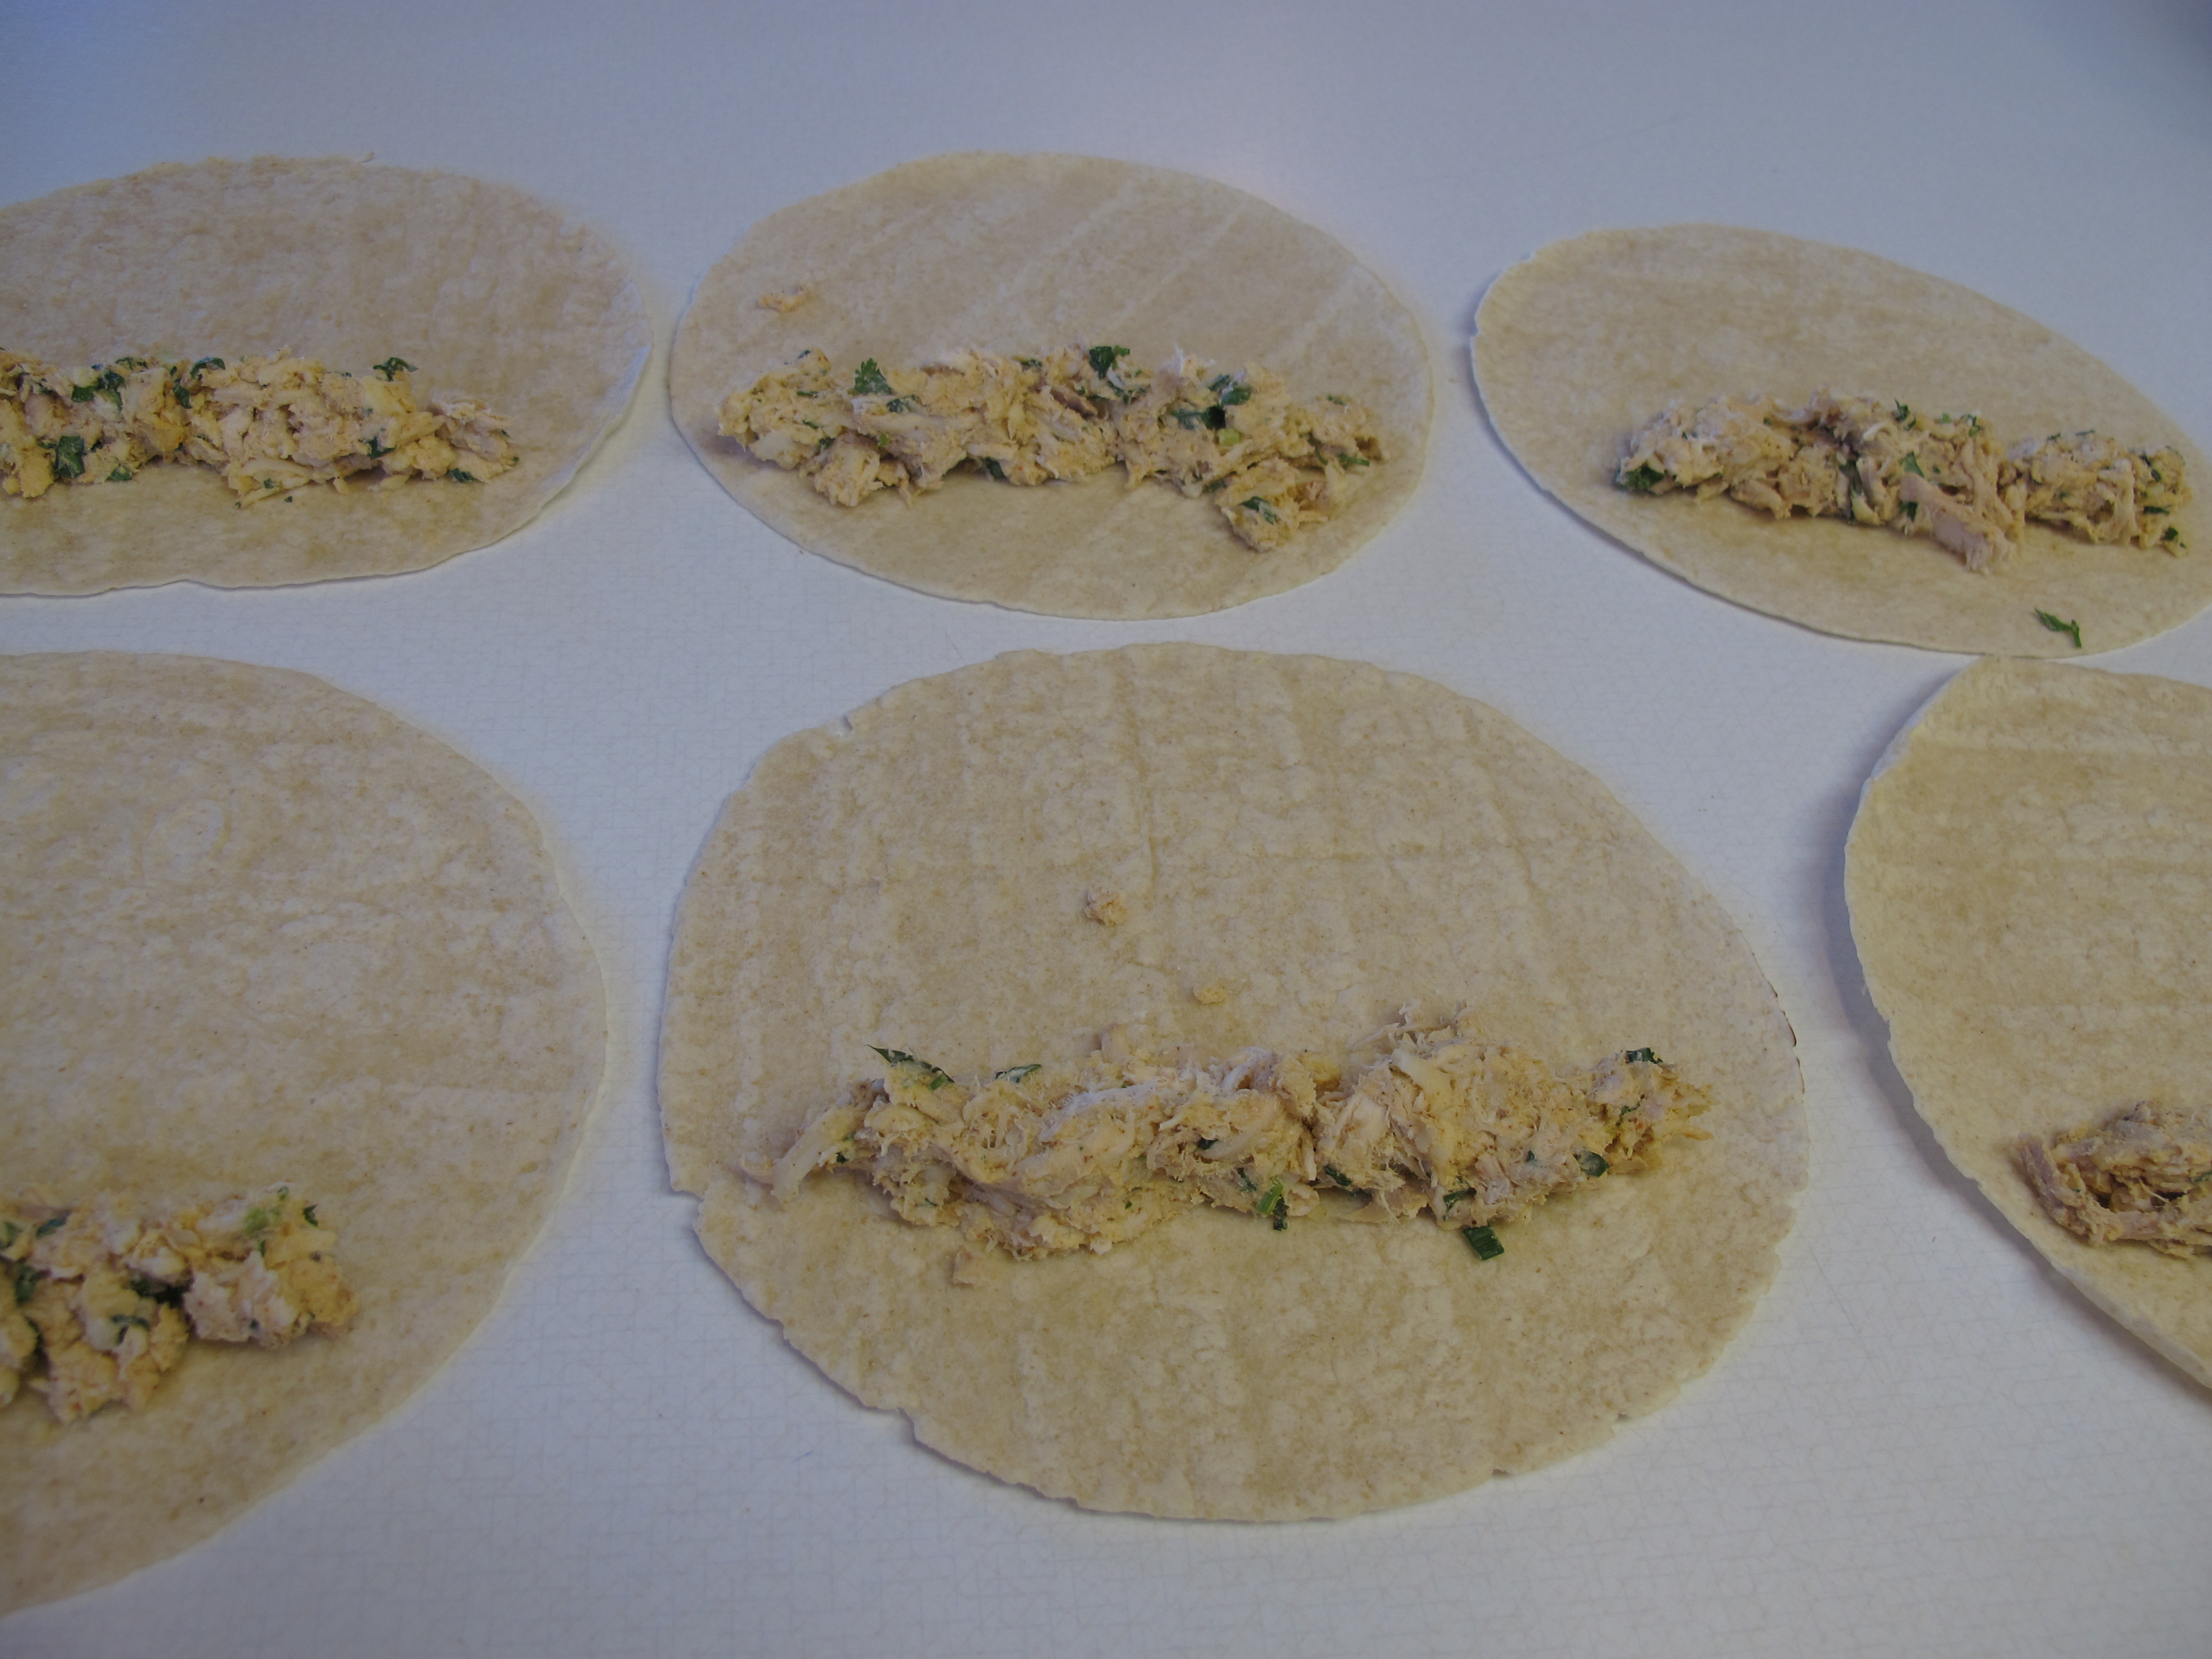
Approx. 6 small fajita size tortillas, wheat, flour or corn You candivide the mixture between 12 tortillas for a skinnier taquito
cooking spray
Preheat oven to 425 degrees. Spray cookie sheet with cooking spray.
EXTRA: If your tortillas need to be softened for easier handling, briefly heat in the microwave. Any time you want to heat up tortillas, it is a good idea to pace a damp paper towel over a stack of them in the microwave. If I have more than 5, I will place a damp paper towel in the middle of the stack as well. (To dampen a paper towel, just get it wet then squeeze out any excess water.) When working with corn tortillas, you especially need to make sure they are warmed up with the damp paper towel or else they will crack and split as soon as you roll them.
Spoon about 3-4 T. of the mixture in a row across the bottom third of the tortillas, keeping 1/2 inch from the edge. The amount differs depending on the side of your tortillas. In my pictures, I used wheat tortillas which are a little bit bigger than your average fajita size tortillas.
Roll tortillas up tightly. Place taquitos with the seam side down on sprayed cookie sheet, making sure they do not touch. Lightly spray with cooking spray. This gives it the “fried” crispness.
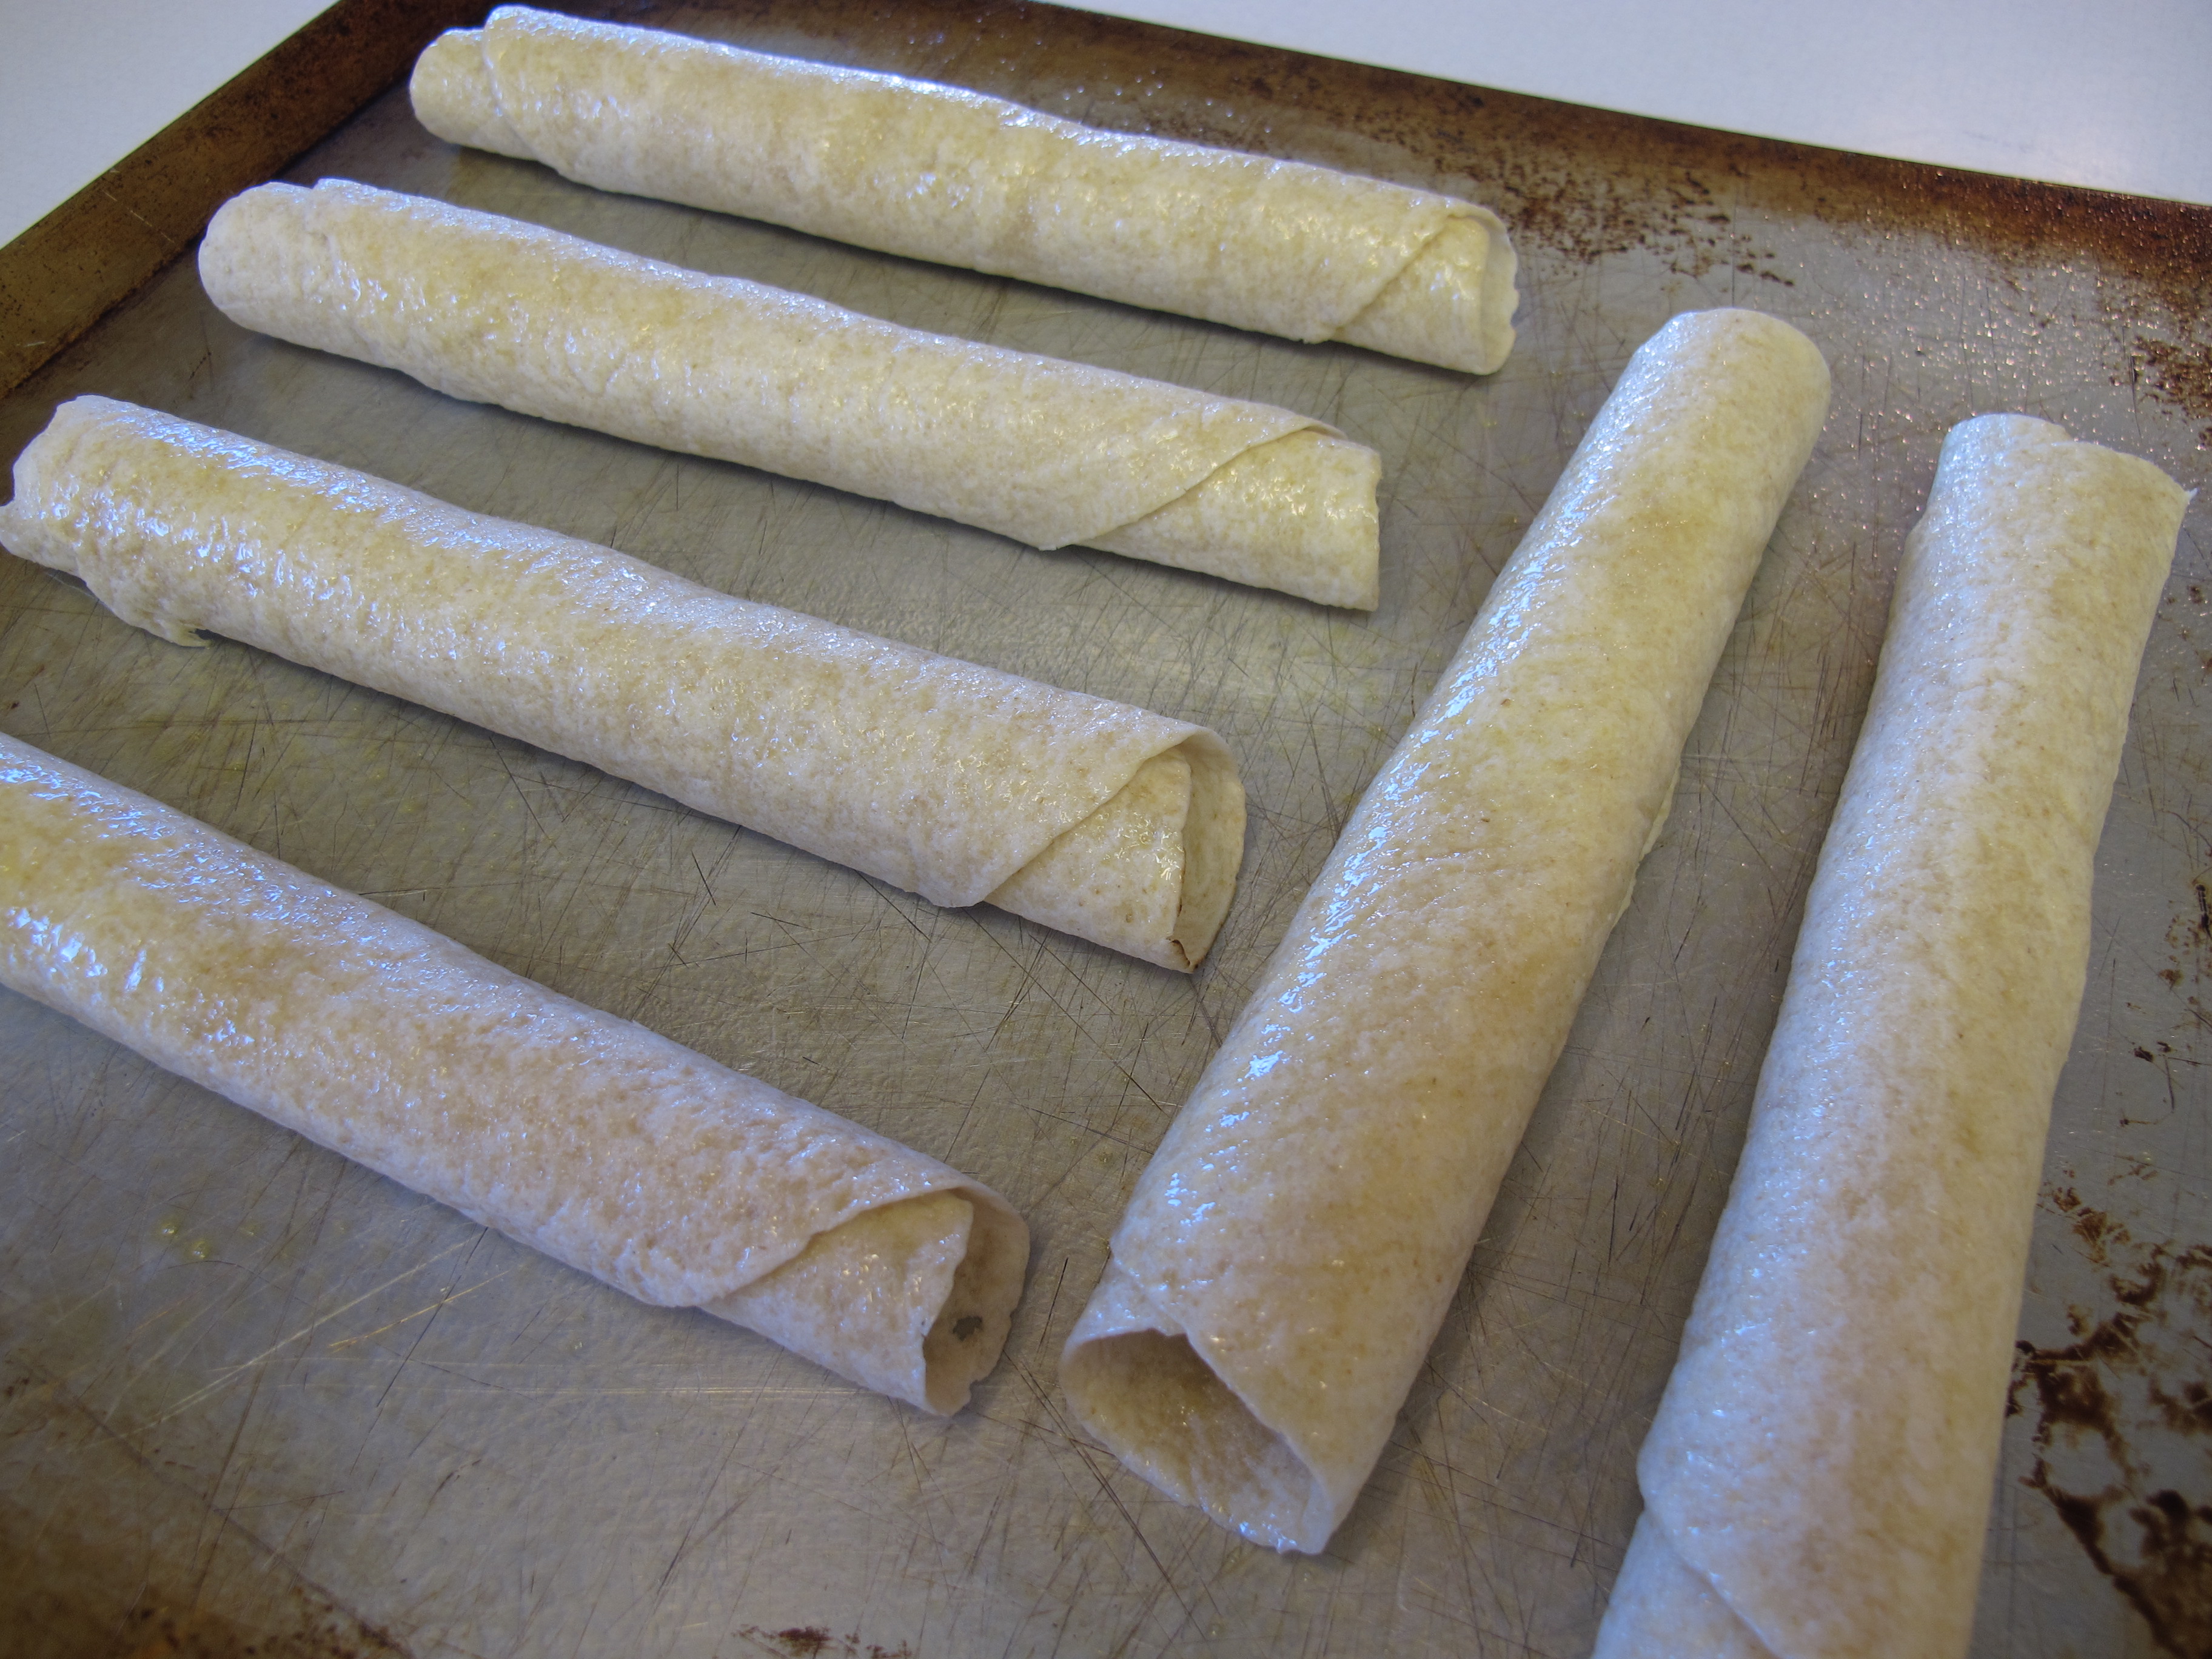
Bake for 18-20 minutes or until crisp and edges start to turn golden brown.
Serve with your favorite salsa, guacamole, and sour cream.
BE CAREFUL!!! The filling is VERY hot! Let them cool a bit before taking that first bite.
Recipe Source: Revised from Sisters Cafe (found on Pinterest)
FULL RECIPE WITHOUT PICTURES —
CREAMY CHICKEN TAQUITOS
1/3 cup (3 oz.) cream cheese
1/4 cup green salsa or green taco sauce
1 T. fresh lime or lemon juice
1 tsp. chili powder
1/2 tsp. cumin
1/2 tsp. onion powder
1/4 tsp. garlic granules
3 T. cilantro, chopped
2 T. green onions, finely chopped
2 cups shredded chicken – I used a store-bought roasted chicken. Any leftover chicken or turkey would be great.
1 cup pepperjack cheese, grated
Approx. 6 small fajita size tortillas, wheat, flour or corn You candivide the mixture between 12 tortillas for a skinnier taquito
cooking spray
Soften cream cheese in microwave for 20 seconds. Stir in green salsa, lime or lemon juice, and all the spices until well mixed.
Add cilantro and green onions.
Stir in shredded chicken and pepper jack cheese. Combine well.
NOTE: This can be made ahead of time and stored in the frig. Or use half one night and half the next!
Preheat oven to 425 degrees. Spray cookie sheet with cooking spray.
EXTRA: If your tortillas need to be softened for easier handling, briefly heat in the microwave. Any time you want to heat up tortillas, it is a good idea to pace a damp paper towel over a stack of them in the microwave. If I have more than 5, I will place a damp paper towel in the middle of the stack as well. (To dampen a paper towel, just get it wet then squeeze out any excess water.) When working with corn tortillas, you especially need to make sure they are warmed up with the damp paper towel or else they will crack and split as soon as you roll them.
Spoon about 3-4 T. of the mixture in a row across the bottom third of the tortillas, keeping 1/2 inch from the edge. The amount differs depending on the side of your tortillas. In my pictures, I used wheat tortillas which are a little bit bigger than your average fajita size tortillas.
Roll tortillas up tightly. Place taquitos with the seam side down on sprayed cookie sheet, making sure they do not touch. Lightly spray with cooking spray. This gives it the “fried” crispness.
Bake for 18-20 minutes or until crisp and edges start to turn golden brown.
Serve with your favorite salsa, guacamole, and sour cream.
BE CAREFUL!!! The filling is VERY hot! Let them cool a bit before taking that first bite.
Makes 12 – 16 taquitos, depending on the size of the tortillas you use.
Recipe Source: Revised from Sisters Cafe (found on Pinterest)
