New England Clam Chowder
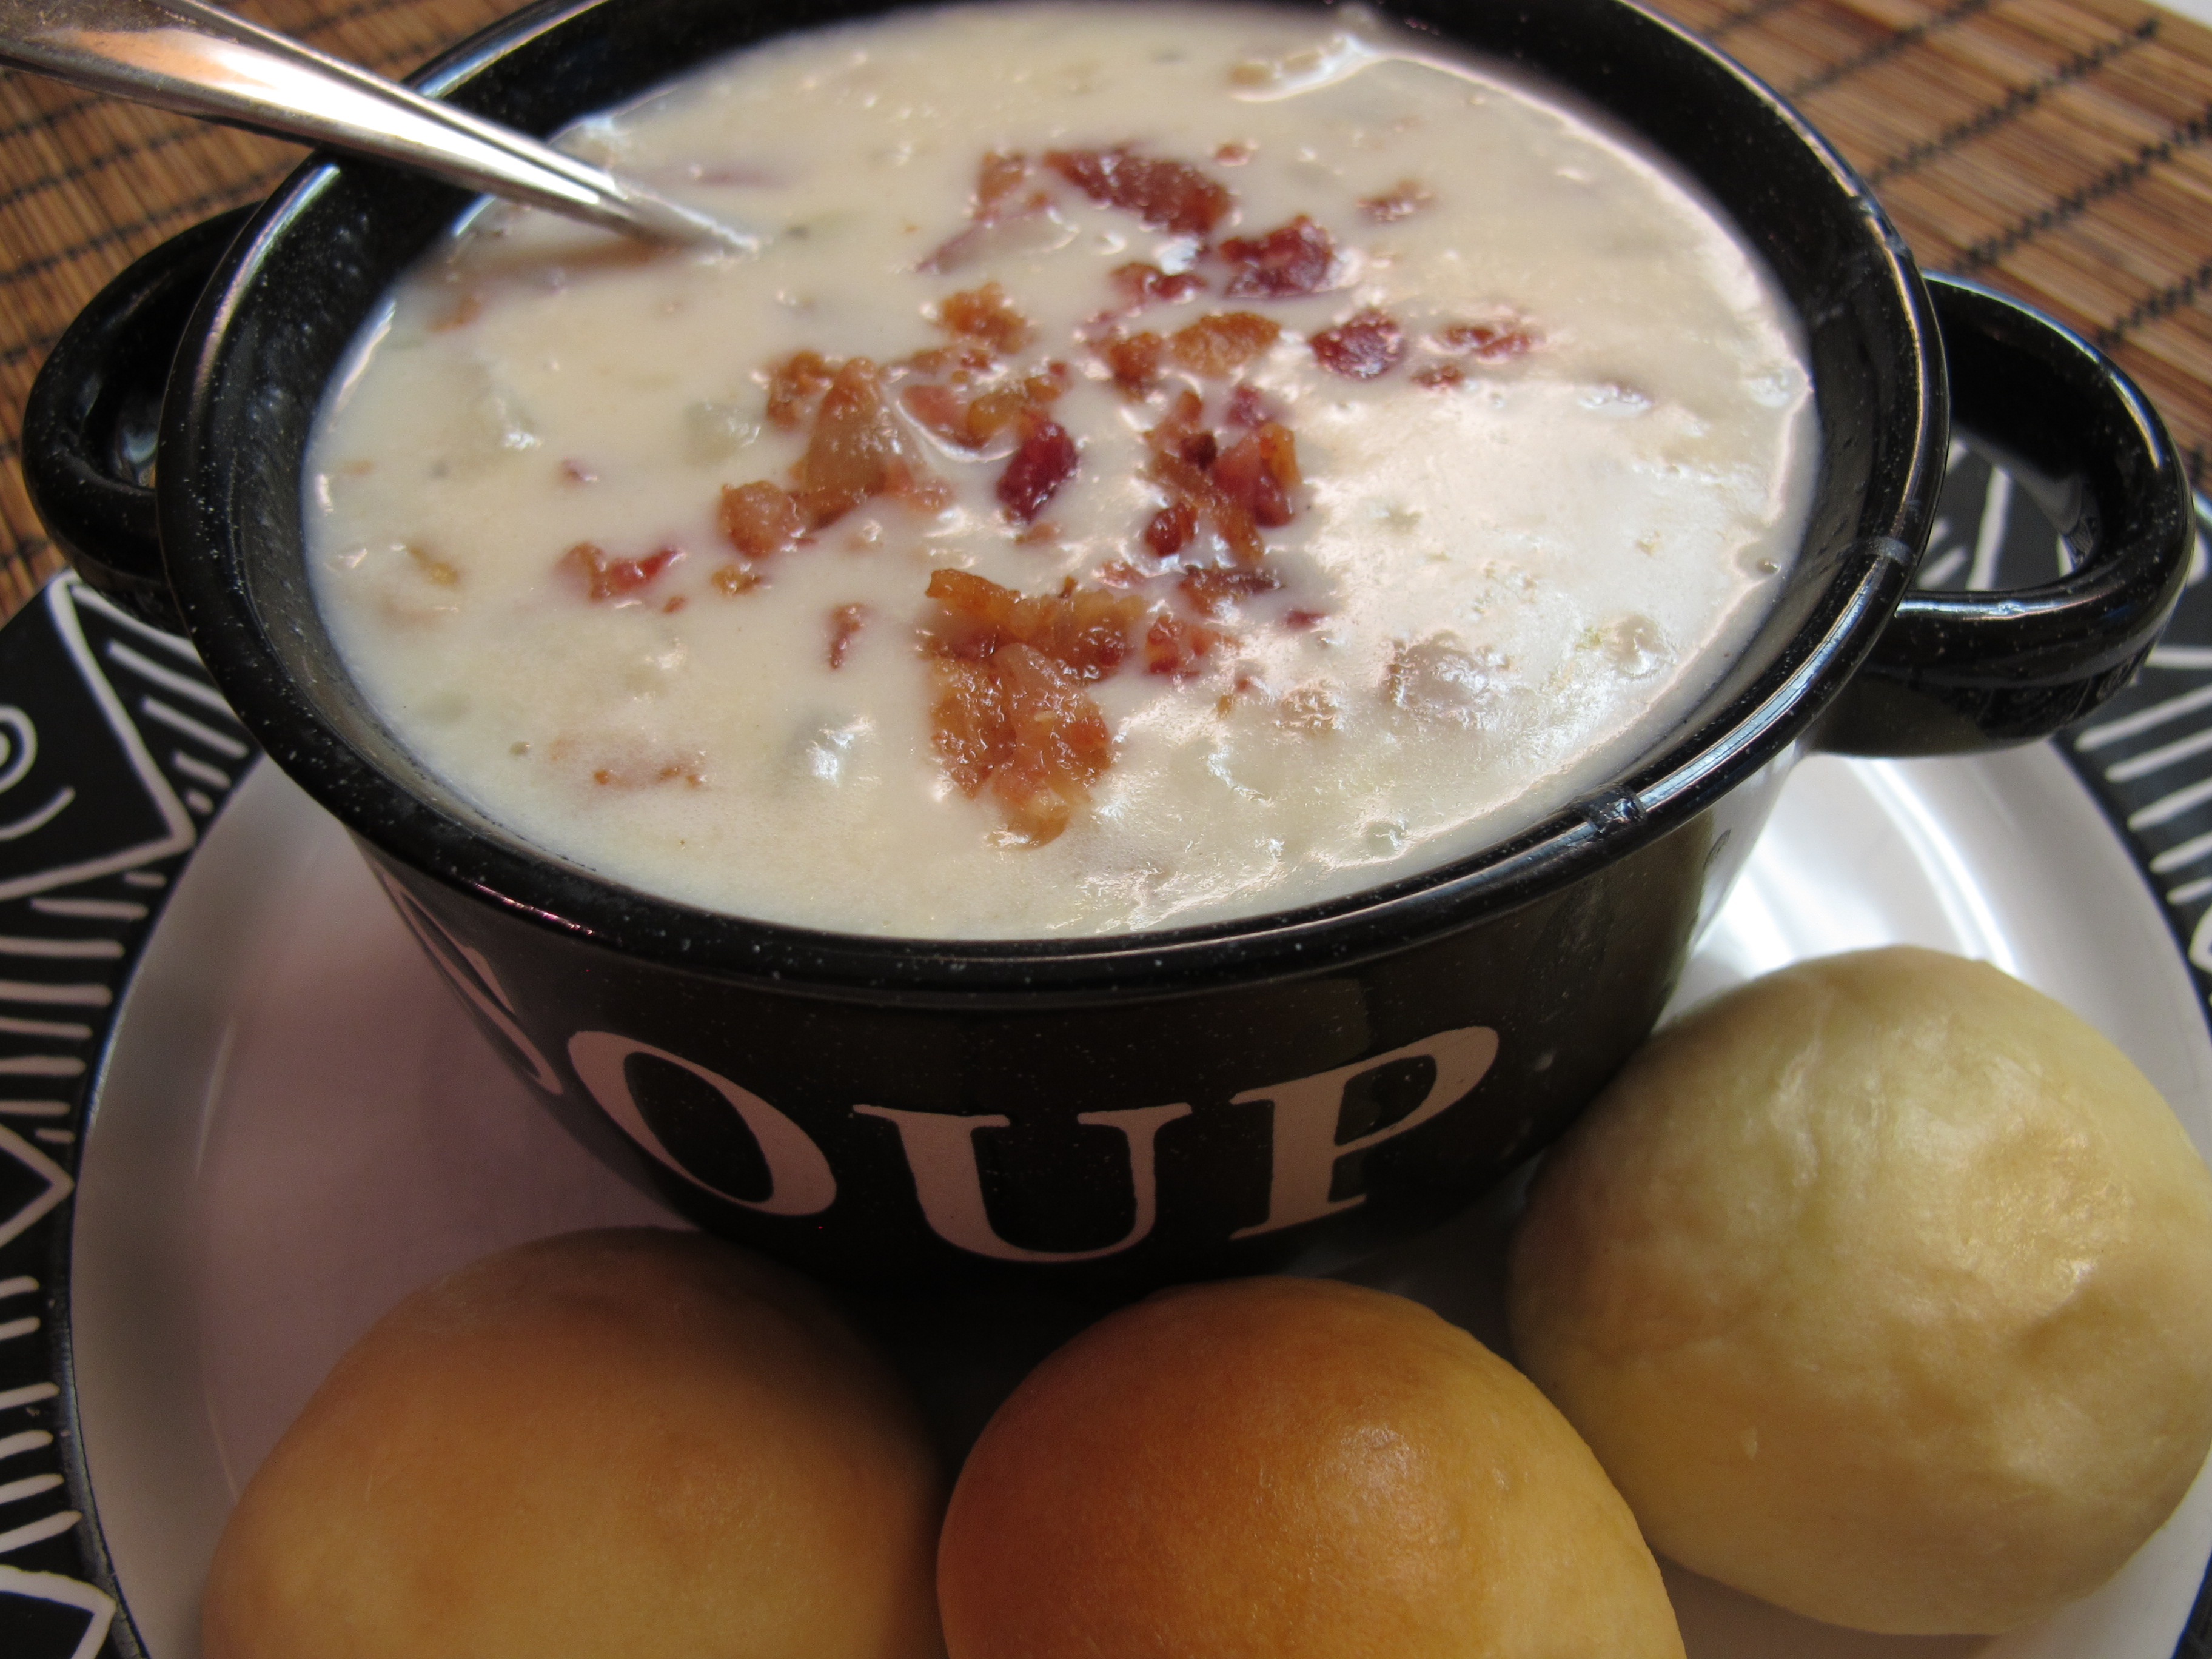
My friend Janet comes through again with this delicious Clam Chowder recipe. Even though it is made with lower calorie ingredients, it still has such a rich flavor. I used red potatoes and left the skin on to give it some color. Using packaged crumbled bacon, makes this a quick and easy soup to throw together. It is not thick like your higher calorie chowders but still so very good!
 2 slices bacon or 4 T. of real bacon bits
1 medium onion, chopped
2 medium potatoes, cut into bite-size pieces (about 1 1/2 cups)
In stock pot, cook bacon, onion and potatoes. Cook until onions are translucent.
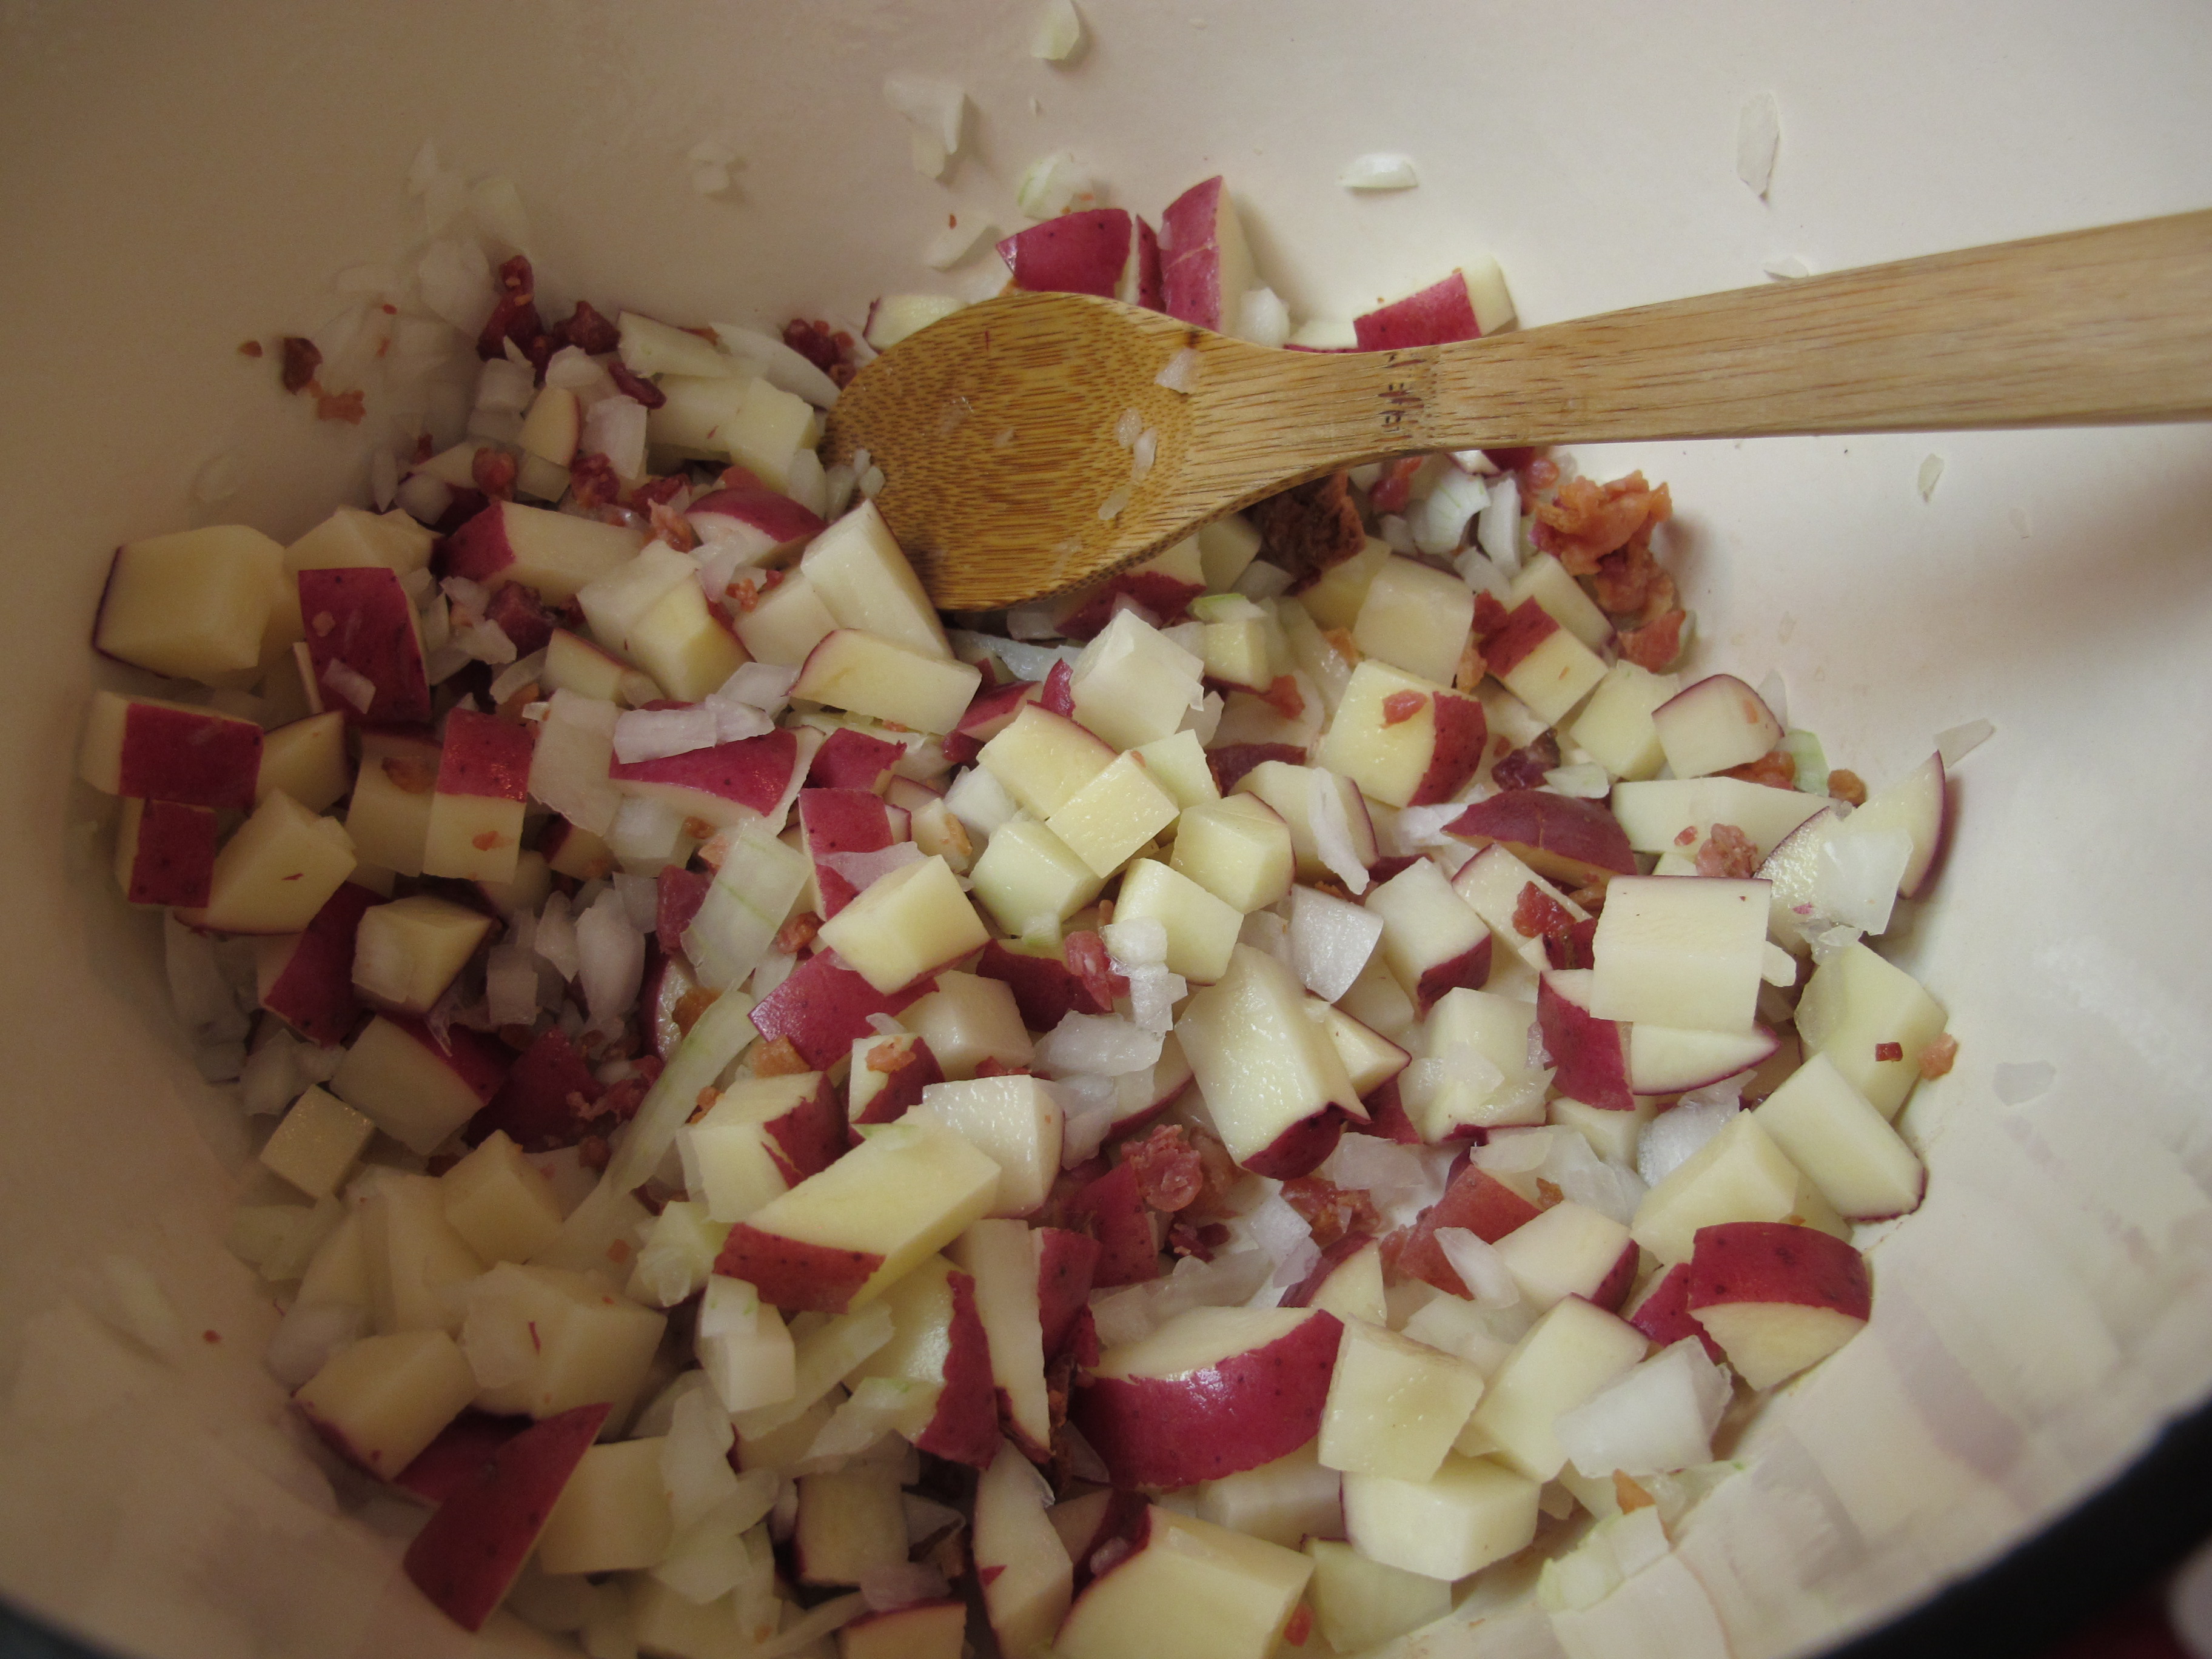
3 (7 1/2 oz.) cans clams, drained – reserve 1 cup clam juice 1 cup water
Add 1 cup of the reserved clam juice and 1 cup of water.

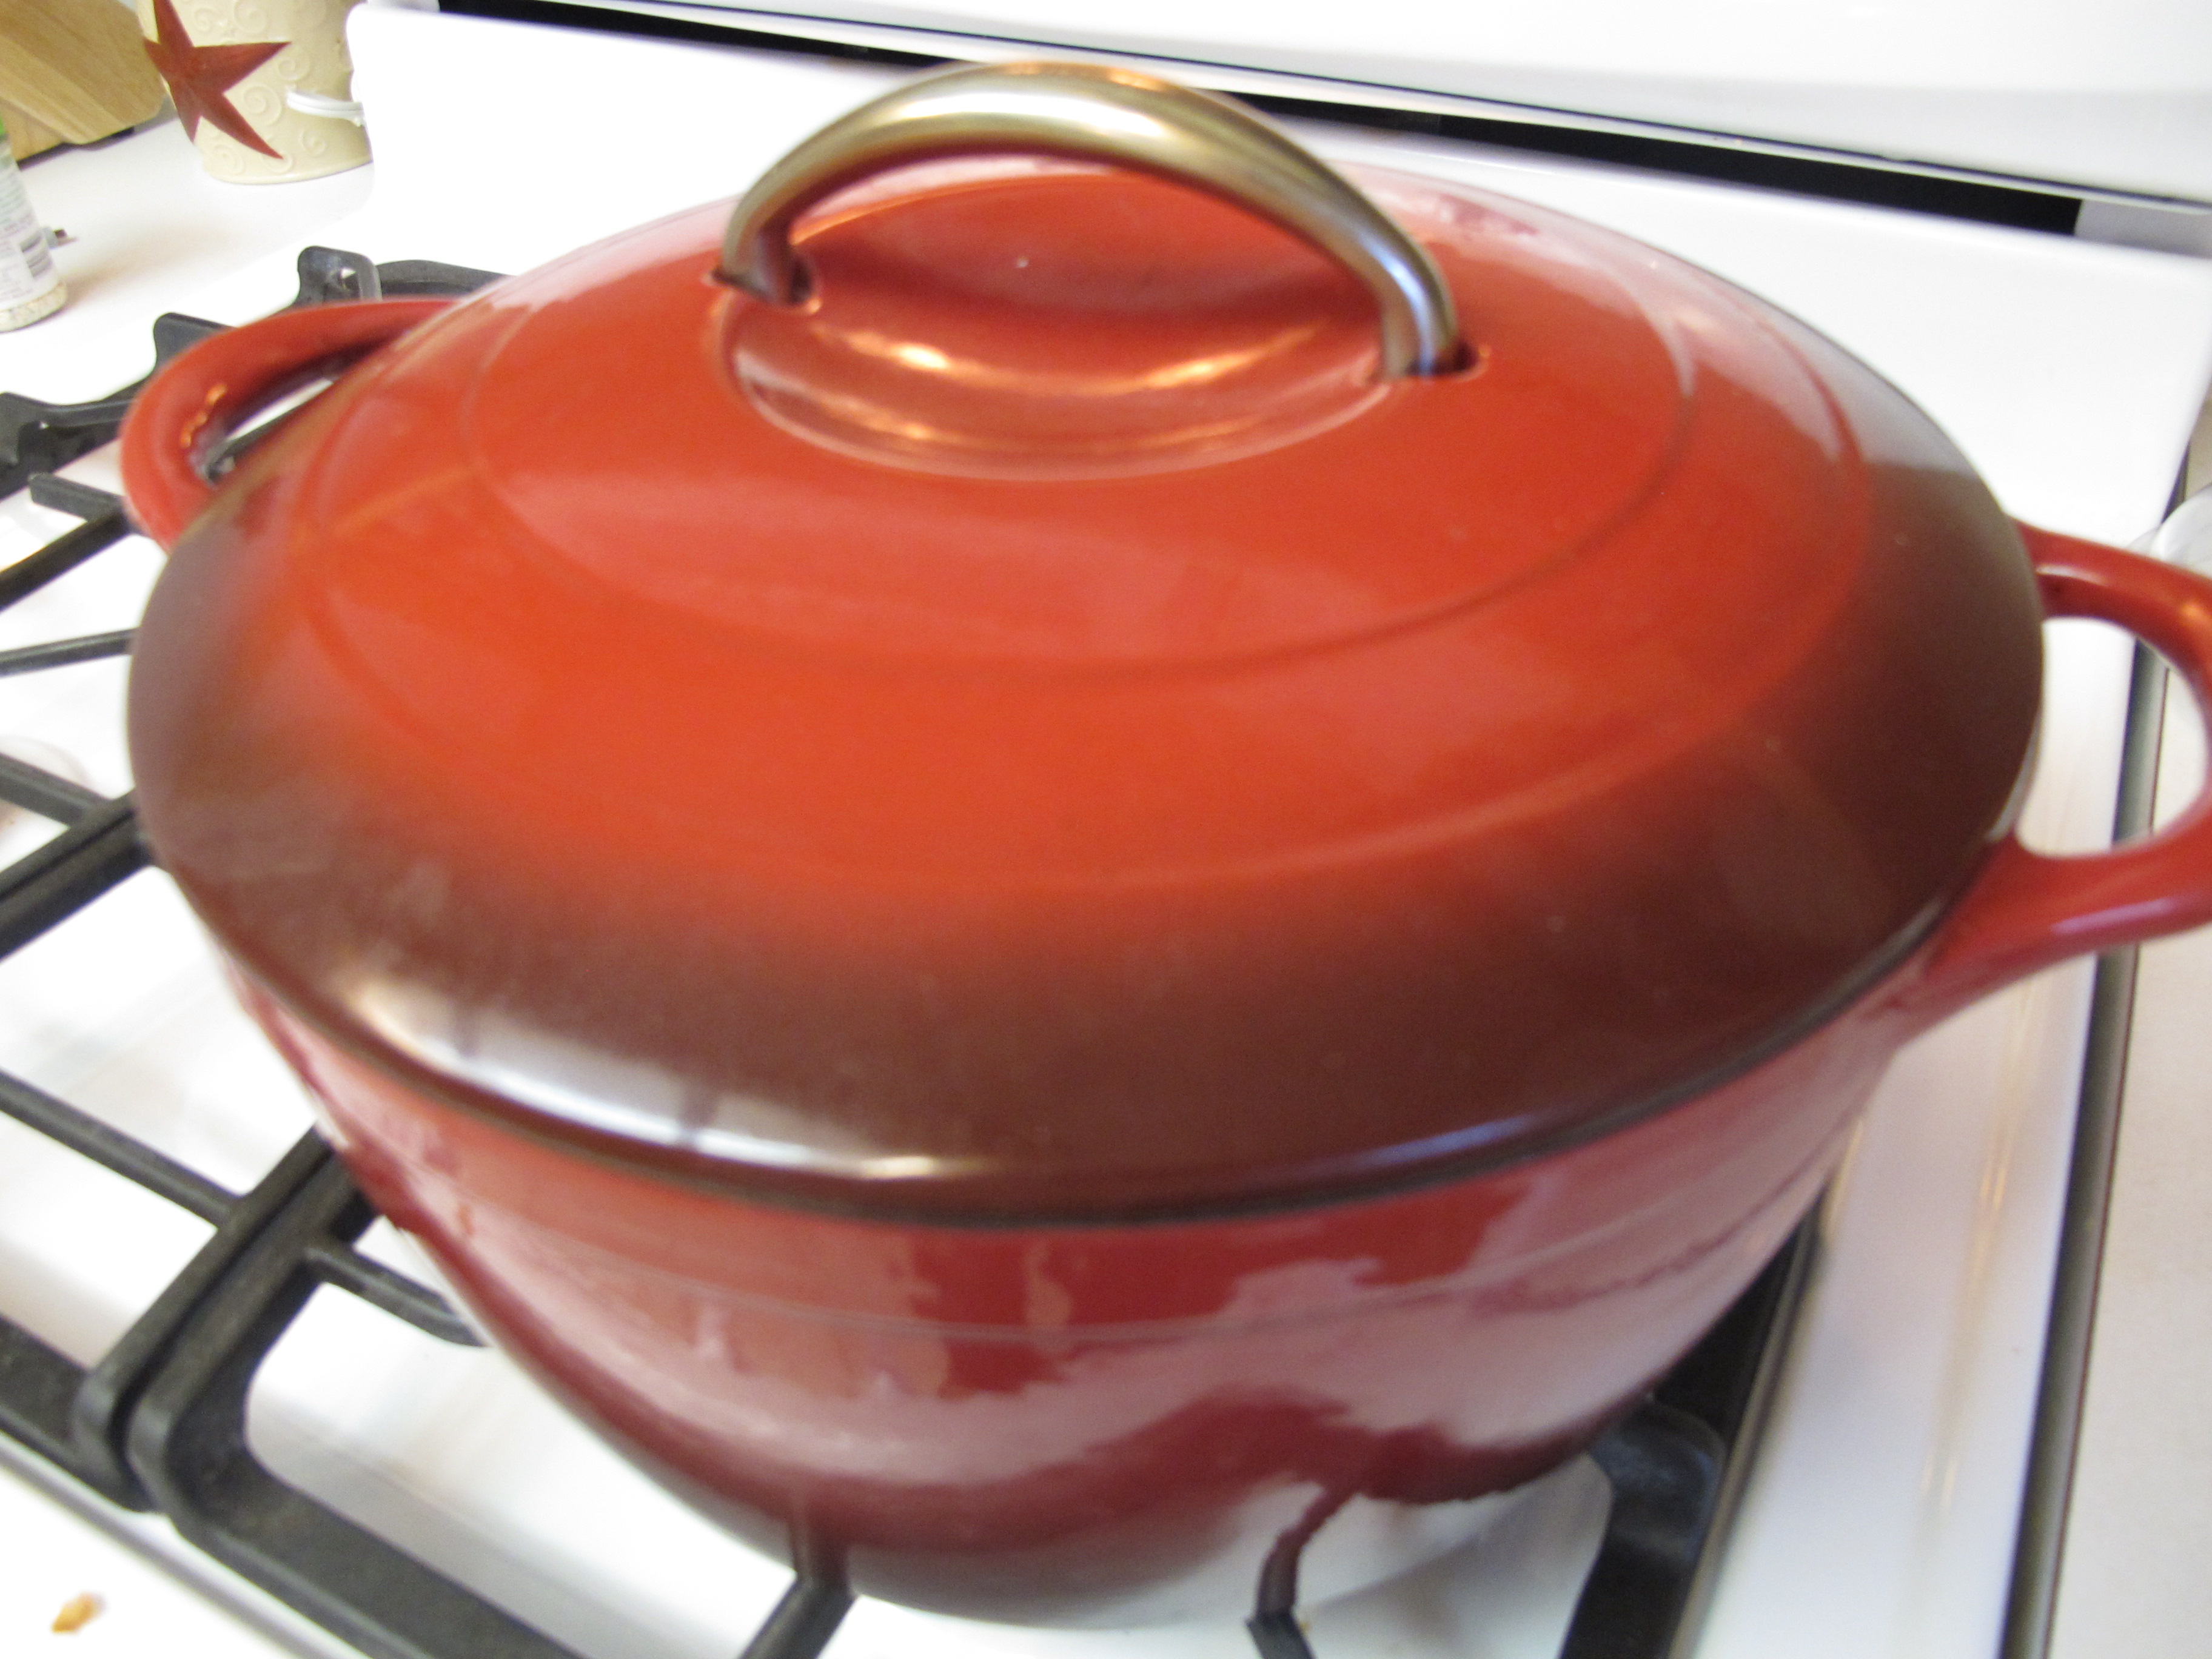
Cover and cook until potatoes are tender.
1/4 cup Brummel and Brown butter, melted
1/4 cup flour
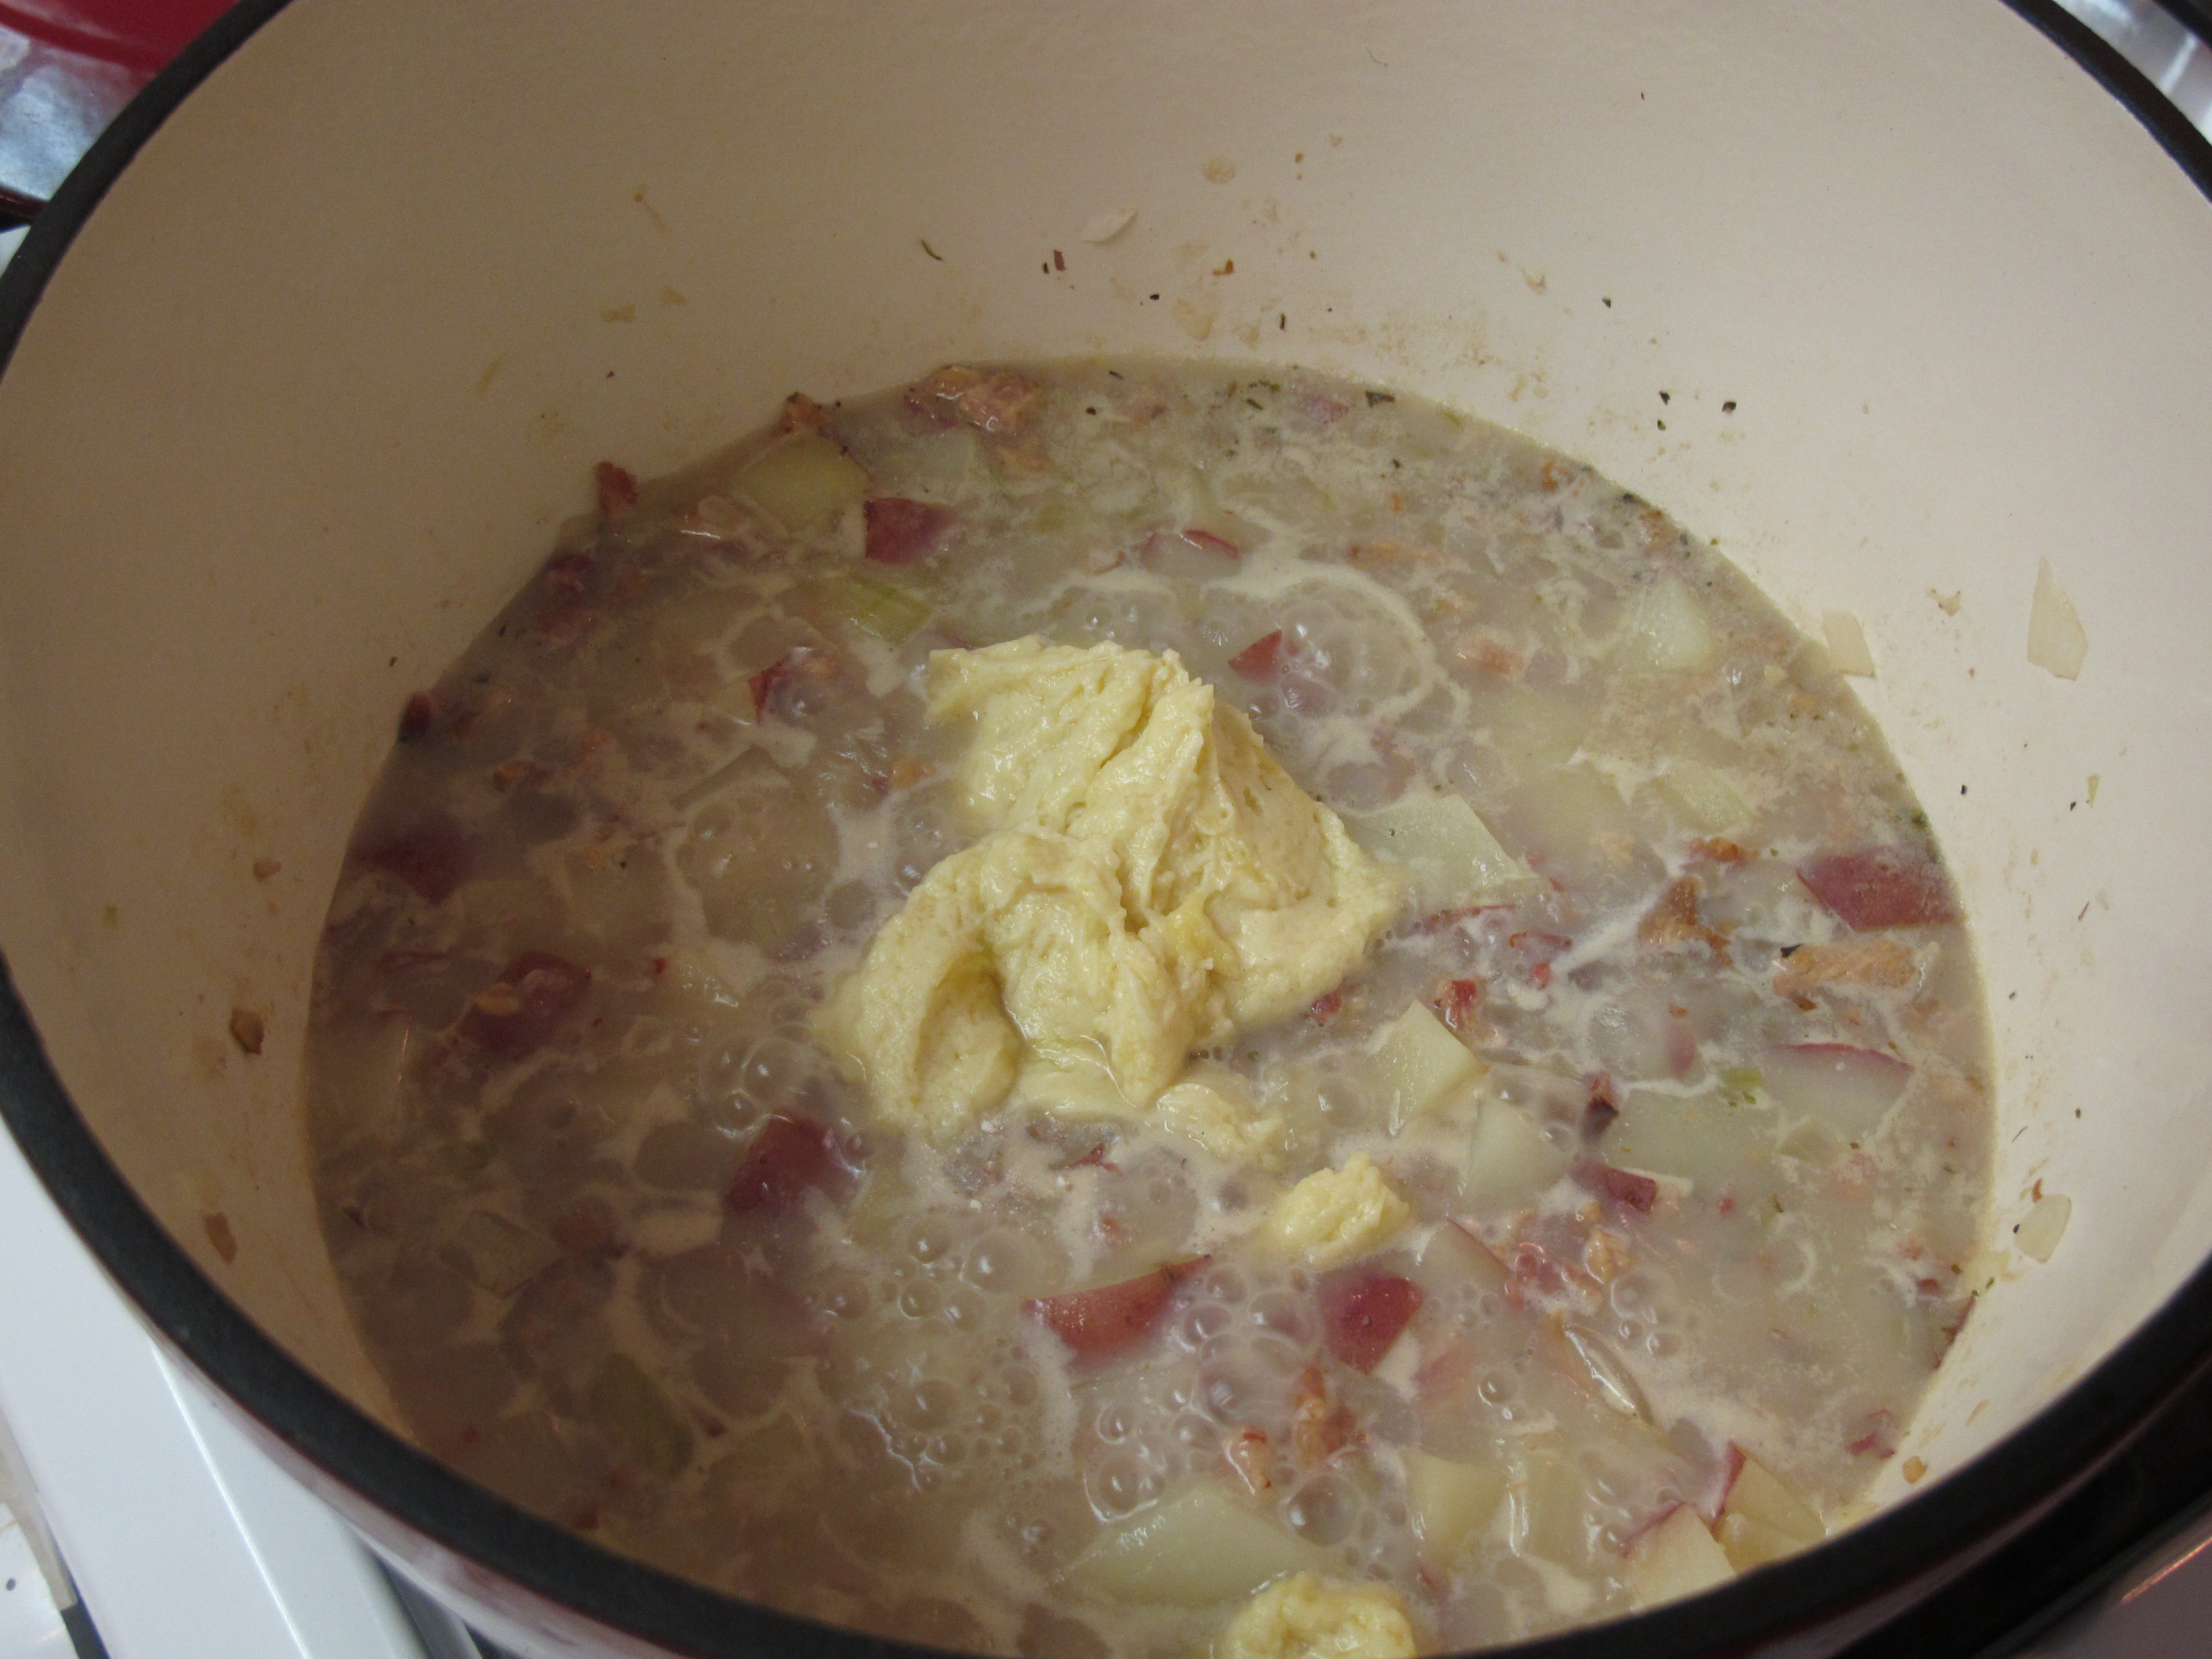
Melt butter and stir in the flour.

Whisk into potatoe mixture.
3 cups skim milk or 2 % milk (We liked the 2% better)
1 tsp. salt
1/8 tsp. pepper
1/2 tsp. garlic granules
1/4 tsp. Italian seasoning
Add clams, milk, and seasonings. 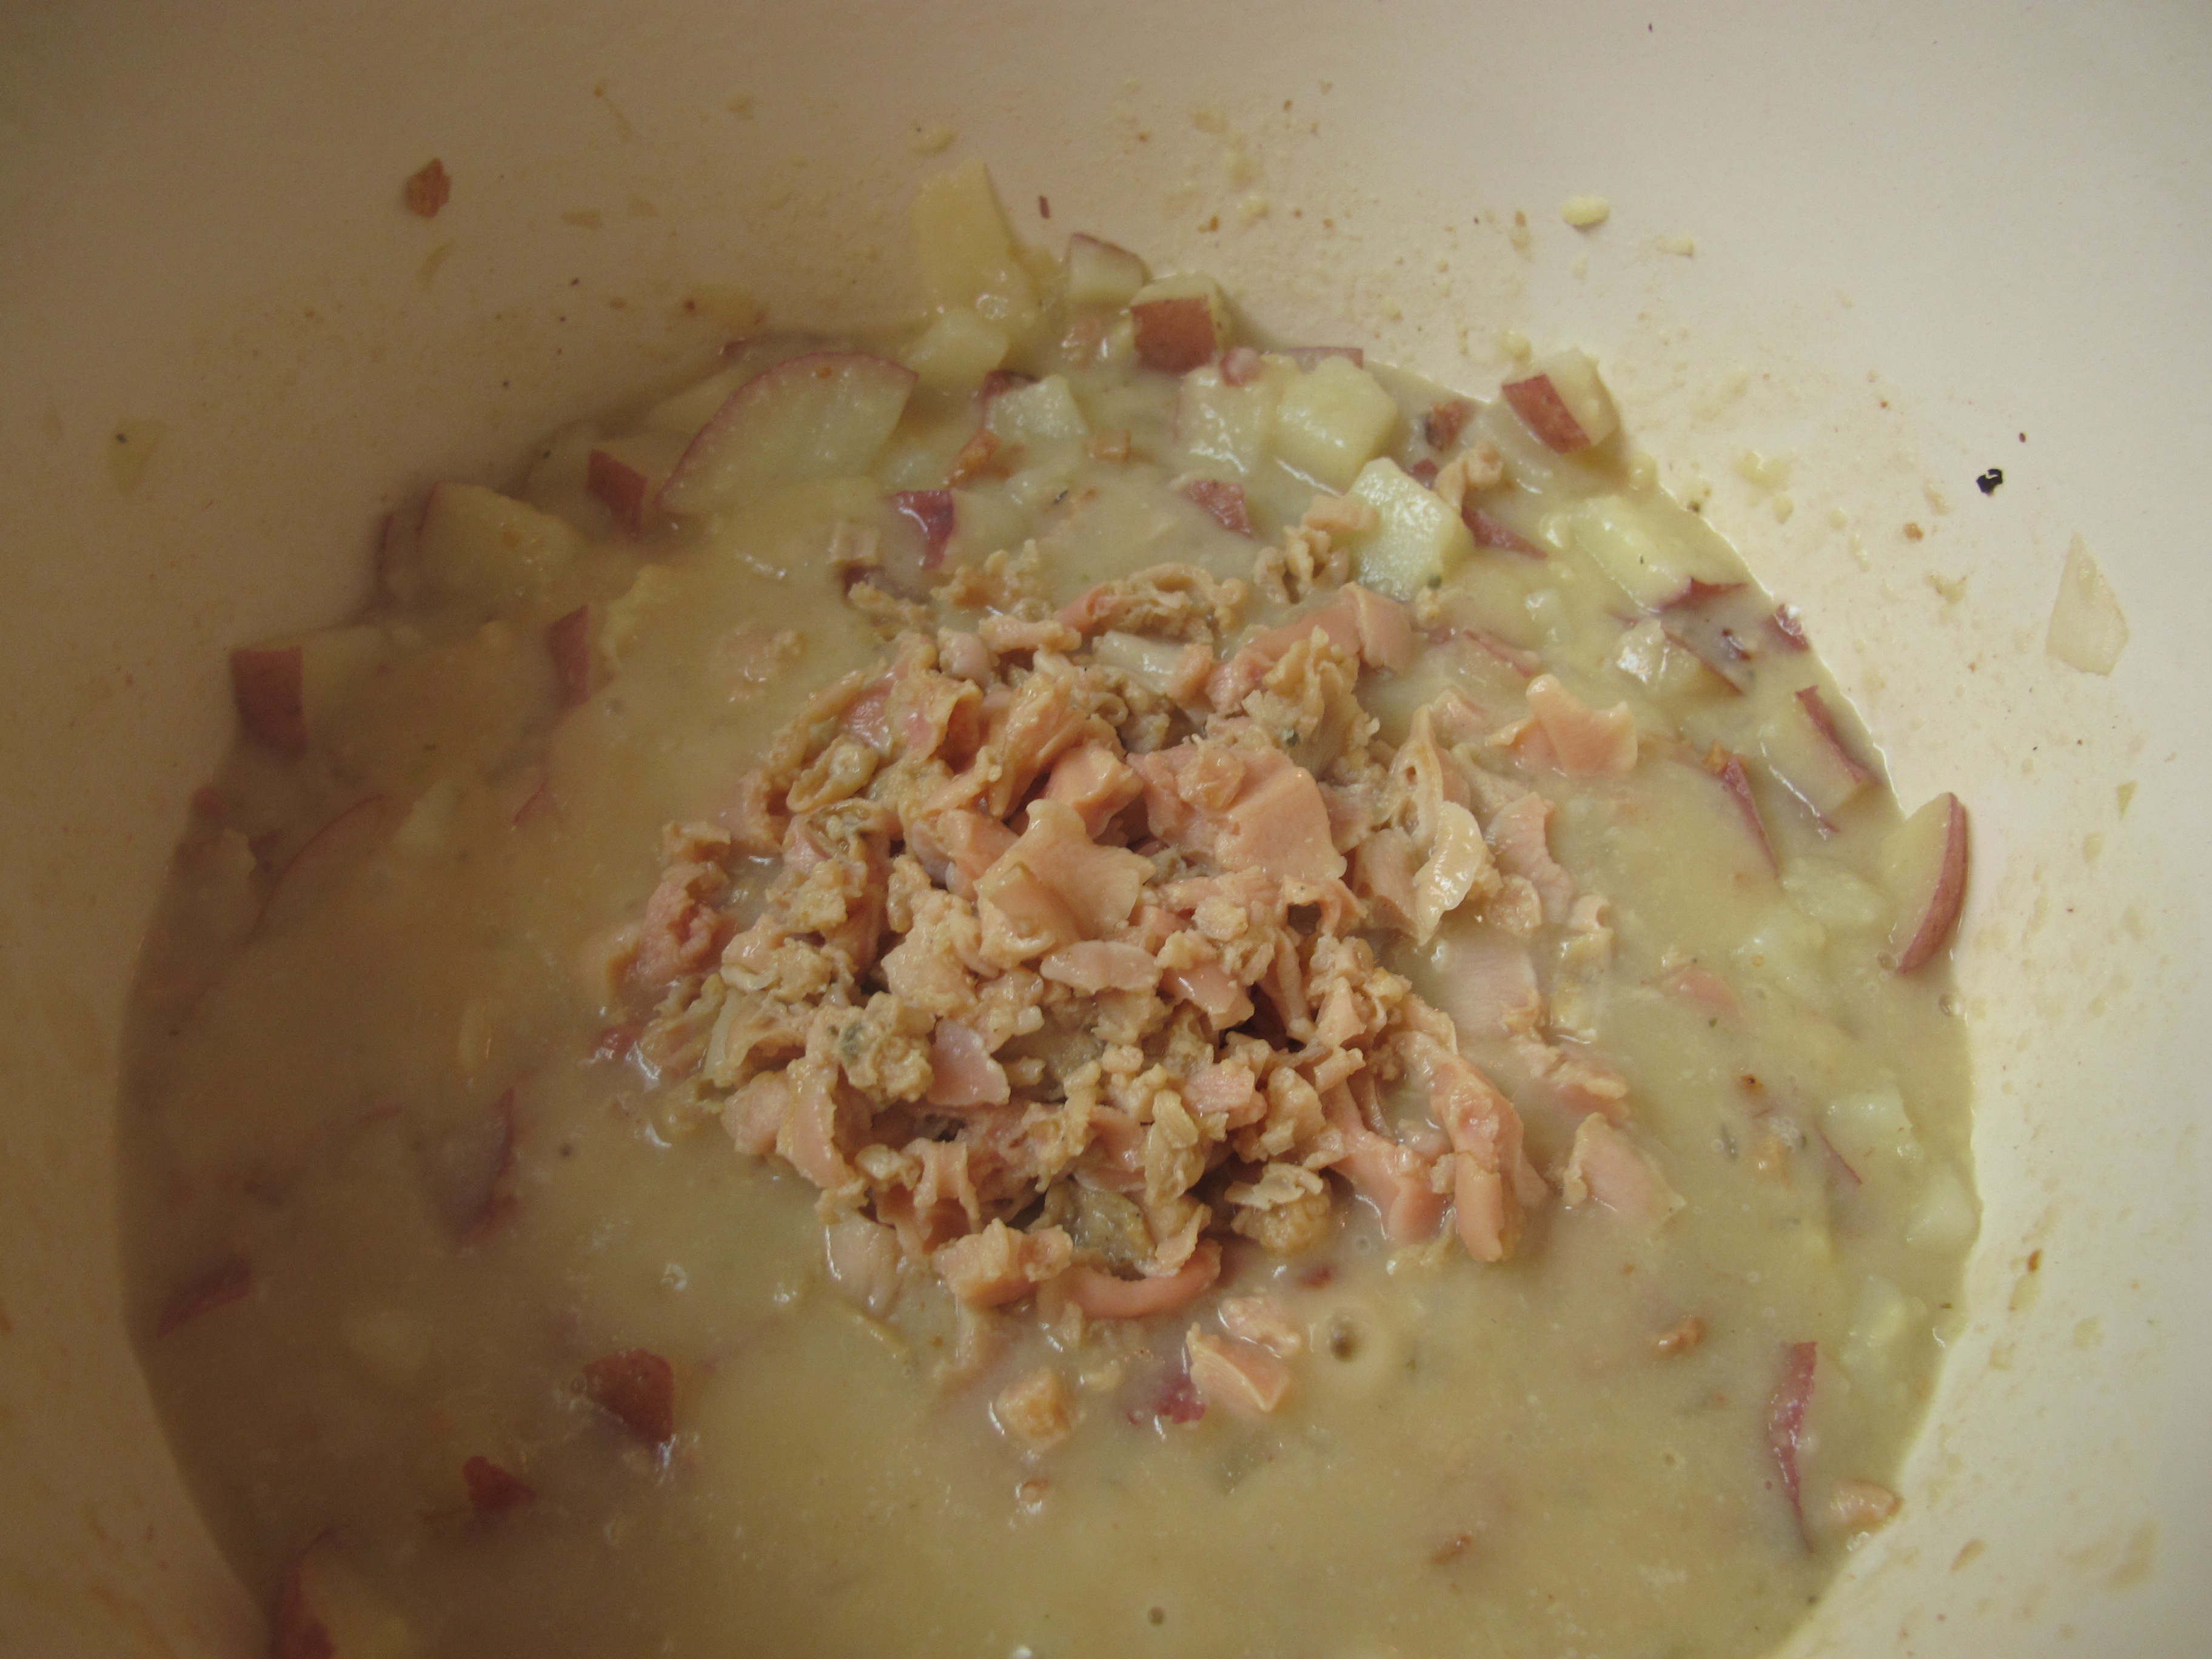
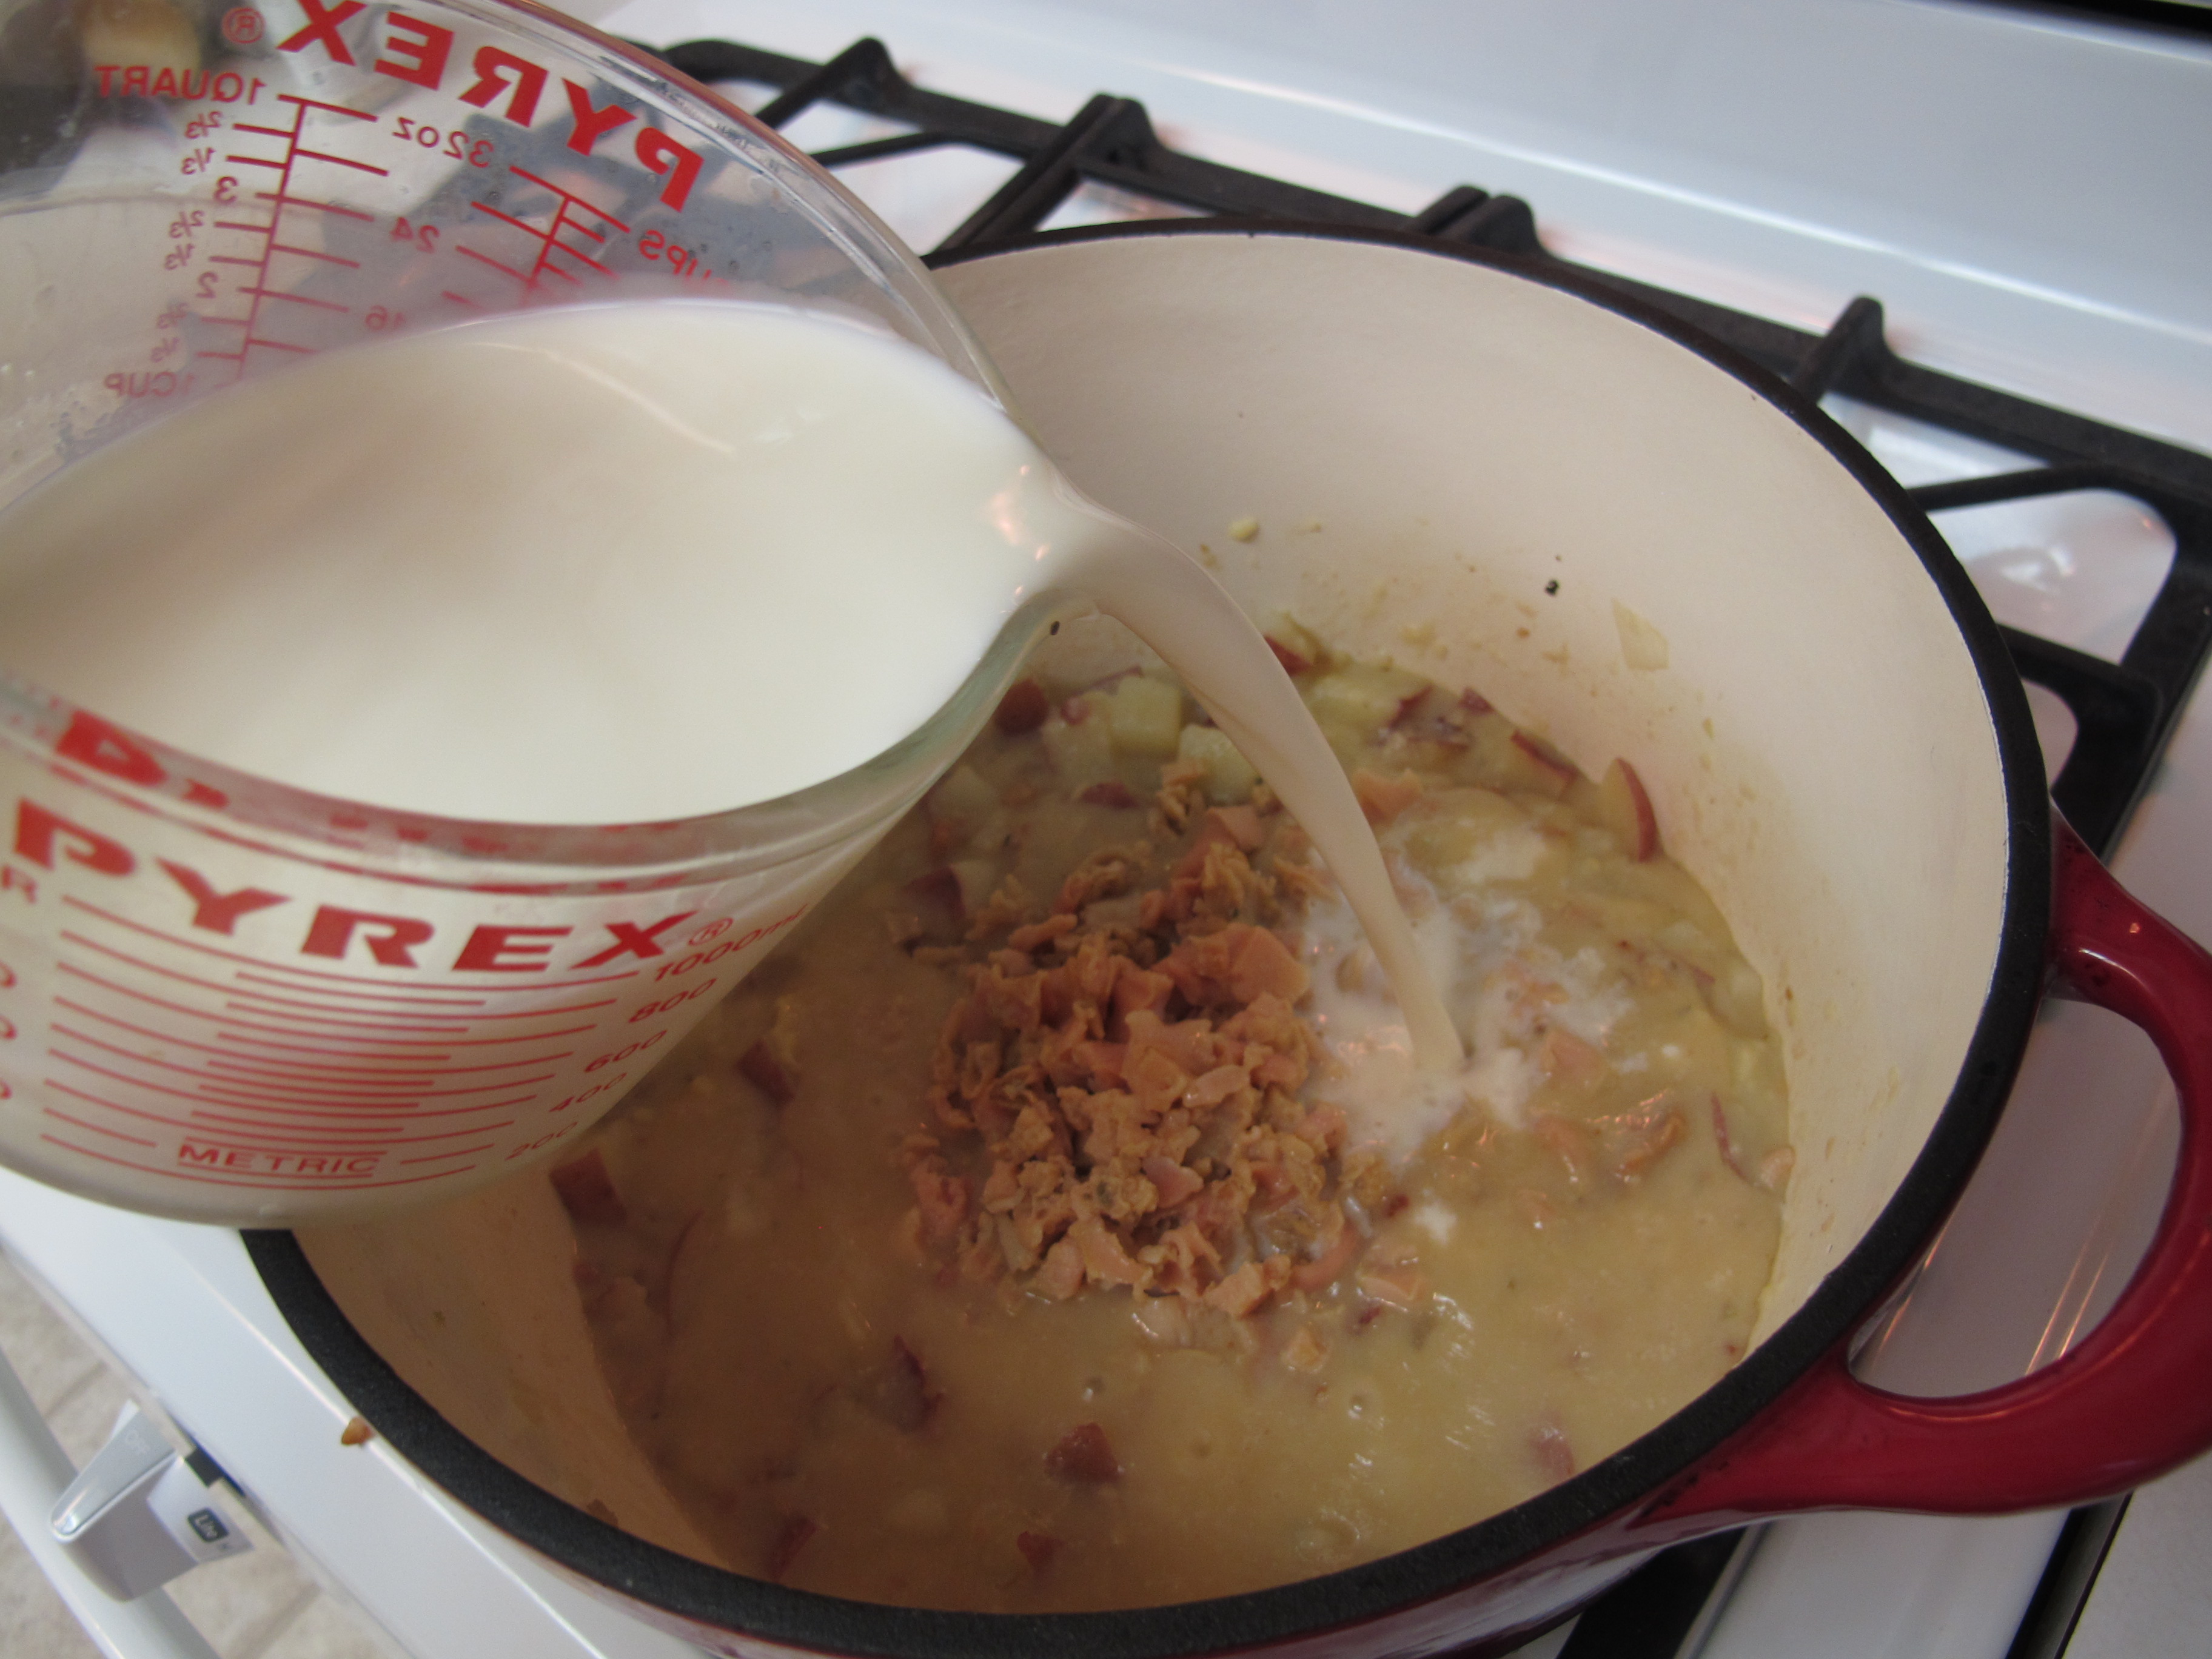
Simmer until hot and the milk thickens.
Makes about 6 cups
Recipe Source: Janet G.
FULL RECIPE WITHOUT PICTURES —
NEW ENGLAND CLAM CHOWDER
2 slices bacon or 4 T. of real bacon bits
1 medium onion, chopped
2 medium potatoes (about 1 1/2 cups), cut into small bit-sized pieces
3 (7 1/2 oz.) cans clams, drained – reserve 1 cup clam juice 1 cup water
1/4 cup Brummel and Brown butter, melted
1/4 cup flour
3 cups skim milk
1 tsp. salt
1/8 tsp. pepper
1/2 tsp. garlic granules
1/4 tsp. Italian seasoning
In stock pot, cook bacon, onion and potatoes. Cook until onions are translucent.
Add 1 cup of the reserved clam juice and 1 cup of water.
Cover and cook until potatoes are tender.
Melt butter and stir in the flour. Add to potatoes mixture.
Add clams, milk, and seasonings.
Simmer until hot and the milk thickens.
Makes about 6 cups
Recipe Source: Janet G.
Sweet and Spicy Citrus Tilapia
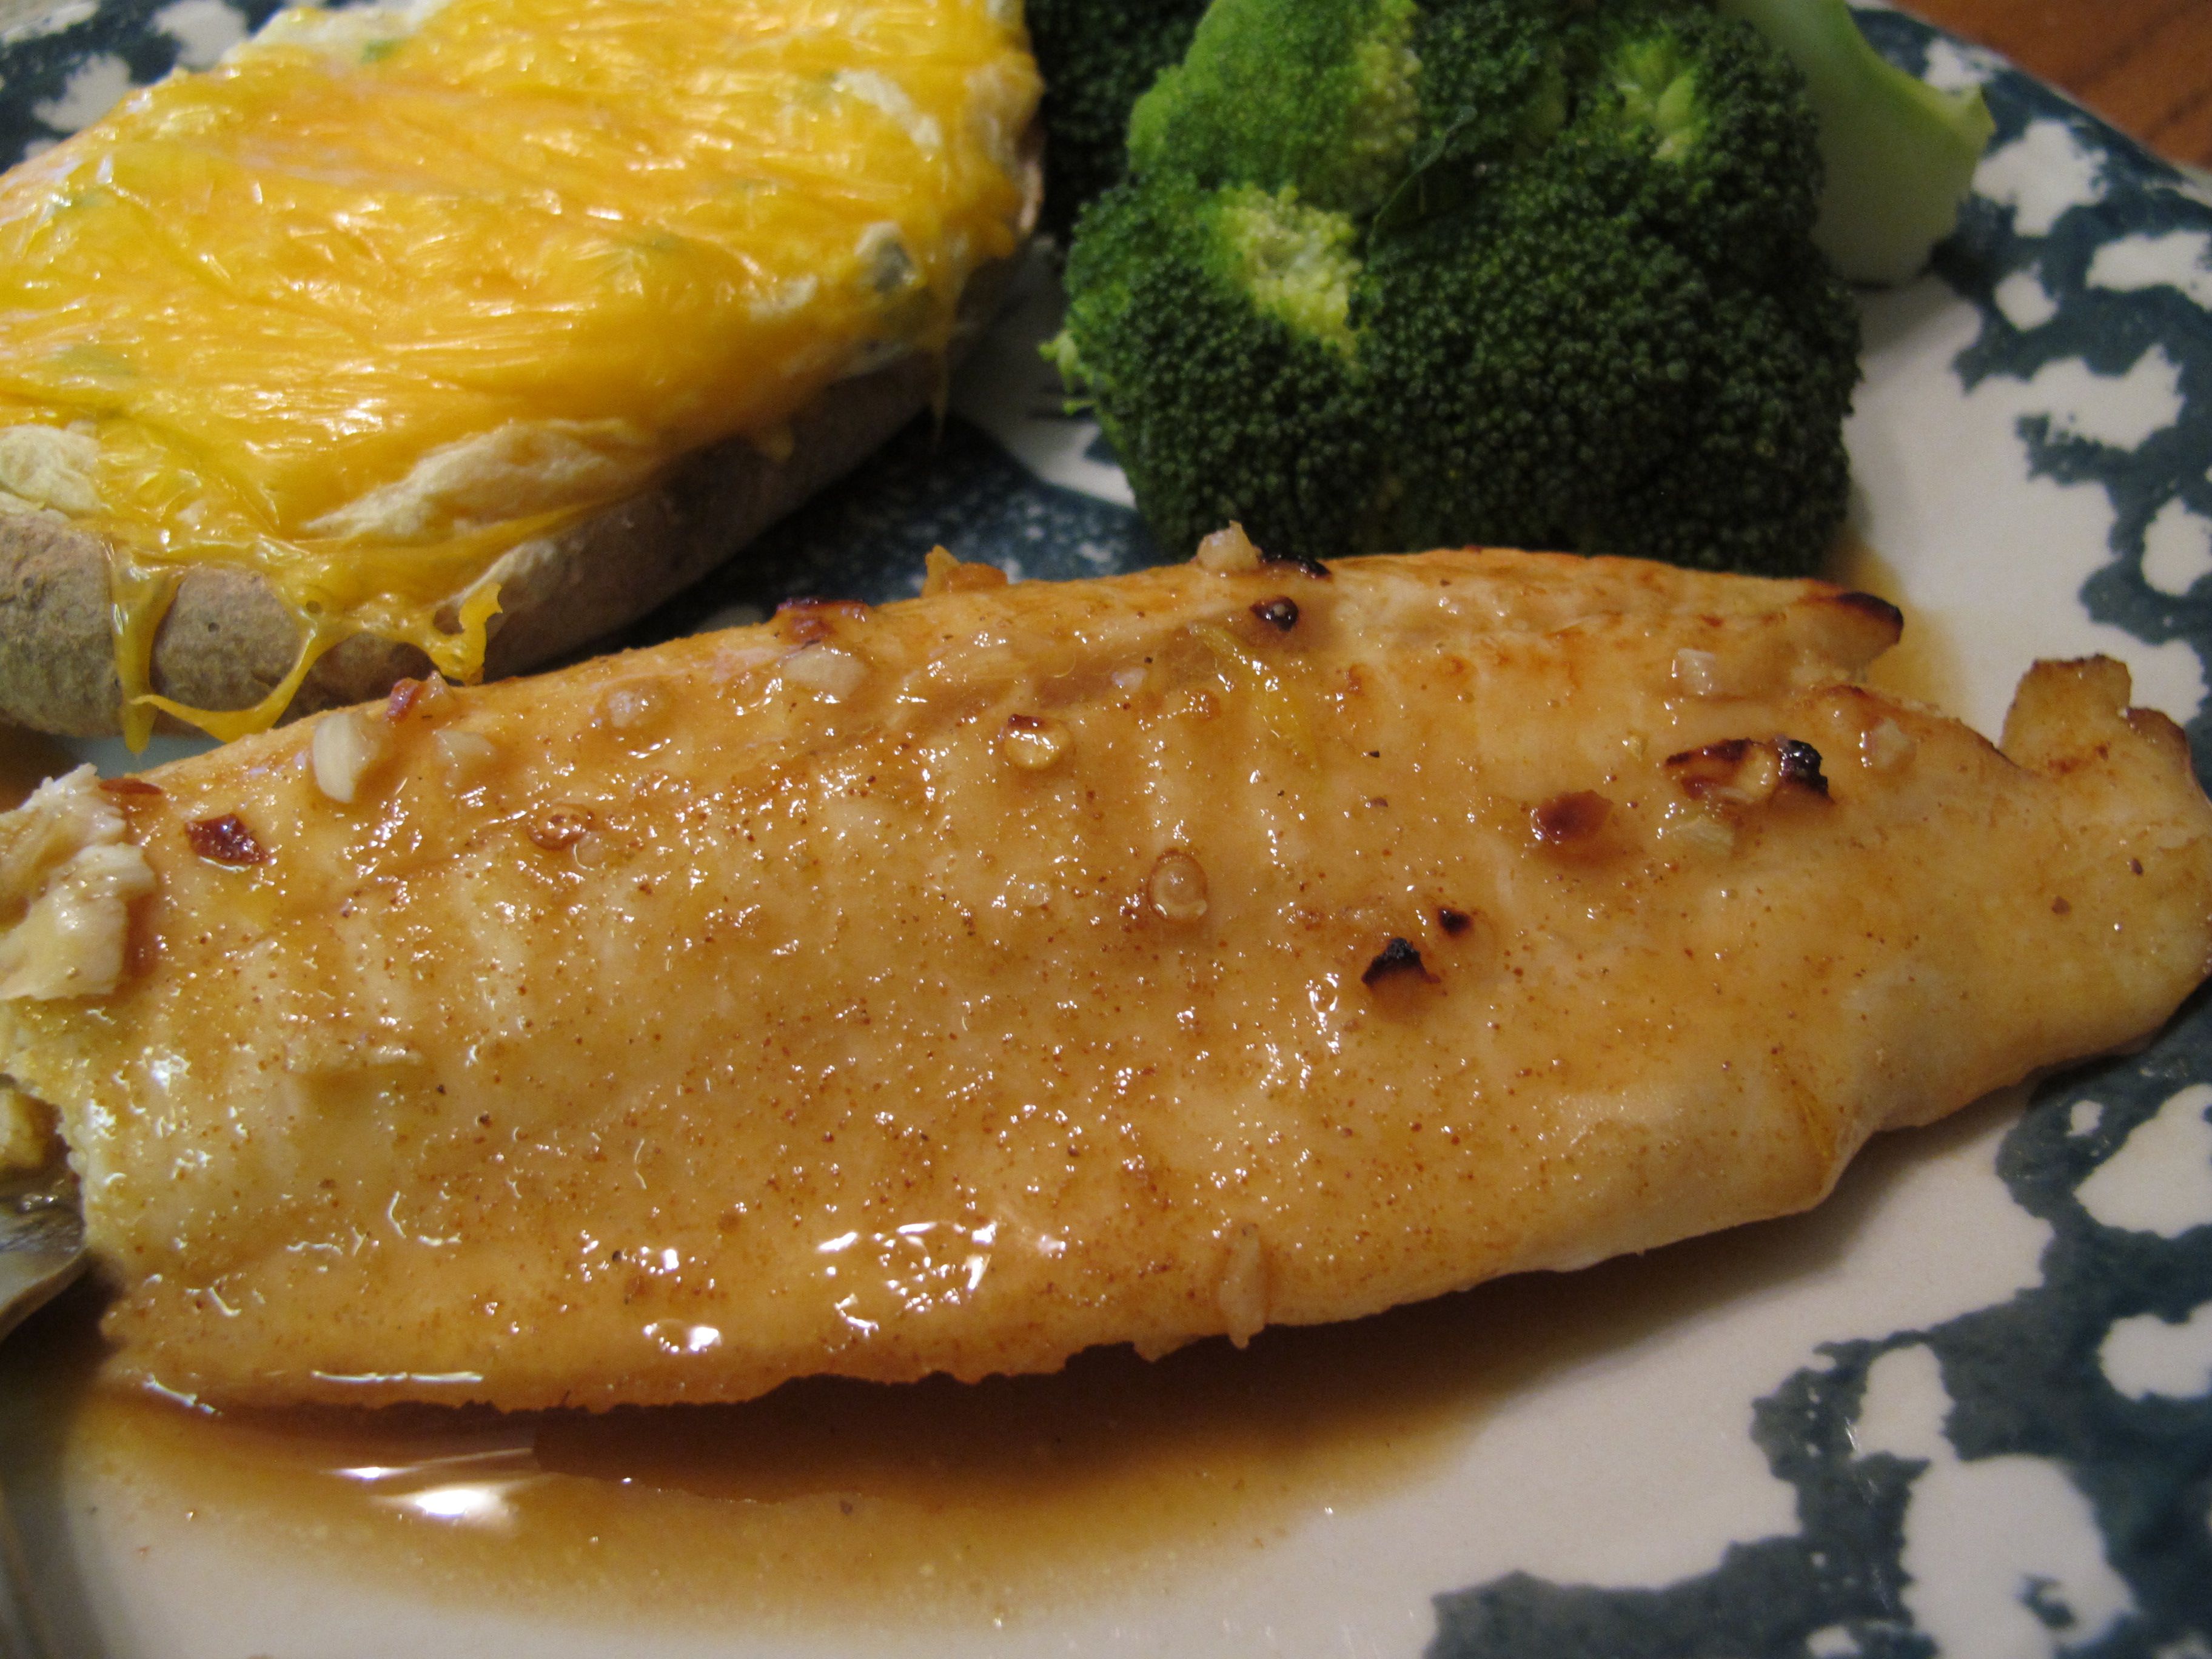
This tilapia has a hint of sweet citrus combined with just enough spice to give it favor. Makes for a quick meal since it only takes 15 minutes to cook. Served here with Twice Baked Potatoes and Broccoli.

Pictures shown are half the recipe. Picture above shows 2 tilapia fillets – I actually made 3 for a total weight of 12 oz.
cooking spray
Spray a shallow baking pan with cooking spray.
4 (6 oz.) tilapia fillets
Arrange fish in a single layer.
1/2 cup fresh orange juice (about 3-4 oranges)
3 T. fresh lime juice (2-3 limes)
1 T. brown sugar
1 T. extra-virgin olive oil
2 tsp. lower-sodium soy sauce
1/2 tsp. salt
1/2 tsp. ground cumin
1/4 tsp. black pepper
1/4 tsp. ground red pepper
2 garlic cloves, crushed
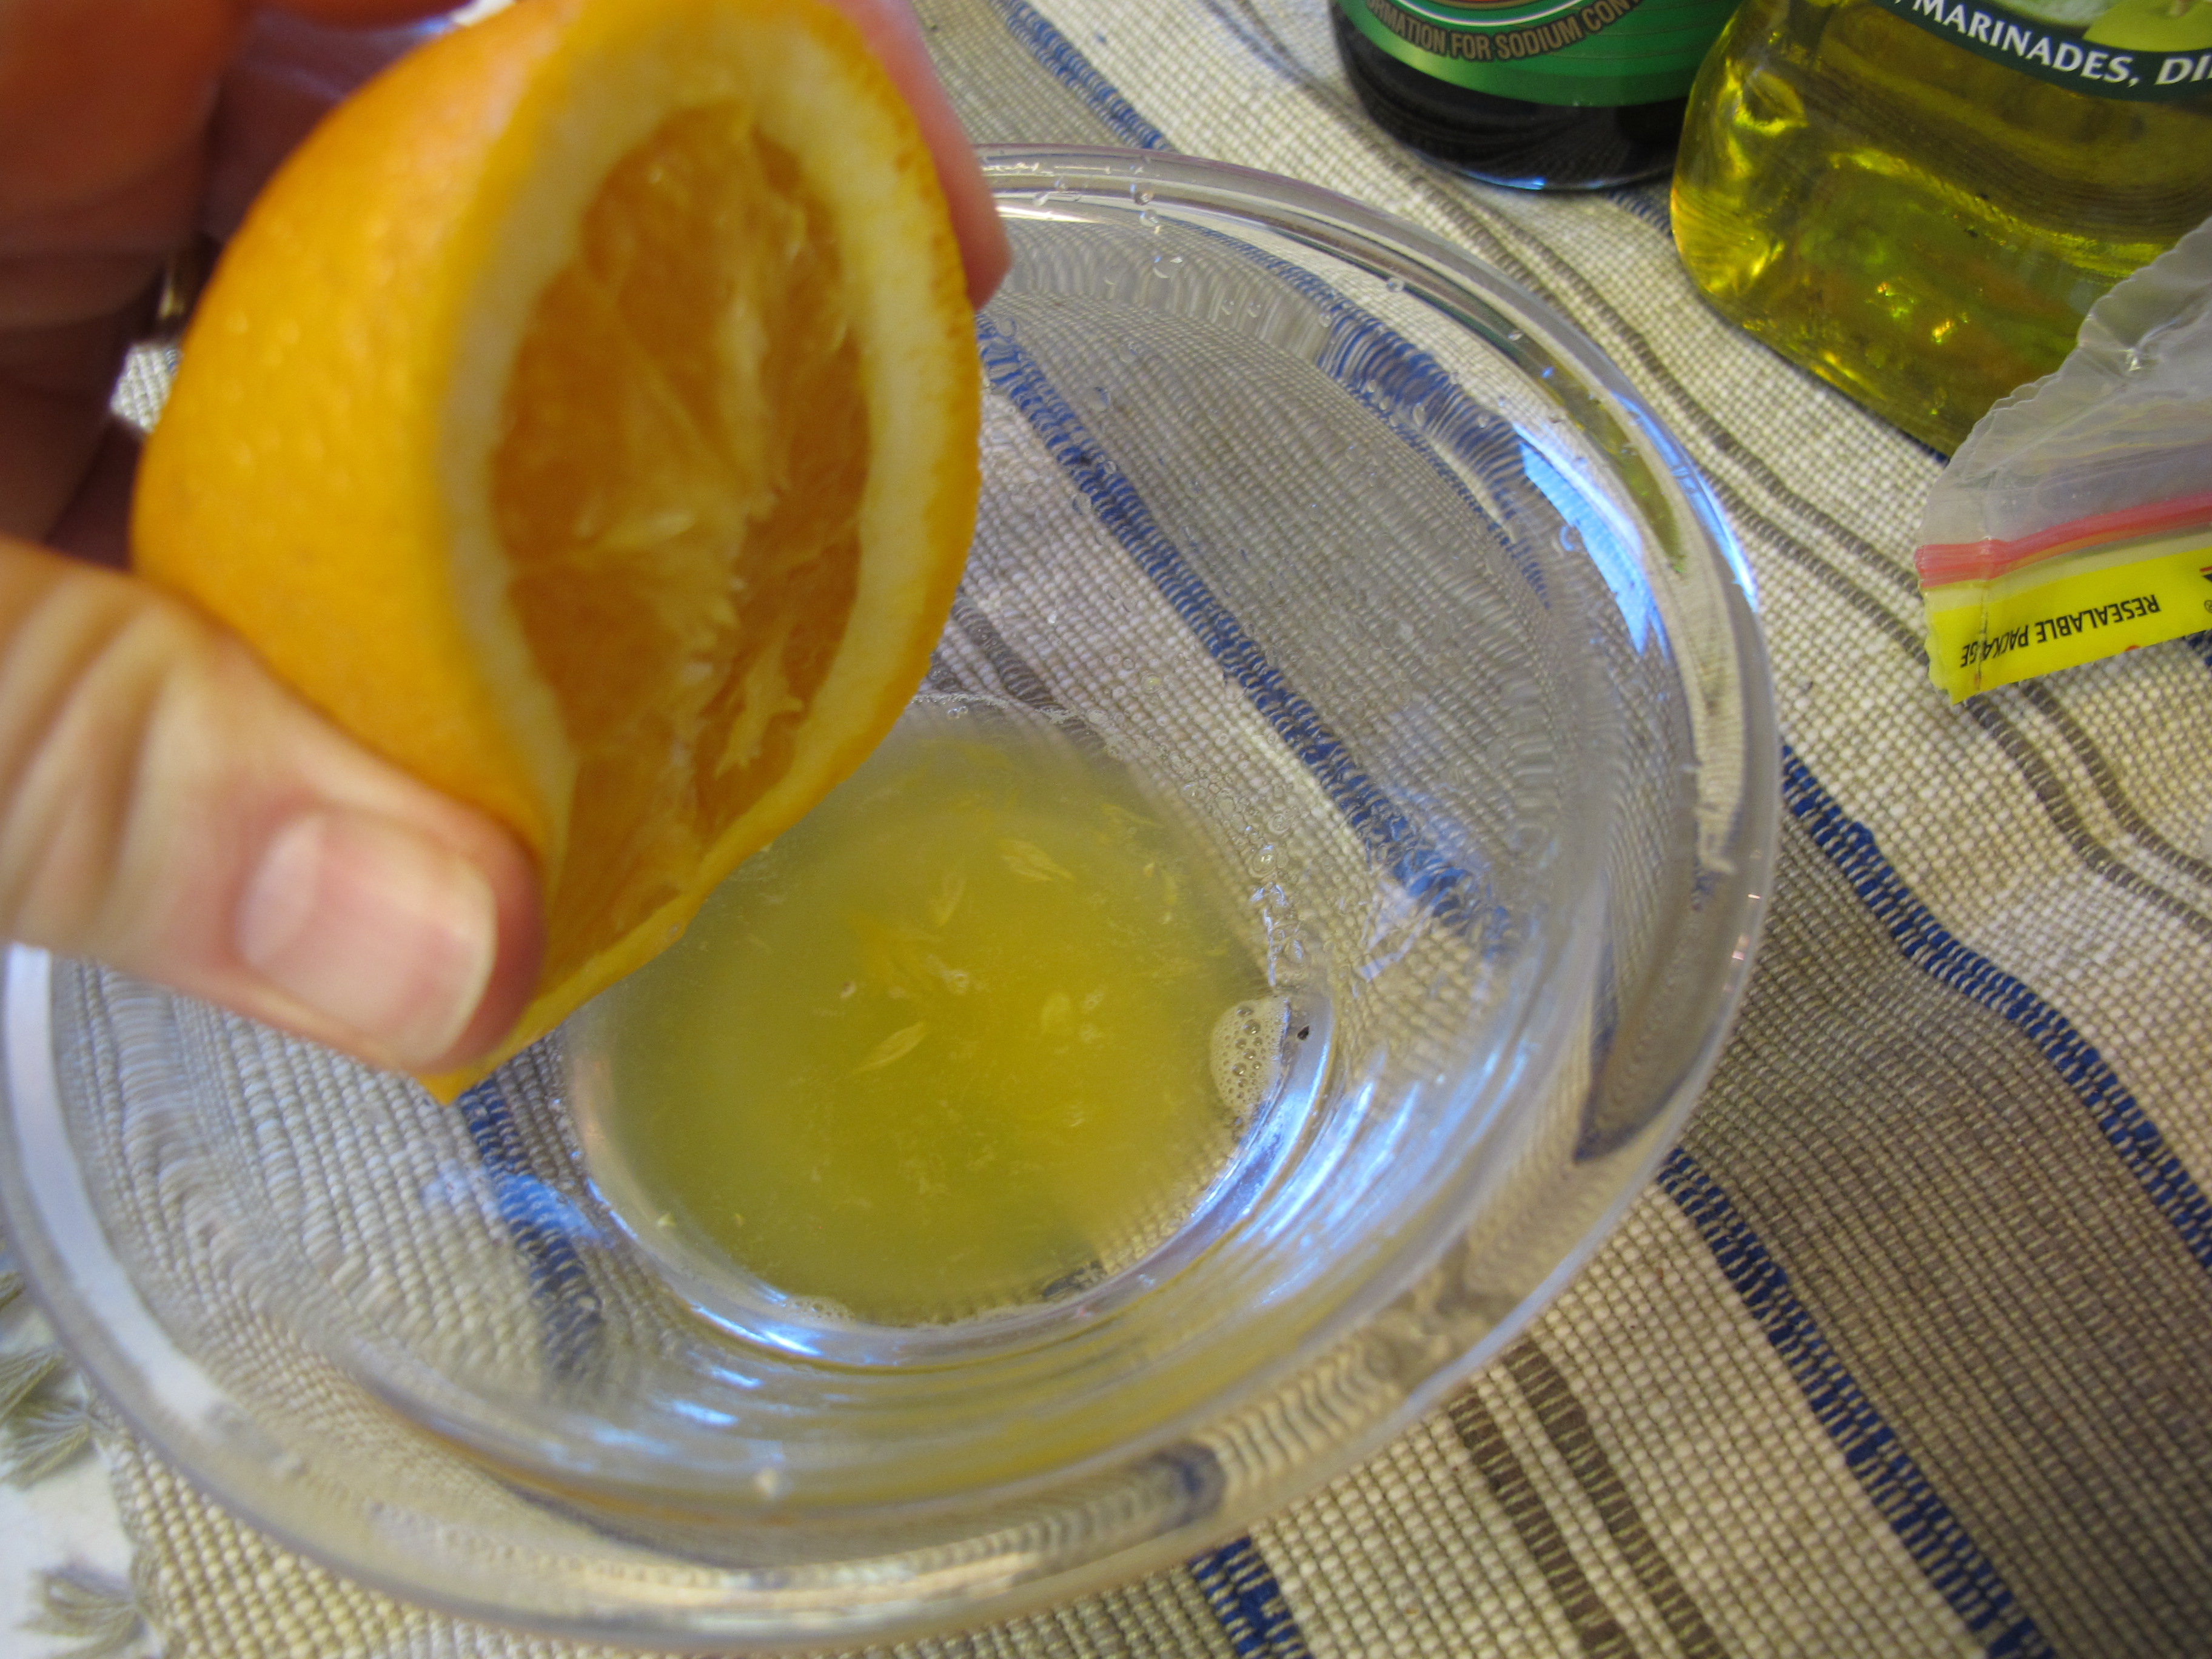
Combine orange juice, lime juice, brown sugar, olive oil, soy sauce, salt, cumin. pepper, red pepper and garlic in a small bowl.
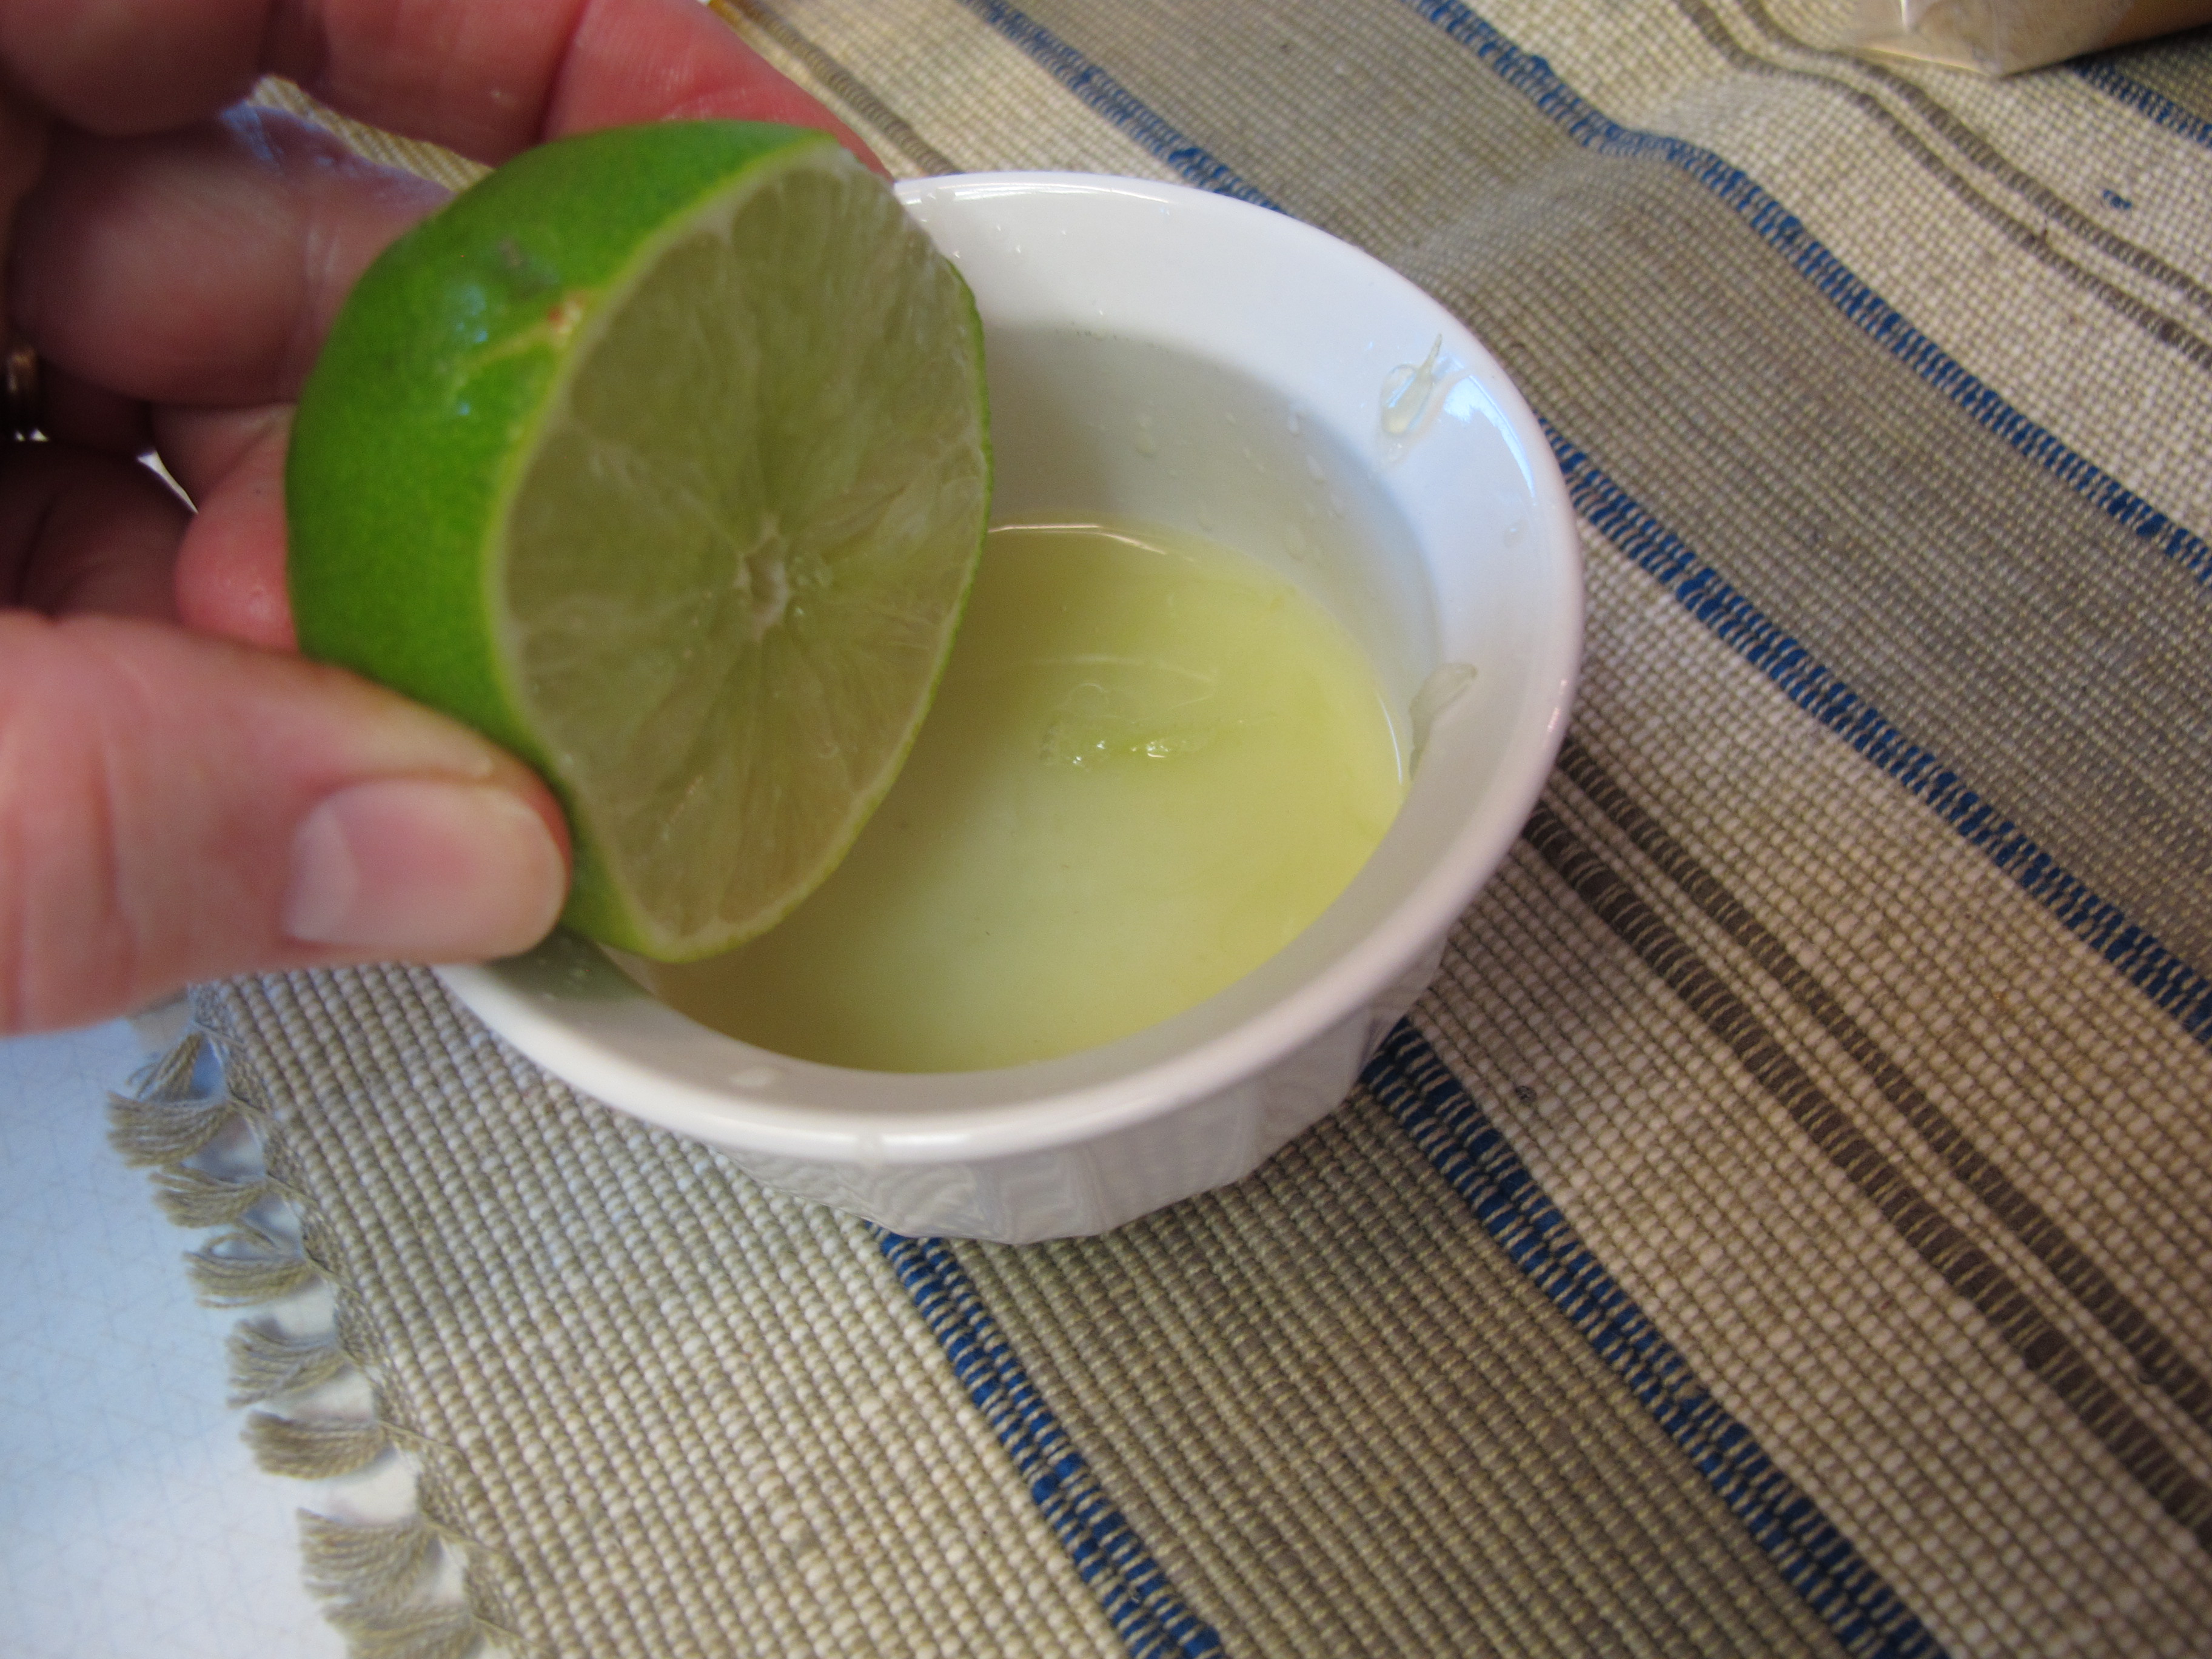
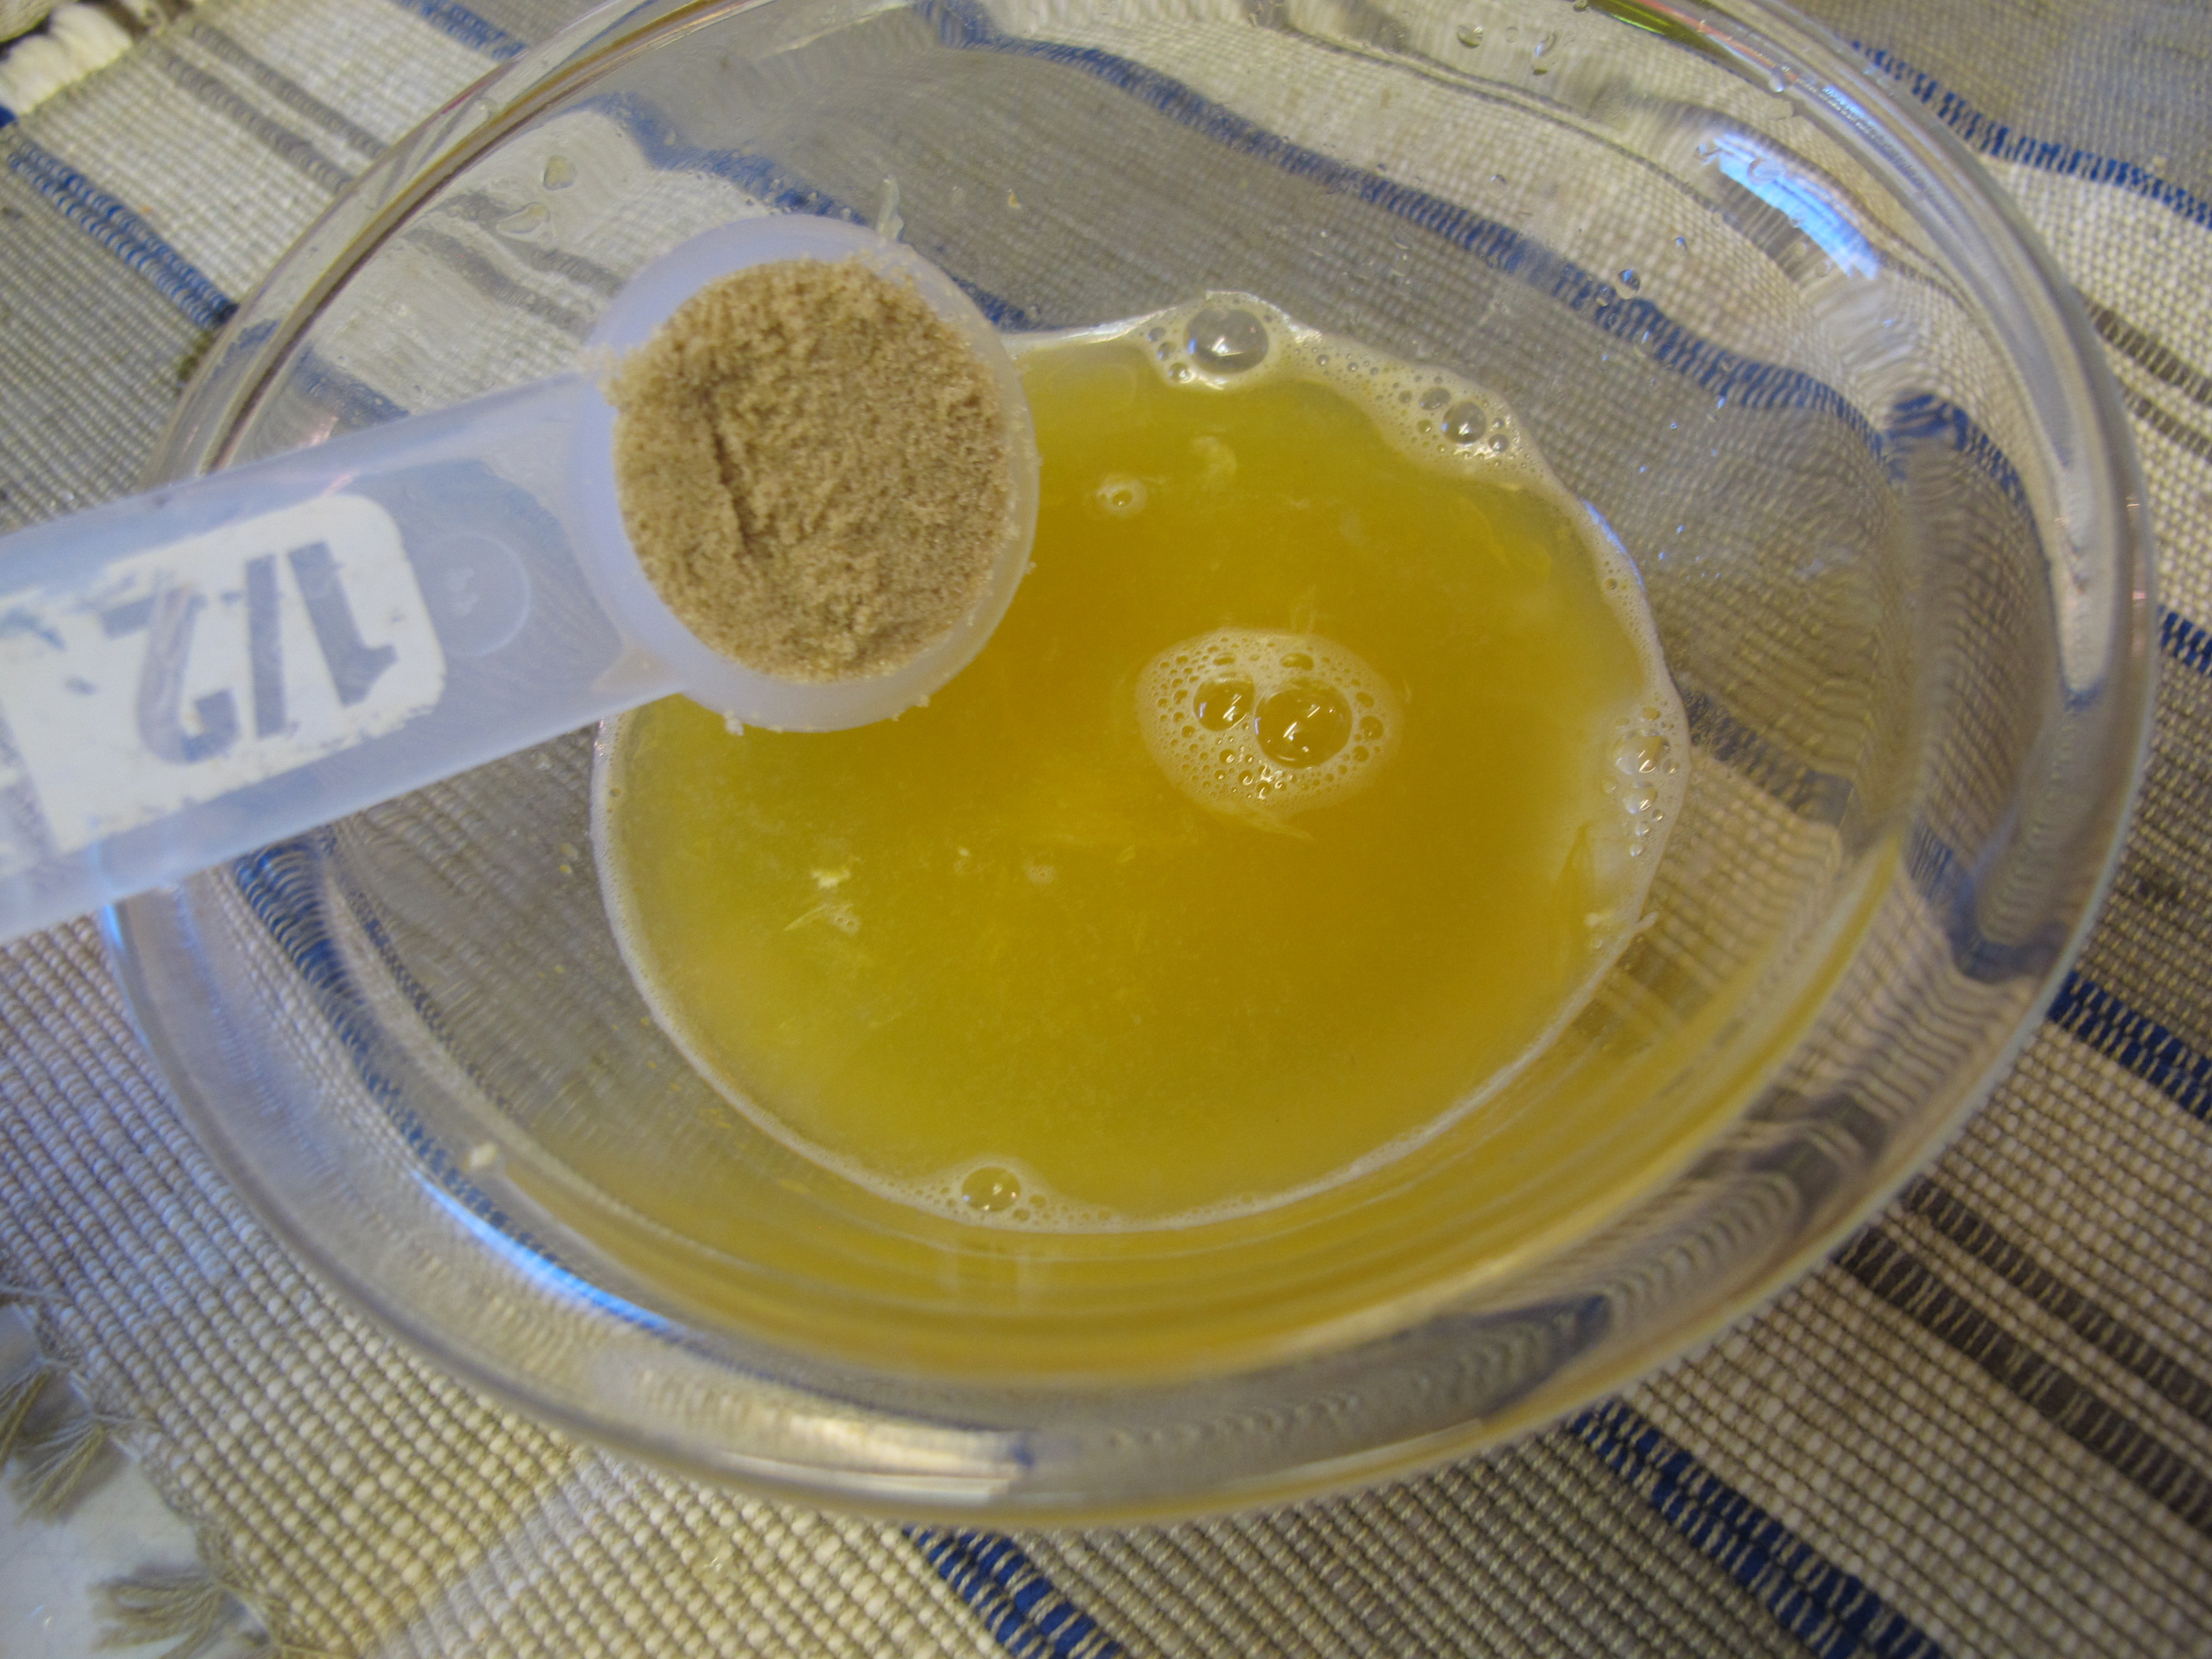
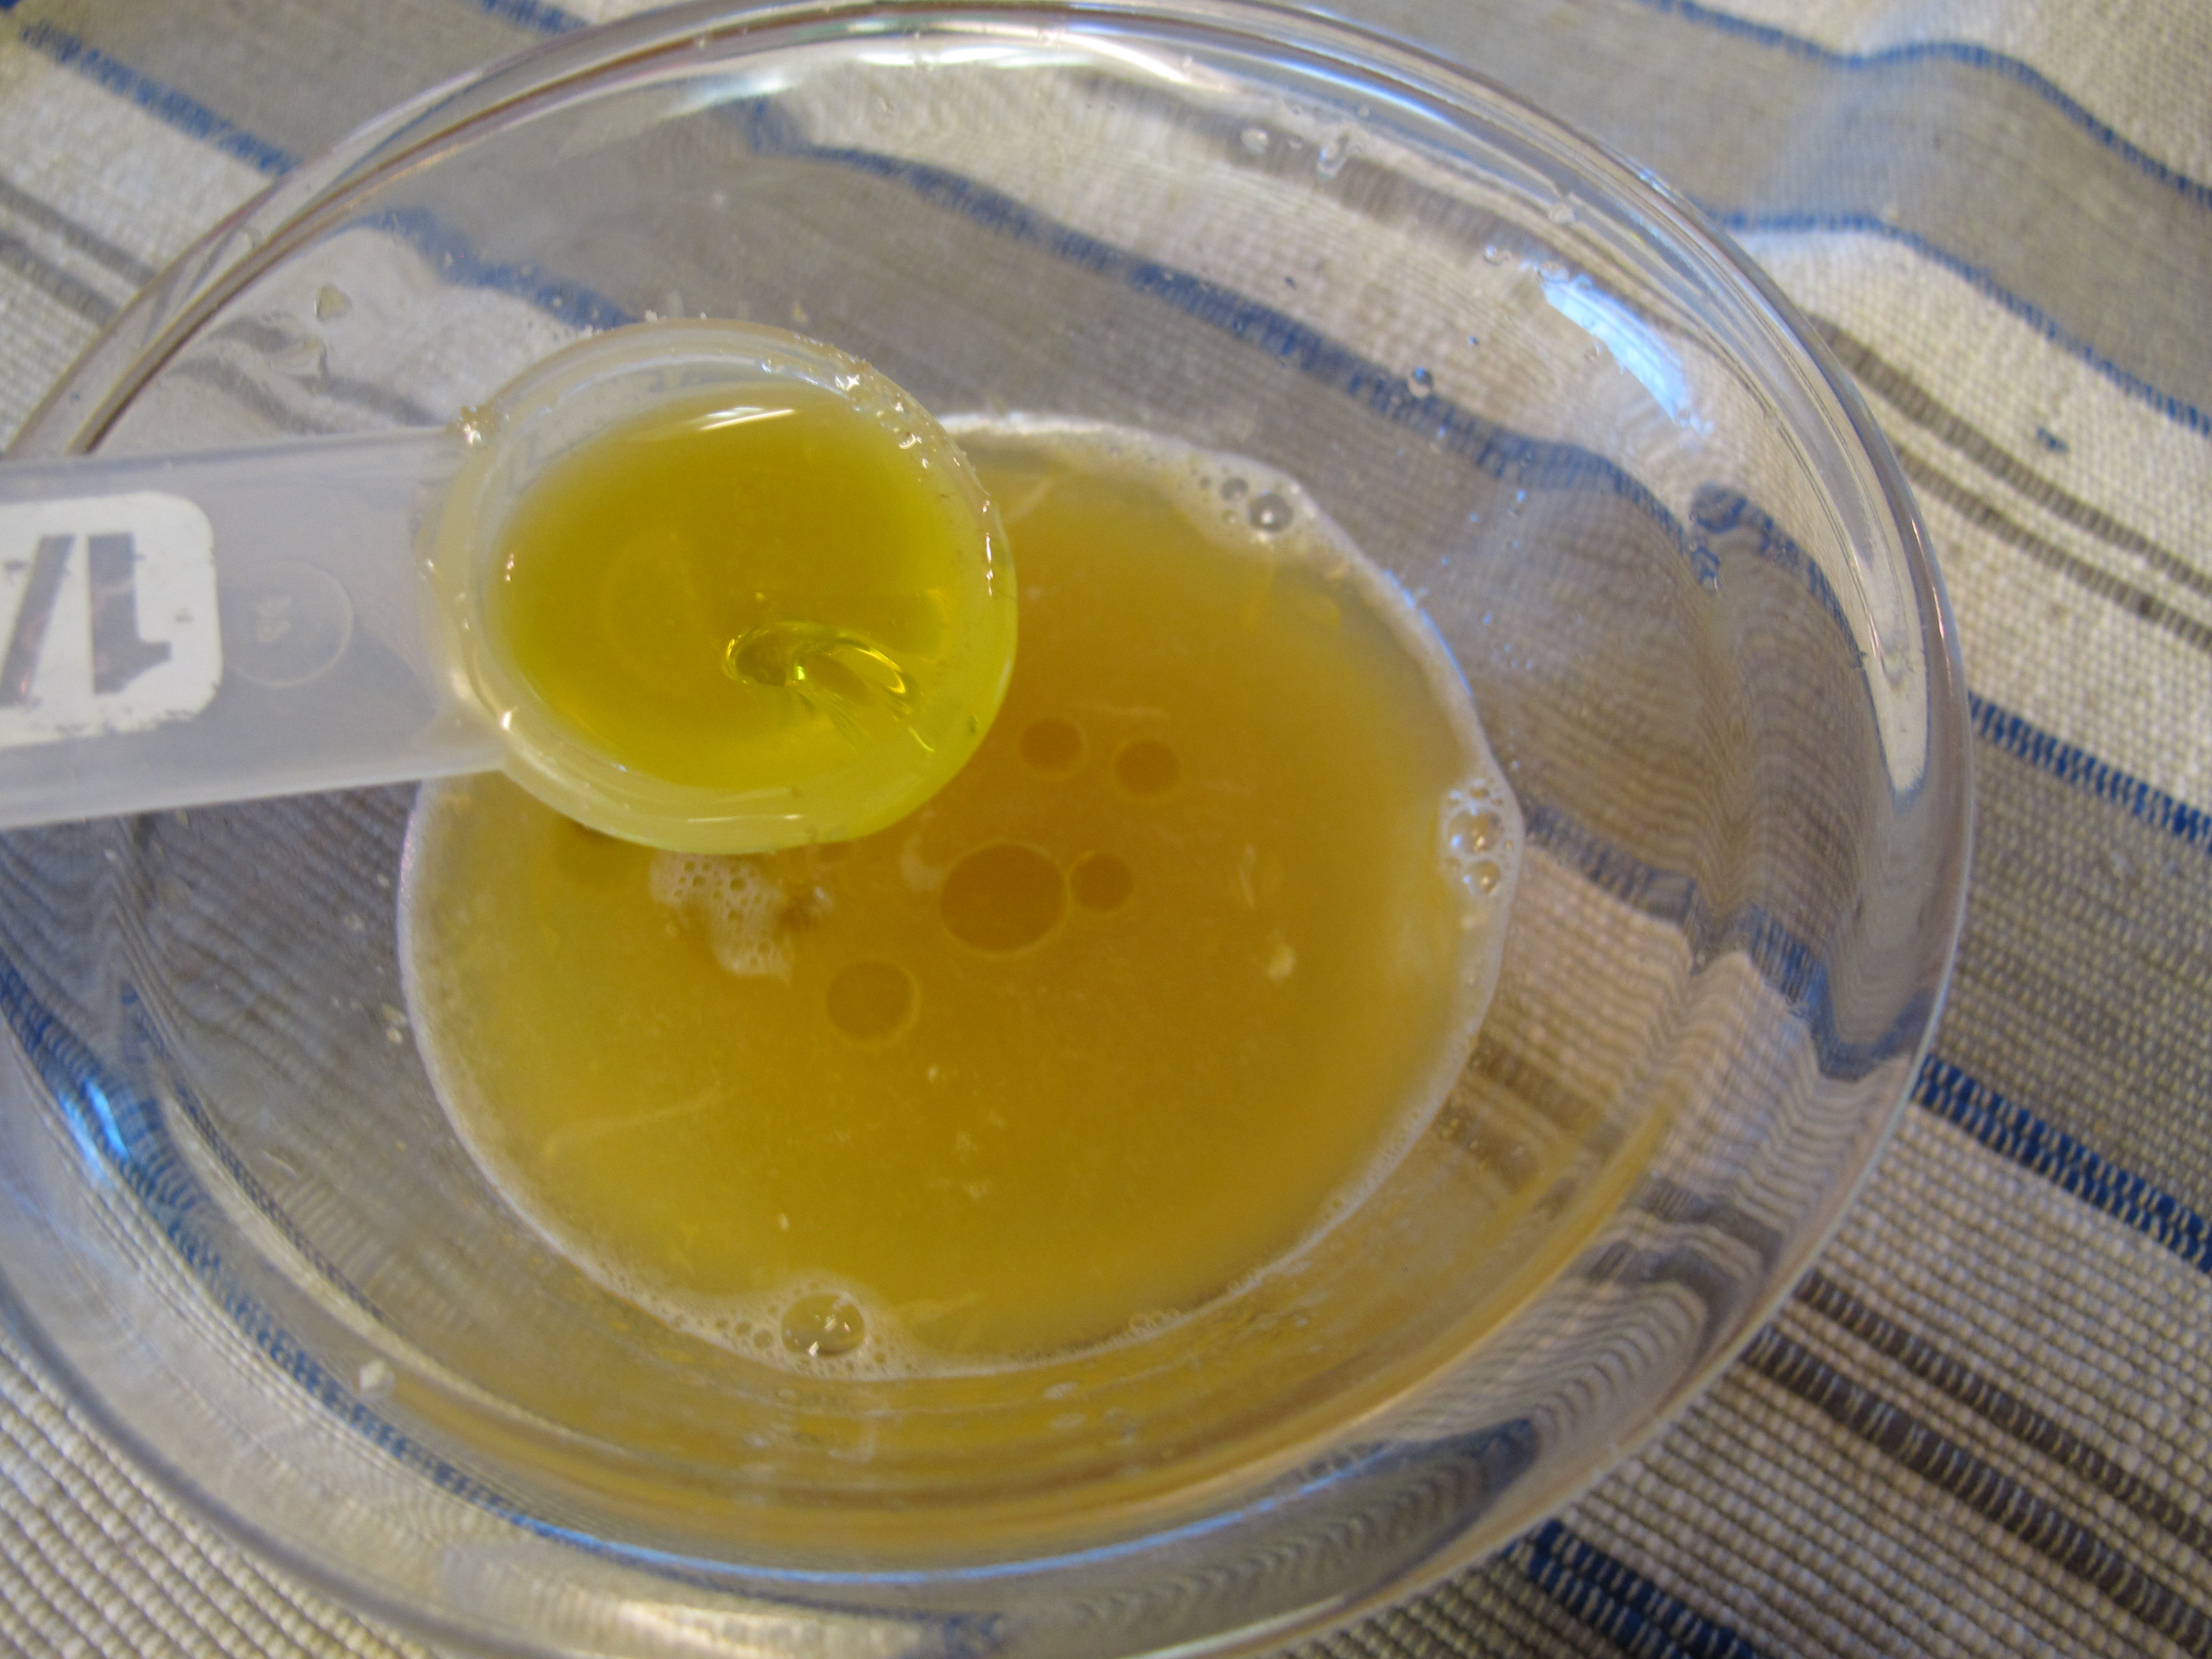
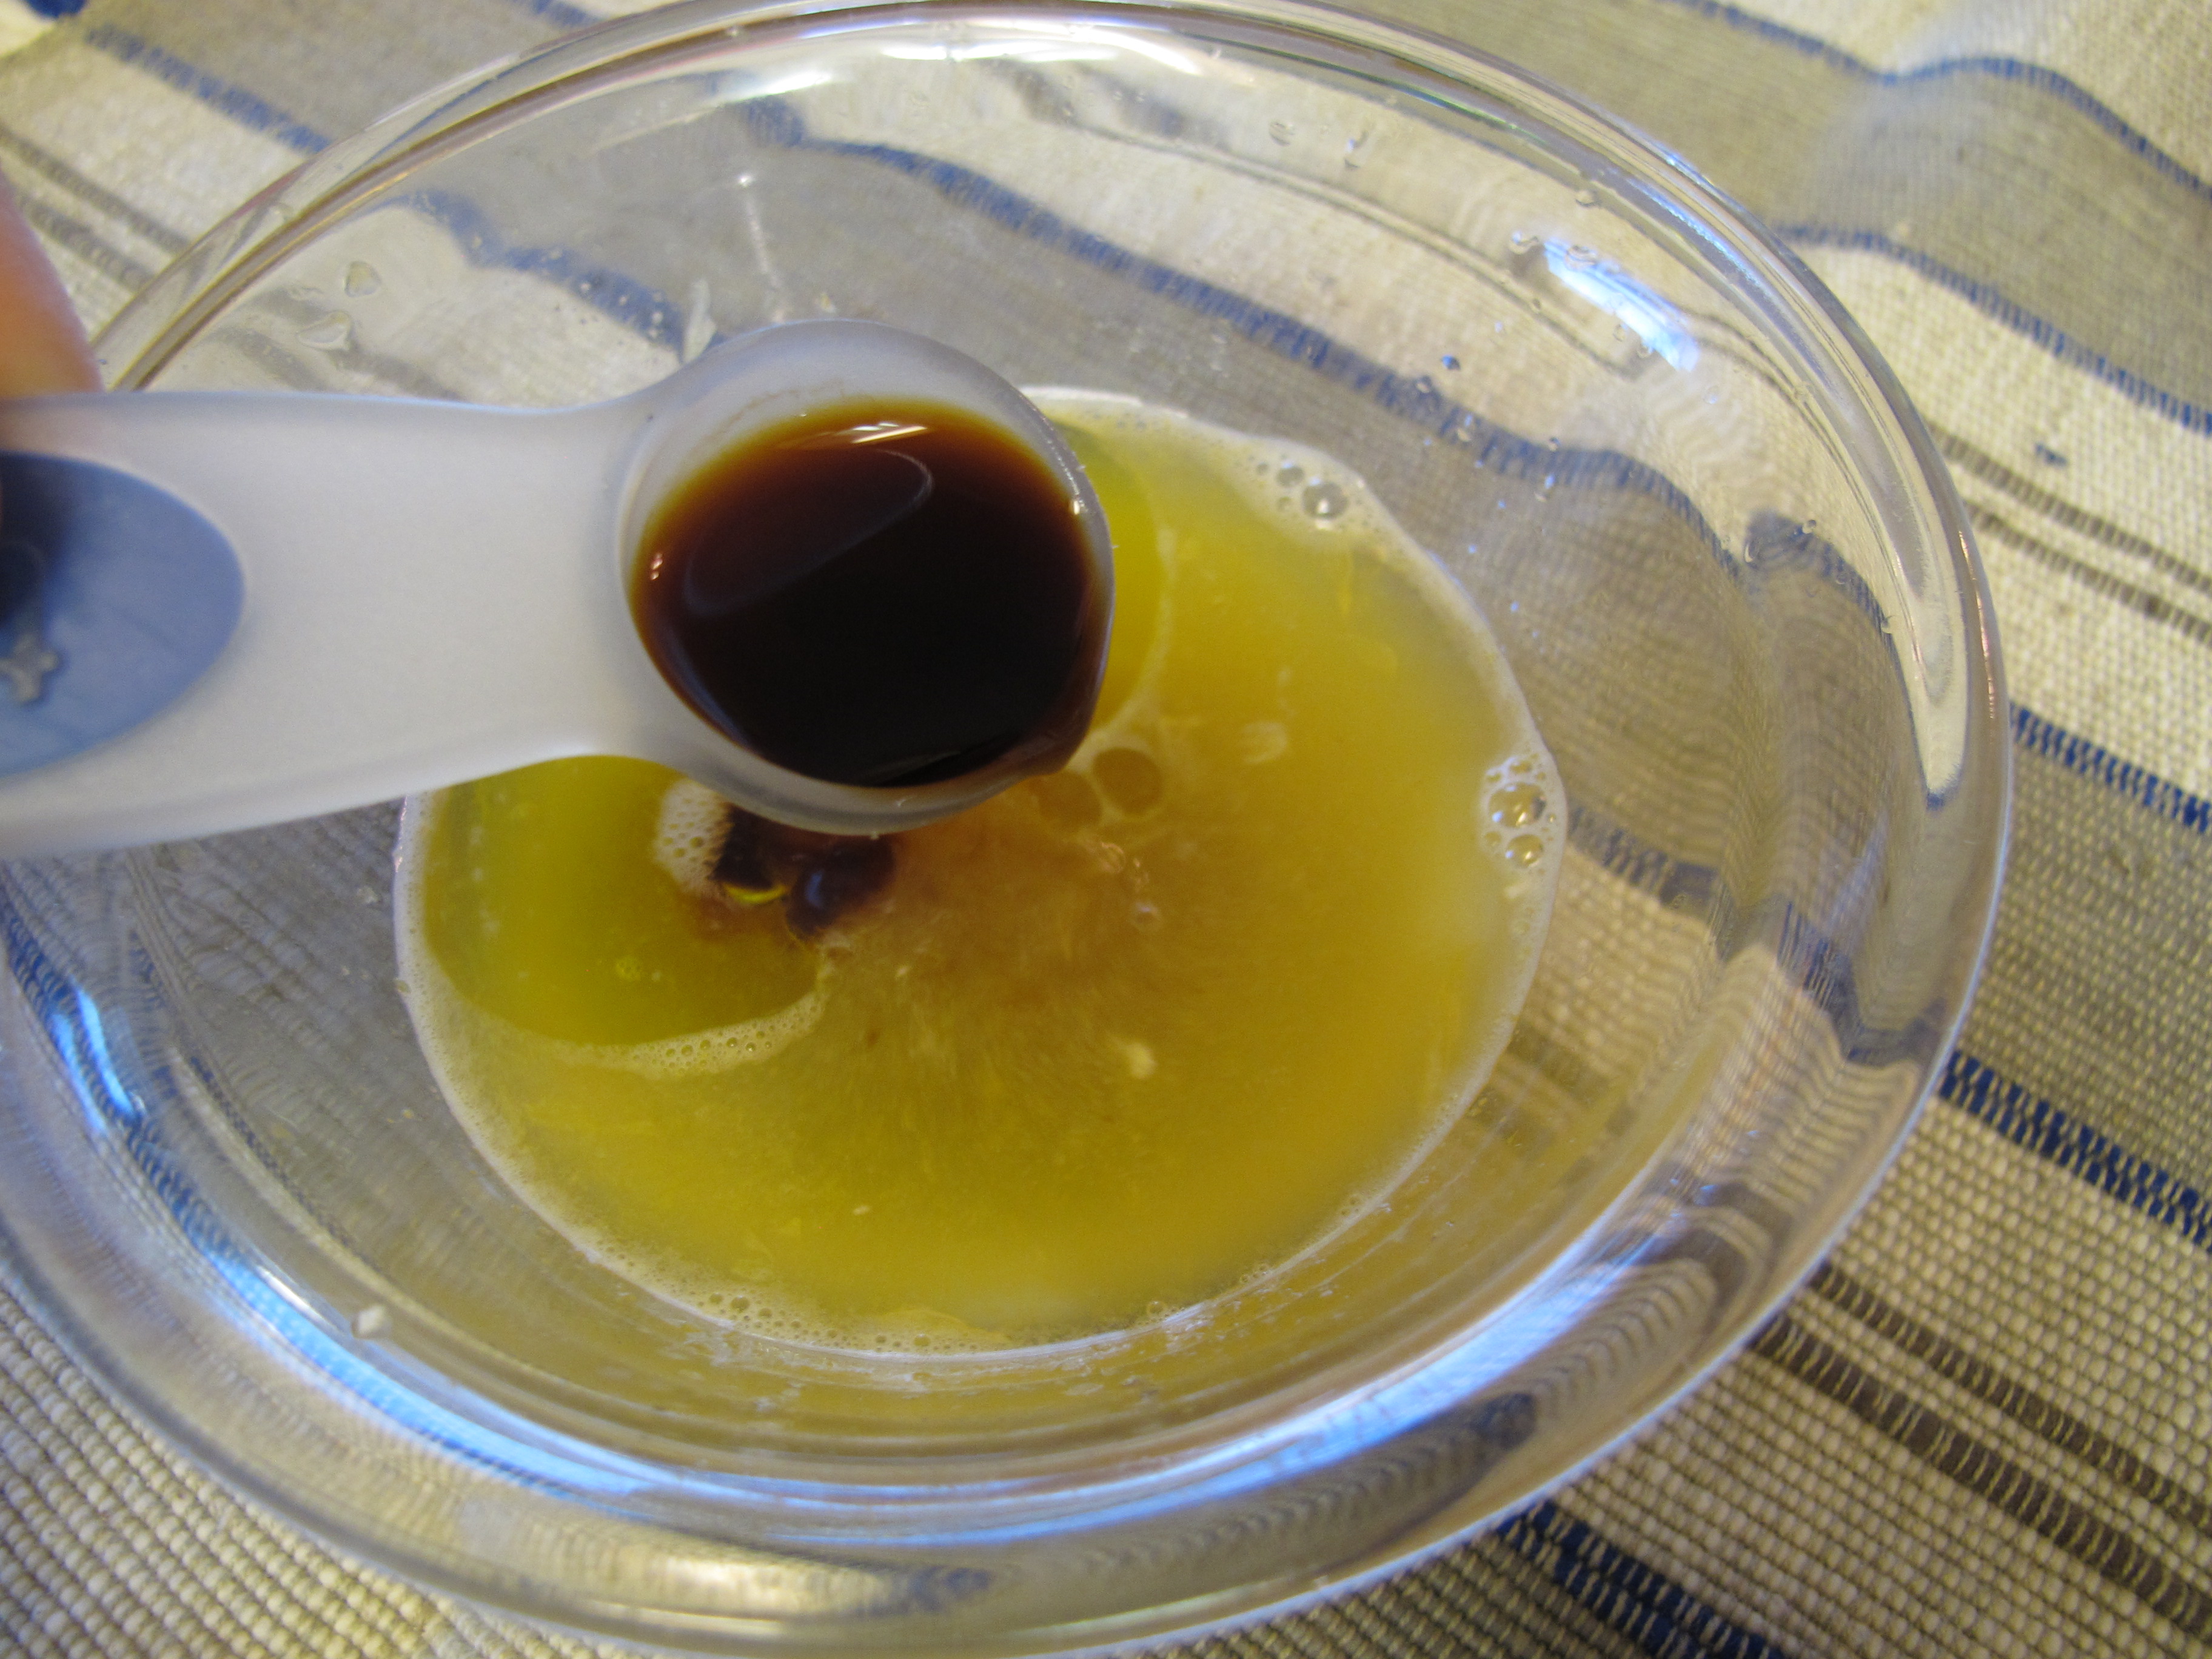

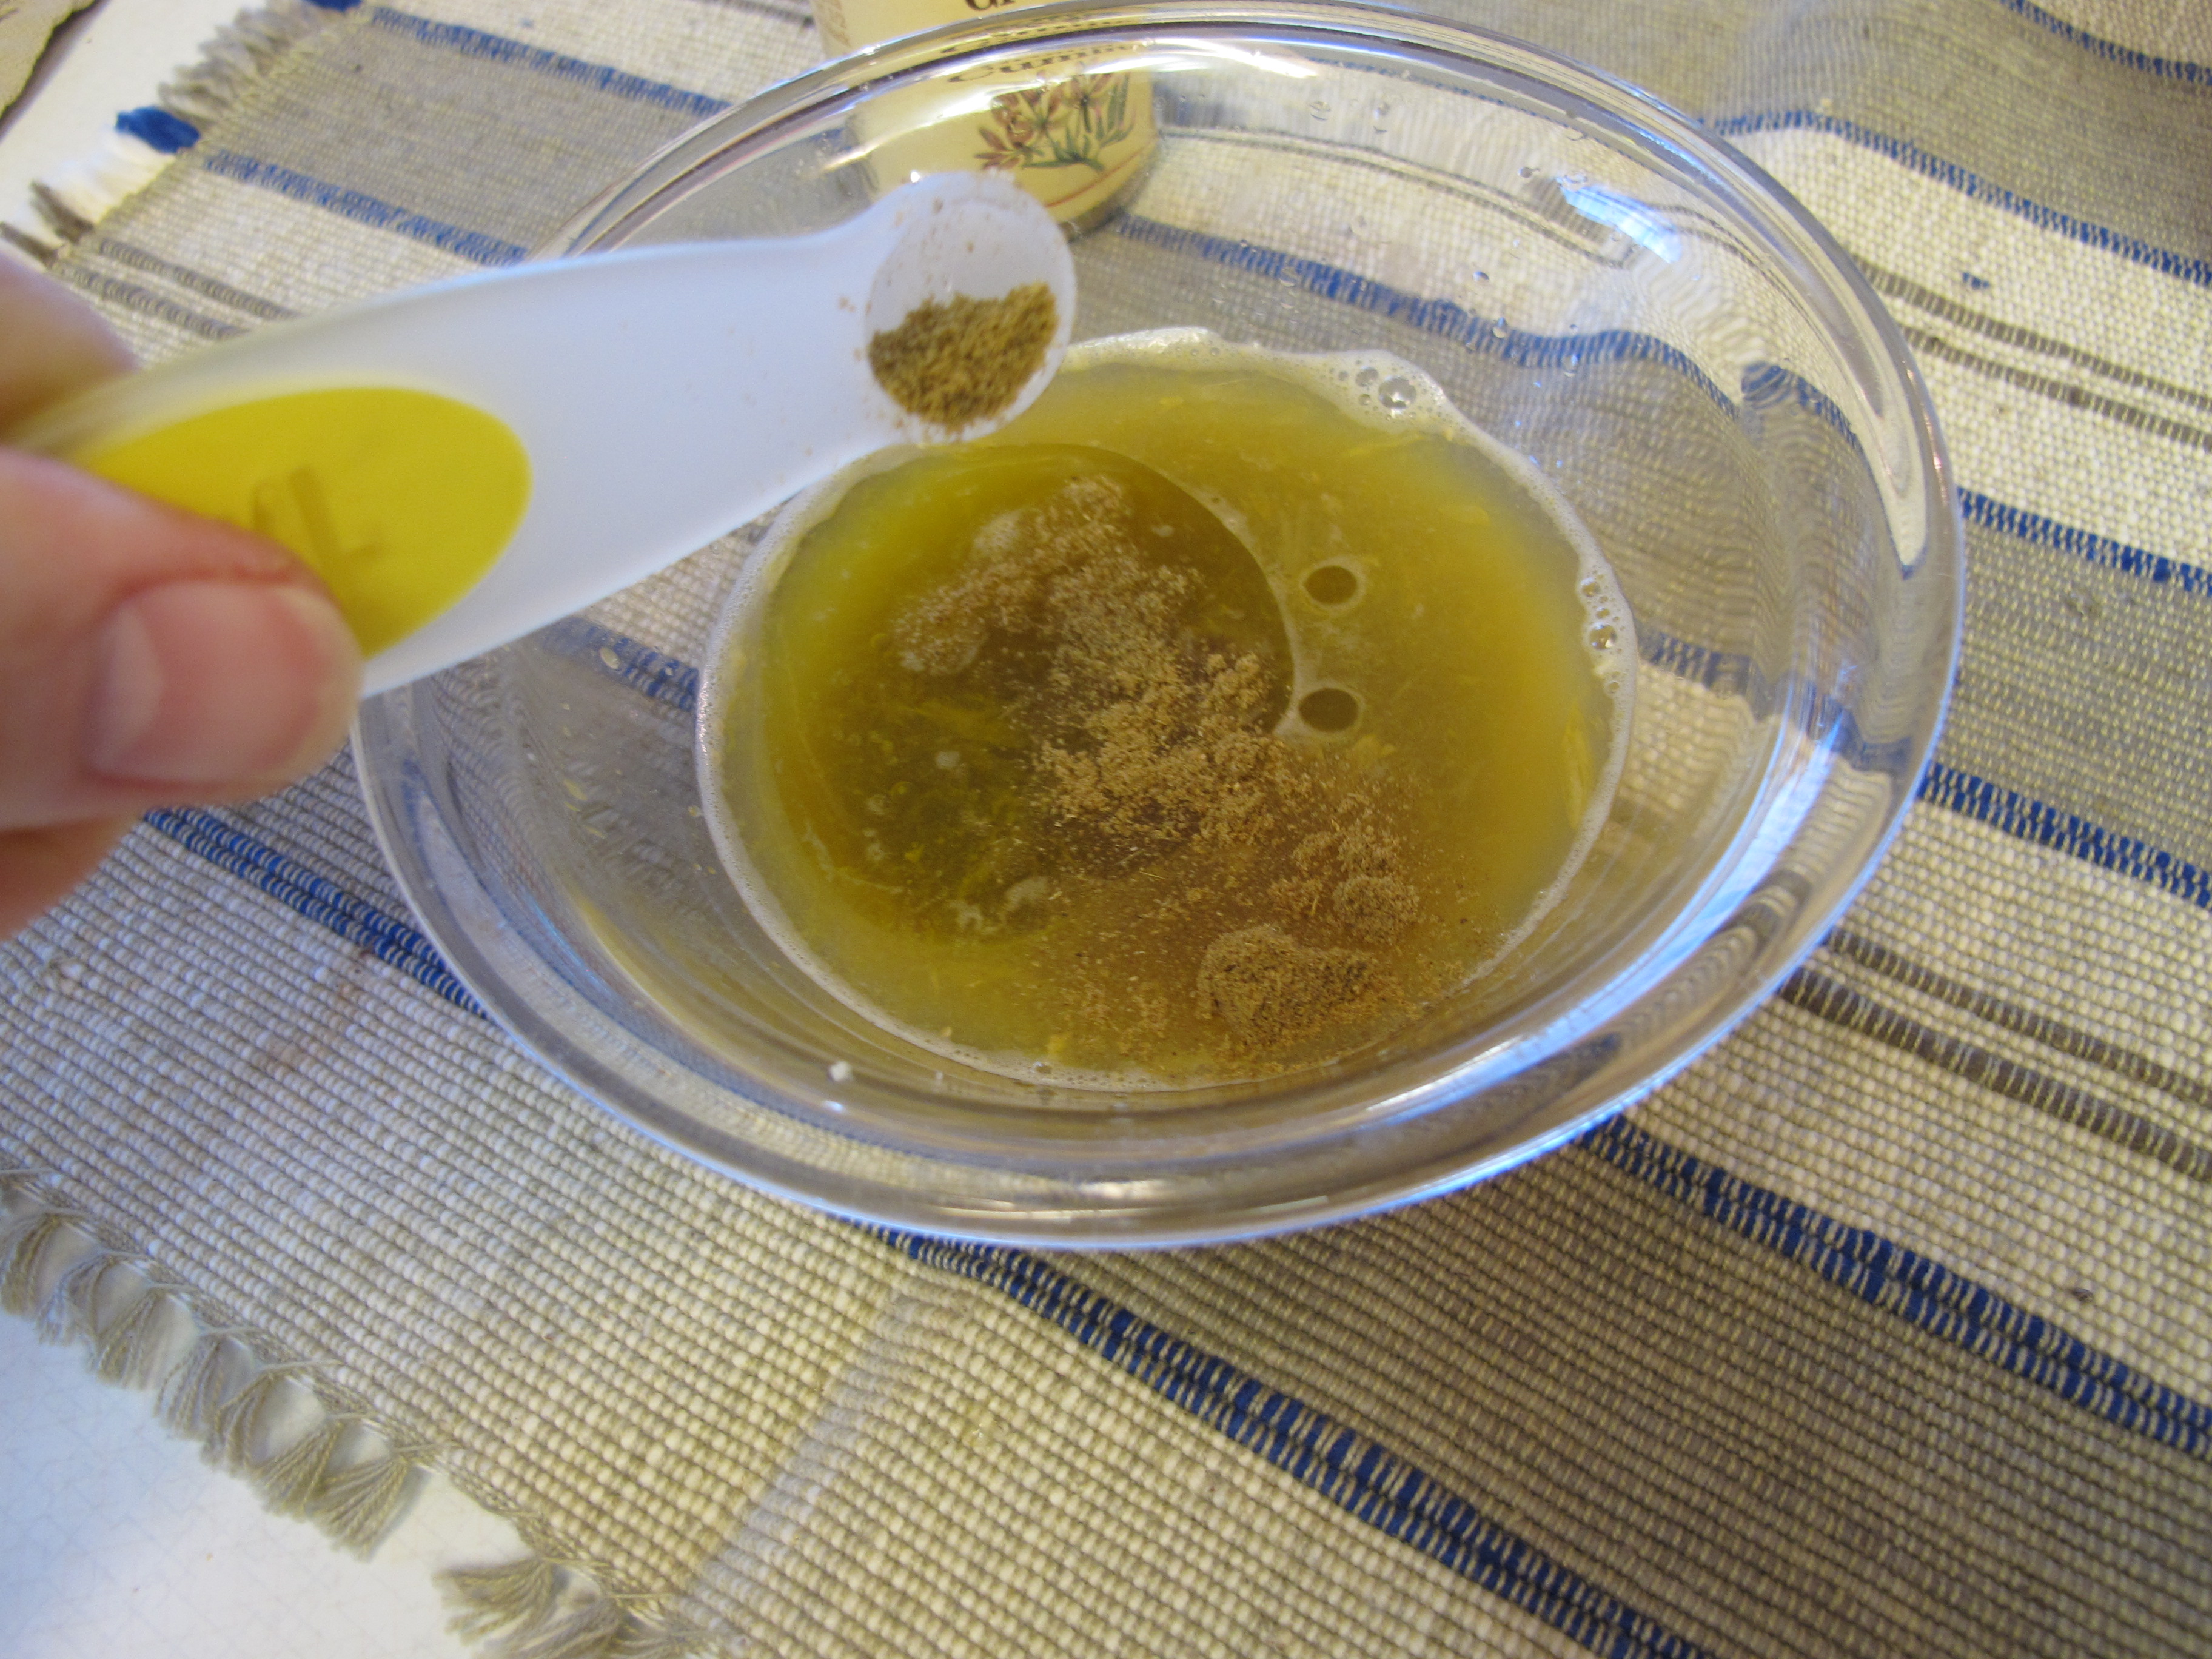
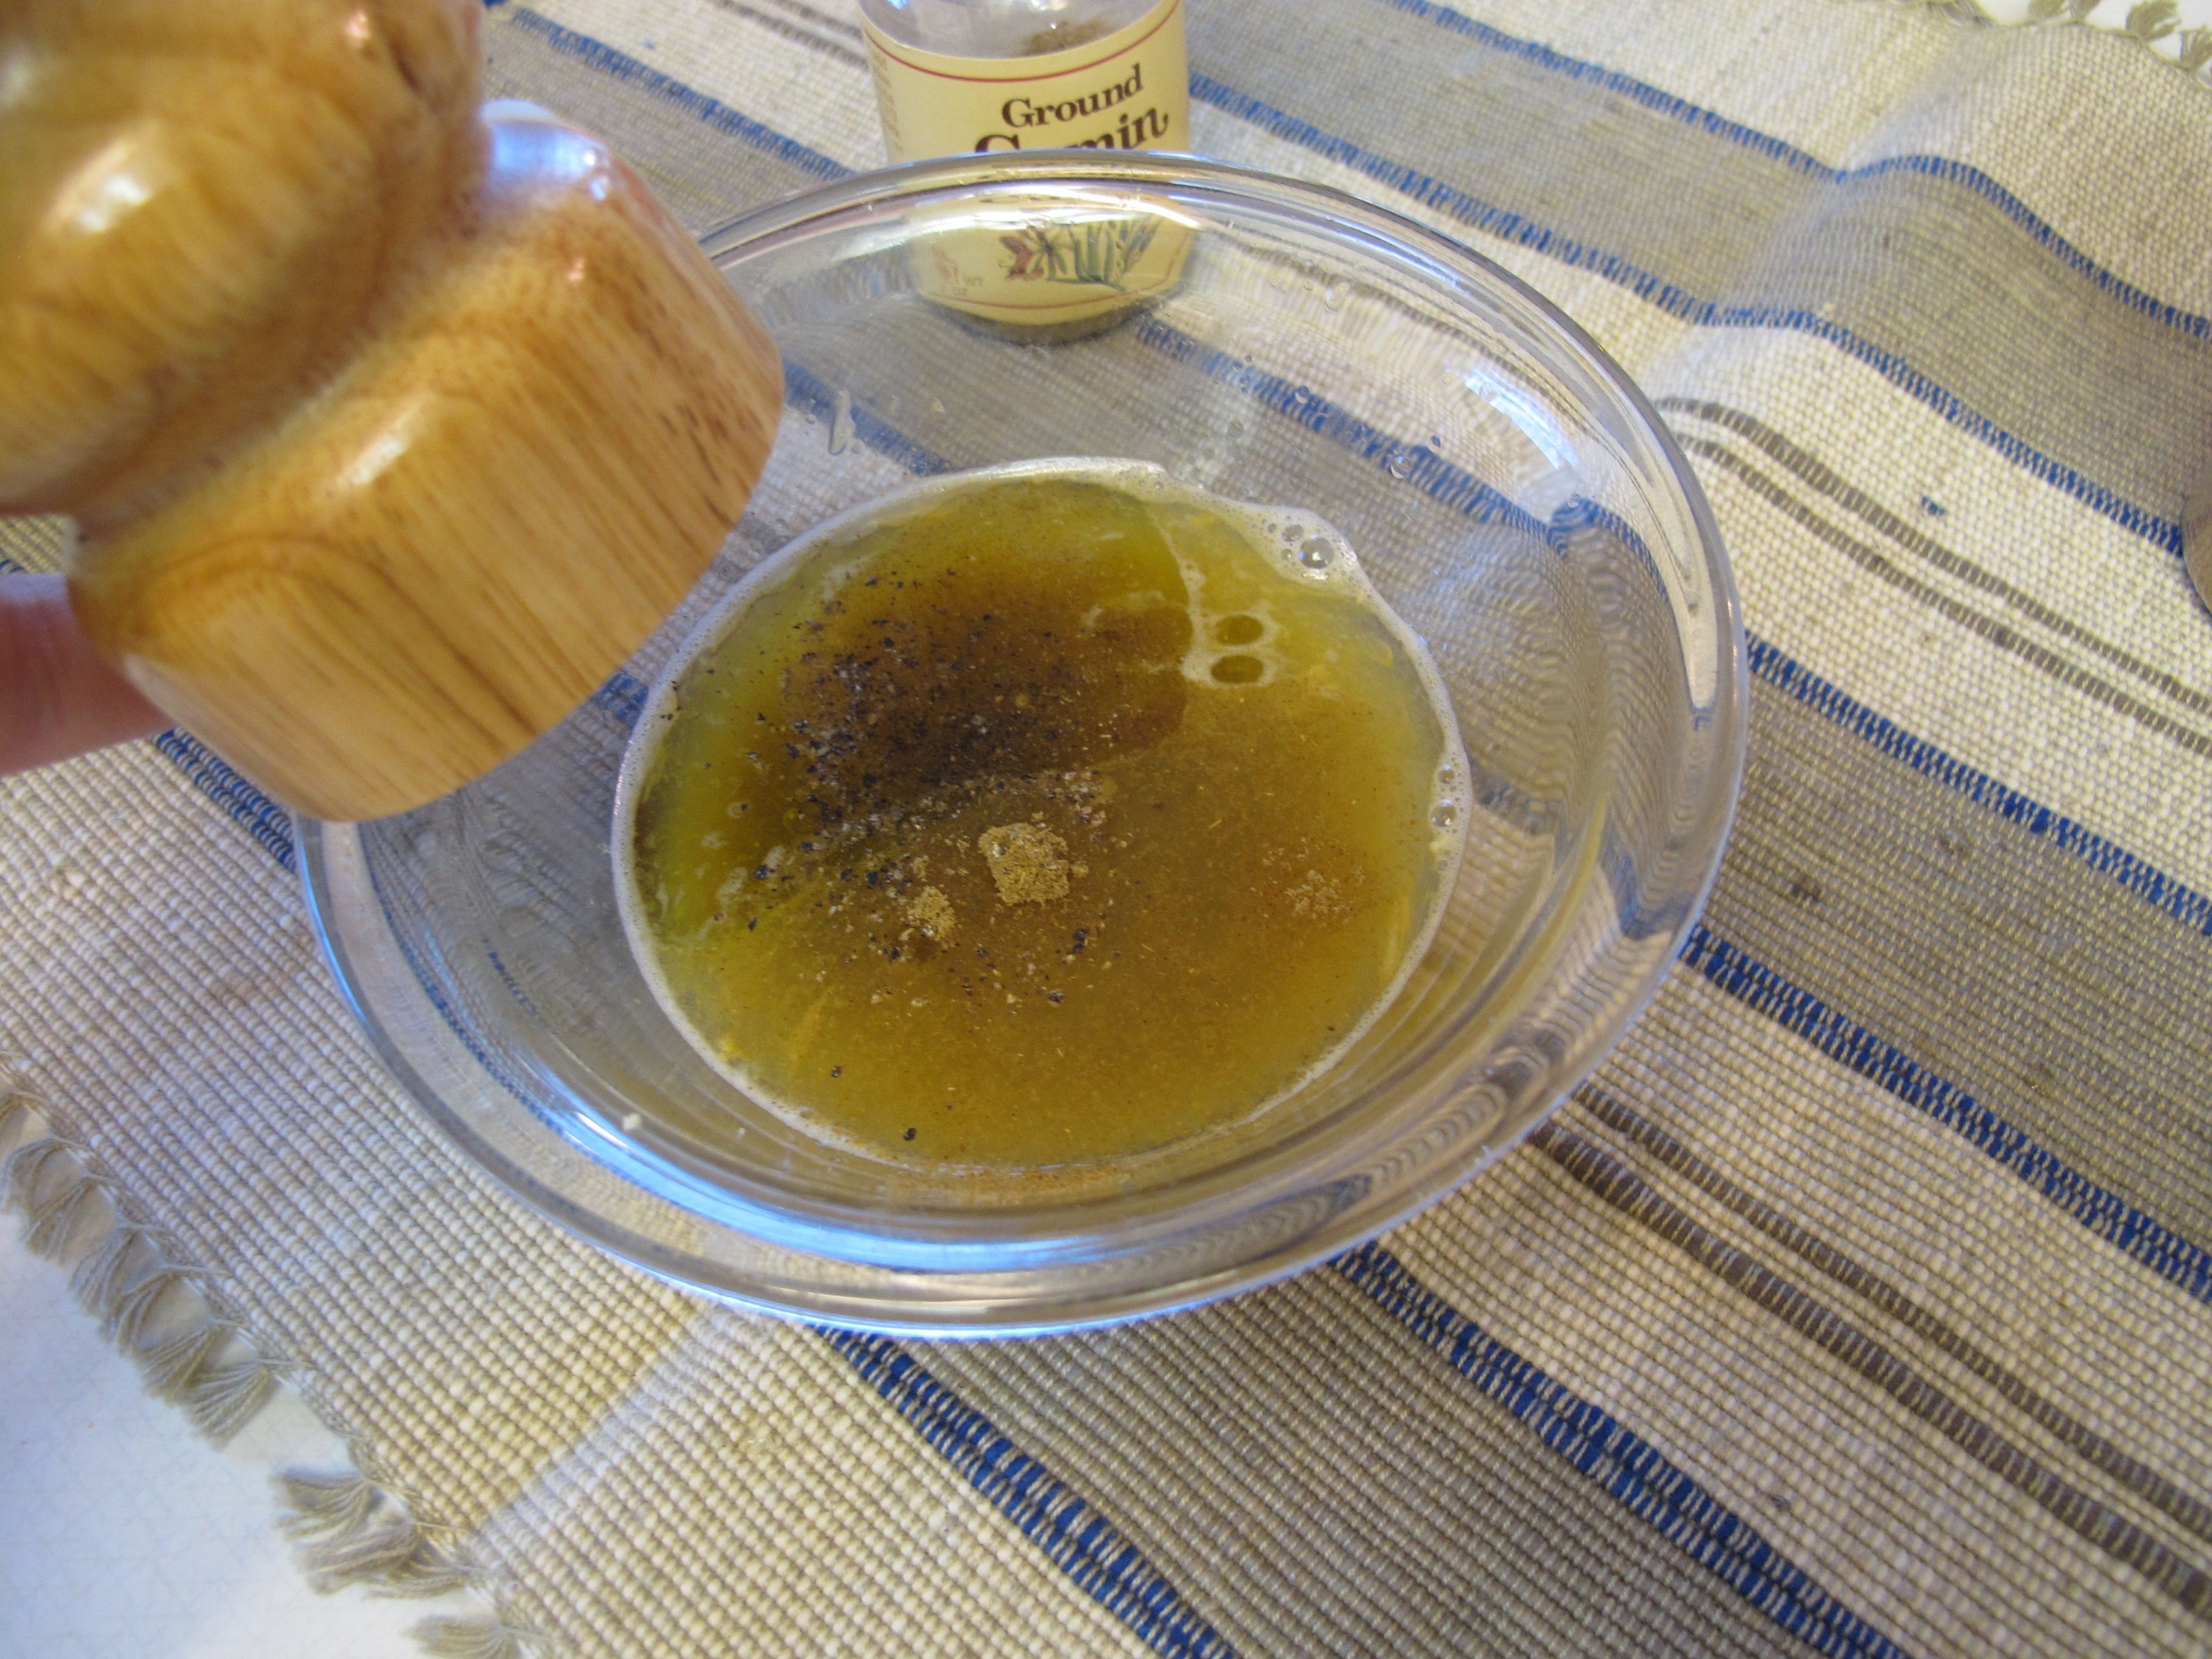
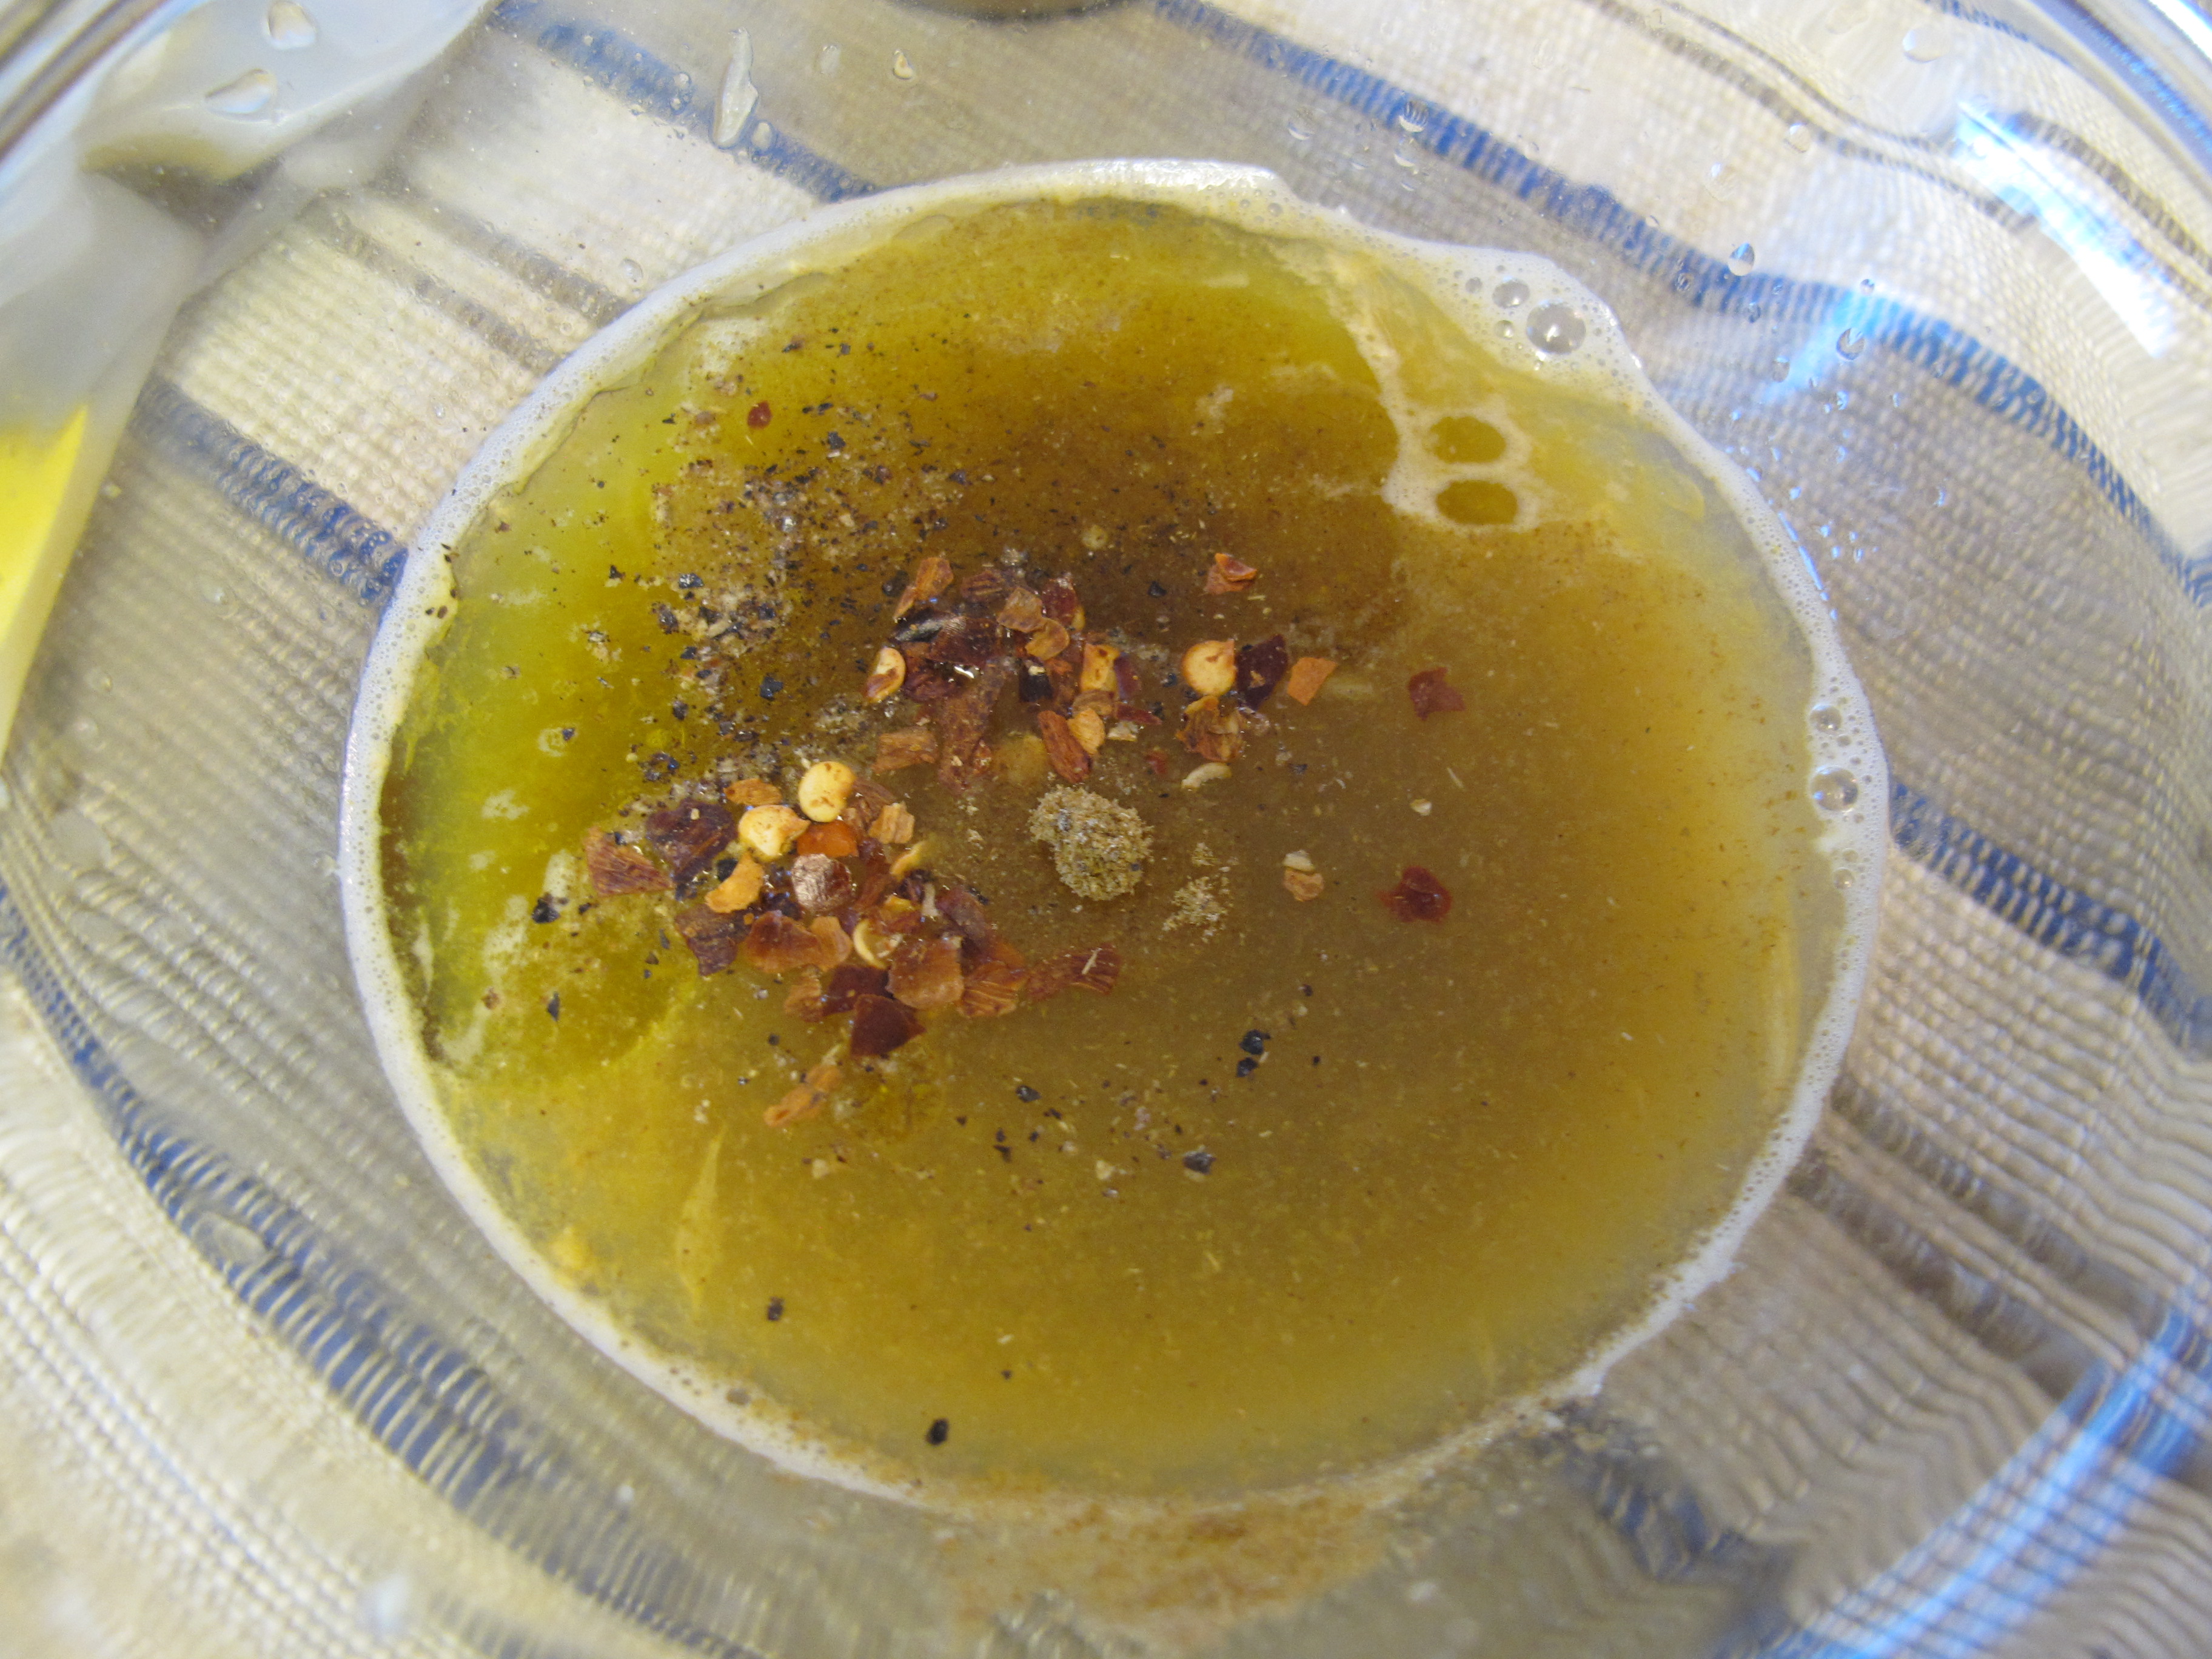
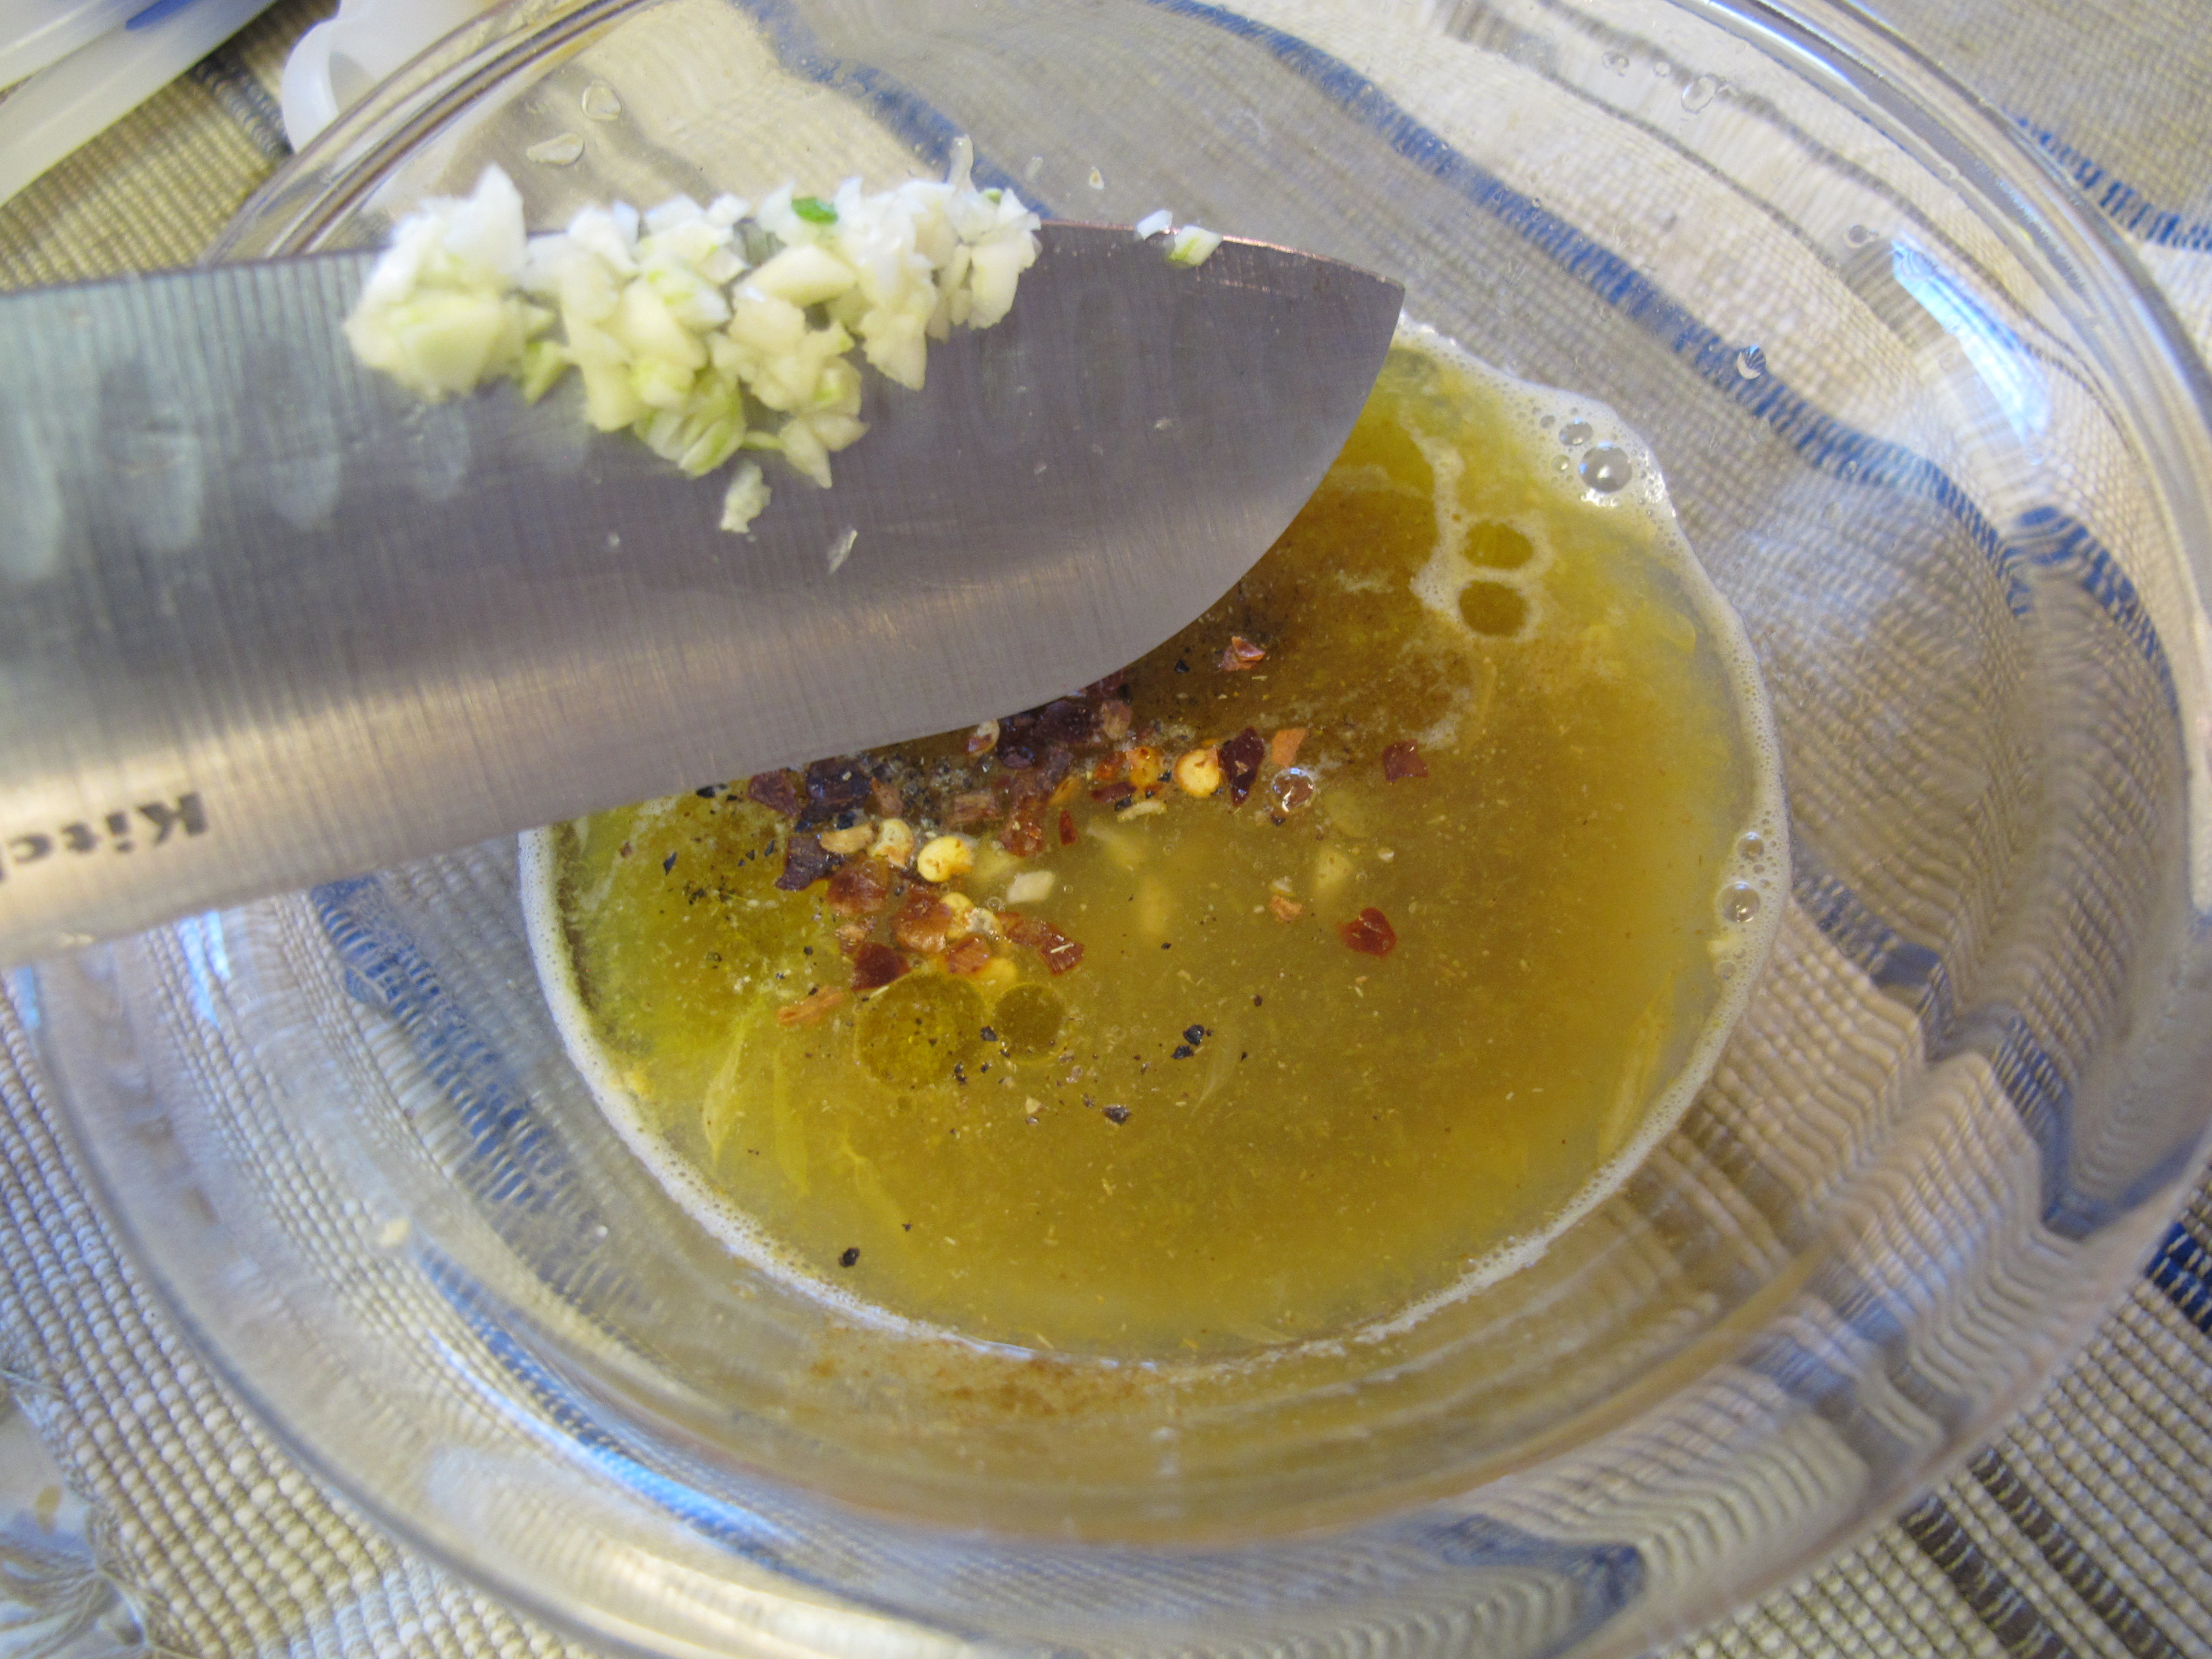
Pour over fish. Lift fish a bit so the marinade gets under it. Let stand for 20 minutes, turning fish half way through to marinate both sides.
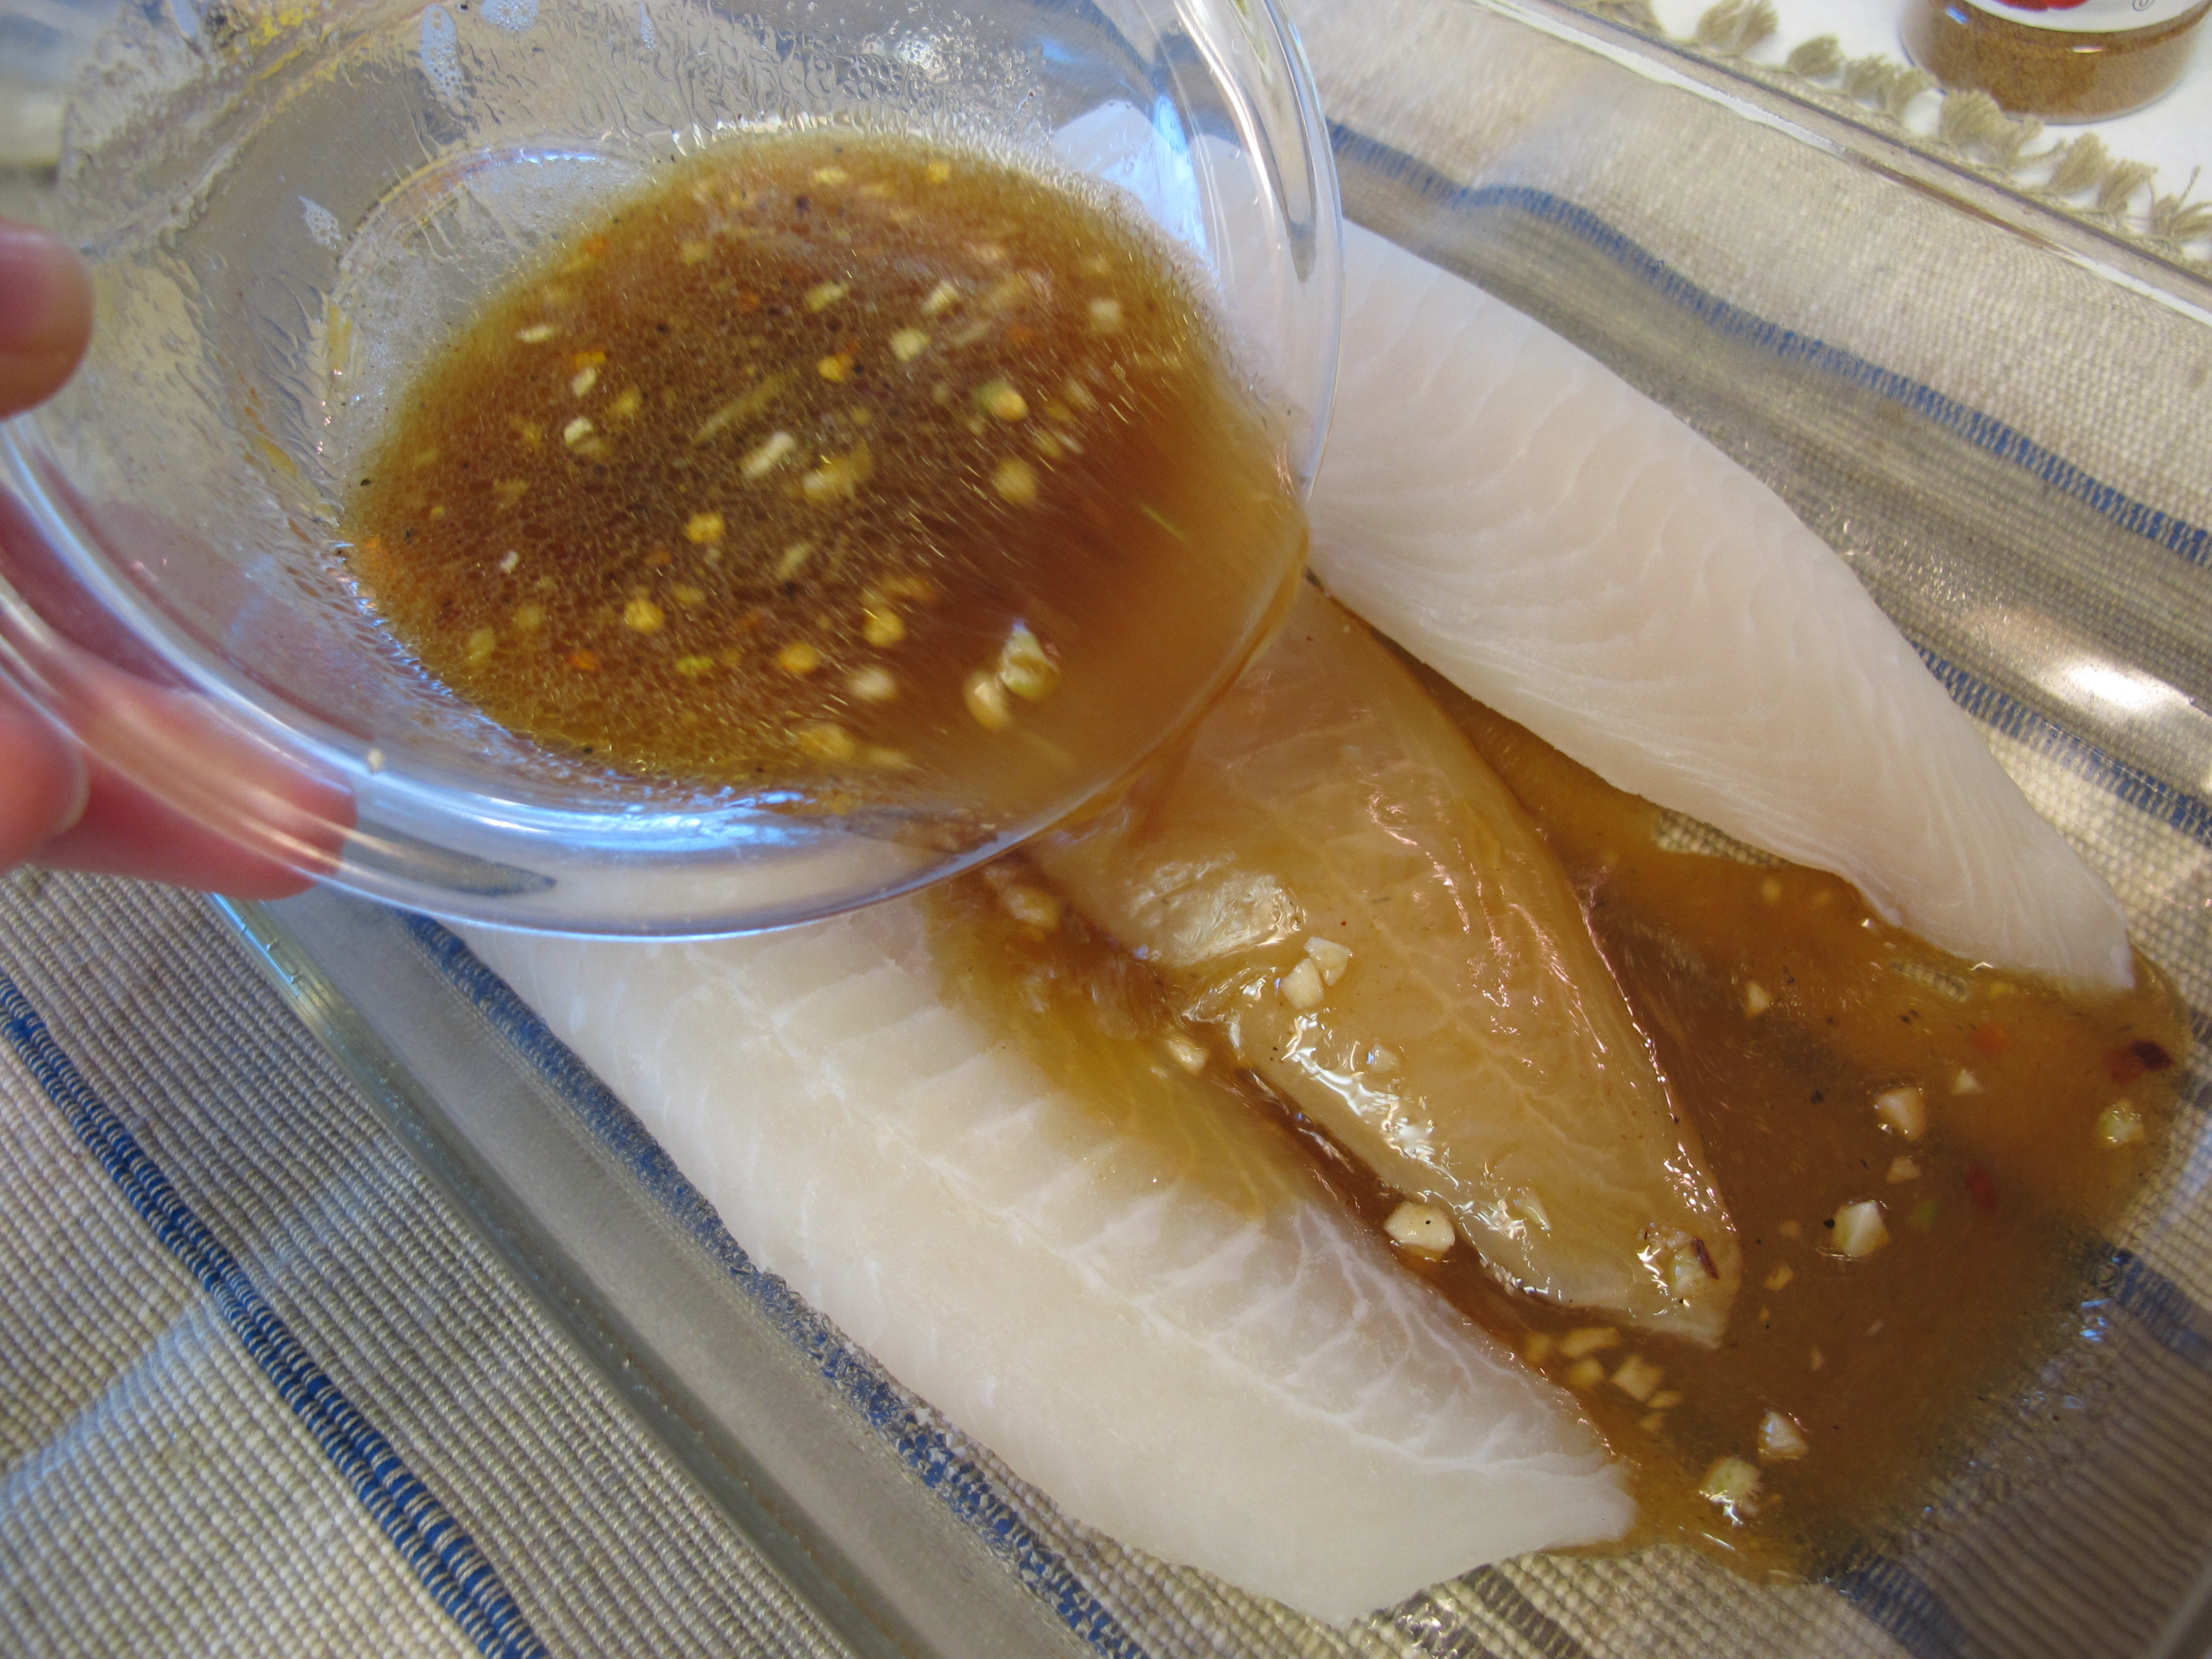
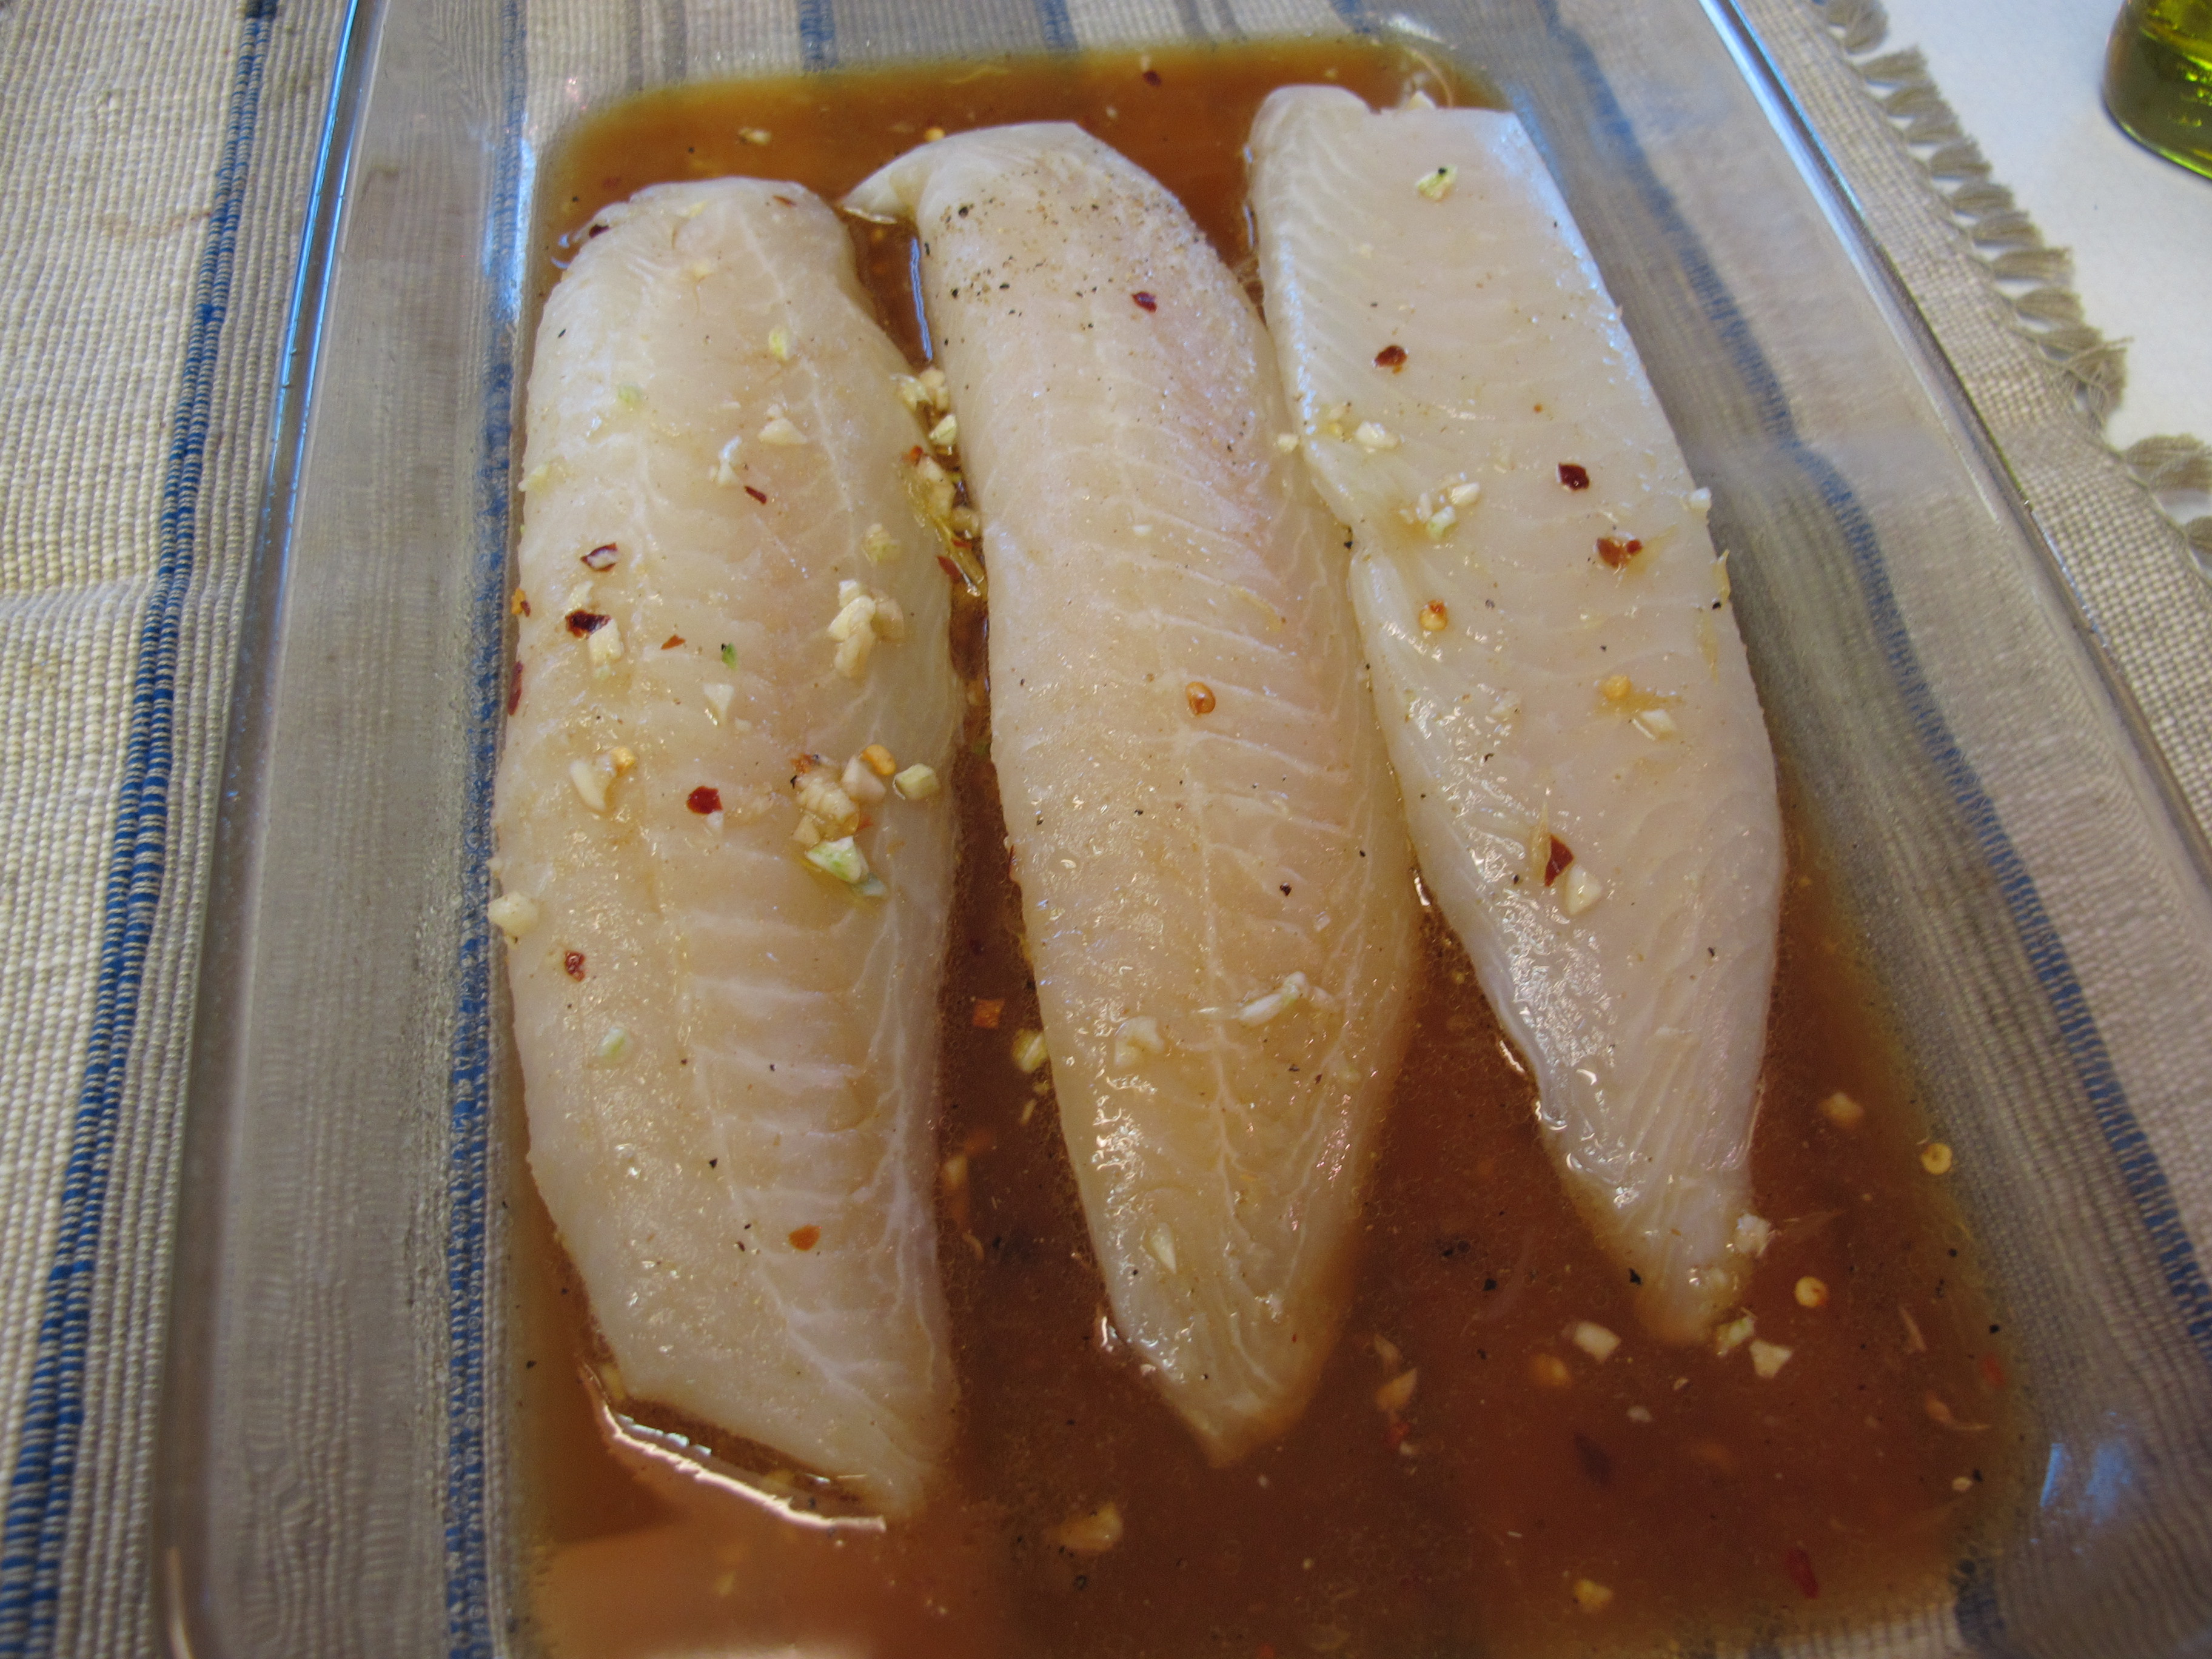
Preheat broiler.
1/2 tsp. paprika
Sprinkle fish with paprika.
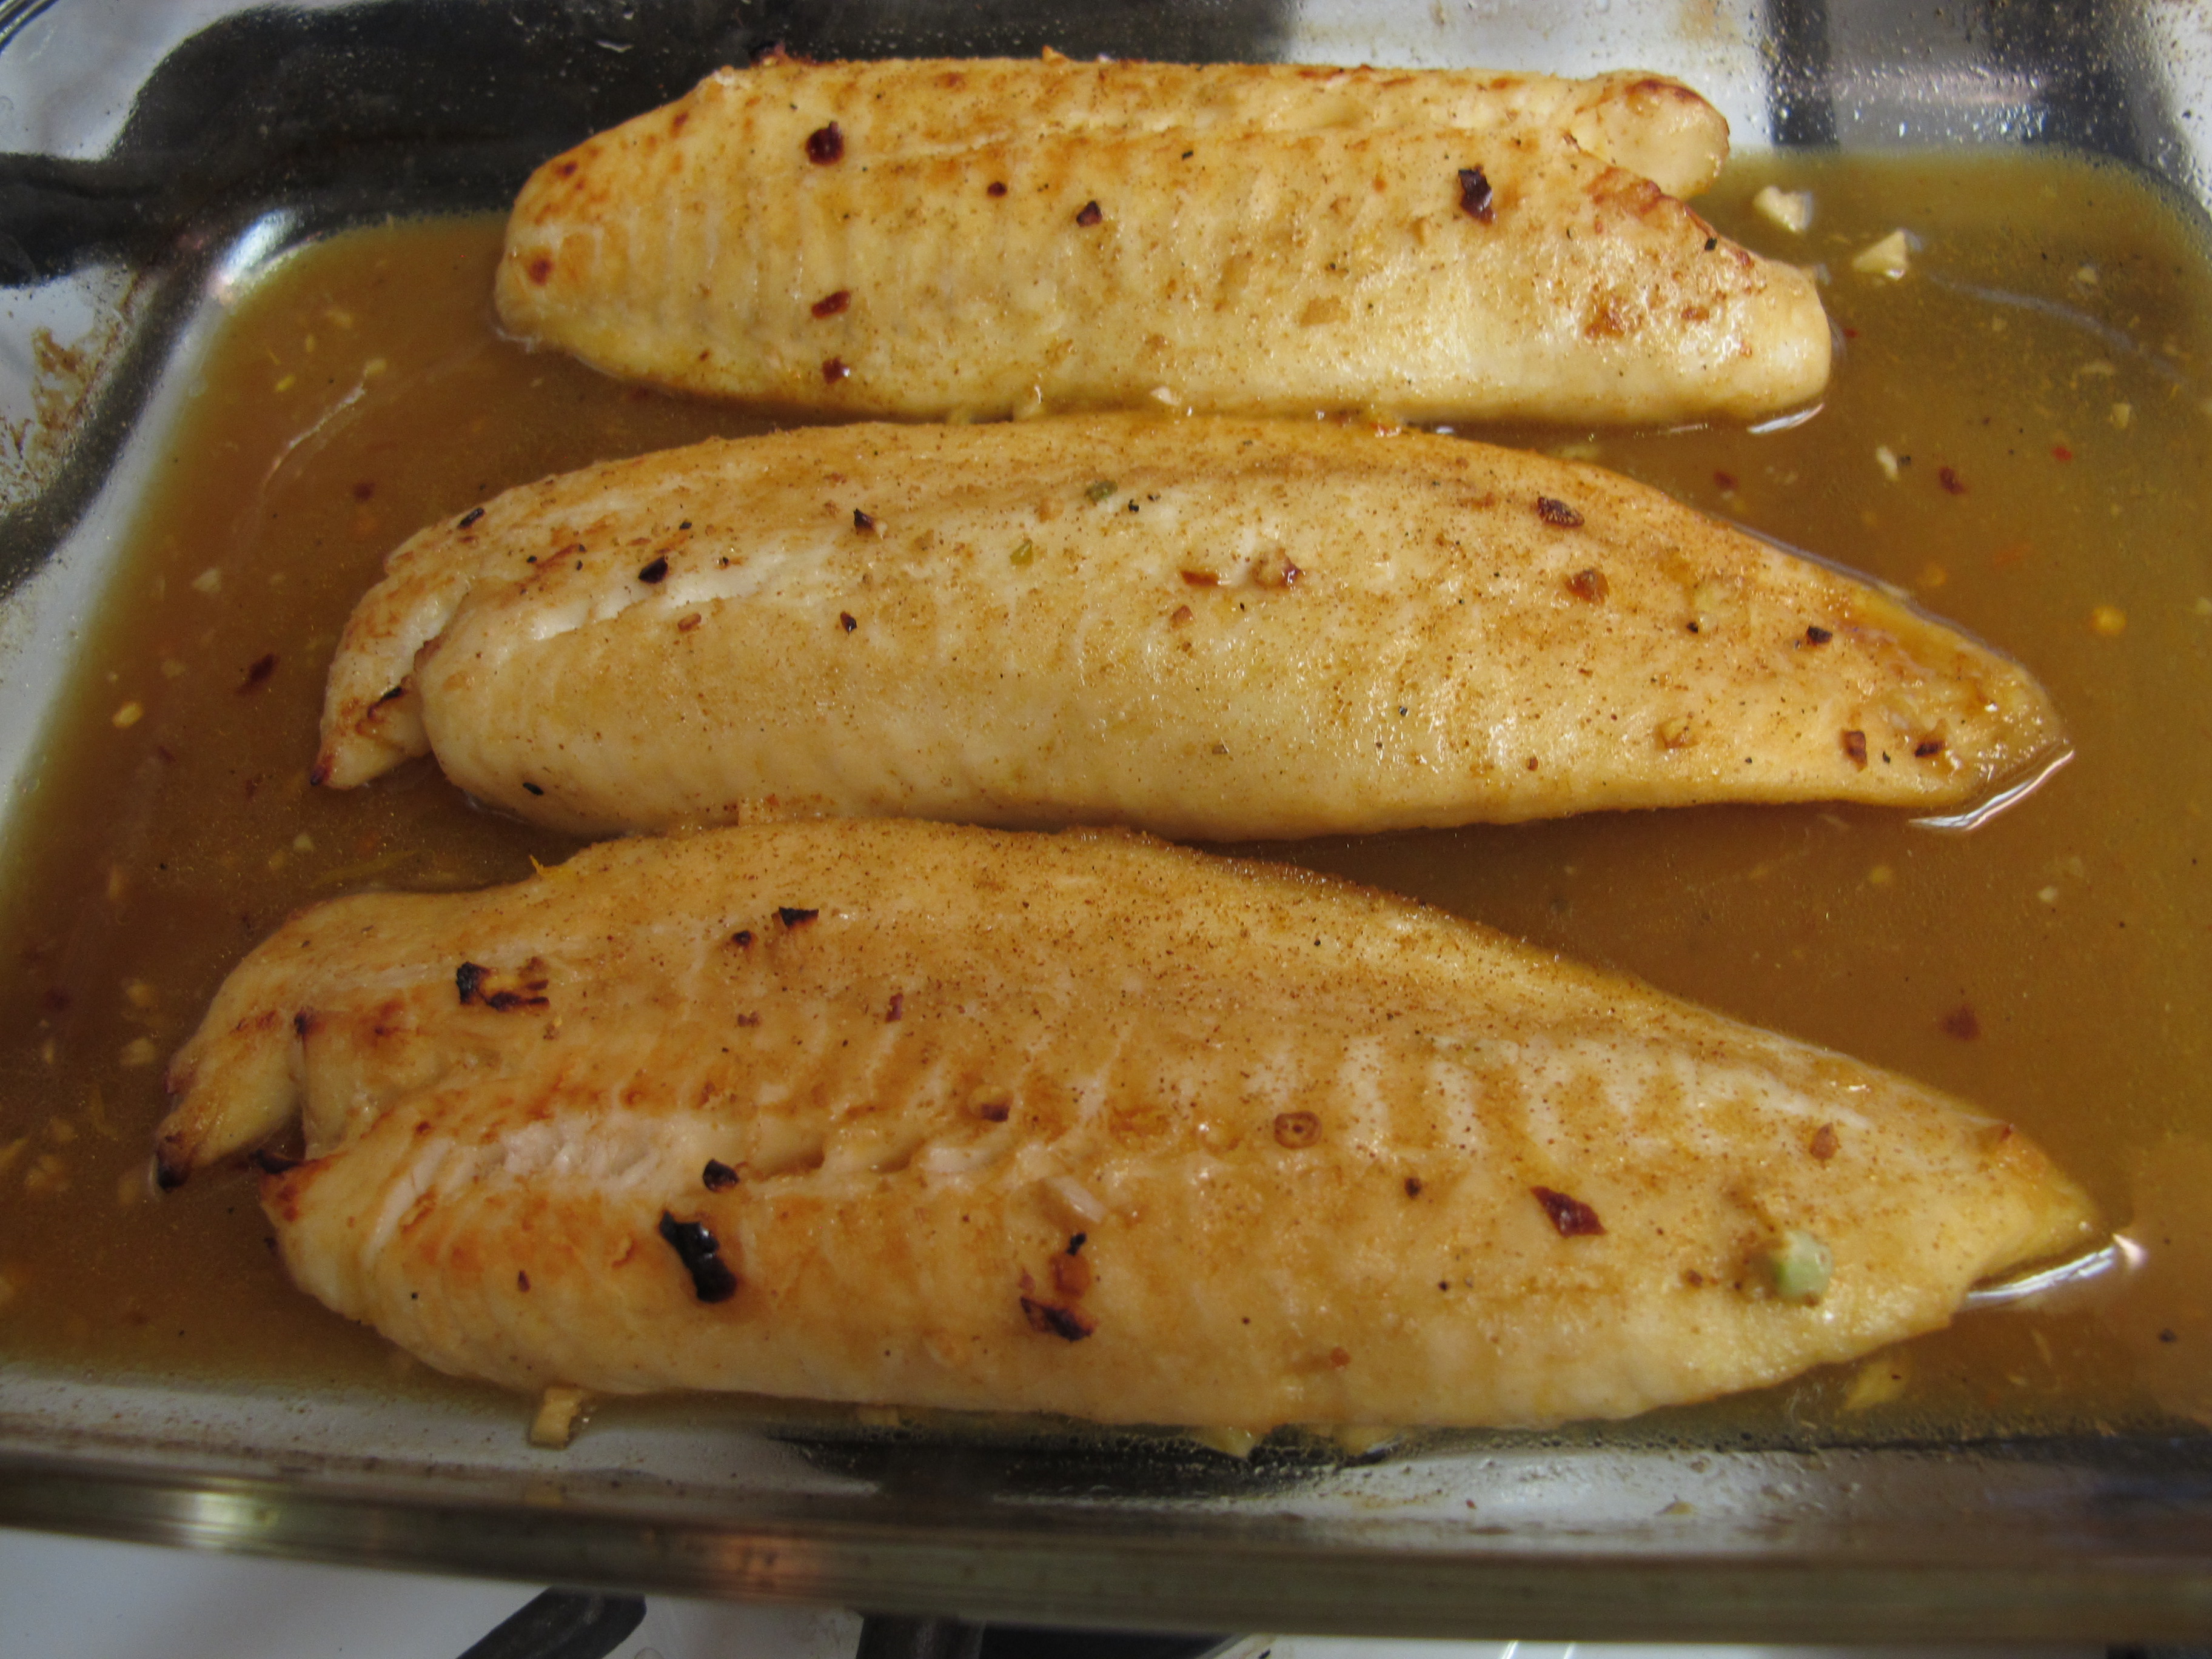
Broil fish for 15 minutes or until fish flakes easily. Be careful not to overcook, as this will make it dry.
Serve with marinade.
Recipe Source: MyRecipes.com (found on Pinterest)
FULL RECIPE WITHOUT PICTURES —
SWEET AND SPICY CITRUS TILAPIA
cooking spray
4 (6 oz.) tilapia fillets
1/2 cup fresh orange juice (about 3-4 oranges)
3 T. fresh lime juice (2-3 limes)
1 T. brown sugar
1 T. extra-virgin olive oil
2 tsp. lower-sodium soy sauce
1/2 tsp. salt
1/2 tsp. ground cumin
1/4 tsp. black pepper
1/4 tsp. ground red pepper
2 garlic cloves, crushed
1/2 tsp. paprika
Spray a shallow baking pan with cooking spray.
Arrange fish in a single layer.
Combine orange juice, lime juice, brown sugar, olive oil, soy sauce, salt, cumin. pepper, red pepper and garlic in a small bowl.
Pour over fish. Lift fish a bit so the marinade gets under it. Let stand for 20 minutes, turning fish half way through to marinate both sides.
Preheat broiler.
Sprinkle fish with paprika.
Broil fish for 15 minutes or until fish flakes easily. Be careful not to overcook, as this will make it dry.
Serve with marinade.
Recipe Source: MyRecipes.com (found on Pinterest)
Mushroom Soup

This Mushroom Soup is pretty ugly but it tastes delicious!!

Picture shows regular butter but to cut the calories, use Brummel and Brown butter.
5 cups (16 oz.) fresh mushrooms (I used half white and half Portobello)
1 (14 oz.) can fat free chicken broth
1/2 onion, chopped
1/4 tsp. thyme
Give the mushrooms a rough chop. Mix mushrooms, broth, onions and thyme together in a pot or ceramic Dutch oven. Cook on medium/high heat for about 10 minutes until tender.
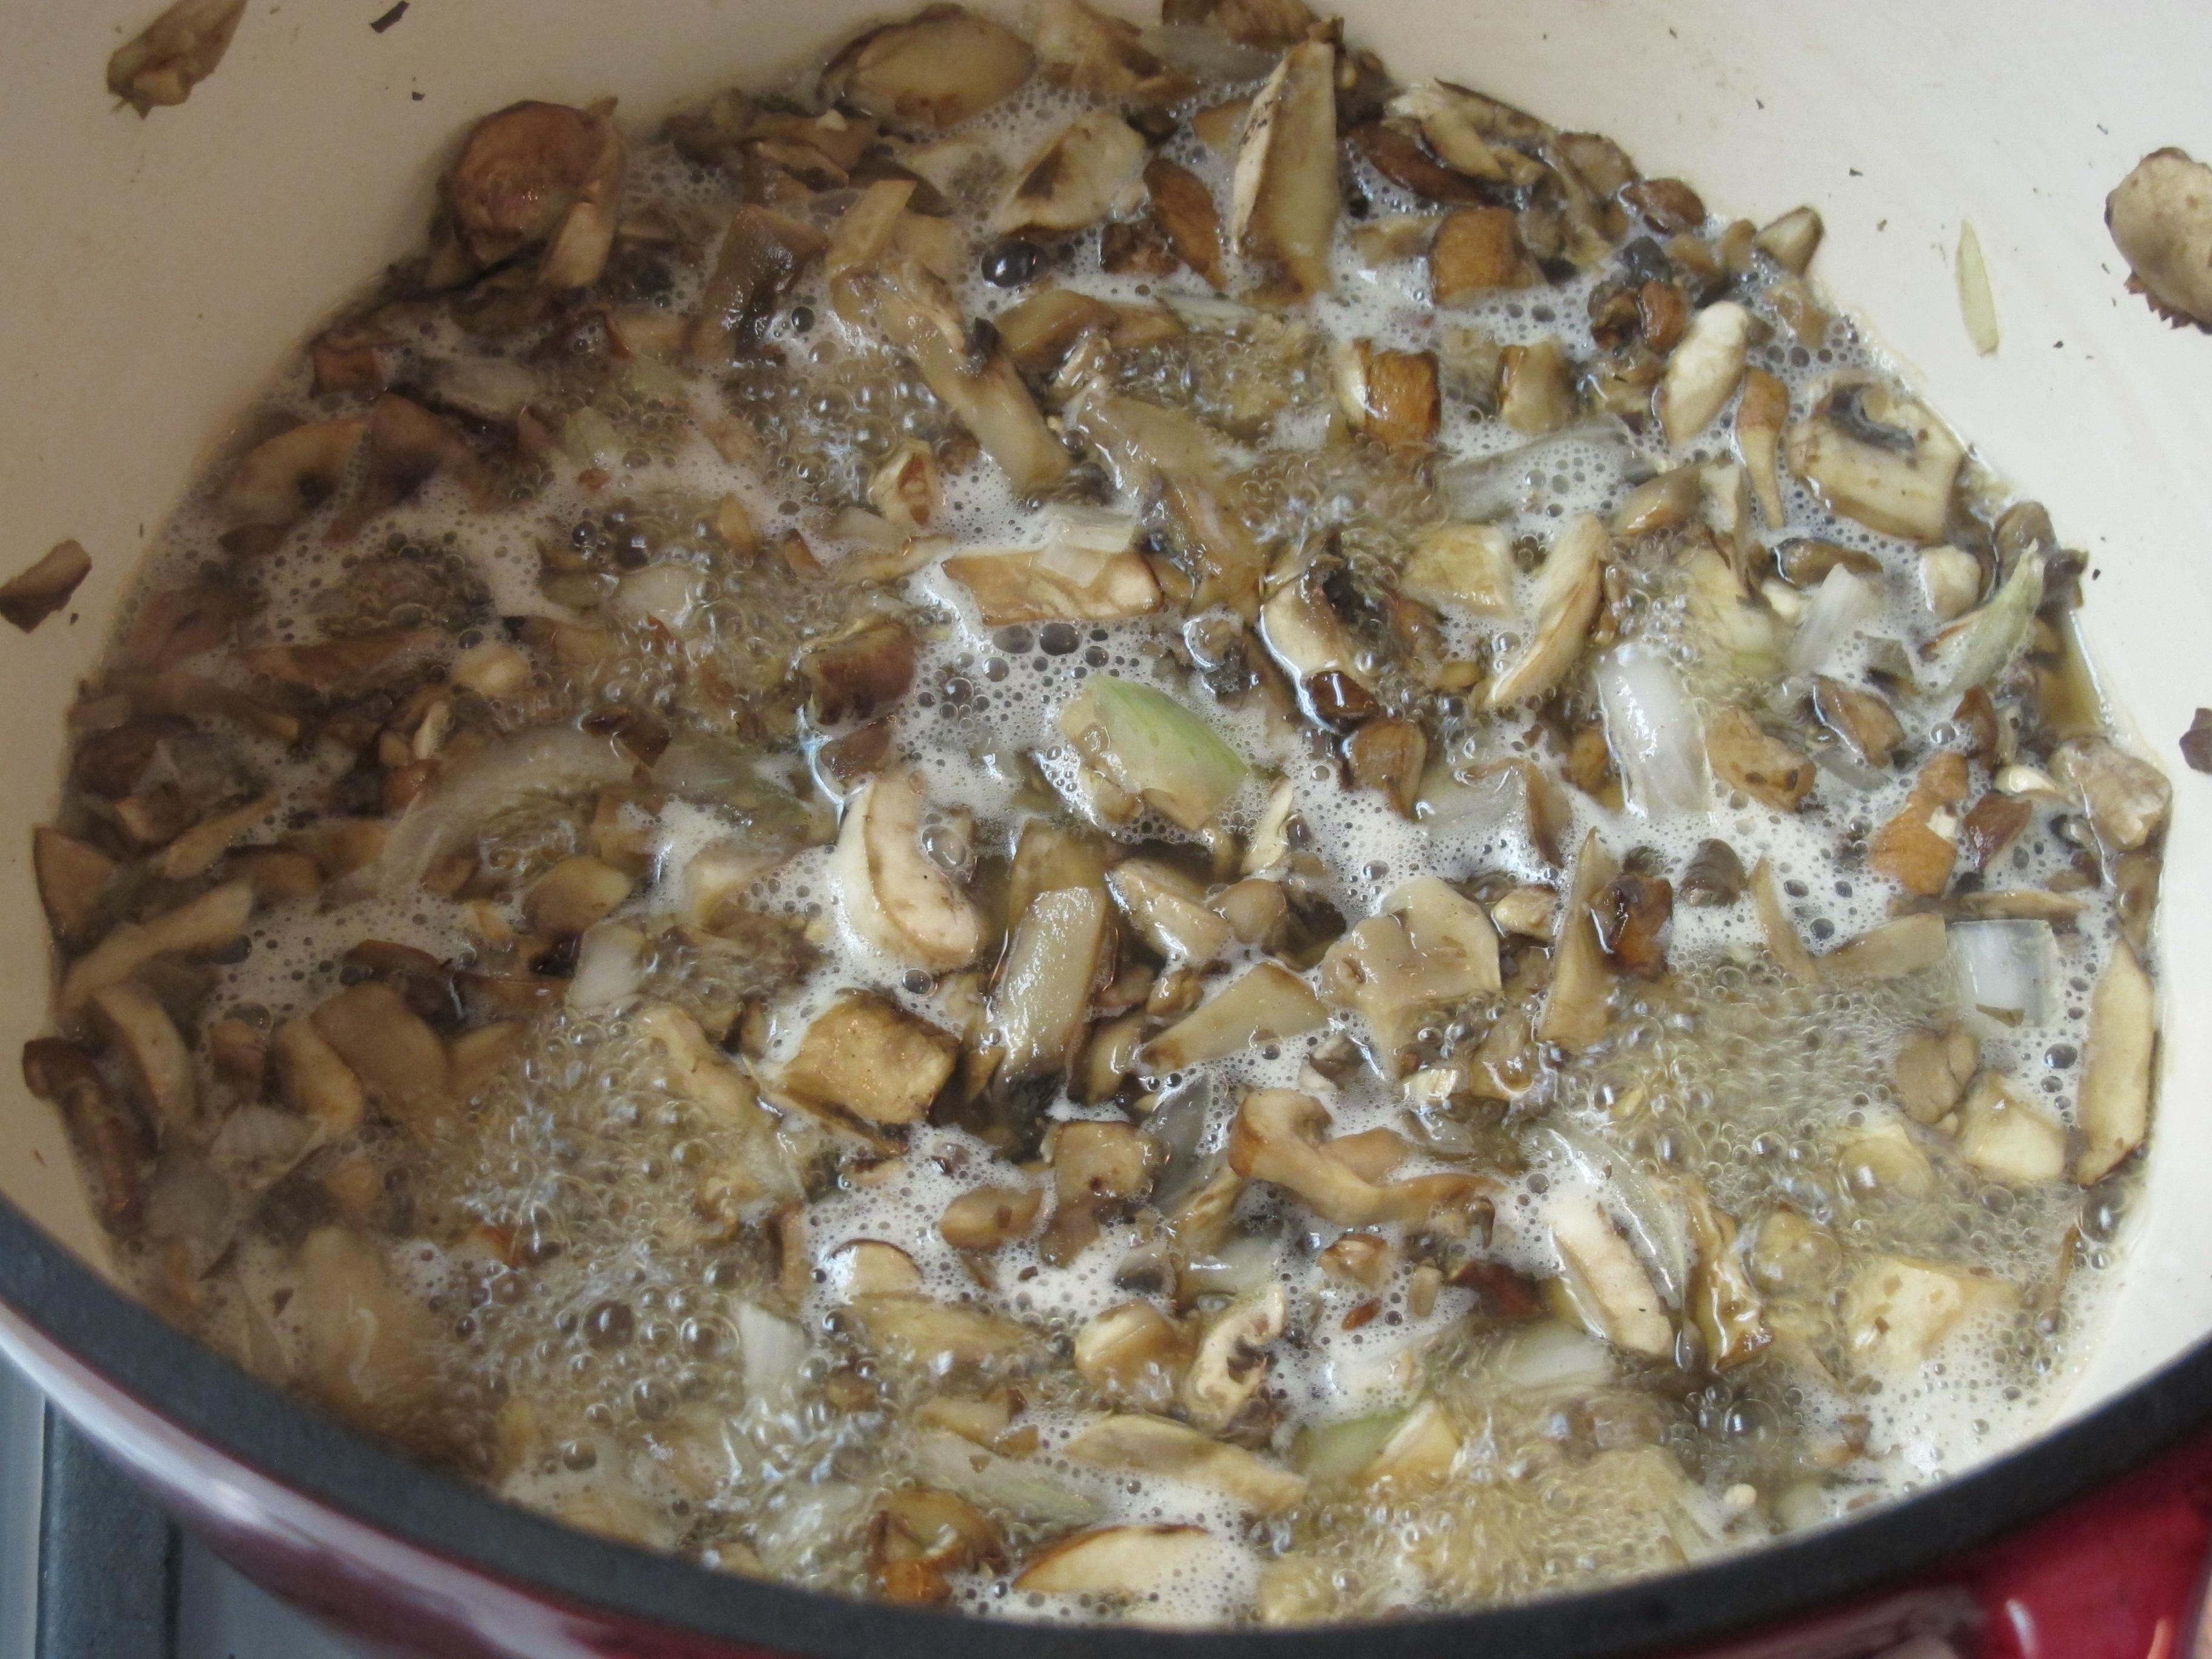
Put mushroom mixture in a blender and blend until smooth. Make sure the center part of the lid is off to let the steam escape.
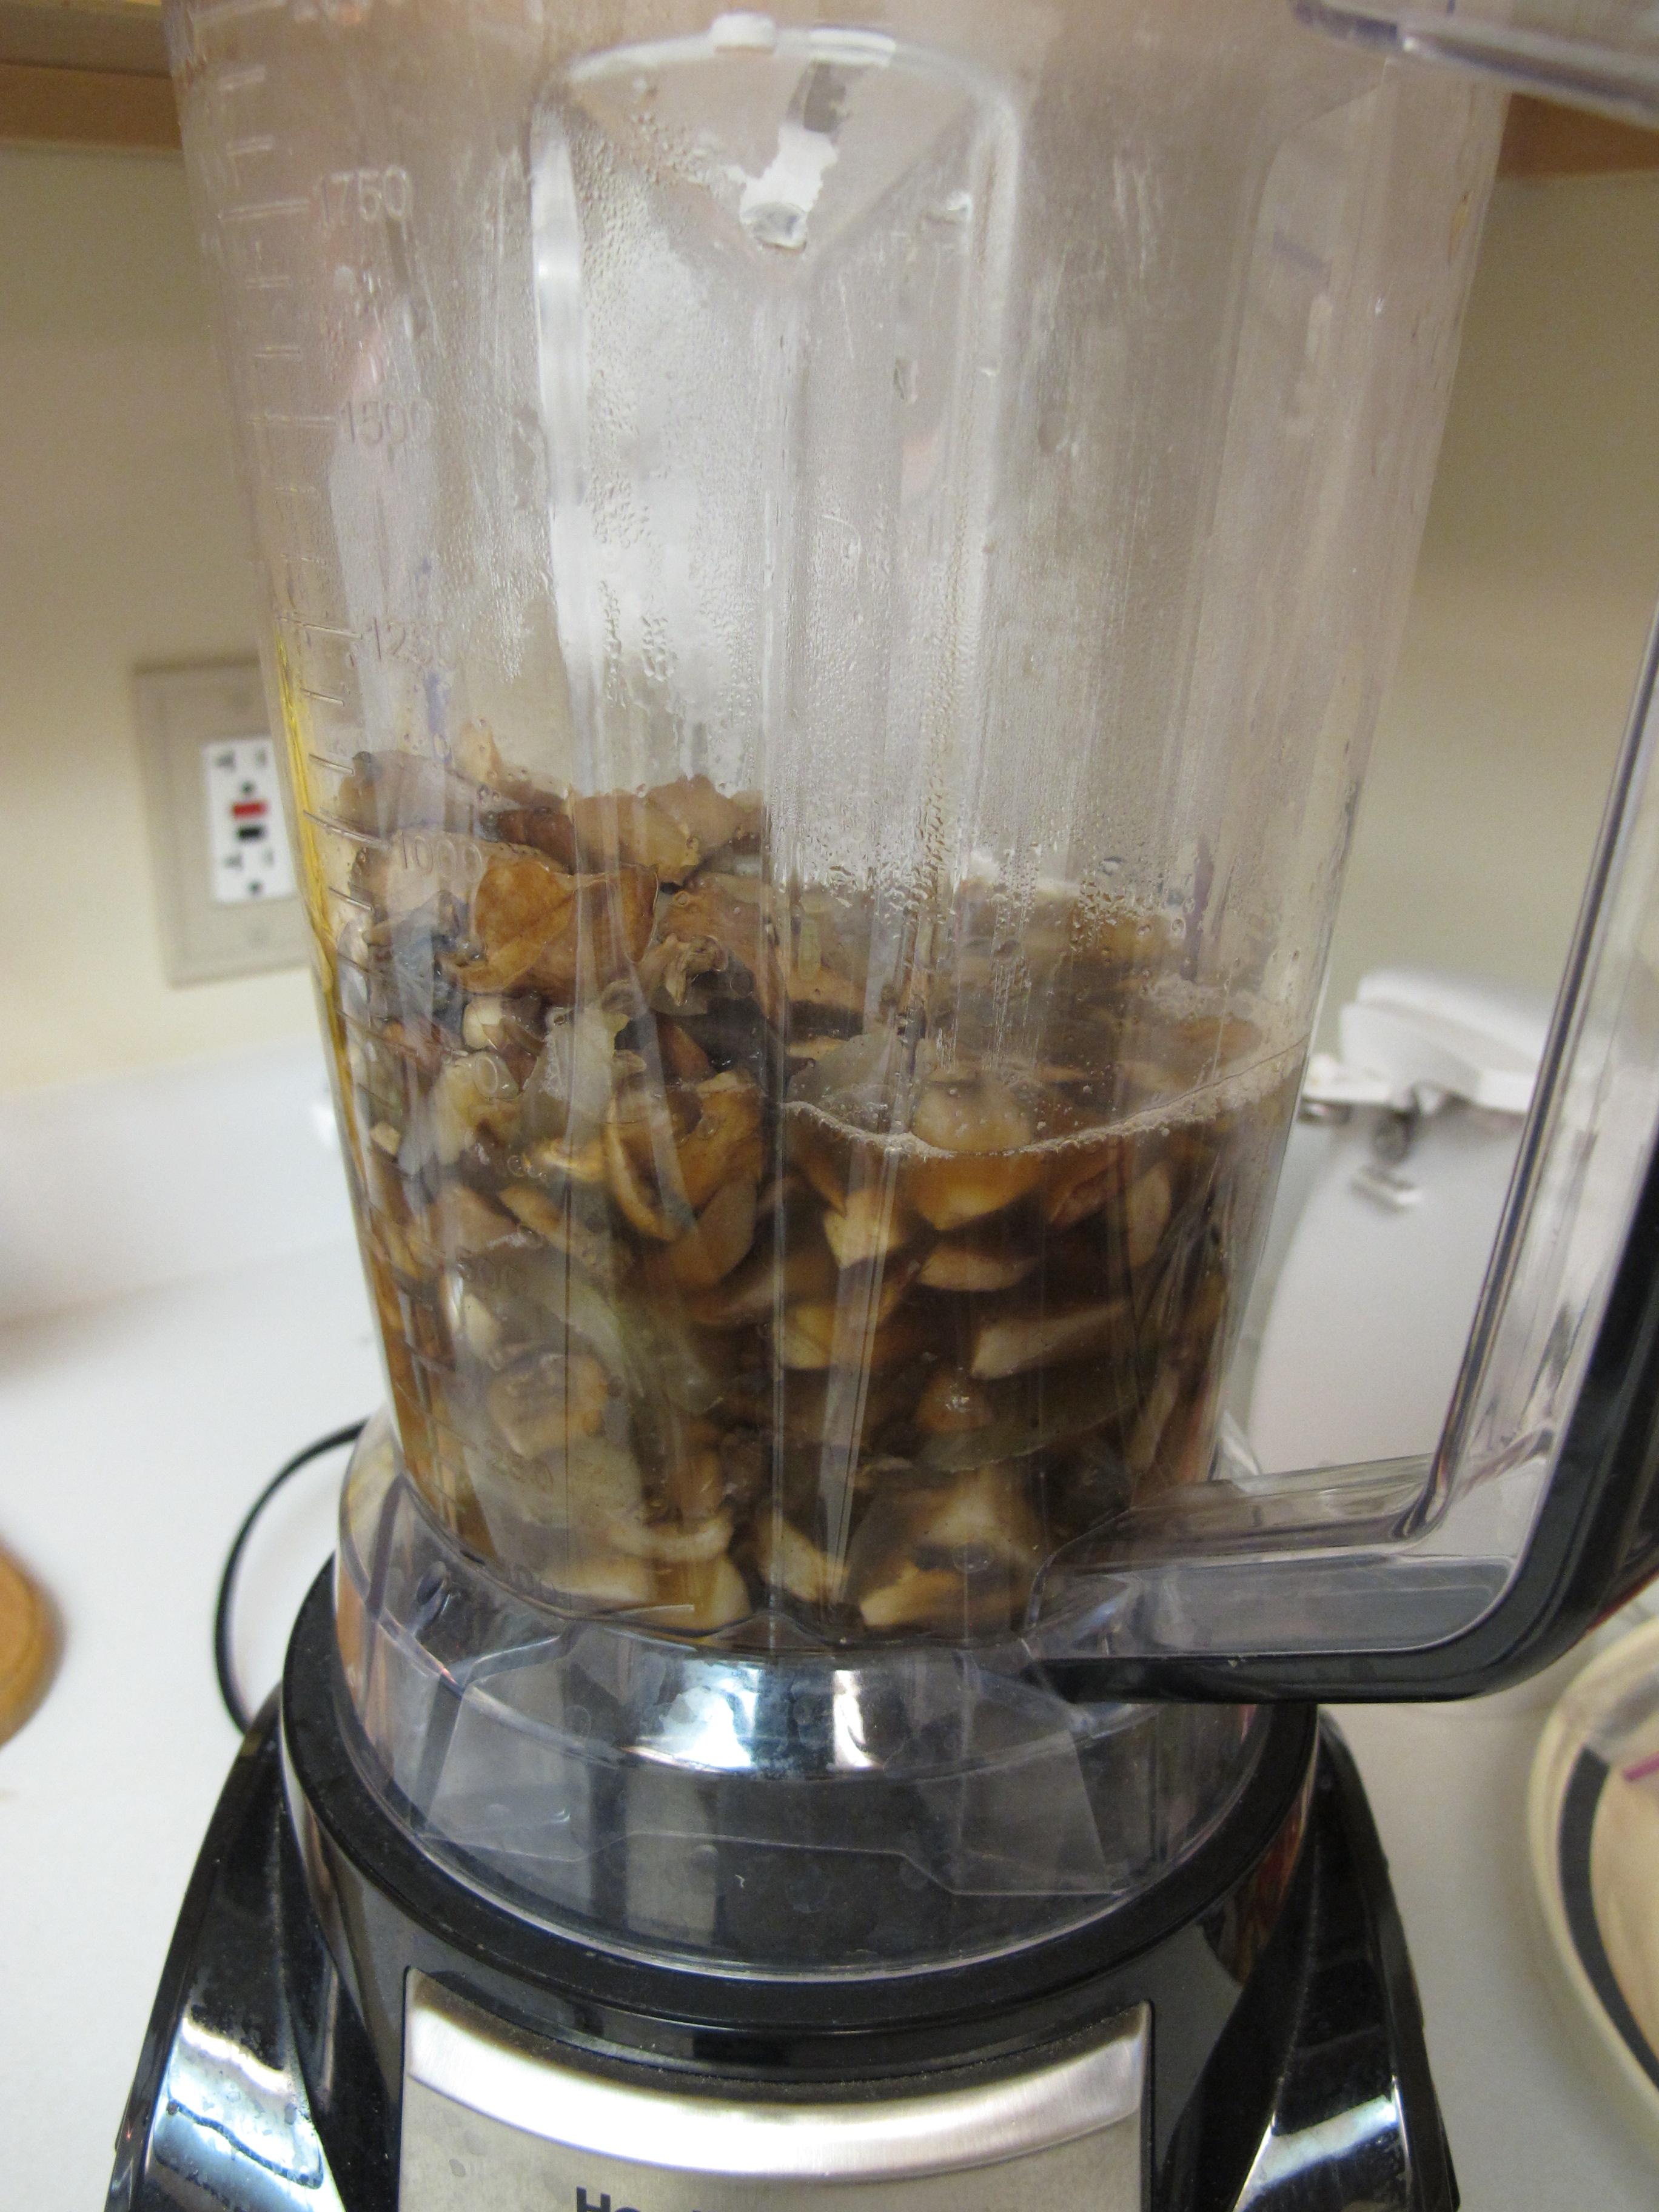
Put contents back in the pot when blended. If you want some chunks in your soup, only blend 1/2 or 3/4.
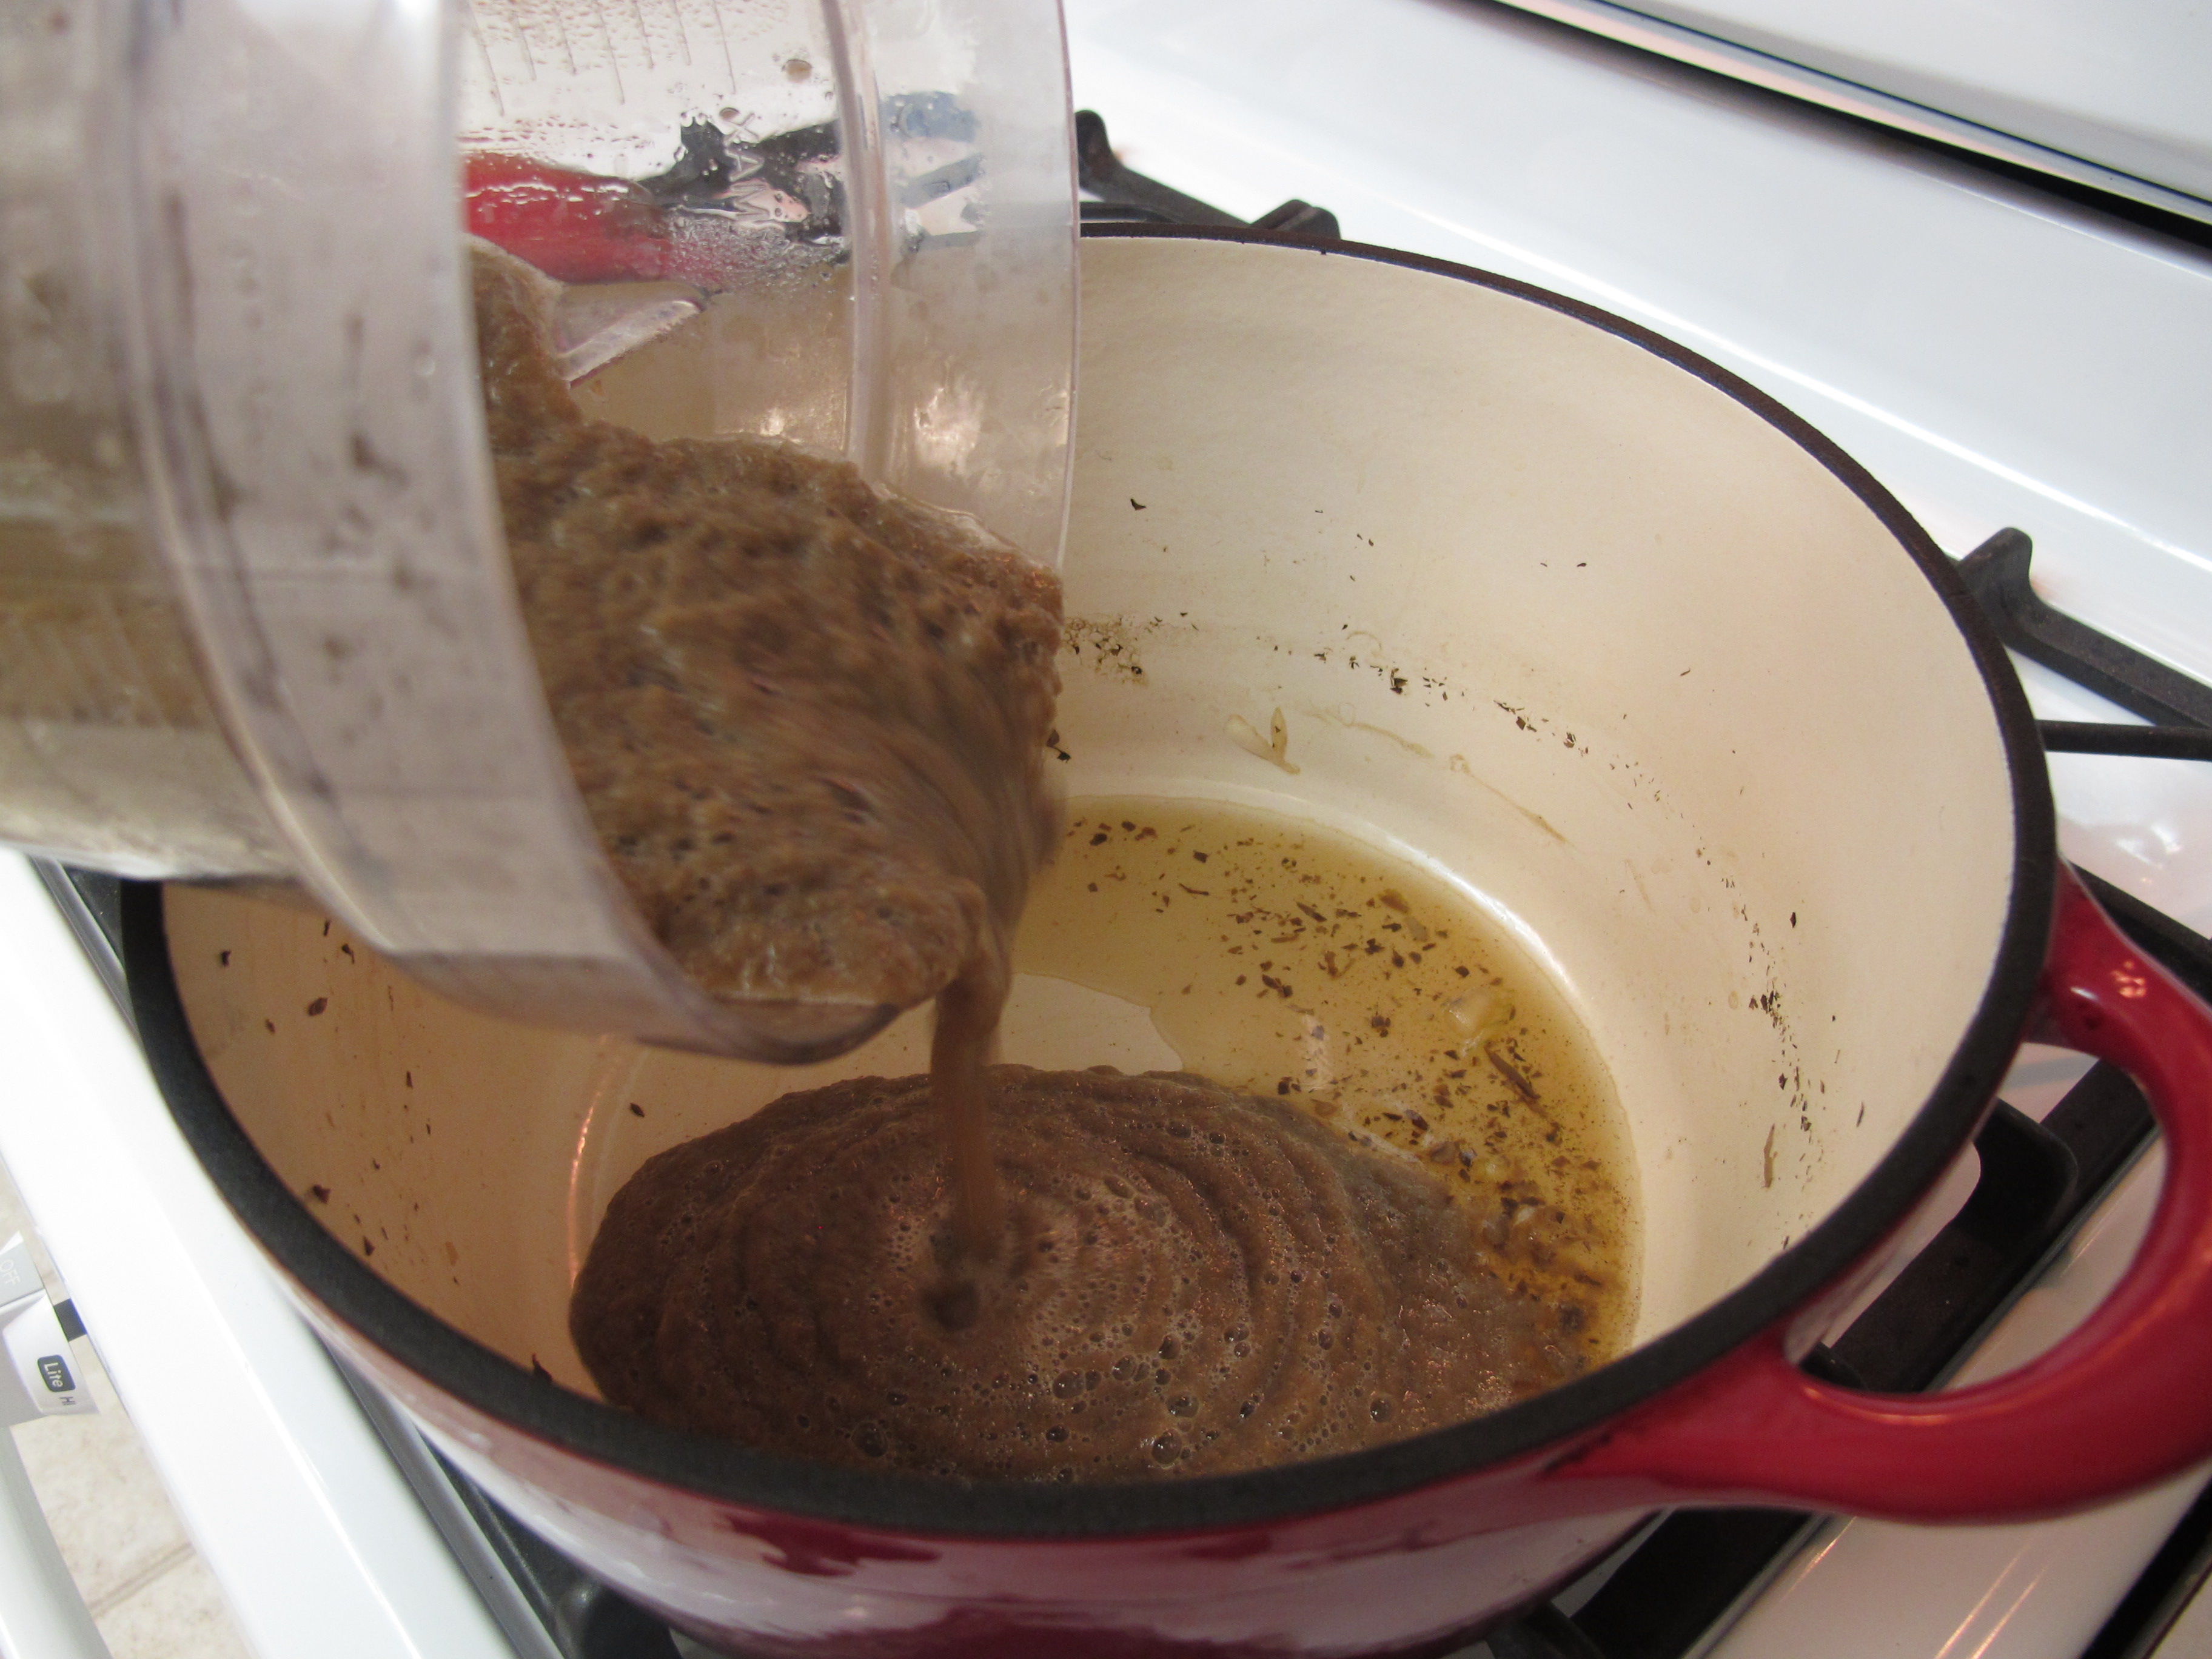
3 T. Brummel and Brown butter
Add melted butter.
1/4 tsp. salt
1/2 tsp. seasoned salt
1/4 tsp. pepper
1/2 tsp. garlic granules
Add seasonings.
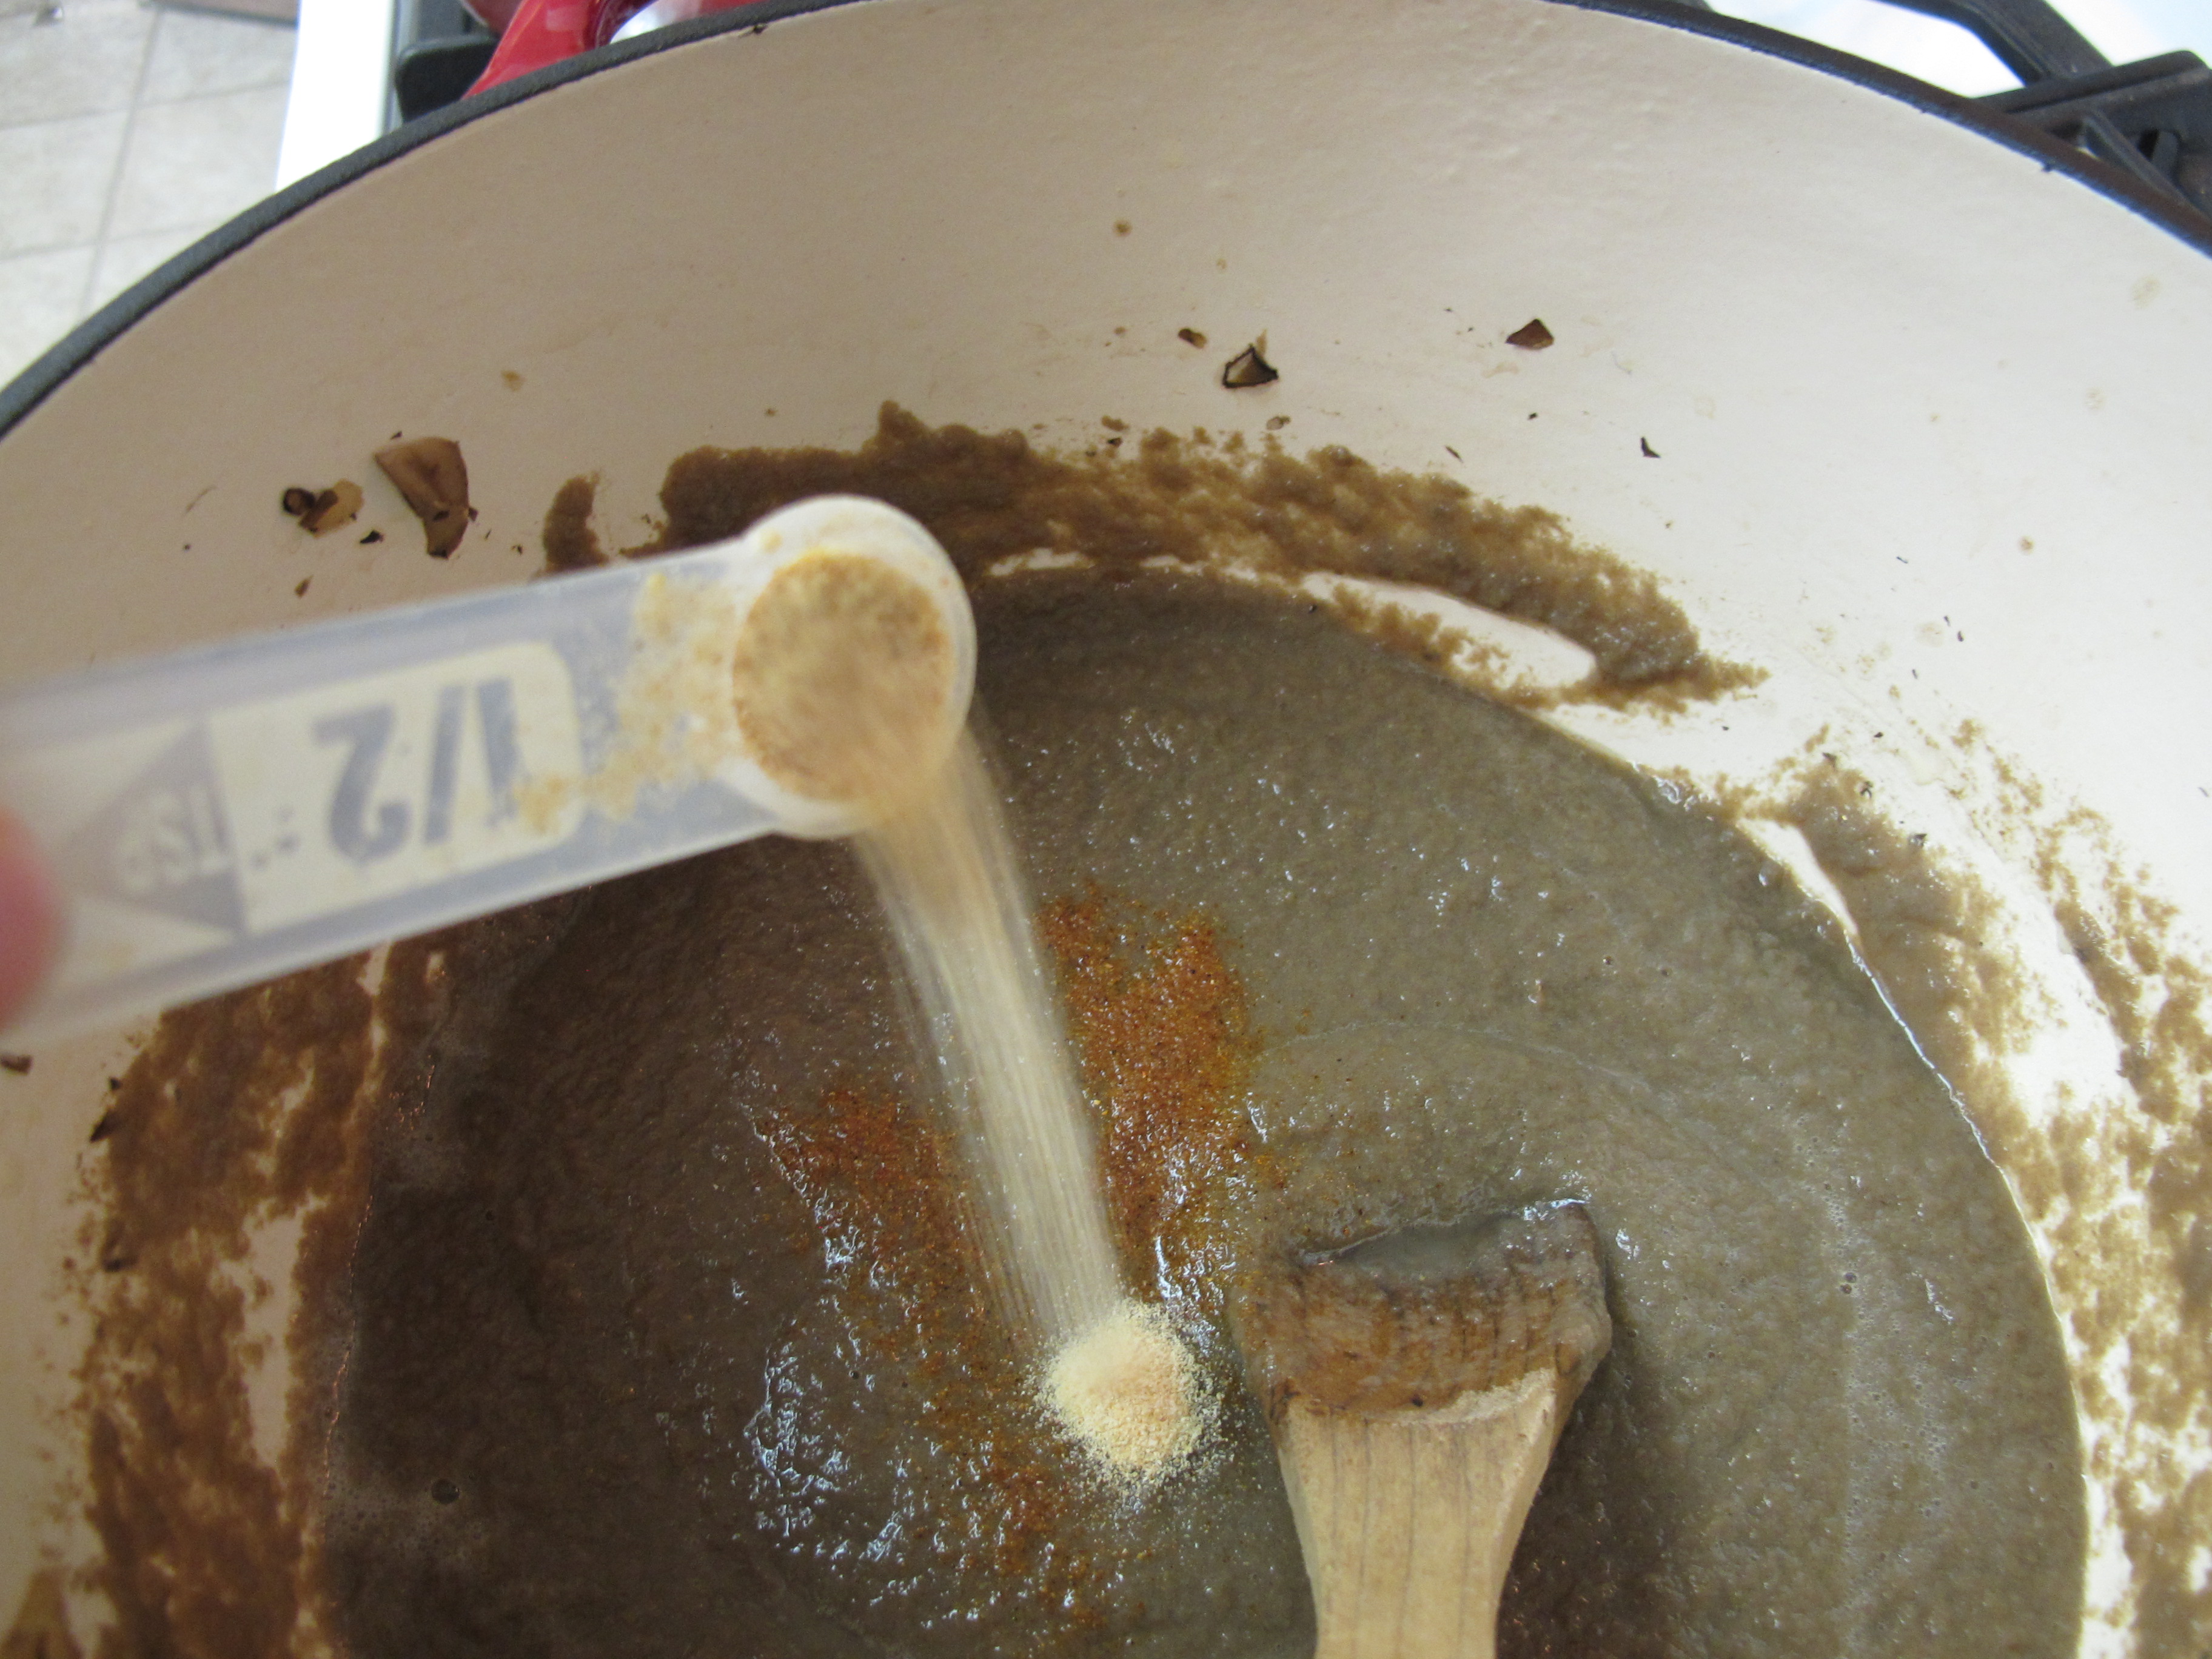
1 cup half and half – regular or fat-free
Add half and half.

1 1/2 T. balsamic vinegar
Add balsamic vinegar.

1/4 tsp. marsala wine (optional)
Add marsala.
Heat through.
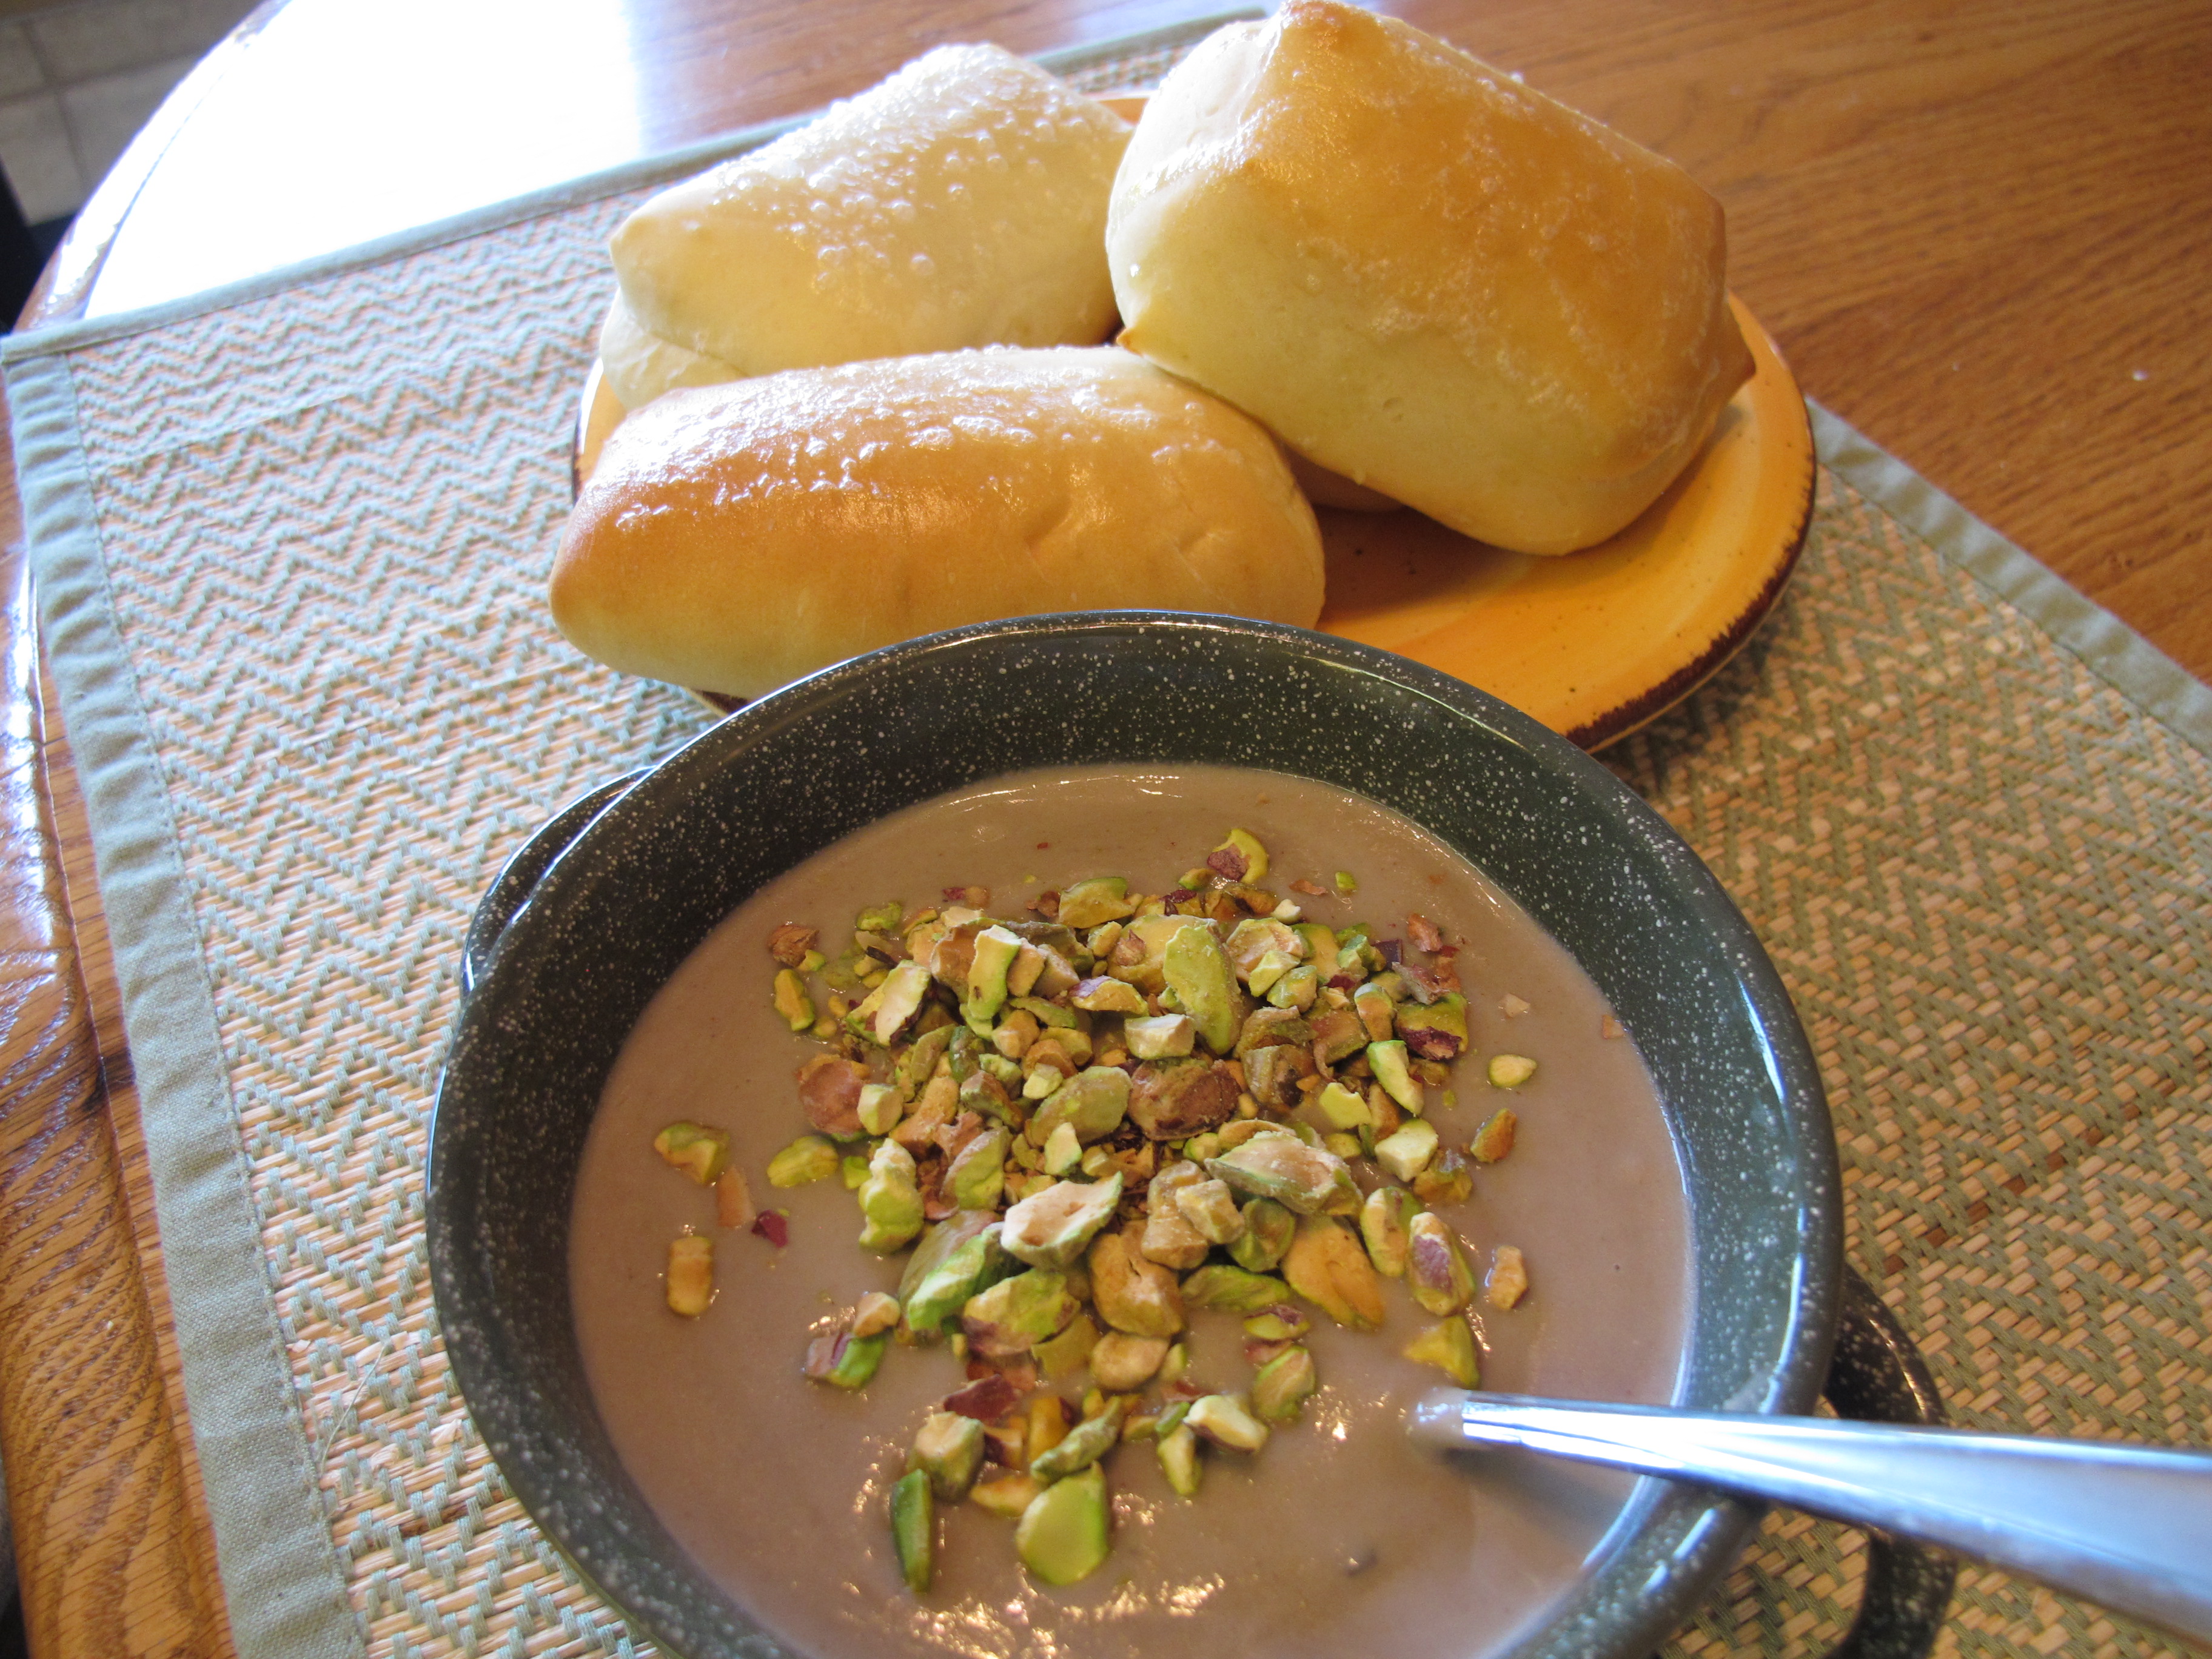
This soup tastes wonderful with chopped pistachios on top. (Not included in the PointsPlus)
Makes 4 cups.
Recipe Source: Joyce B.
FULL RECIPE WITHOUT PICTURES —
MUSHROOM SOUP
5 cups (16 oz.) fresh mushrooms (I used half white and half Portobello)
1 (14 oz.) can fat free chicken broth
1/2 onion, chopped
1/4 tsp. thyme
3 T. butter
1/4 tsp. salt
1/2 tsp. seasoned salt
1/4 tsp. pepper
1/2 tsp. garlic granules
1 cup half and half – regular or fat-free
1 1/2 T. balsamic vinegar
1/4 tsp. marsala wine (optional)
Give the mushrooms a rough chop. Mix mushrooms, broth, onions and thyme together in a pot or ceramic Dutch oven. Cook on medium/high heat for about 10 minutes until tender.
Put mushroom mixture in a blender and blend until smooth. Make sure the center part of the lid is off to let the steam escape. Put contents back in the pot when blended. If you want some chunks in your soup, only blend 1/2 or 3/4.
Add melted butter.
Add seasonings.
Add half and half.
Add balsamic vinegar.
Heat through.
Recipe Source: Joyce B.
Balsamic Glazed Carrots


1 T. olive oil
Heat oil in a skillet over medium-high heat.
3 cups baby carrots
Saute carrots in oil for about 10 minutes, or under tender.

1 1/2 T. balsamic vinegar
1 T. brown sugar
Stir in balsamic vinegar and brown sugar, mix to coat.
 j
j
Serve immediately.
Recipe Source: Key Ingredient (Found on Pinterest)
FULL RECIPE WITHOUT PICTURES —
BALSAMIC GLAZED CARROTS
3 cups baby carrots
1 T. olive oil
1 T. brown sugar
Heat oil in a skillet over medium-high heat.
Saute carrots in oil for about 10 minutes, or under tender.
Stir in balsamic vinegar and brown sugar, mix to coat.
Recipe Source: Key Ingredient (Found on Pinterest)
Milk – Scalding
These instructions were taken off of WikiHow.
SCALDING MILK ON THE STOVE TOP
-
 1
1Rinse a heavy sauce pan with cold water. By briefly cooling the inside of your pan, you can help regulate the temperature of the milk more carefully, preventing it from heating too quickly on the stove.
-
 2
2Pour the milk into the sauce pan. Measure out the precise amount of milk you need for the recipe, since it will be difficult to add more later. You also should not use more than you need since you should not return scalded milk to the container of un-scalded milk it originally came from.
-
 3
3Slowly heat the pan of milk over medium-low heat. A low heat setting may not provide enough heat to actually warm the pan up, but anything stronger than a medium heat setting will likely bring the temperature up too quickly, causing the milk to boil and burn before you have the chance to stop it. A medium-low heat works best, but a medium heat can also be used as long as you keep a steady watch of it.
-
 4
4Stir the milk continuously. To prevent the milk from thickening or burning and sticking to the bottom of the pan, frequent stirring is vital. Do not allow the milk to rest for more than 30 to 60 seconds at a time as it heats up.
-
 5
5Watch for the formation of steam and bubbles.[2] The milk is heated enough to be considered scalded once small bubbles start to form around the edges of the pan. Do not allow the milk to start boiling, however. Once the milk has started to boil, it has gotten too hot, and a certain protein inside the milk may be destroyed as a result. The destruction of this protein could lead to a loss of volume in baked goods. Additionally, once milk has gotten hot enough to boil, it is nearly impossible to stop it from sticking to the bottom of the pan and creating a burnt film.
-
 6
6Remove the milk and let it cool. Lift the pan off the stovetop and transfer it to a heat-resistant surface. You can transfer the milk to a room temperature container to prevent it from continuing to cook, or you can simply keep stirring it until it stops steaming. Most recipes suggest that you allow the milk to cool to a certain temperature before you use it, so you should check the milk periodically with a thermometer until it reaches this temperature.


Potato Bundles

This is a fun and different way to serve up potatoes. (This bundle pictured is bigger than the average).

6 potatoes, cut into bite size pieces – any type of potatoes work just fine. Yukon Gold are pictured.
1/2 onion, diced
Pile potatoes and onions on 6 squares of foil.

1 stick butter
1/2 cup heavy cream
Pull the sides of the tin foil up before adding the cream.
Add 2 T. butter to each pile.
Divide cream on each pile.

salt to taste
paprika to taste
pepper to taste
2 T. minced parsley
Season each pile. Sprinkle minced parsley over the top.
Wrap bundles tightly and bake at 375 degree for 45 minutes or until extremely tender.

If you want to, you can serve bundles right on the dinner plate.

FULL RECIPE WITHOUT PICTURES —
POTATO BUNDLES
6 potatoes, cut into bite size pieces
1/2 onion, diced
1 stick butter
1/2 cup heavy cream
salt to taste
paprika to taste
pepper to taste
2 T. minced parsley
Pile potatoes and onions on 6 squares of foil.
Add 2 T. butter to each pile.
Divide cream on each pile.
Season each pile. Sprinkle minced parsley over the top.
Wrap bundles tightly and bake at 375 degree for 45 minutes or until extremely tender.
Serve bundles right on the dinner plate.
Wisconsin Cauliflower Cheese Soup

3 T. Brummel and Brown butter (not shown in the picture)
1 medium onion, chopped
Melt butter and add chopped onions. Saute in a large sauce pan for approximately 10 minutes over medium heat until onion gets golden in color.
1/4 cup flour
Add flour and stir to make a roux. Heat for a couple of minutes.
1 cup half and half
1 cup milk
Slowly add half and half along with the milk. Gradually add and stir the entire time.

2 1/2 cups canned low sodium chicken broth – if you use regular chicken broth, cut down the salt that is added
Gradually add chicken broth, stirring constantly.

1 large head cauliflower, chopped – about 2.5 pounds
Add chopped cauliflower and heat until boiling.
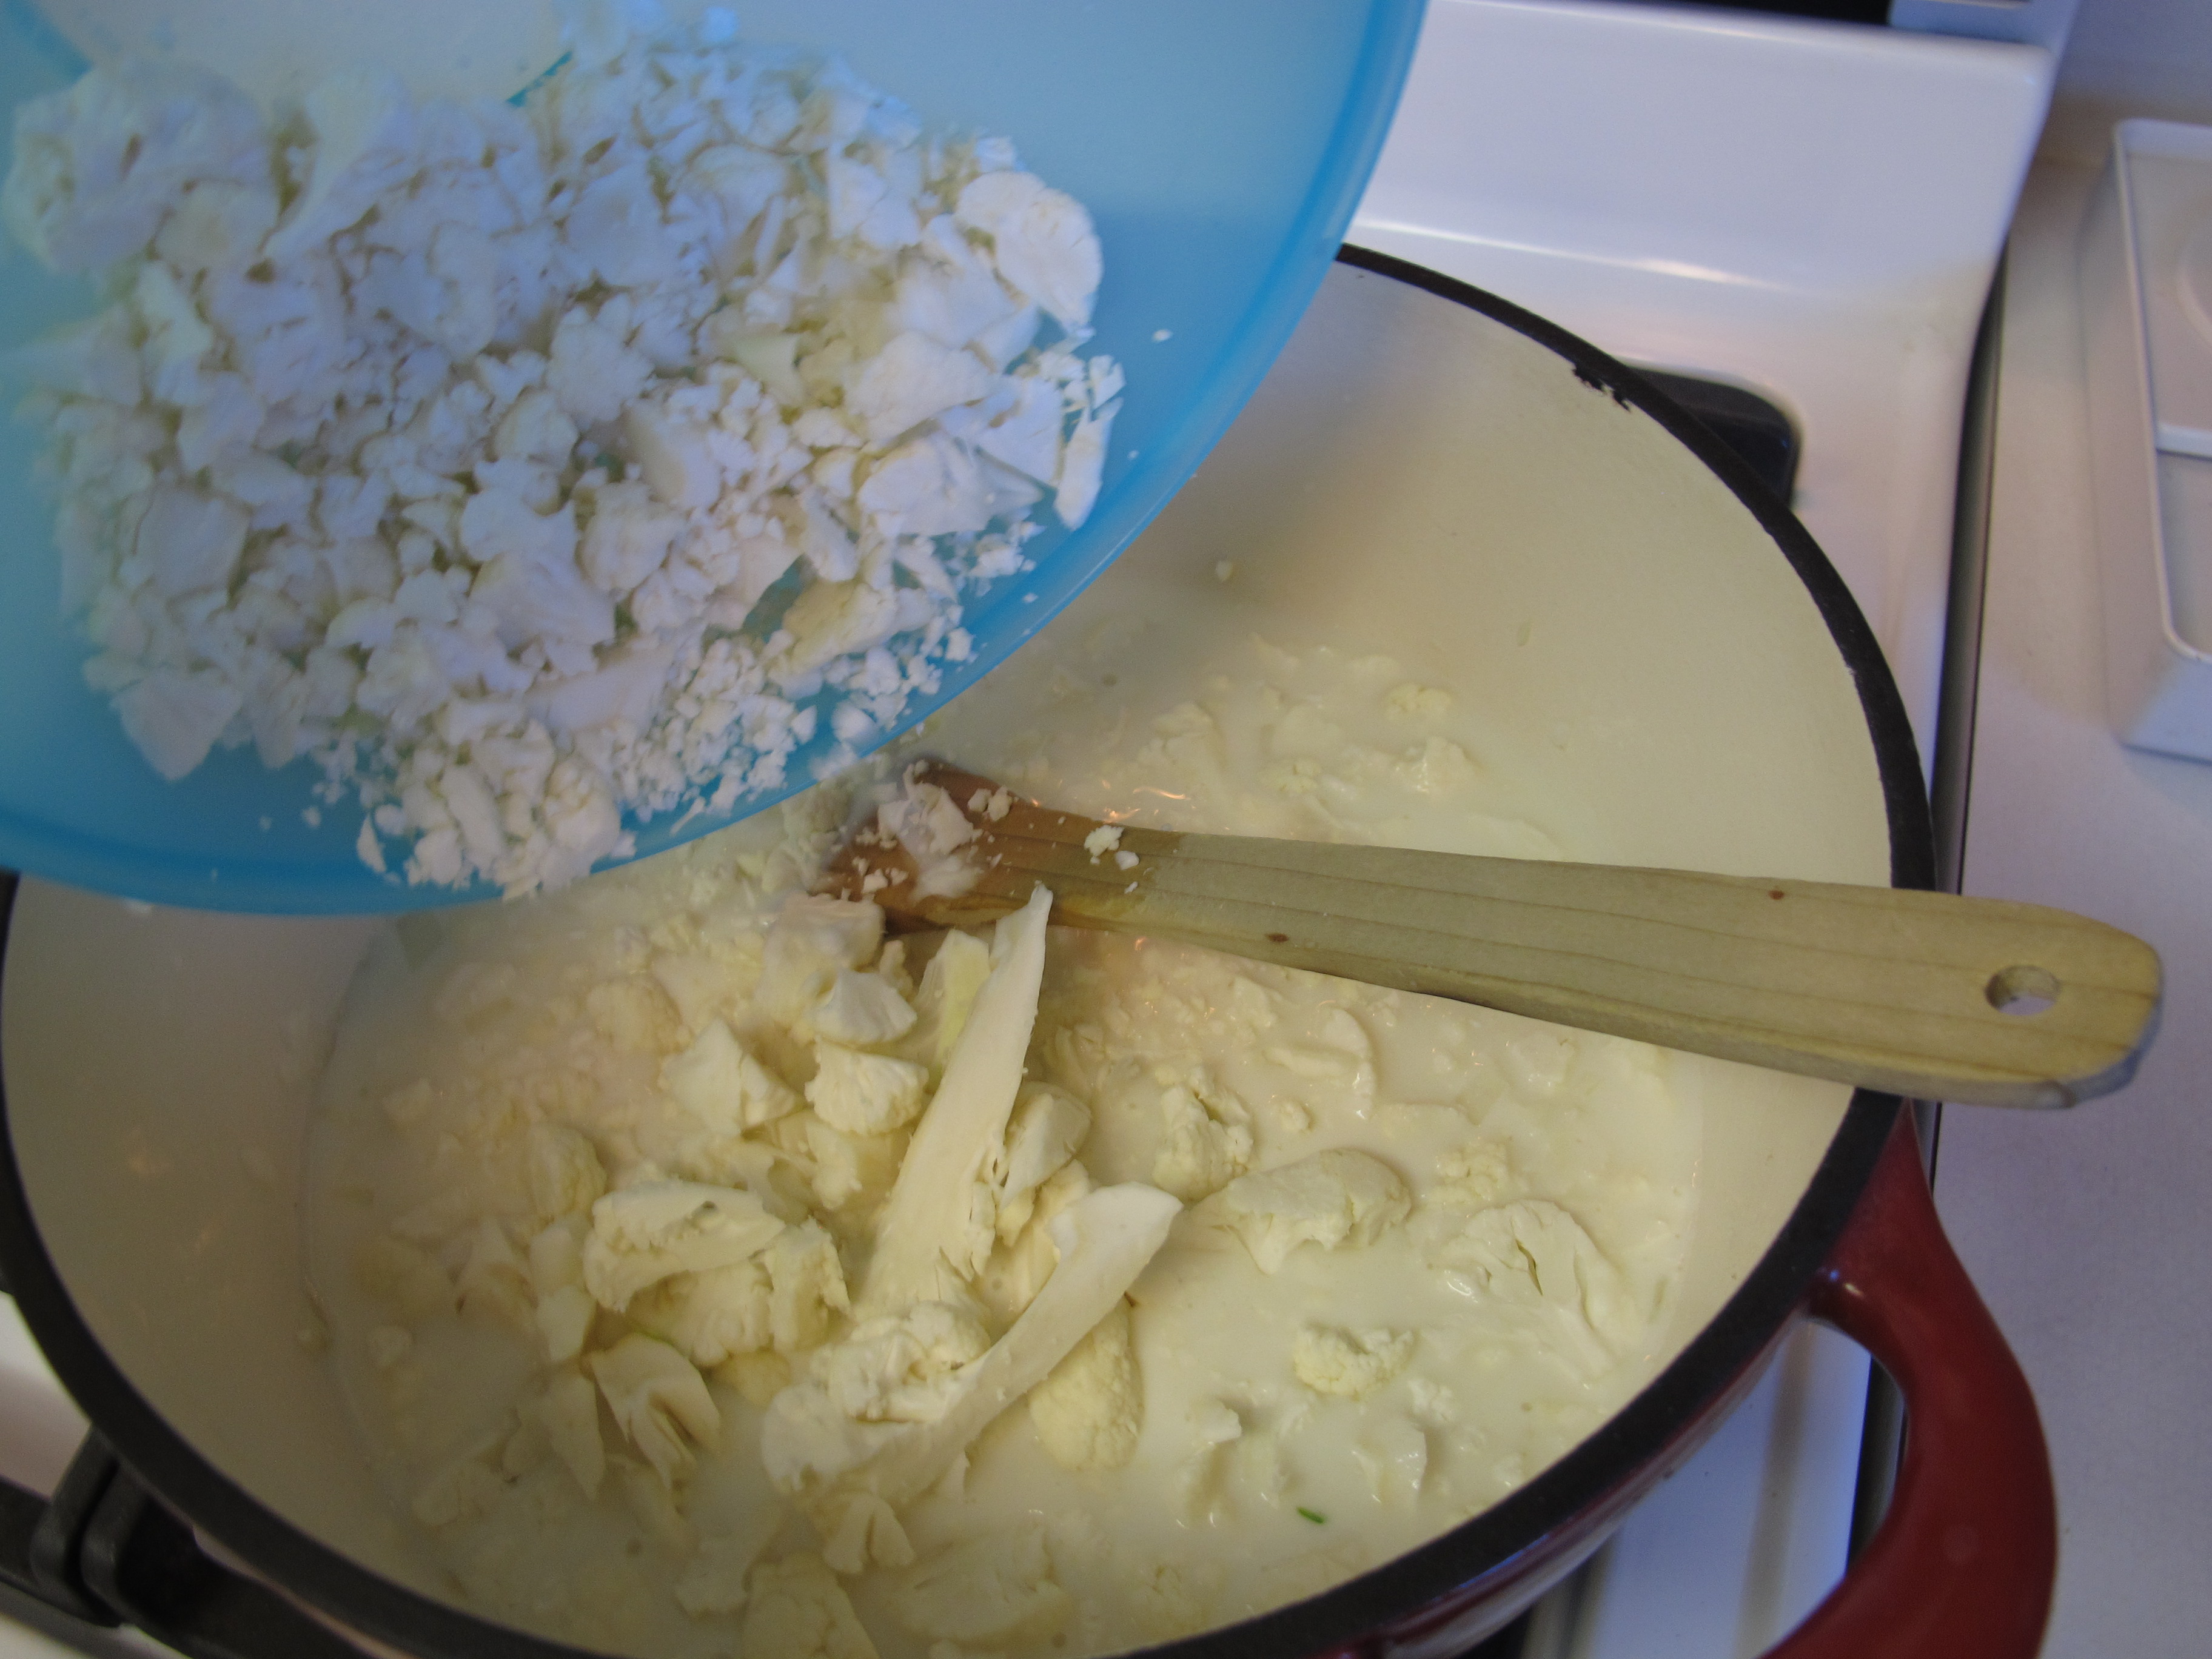
Reduce heat and simmer, covered, until cauliflower is tender. This will take approximately 15 – 20 minutes.
Place contents into a blender and blend until smooth. Remove the center part of the lid to allow the steam to escape.

1 1/2 tsp. garlic granules
1/4 tsp. pepper
1 tsp. seasoned salt
Return cauliflower mixture to saucepan, add seasonings. Heat over medium heat until hot, stirring constantly.
1 tsp. Dijon mustard
3 cups sharp cheddar cheese, grated
1 cup pepper jack cheese, grated
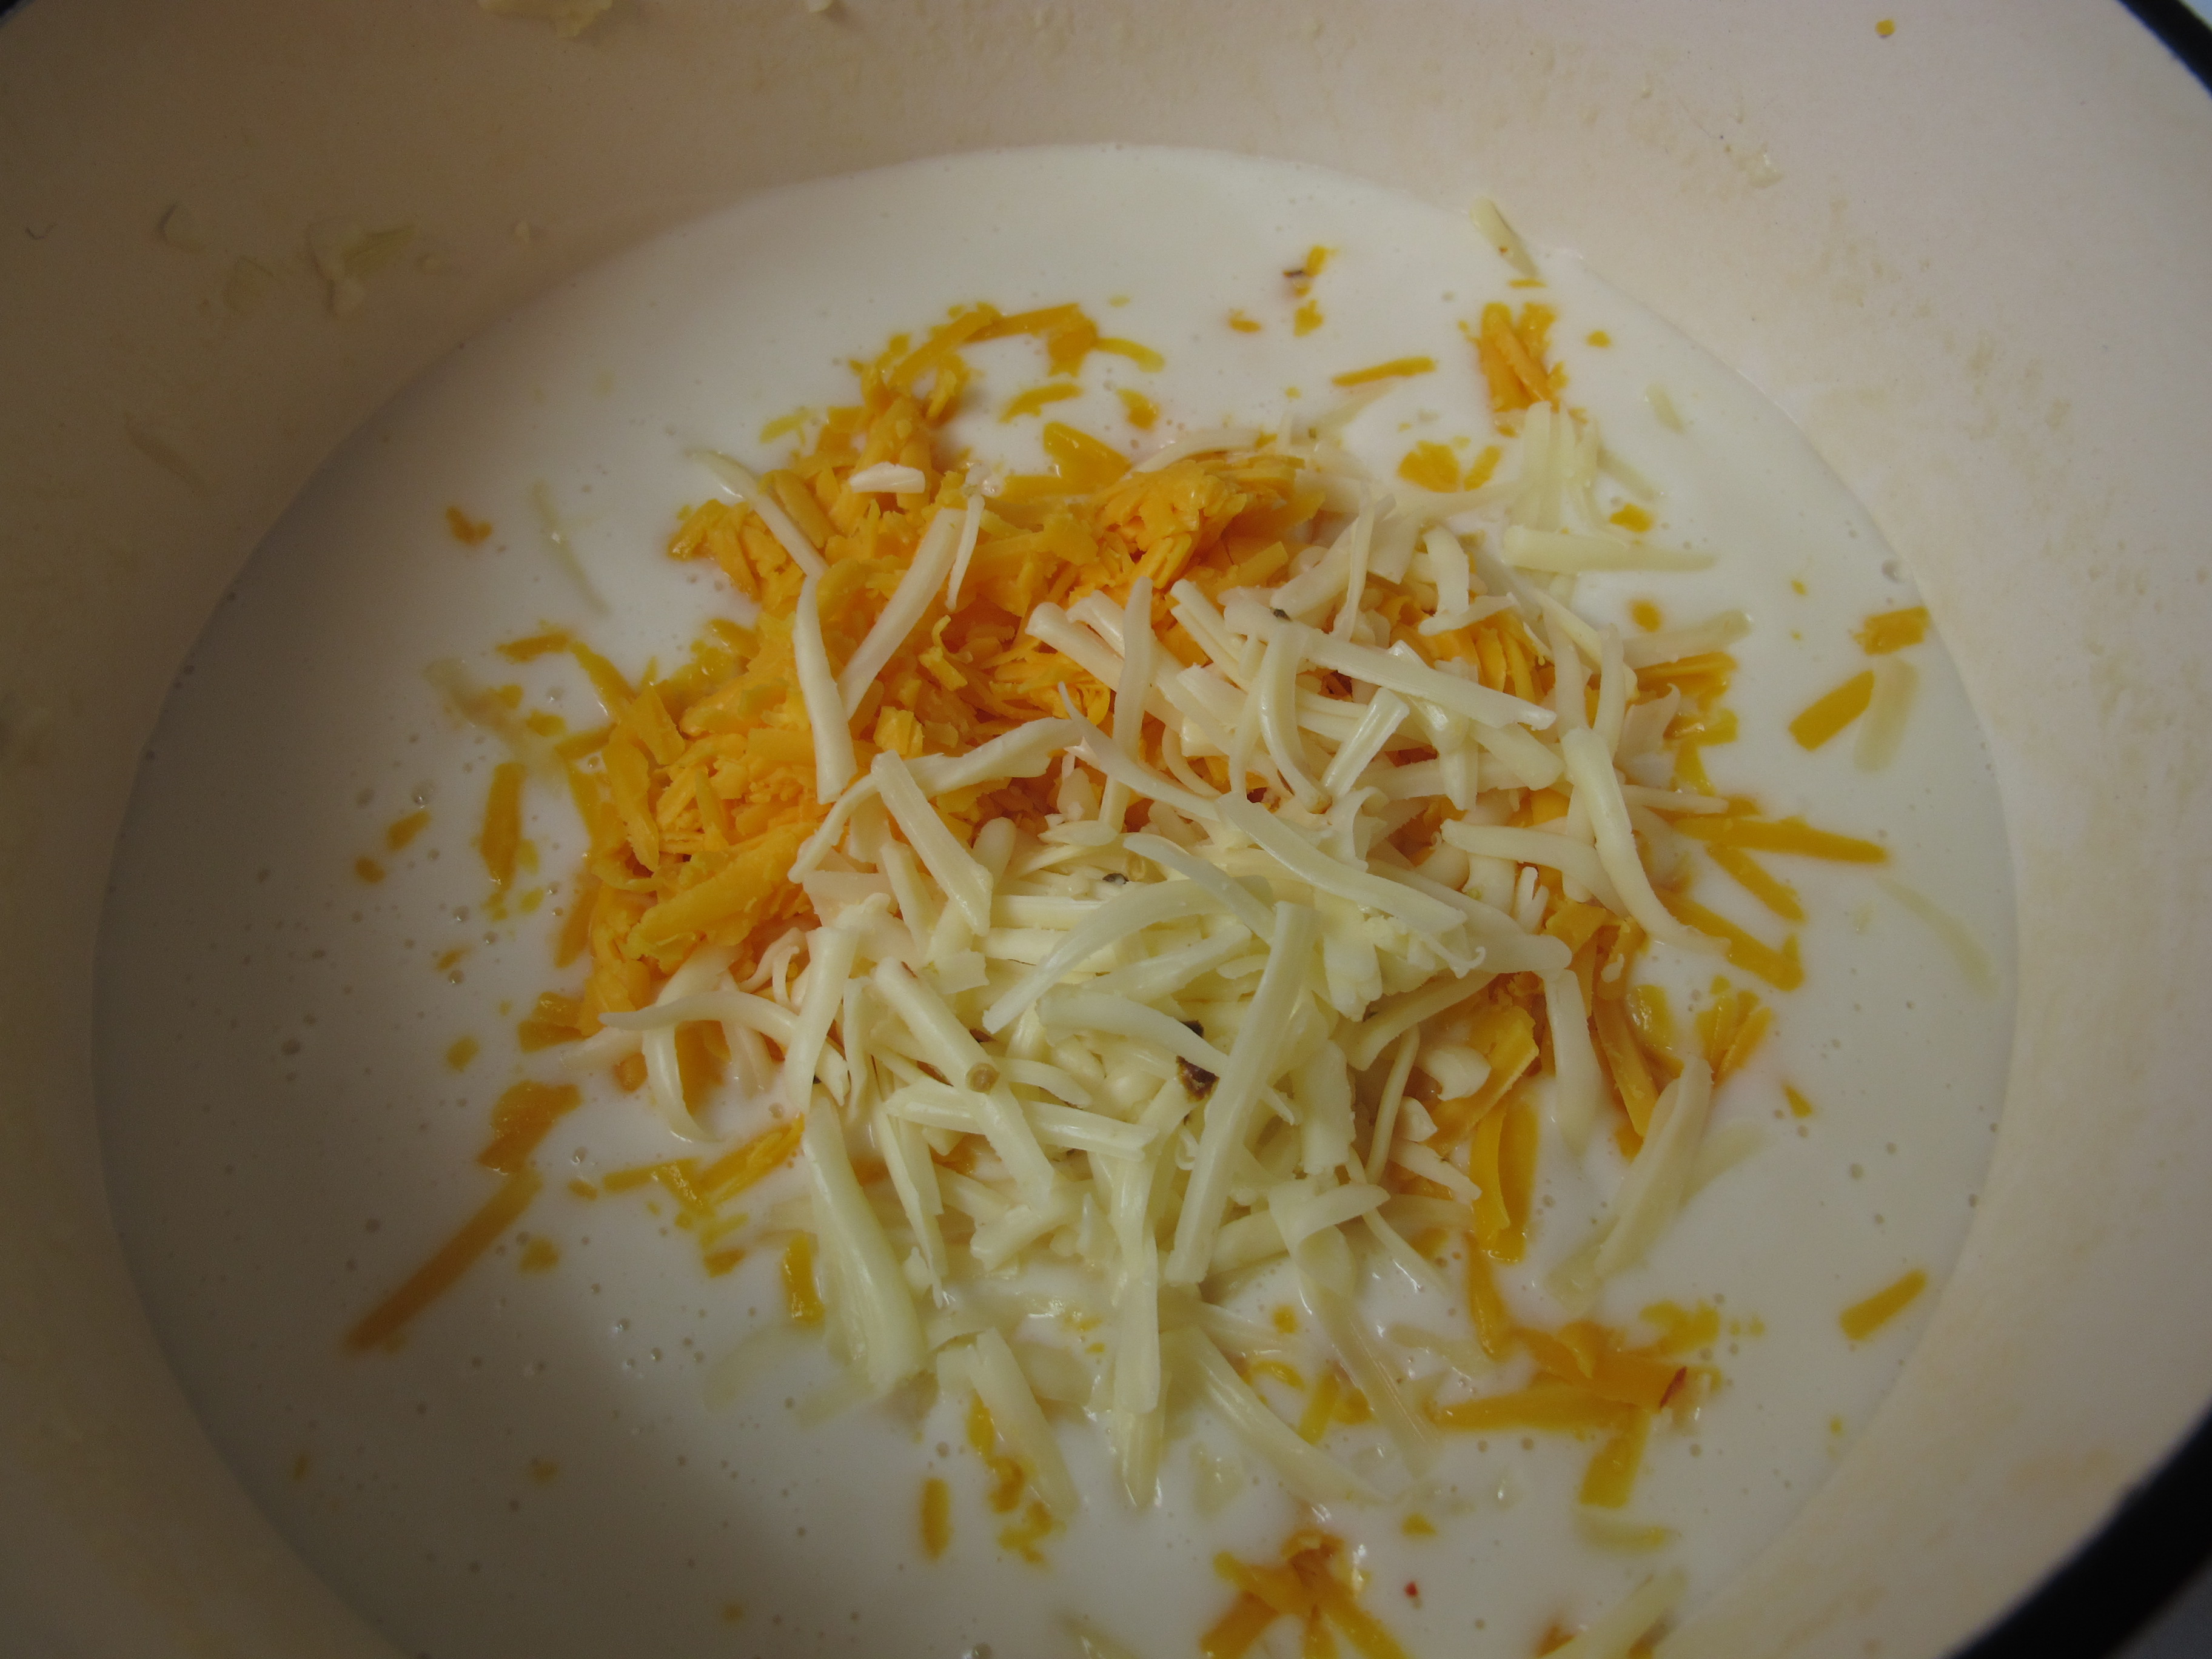
Remove from heat; stir in mustard and cheese until melted and smooth.
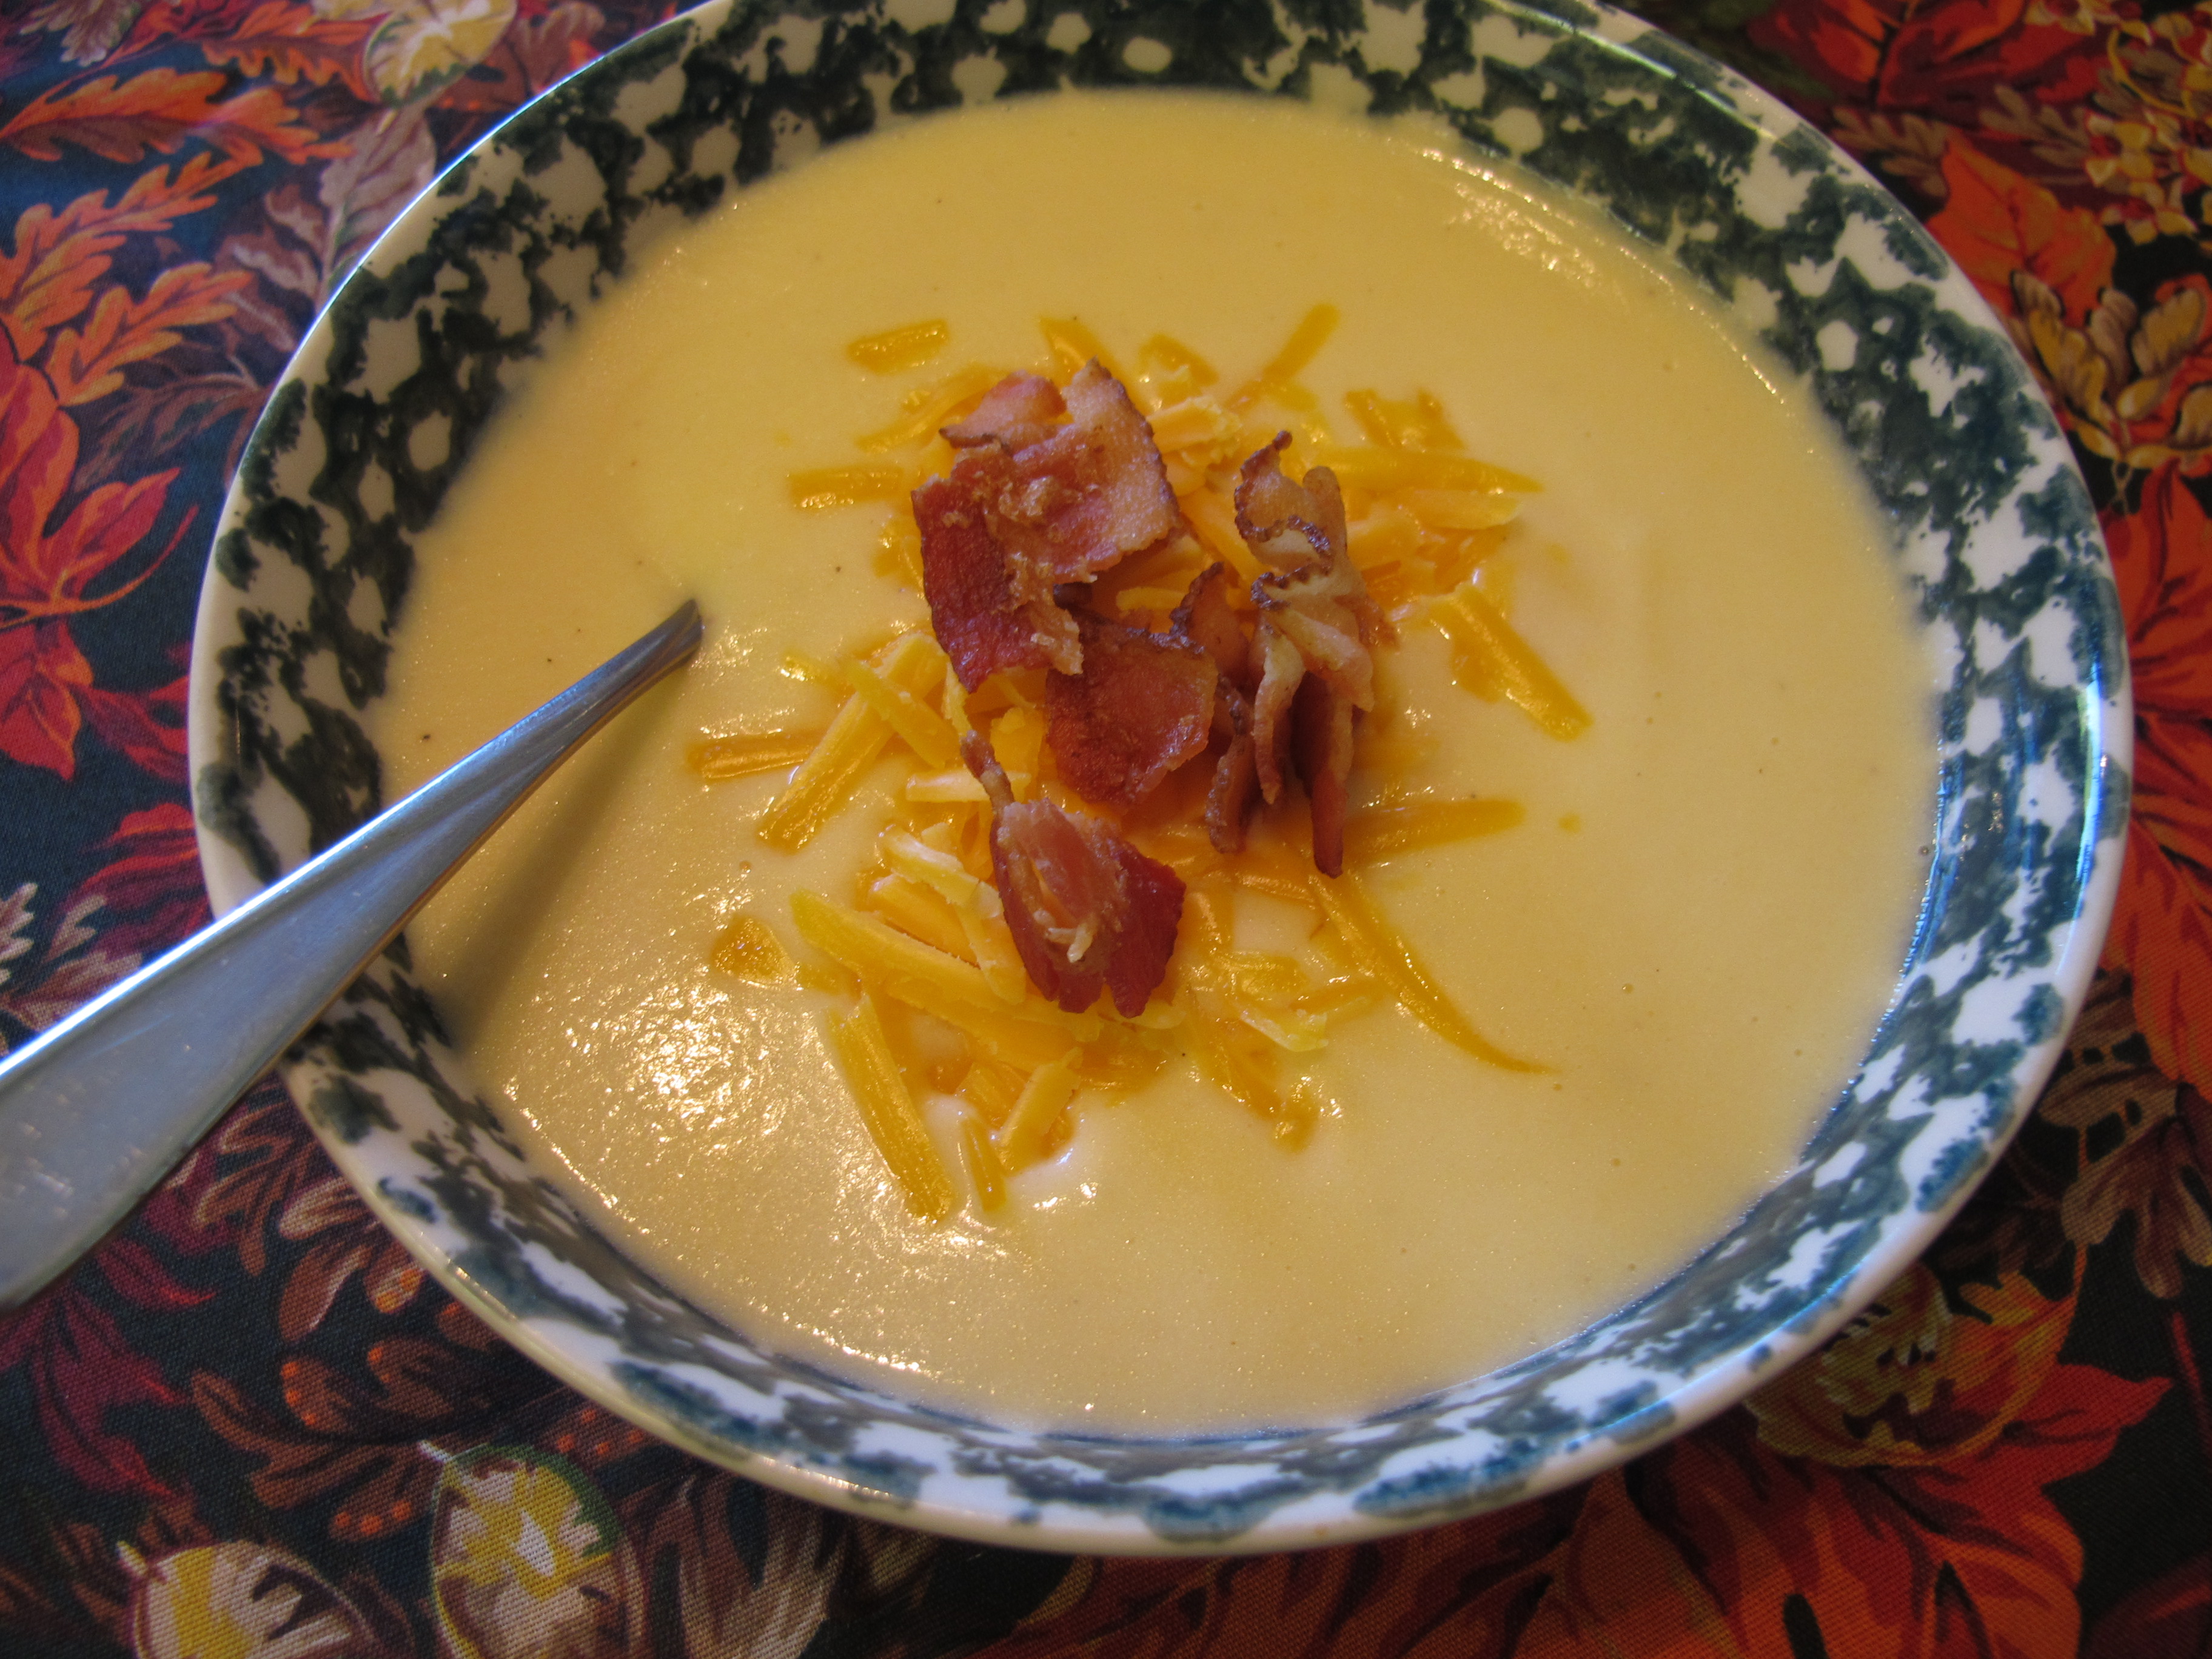
Serve soup topped with a little cheese and bacon.
FULL RECIPE WITHOUT PICTURES —
WISCONSIN CAULIFLOWER CHEESE SOUP
3 T. Brummel and Brown butter
1 medium onion, chopped
1/4 cup flour
1 cup half and half
1 cup milk
2 1/2 cups canned low sodium chicken broth – if you use regular chicken broth, cut down the salt that is added
1 large head cauliflower
1 tsp. Dijon mustard
3 cups sharp cheddar cheese, grated
1 cup pepper jack cheese, grated
Melt butter and add chopped onions. Saute in a large sauce pan for approximately 10 minutes over medium heat until onion gets golden in color.
Add flour and stir to make a roux. Heat for a couple of minutes.
Slowly add half and half along with the milk. Gradually add and stir the entire time.
Gradually add chicken broth, stirring constantly.
Add chopped cauliflower and heat until boiling.
Reduce heat and simmer, covered, until cauliflower is tender. This will take approximately 15 – 20 minutes.
Place contents into a blender and blend until smooth. Remove the center part of the lid to allow the steam to escape.
Return cauliflower mixture to saucepan, add seasonings. Heat over medium heat until hot, stirring constantly.
Remove from heat; stir in mustard and cheese until melted and smooth.
Serve soup topped with a little cheese and bacon.
Texas Roadhouse Rolls

Chelsie and Mike joined us for soup night at our house and Chelsie made THE BEST ROLLS EVER!!!!!

In the picture on top, the recipe was divided into 24 small rolls. In the picture on the bottom, the recipe was divided into 12 large rolls. (The darker ones were on the top shelf of the oven and the lighter ones were on the bottom, In the future, I will only cook one pan at a time.)

Set oven to Warm/Hold or set to lowest temperature.
1 cups milk, scalded and cooled to lukewarm
Set stove at medium/low heat and slowly heat milk to 180 degrees. Complete instructions for scalding milk are below.
Scald milk and let cool to lukewarm.
(If using a stand mixer – use the paddle for the next two steps)
1/4 cups warm water
1/2 tsp. sugar
2 tsp. yeast
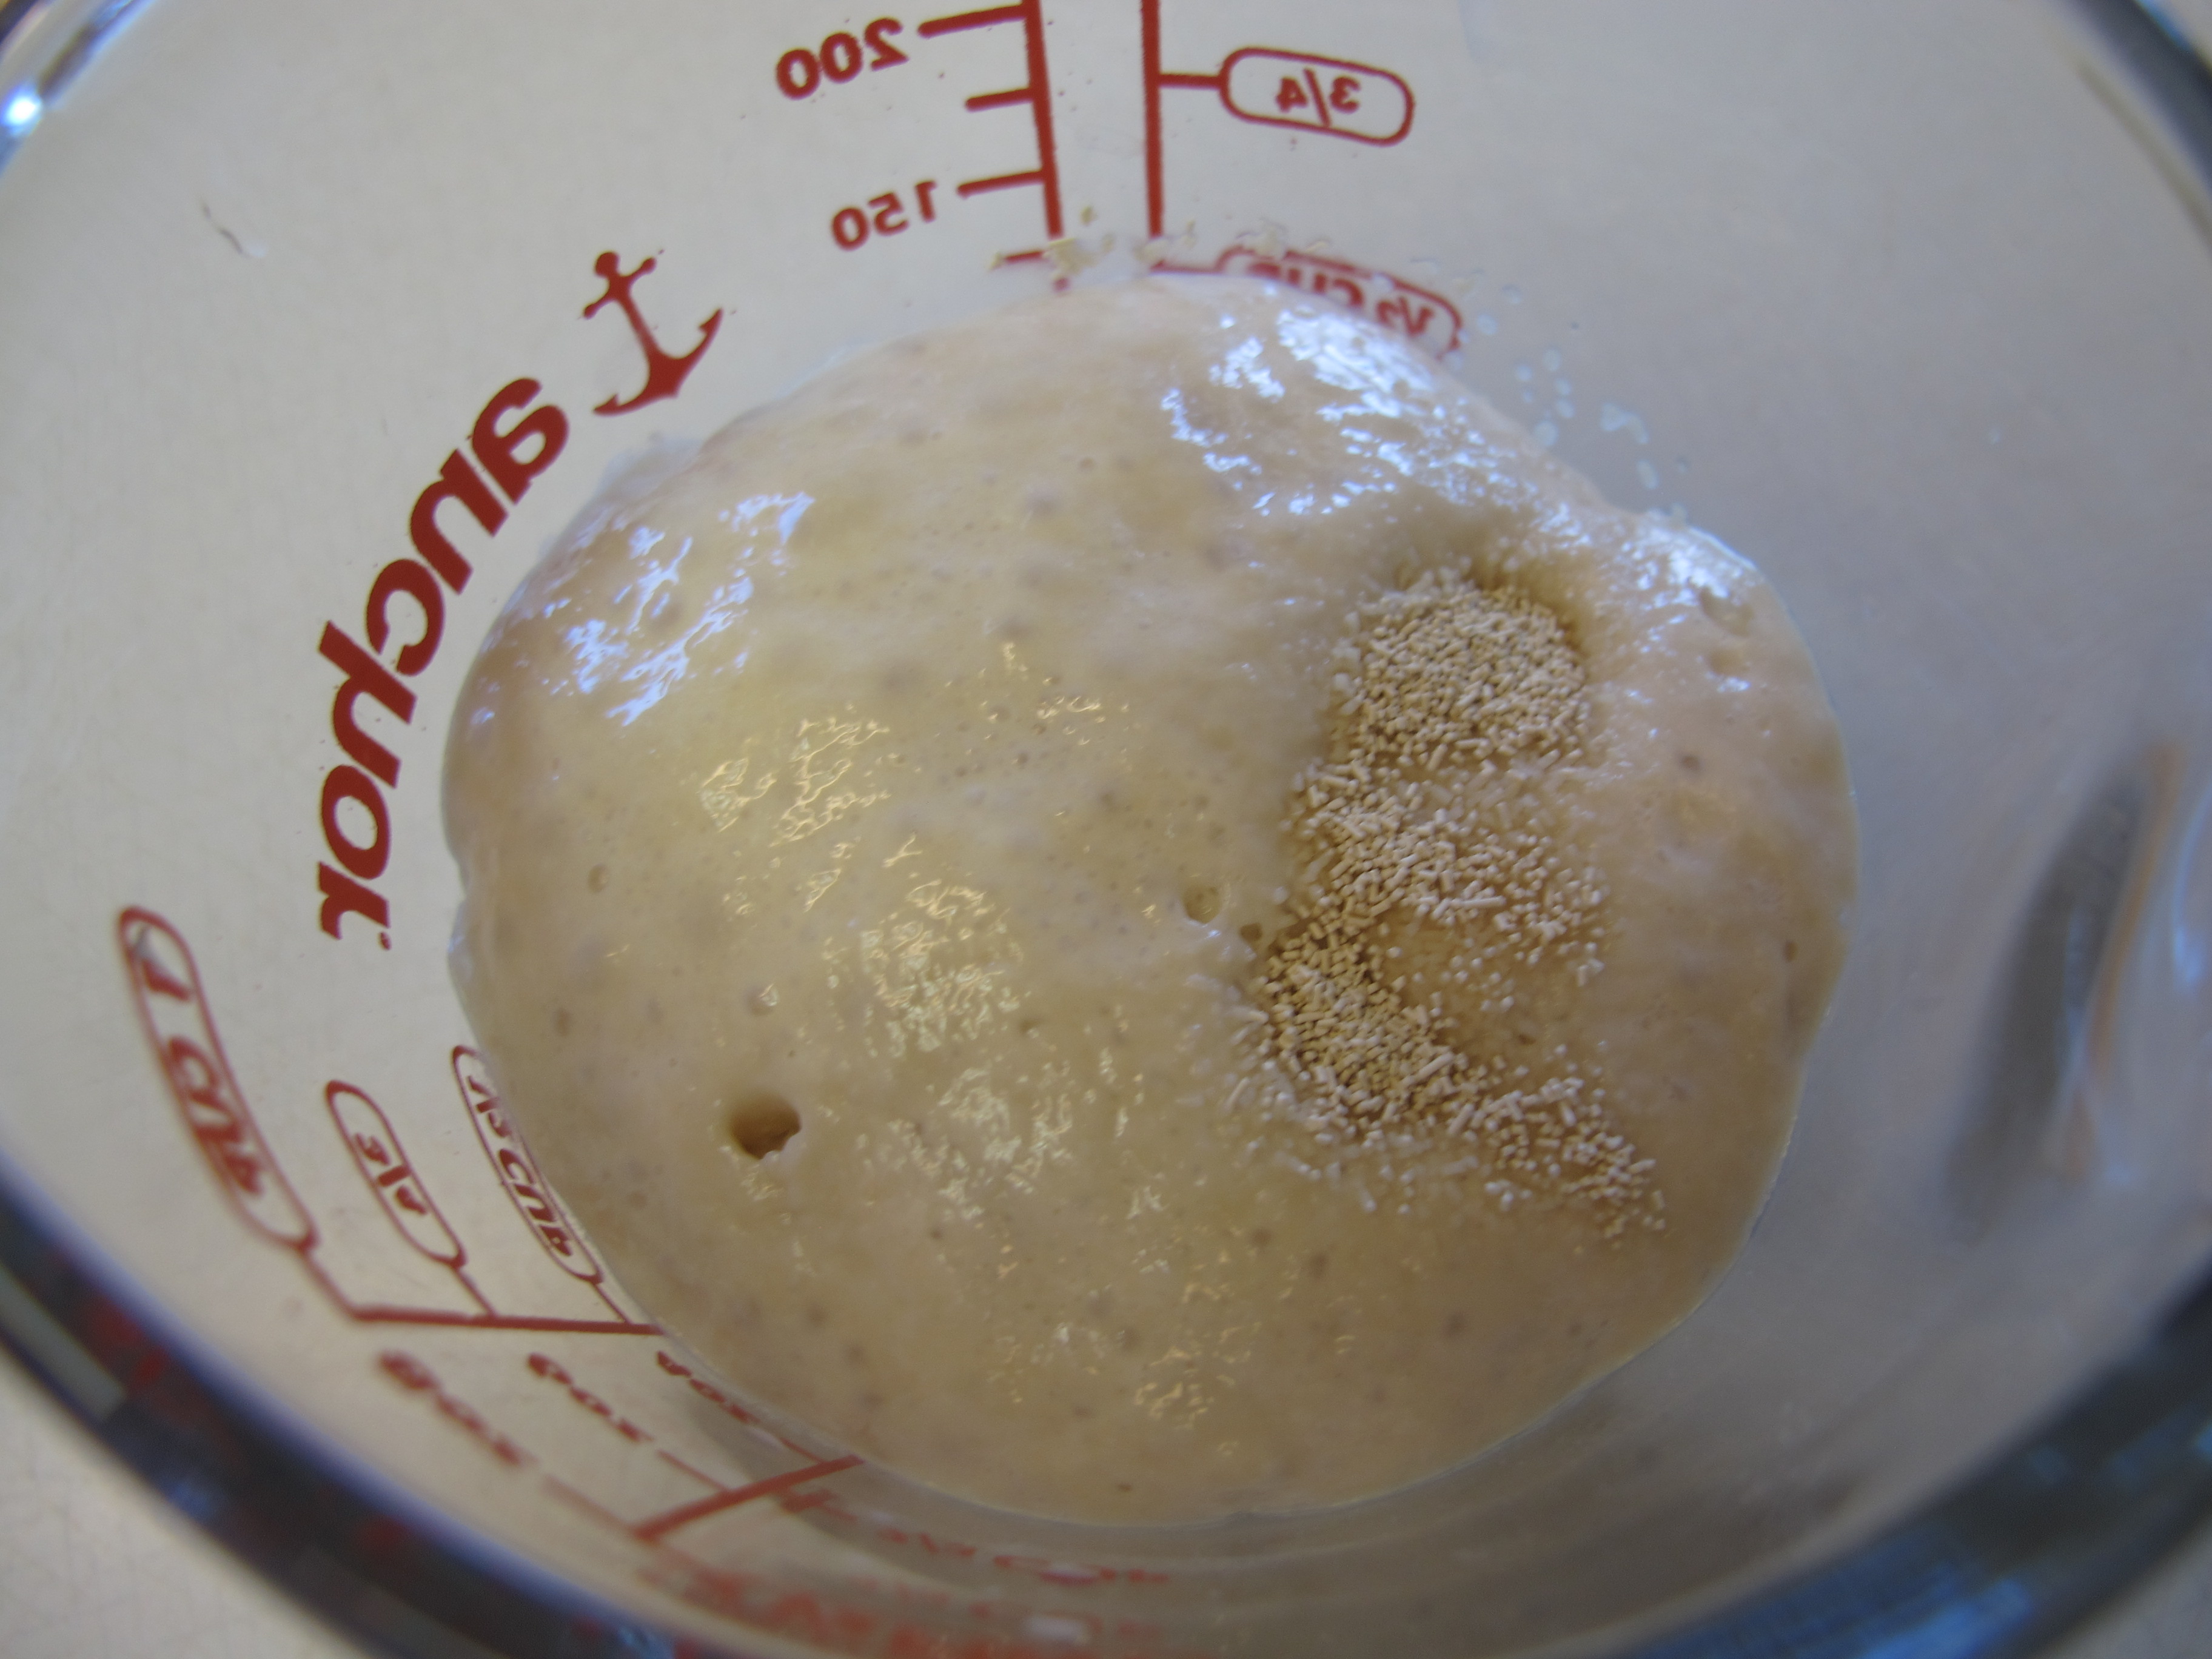
Mix 1/2 tsp. of sugar into warm water. Add yeast and let stand until frothy – about 5 minutes.
1/4 cup sugar
3 1/2 – 4 cups flour – DIVIDED (I used a total of 3 1/2 cups of flour in the entire recipe)
Combine 1/4 cup sugar, milk, yeast mixture, and enough flour (about 1 1/2 cups) to make a medium batter (about the consistency of pancake batter). Beat thoroughly.
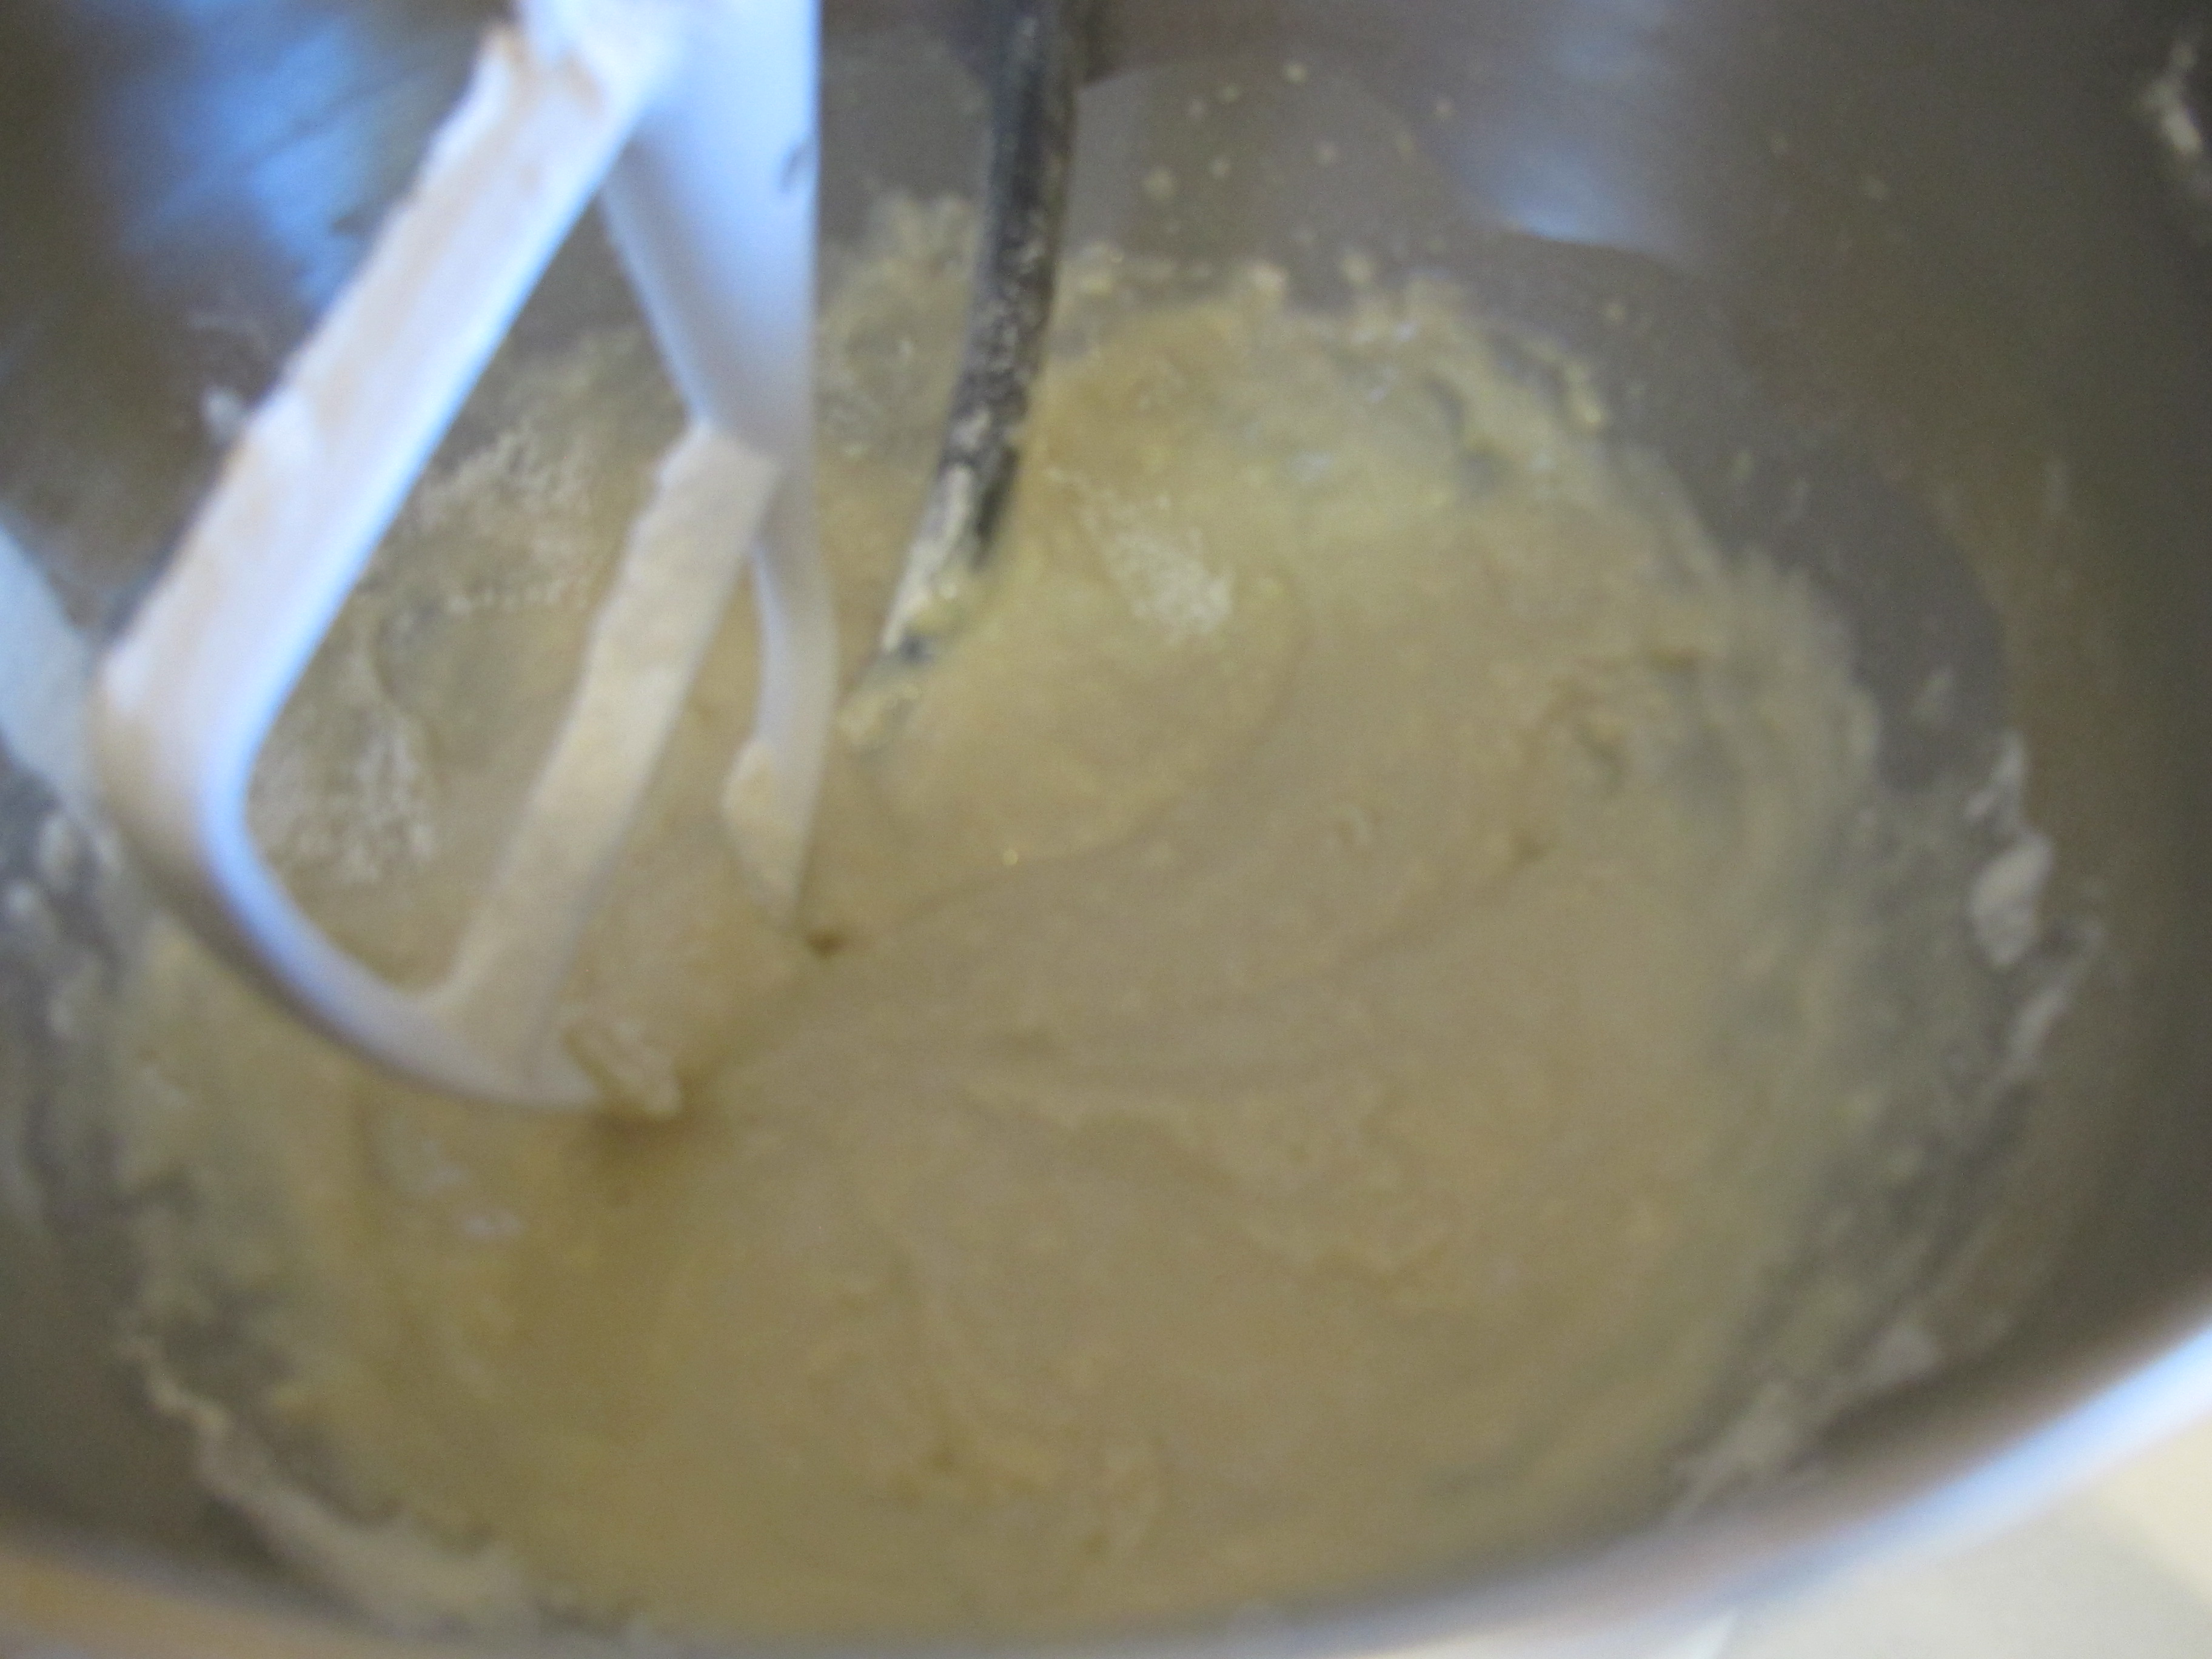
1 1/2 T. melted butter, slightly cooled
1 whole egg (room temperature is best)
1 tsp. salt
Add melted butter, egg and salt. Beat well.

(Change to your bread hook)
Add enough flour to form a soft dough – about 2 more cups. Once all the flour is incorporated, knead for 4 – 5 minutes.
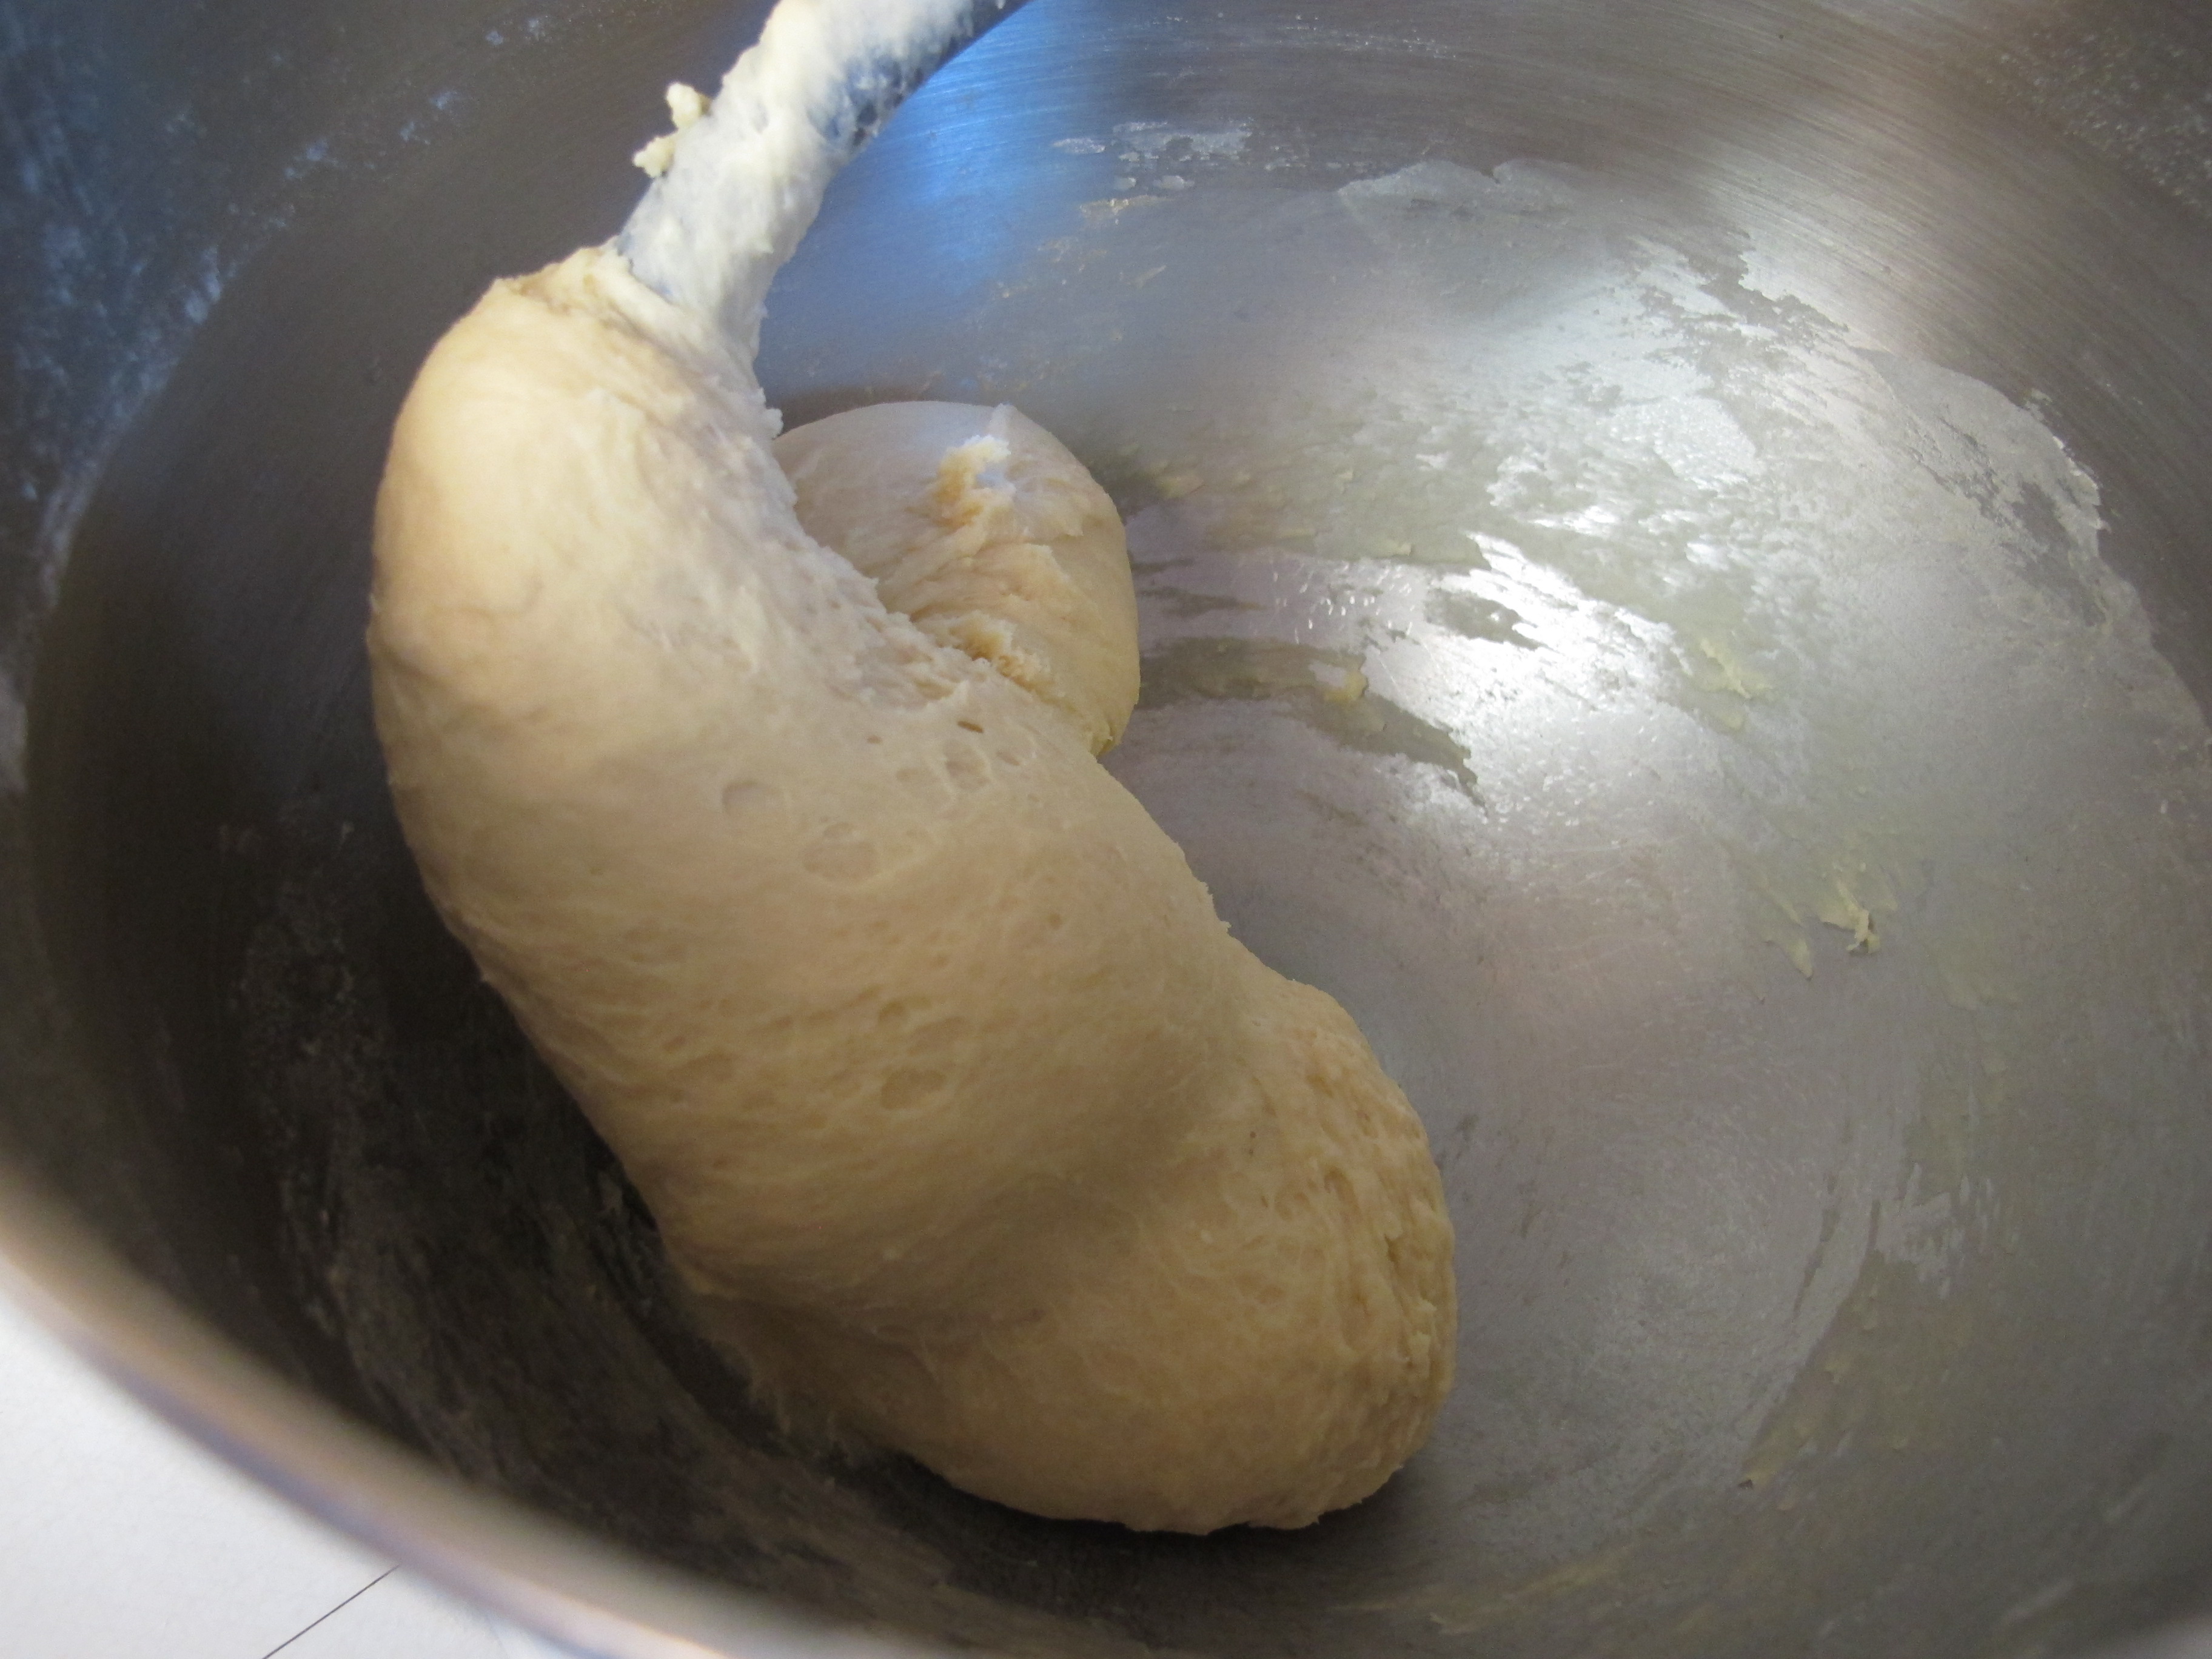
Meanwhile, grease a large bowl.
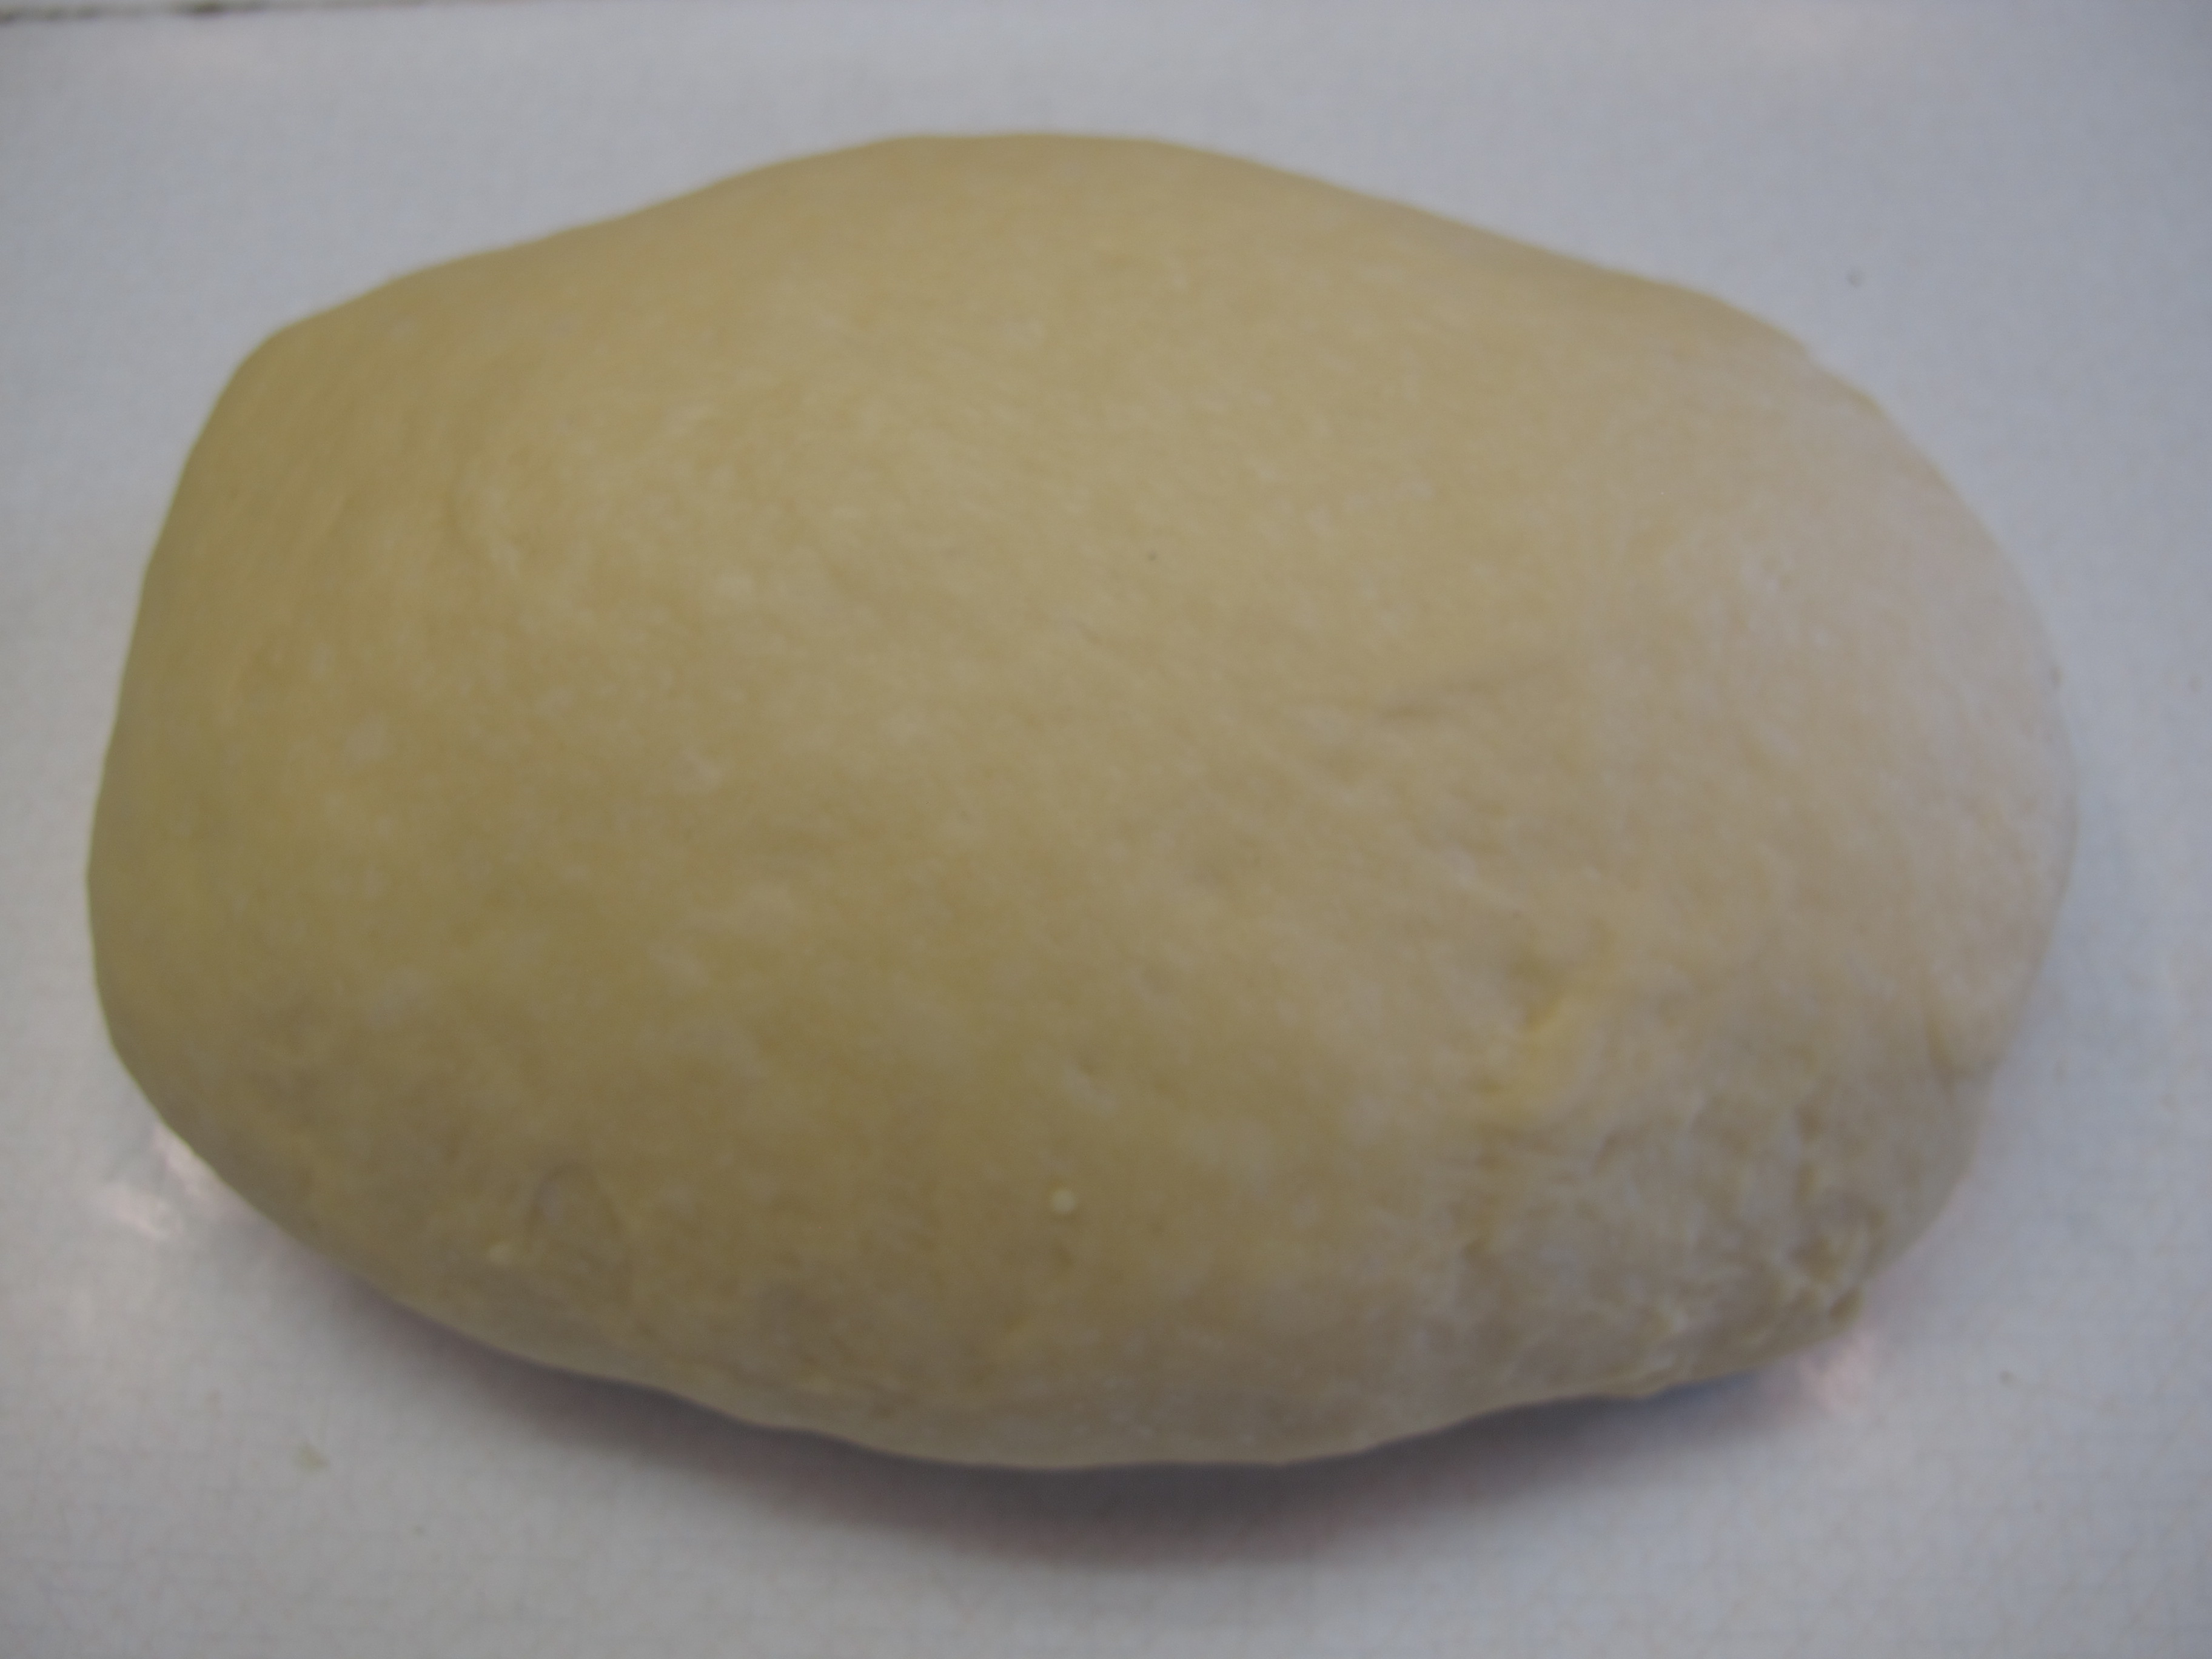
Remove dough from the hook and form into a ball by tucking the edges under.
Place in greased bowl, turn over so both sides have oil on them. Cover.

TURN OVEN OFF!!! Place bowl in oven and let rise until doubled in size. (This takes about an hour.)

Remove bowl from oven and turn your oven back on to warm it back on to raise the rolls.
Punch dough down.
Let rest for 5 minutes before shaping.
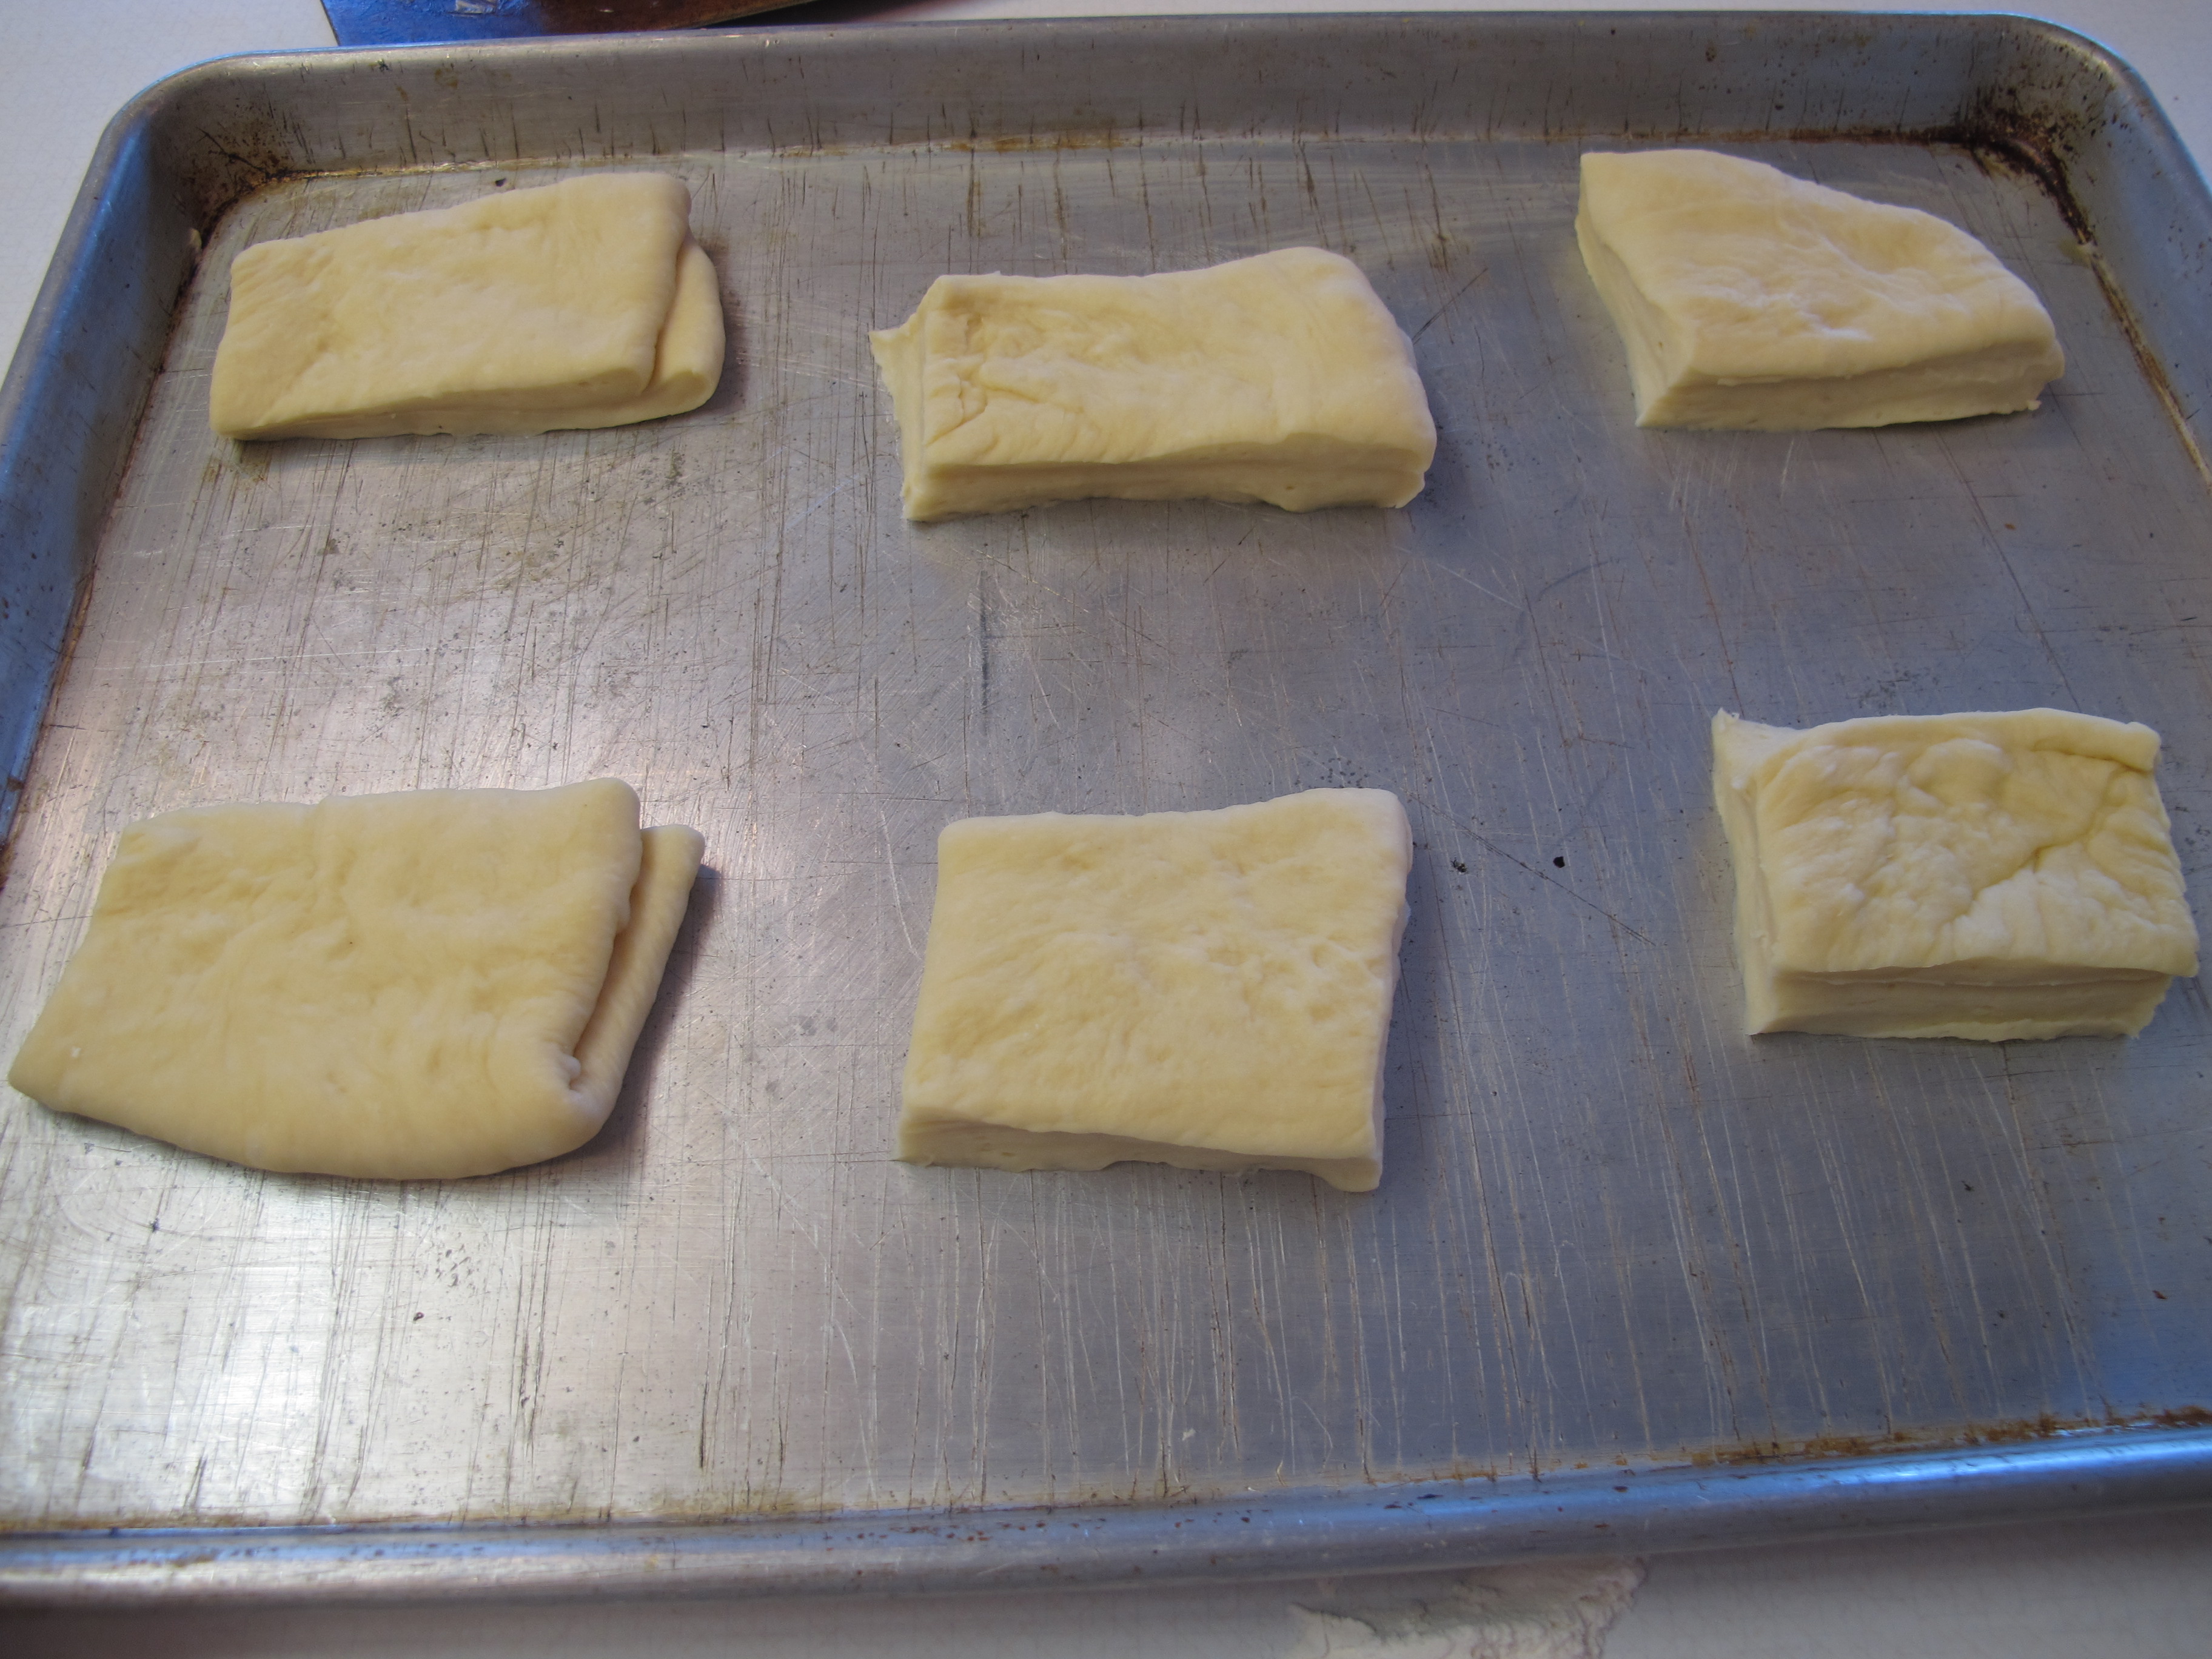
Shape into desired forms.
To make the square rolls: Roll out the dough into a rectangle, about 1/2 inch thick, then fold the rectangle in half, making it about 1″ thick. Use your rolling pin and roll over the dough very gently, just to seal the two halves together. Then cut the rolls into squares or rectangles. This makes 12 big rolls.

To make the round rolls: Divide dough into four even portions, and then divide those into 6 small portions. Fold the edges under to fold a smooth balls. Roll dough ball on the counter to smooth out the ball. This makes 24 small round rolls.
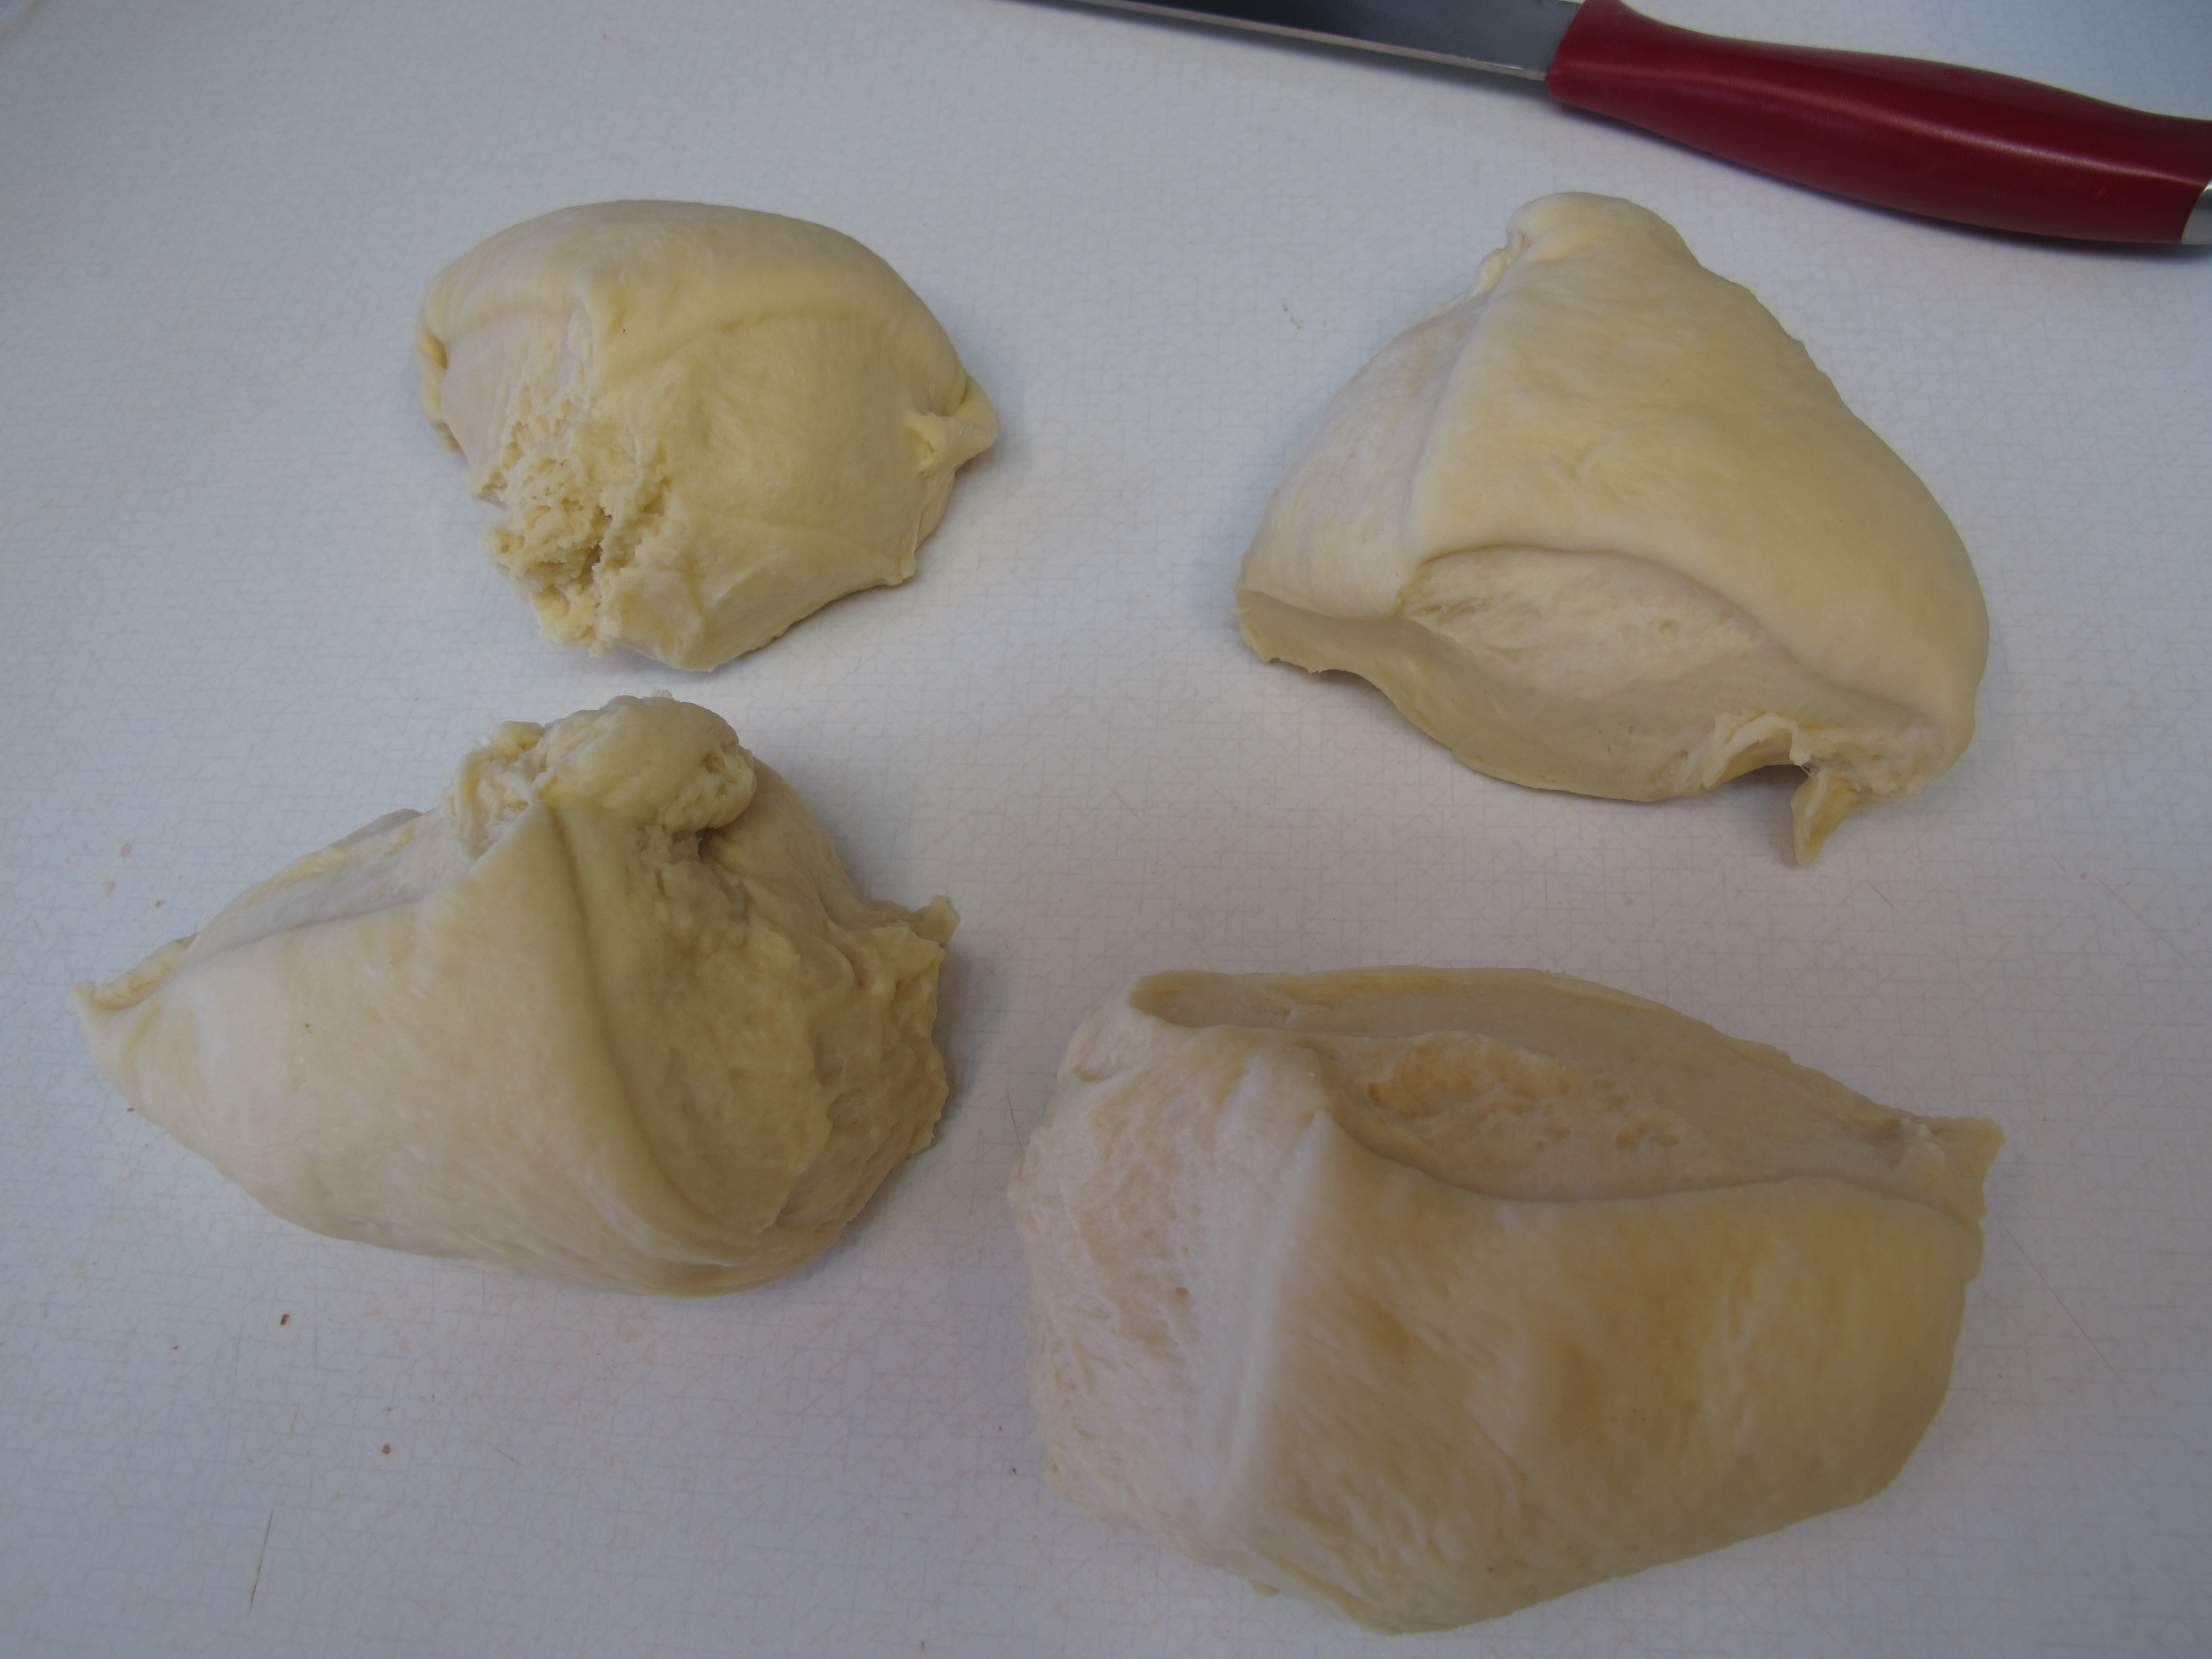


Place rolls on greased baking sheets.
Cover and let rise until doubled.

Bake at 350 degrees for 10 – 15 minutes for large rolls or 8 – 10 minutes for small rolls – or until golden brown.
Baste immediately with butter.
Recipe Source: Chelsie O. (Found on Pinterest)
FULL RECIPE WITHOUT PICTURES:
TEXAS ROADHOUSE ROLLS
1/4 cups warm water
1/2 tsp. sugar
2 tsp. yeast
1 cups milk, scalded and cooled to lukewarm (Instructions for scalding milk are below)
1/4 cup sugar
1 1/2 T. melted butter, slightly cooled
3 1/2 – 4 cups flour (I used 3 1/2 cups of flour)
1 whole eggs
1 tsp. salt
Set oven to Warm/Hold or set to lowest temperature.
Scald milk and let cool to lukewarm. (Instructions for scalding milk are below)
Mix 1/2 tsp. of sugar into warm water. Add yeast and let stand until frothy.
(If using a stand mixer – use the paddle for the next two steps)
Combine yeast mixture, milk, 1/4 cup sugar and enough flour to make a medium batter (about the consistency of pancake batter). Beat thoroughly.
Add melted butter, eggs and salt. Beat well.
(Change to your bread hook)
Add enough flour to form a soft dough. Once all the flour is incorporated, knead for 4 – 5 minutes.
Meanwhile, grease a large bowl.
Remove dough from the hook and form into a ball by tucking the edges under.
Place in greased bowl, turn over so both sides have oil on them. Cover.
TURN OVEN OFF!!! Place bowl in oven and let rise until doubled in size. (This takes about an hour.)
Remove bowl from over and turn your oven back on to warm it back on to raise the rolls.
Punch dough down.
Let rest for 5 minutes before shaping.
Shape into desired forms.
(To make the square ones – roll out the dough into a rectangle, about 1/2 inch thick, then fold the rectangle in half, making it about 1″ thick. Use your rolling pin and roll over the dough very gently, just to seal the two halves together. Then cut the rolls into squares or rectangles. This makes 12 big rolls.)
(To make the round ones, divide dough into four even portions, and then divide those into 6 small portions. Fold the edges under to fold a smooth balls. Roll dough ball on the counter to smooth out the ball. This makes 24 small round rolls.)
Place rolls on greased baking sheets.
Cover and let rise until doubled.
Bake at 350 degrees for 10 – 15 minutes for large rolls or 8 – 10 minutes for small rolls – or until golden brown.
Baste immediately with butter.
Recipe Source: Chelsie O. (Found on Pinterest)
SCALDING MILK ON THE STOVE TOP
-
1
Rinse a heavy sauce pan with cold water. By briefly cooling the inside of your pan, you can help regulate the temperature of the milk more carefully, preventing it from heating too quickly on the stove.
-
2
Pour the milk into the sauce pan. Measure out the precise amount of milk you need for the recipe, since it will be difficult to add more later. You also should not use more than you need since you should not return scalded milk to the container of un-scalded milk it originally came from.
-
3
Slowly heat the pan of milk over medium-low heat. A low heat setting may not provide enough heat to actually warm the pan up, but anything stronger than a medium heat setting will likely bring the temperature up too quickly, causing the milk to boil and burn before you have the chance to stop it. A medium-low heat works best, but a medium heat can also be used as long as you keep a steady watch of it.
-
4
Stir the milk continuously. To prevent the milk from thickening or burning and sticking to the bottom of the pan, frequent stirring is vital. Do not allow the milk to rest for more than 30 to 60 seconds at a time as it heats up.
-
5
Watch for the formation of steam and bubbles.[2] The milk is heated enough to be considered scalded once small bubbles start to form around the edges of the pan. Do not allow the milk to start boiling, however. Once the milk has started to boil, it has gotten too hot, and a certain protein inside the milk may be destroyed as a result. The destruction of this protein could lead to a loss of volume in baked goods. Additionally, once milk has gotten hot enough to boil, it is nearly impossible to stop it from sticking to the bottom of the pan and creating a burnt film.
-
6
Remove the milk and let it cool. Lift the pan off the stovetop and transfer it to a heat-resistant surface. You can transfer the milk to a room temperature container to prevent it from continuing to cook, or you can simply keep stirring it until it stops steaming. Most recipes suggest that you allow the milk to cool to a certain temperature before you use it, so you should check the milk periodically with a thermometer until it reaches this temperature.
Chicken Tortilla Casserole

This is a simple chicken casserole recipe that is great for using up leftover chicken. In these pictures it looks a bit runny – and it was – but still had great flavor! I didn’t put enough chicken in it, but I have adjusted the ingredients listed. Also, the ingredients listed are for the full recipe, pictures only show half the recipe.
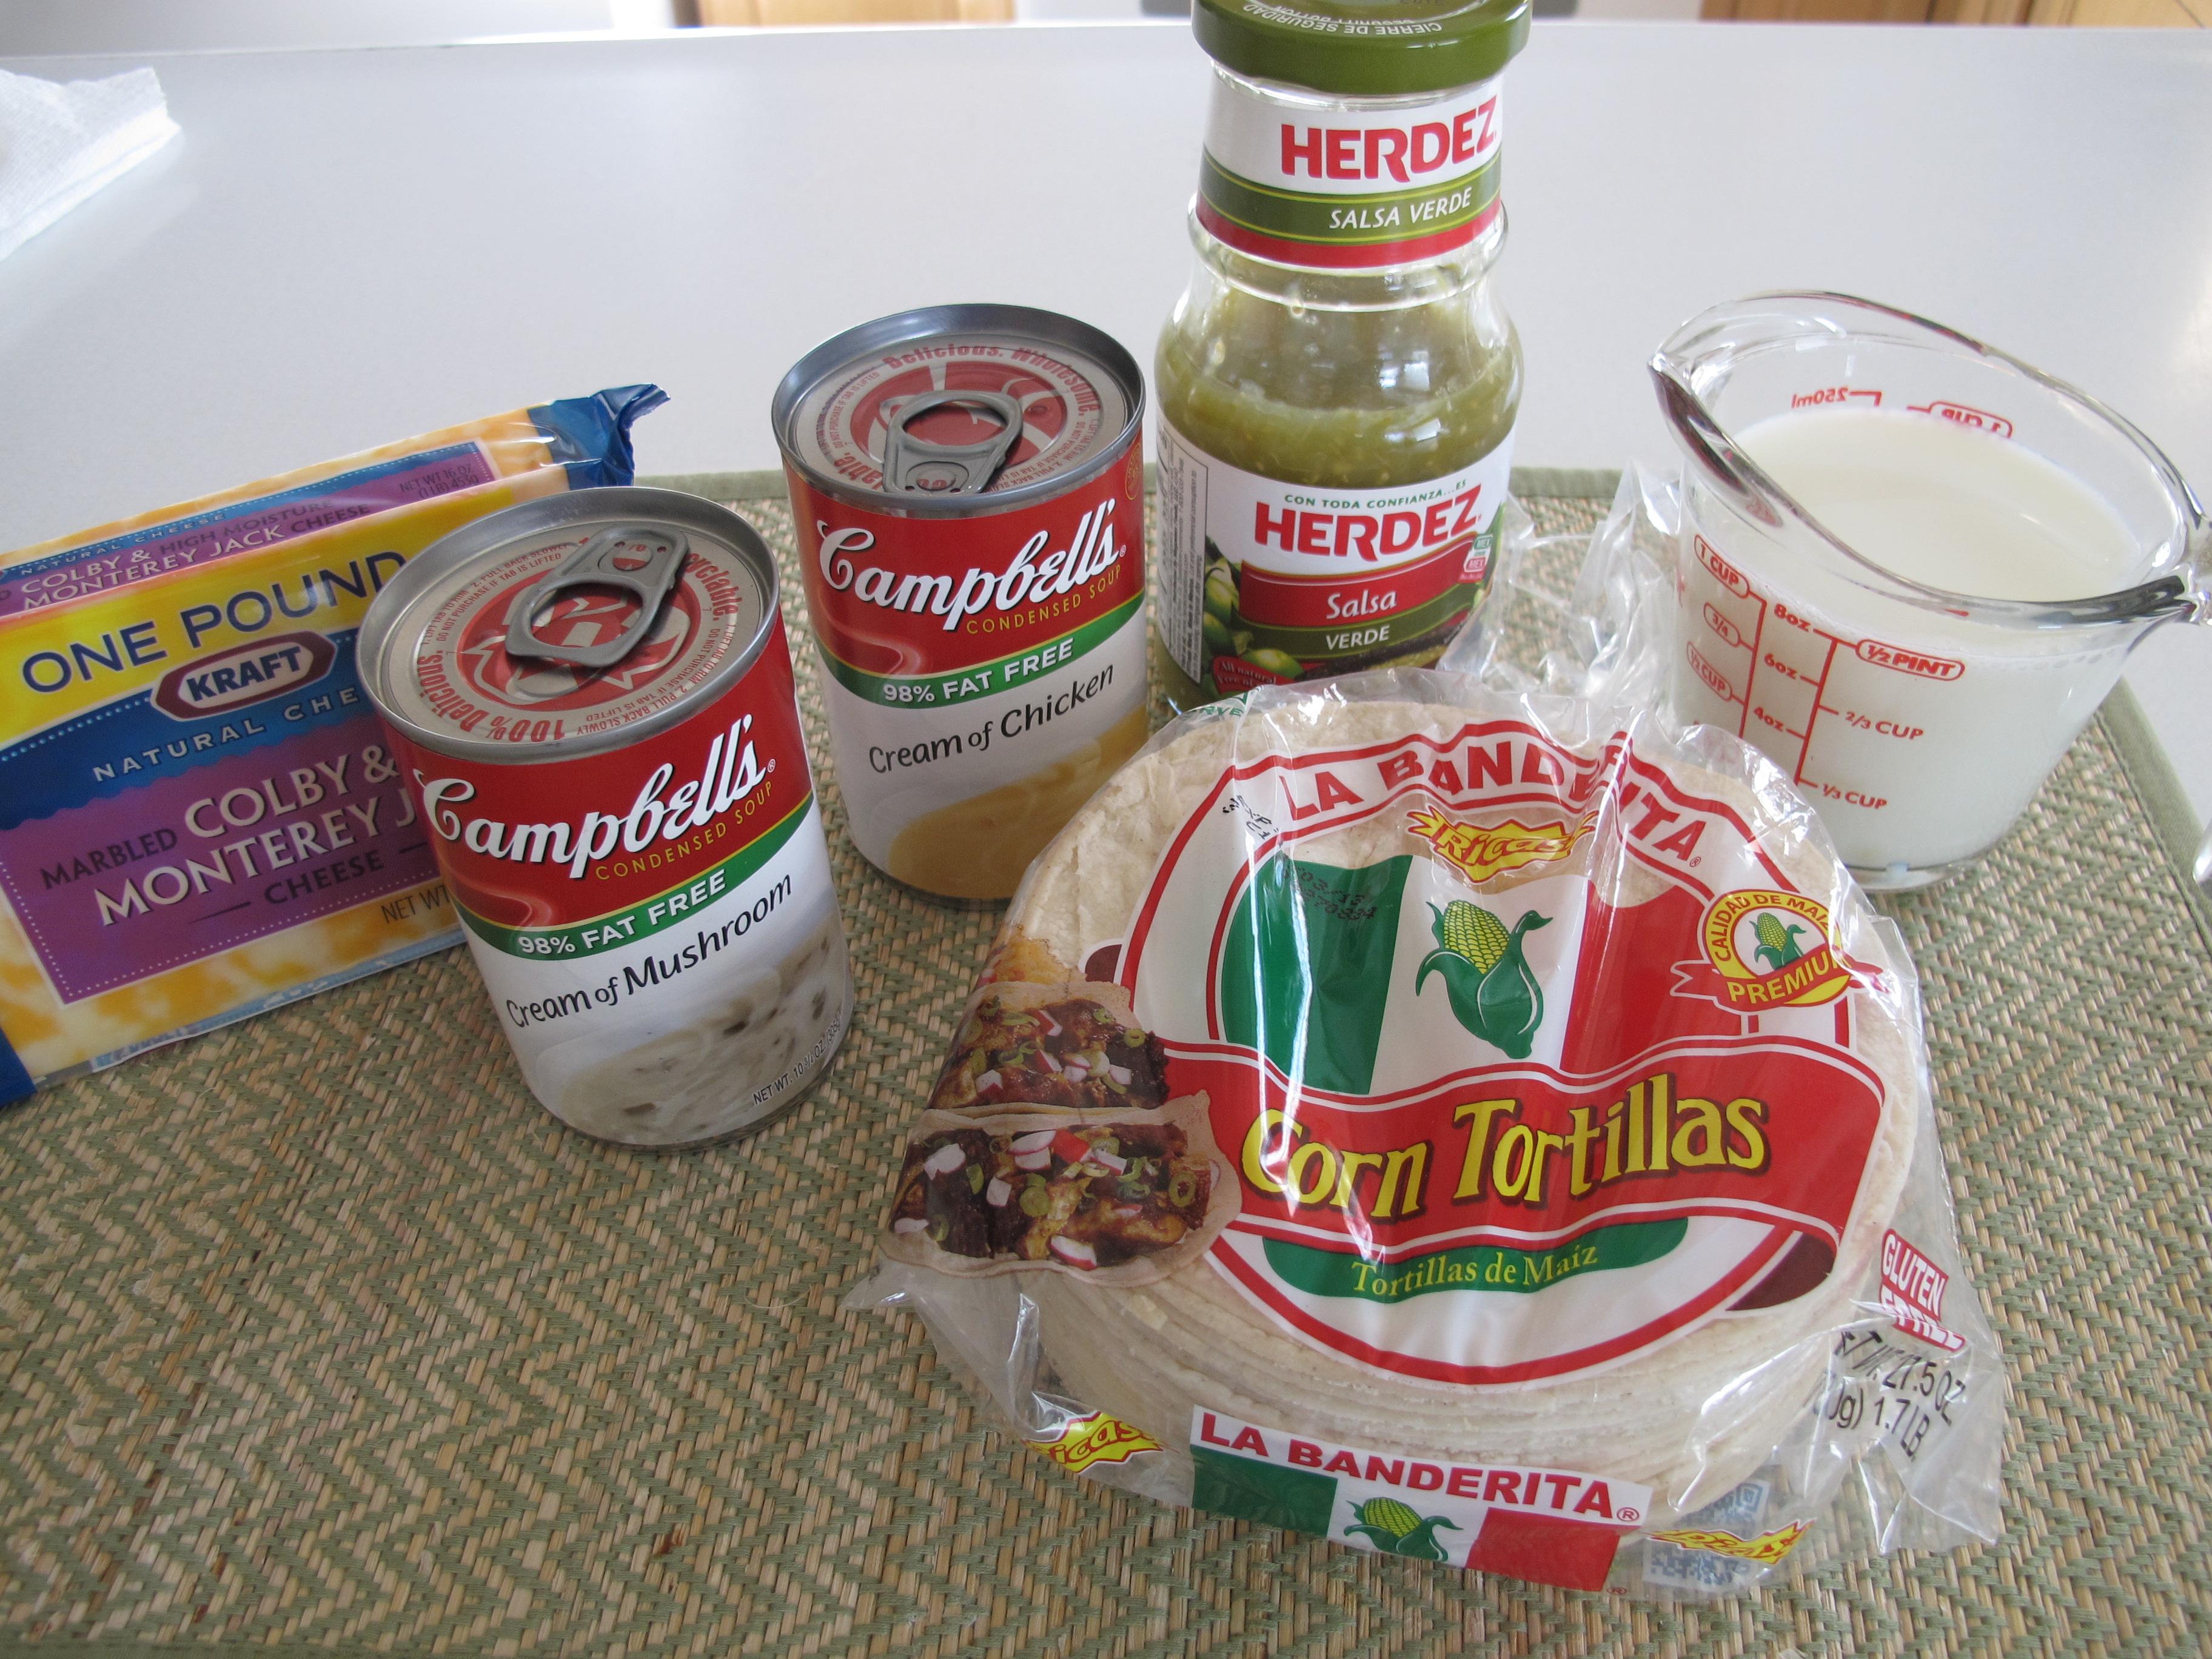
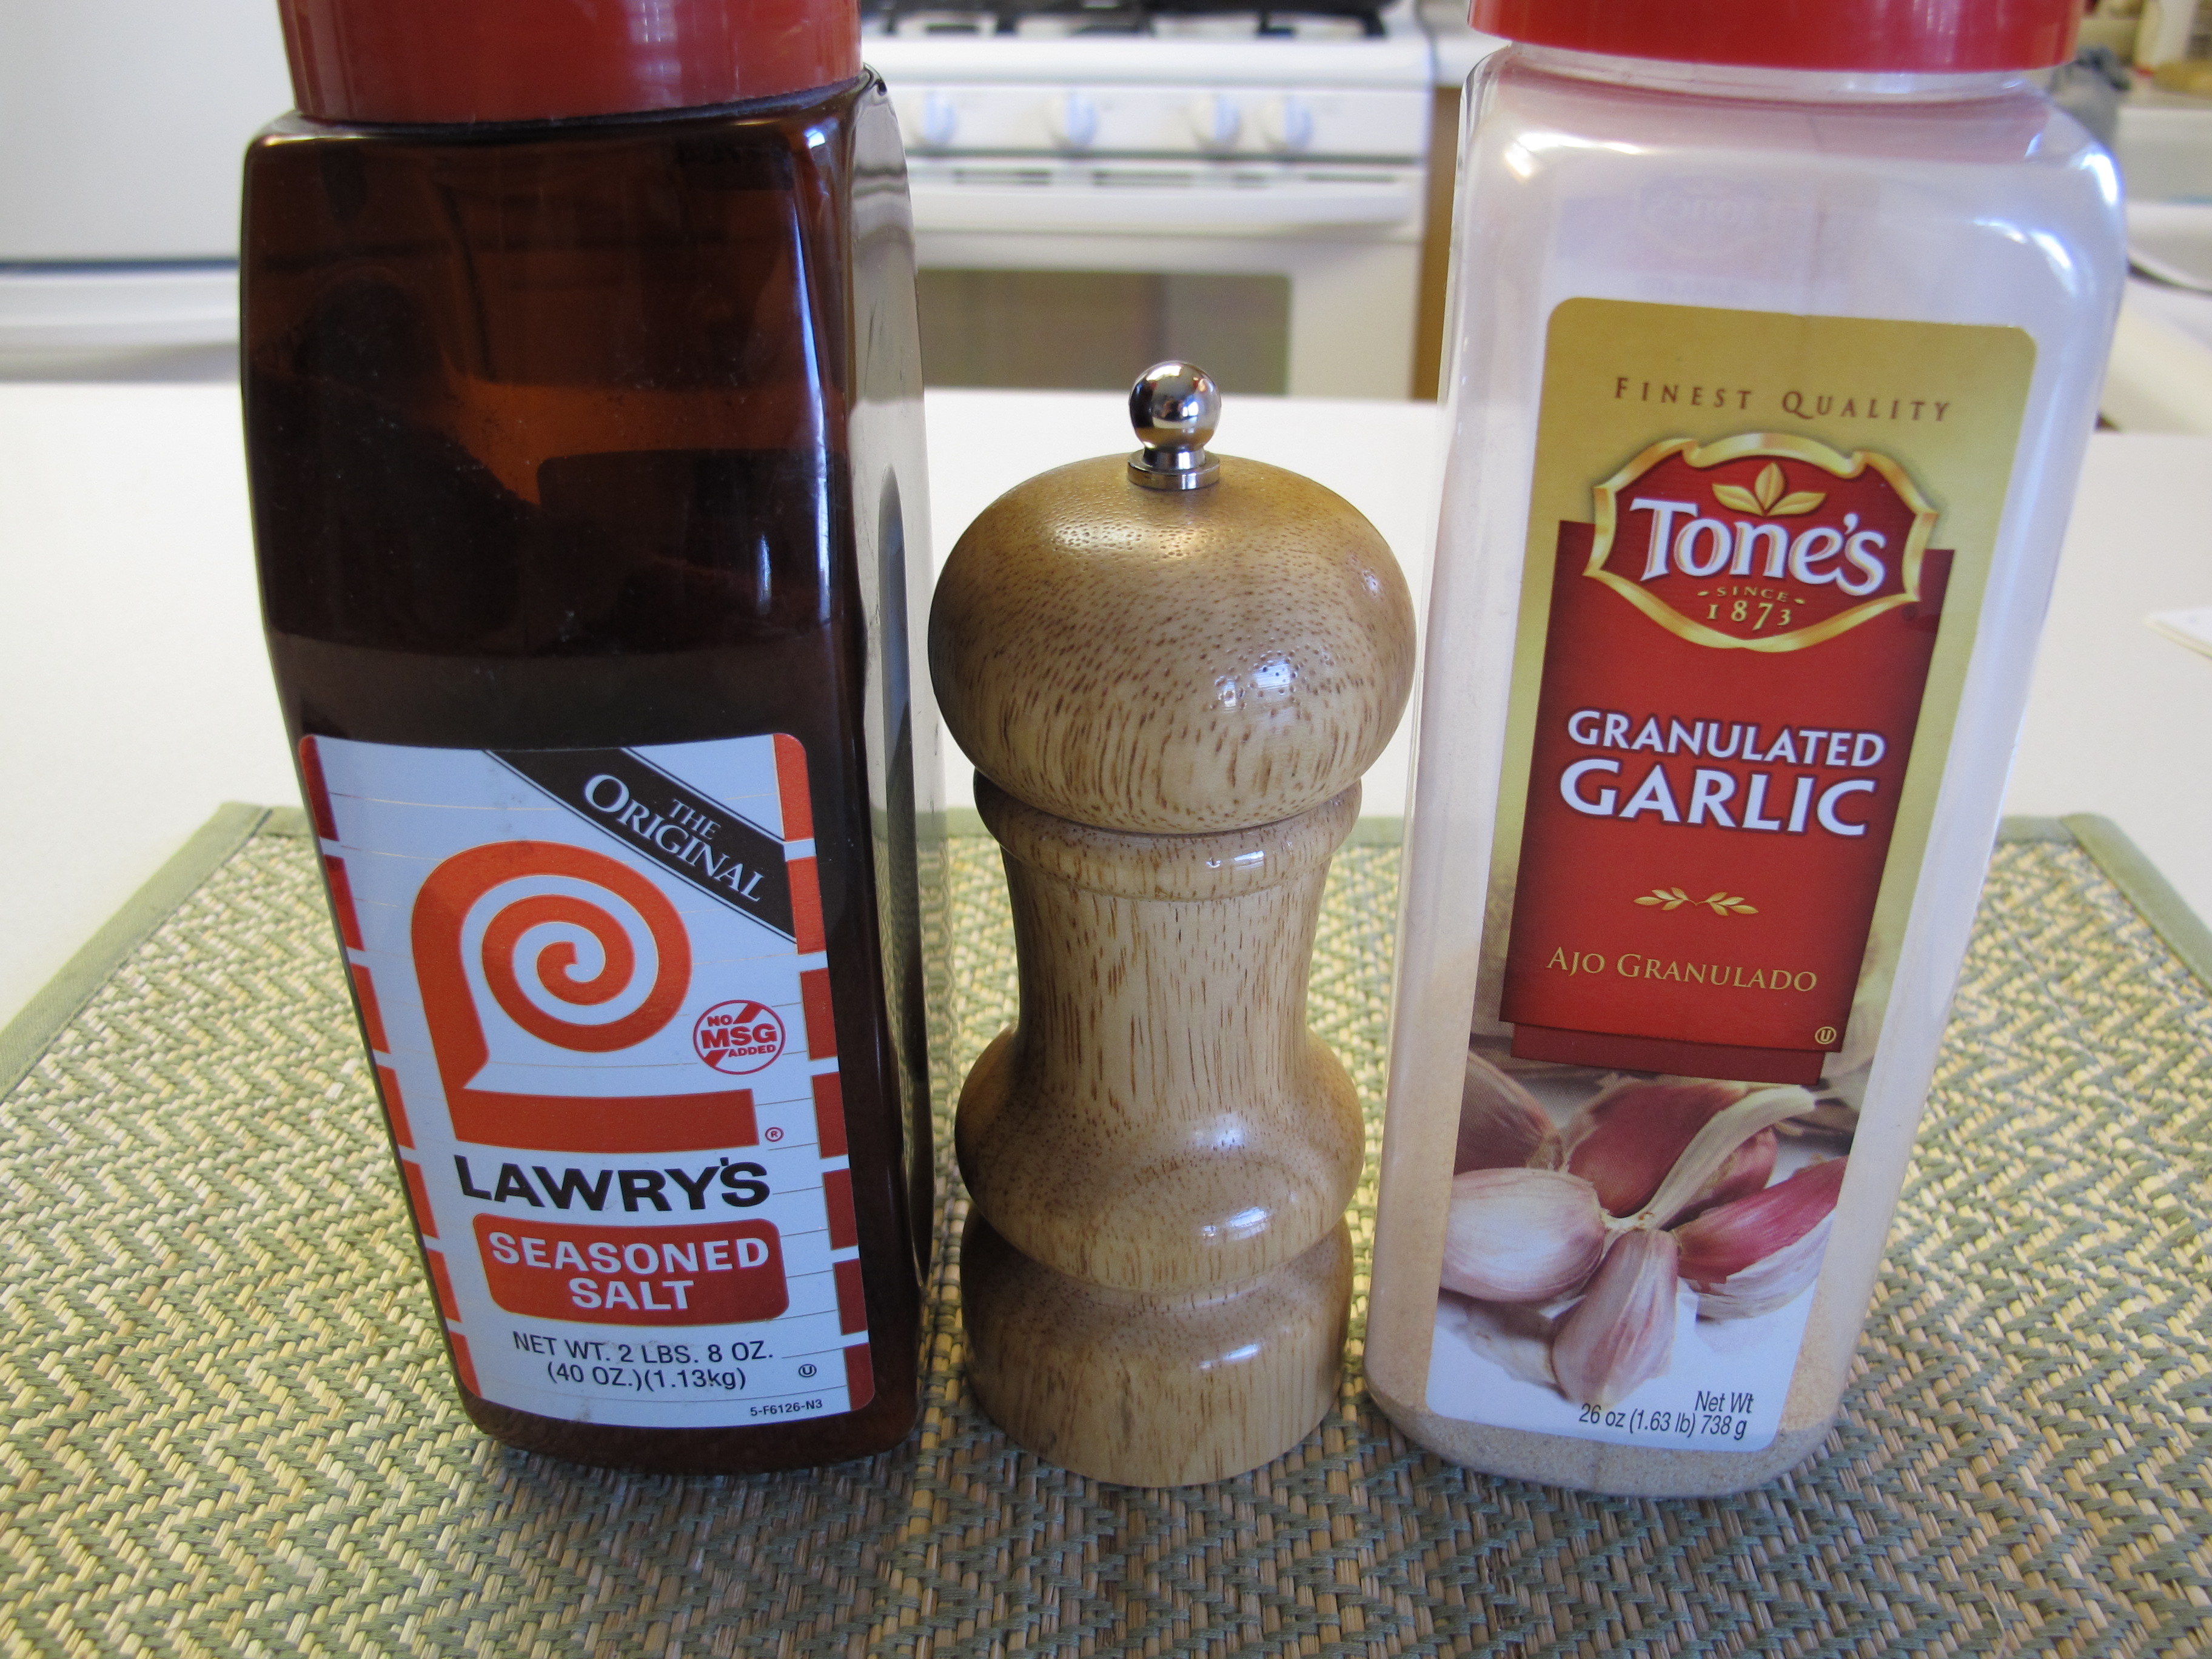
1 (10 3/4 oz.) can 98% fat-free cream of mushroom soup
1 (10 3/4 oz.) can 98% fat-free cream of chicken soup
1 cup milk
7 oz. green chili salsa
1/2 tsp. seasoned salt
1/2 tsp. garlic granules
1/4 tsp. pepper
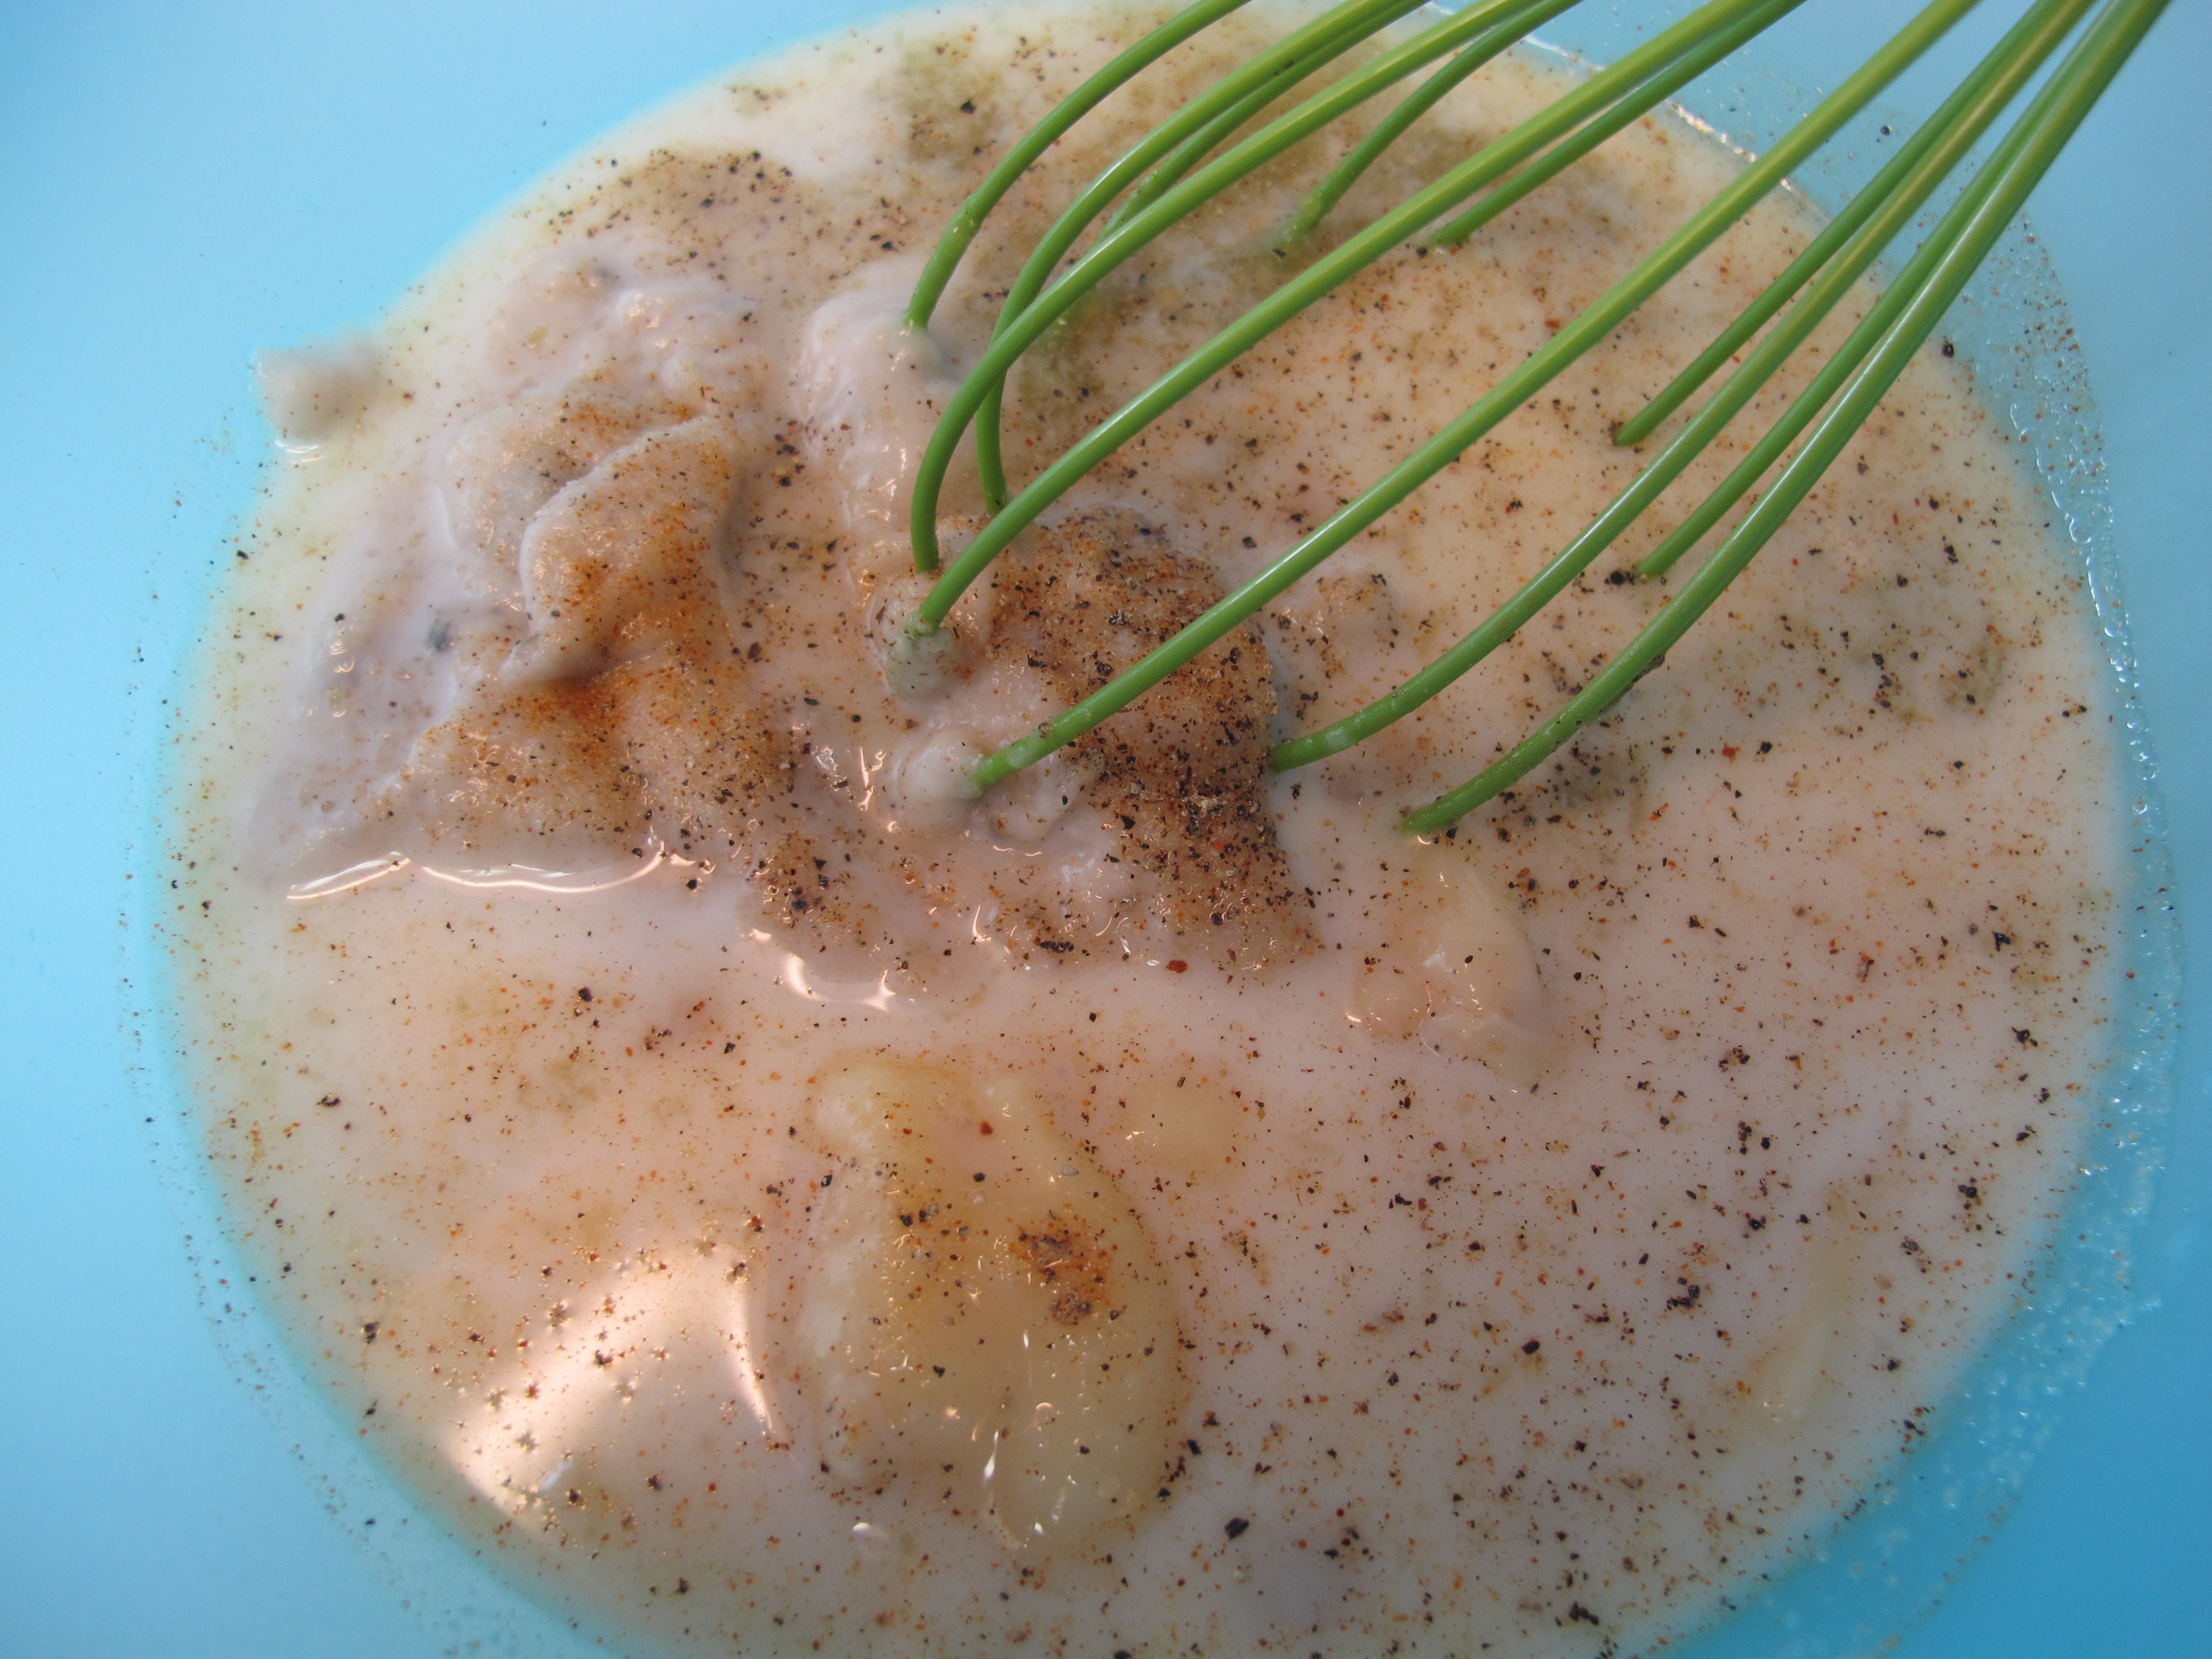
Blend soups, milk, green chili salsa and seasonings together.
½ pound cheese, grated
6 chicken breasts (about 8 cups), cooked and cut into bite size pieces
Add chicken and grated cheese. Save a little bit of cheese to put on the top.

8 corn tortillas, cut into 1” squares
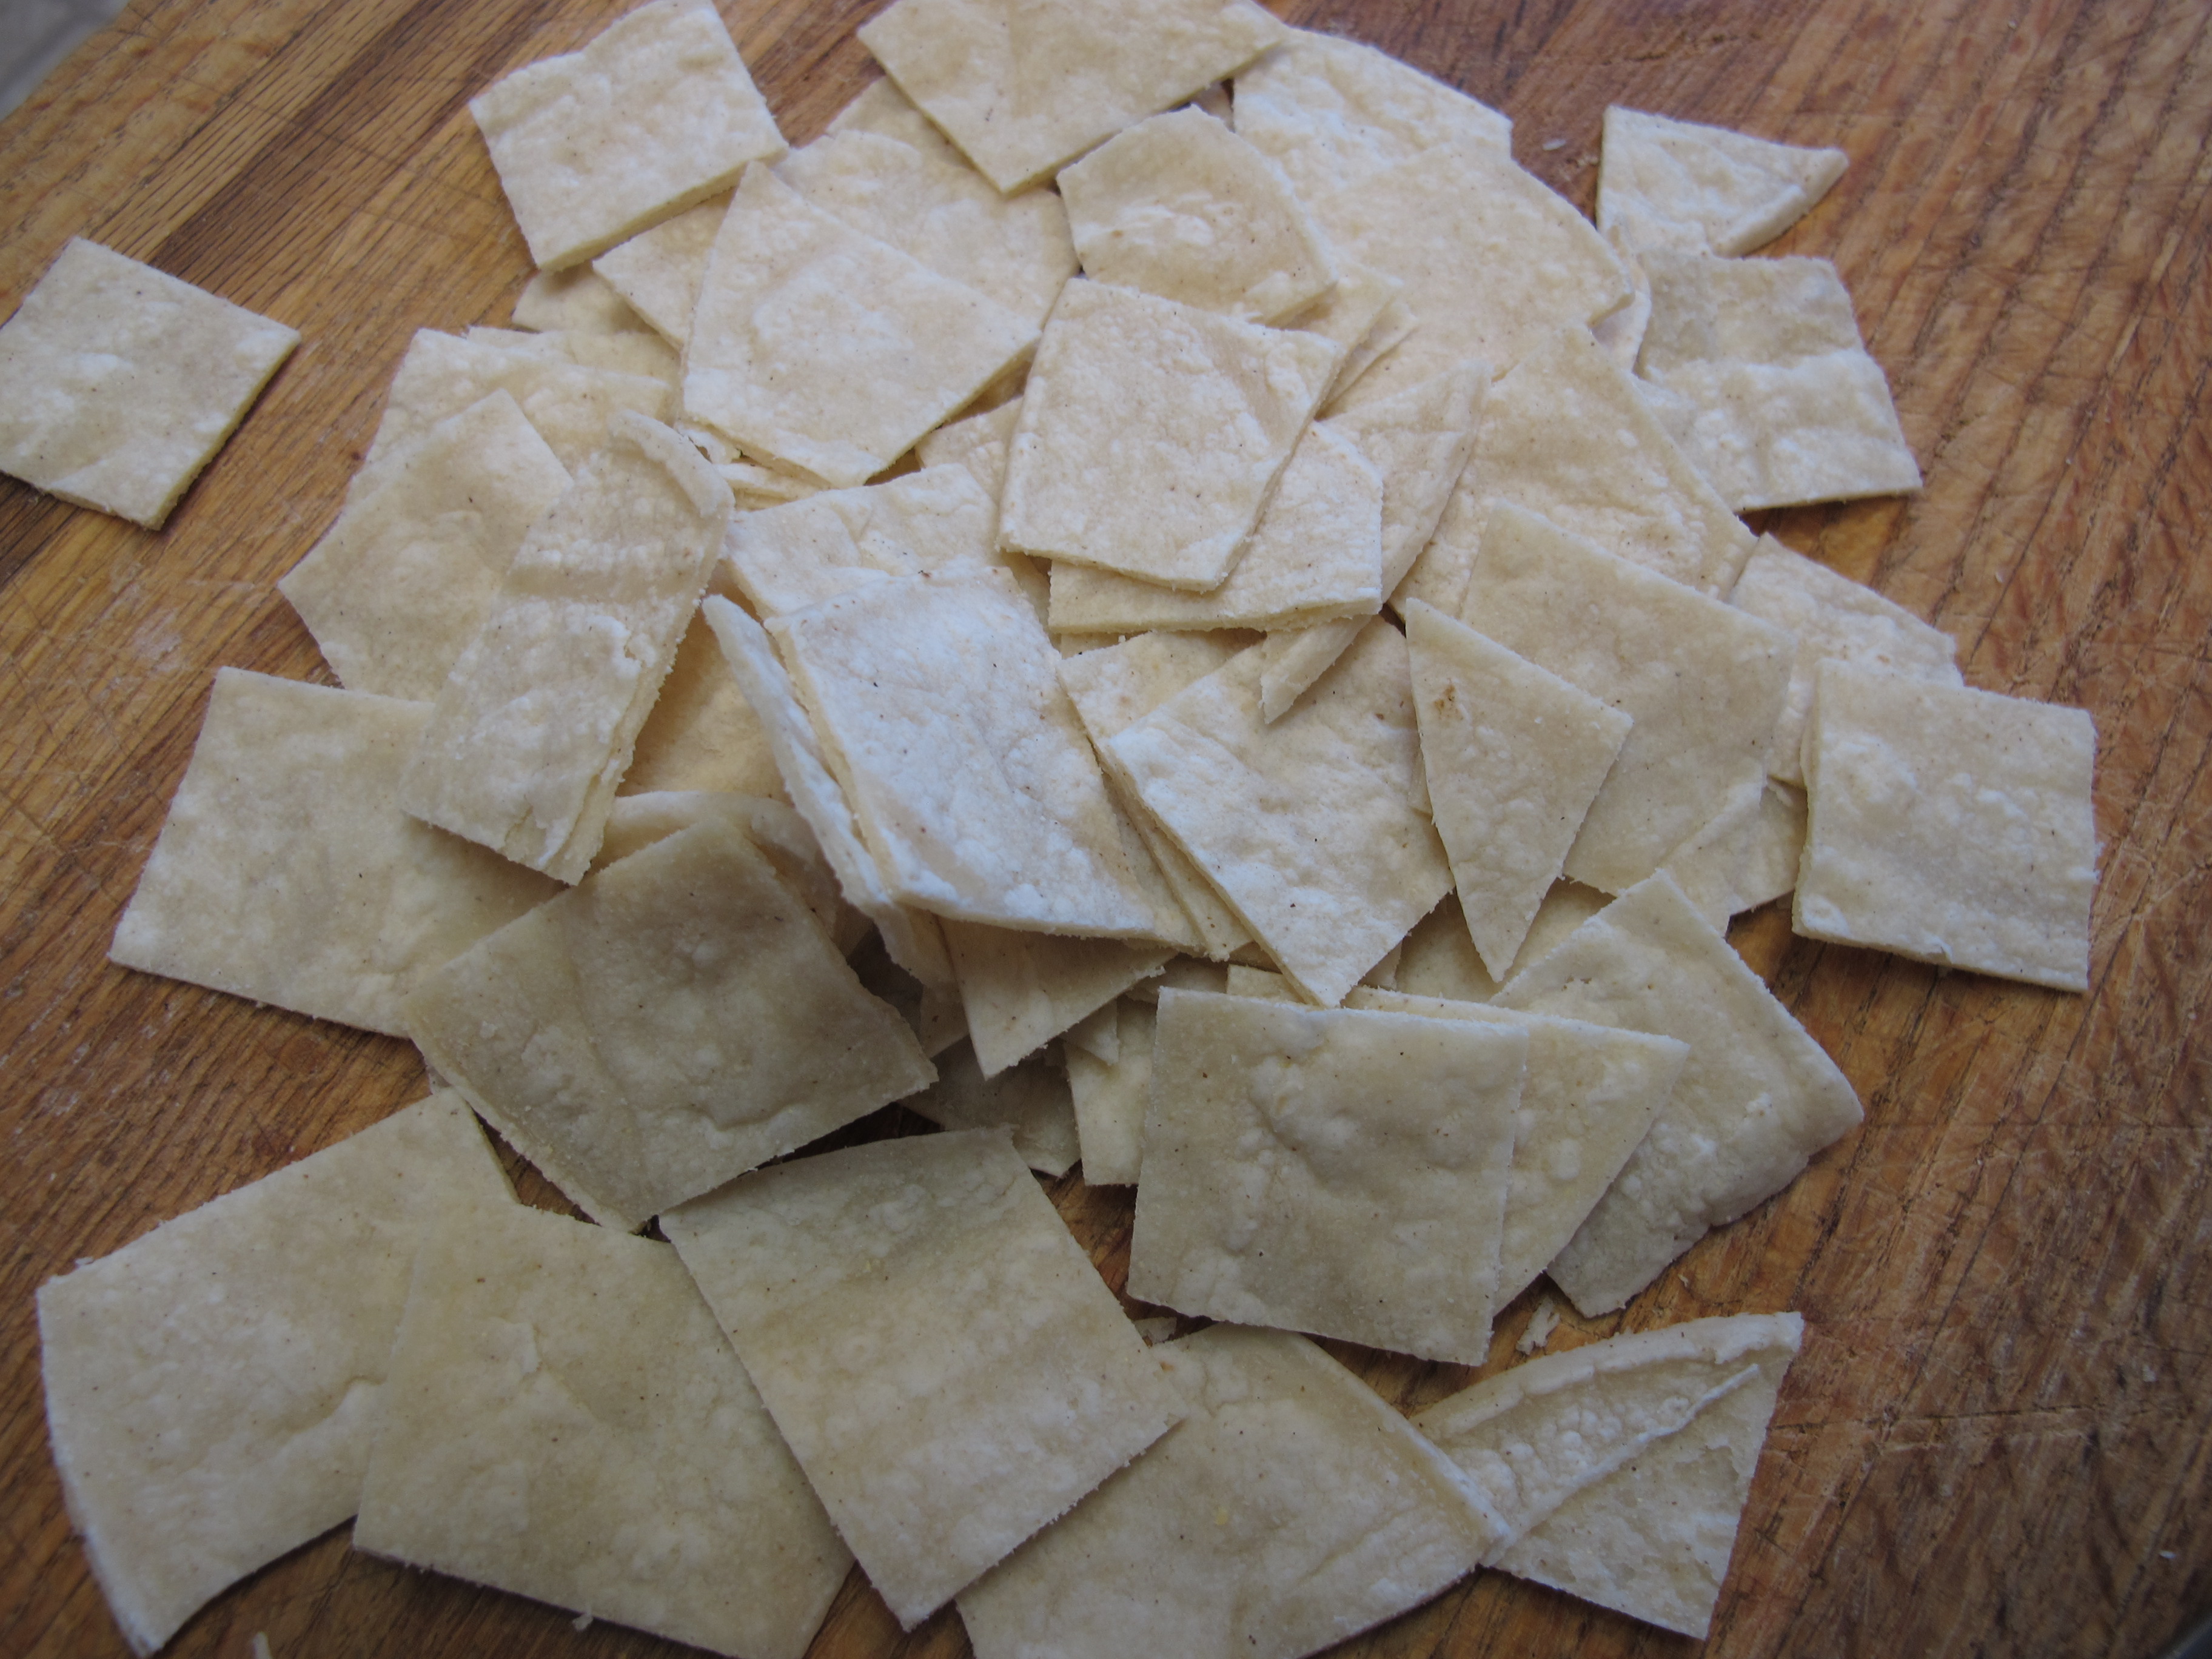
Spray a 3 qt. casserole dish. Alternate layers of tortillas and then the chicken mixture – about 3 layers. Top with cheese.


Cover with foil and bake 45 mins. at 300 degrees.
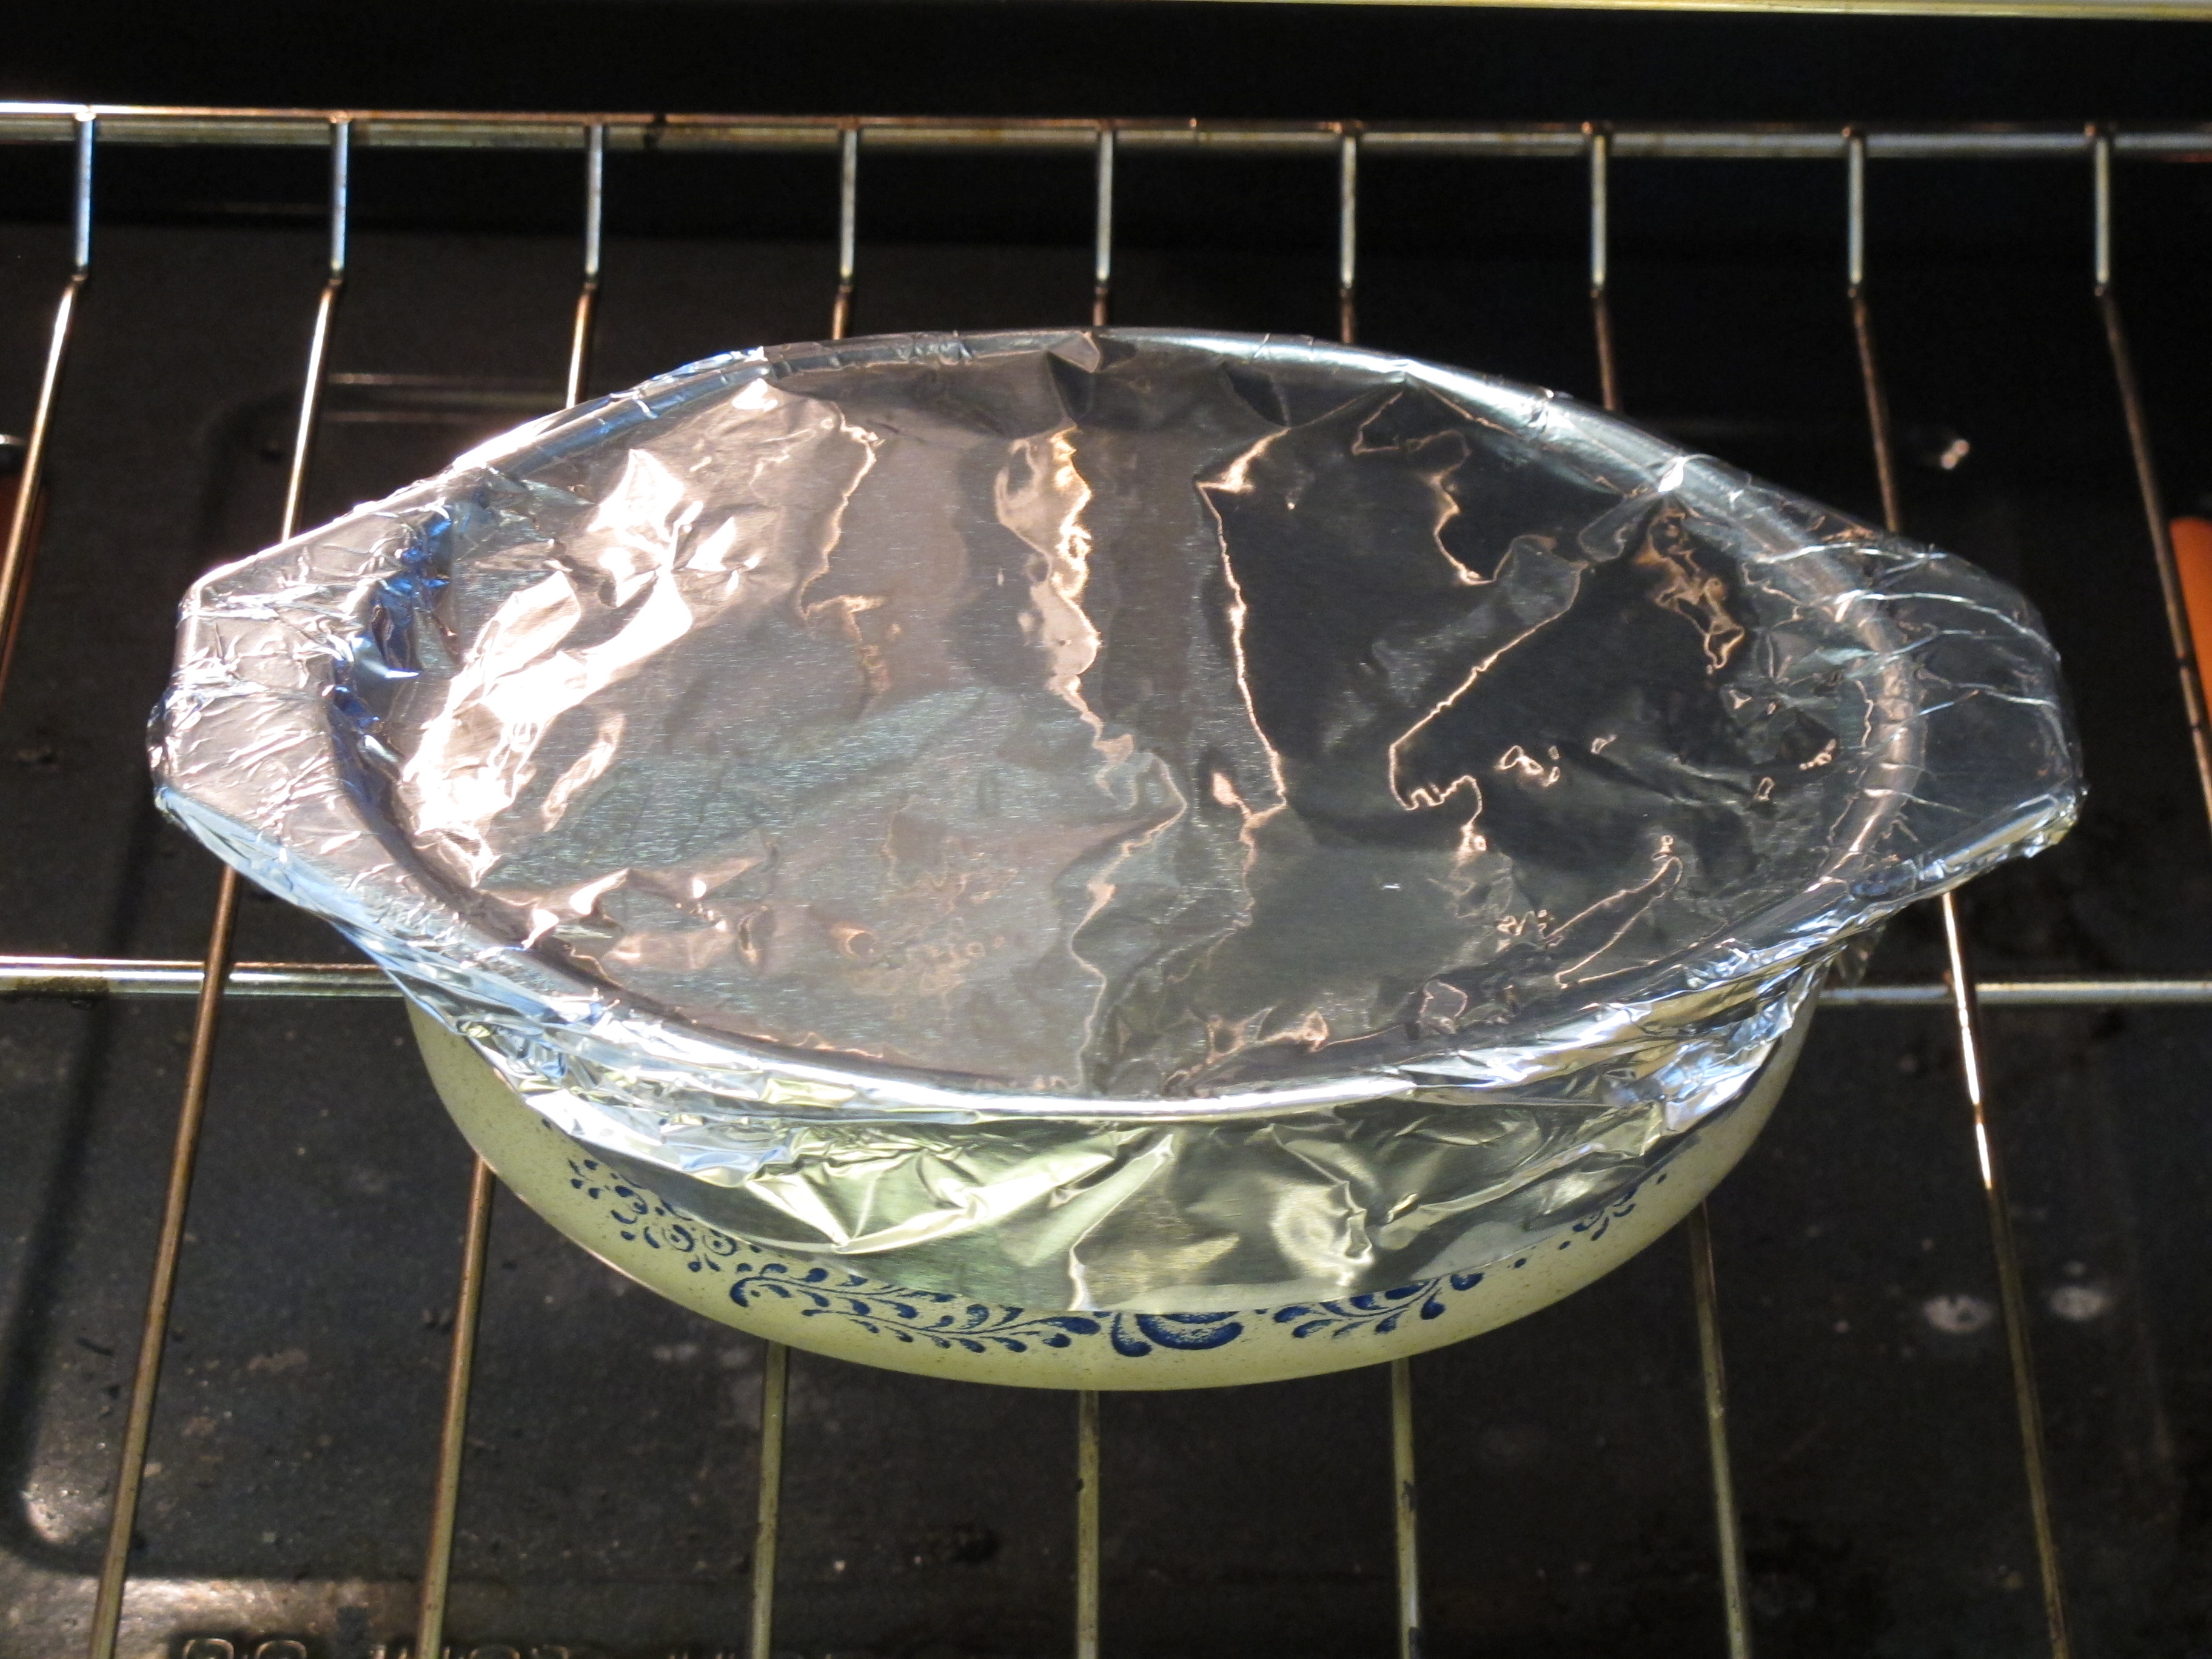
Remove foil and bake an additional 15 minutes.
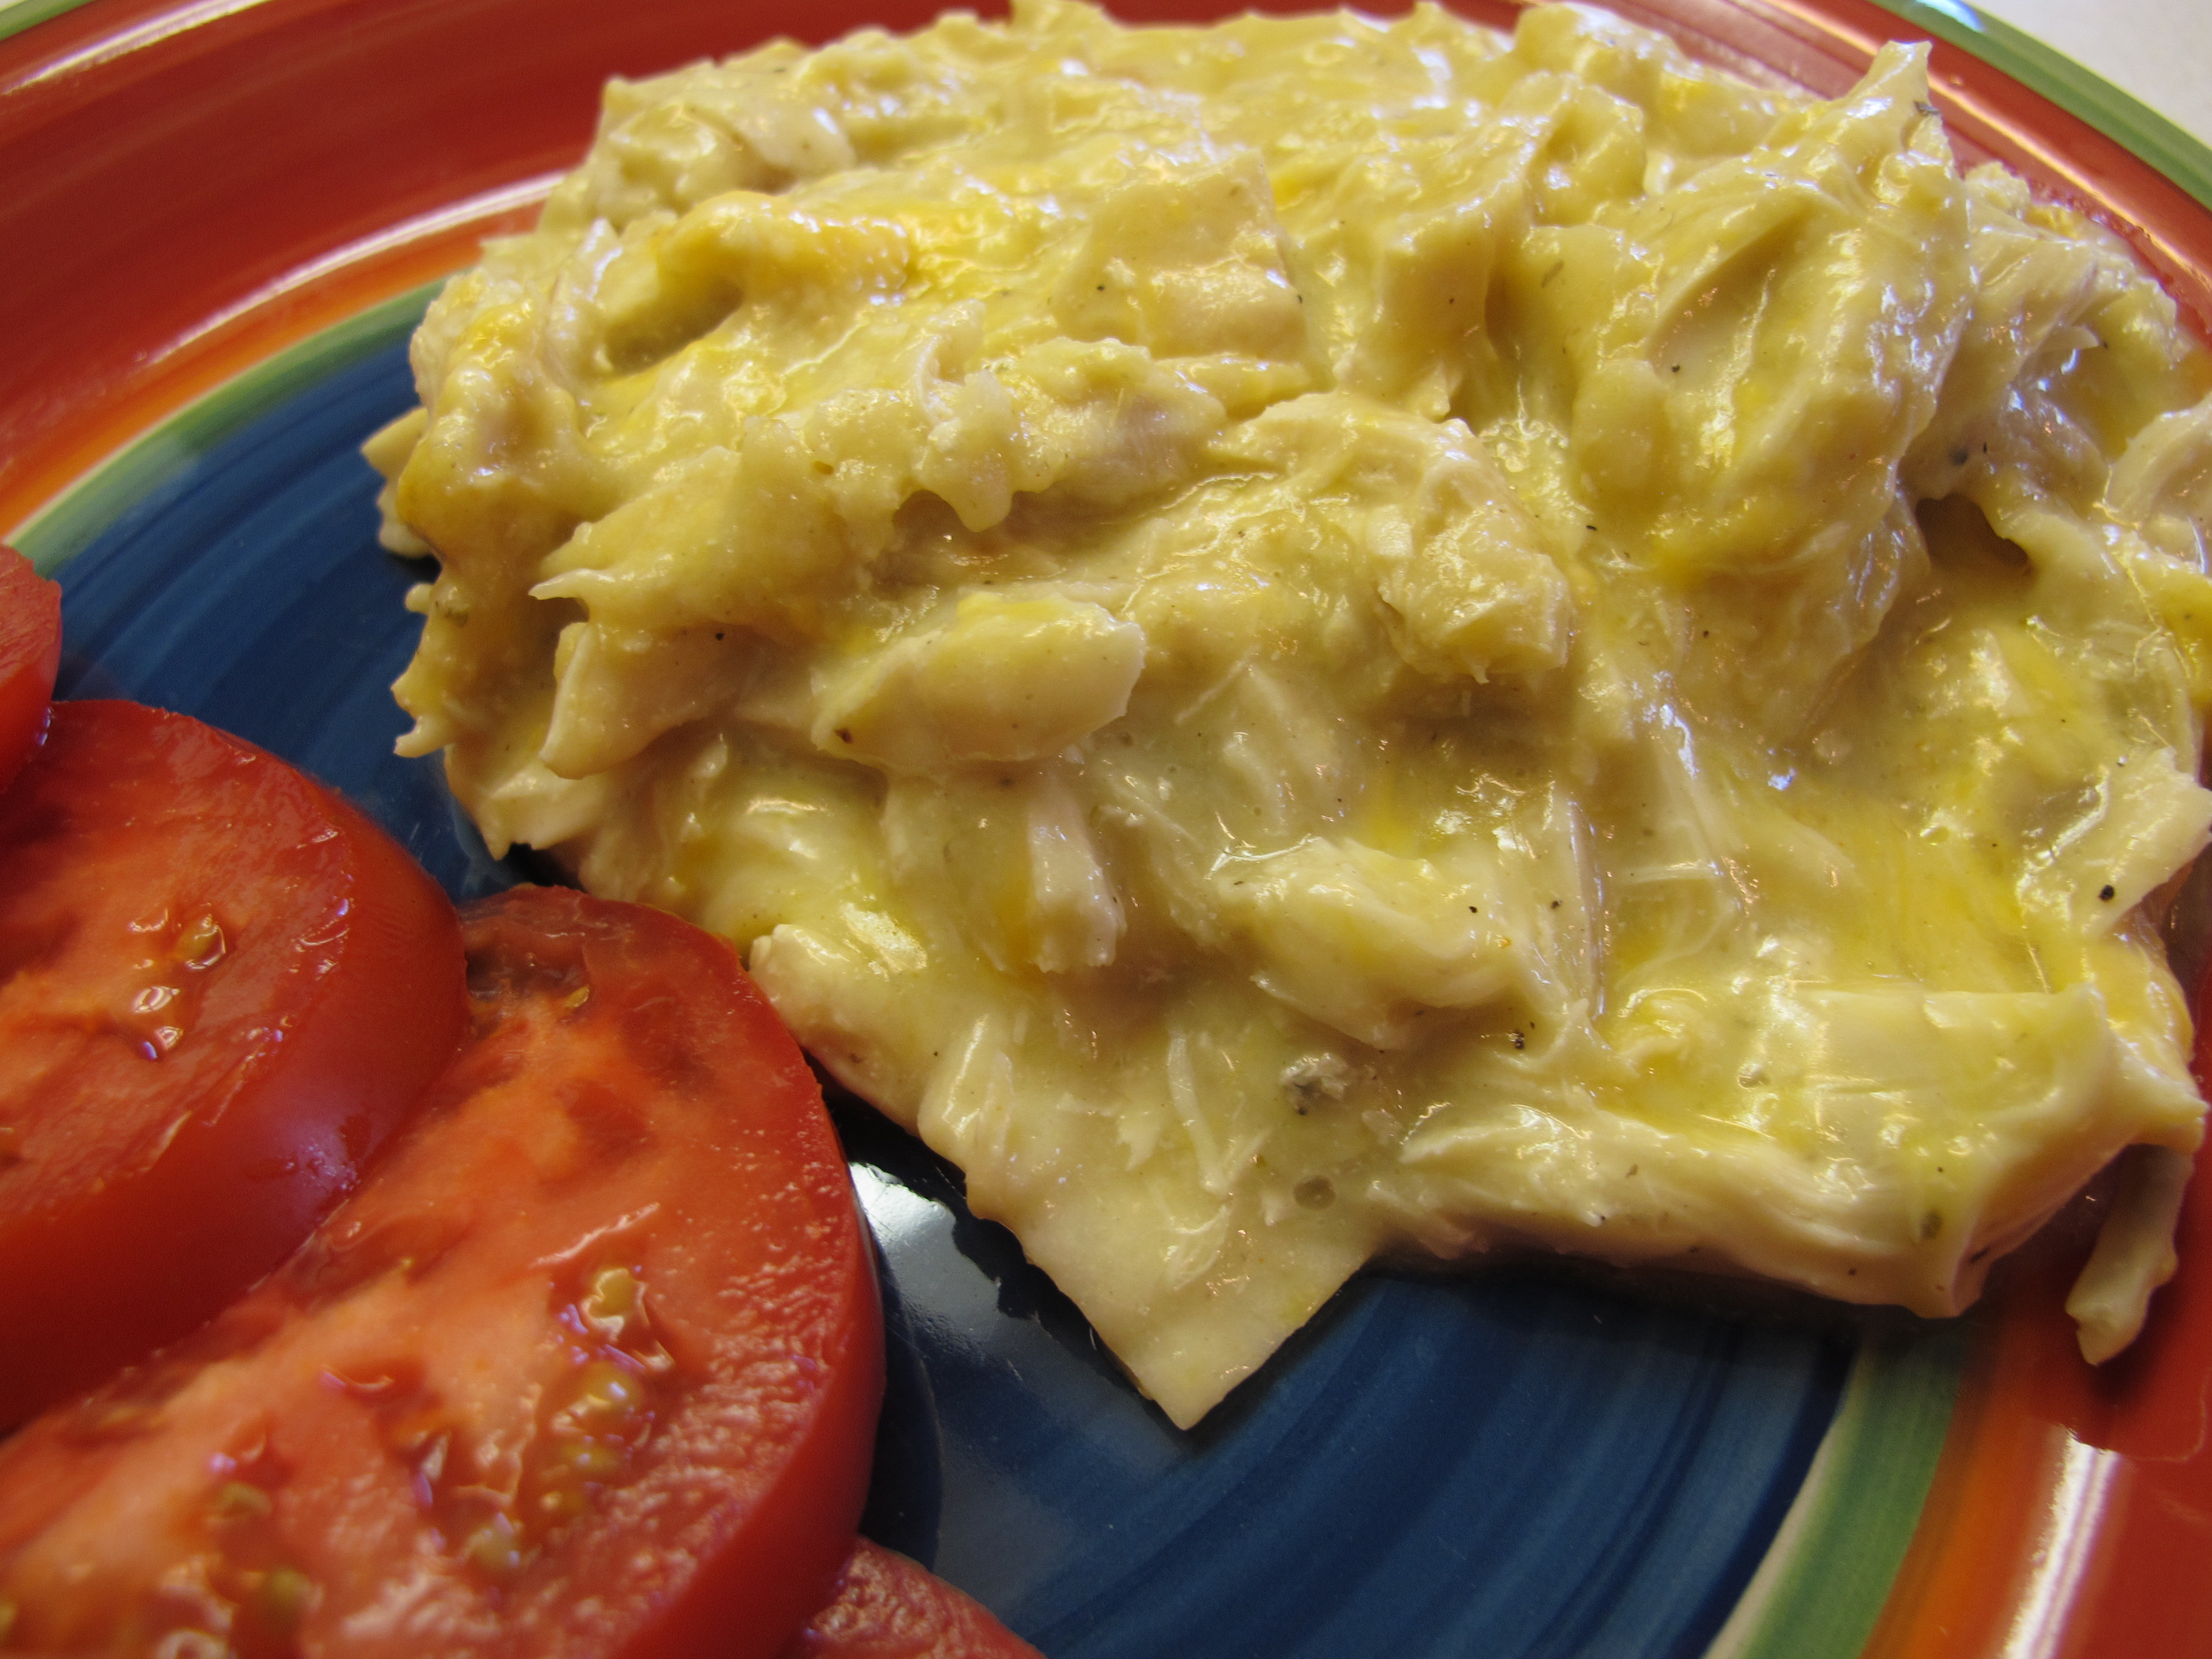
Makes 6 servings
Weight Watchers: 9 PointsPlus per serving
FULL RECIPE WITHOUT PICTURES —
CHICKEN TORTILLA CASSEROLE
1 (10 3/4 oz.) can 98% fat-free cream of mushroom soup
1 (10 3/4 oz.) can 98% fat-free cream of chicken soup
1 cup milk
7 oz. green chili salsa
½ pound cheese, grated
6 chicken breasts (about 8 cups), cooked and cut into bite size pieces
8 corn tortillas, cut into 1” squares
Blend soups, milk and chili salsa together.
Add chicken and grated cheese. Save a little bit of cheese to put on the top.
Spray a 3 qt. casserole dish. Alternate layers of tortillas and then the chicken mixture – about 3 layers. Top with cheese.
Cover with foil and bake 45 mins. at 300 degrees.
Remove foil and bake an additional 15 minutes.
Makes 6 servings
Cheese Tortellini Soup


NOTE: 3 cans of soup are shown in the picture – only use 2)
1 lb. ground turkey sausage
Brown the sausage.

Add the following to a large crock pot:
2 – 14.5 cans chicken broth
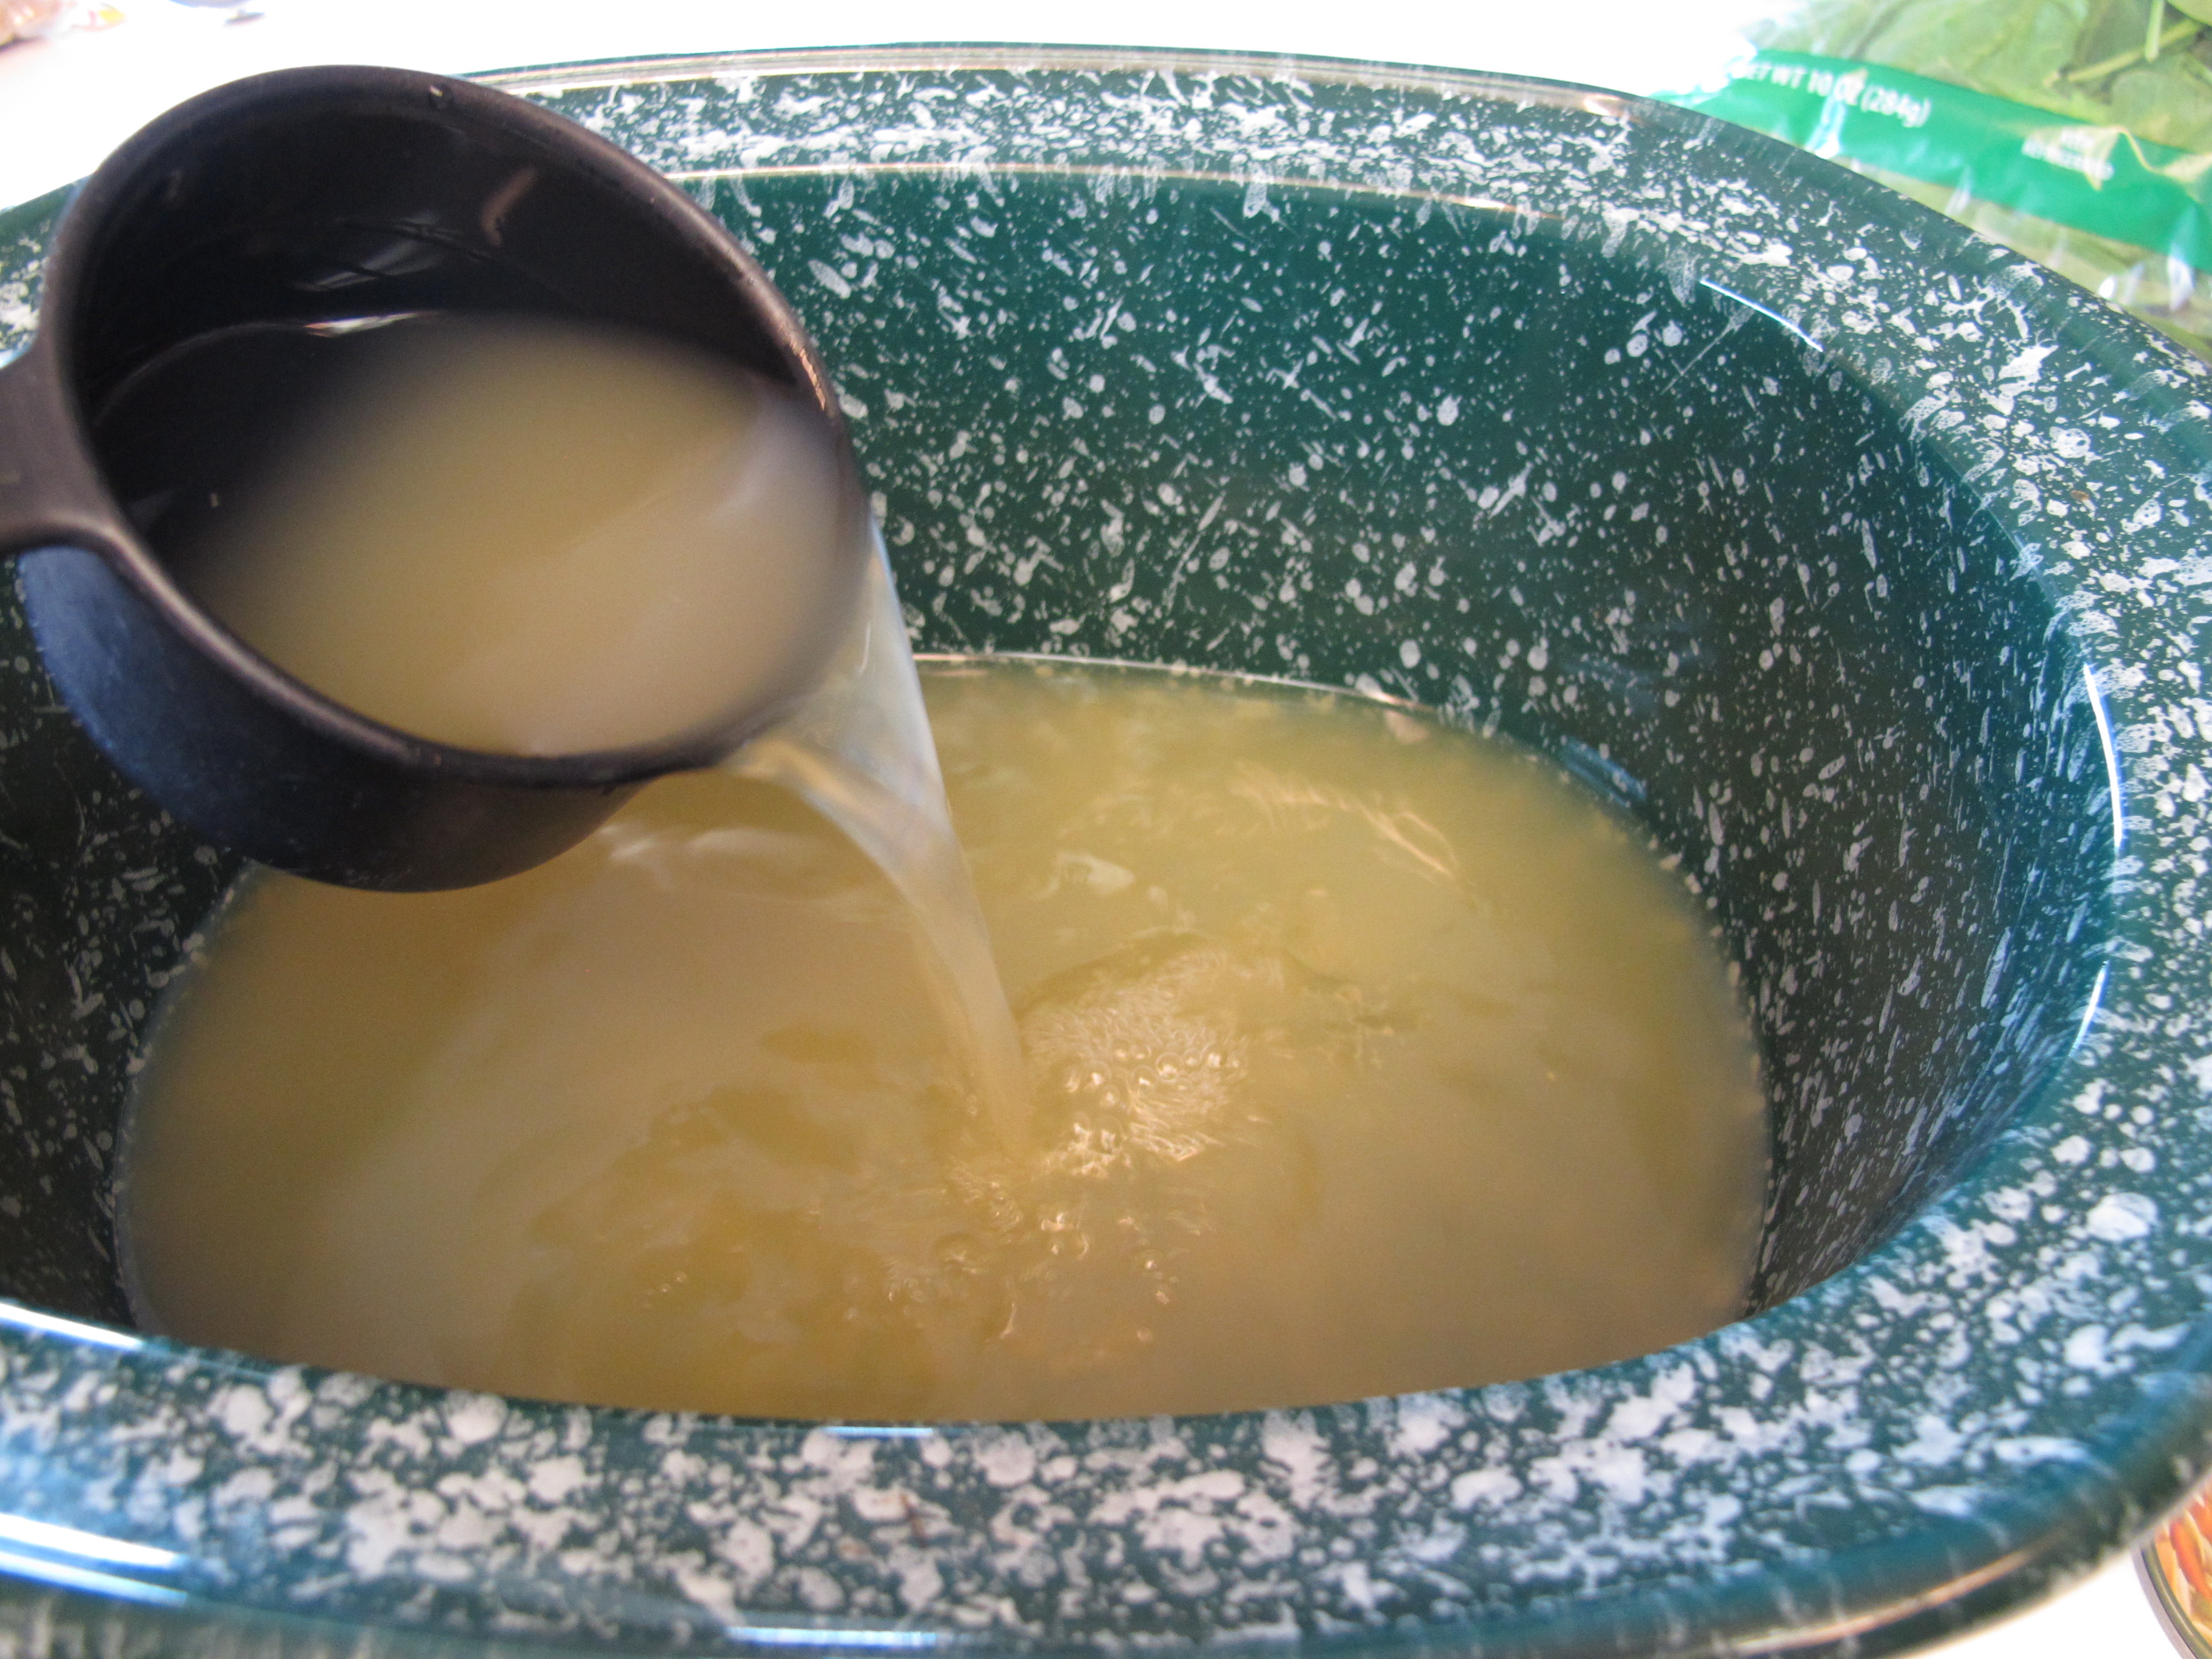
2 – 14.5 cans Italian stewed tomatoes, drained
DO NOT use store brand tomatoes (as you see in the picture). They are chopped way too small and are too much of a “tomato sauce” consistency. I now buy a name brand italian stewed tomato, drain them, and roughly chop them. So much better!
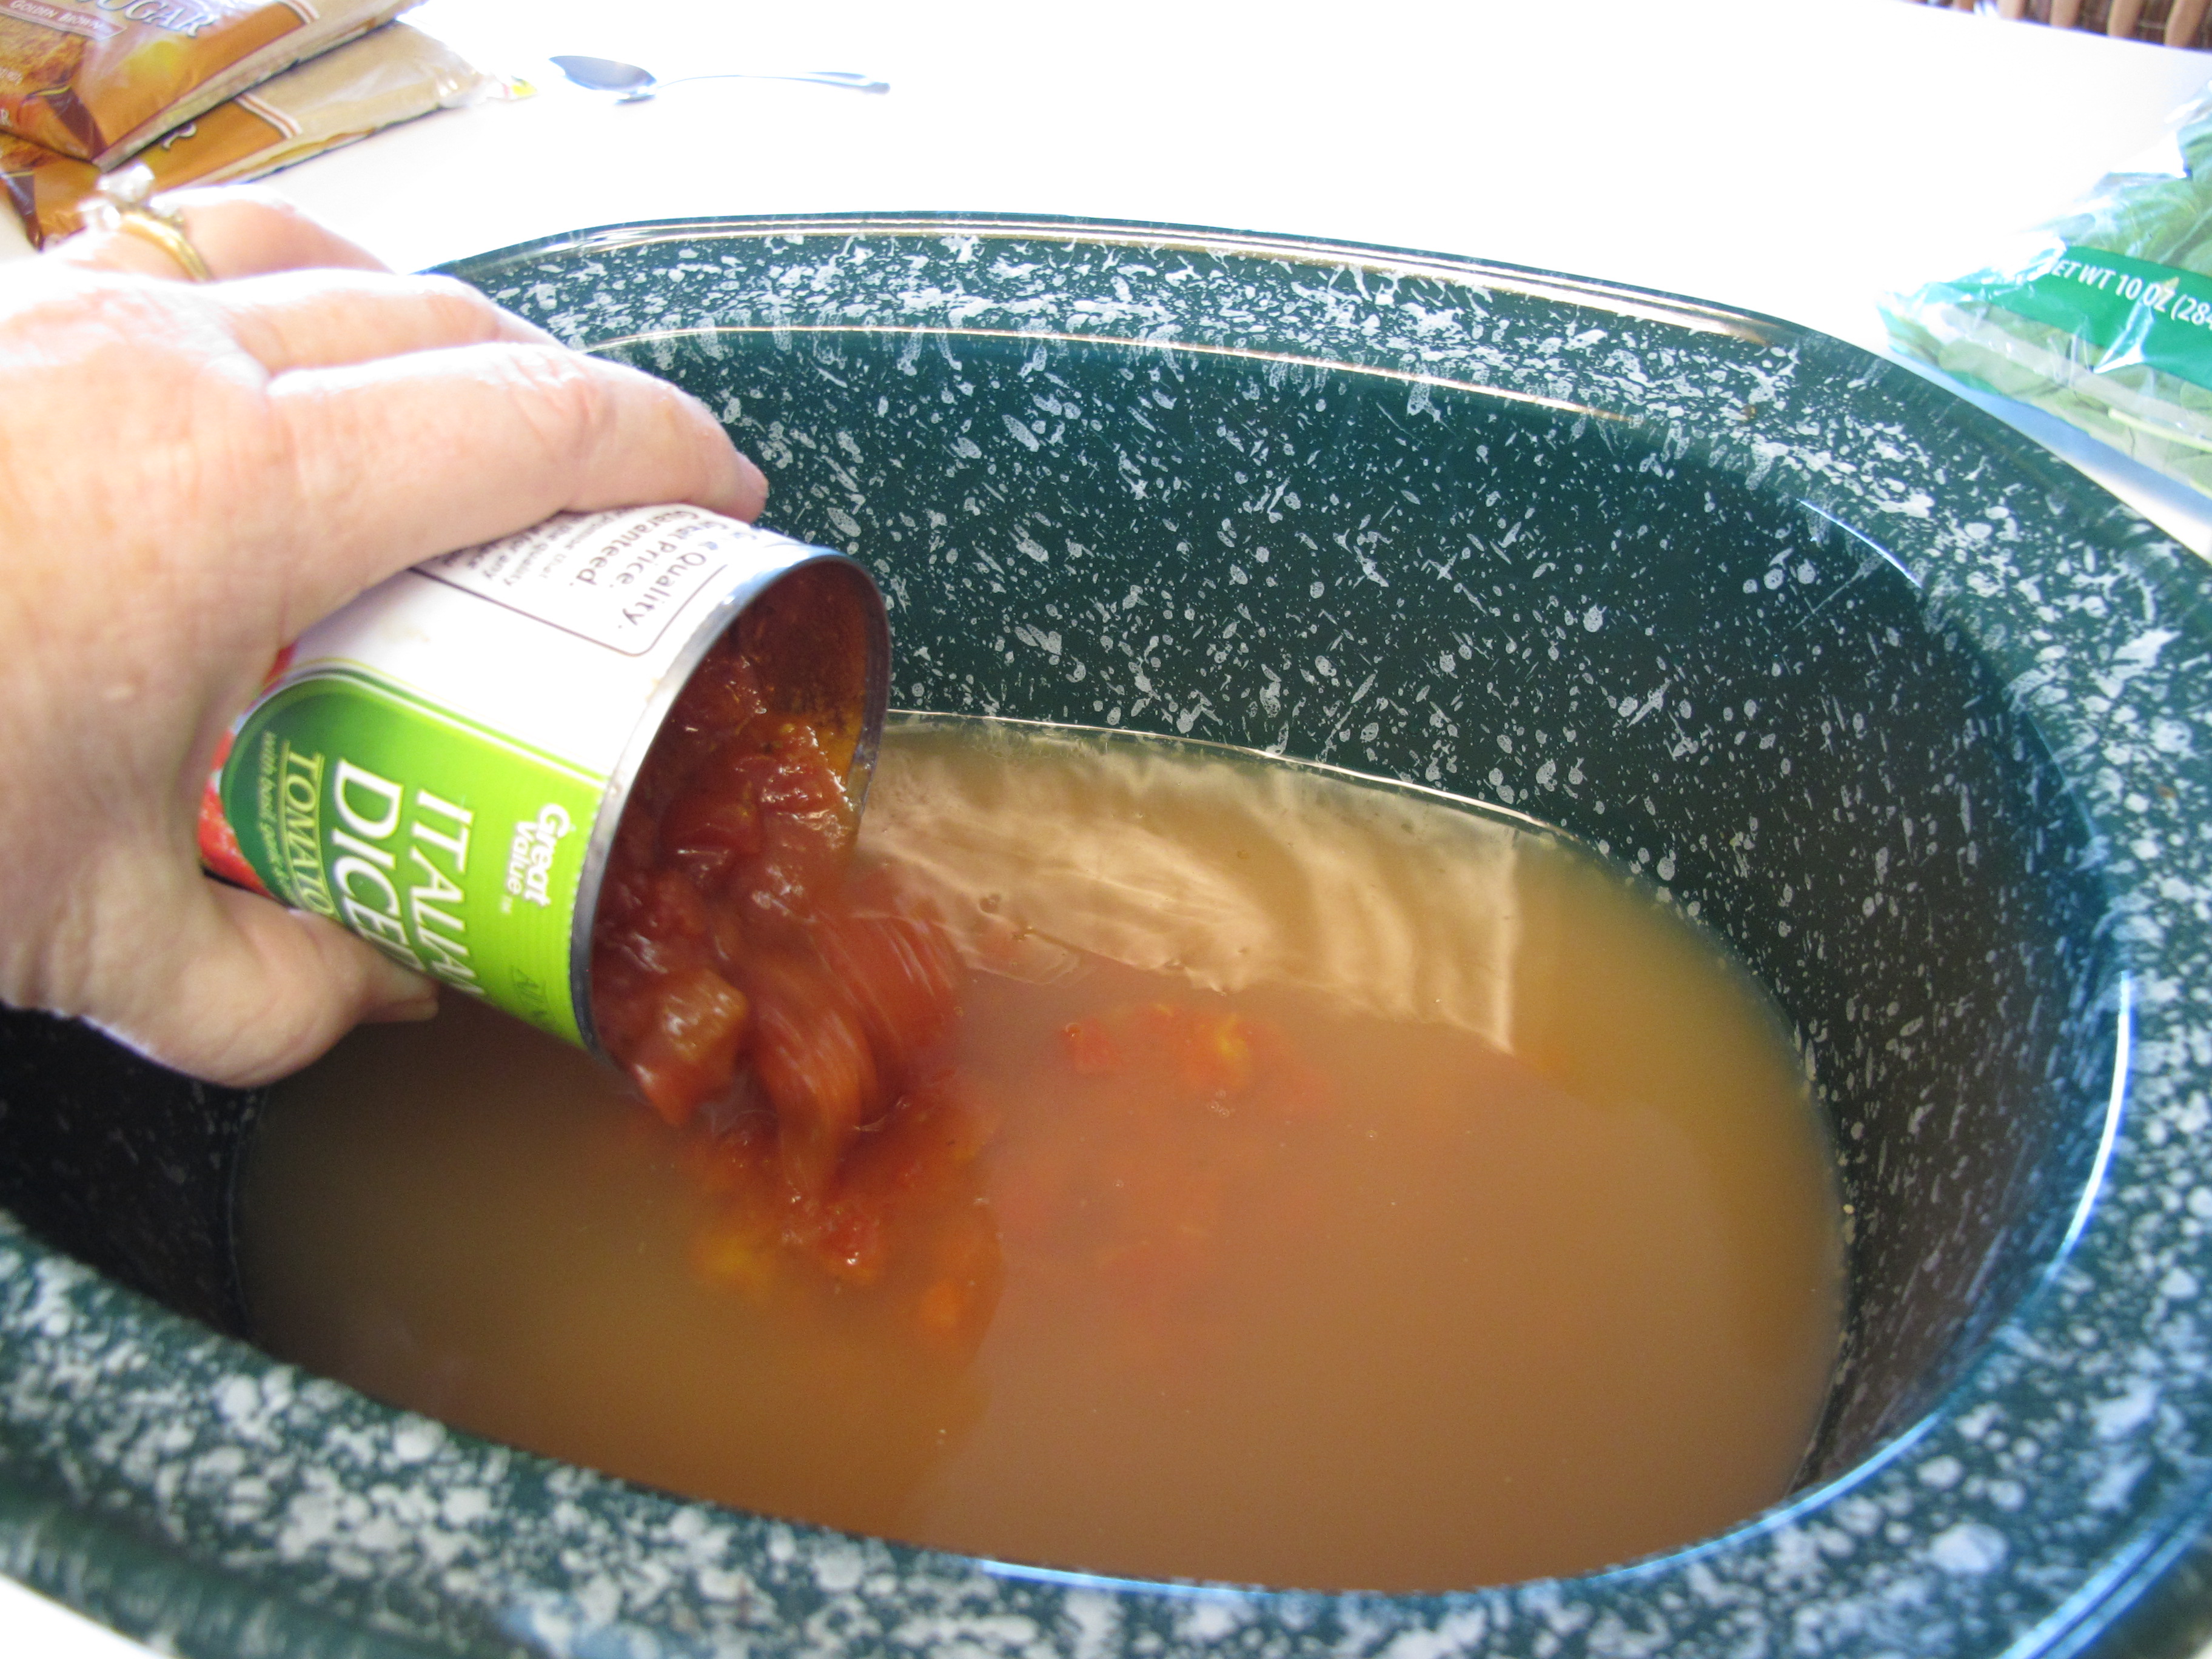
1 – 19 oz. bag of frozen cheese tortellini

6 oz. (approx.) fresh spinach (1 small bag)
If you don’t like bigger pieces of spinach, I give them a rough chop. It looks like a lot of spinach, but it wilts down.

8 oz. block cream cheese or Neufchatel, chunked

Add browned sausage.
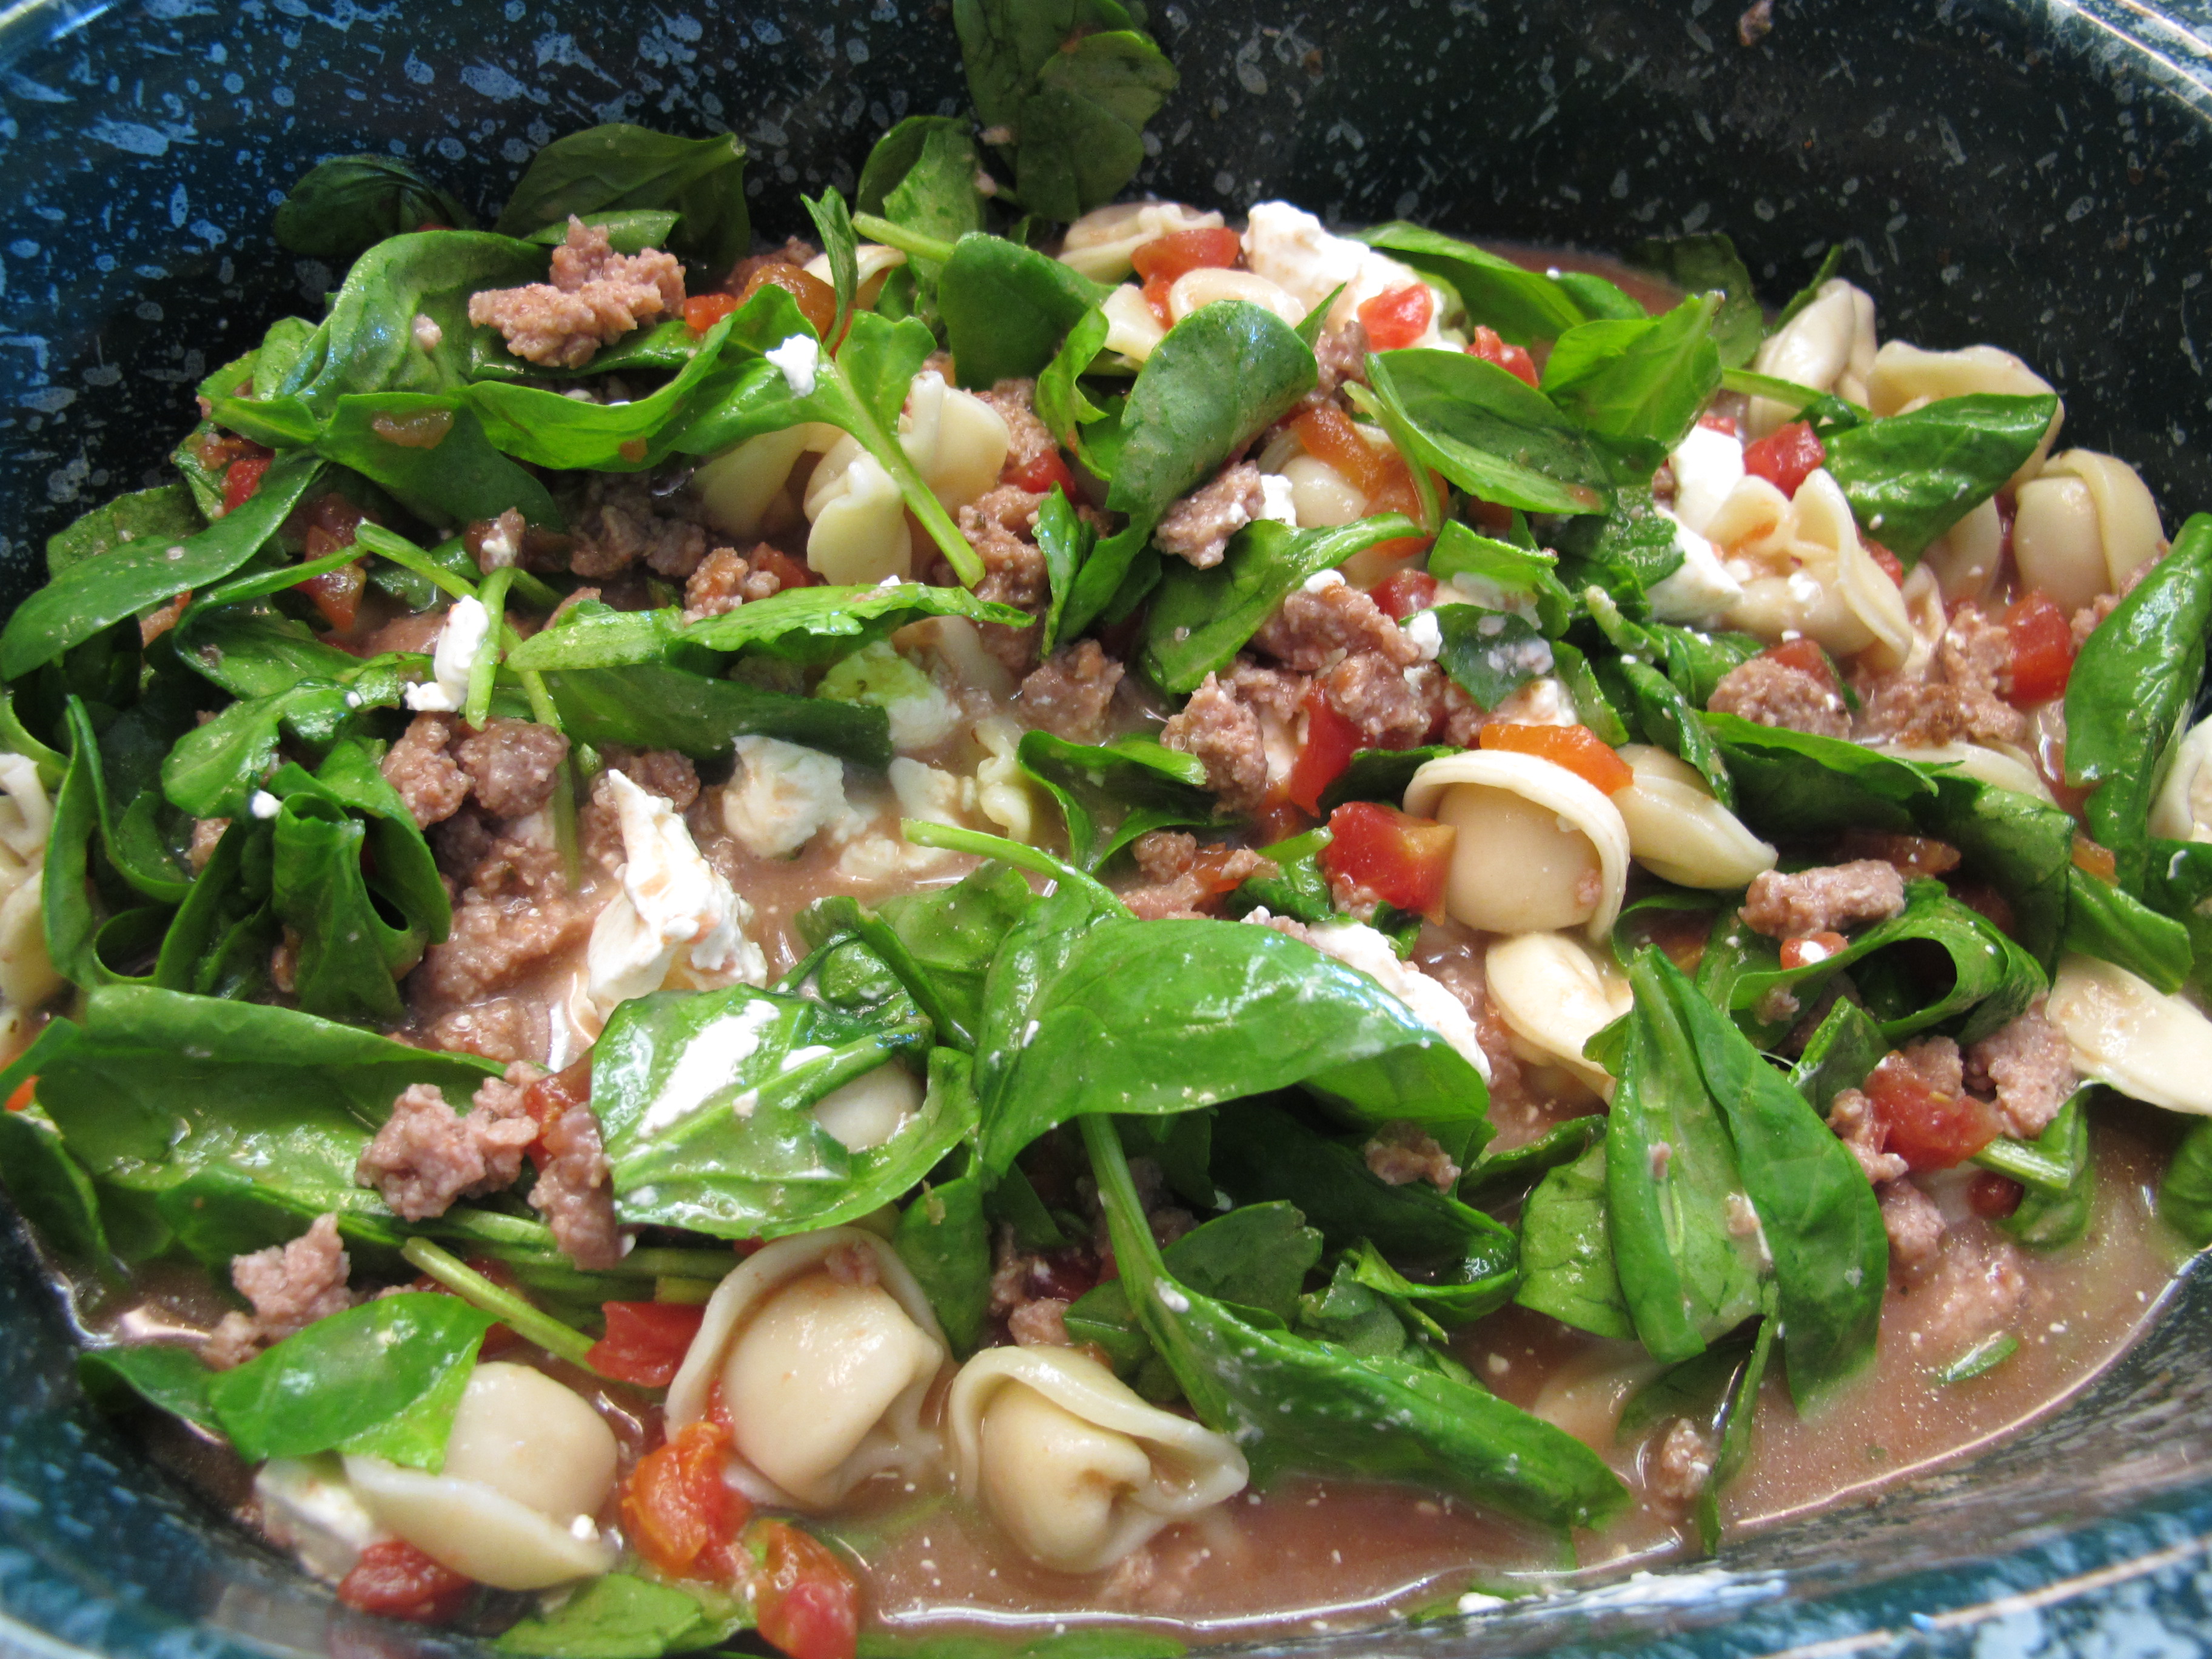
1/2 tsp. garlic granules (not pictured)
pepper and salt to taste
Stir all ingredients together.
Cook on high for 1 hour and then turn to low for 3 – 4 hours OR low for 4 – 6 hours. Be careful not to over cook it – the tortellini will get mushy. Take the lid off the last hour if you want it thicker.
For vegetarian version: omit the sausage and use vegetable broth.
RECIPE SOURCE: littlefellows.blogspot.com
FULL RECIPE WITHOUT PICTURES —
CHEESE TORTELLINI SOUP
1 lb. ground turkey sausage
2 – 14.5 cans chicken broth
1 – 19 oz. bag of frozen cheese tortellini
5 oz. (approx.) fresh spinach
2 – 14.5 cans Italian stewed tomatoes, drained and chopped
8 oz. block cream cheese or Neufchatel, chunked
1/2 tsp. garlic granules (not pictured)
salt and pepper to taste
Brown the sausage.
Stir all ingredients together.
Add ingredients to a crock pot.
Cook on high for 1 hour and then turn to low for 3 – 4 hours or low for 4 – 6 hours. Be careful not to over cook it – the tortellini will get mushy. Take the lid off the last hour if you want it thicker.
For vegetarian version: omit the sausage and use vegetable broth.
RECIPE SOURCE: littlefellows.blogspot.com

