Strawberry Topping

This is a simple deliciously strawberry topping that can be used for cheesecake or ice cream.

2 cups fresh or frozen strawberries
If using fresh strawberries, wash and remove stems.
Place strawberries in a saucepan and smash them up a bit.
1/3 cup sugar
1 tsp. vanilla
Add sugar and vanilla.

Cook over medium/high heat, stirring occasionally.

Cook until sauce thickens – about 10 – 15 minutes.
Remove from heat.
Cool.
Tastes delicious over Cheesecake!!!

FULL RECIPE WITH PICTURES —
STRAWBERRY TOPPING
2 cups fresh or frozen strawberries
1/3 cup sugar
1 tsp. vanilla
If using fresh strawberries, wash and remove stems.
Place strawberries in a saucepan and smash them up a bit.
Add sugar.
Add vanilla.
Cook over medium/high heat, stirring occasionally.
Cook until sauce thickens – about 10 – 15 minutes.
Remove from heat.
Cool.
Parmesan Knots

These Parmesan Knots can be made quickly since they are made with Refrigerated Biscuits.
Great side to any meal!!

1 tube (12 oz.) refrigerated buttermilk biscuits (I used Pillsbury Golden Layers Refrigerated Buttermilk Biscuits)
Roll each biscuit into a rope (about 9″).
Tie into a knot, tucking ends under.


Place on a greased baking sheet.

Bake at 400 degrees for 9 – 10 minutes or until golden brown.
1 T. butter, melted
Remove from oven and brush with butter.

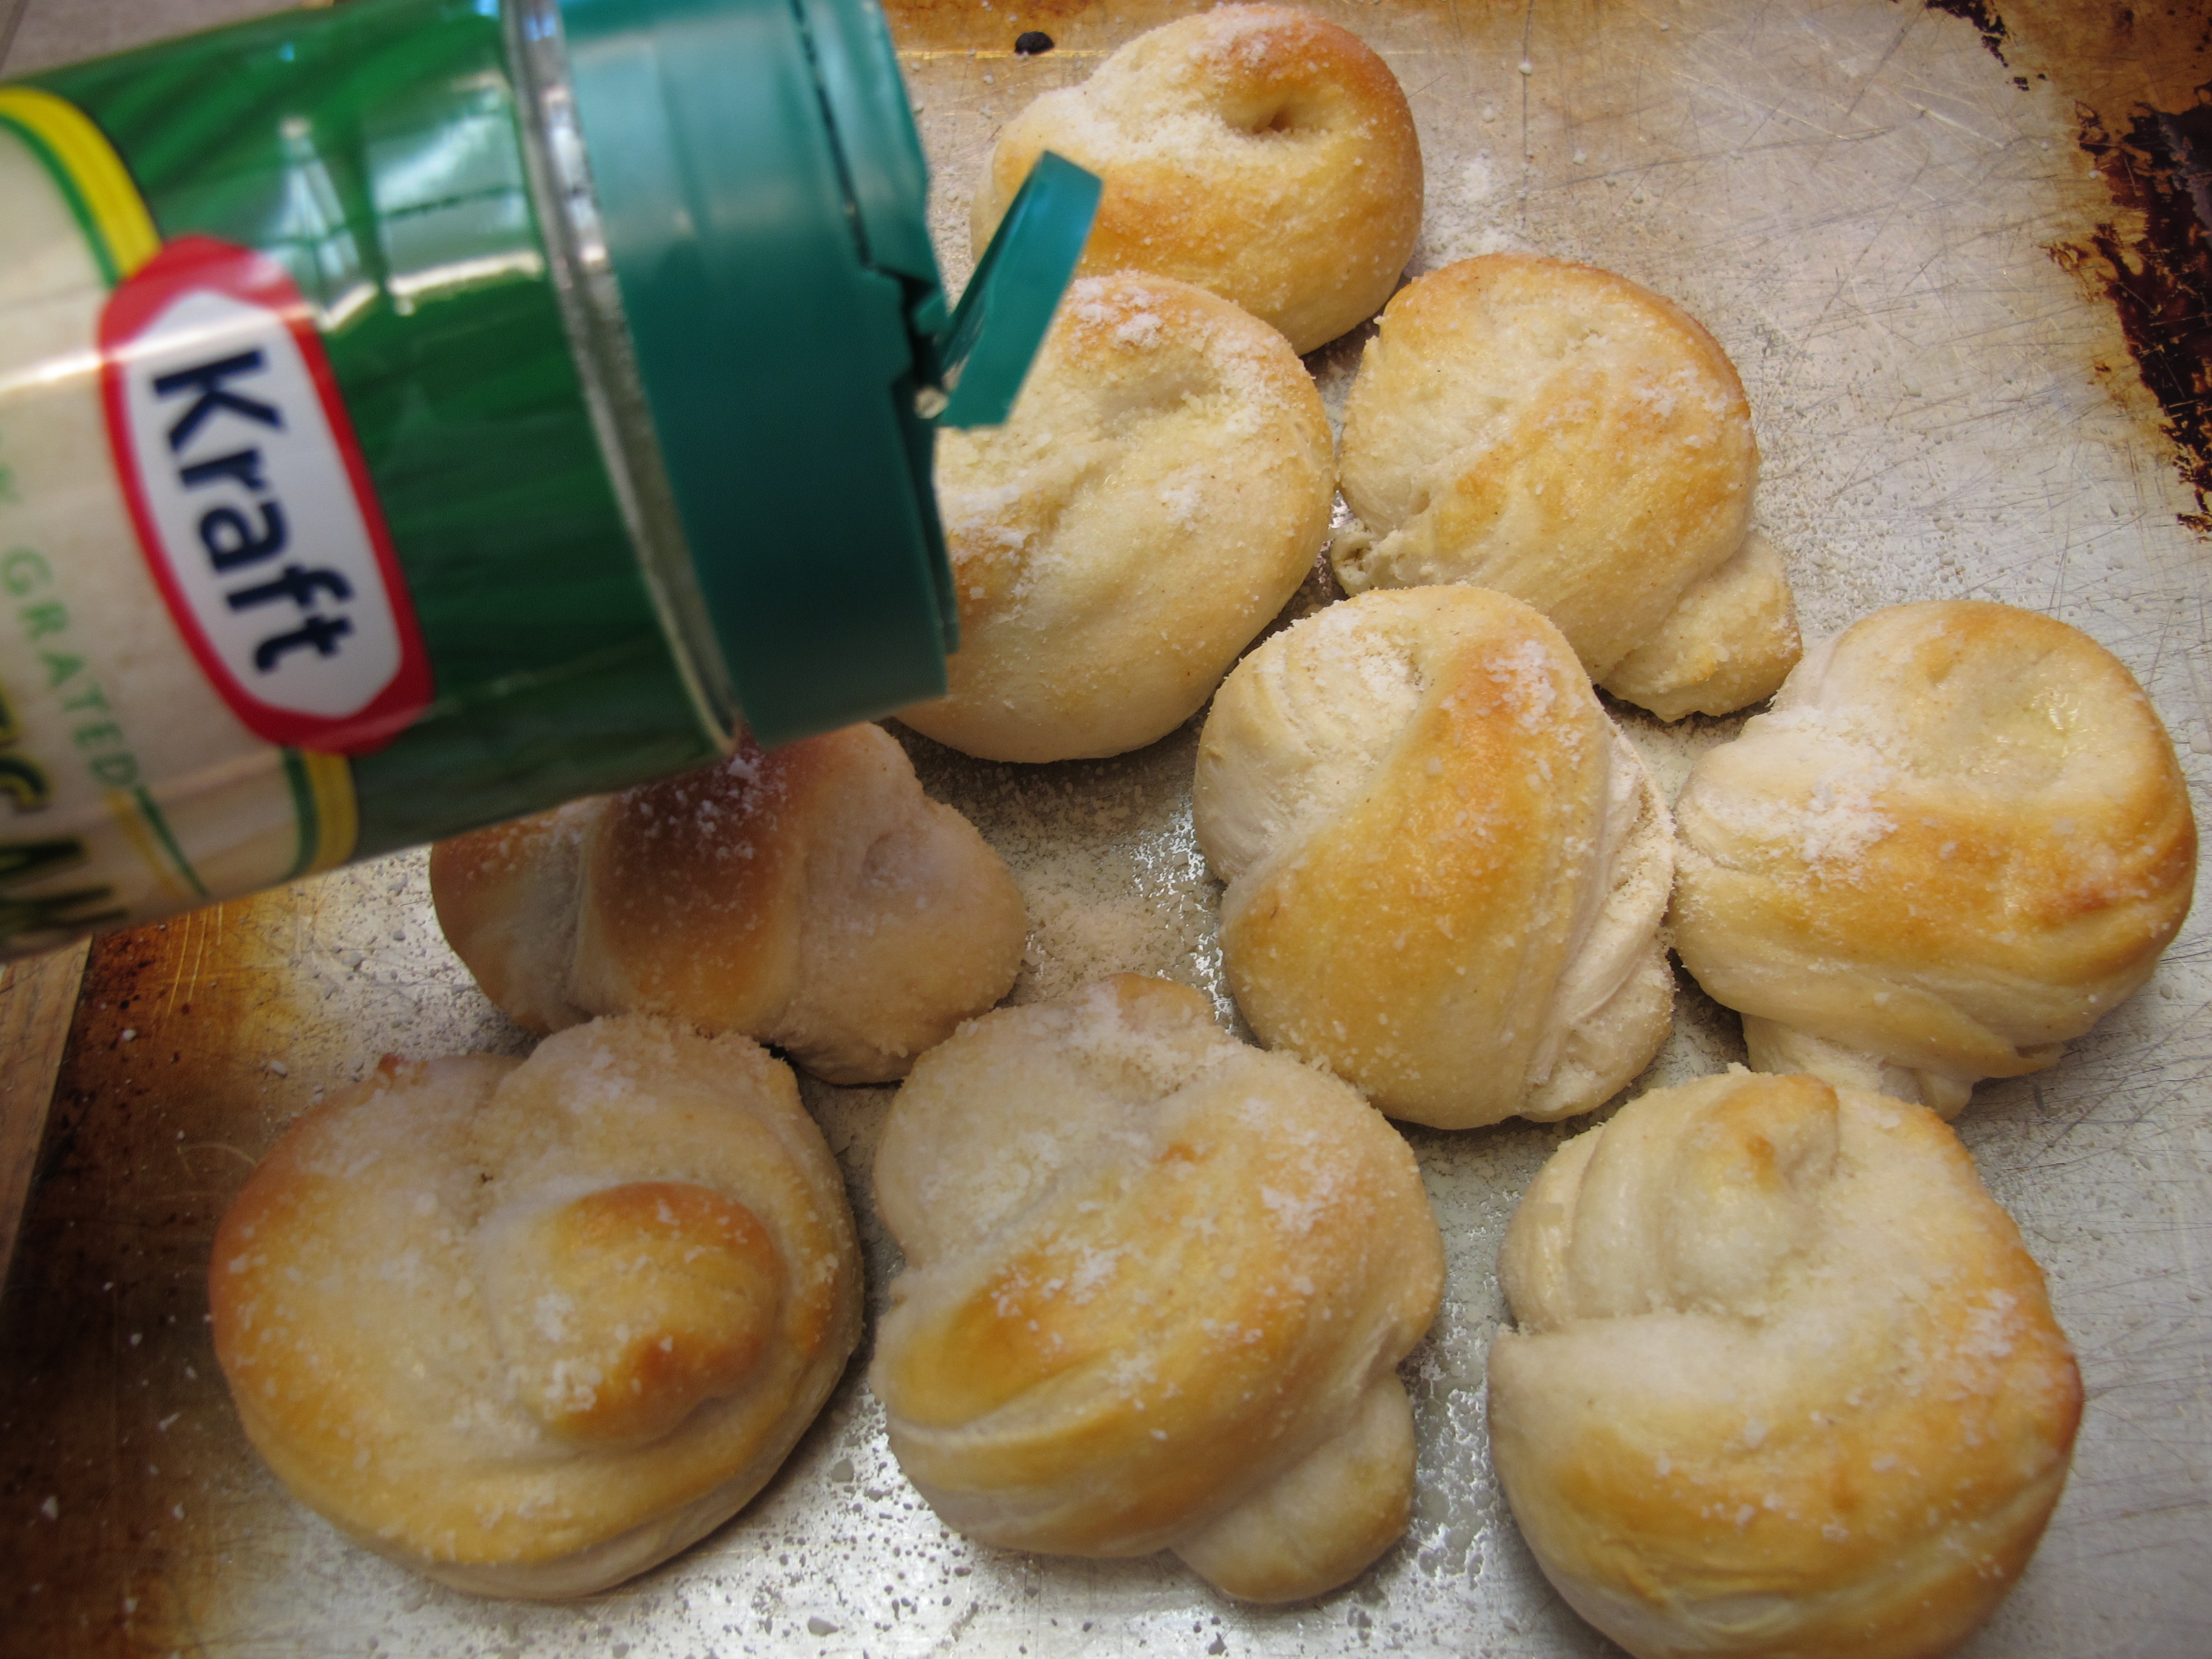
parmesan cheese (the kind in the green can)
Sprinkle with parmesan cheese.
garlic granules
Sprinkle with garlic granules.

parsley flakes
Sprinkle with parsley flakes.

Cool on a wire rack.
WEIGHT WATCHERS: 3 PointsPlus per roll
FULL RECIPE WITHOUT PICTURES —
PARMESAN KNOTS
1 tube (12 oz.) refrigerated buttermilk biscuits (I used Pillsbury Golden Layers Refrigerated Buttermilk Biscuits)
1 T. butter, melted
parmesan cheese (the kind in the green can)
garlic granules
parsley flakes
Roll each biscuit into a rope (about 9″).
Tie into a knot, tucking ends under.
Place on a greased baking sheet.
Bake at 400 degrees for 9 – 10 minutes or until golden brown.
Remove from oven and brush with butter.
Sprinkle with parmesan cheese.
Sprinkle with garlic granules.
Sprinkle with parsley flakes.
Cool on a wire rack.
WEIGHT WATCHERS: 3 PointsPlus per roll
Coconut Crusted Seafood Fillet
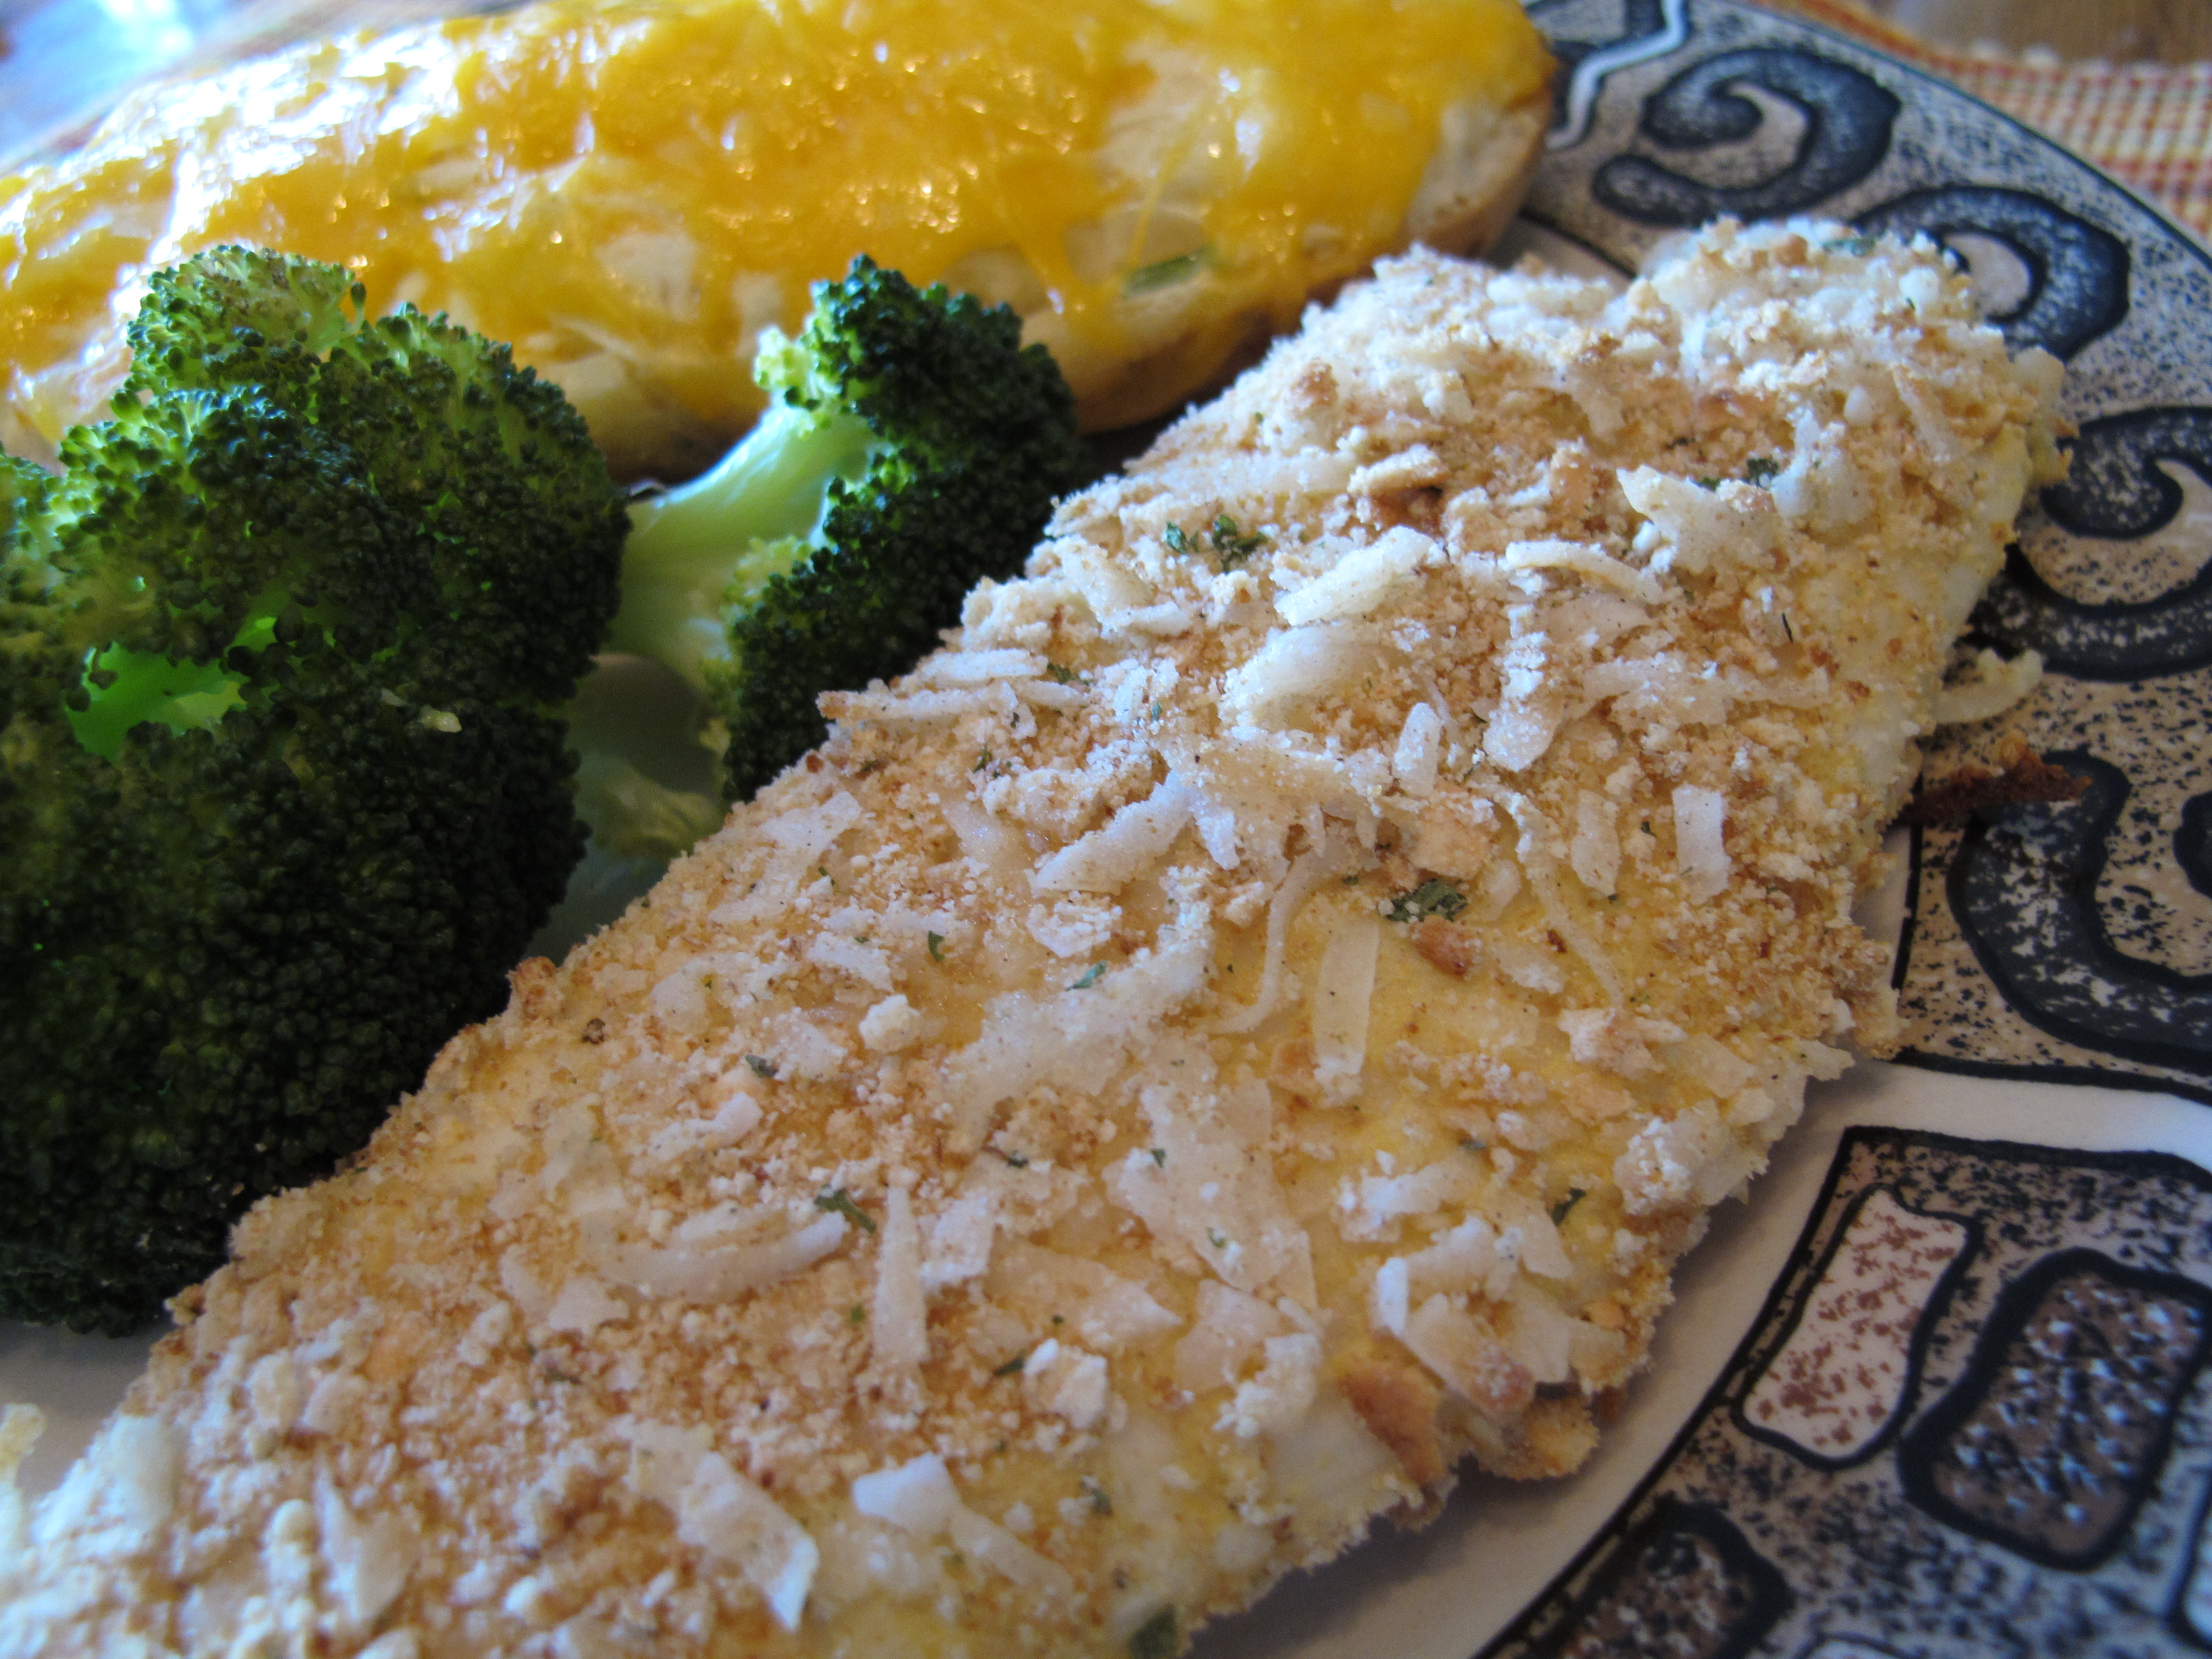
The coconut in this recipe gives the fish a light sweet taste.

Preheat oven to 400 degrees.
non-stick spray
Place foil on a cookie sheet and spray with non-stick spray.

1/4 cup shredded coconut
1/4 cup Italian bread crumbs
5 Whole Wheat Ritz Crackers, crushed
1/4 tsp. garlic granules, or to taste
1/4 tsp. seasoned salt, or to taste
1/4 tsp. pepper, or to taste
Combine coconut flakes, Italian bread crumbs , crackers and seasonings on a shallow plate.
1/3 cup liquid eggs – either whole eggs or white (doesn’t change the Weight Watcher points)
Put liquid eggs in another bowl.
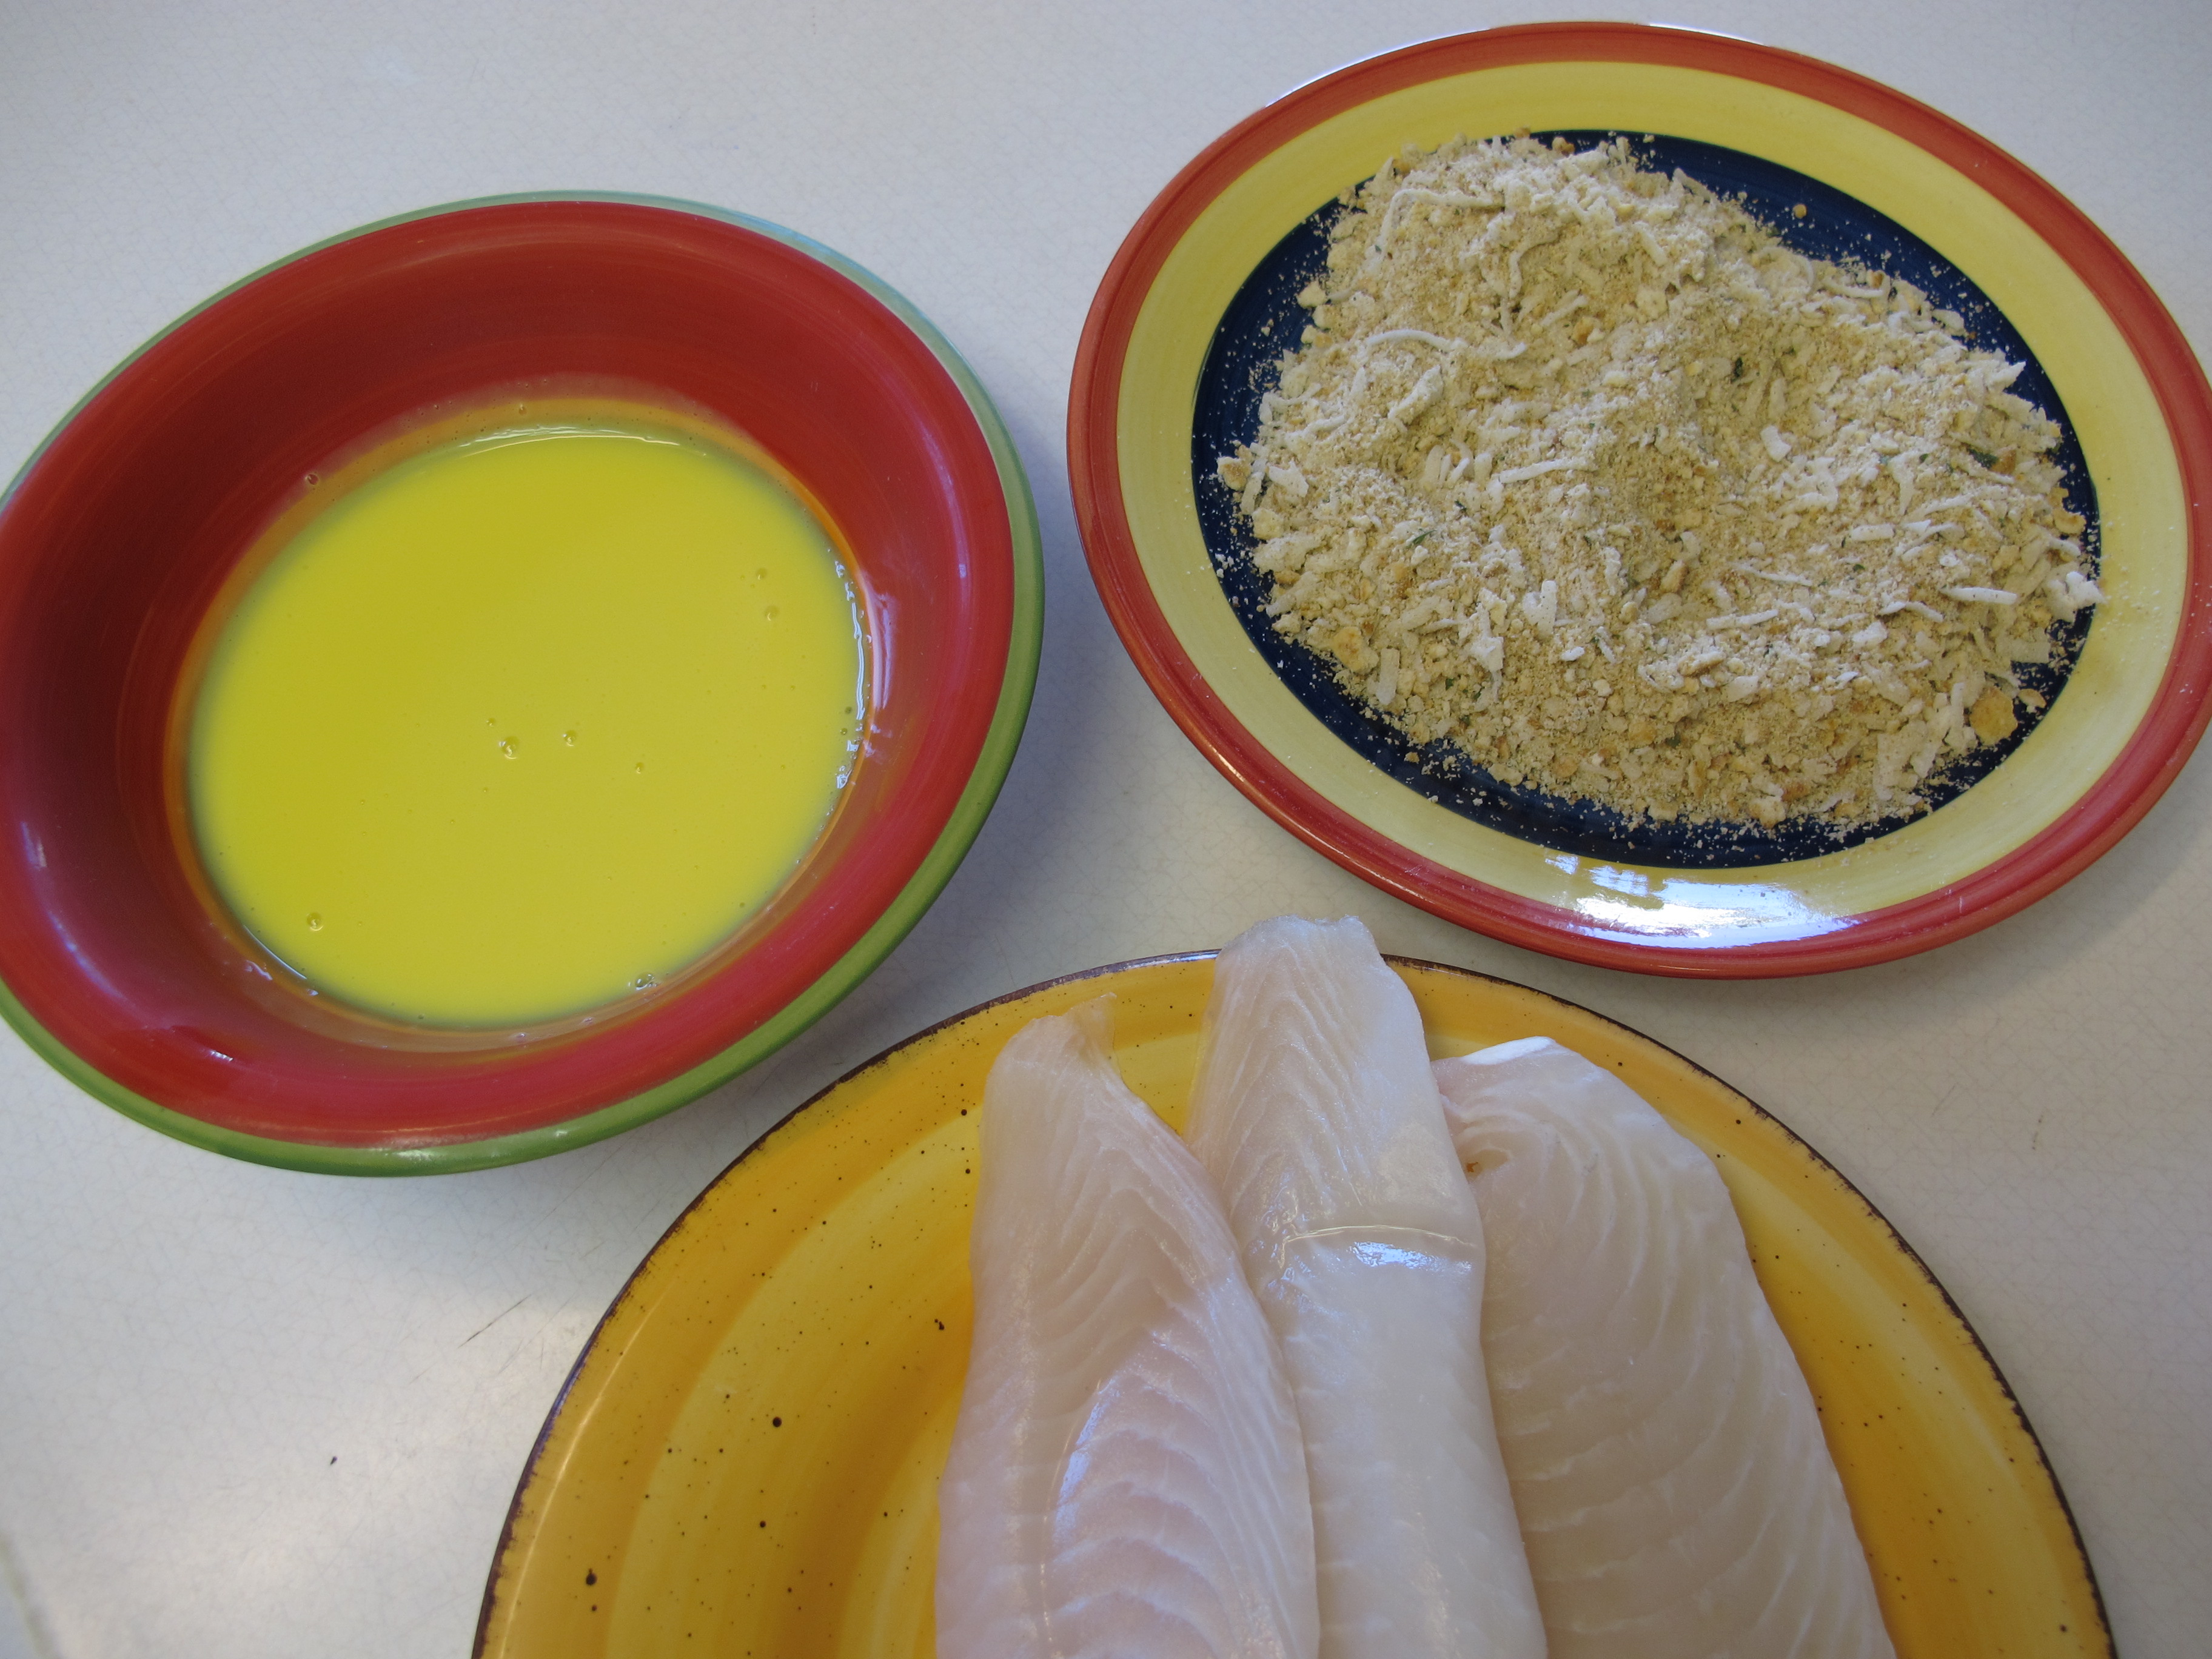
6 fillets of tilapia, halibut, sole or any other white fish
Dip the fish fillet in the egg, and then in the crumbs mixture.

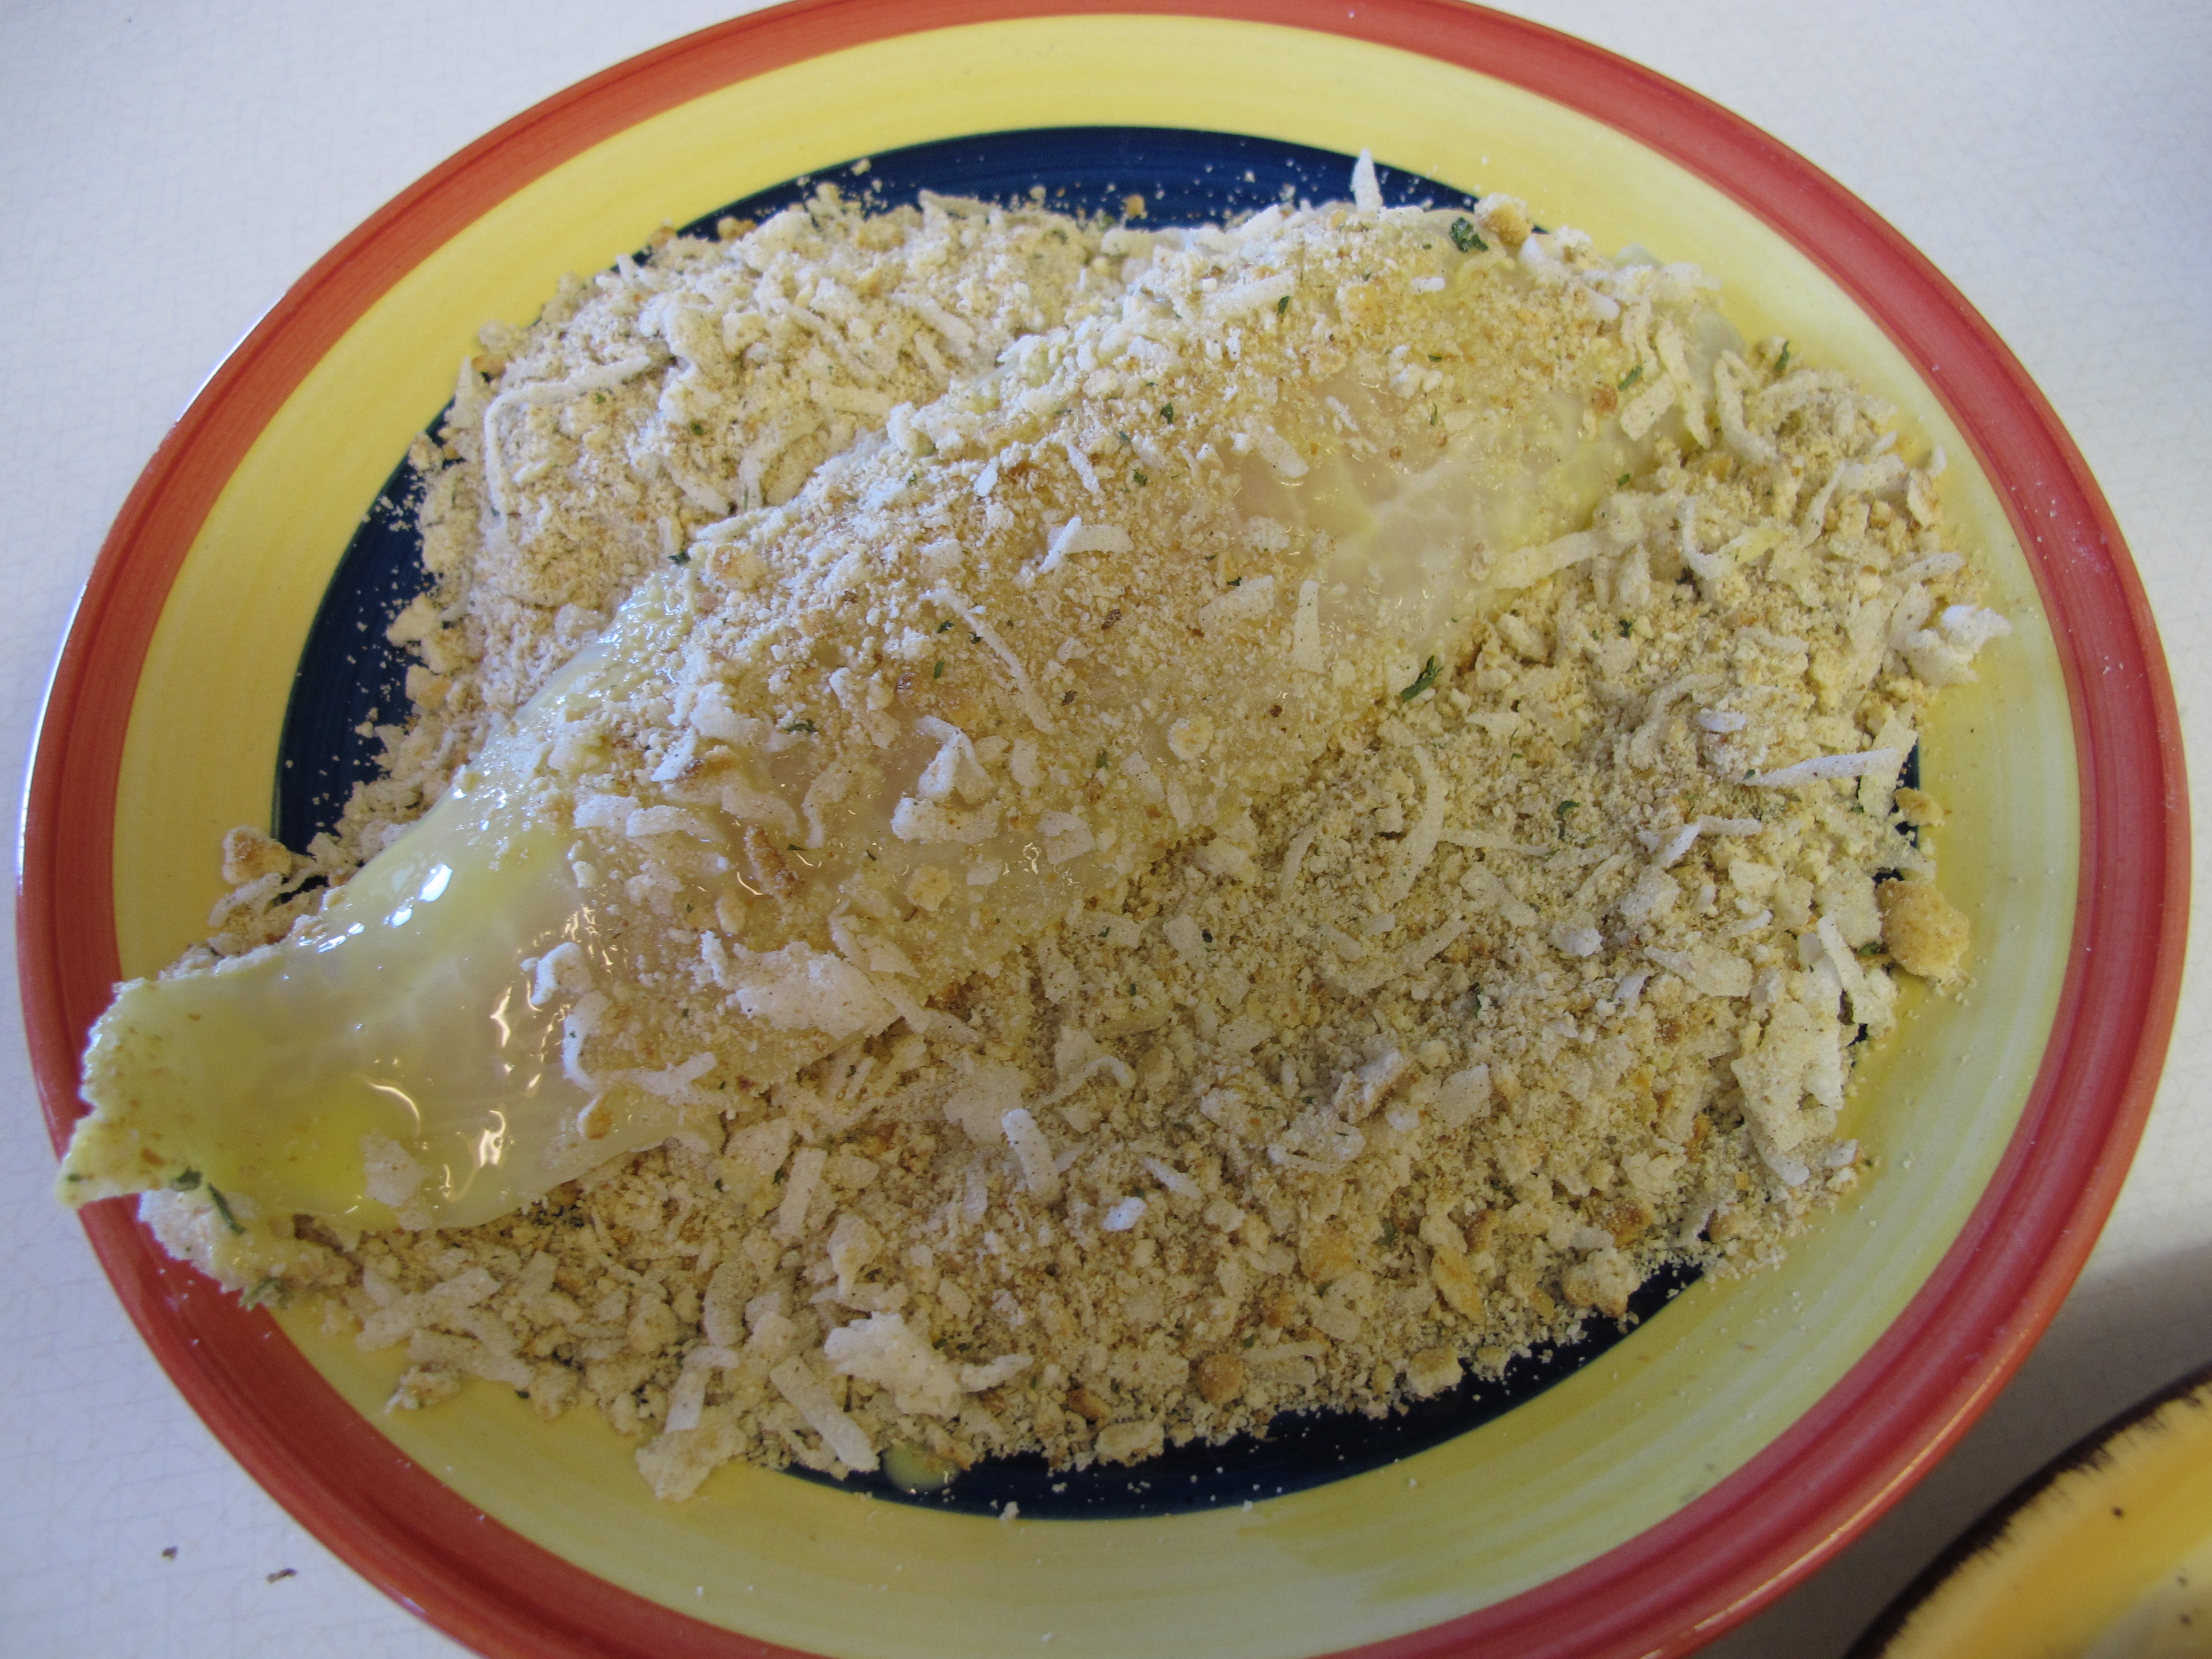
Place on the cookie sheet.
Bake for 15 – 20 minutes, or until fish is done.
FULL RECIPE WITHOUT PICTURES —
COCONUT CRUSTED SEAFOOD FILLETS
6 fillets of tilapia, halibut, sole or any other white fish
1/4 cup shredded coconut
1/4 cup Italian bread crumbs
5 Whole Wheat Ritz Crackers, crushed
1/4 tsp. garlic granules, or to taste
1/4 tsp. seasoned salt, or to taste
1/4 tsp. pepper, or to taste
1/3 cup liquid eggs – either whole eggs or white (doesn’t change the Weight Watcher points)
non-stick spray
Preheat oven to 400 degrees.
Place foil on a cookie sheet and spray with non-stick spray.
Combine coconut flakes, Italian bread crumbs , crackers and seasonings on a shallow plate.
Put liquid eggs in another bowl.
Dip the fish fillet in the egg, and then in the crumbs mixture.
Place on the cookie sheet.
Bake for 15 – 20 minutes, or until fish is done.
Campurritos (Breakfast Burritos)
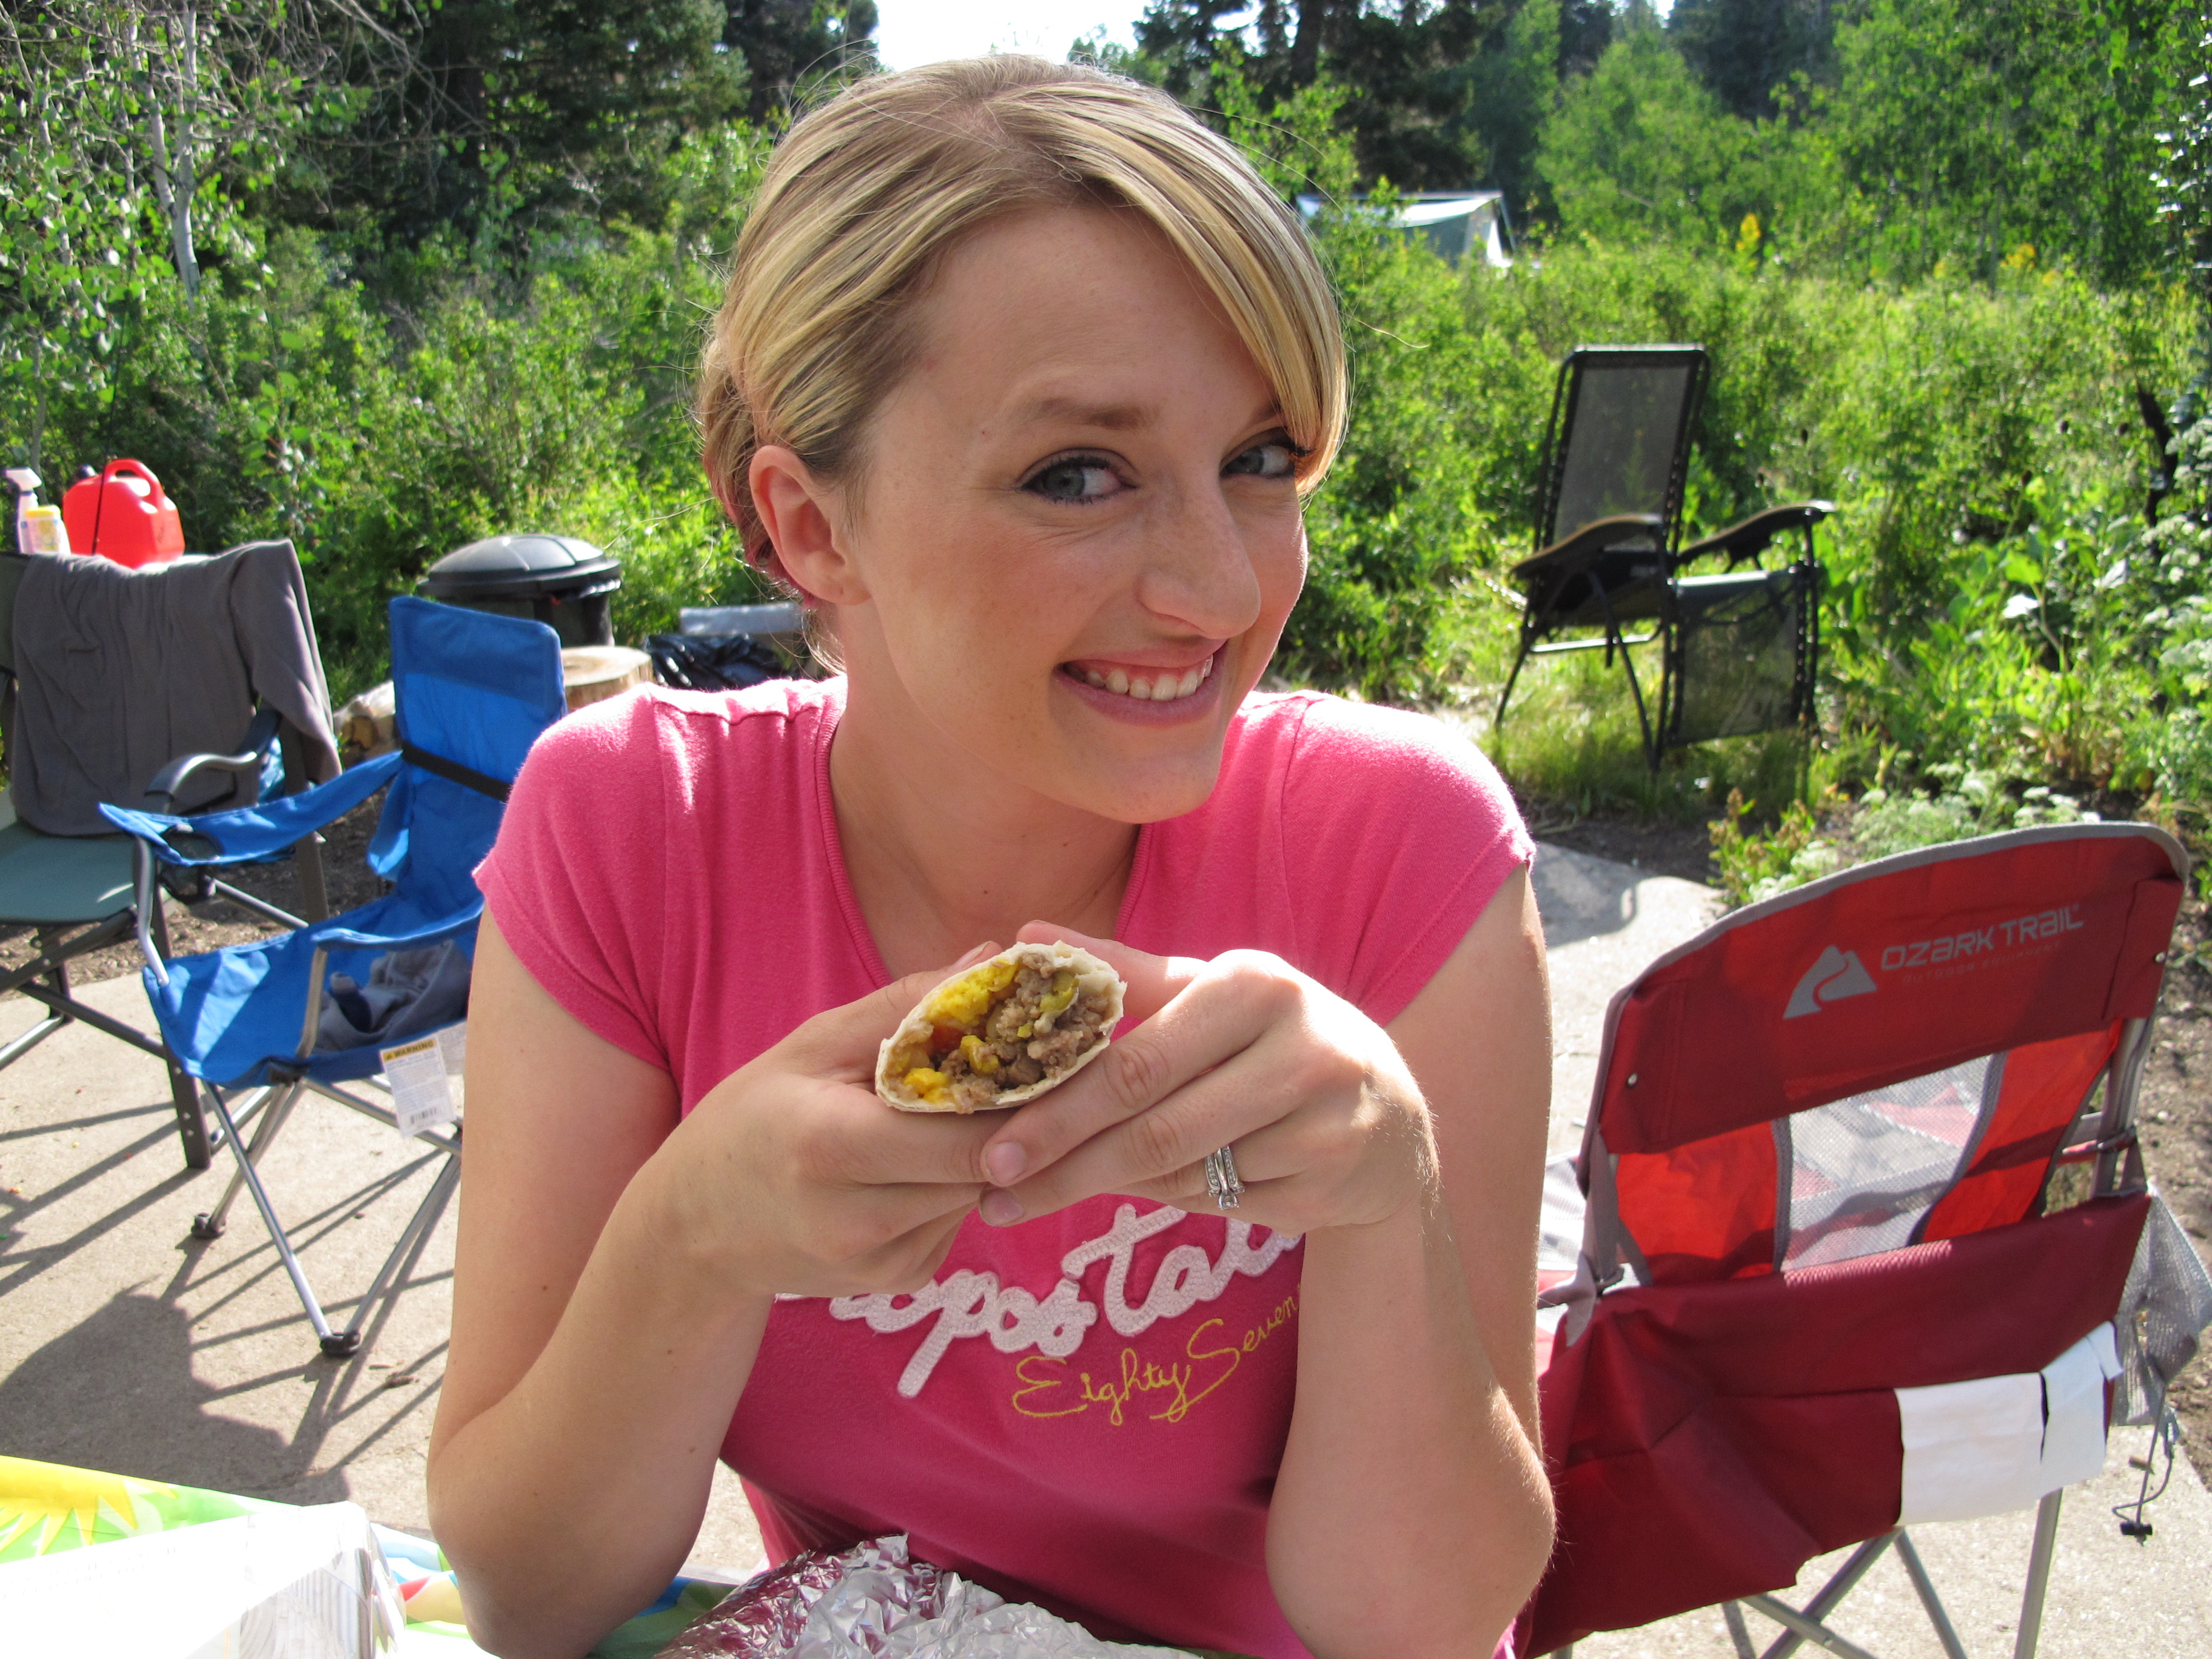
Making Campurritos is a fun and different meal to have while camping. Besides, doesn’t everything taste better in the mountains!
Chelsie was a Happy Camper!!
These Campurritos were prepared a few days before going camping and put in the freezer. We put them in the frig the night before to thaw out. They made for a fantastic breakfast!! Quick and Easy with no mess!

Sausage – Eggs – Steak – Peppers – Onions – Cheese – Hash Browns – anything you like.
Prepare all ingredients at home and lay out in an assembly line.
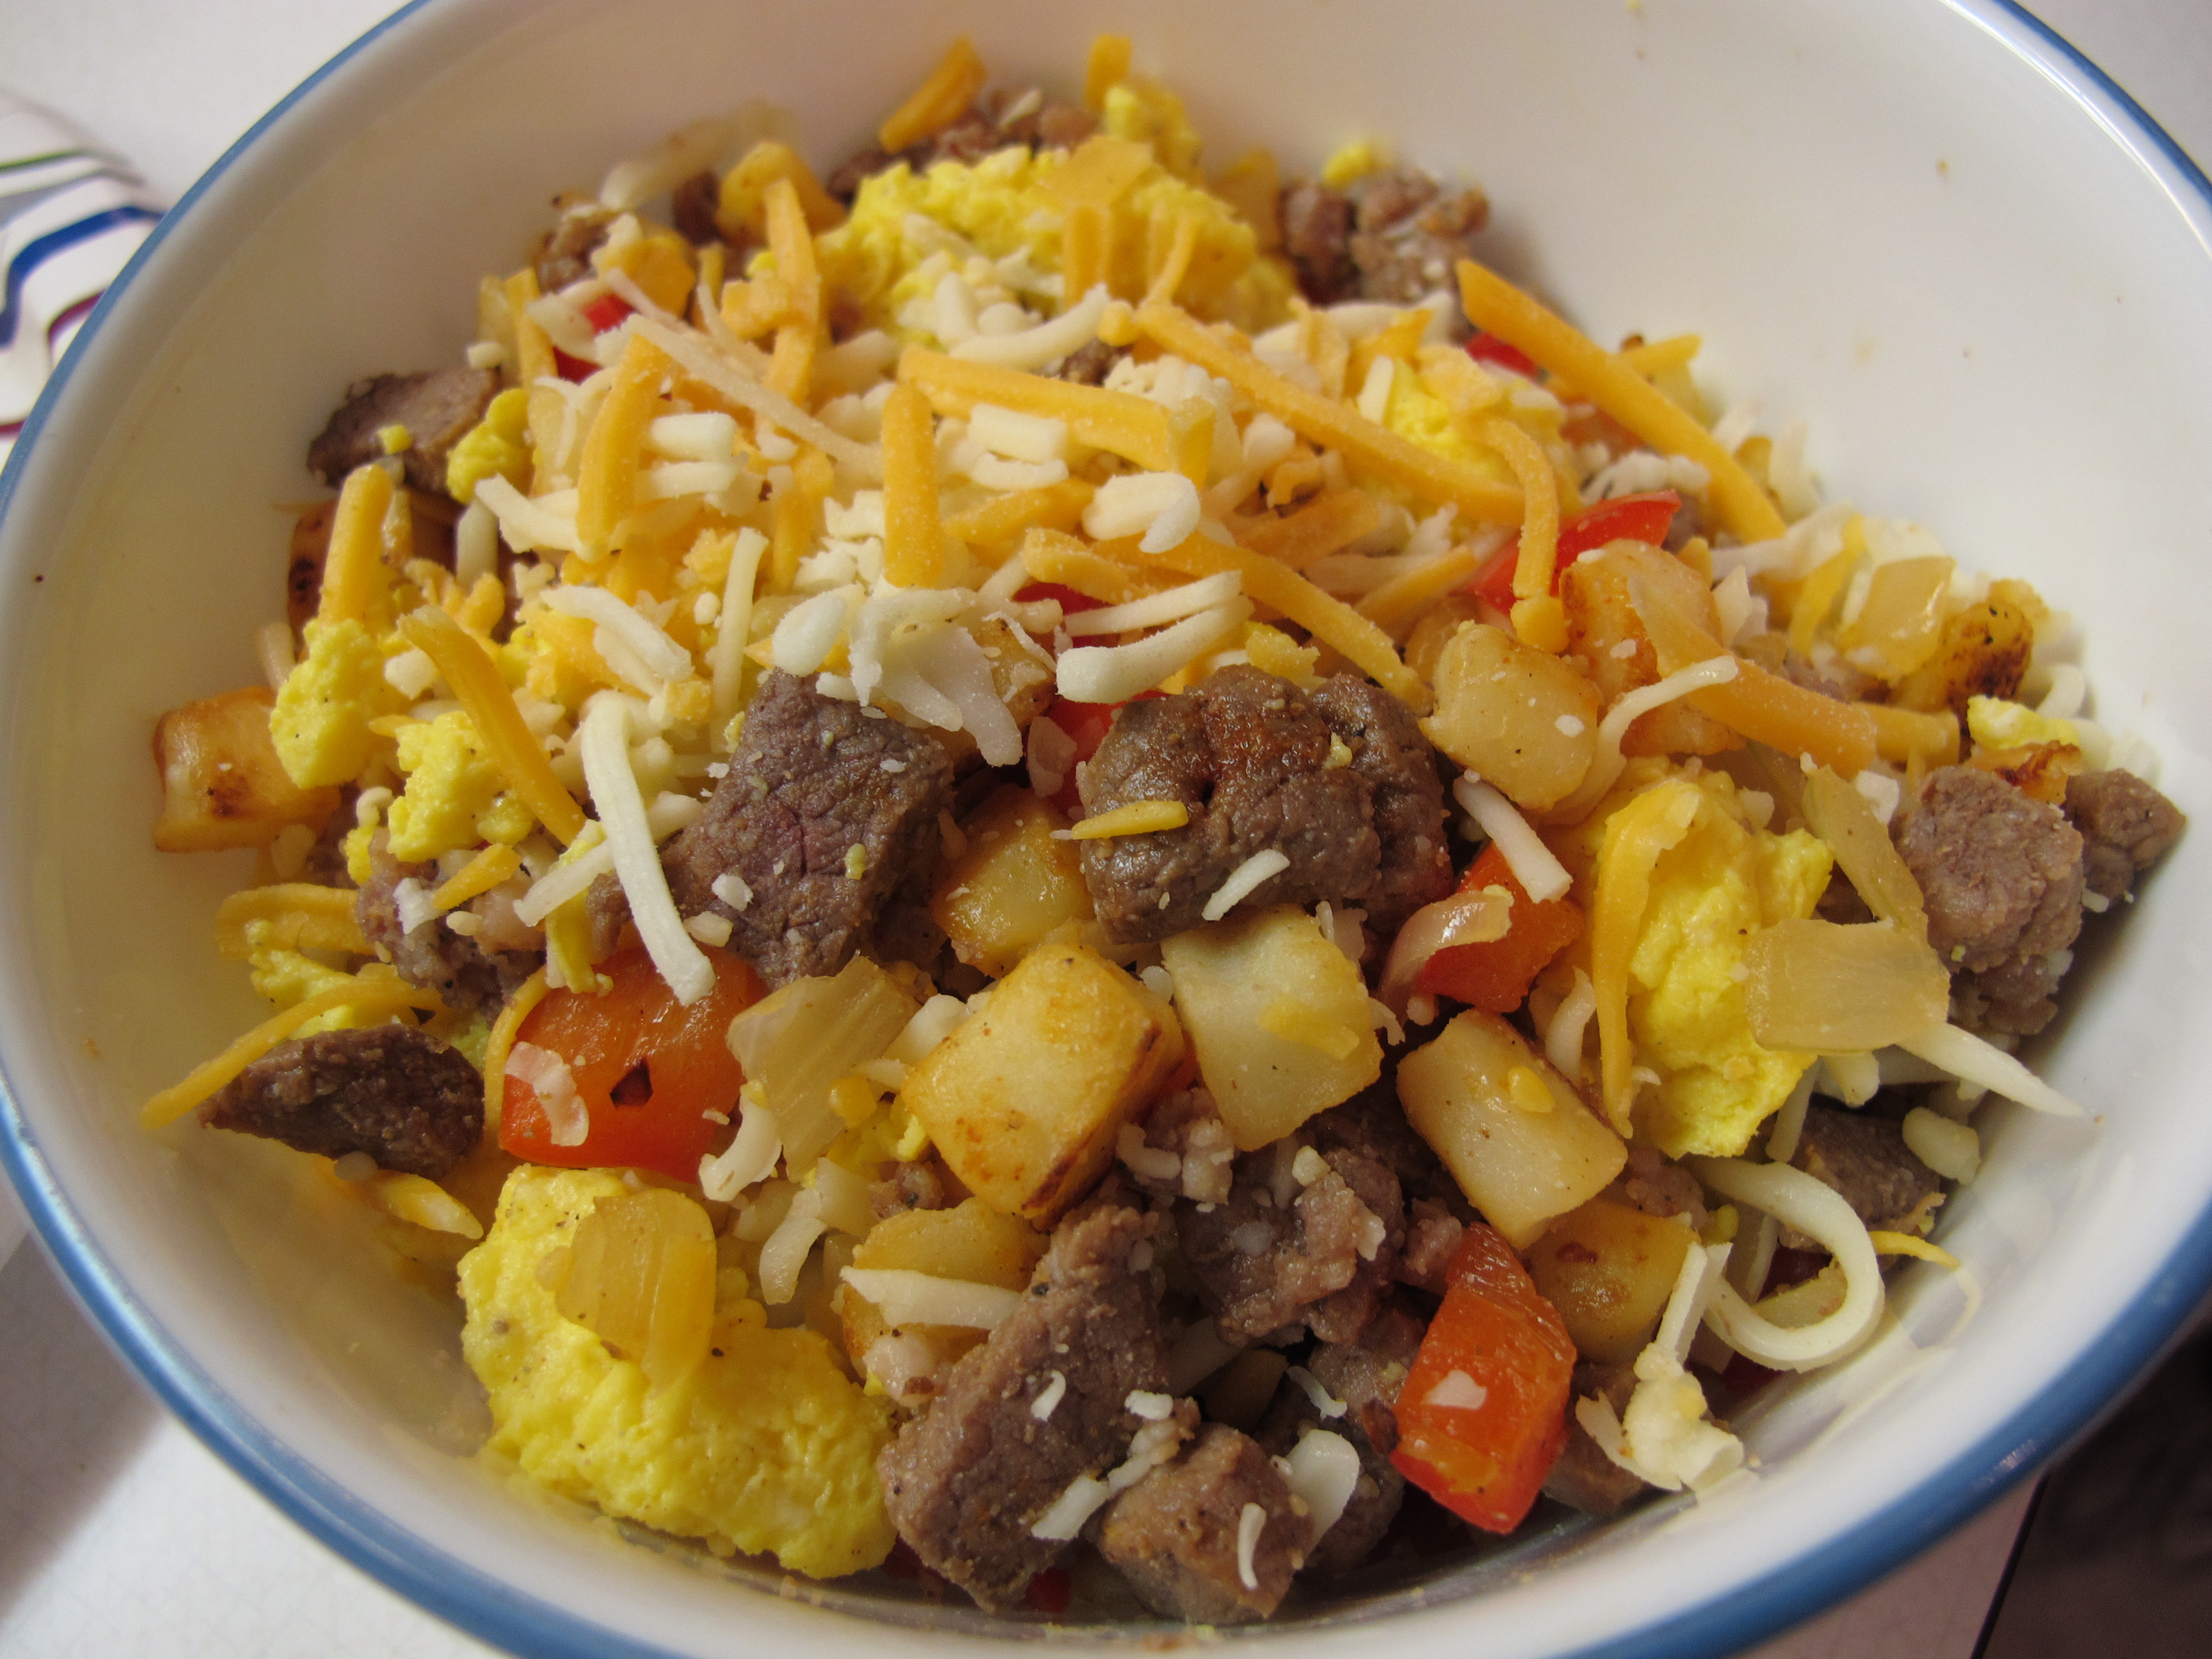
Have each person mix all the ingredients they want in a bowl and mix them up.
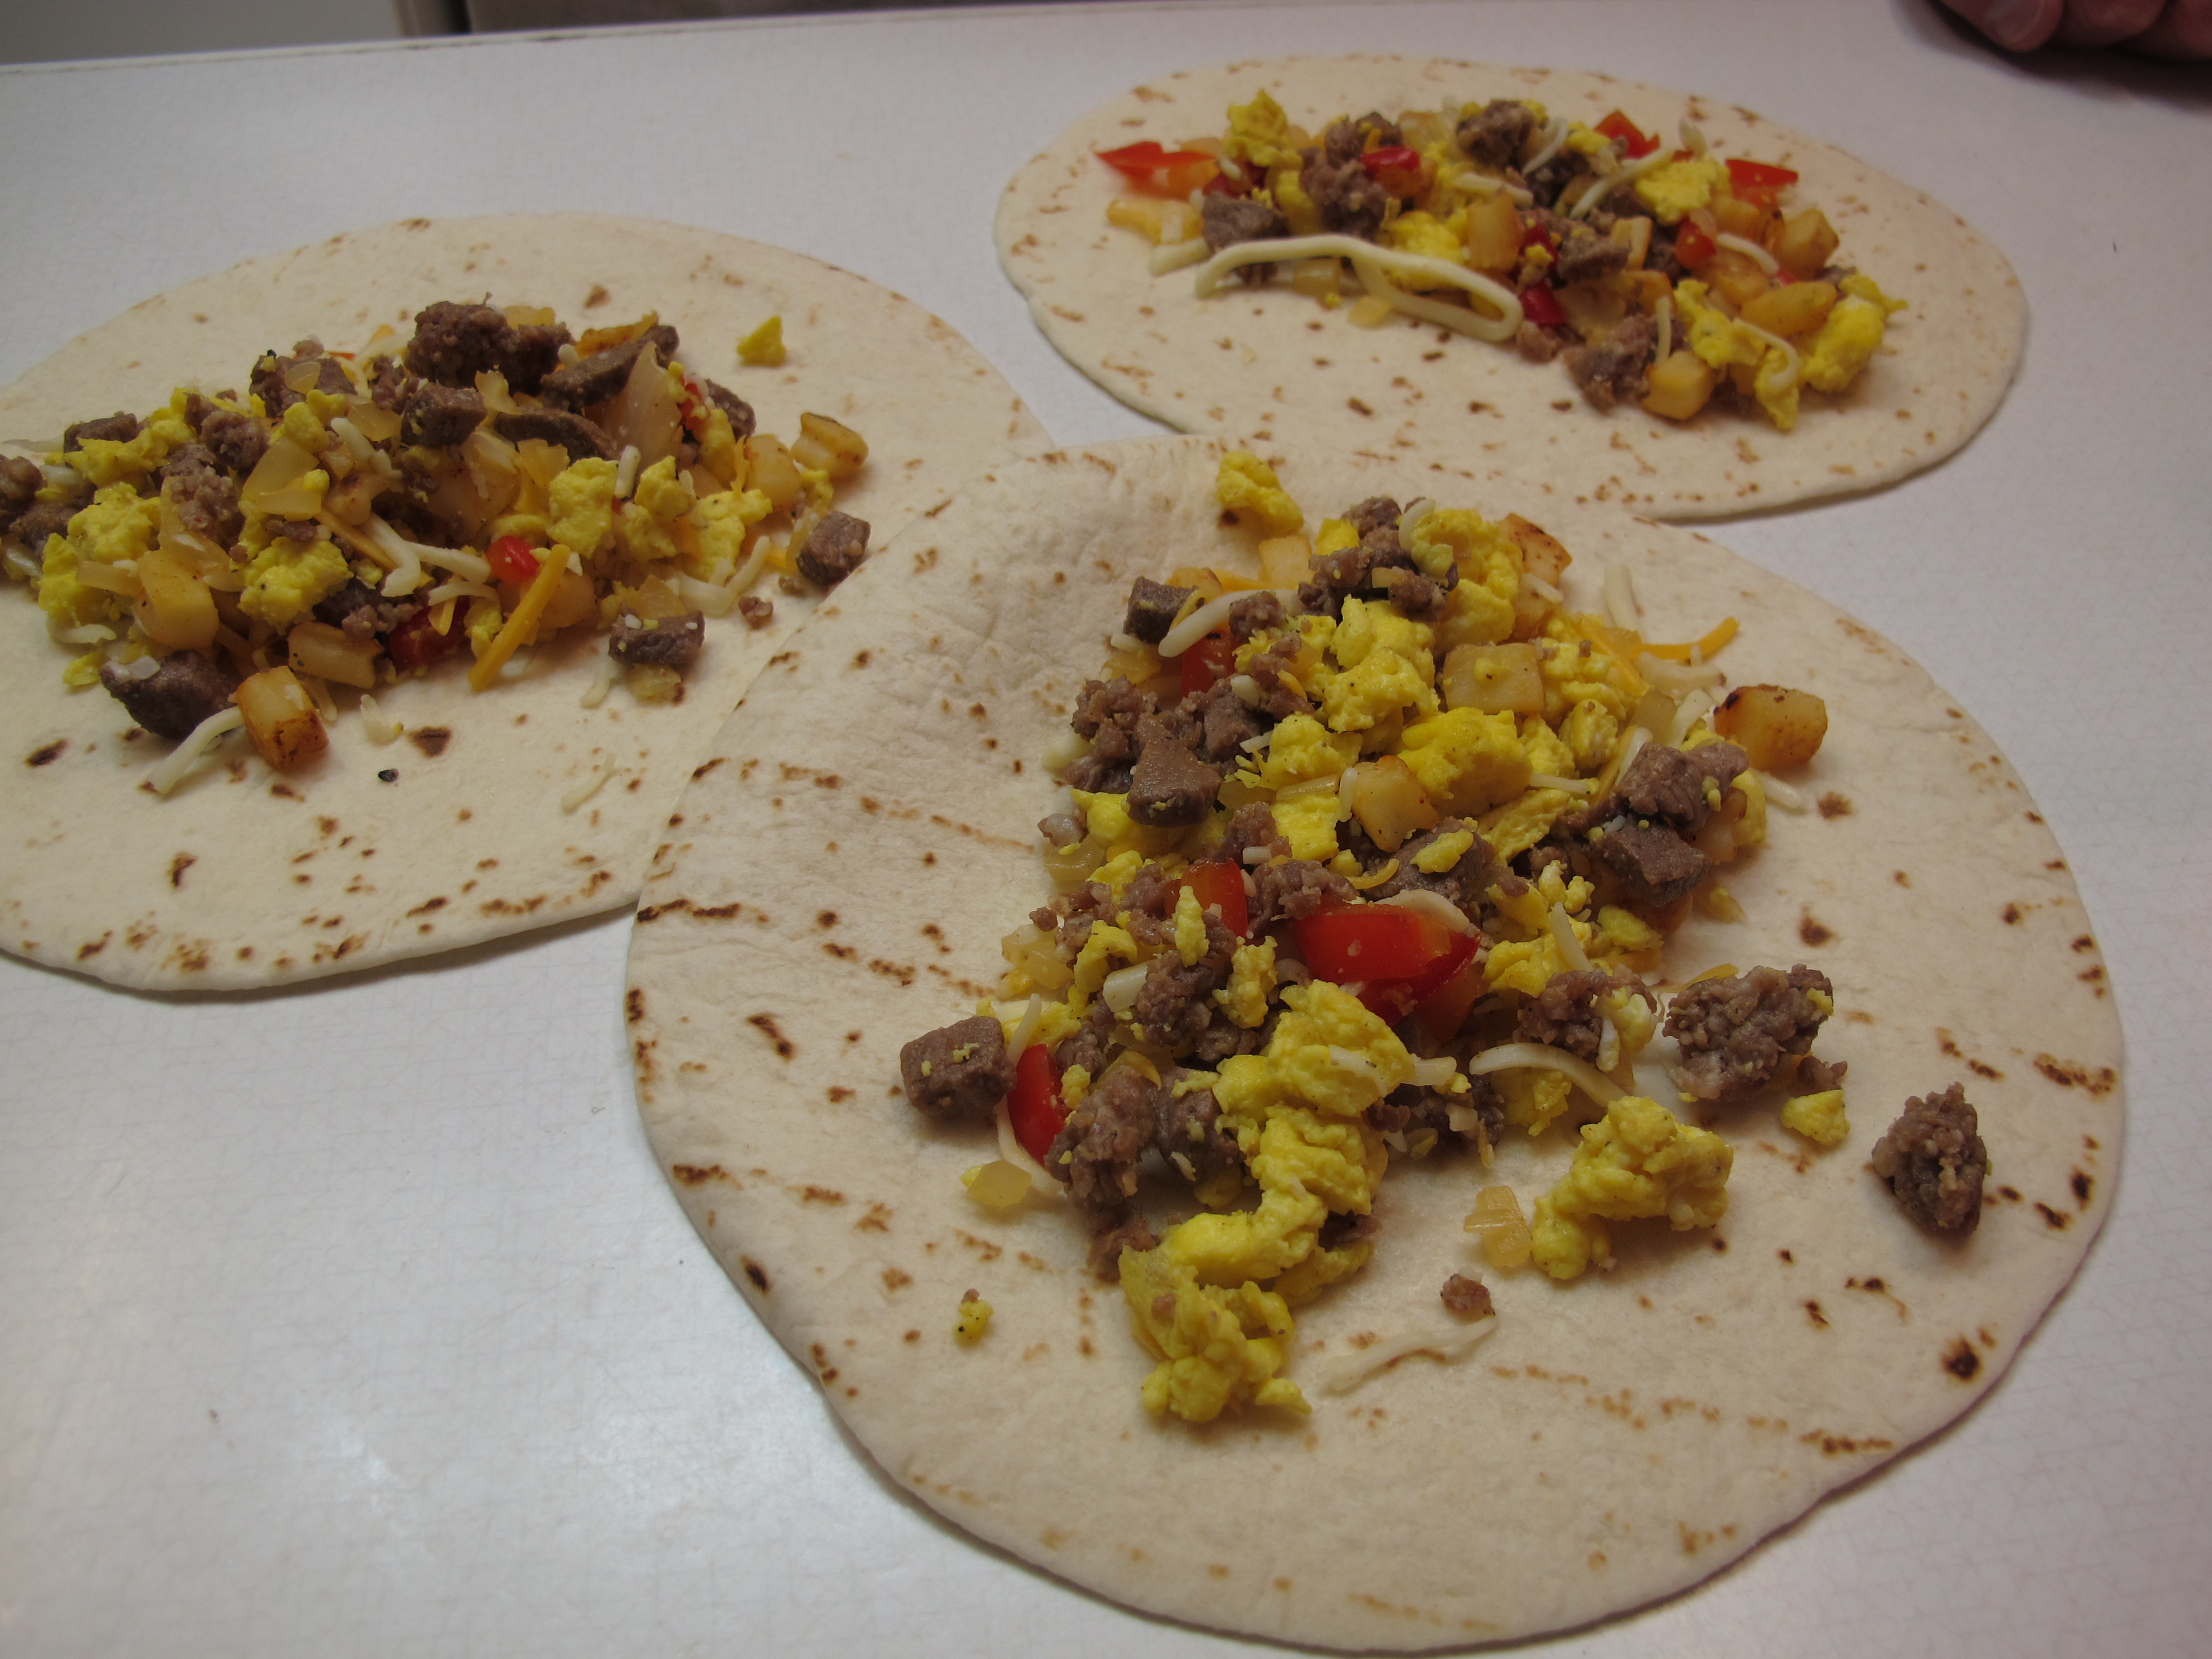
Fill tortillas.

We added a slice of Anaheim chili on top! Yum!
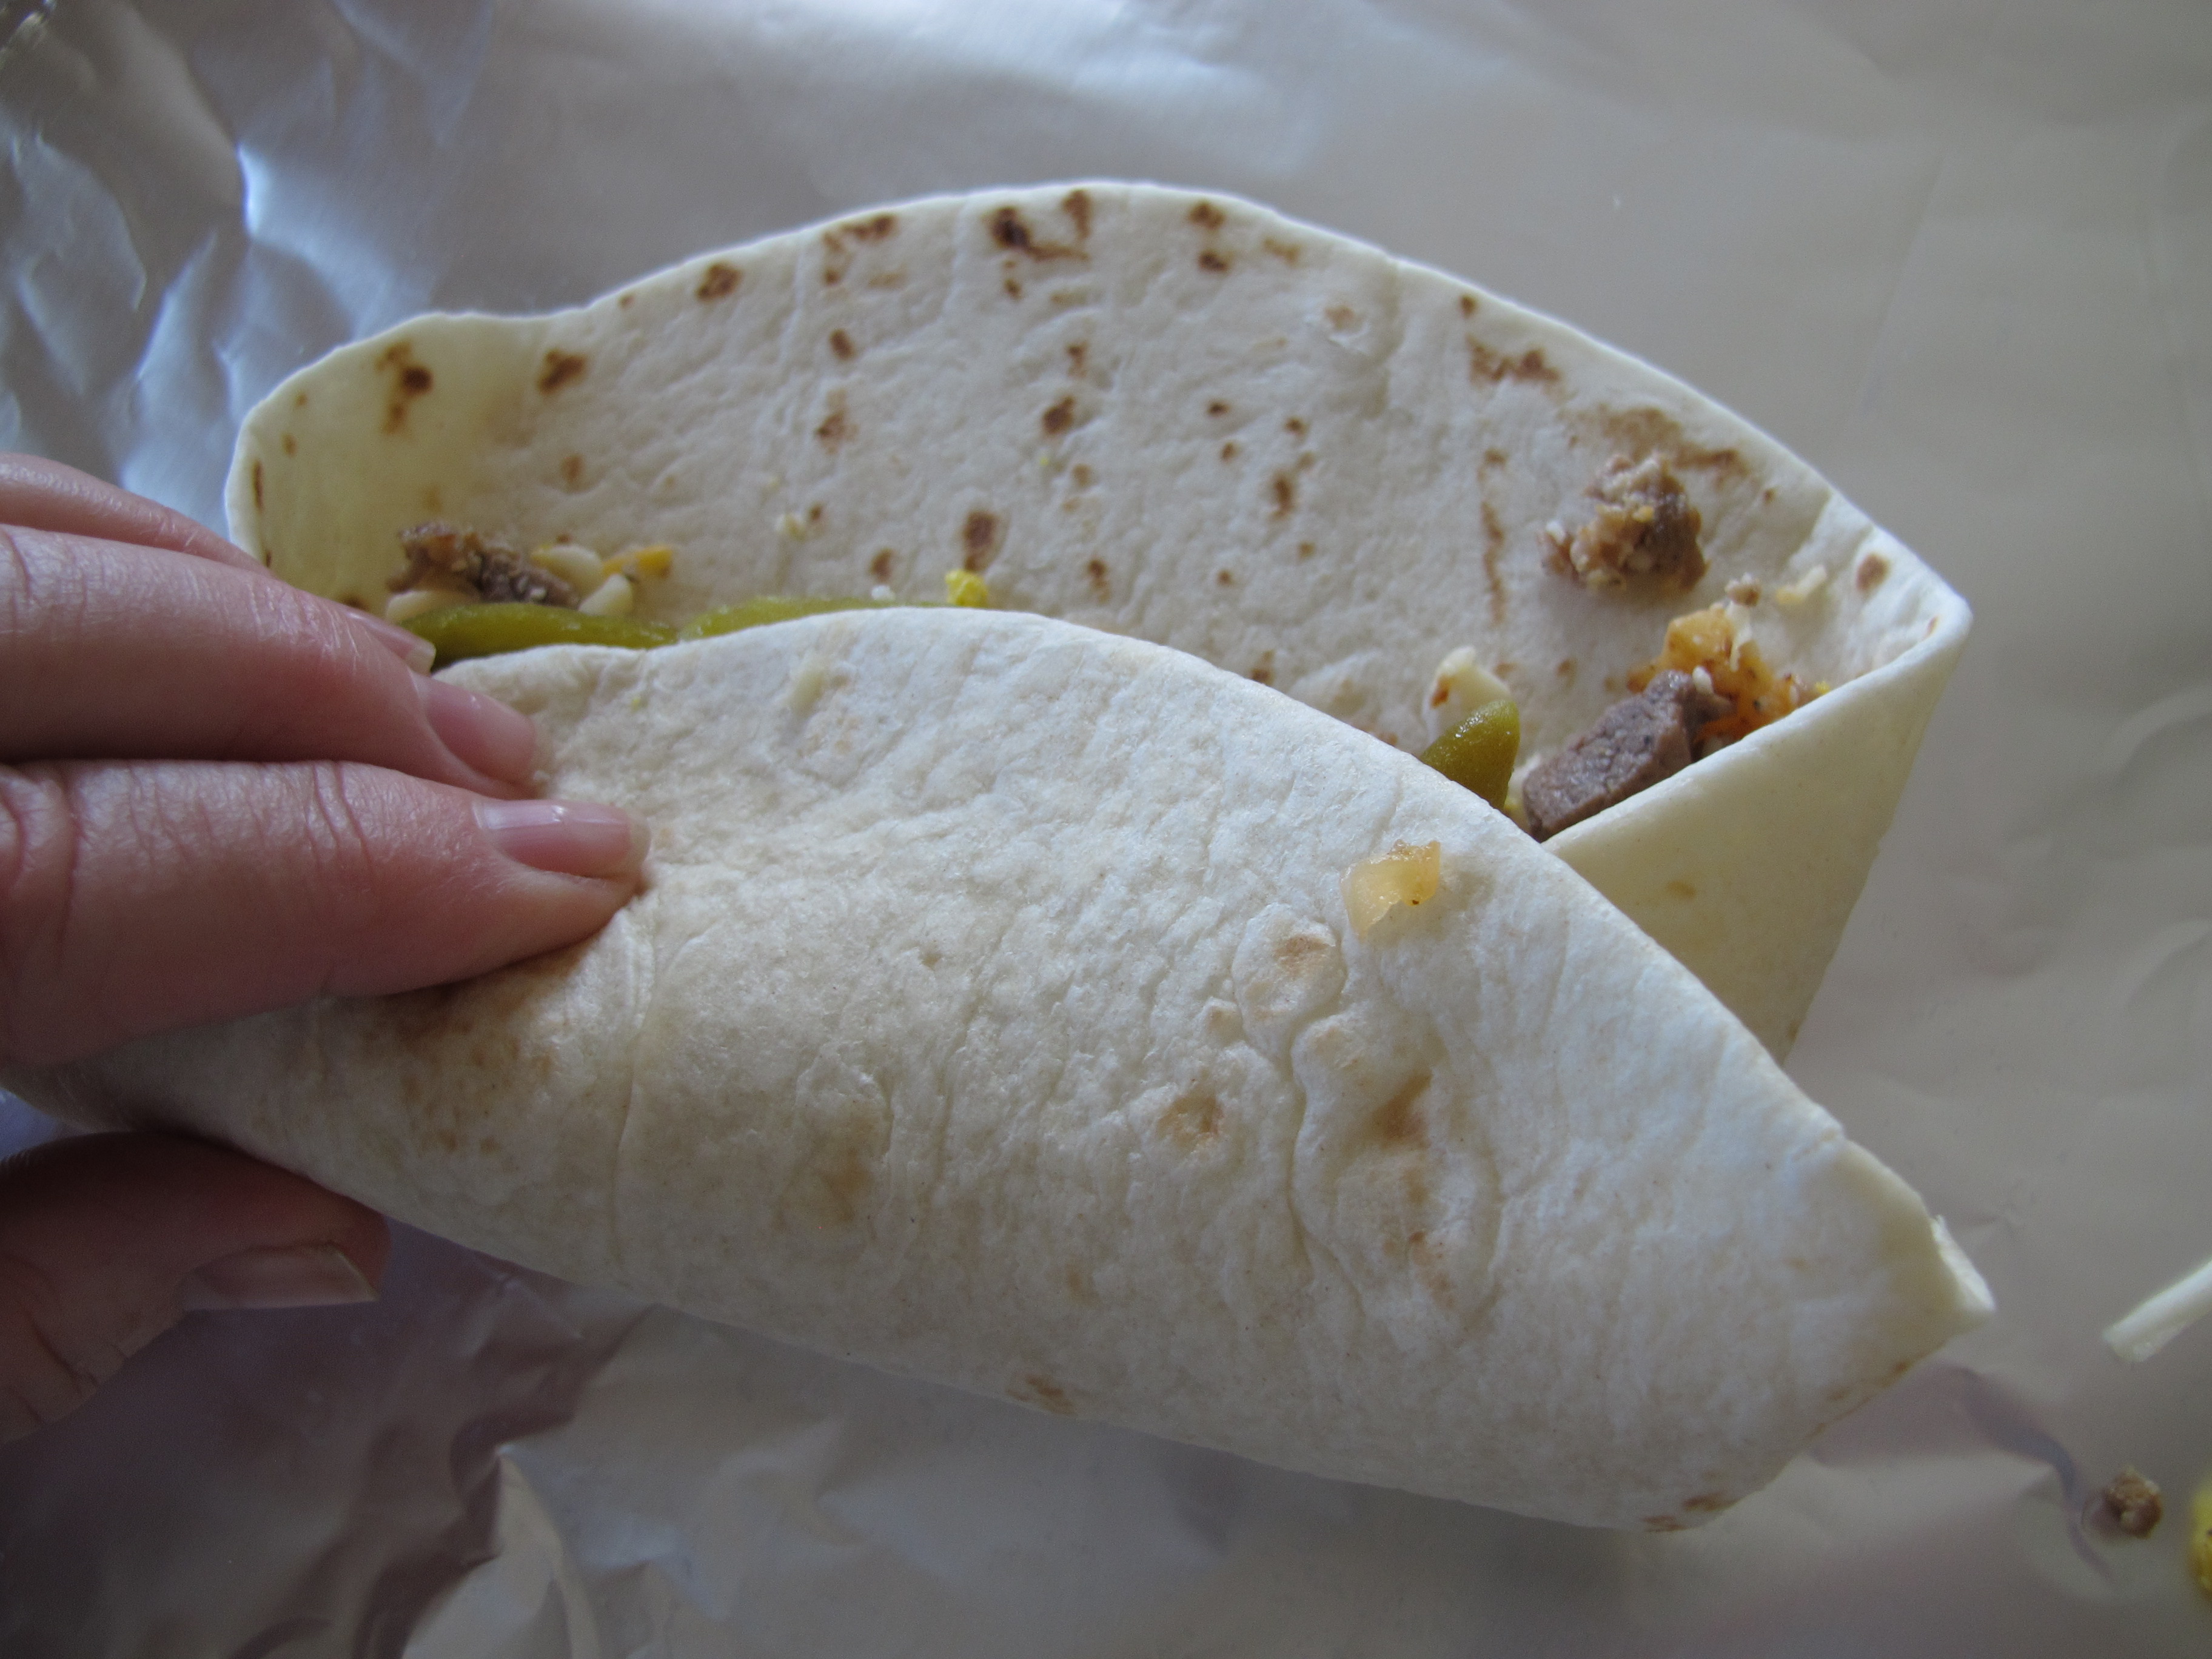
Fold up, tucking the sides in.
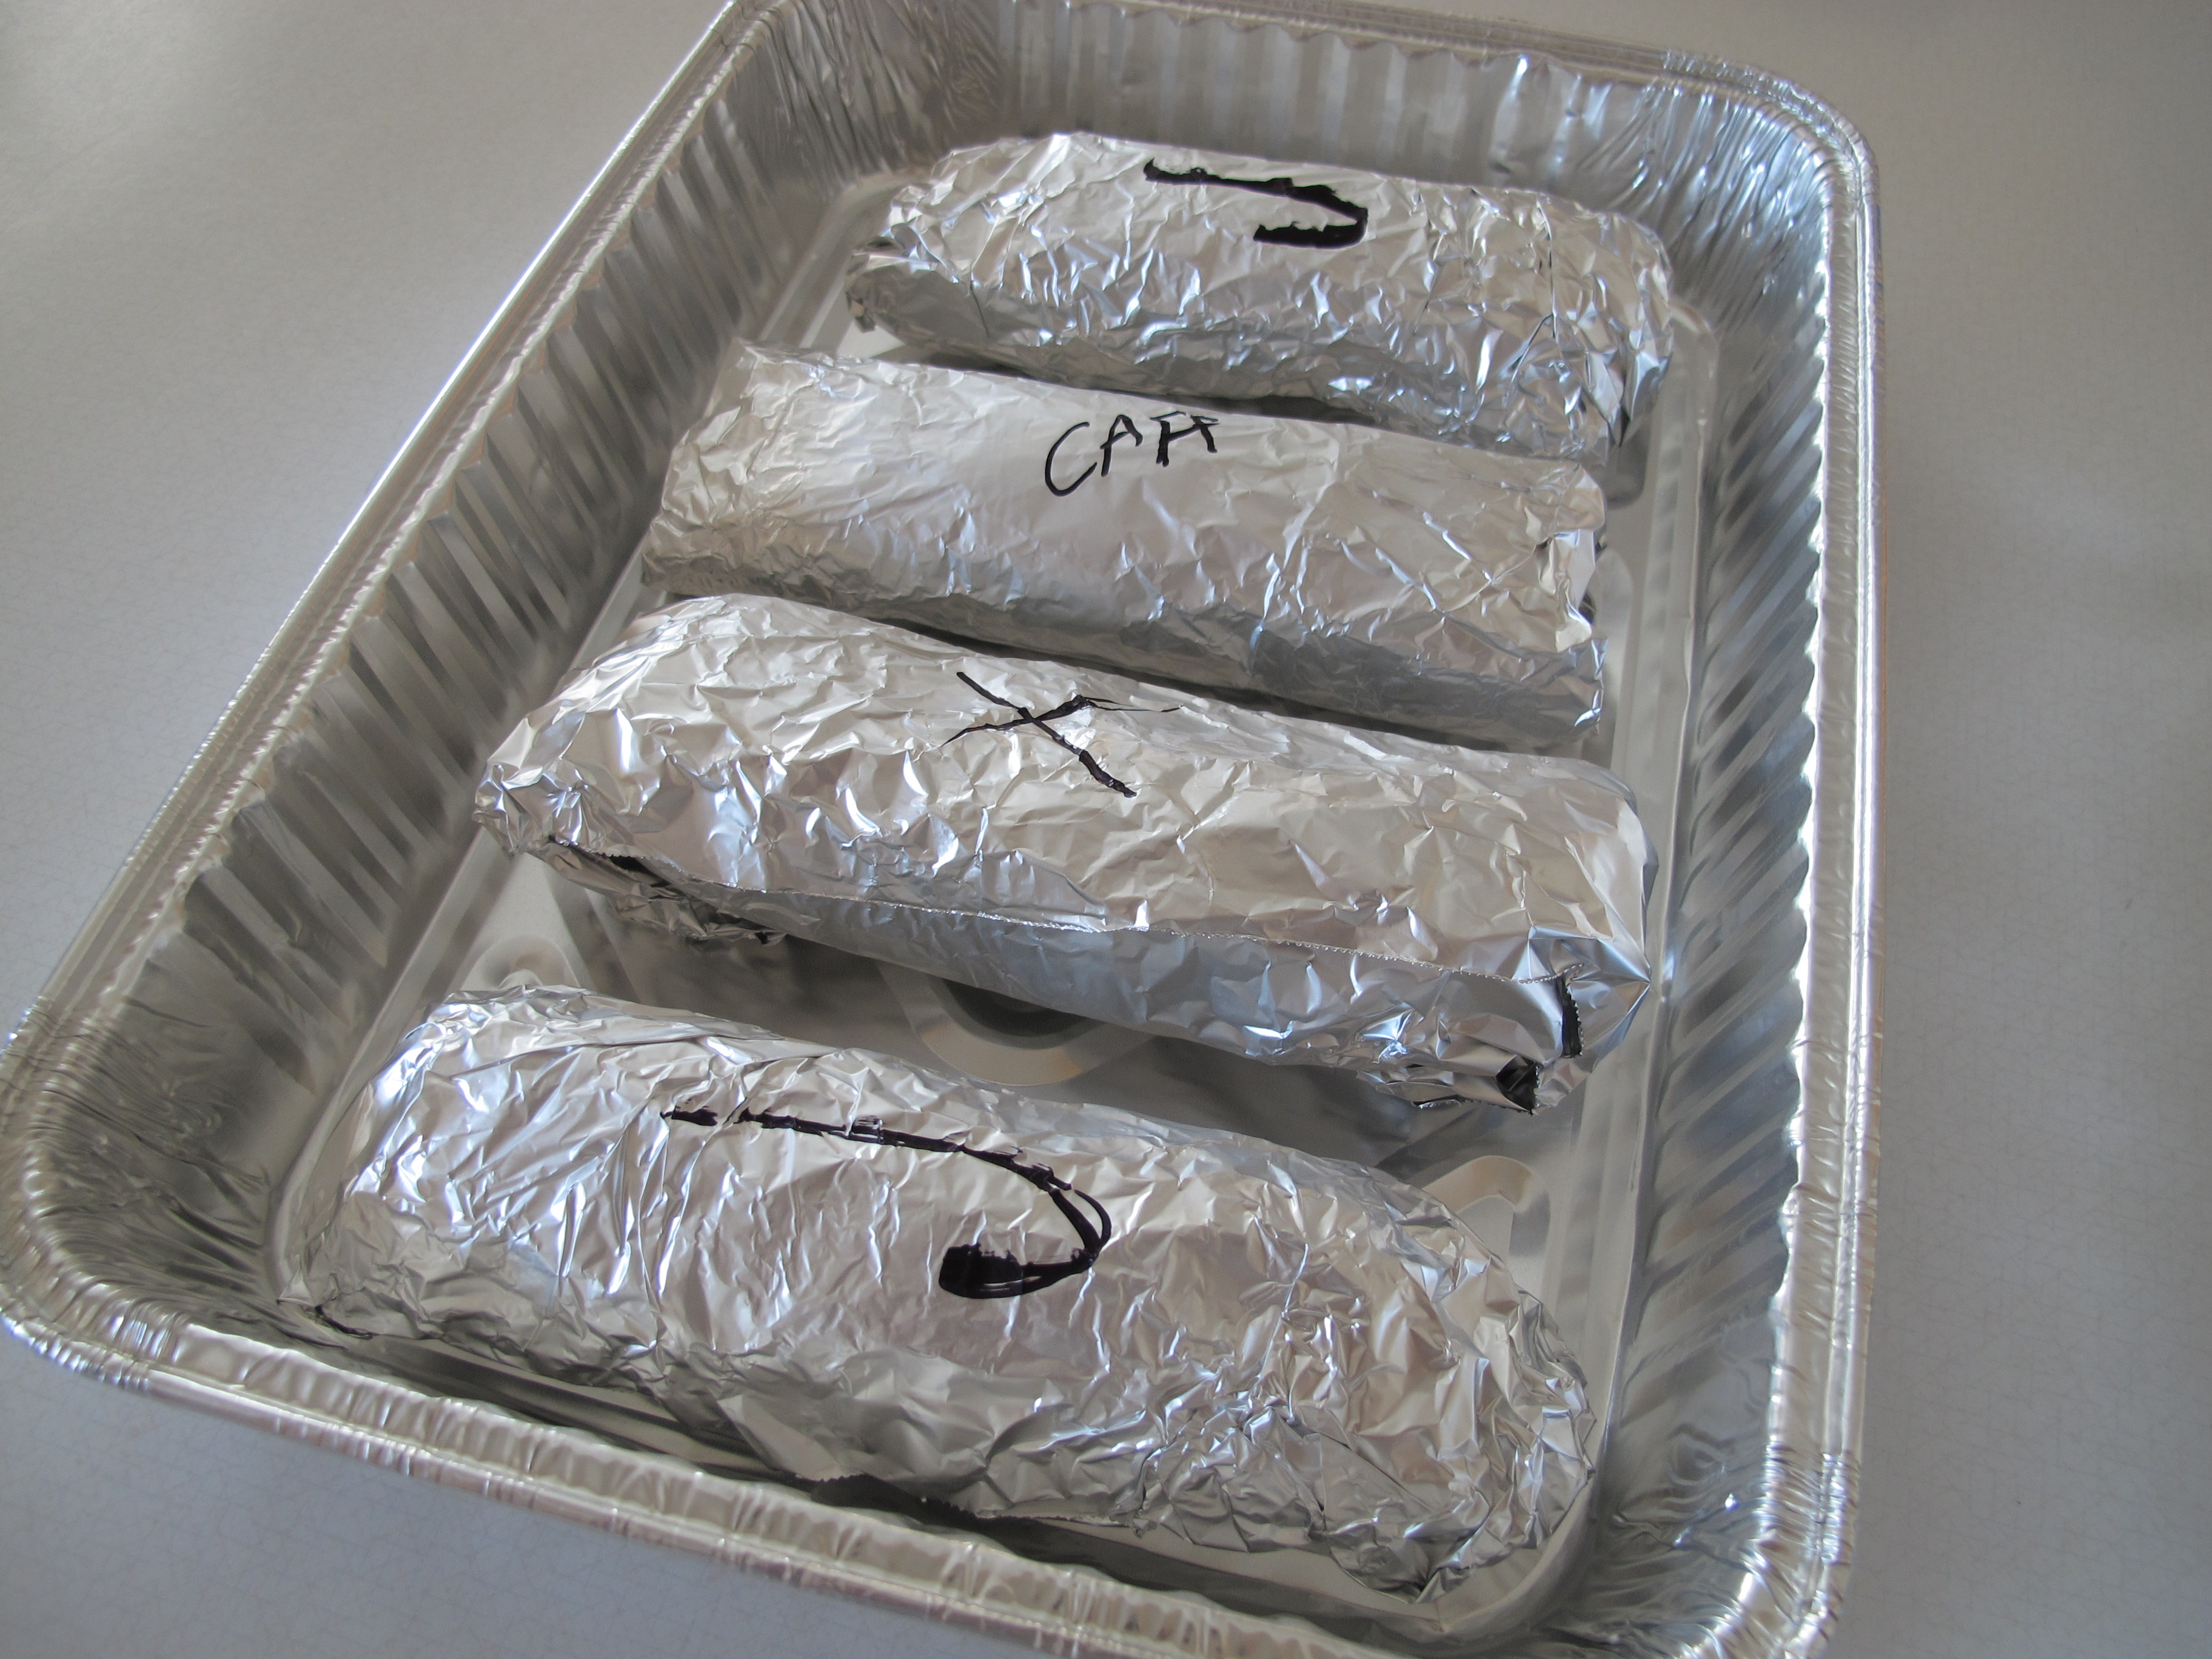
Wrap in foil and mark.

Campurritos can be put right on the grill or in a tin pan. (Easier to just put on the grill.)
Takes about 15 minutes or so to heat through. Turn from time to time so they don’t burn on one side.
Serve with taco sauce or salsa.
FREEZE AHEAD: Campurritos can be made ahead and frozen. Take out and thaw the night before.
Grilled Pizzas
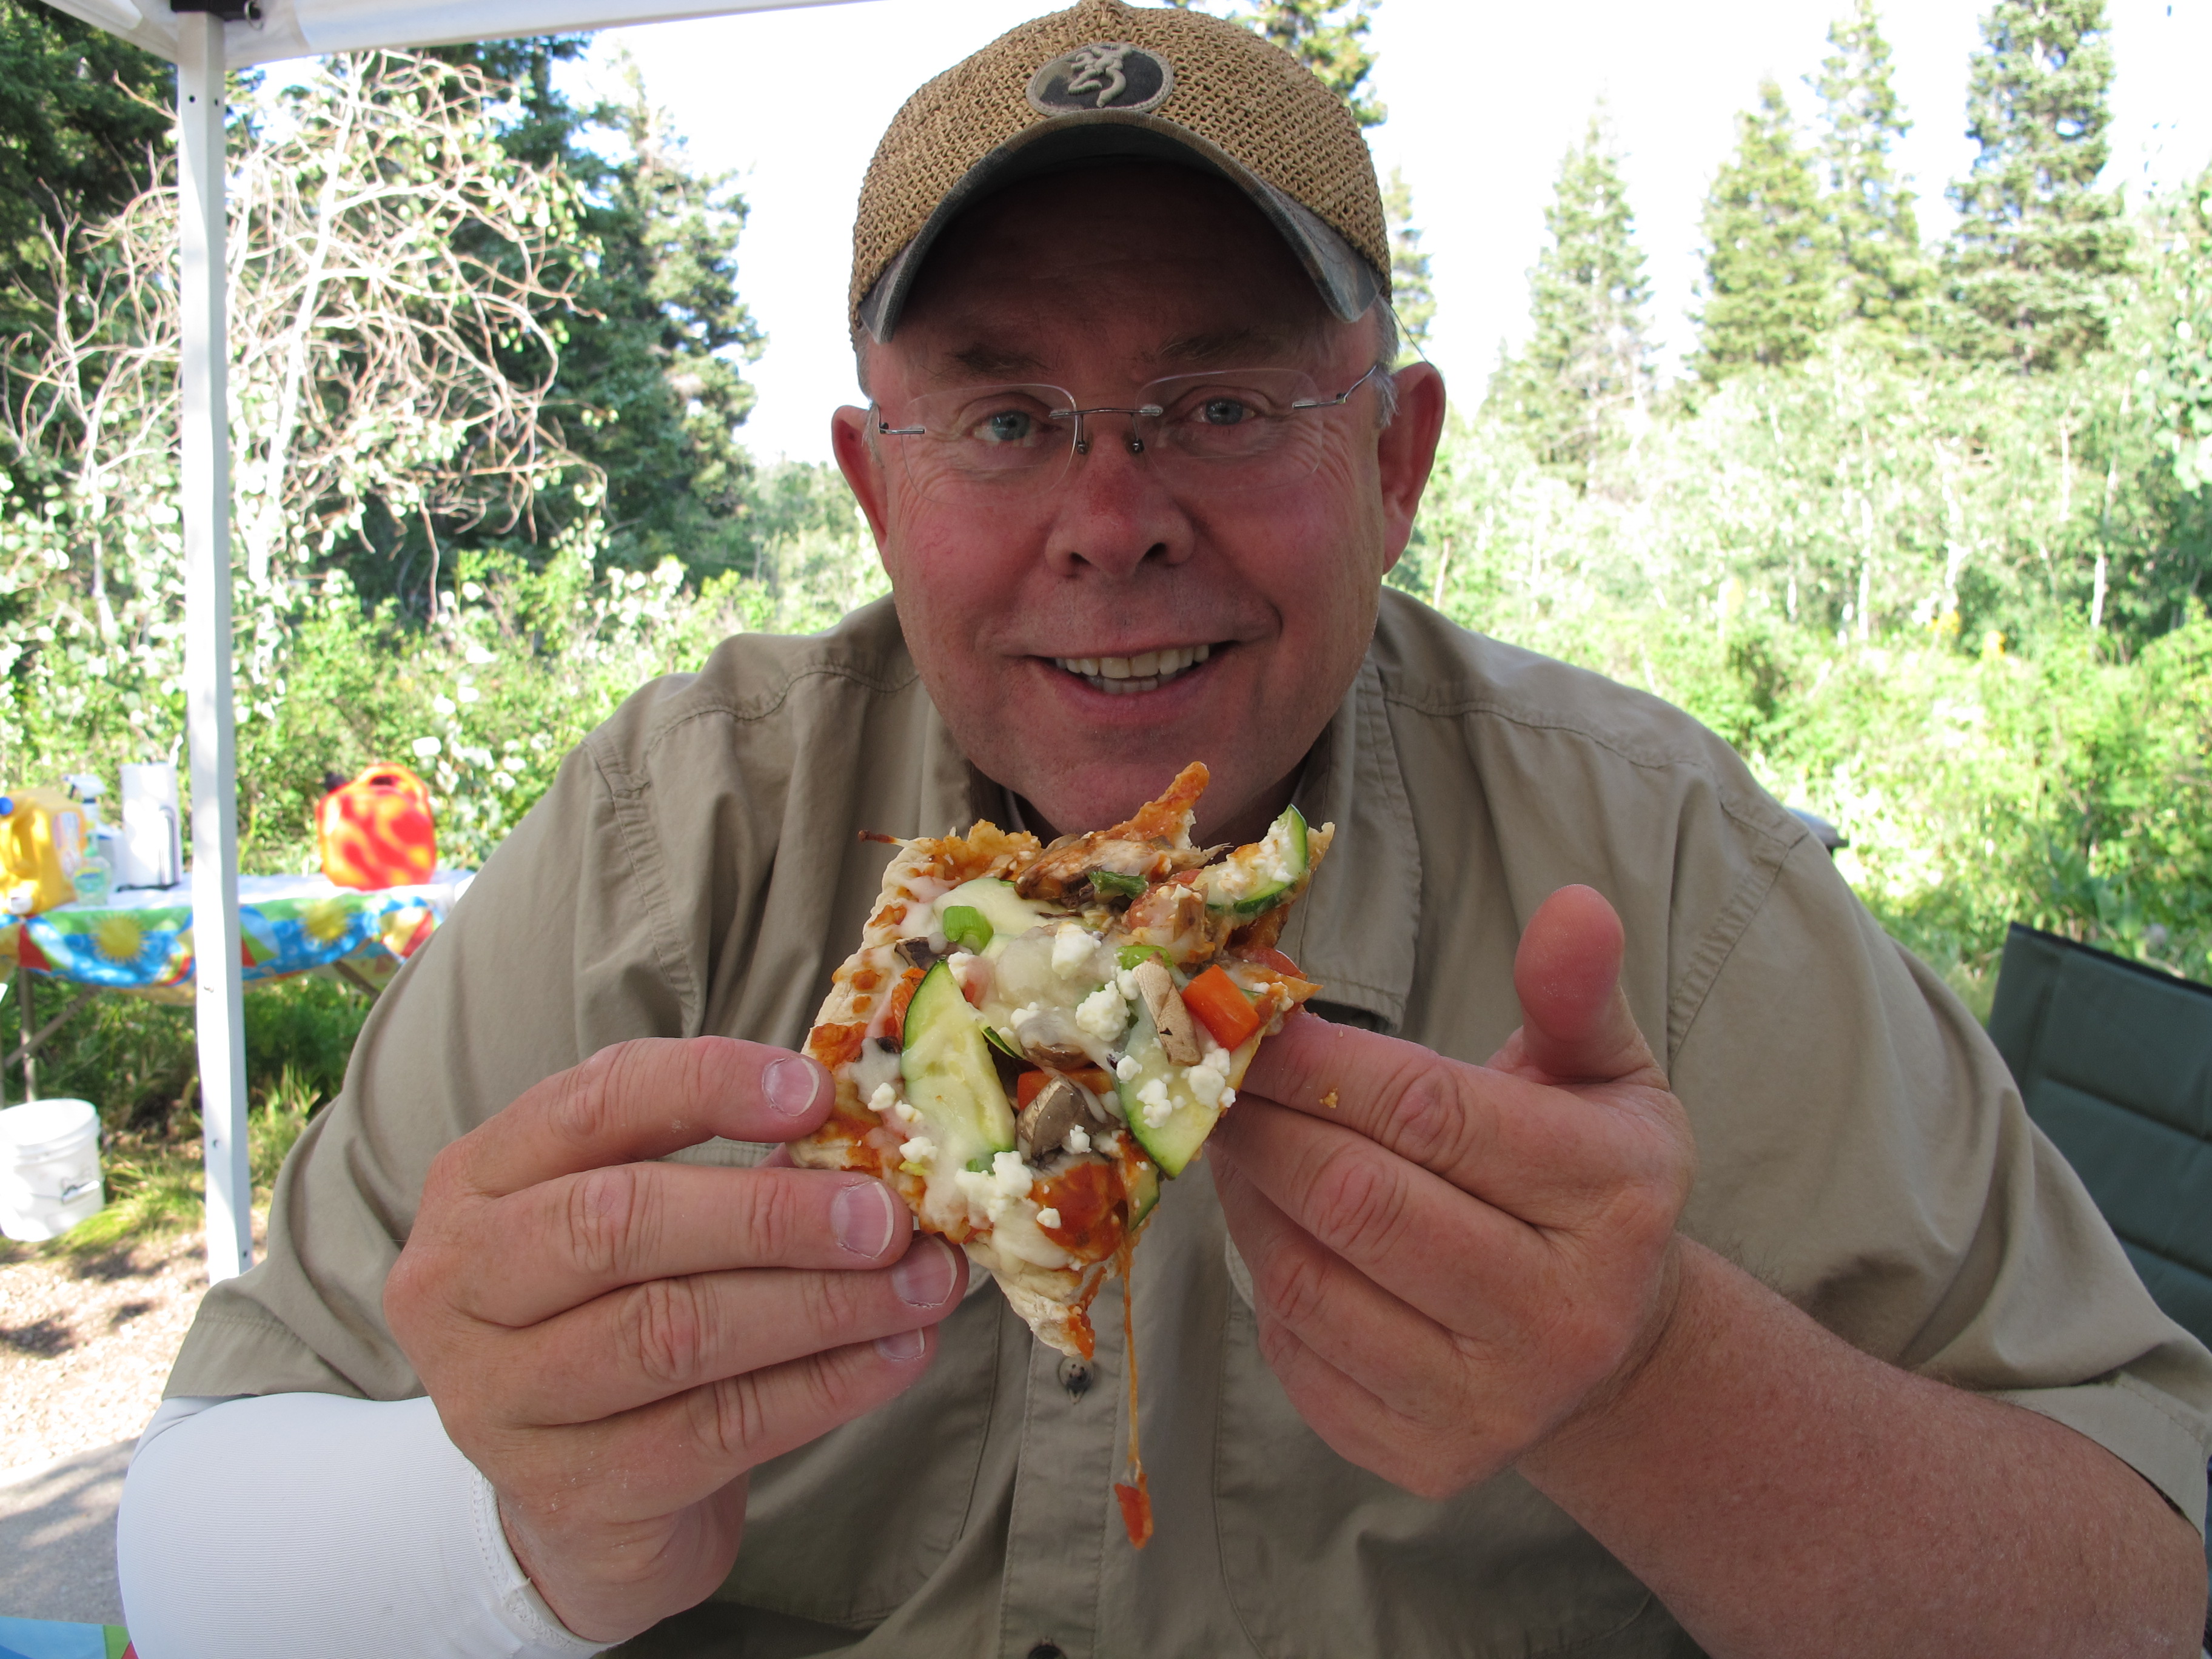
Making Grilled Pizzas while camping was an extra special treat. They were also a lot of fun to make.
I used the Pizza Dough recipe that is on this blog – listed under the Sandwiches/Pizza tab – or the Bread tab. It is quick and easy to make and you can refrigerate or freeze it to use later.
To save time and a mess, prepare your topping ahead of time at home. Store in zip lock bags.

Mushrooms – Zucchini – Pineapple – Green Onions – Red Pepper – Feta Cheese – Pizza sauce – Mozzarella Cheese
As per the instructions for the Pizza Dough, remove dough from refrigerator at least 30 minutes before using.
Flatten out the dough.
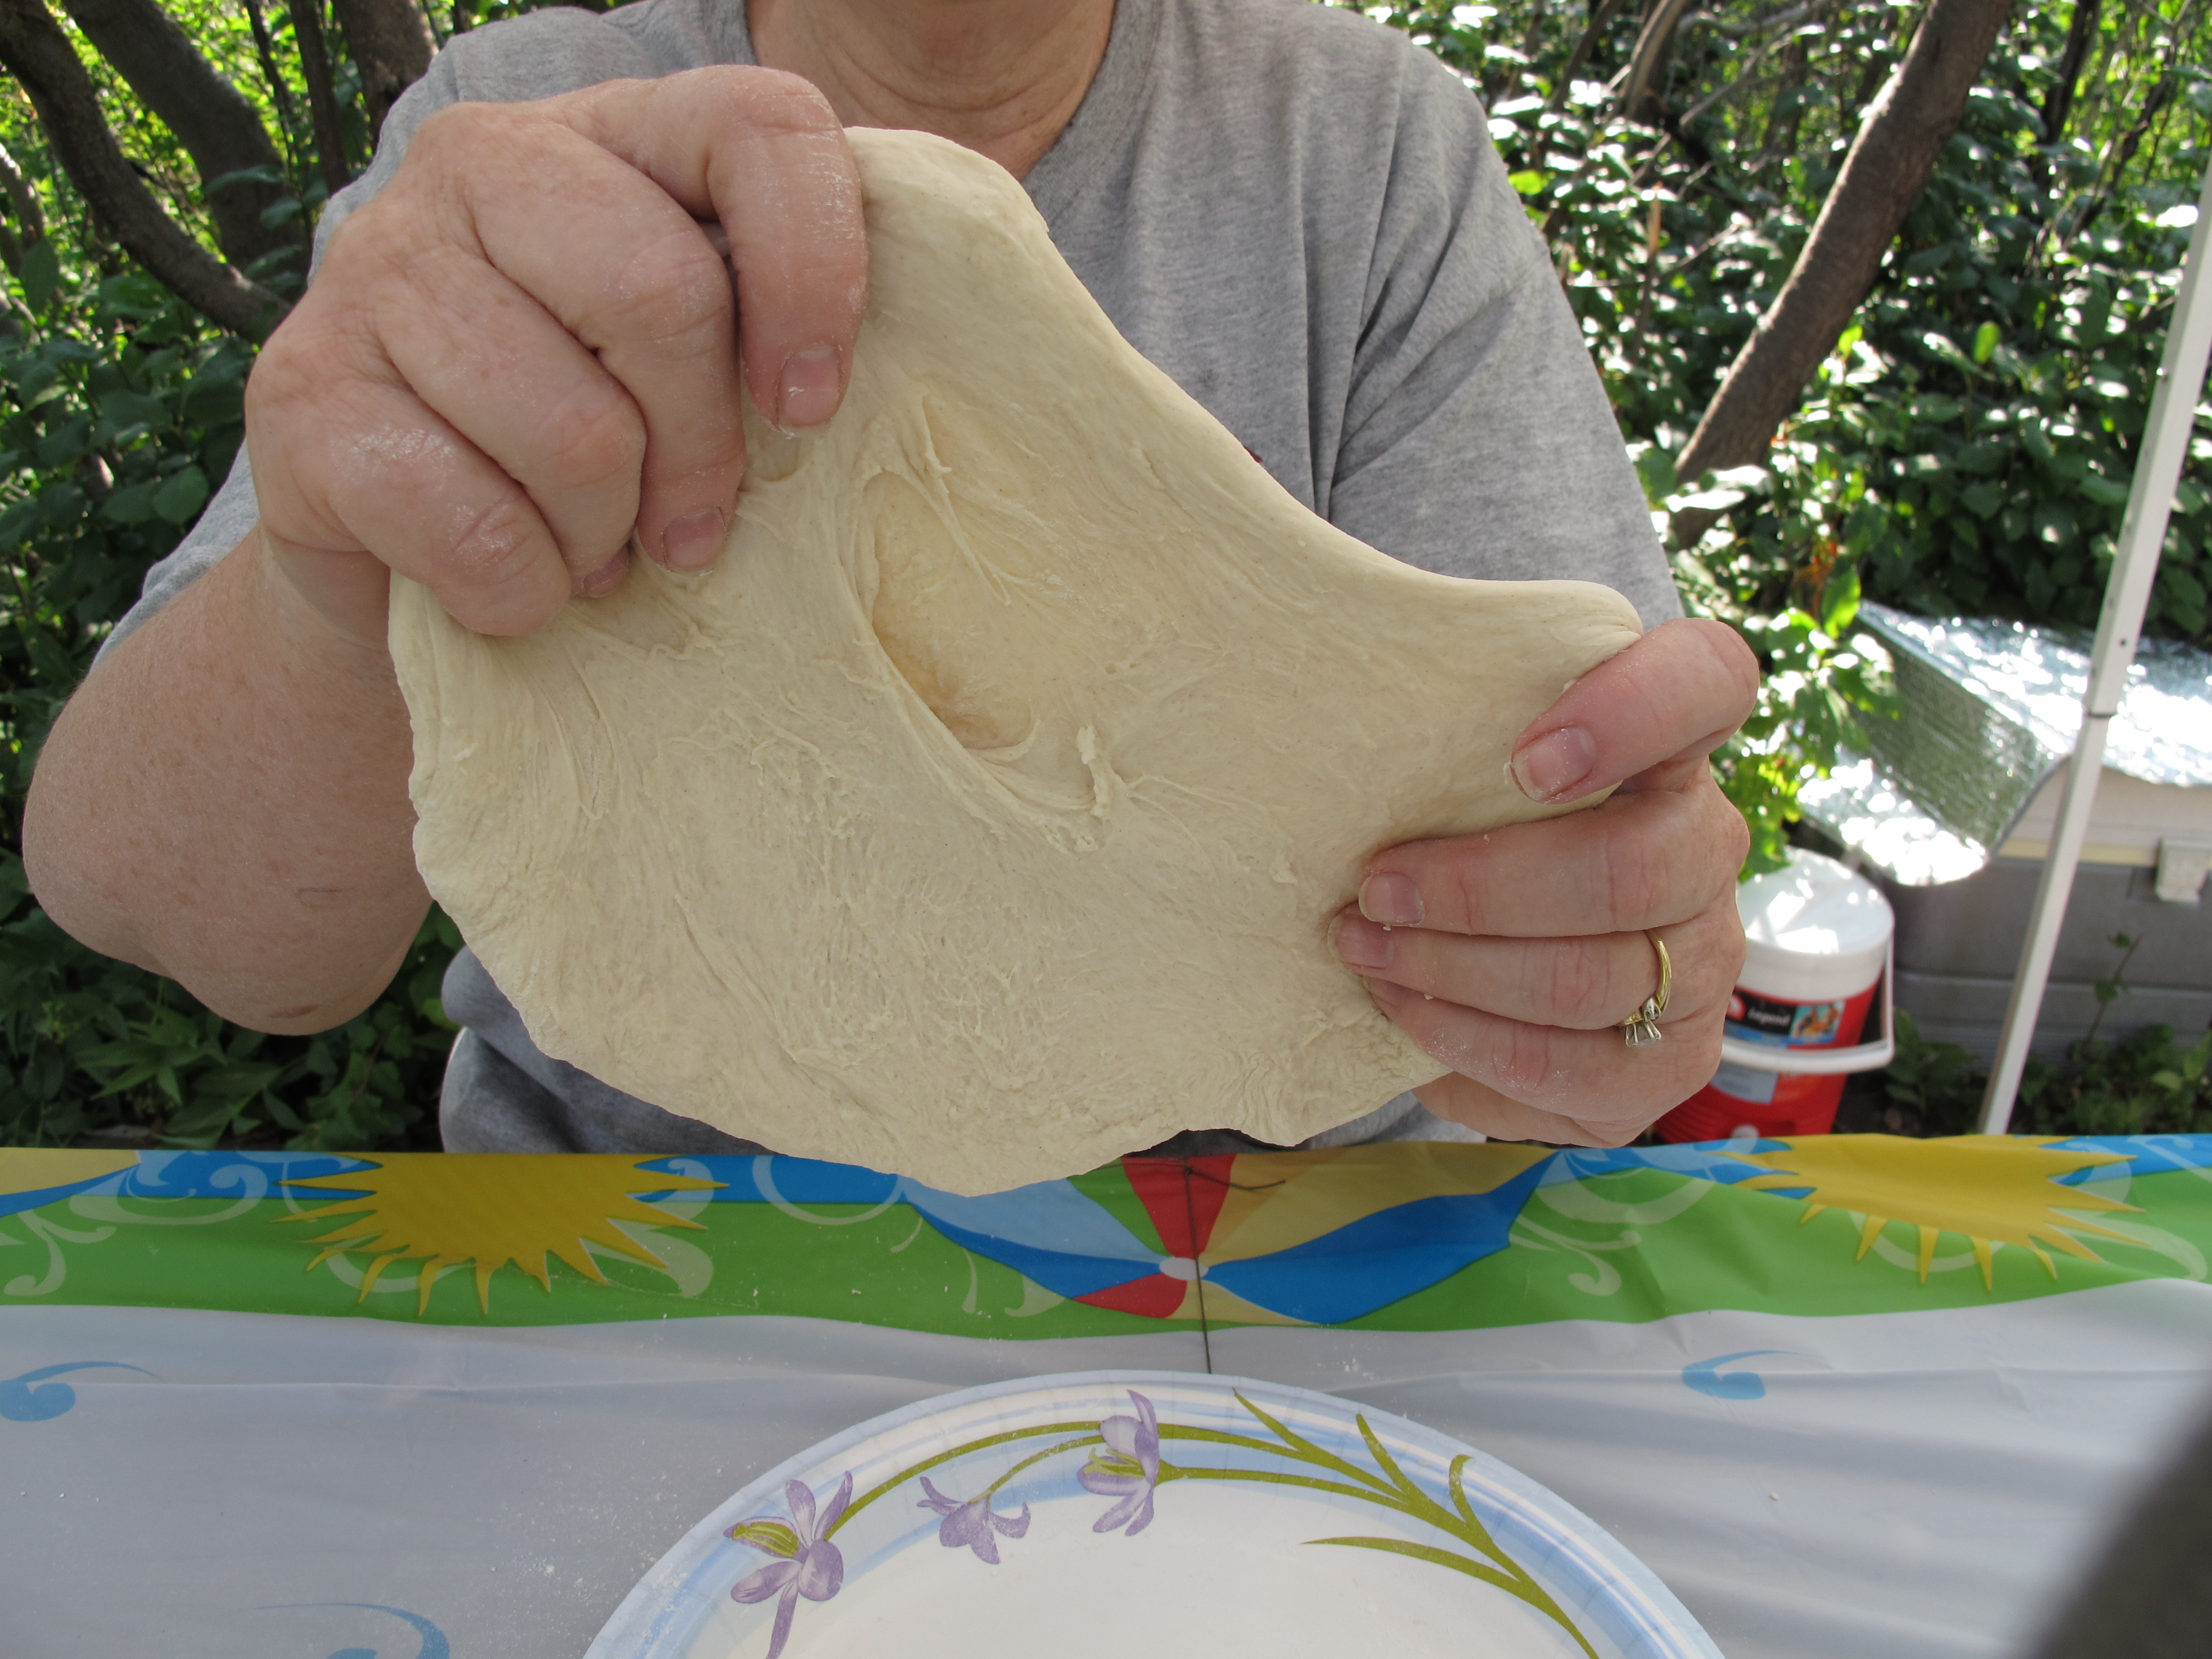
You can do this by stretching it out with your hands.
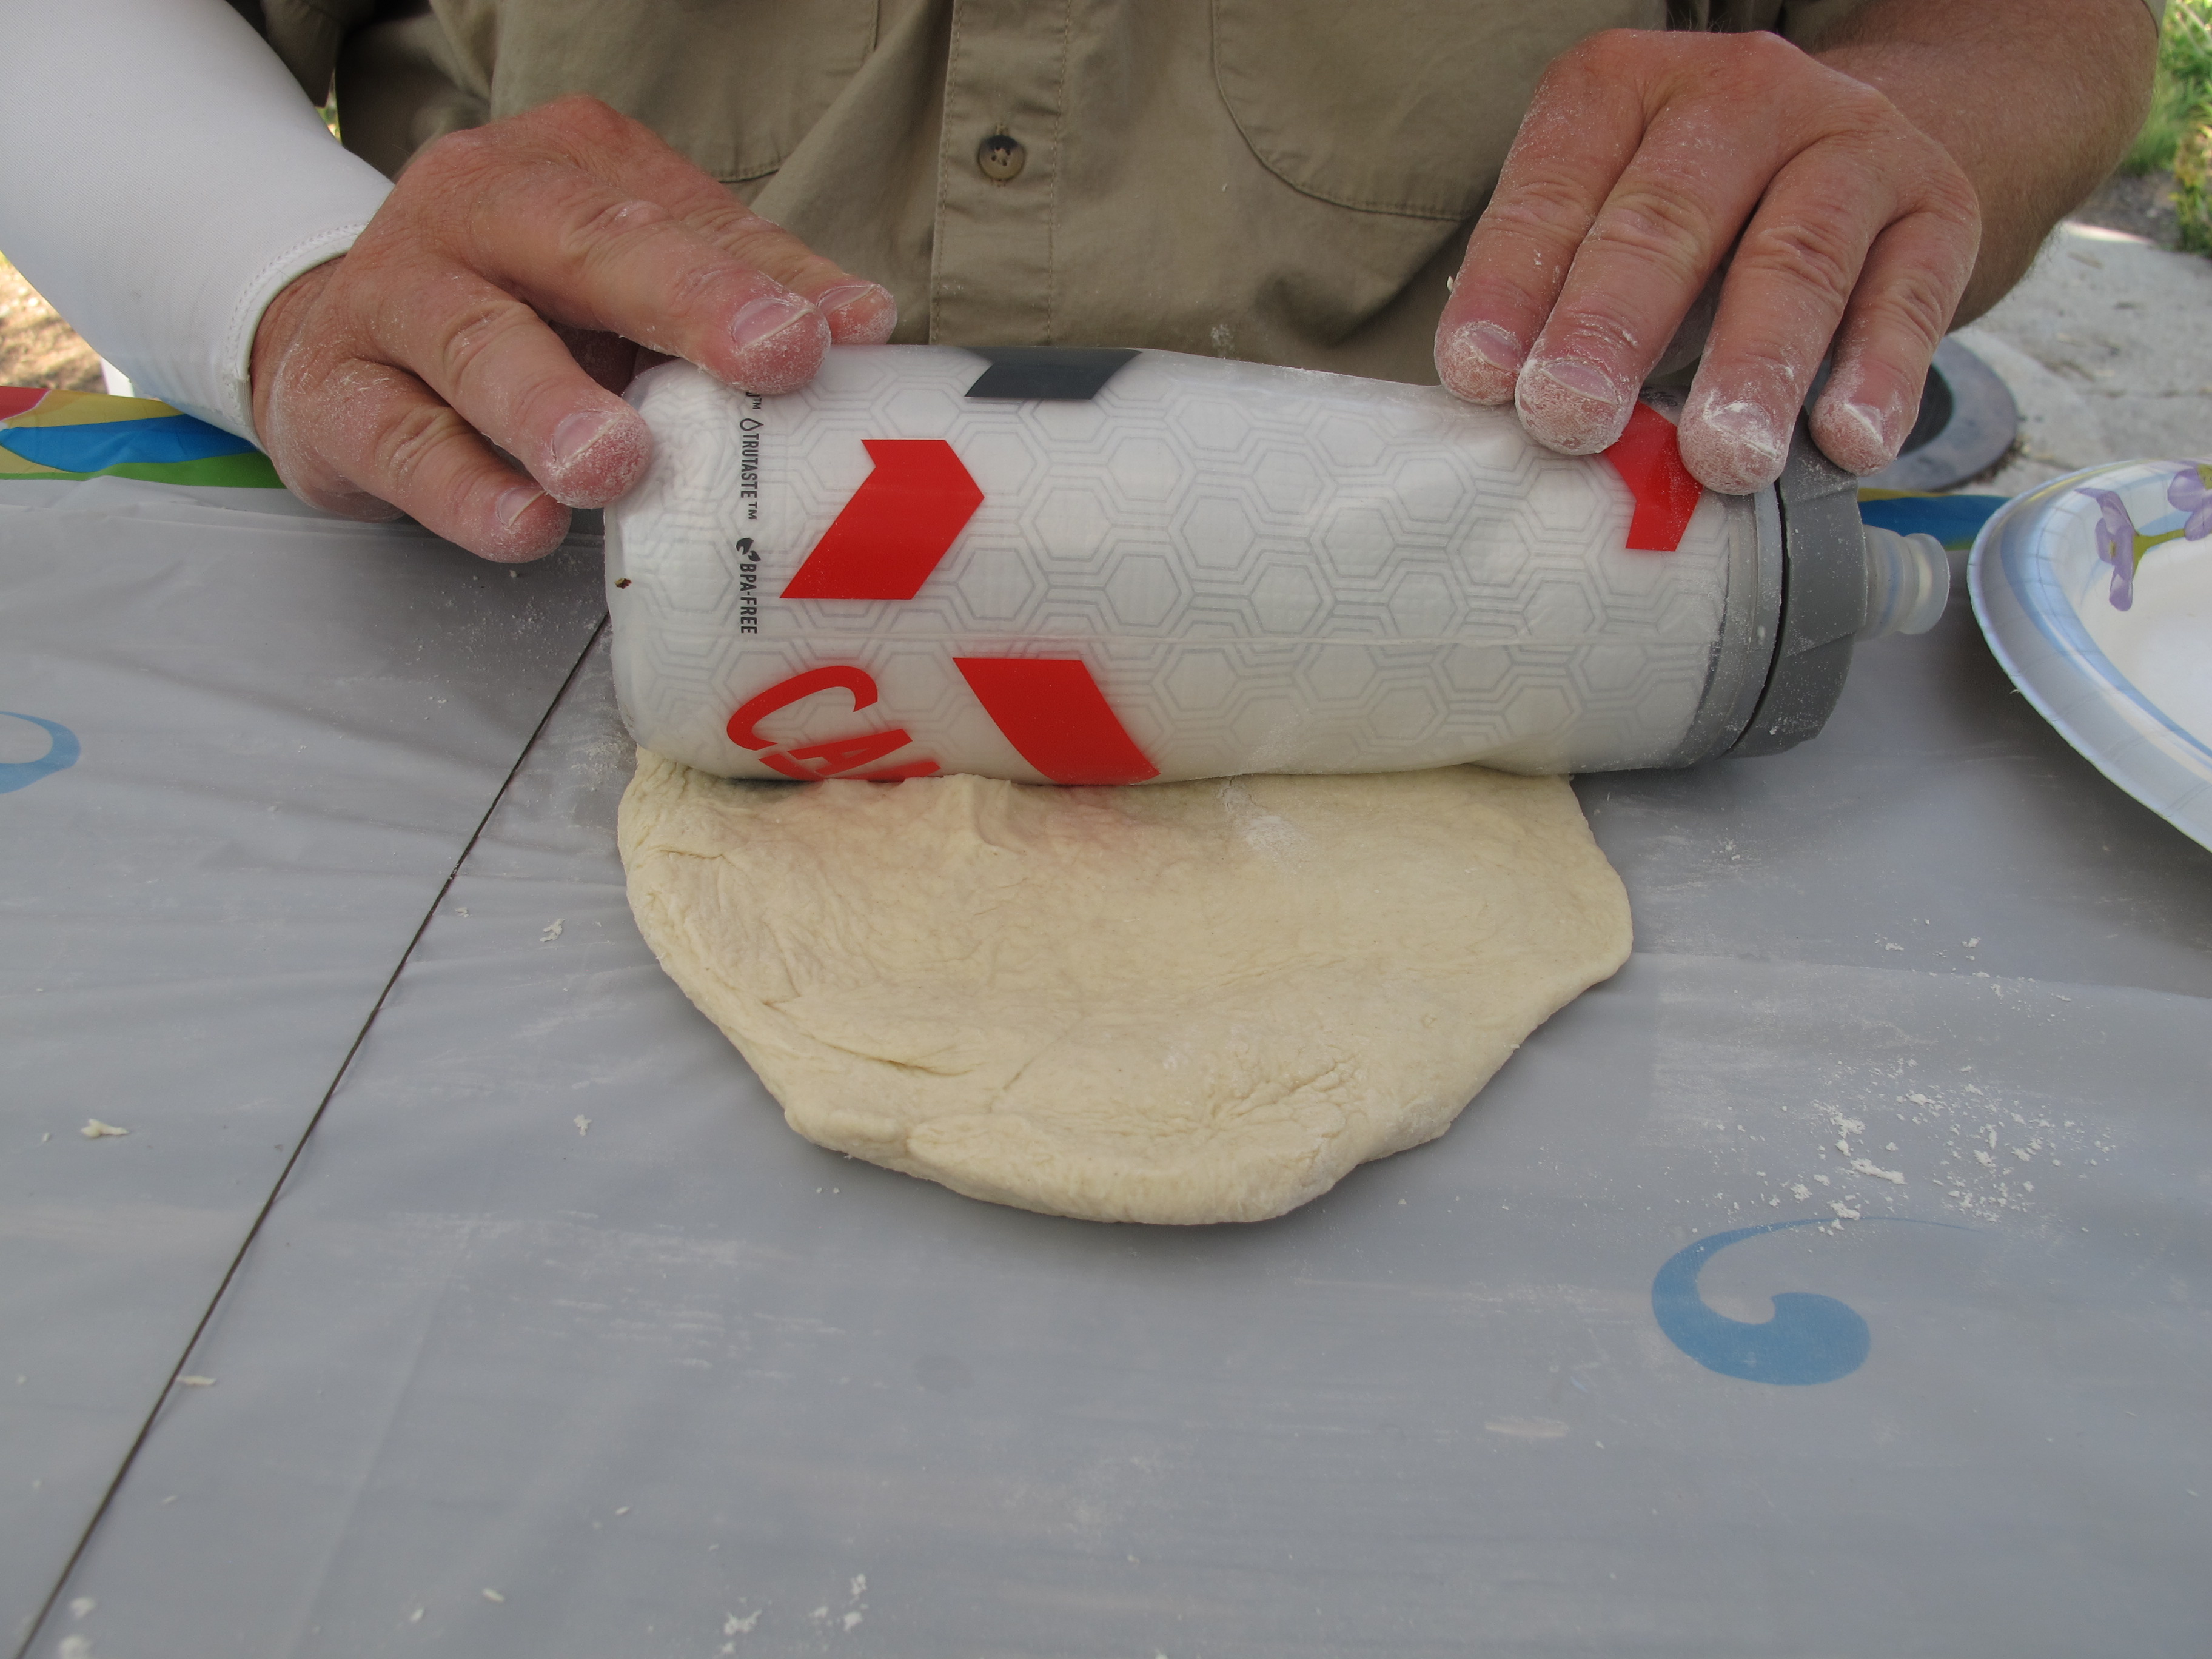
Or…sprinkle a little flour on the picnic table and roll it out with your water bottle! Whatever works!!!
Coat the grill with olive oil to prevent sticking.

You can put the dough right on the grill. We have these flat racks that we used.
Cook on one side for about 3 minutes and then flip it over.

Don’t you love the shape of our pizzas!
Remove from grill and add sauce and toppings to the cooked side.
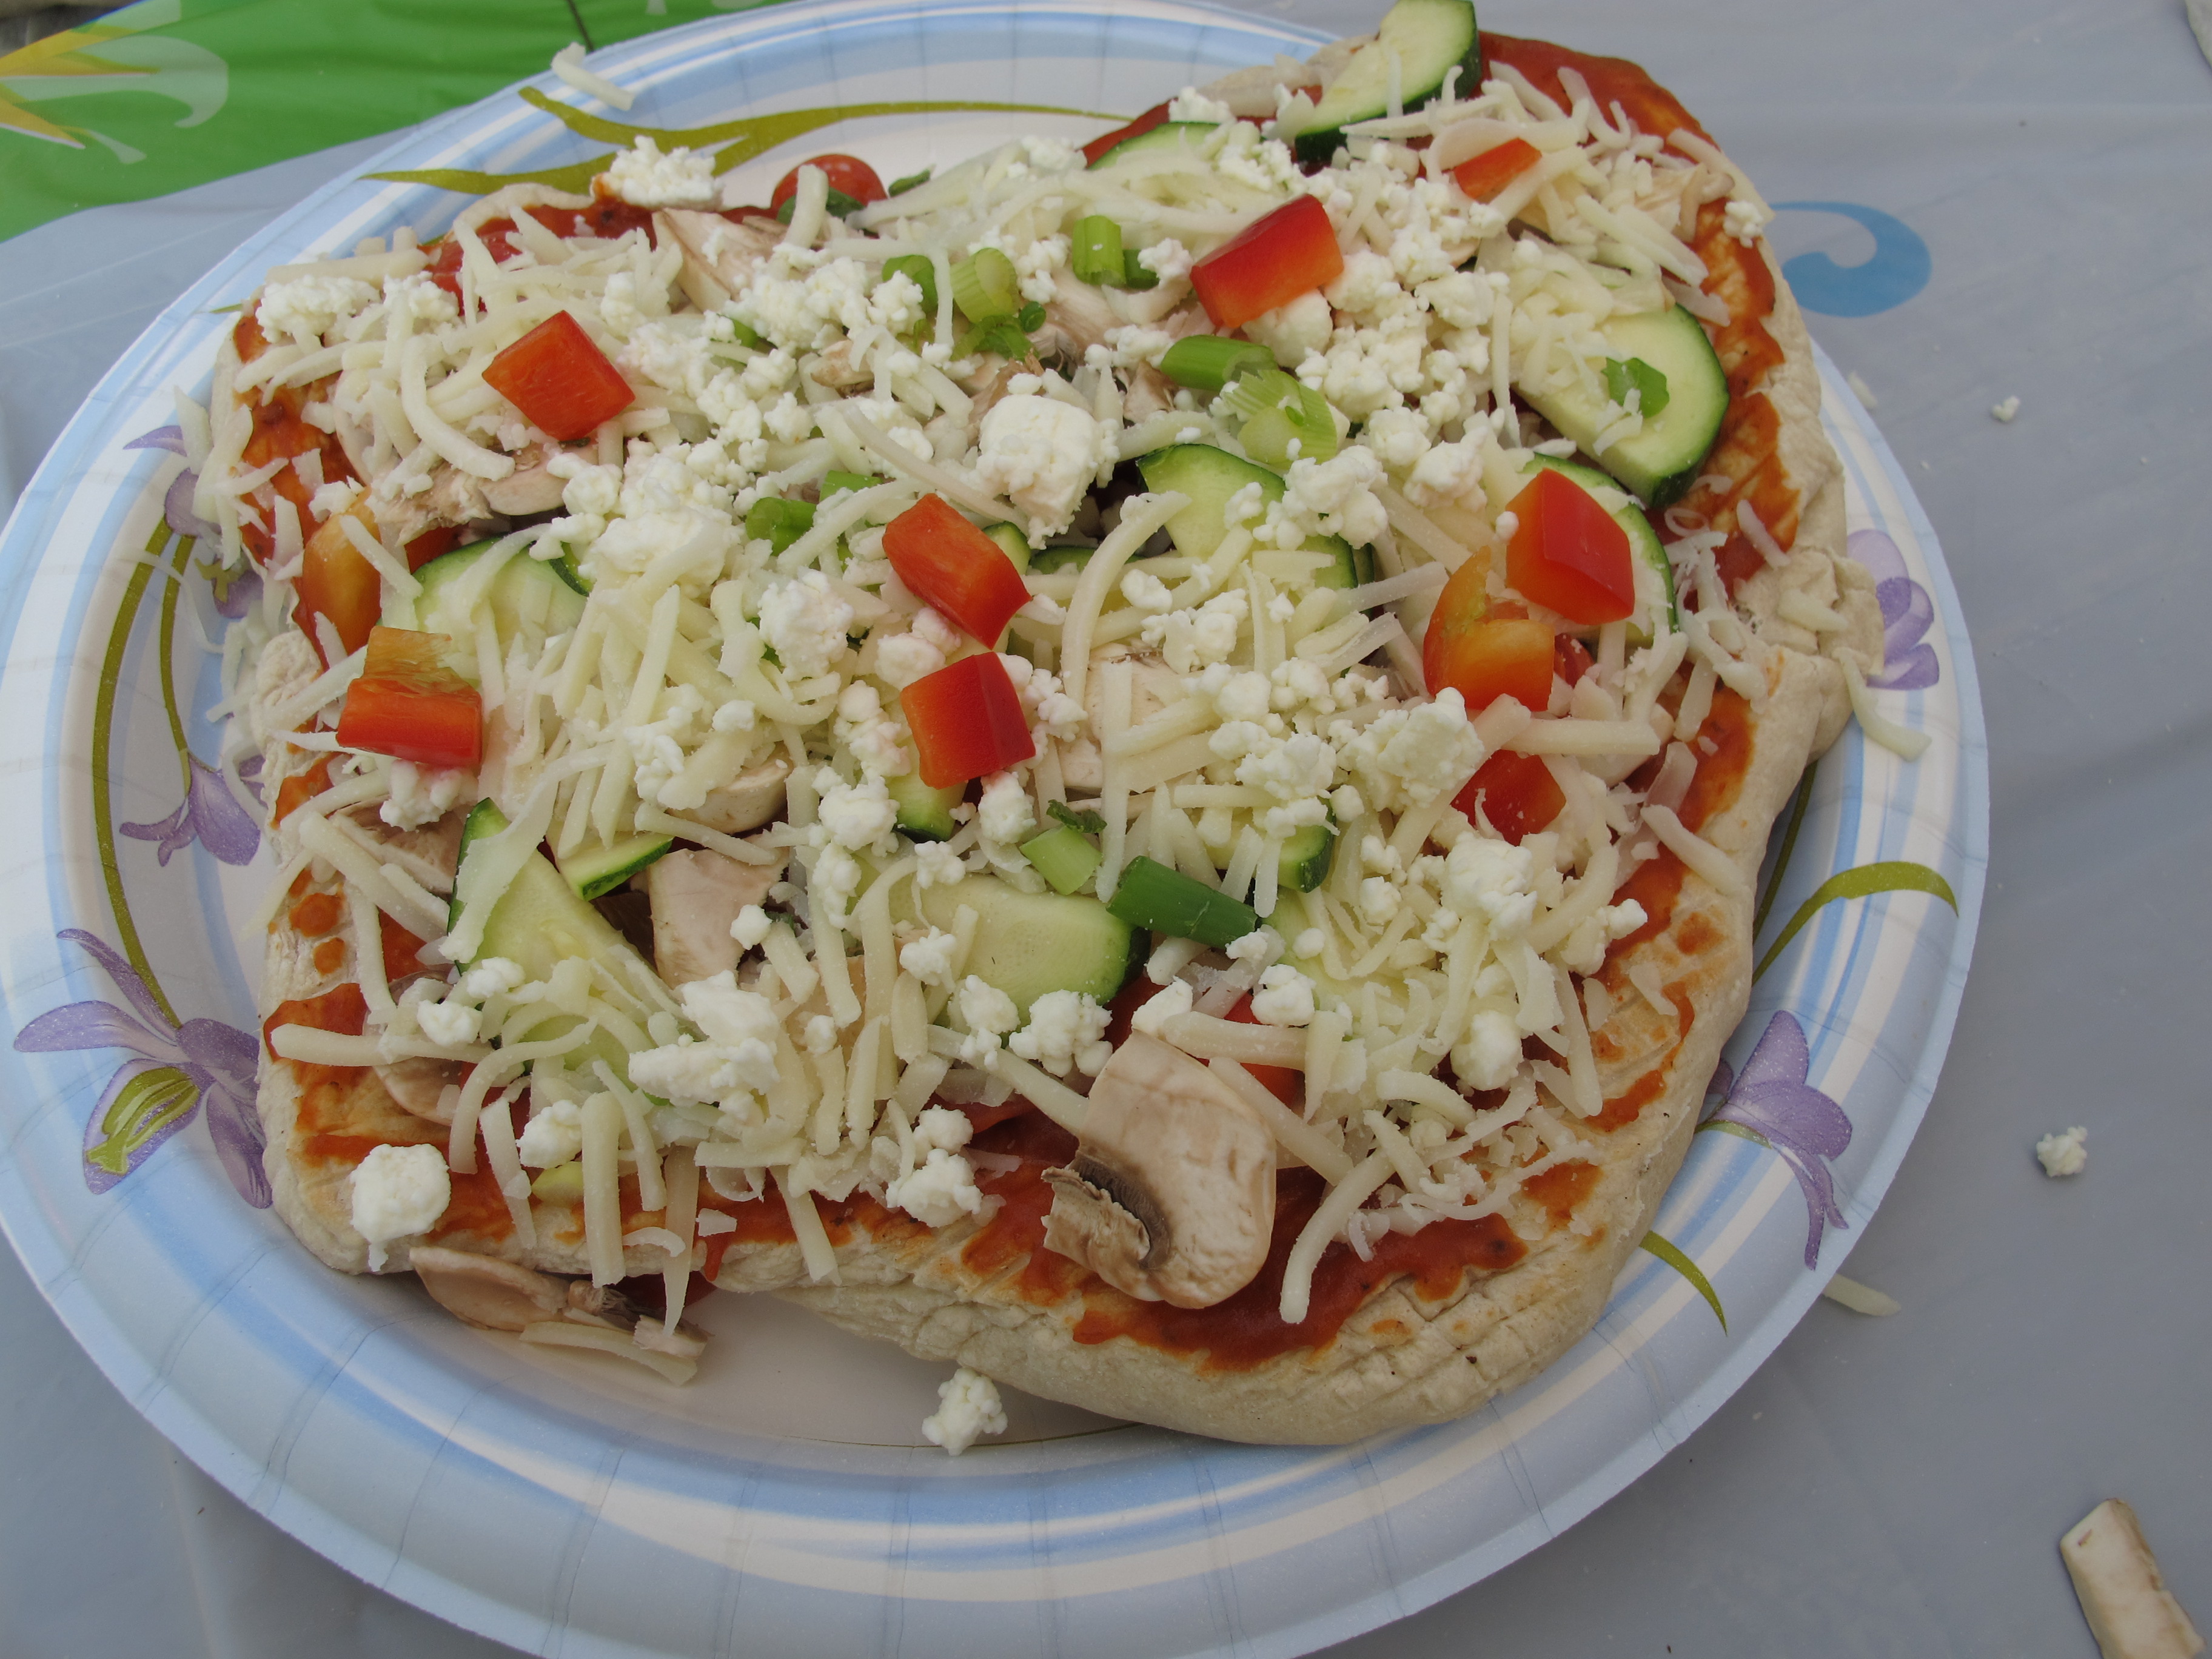
Put pizzas back on the grill – close the lid on the BBQ and cook for another 5 – 10 minutes, or until the cheese is nice and melted.

Pizza Dough
We made Grilled Pizzas while camping. It was so good and such a fun dinner. We made this recipe for Pizza Dough ahead of time and put it in the freezer. The Grilled Pizza recipe can be found on this blog under Sandwiches/Pizzas or the Camping tab.
1/2 cup warm water
2 1/4 tsp. instant yeast
Measure the warm water into a 2 cup liquid measuring cup. Sprinkle the yeast over the top. Set aside.

4 cups (22 oz.) bread flour
1 1/2 tsp. salt
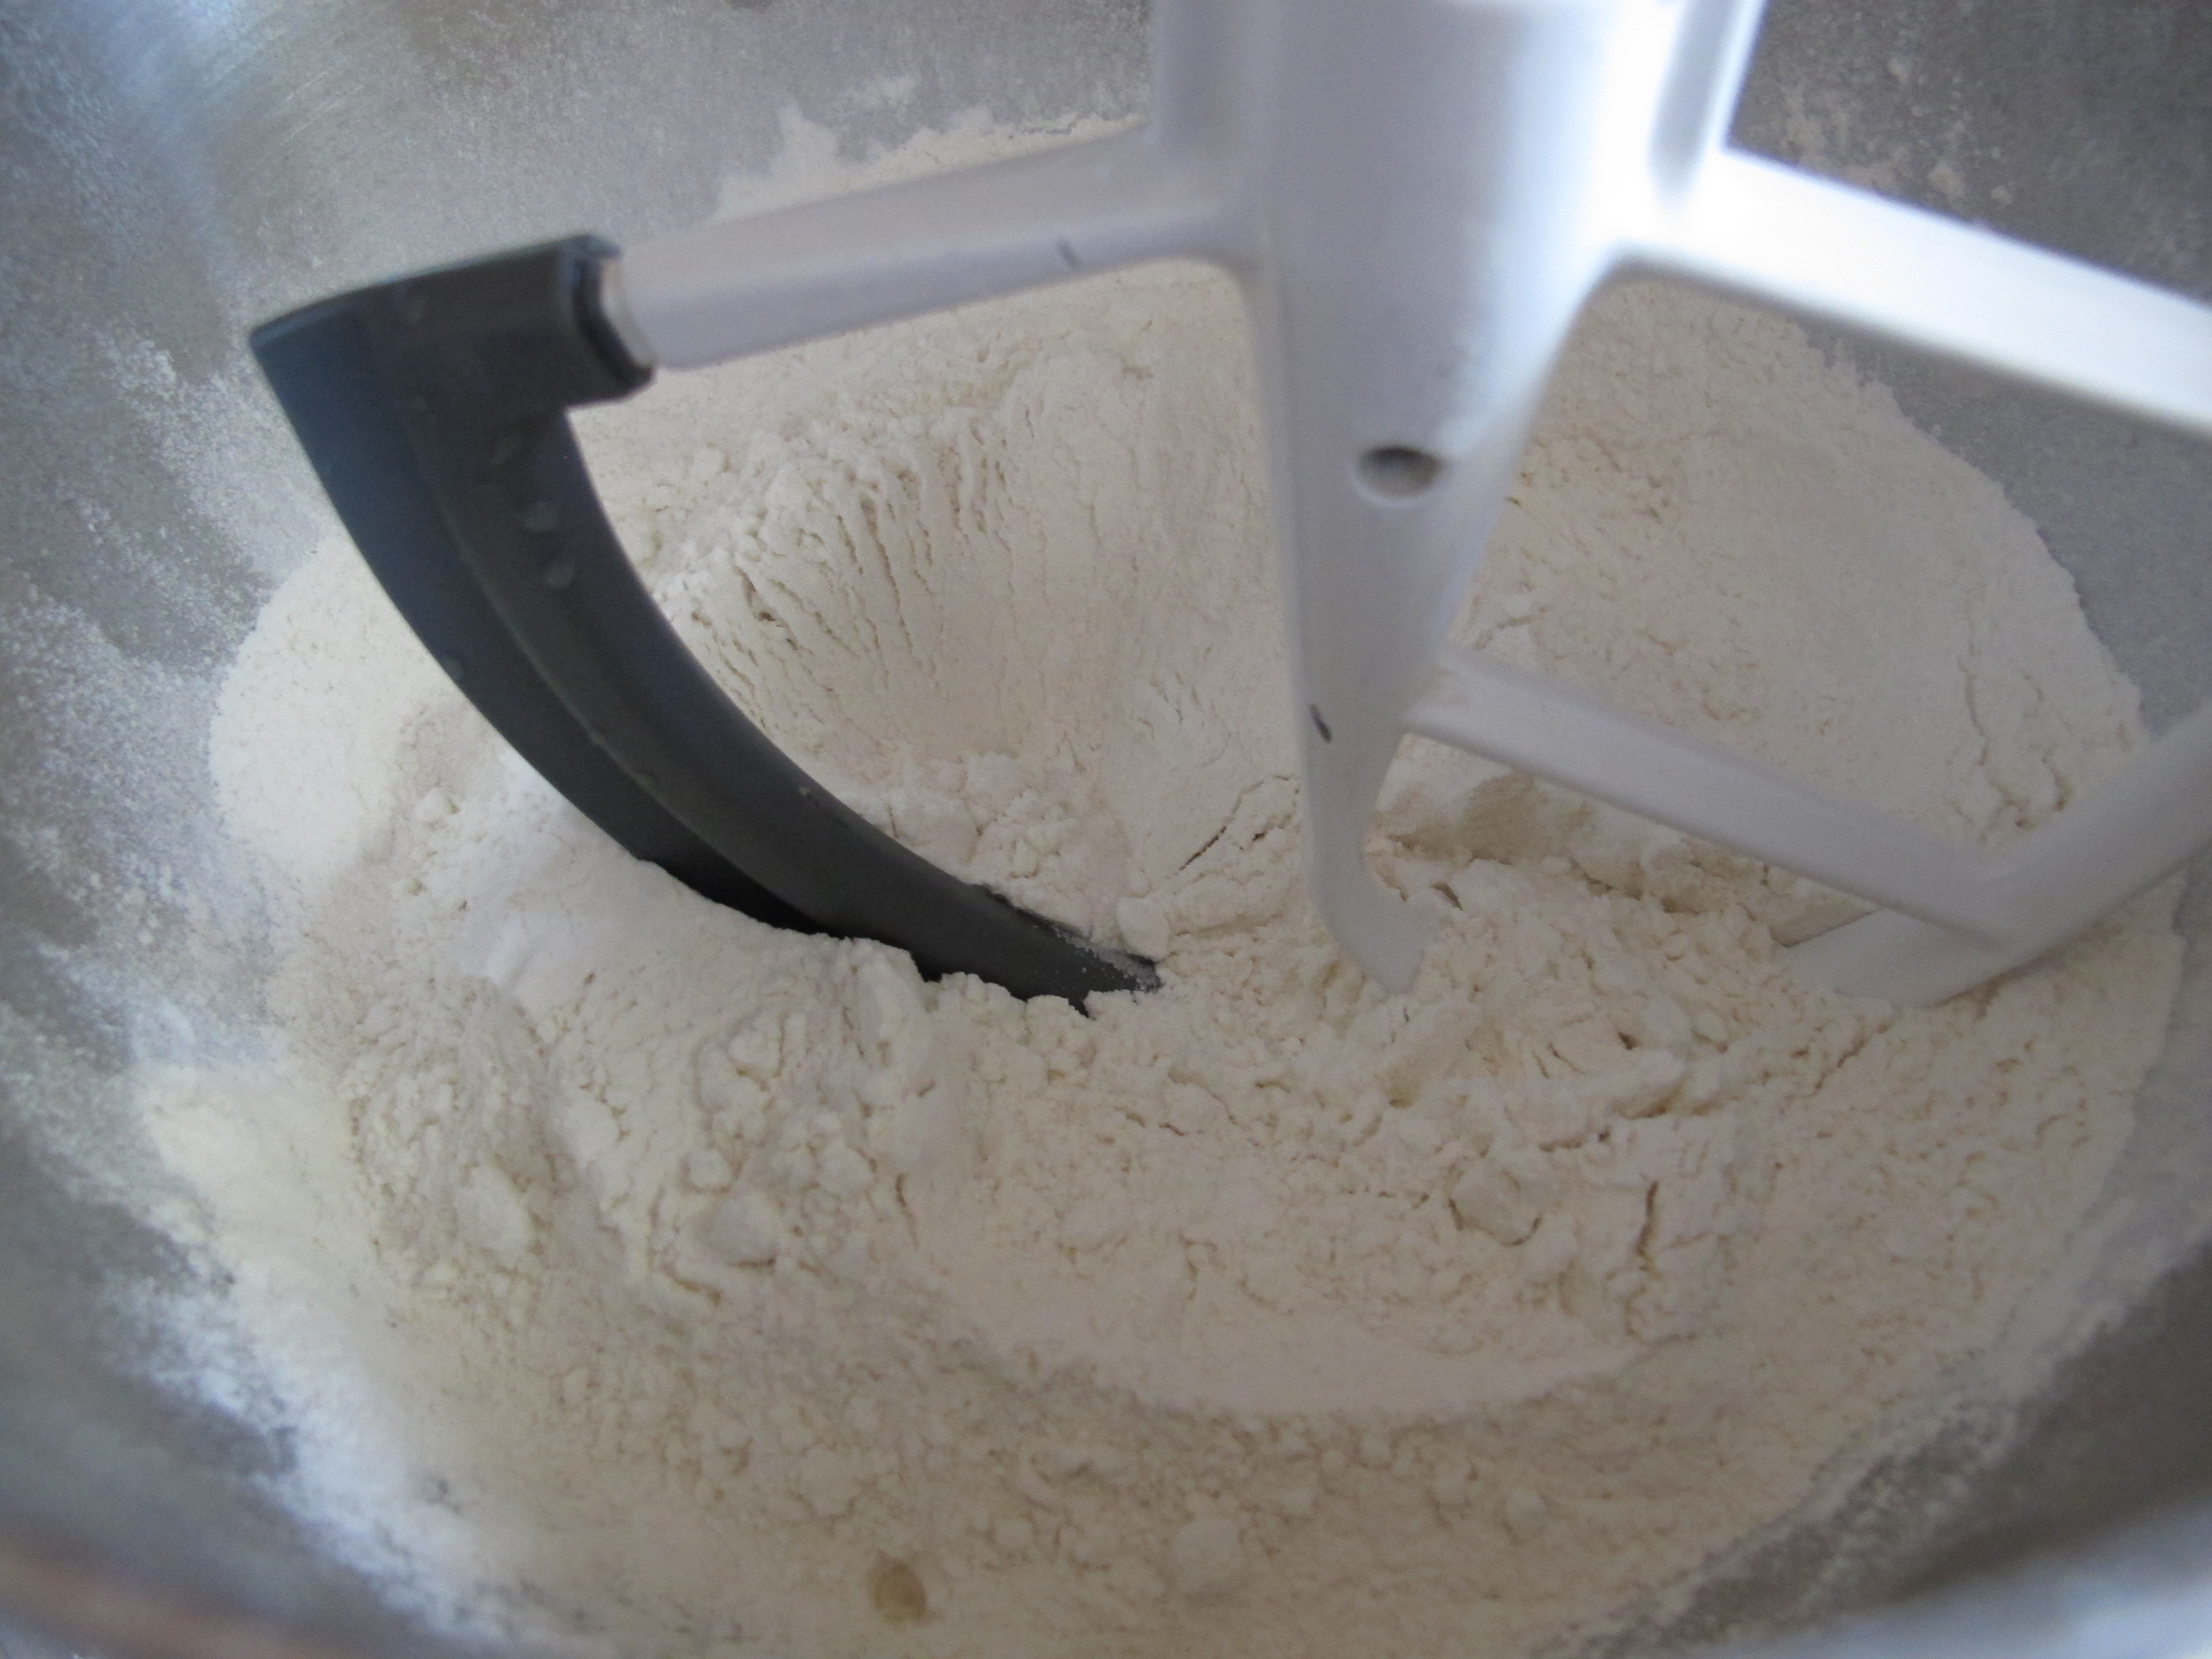
In the bowl of a stand mixer with the paddle attachment, combine the flour and salt, mixing to blend.
1 1/4 cup water, at room temperature
Measure the room temperature water into the measuring sup with the yeast mixture.

2 T. olive oil
With the mixer on low speed, pour in the yeast mixture and the olive oil.
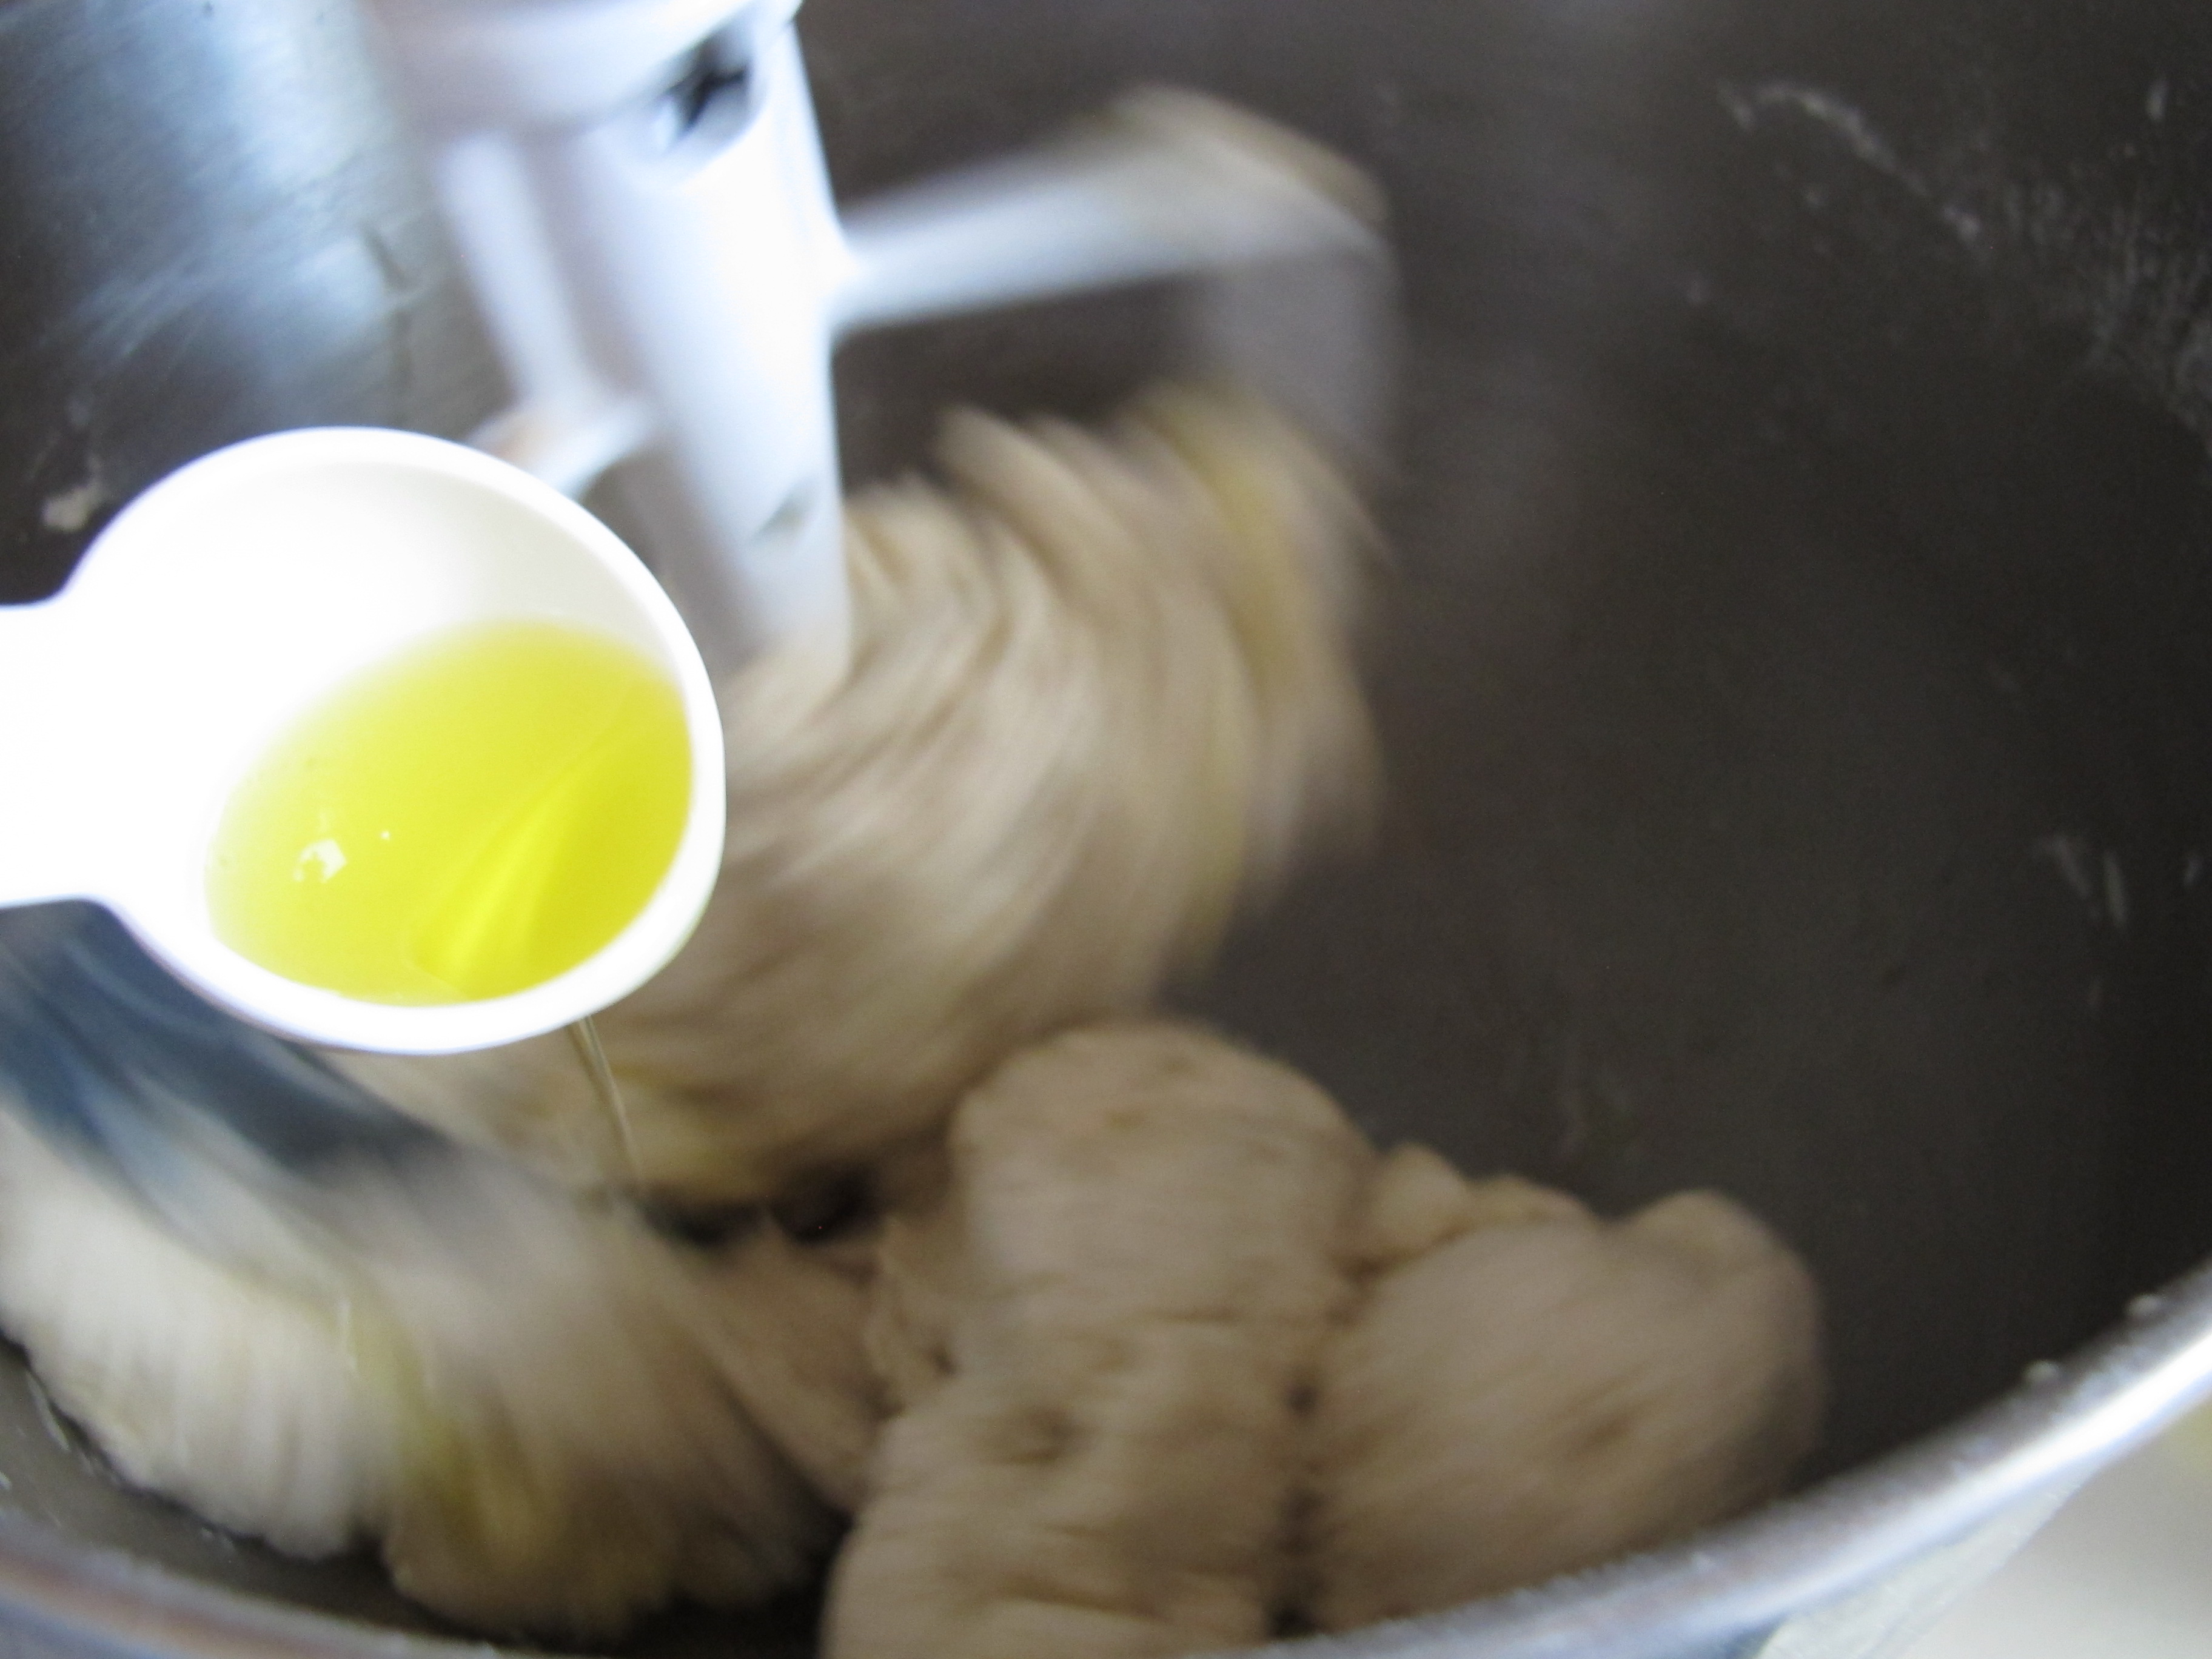
Mix until a cohesive dough is formed.
Switch to the dough hook and knead on low speed until smooth and elastic – about 5 minutes.

Transfer dough to a bowl that has been sprayed with oil, turning once to coat.
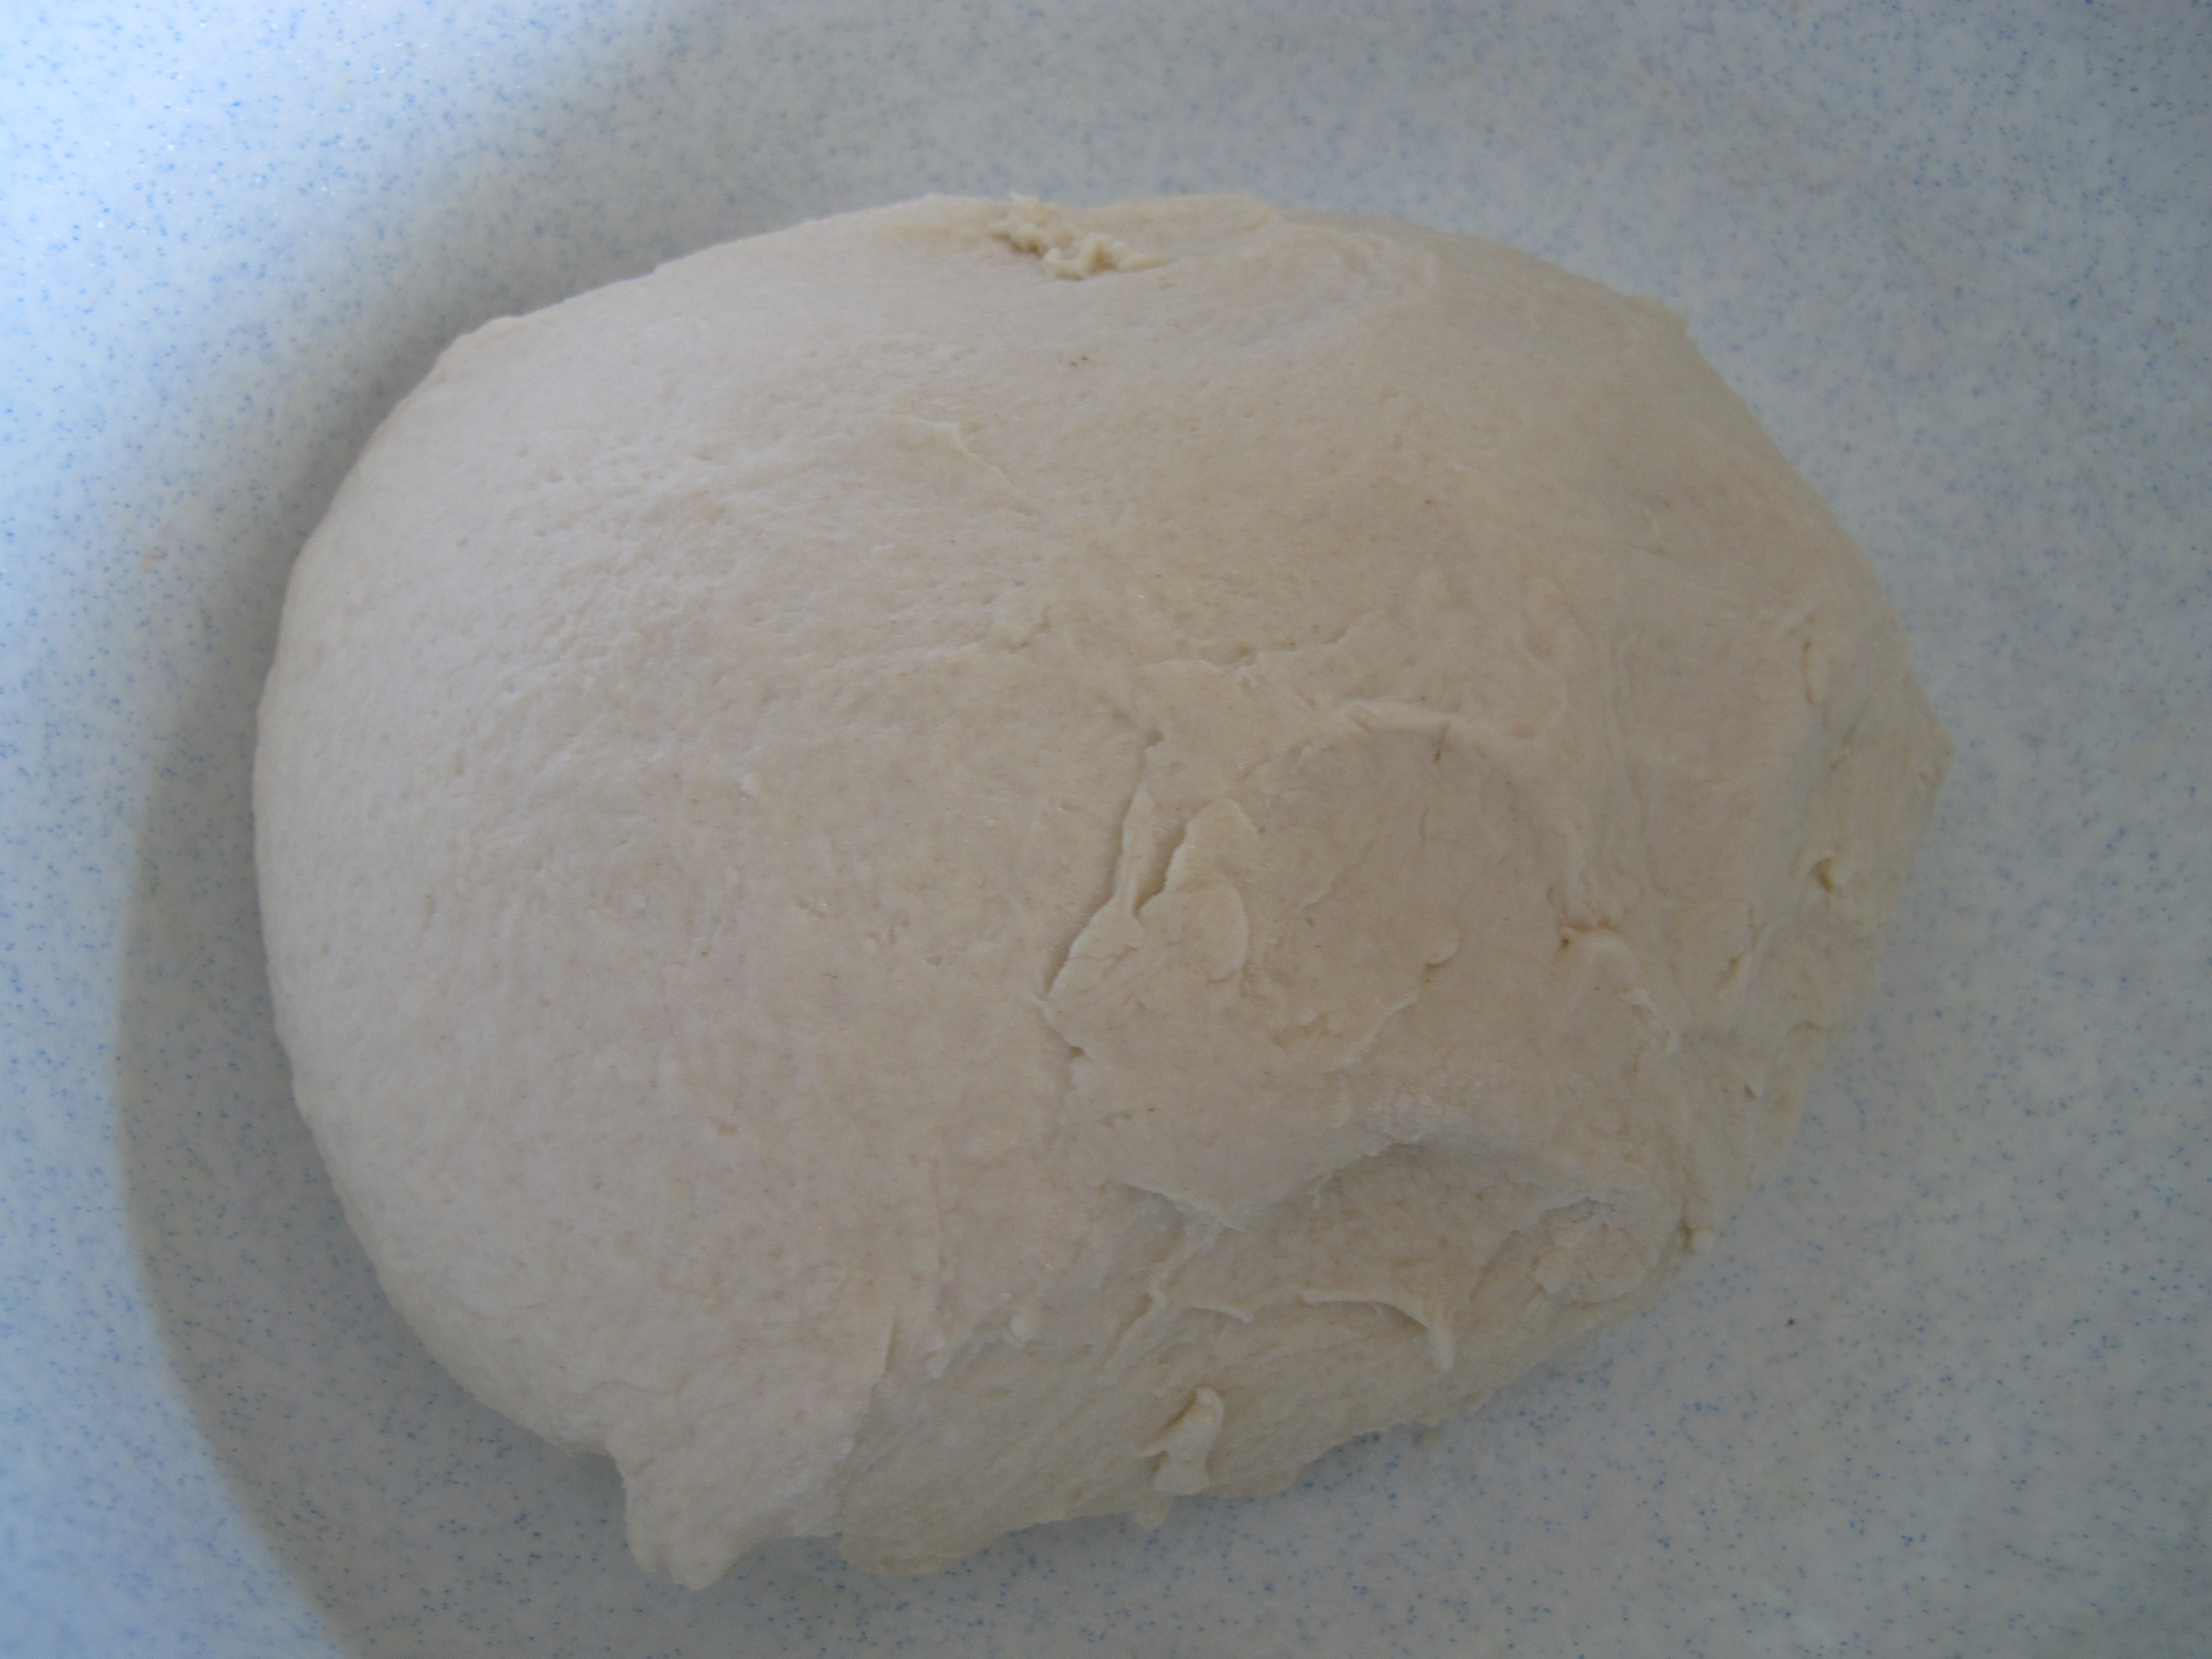
Cover with plastic wrap and let rise until doubled in size – about 1 1/2 – 2 hours.
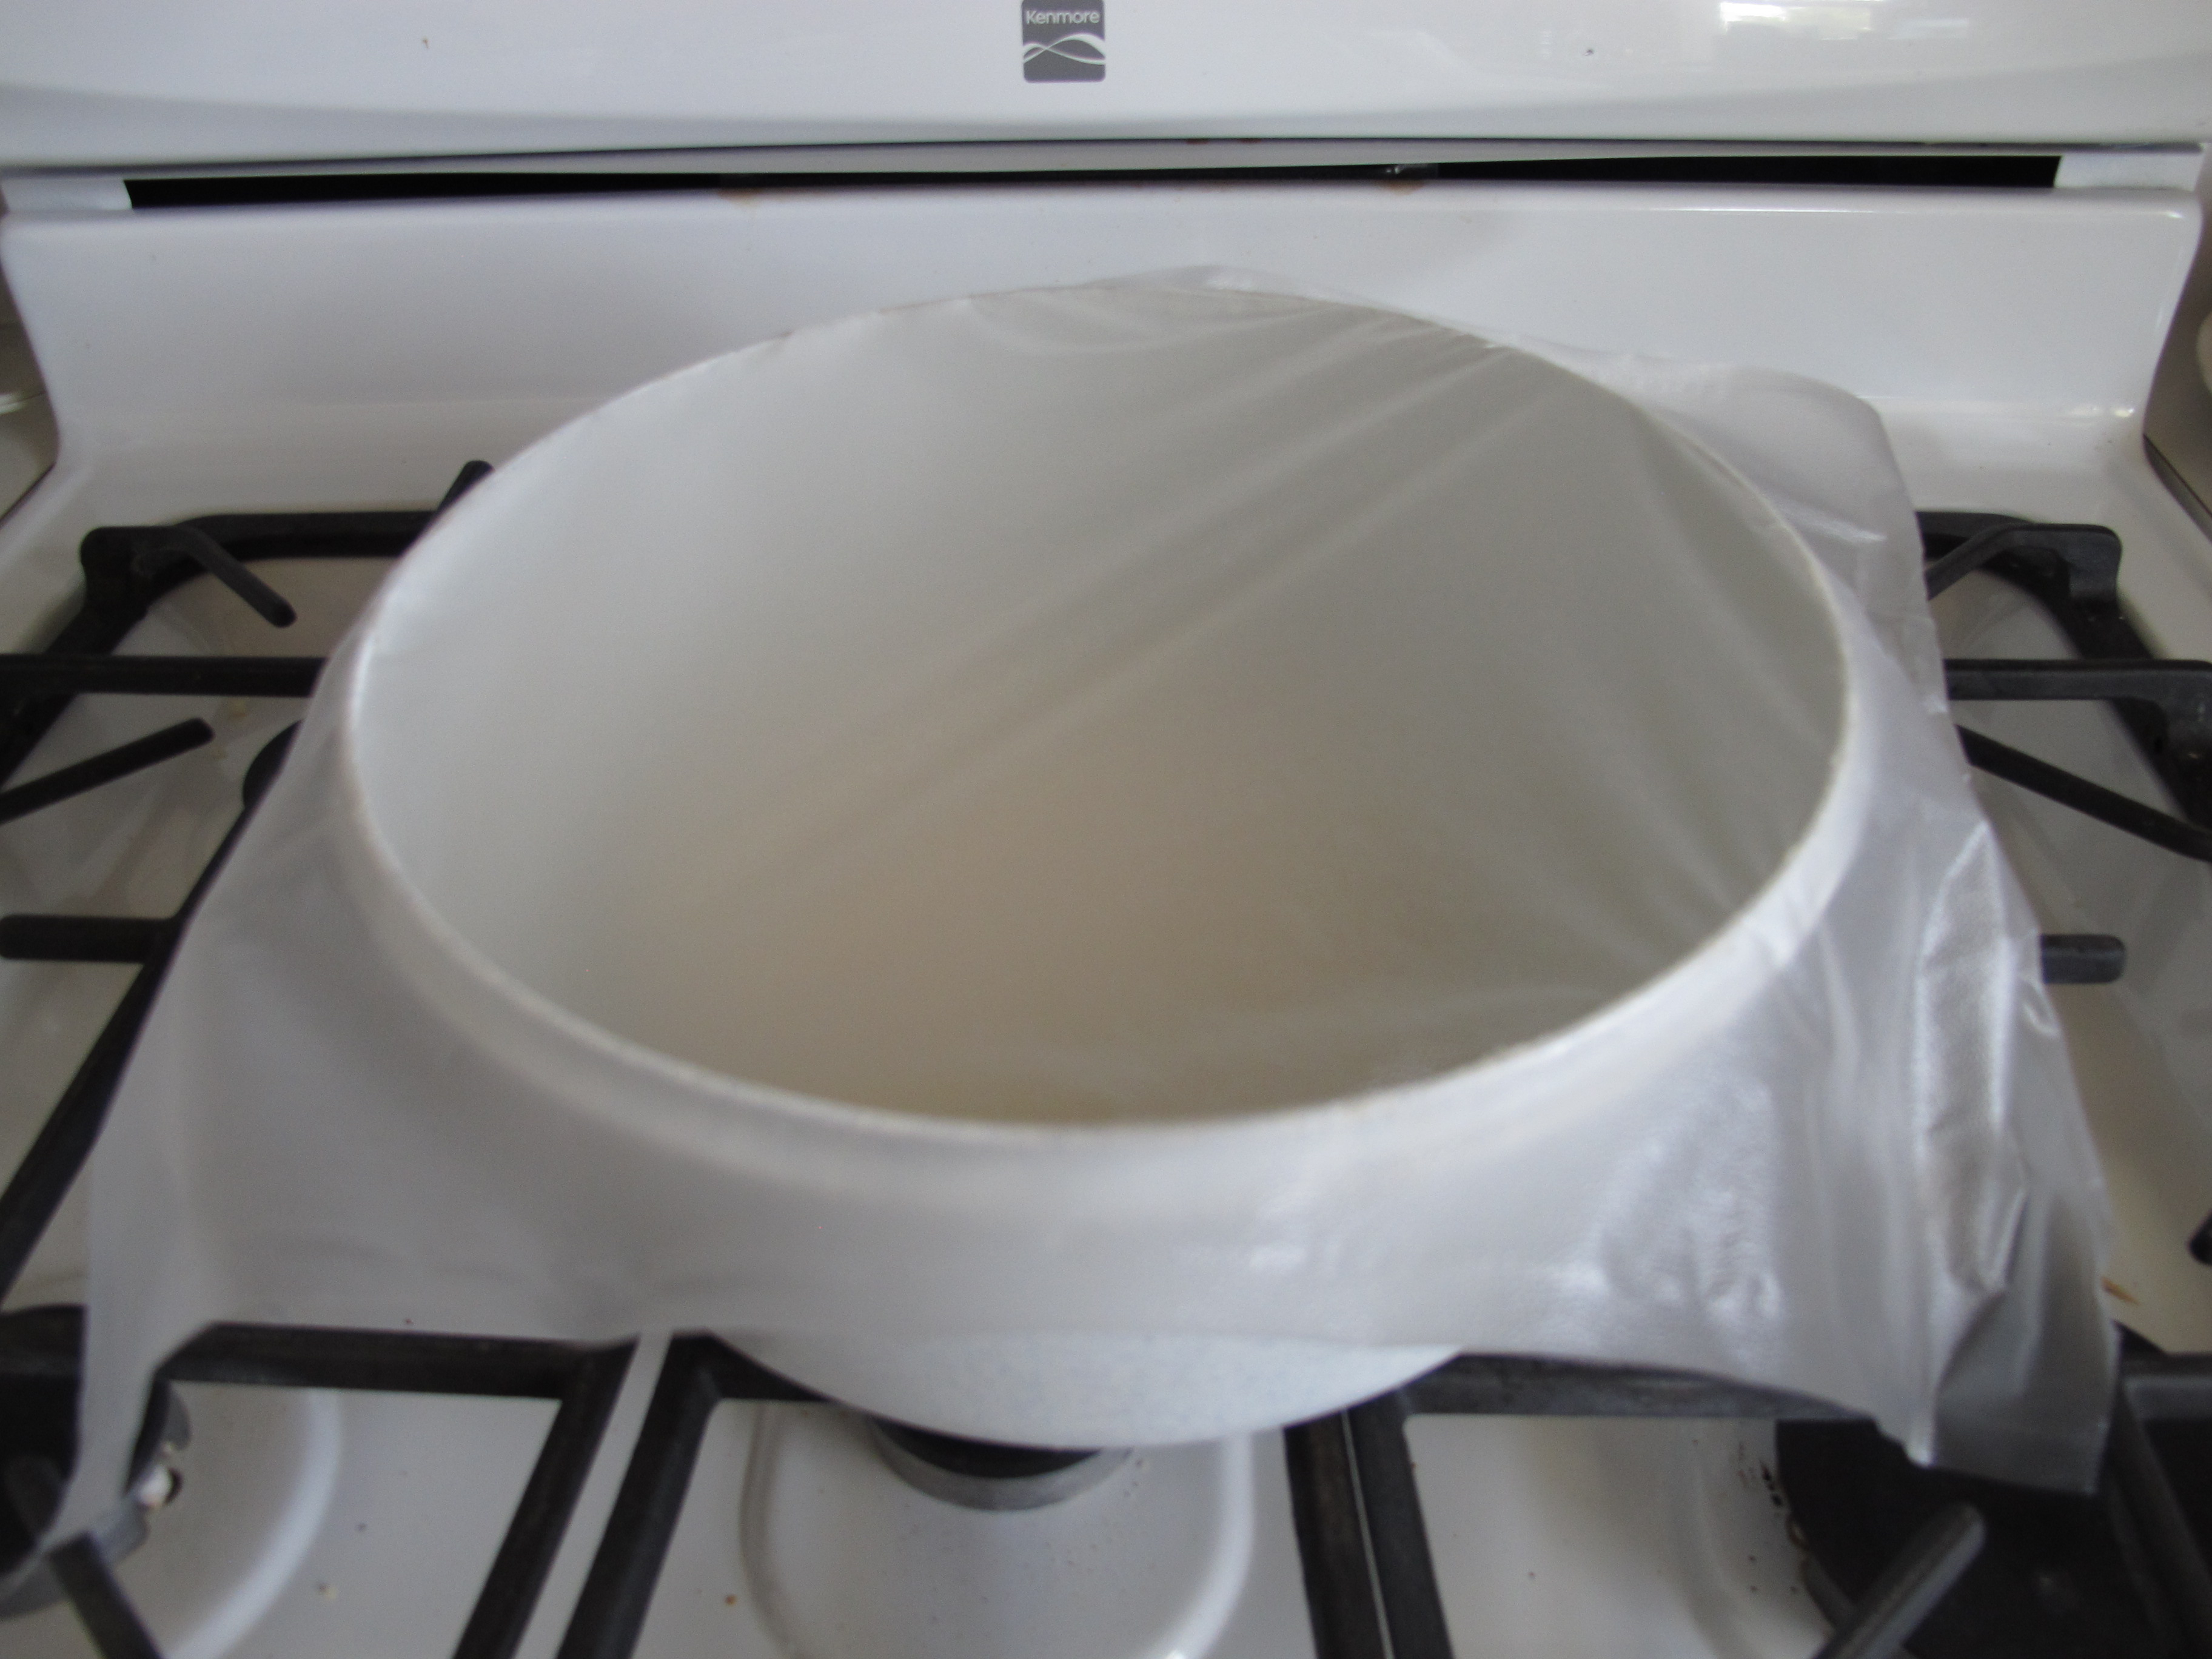

Press the dough down to deflate. Divide in two equal pieces.
FREEZE AHEAD: At this point you can freeze the dough. Wrap each piece in plastic wrap. Place this in a gallon size freezer bag. Dough will continue to rise while it is in the freezing stage.
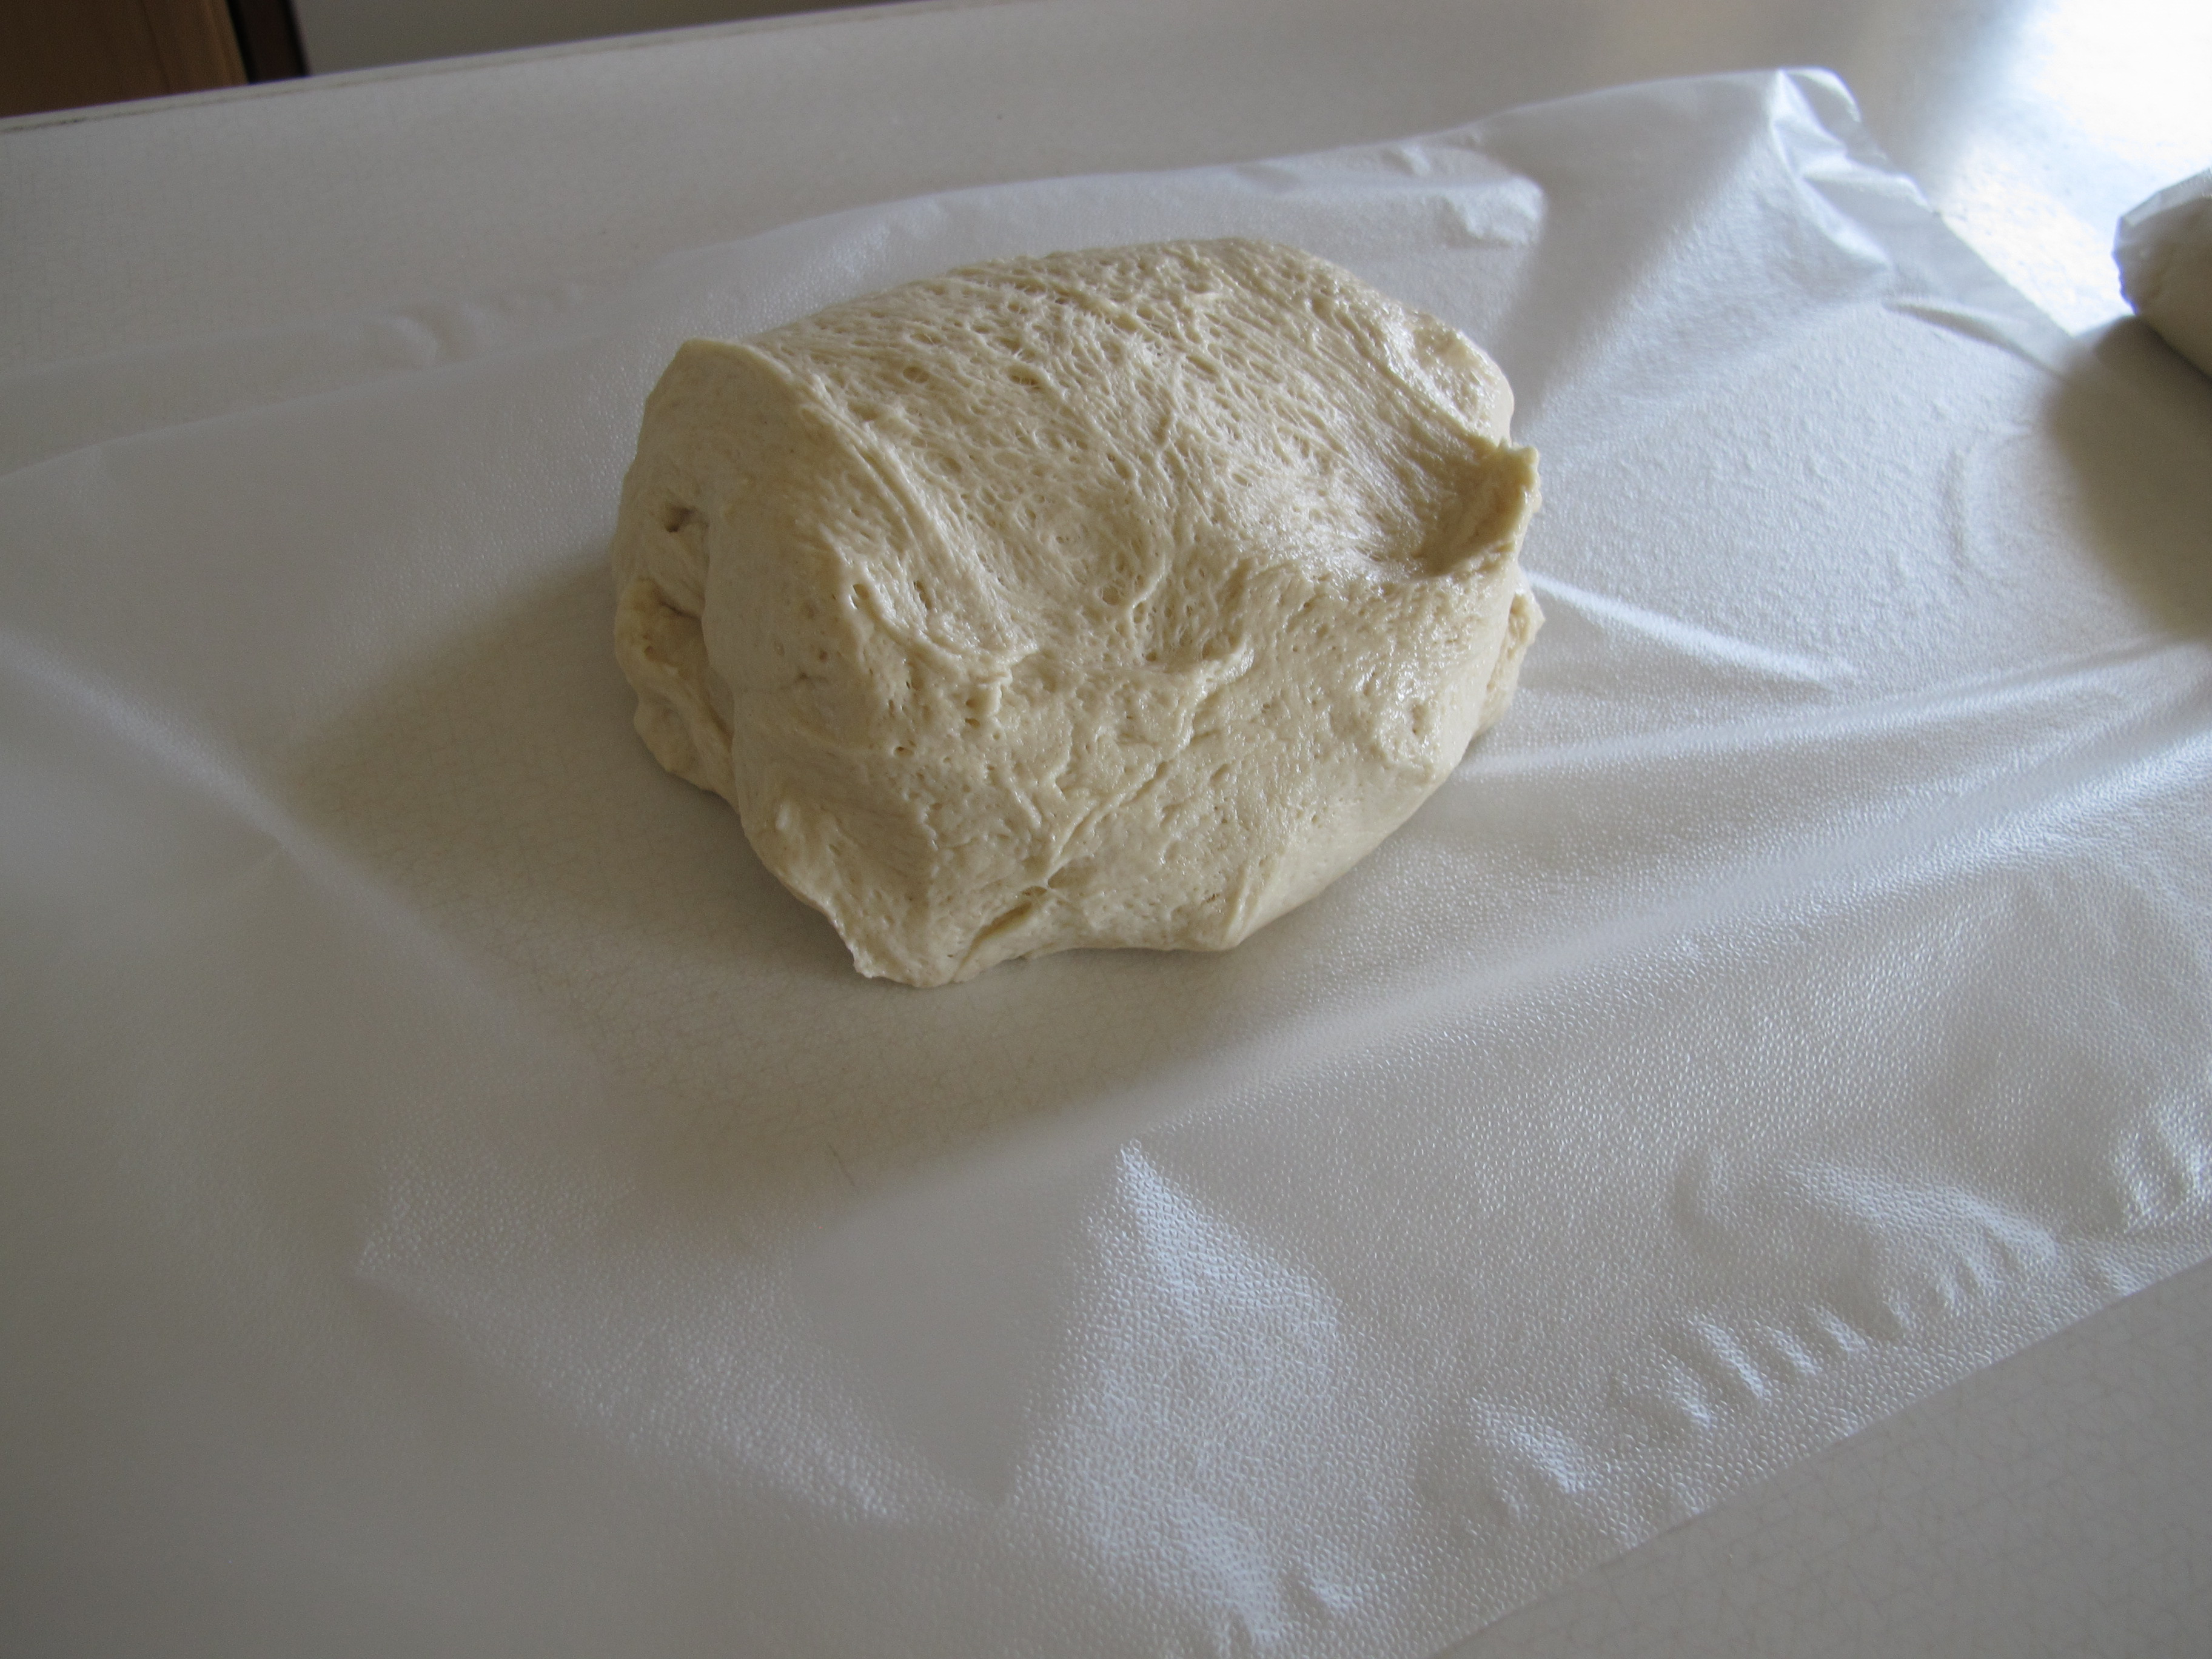
If using that day – Cover dough with a damp cloth. Let the dough relax for at least 10 minutes but no longer than 30 minutes.
To bake at home: Preheat oven and pizza stone to 500 degrees. Transfer the dough to your shaping surface, lightly sprinkled with cornmeal. Shape the dough with lightly floured hands.
Brush the outer edge lightly with olive oil.
Top as desired.
Bake until the crust is golden brown and cheese is bubbling – about 8 – 12 minutes.
Using frozen dough: When ready to use the dough – place bag of dough in the refrigerator in the morning to thaw. Let dough sit out at room temperature for 30 mins before shaping.
FULL RECIPE WITHOUT PICTURES —
PIZZA DOUGH
1/2 cup warm water
2 1/4 tsp. instant yeast
4 cups (22 oz.) bread flour
1 1/2 tsp. salt
1 1/4 cup water, at room temperature
2 T. olive oil
Measure the warm water into a 2 cup liquid measuring cup. Sprinkle the yeast over the top. Set aside.
In the bowl of a stand mixer with the paddle attachment, combine the flour and salt, mixing to blend.
Measure the room temperature water in to the measuring sup with the yeast mixture.
With the mixer on low speed, pour in the yeast mixture and the olive oil.
Mix until a cohesive dough is formed.
Switch to the dough hook and knead on low speed until smooth and elastic – about 5 minutes.
Transfer dough to a bowl that has been sprayed with oil, turning once to coat.
Cover with plastic wrap and let rise until doubled in size – about 1 1/2 – 2 hours.
Press the dough down to deflate. Divide in two equal pieces.
FREEZE AHEAD: At this point you can freeze the dough. Wrap each piece in plastic wrap. Place this in a gallon size freezer bag. Dough will continue to rise while it is in the freezing stage.
If using that day – Cover dough with a damp cloth. Let the dough relax for at least 10 minutes but no longer than 30 minutes.
To bake at home: Preheat oven and pizza stone to 500 degrees. Transfer the dough to your shaping surface, lightly sprinkled with cornmeal. Shape the dough with lightly floured hands.
Brush the outer edge lightly with olive oil.
Top as desired.
Bake until the crust is golden brown and cheese is bubbling – about 8 – 12 minutes.
Using frozen dough: When ready to use the dough – place bag of dough in the refrigerator in the morning to thaw. Let dough sit out at room temperature for 30 mins before shaping.
Hand Washing Station
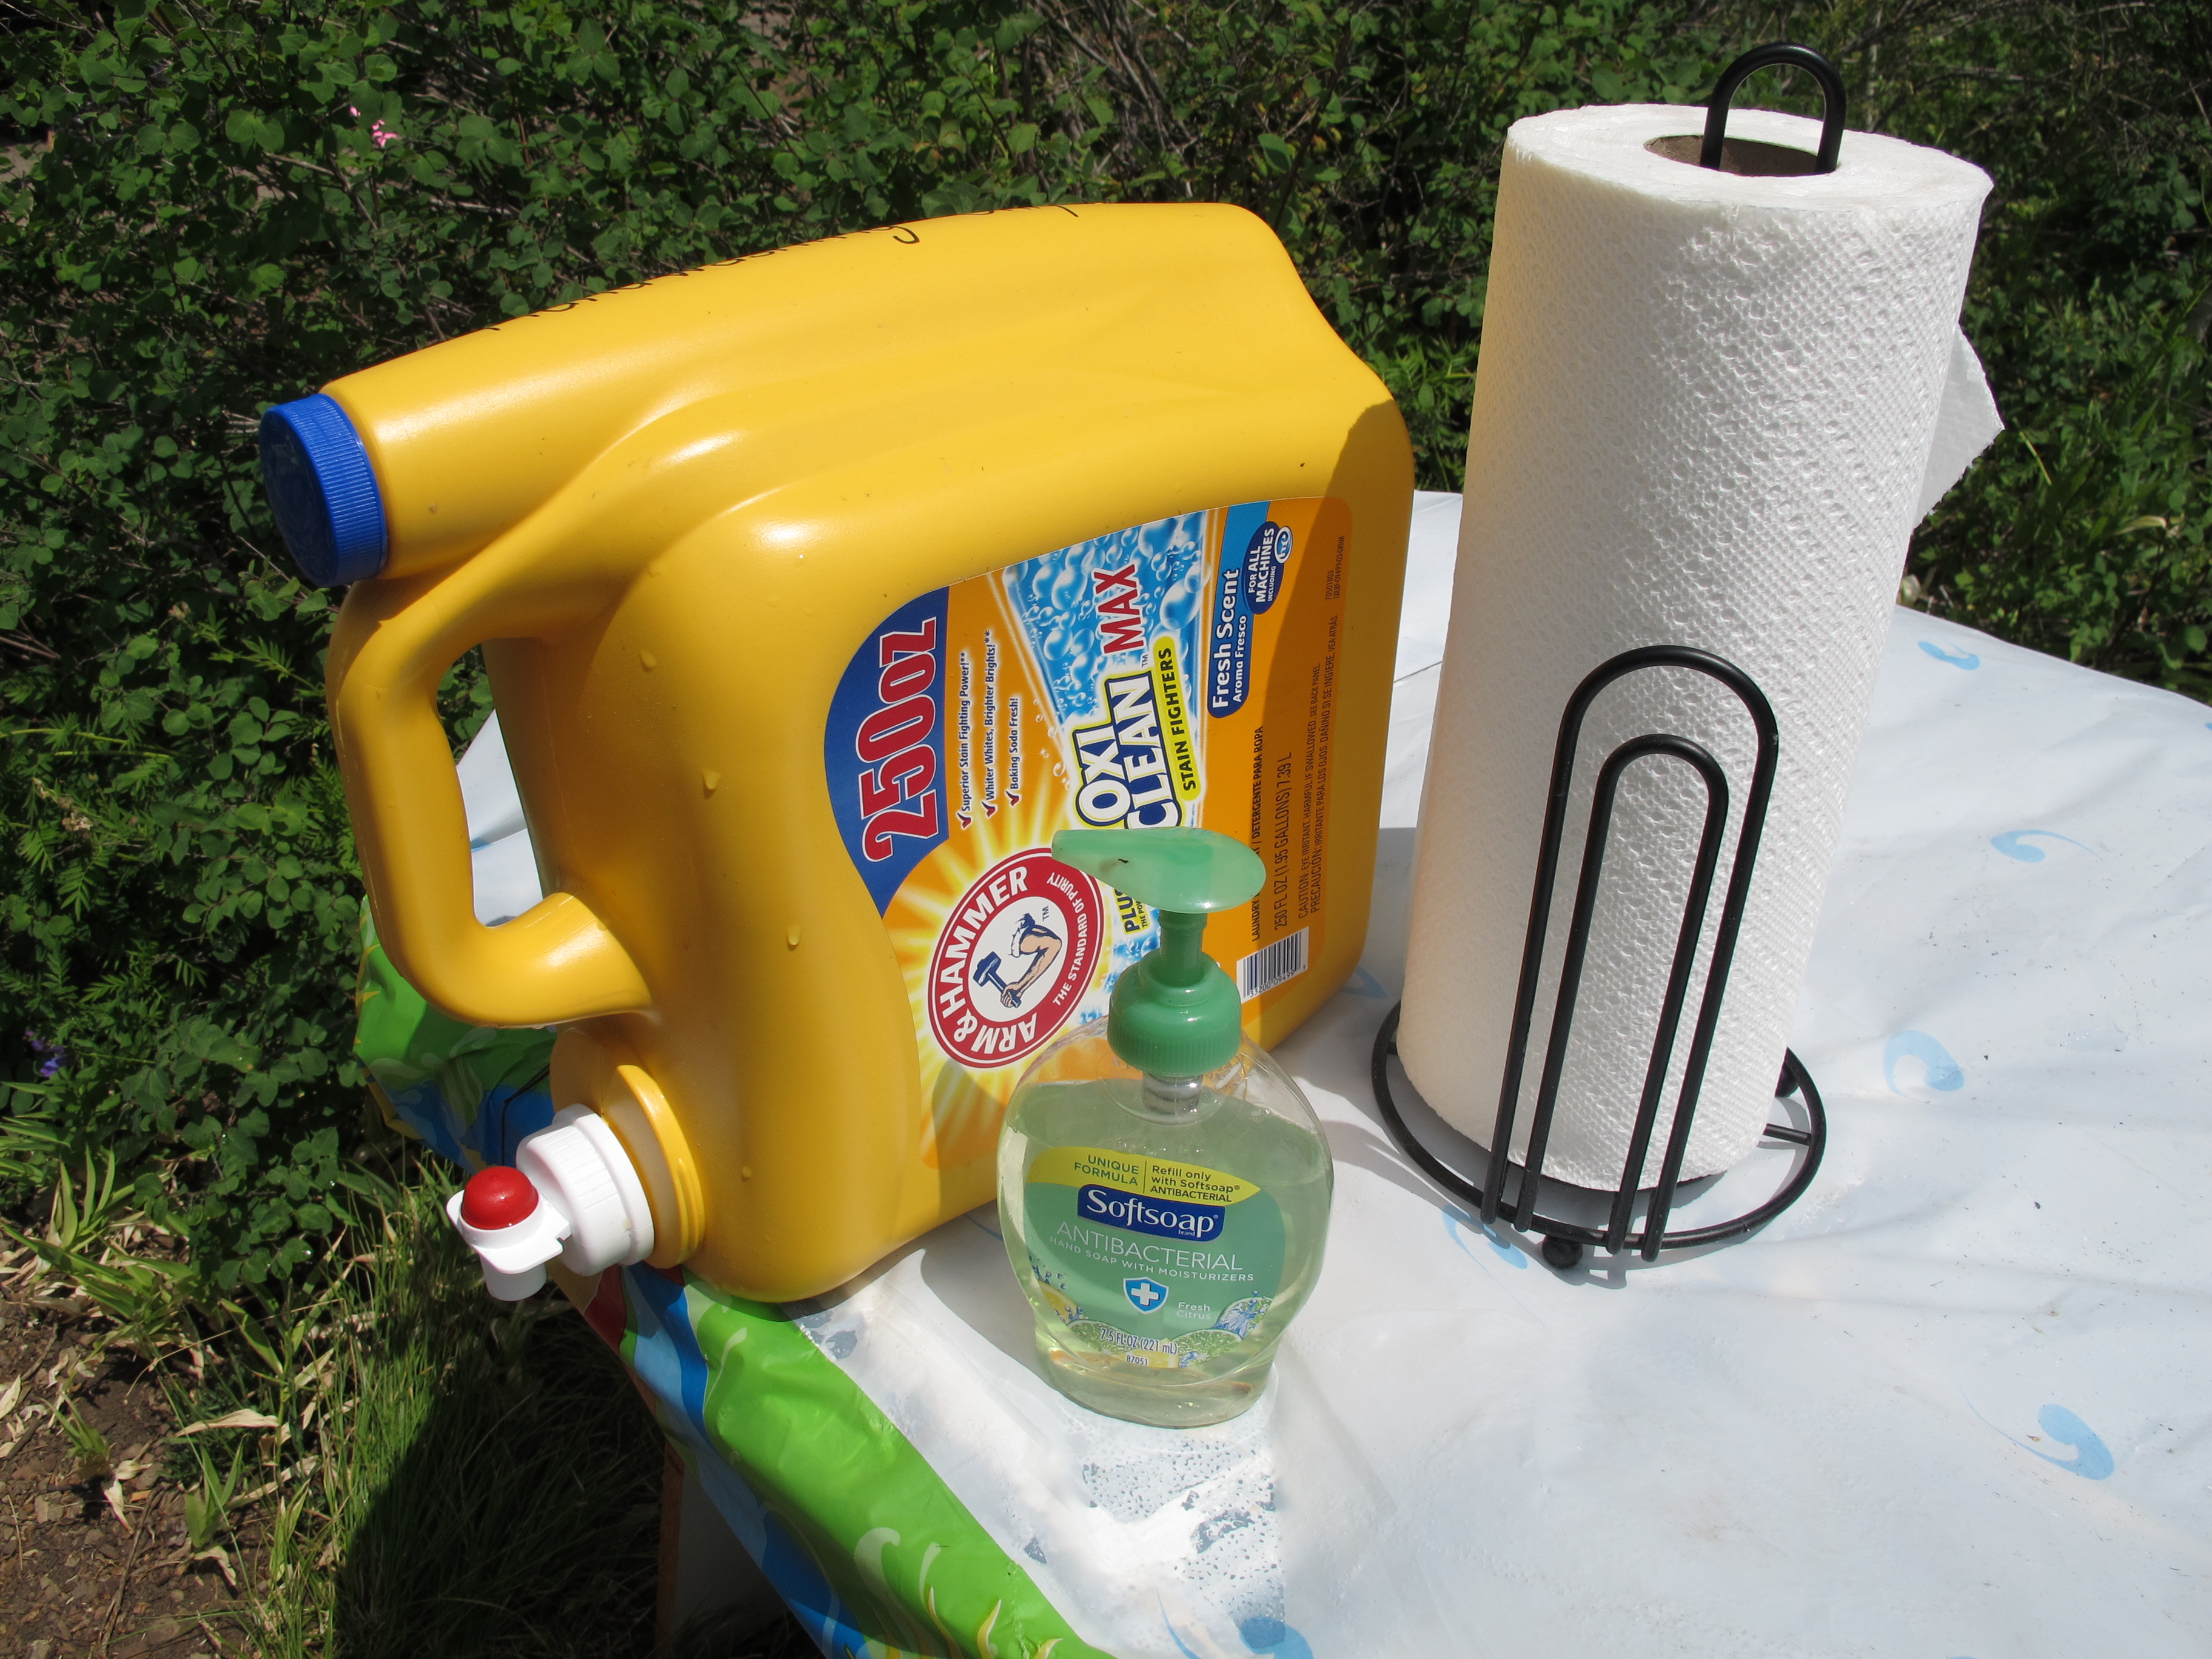
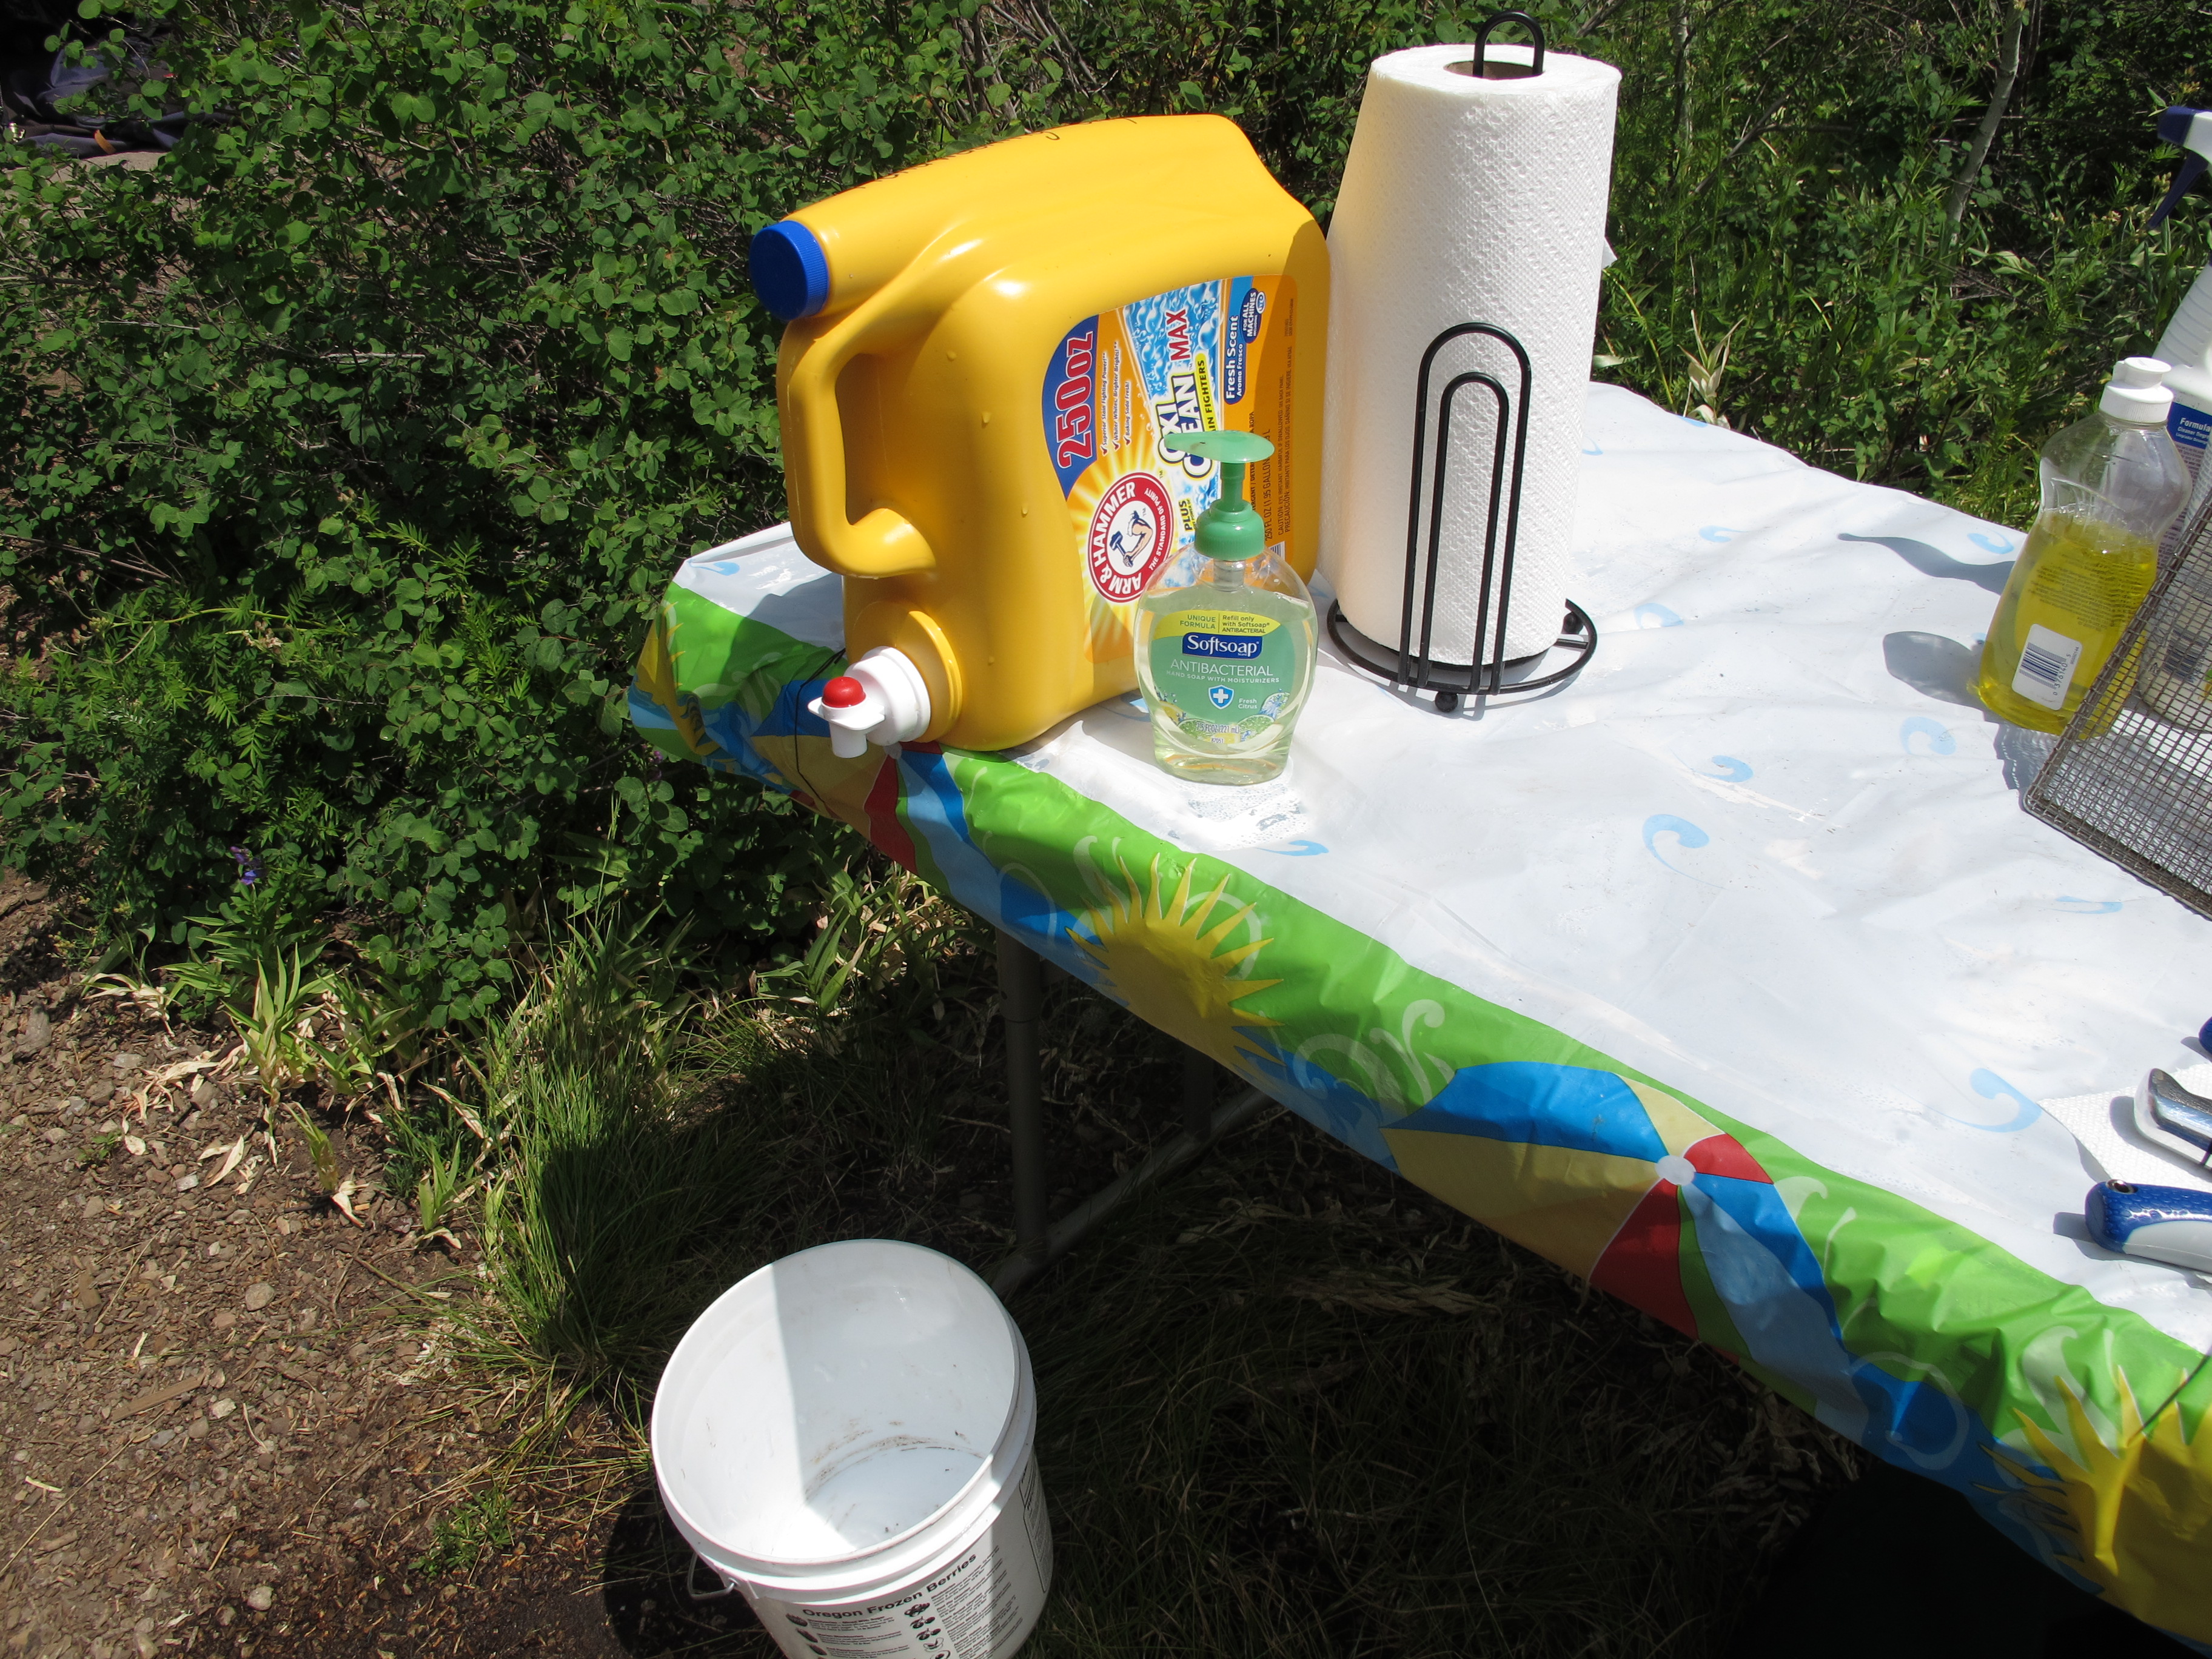
Take a used laundry detergent jug – one with a spigot on it. Rinse it out thoroughly and fill with water. The sun warms the water.
I wrote “Handwashing Only” on the top of it – not to be confused with drinking water.
Lay it on its side for hand washing while camping. We put a small bucket on the ground to catch the water.
Firestarters (Doritos)

Did you know that Dorito Chips make the best fire starters? Each chip stays lit for a couple of minutes.
Our son was making a fire and hadn’t collected any kindling. I asked him if he had any Doritos. He did and was so impressed that they actually worked!!!
Firestarter (Toilet Paper roll)
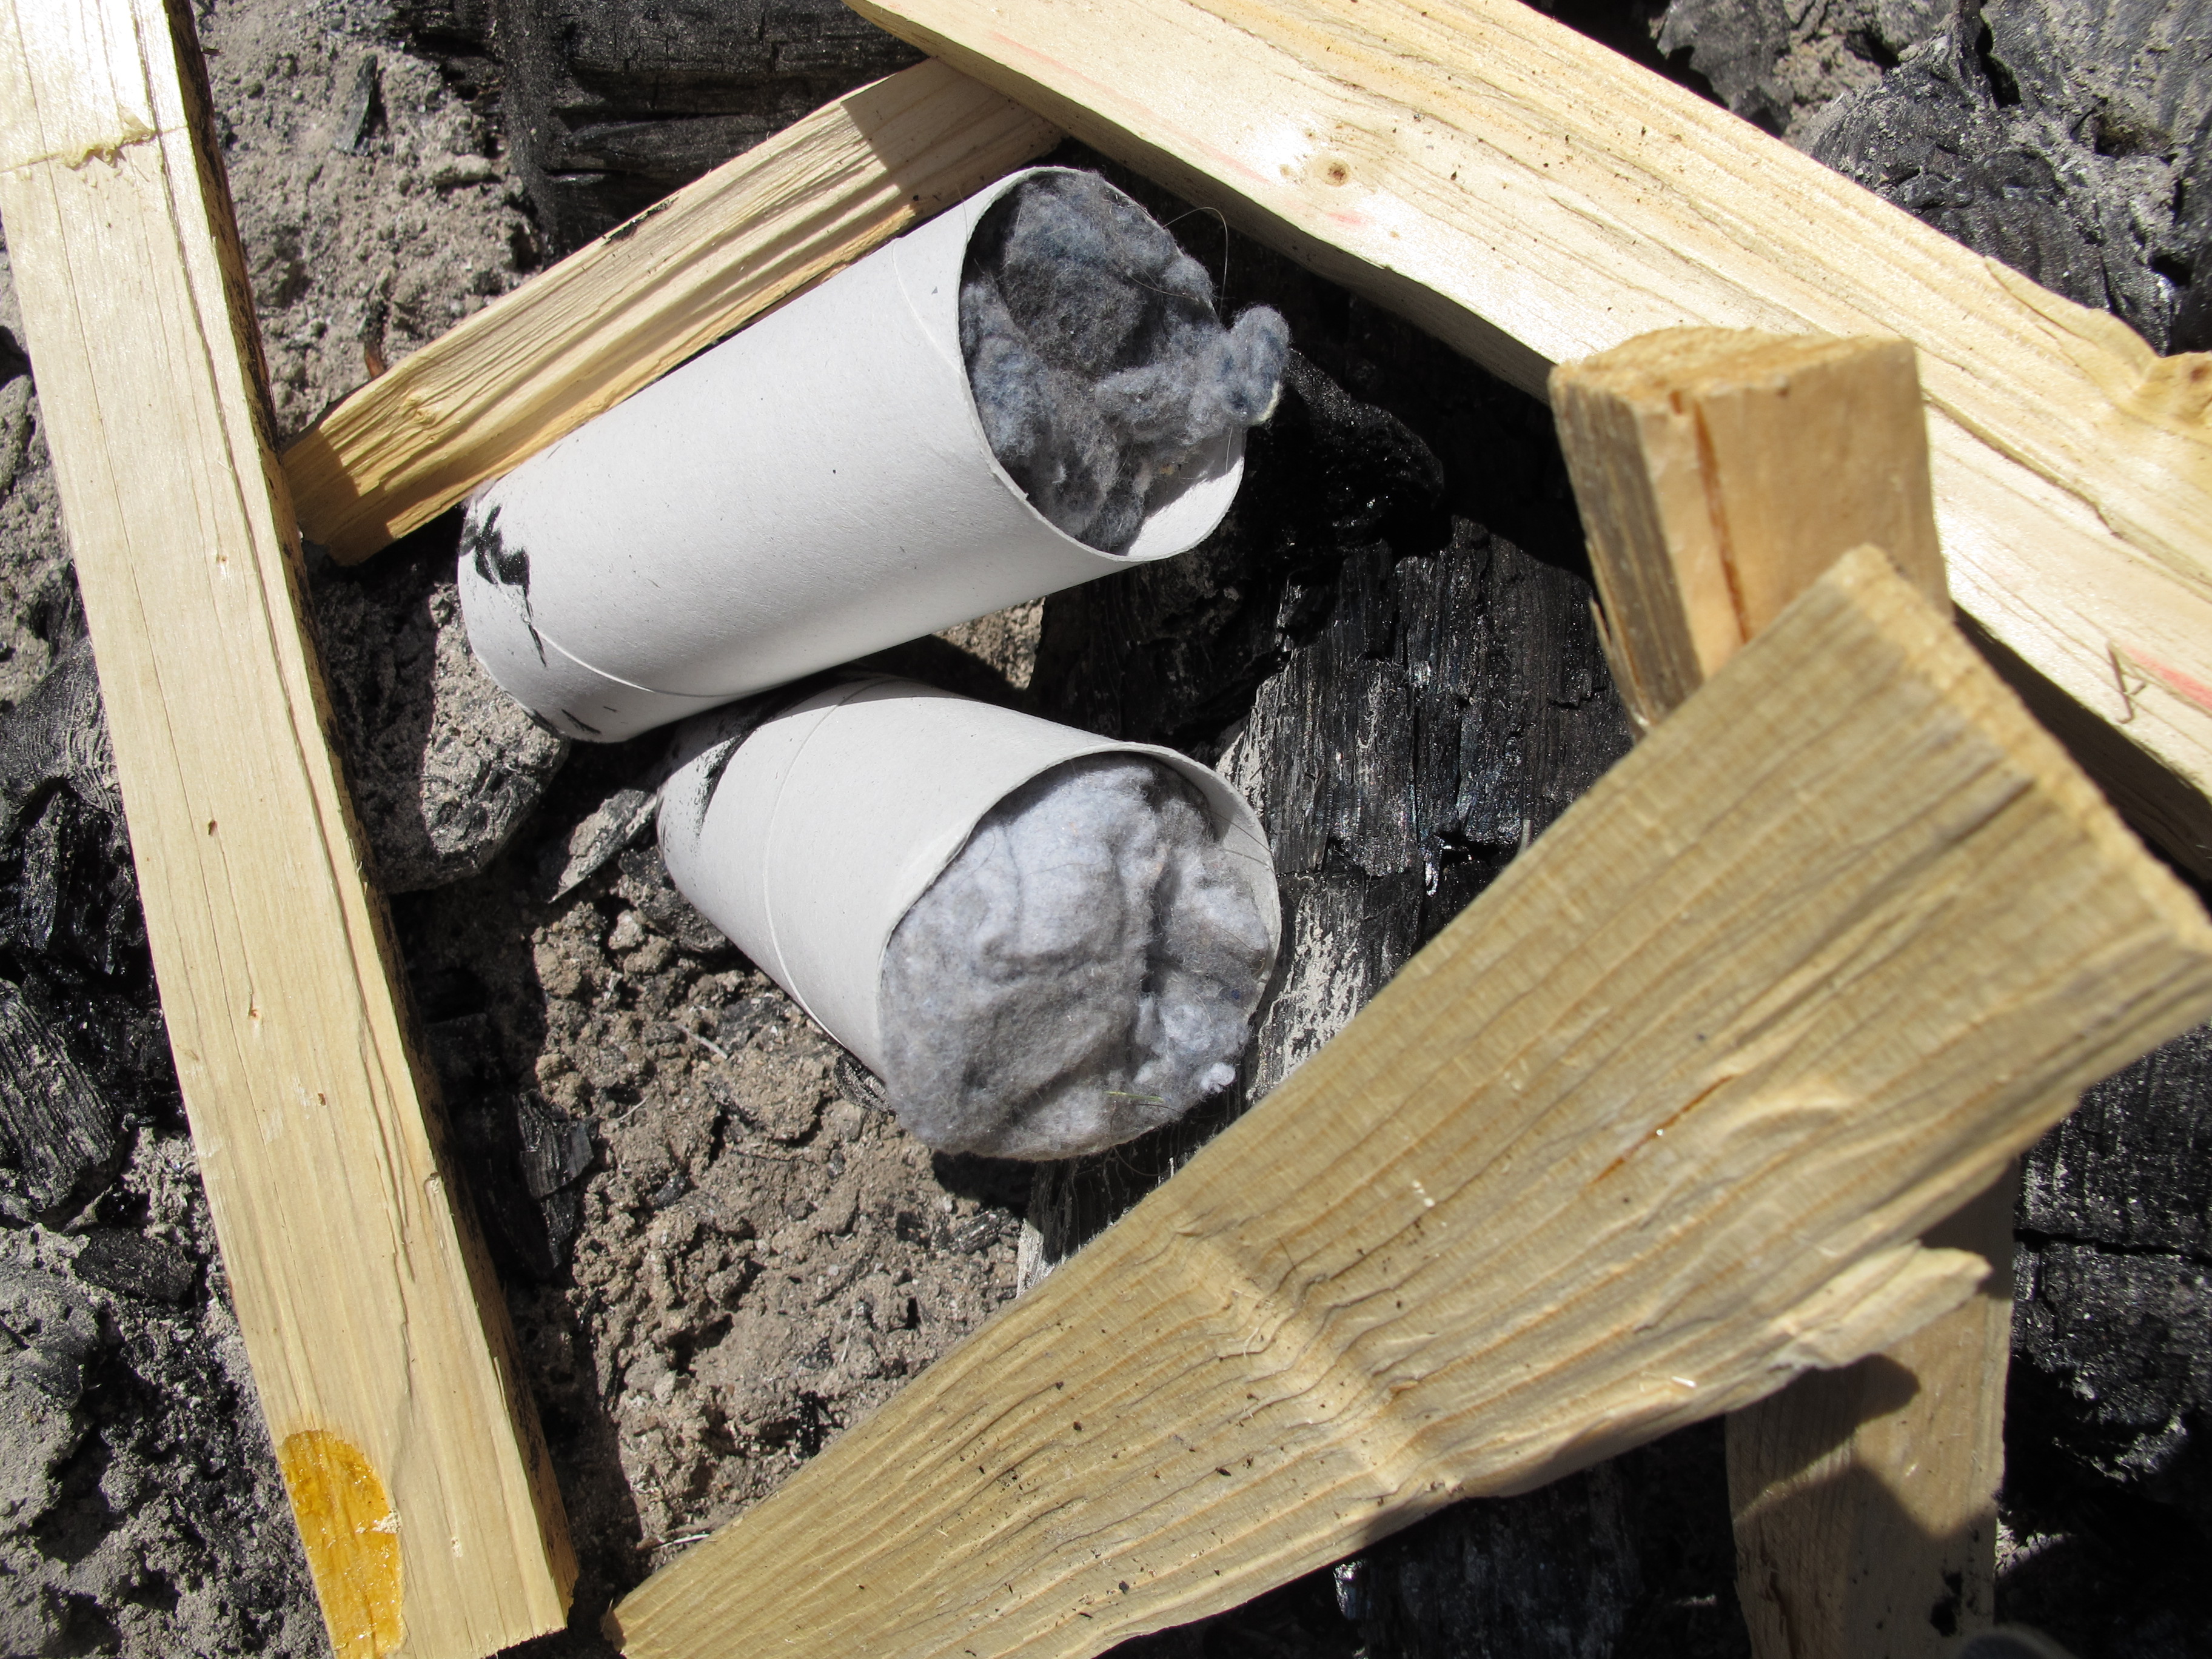
During the year when you clean out the lint trap in your dryer, stuff it in a toilet paper roll.
These make great fire starters .
Securing your Tablecloth
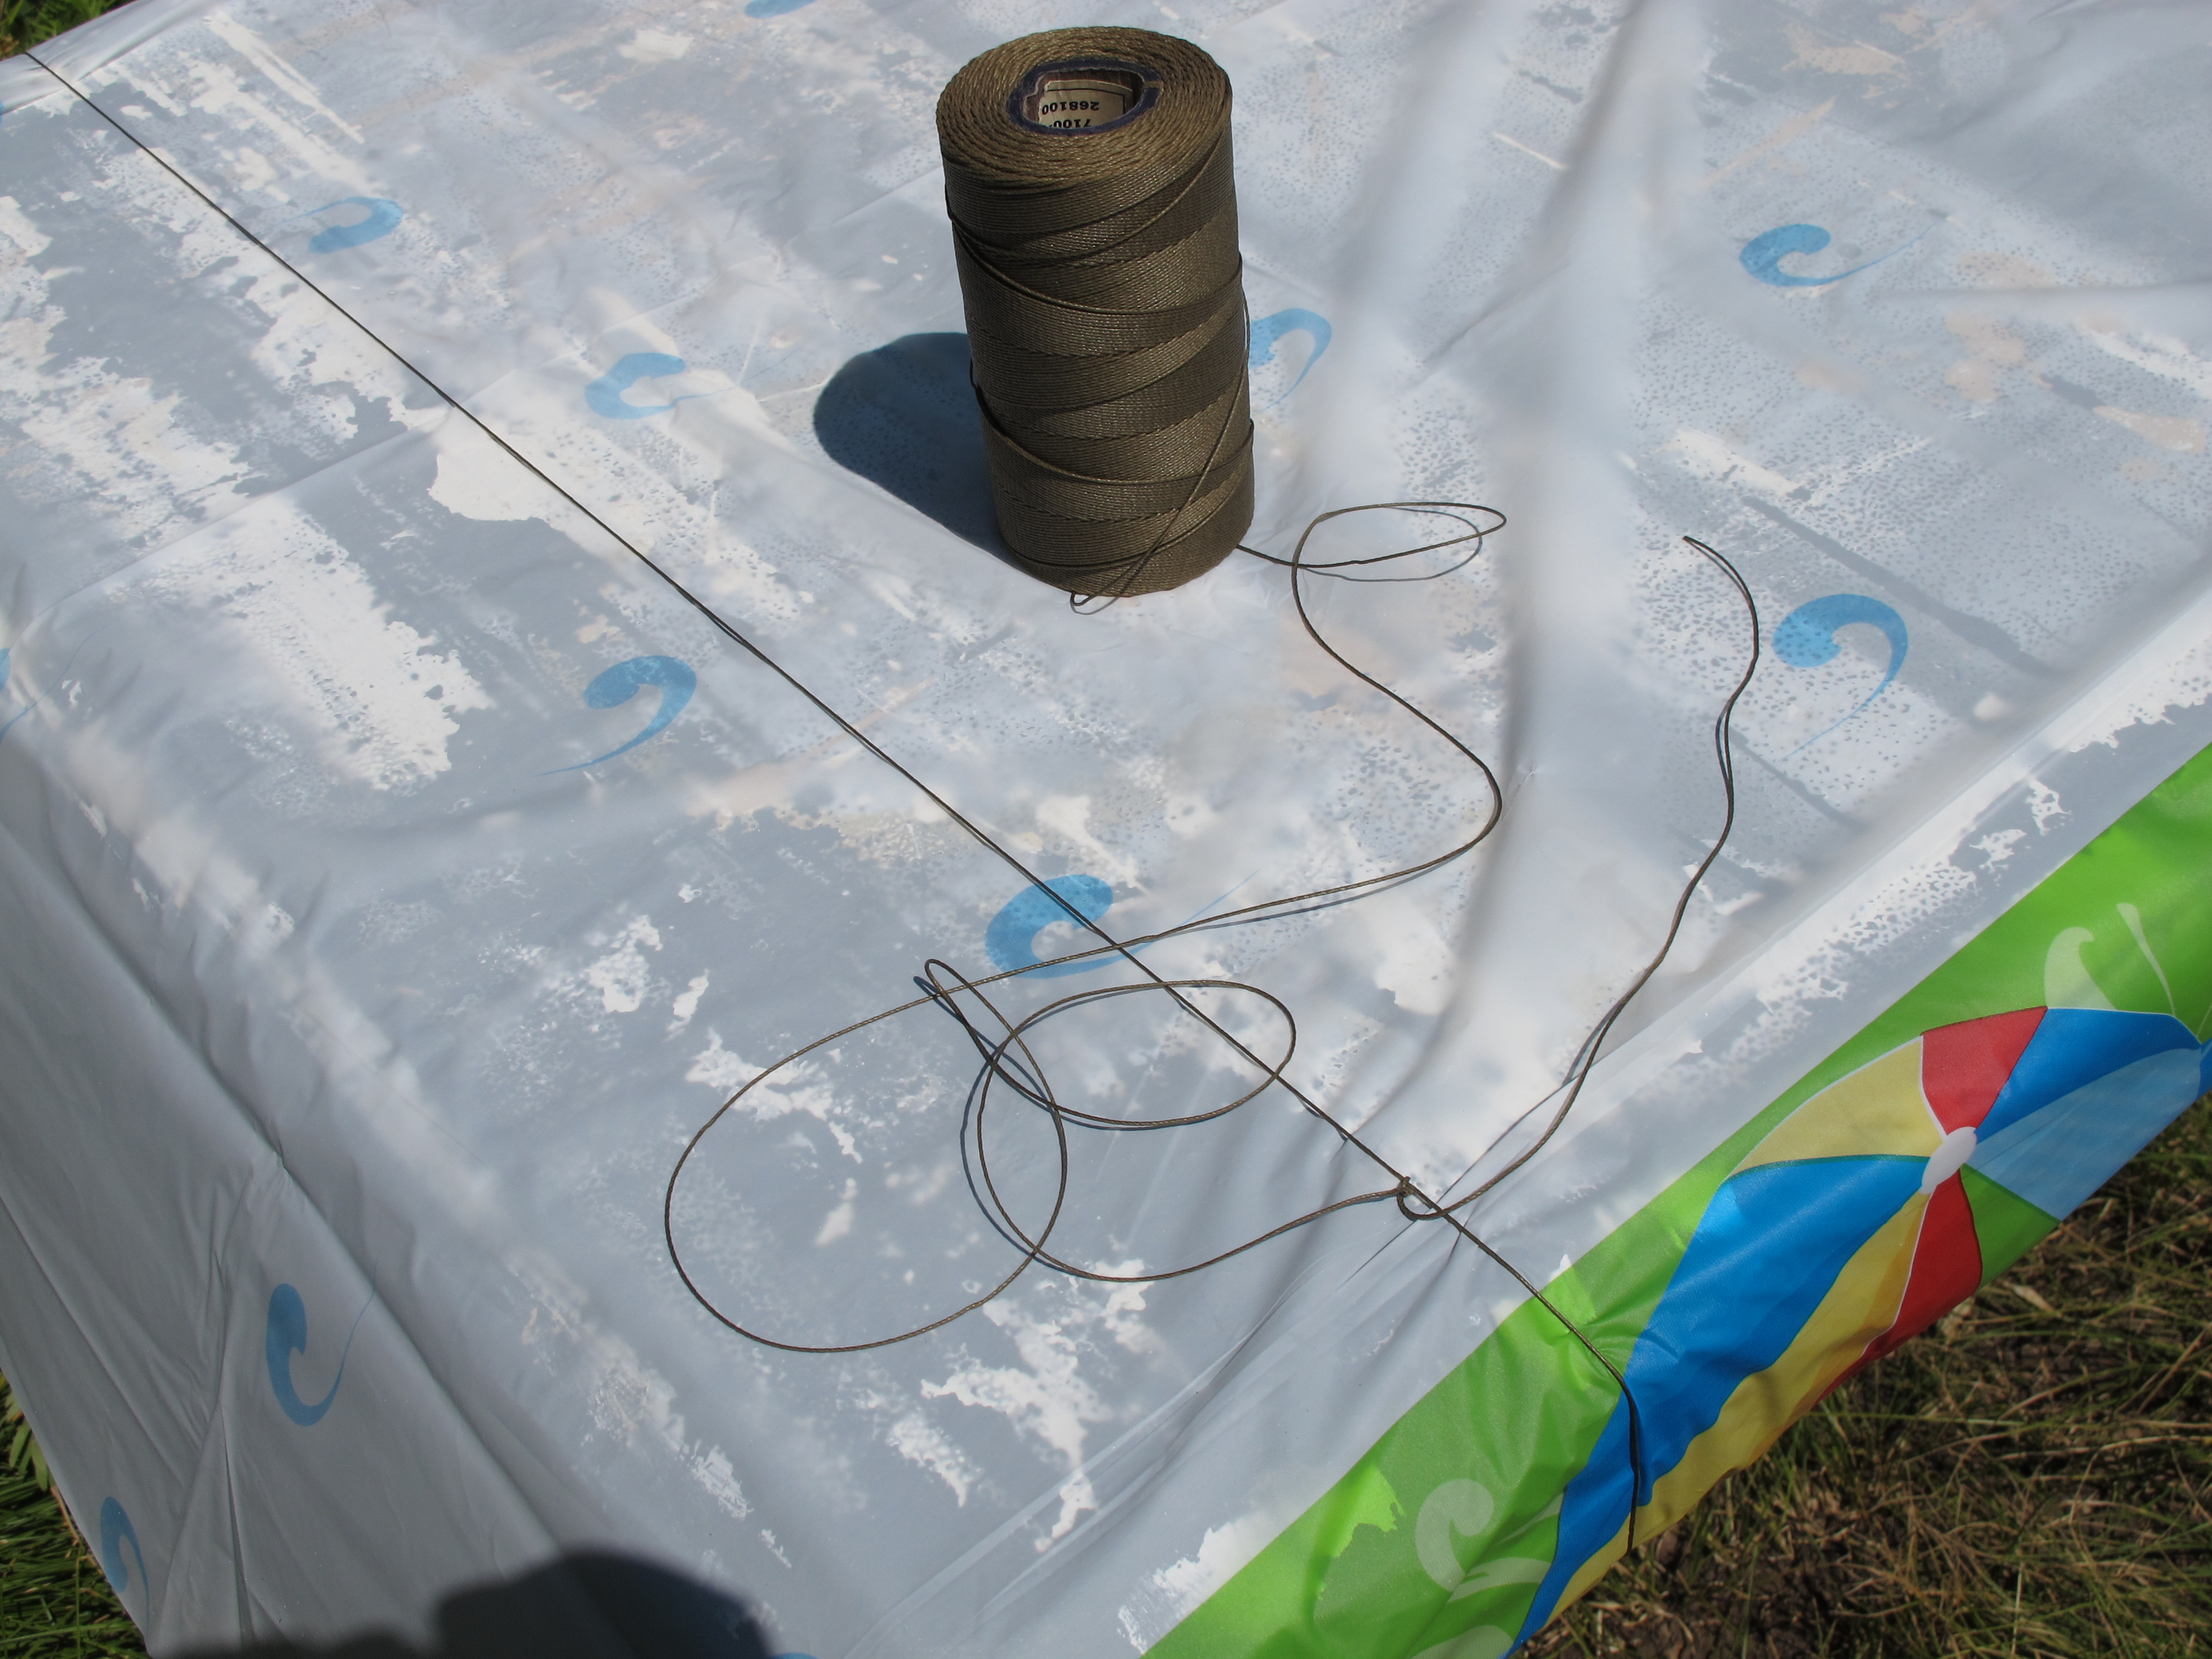
This is a simple tip but very useful.
Camping stores sell clips that are suppose to hold your tablecloth in place while camping but – they don’t work! Most camping tables are much too thick for these clips.
Simply take some string and tie it around the table in a couple of places. Works like a charm!
Also, we used to use the same tablecloth through the years but have found that it is easier to buy a cheap plastic one at the Dollar Store and just throw it away at the end of the camp.

