Oatmeal Chocolate Chip Cookies

These Oatmeal Chocolate Chip Cookies are a nice chewy cookie that you will love!

Preheat oven to 350 degrees.
2 cups old-fashioned rolled oats
2 cups flour
3/4 tsp. baking soda
1/2 tsp. baking powder
1/2 tsp. salt
1/8 tsp. cinnamon
Stir together oats, baking soda, baking powder, salt and cinnamon.

1 cup (2 sticks) butter, softened
1 cup packed light brown sugar
2/3 cup granulated sugar
In a separate bowl or your stand mixer bowl, blend the butter and sugars until smooth, about 2 minutes.

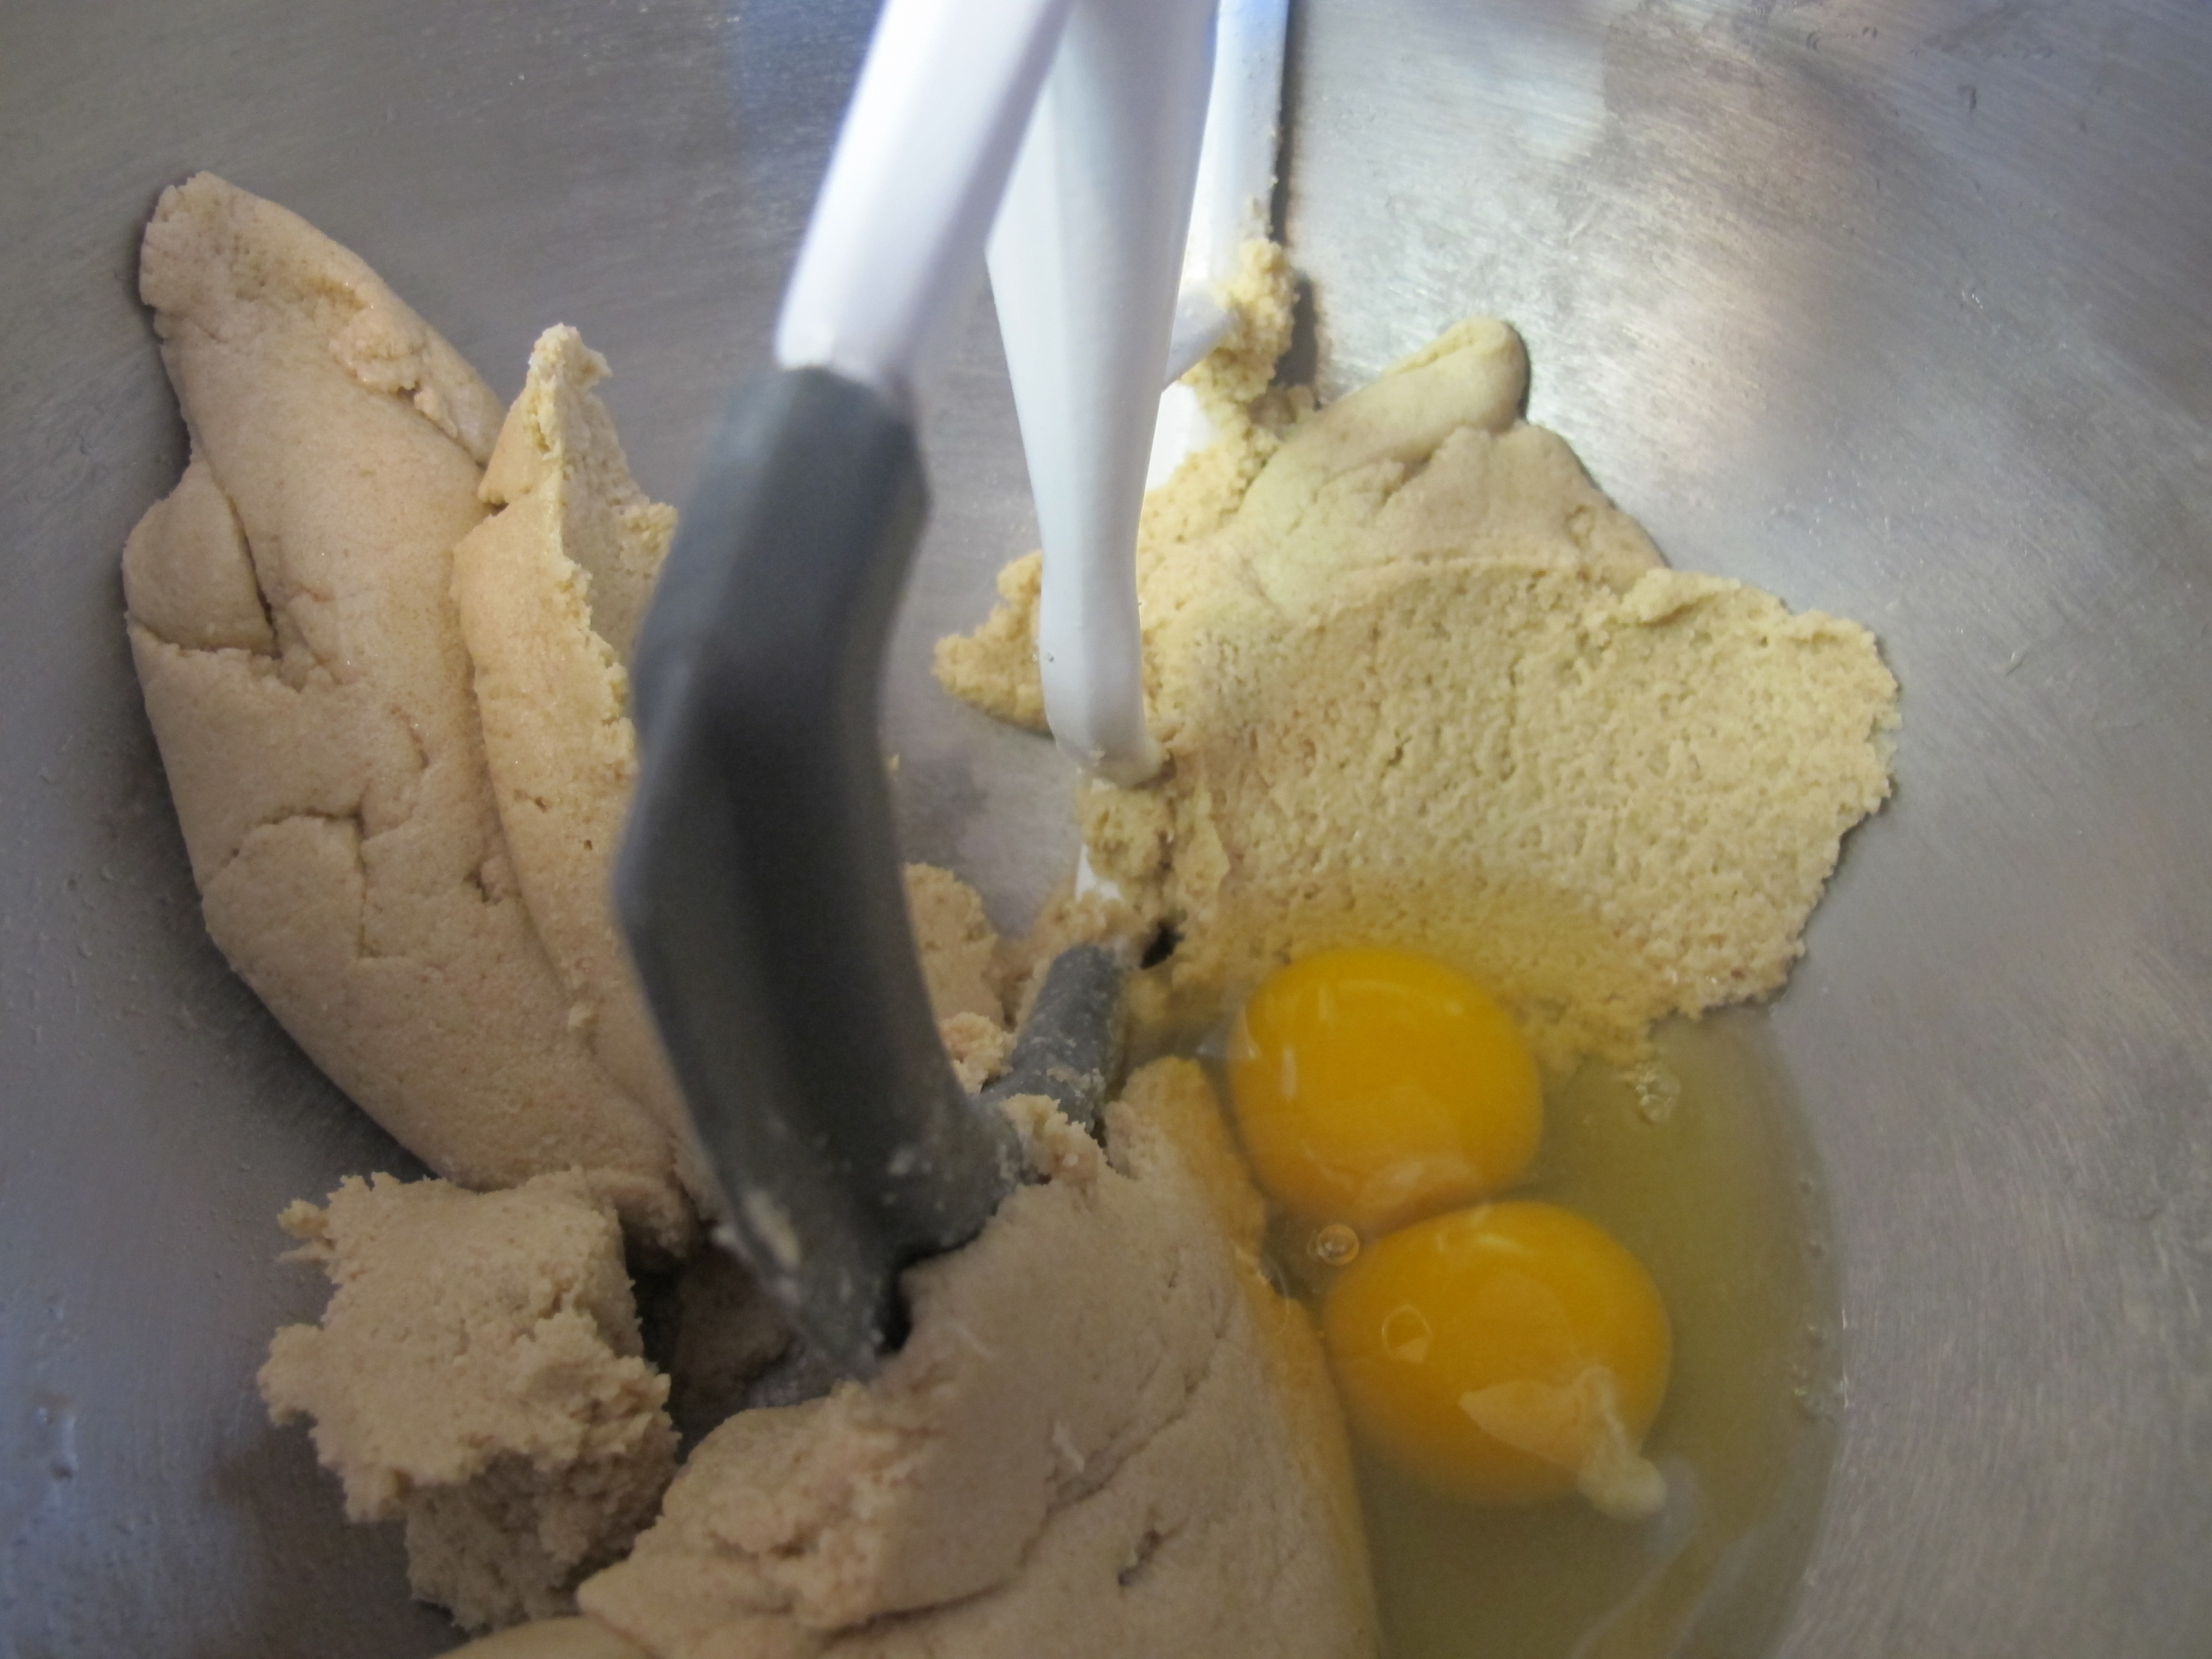
2 eggs, at room temperature
Add the eggs and continue to beat until fluffy, about 2 minutes.
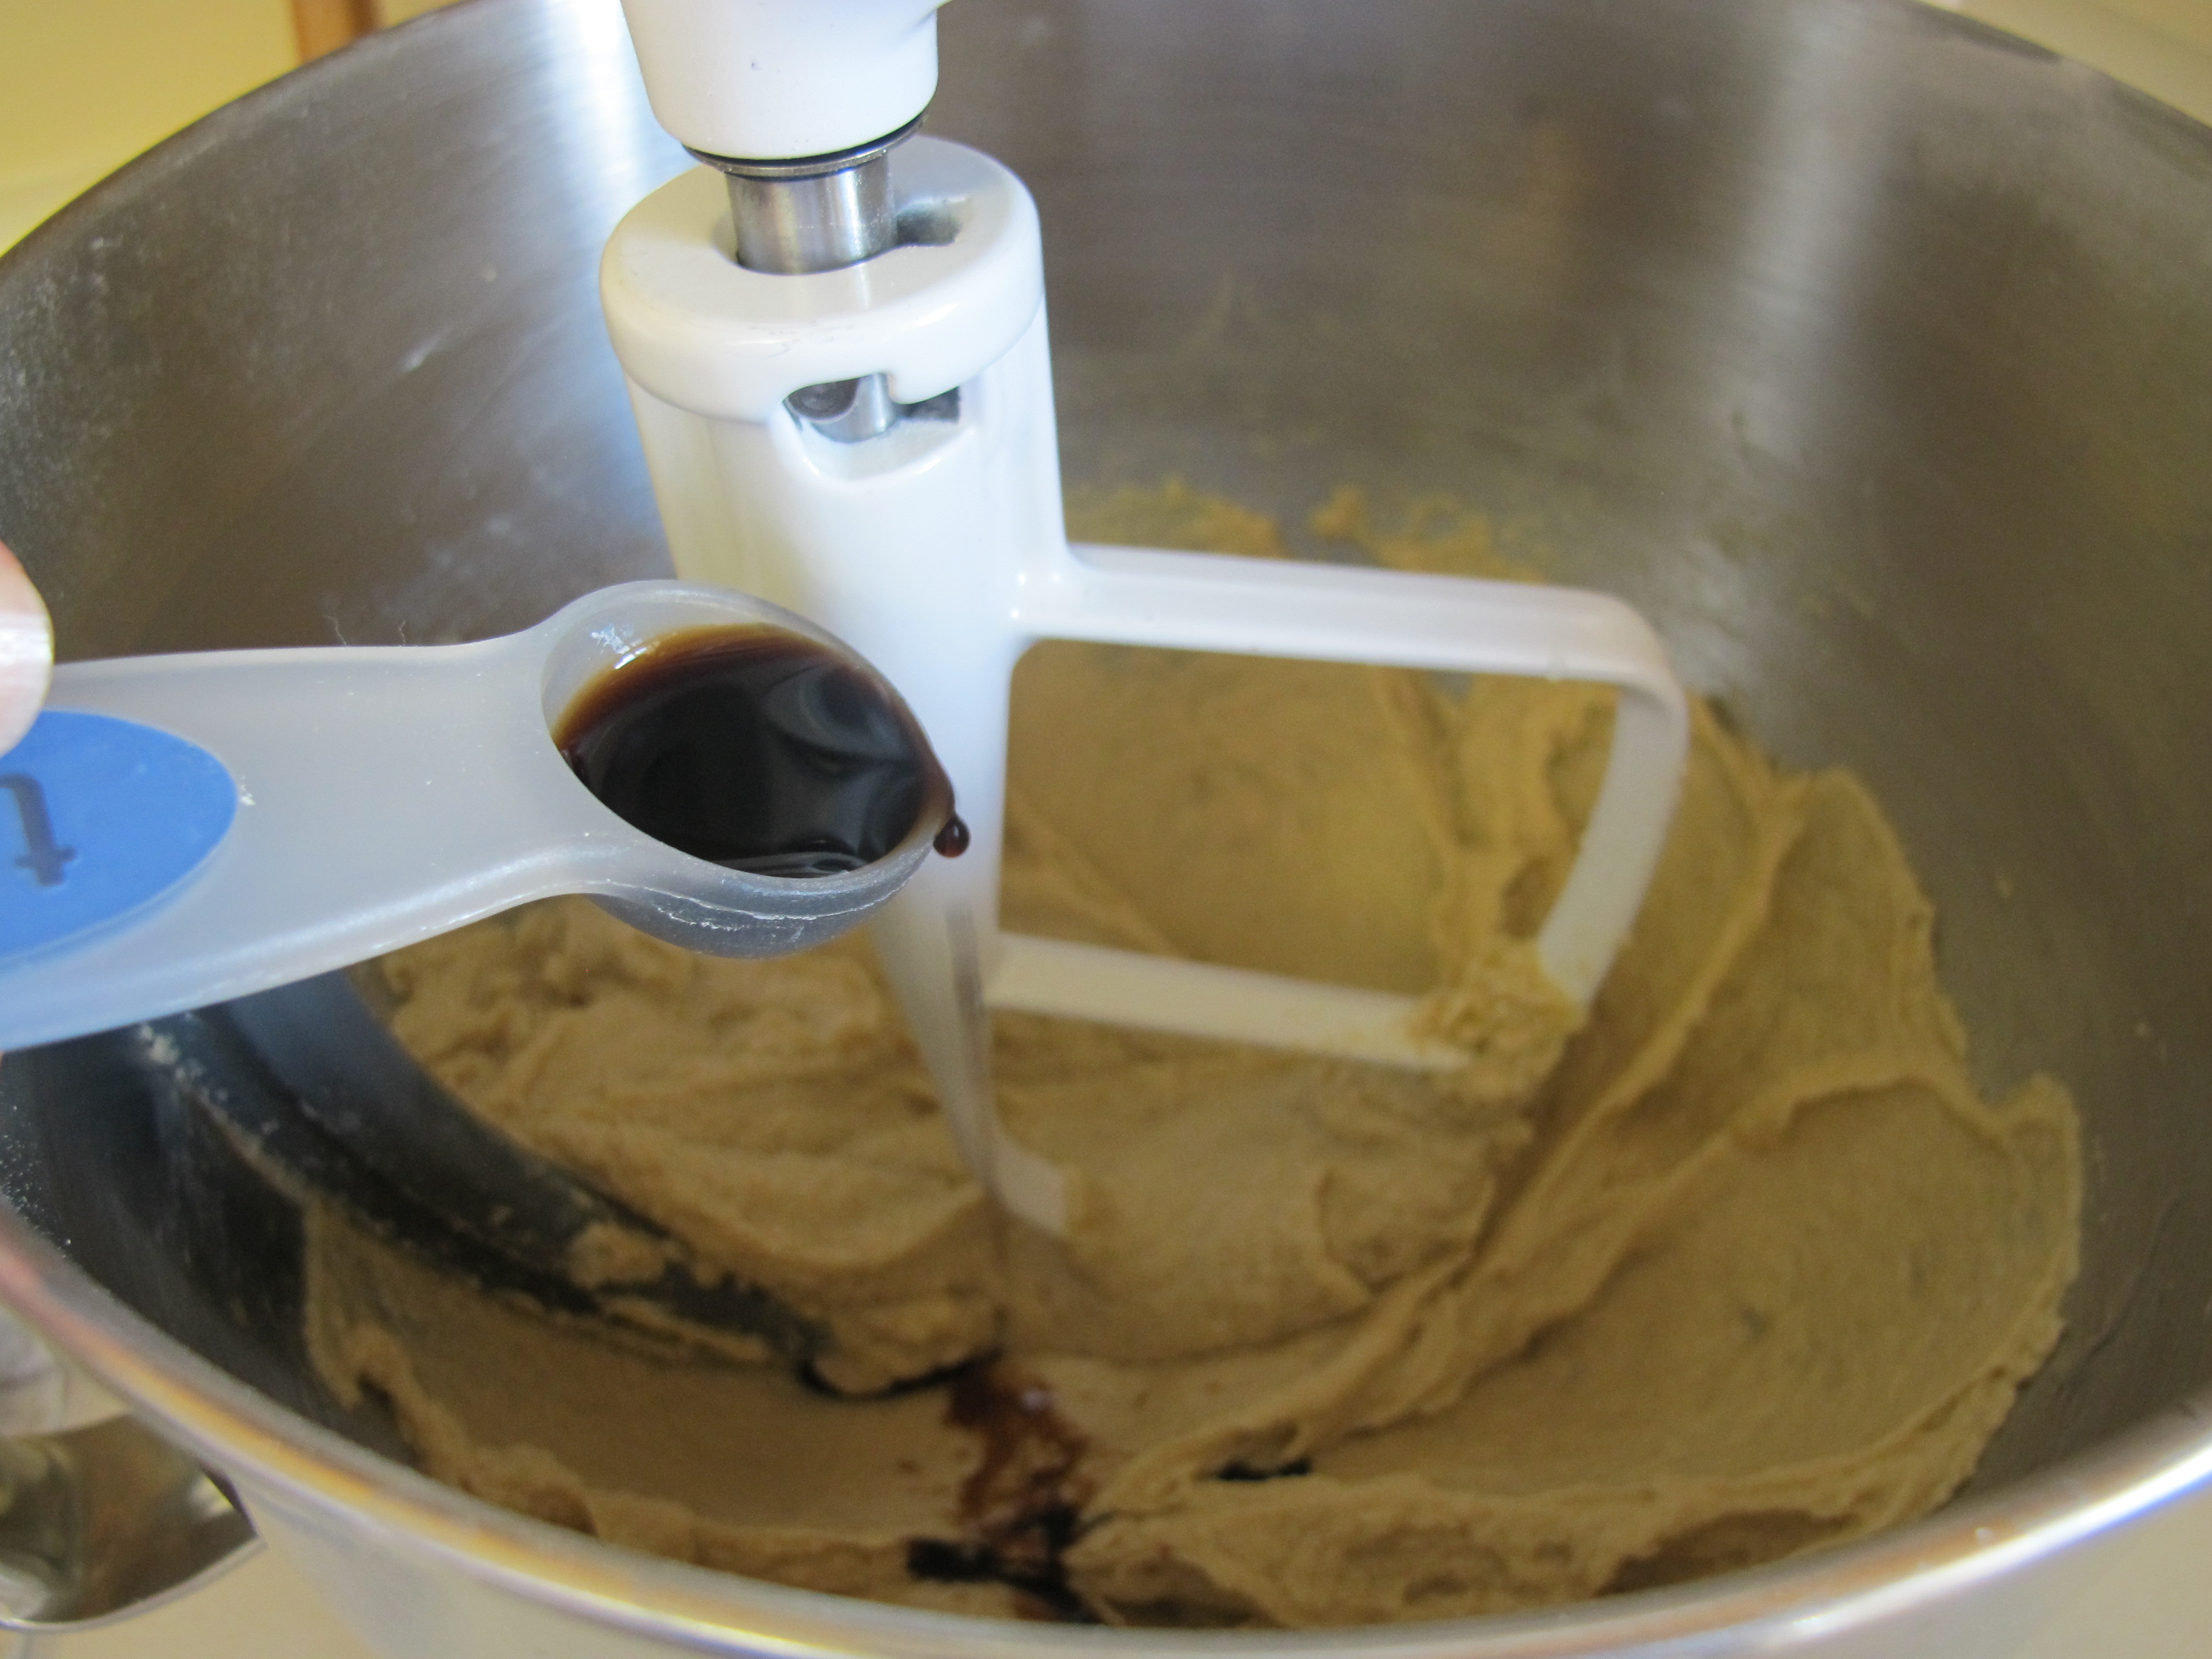
1 tsp. vanilla extract
Blend in the vanilla extract.
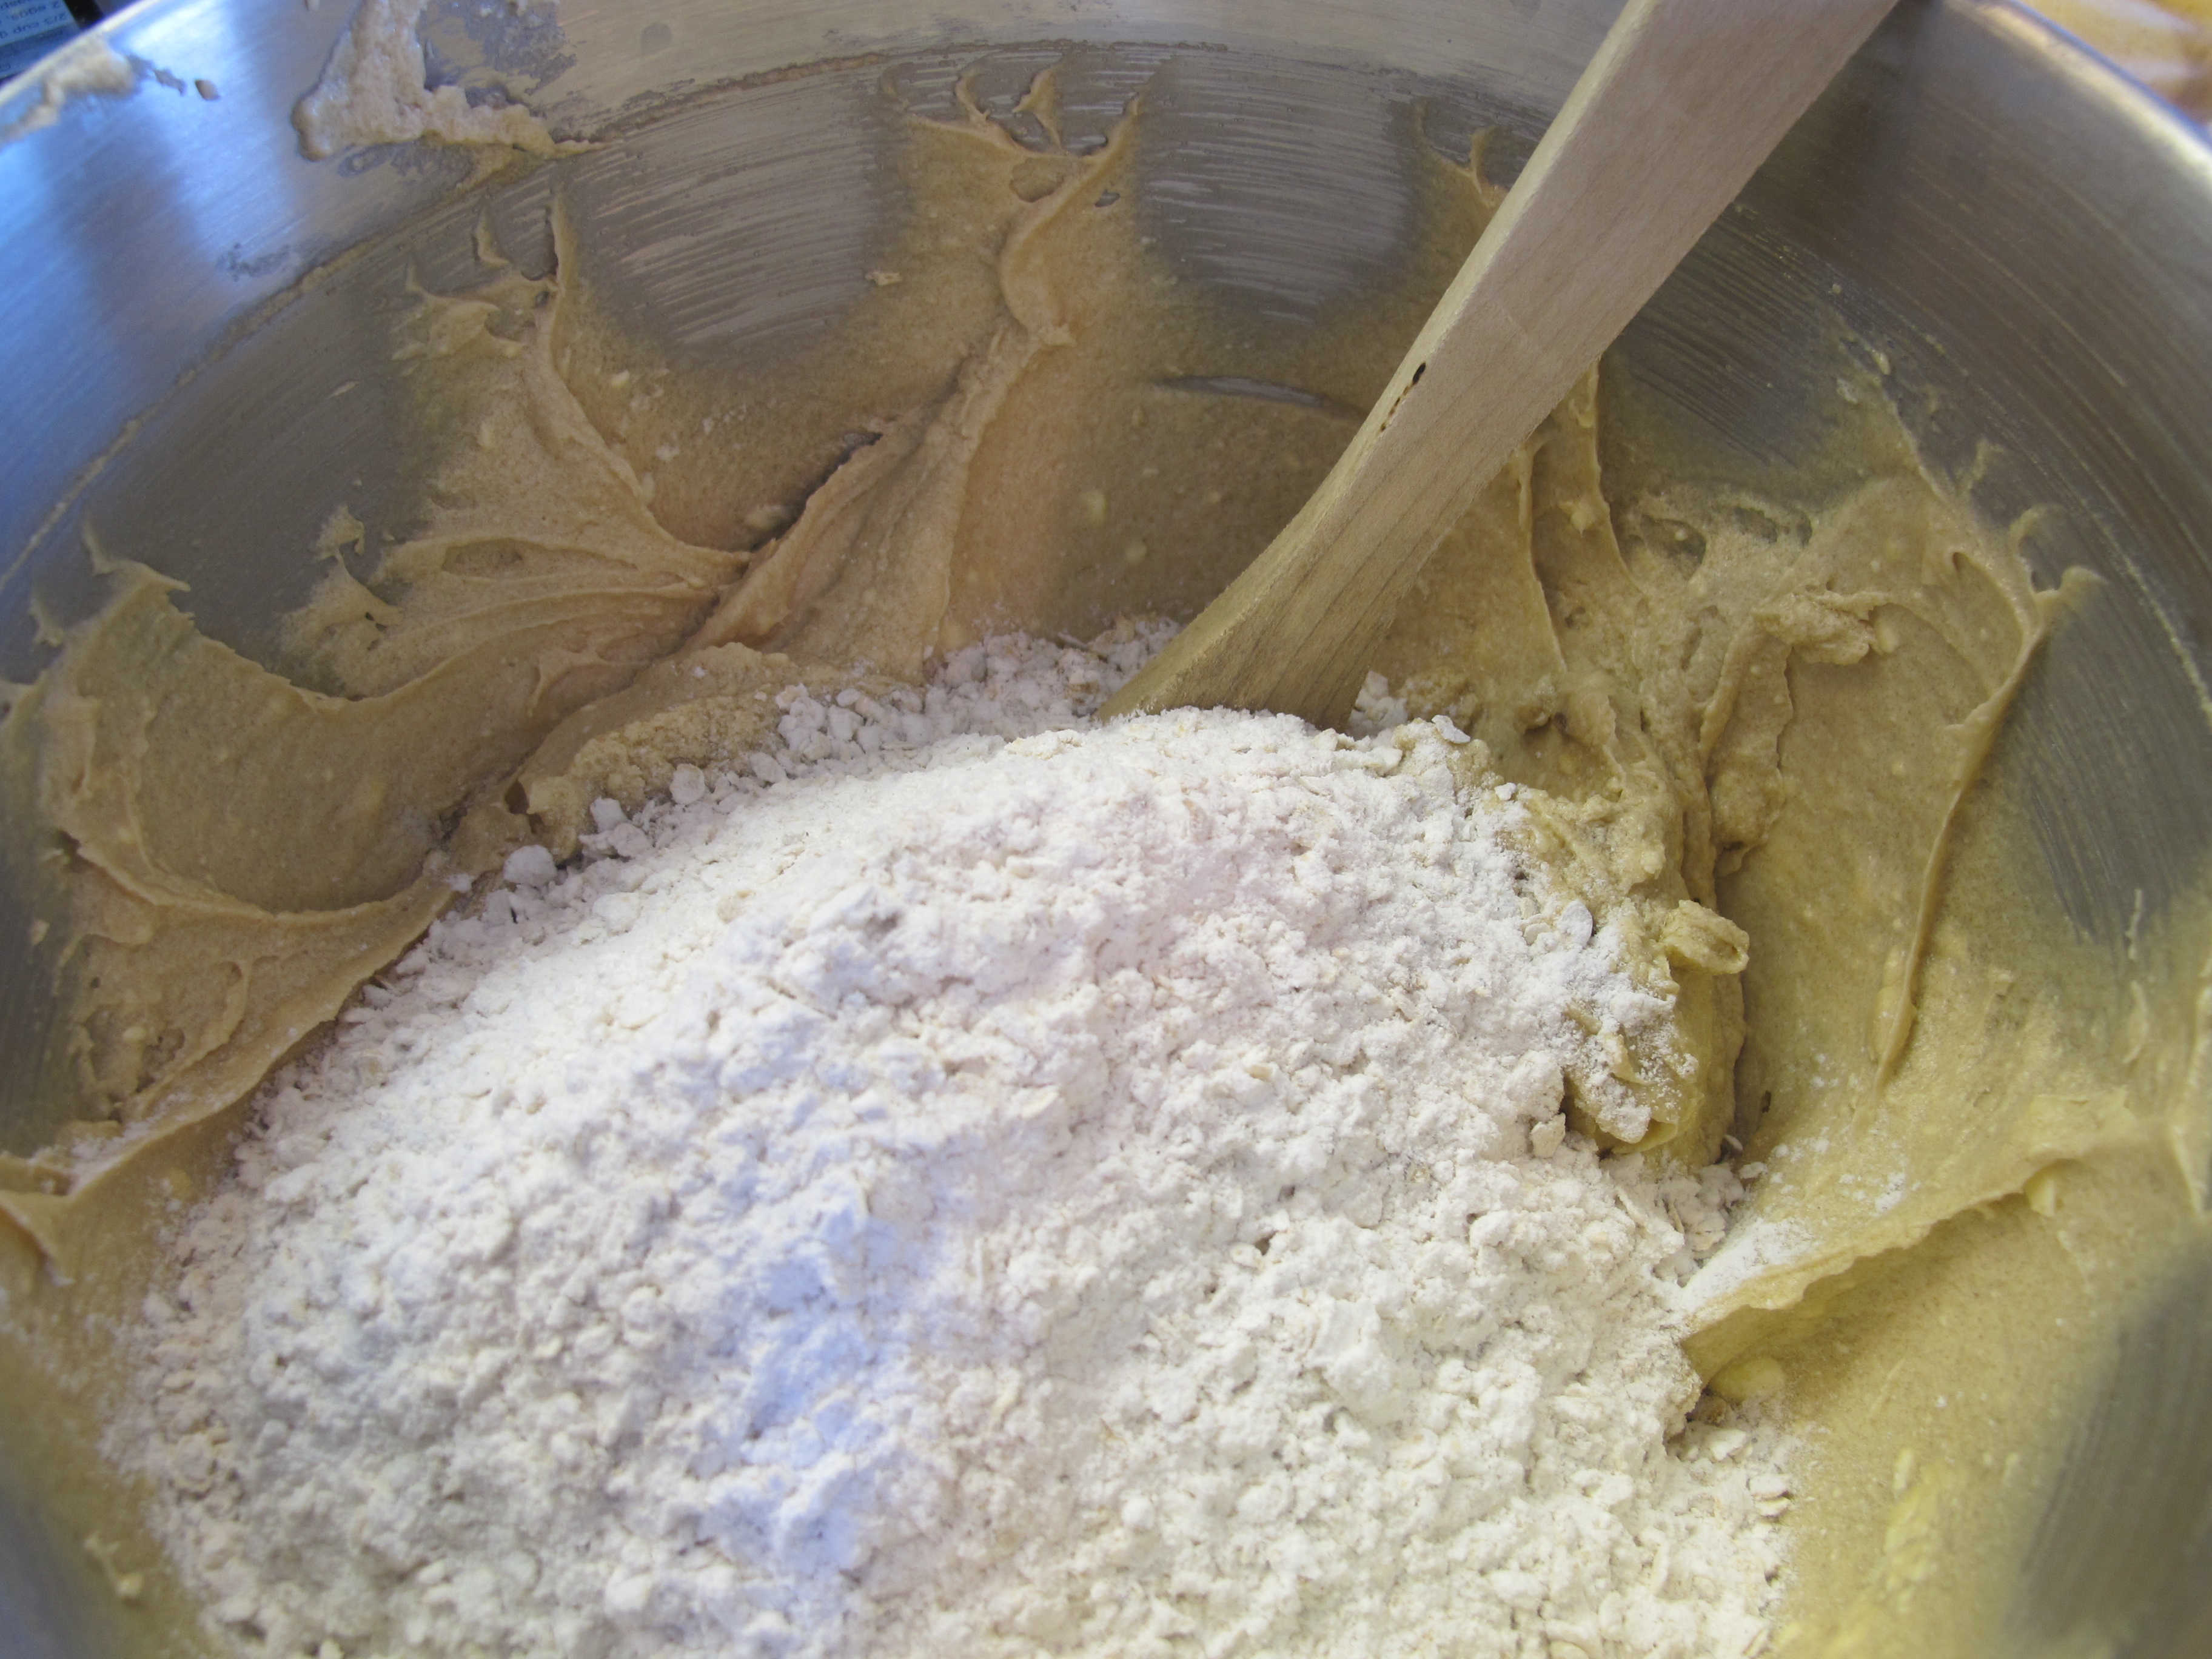
Either using a wooden spoon or having your mixture on the lowest setting, add dry ingredients, half at a time.
2 cups semisweet chocolate chips
1 cup chopped walnuts (optional)
Mix in the chocolate chips and nuts.
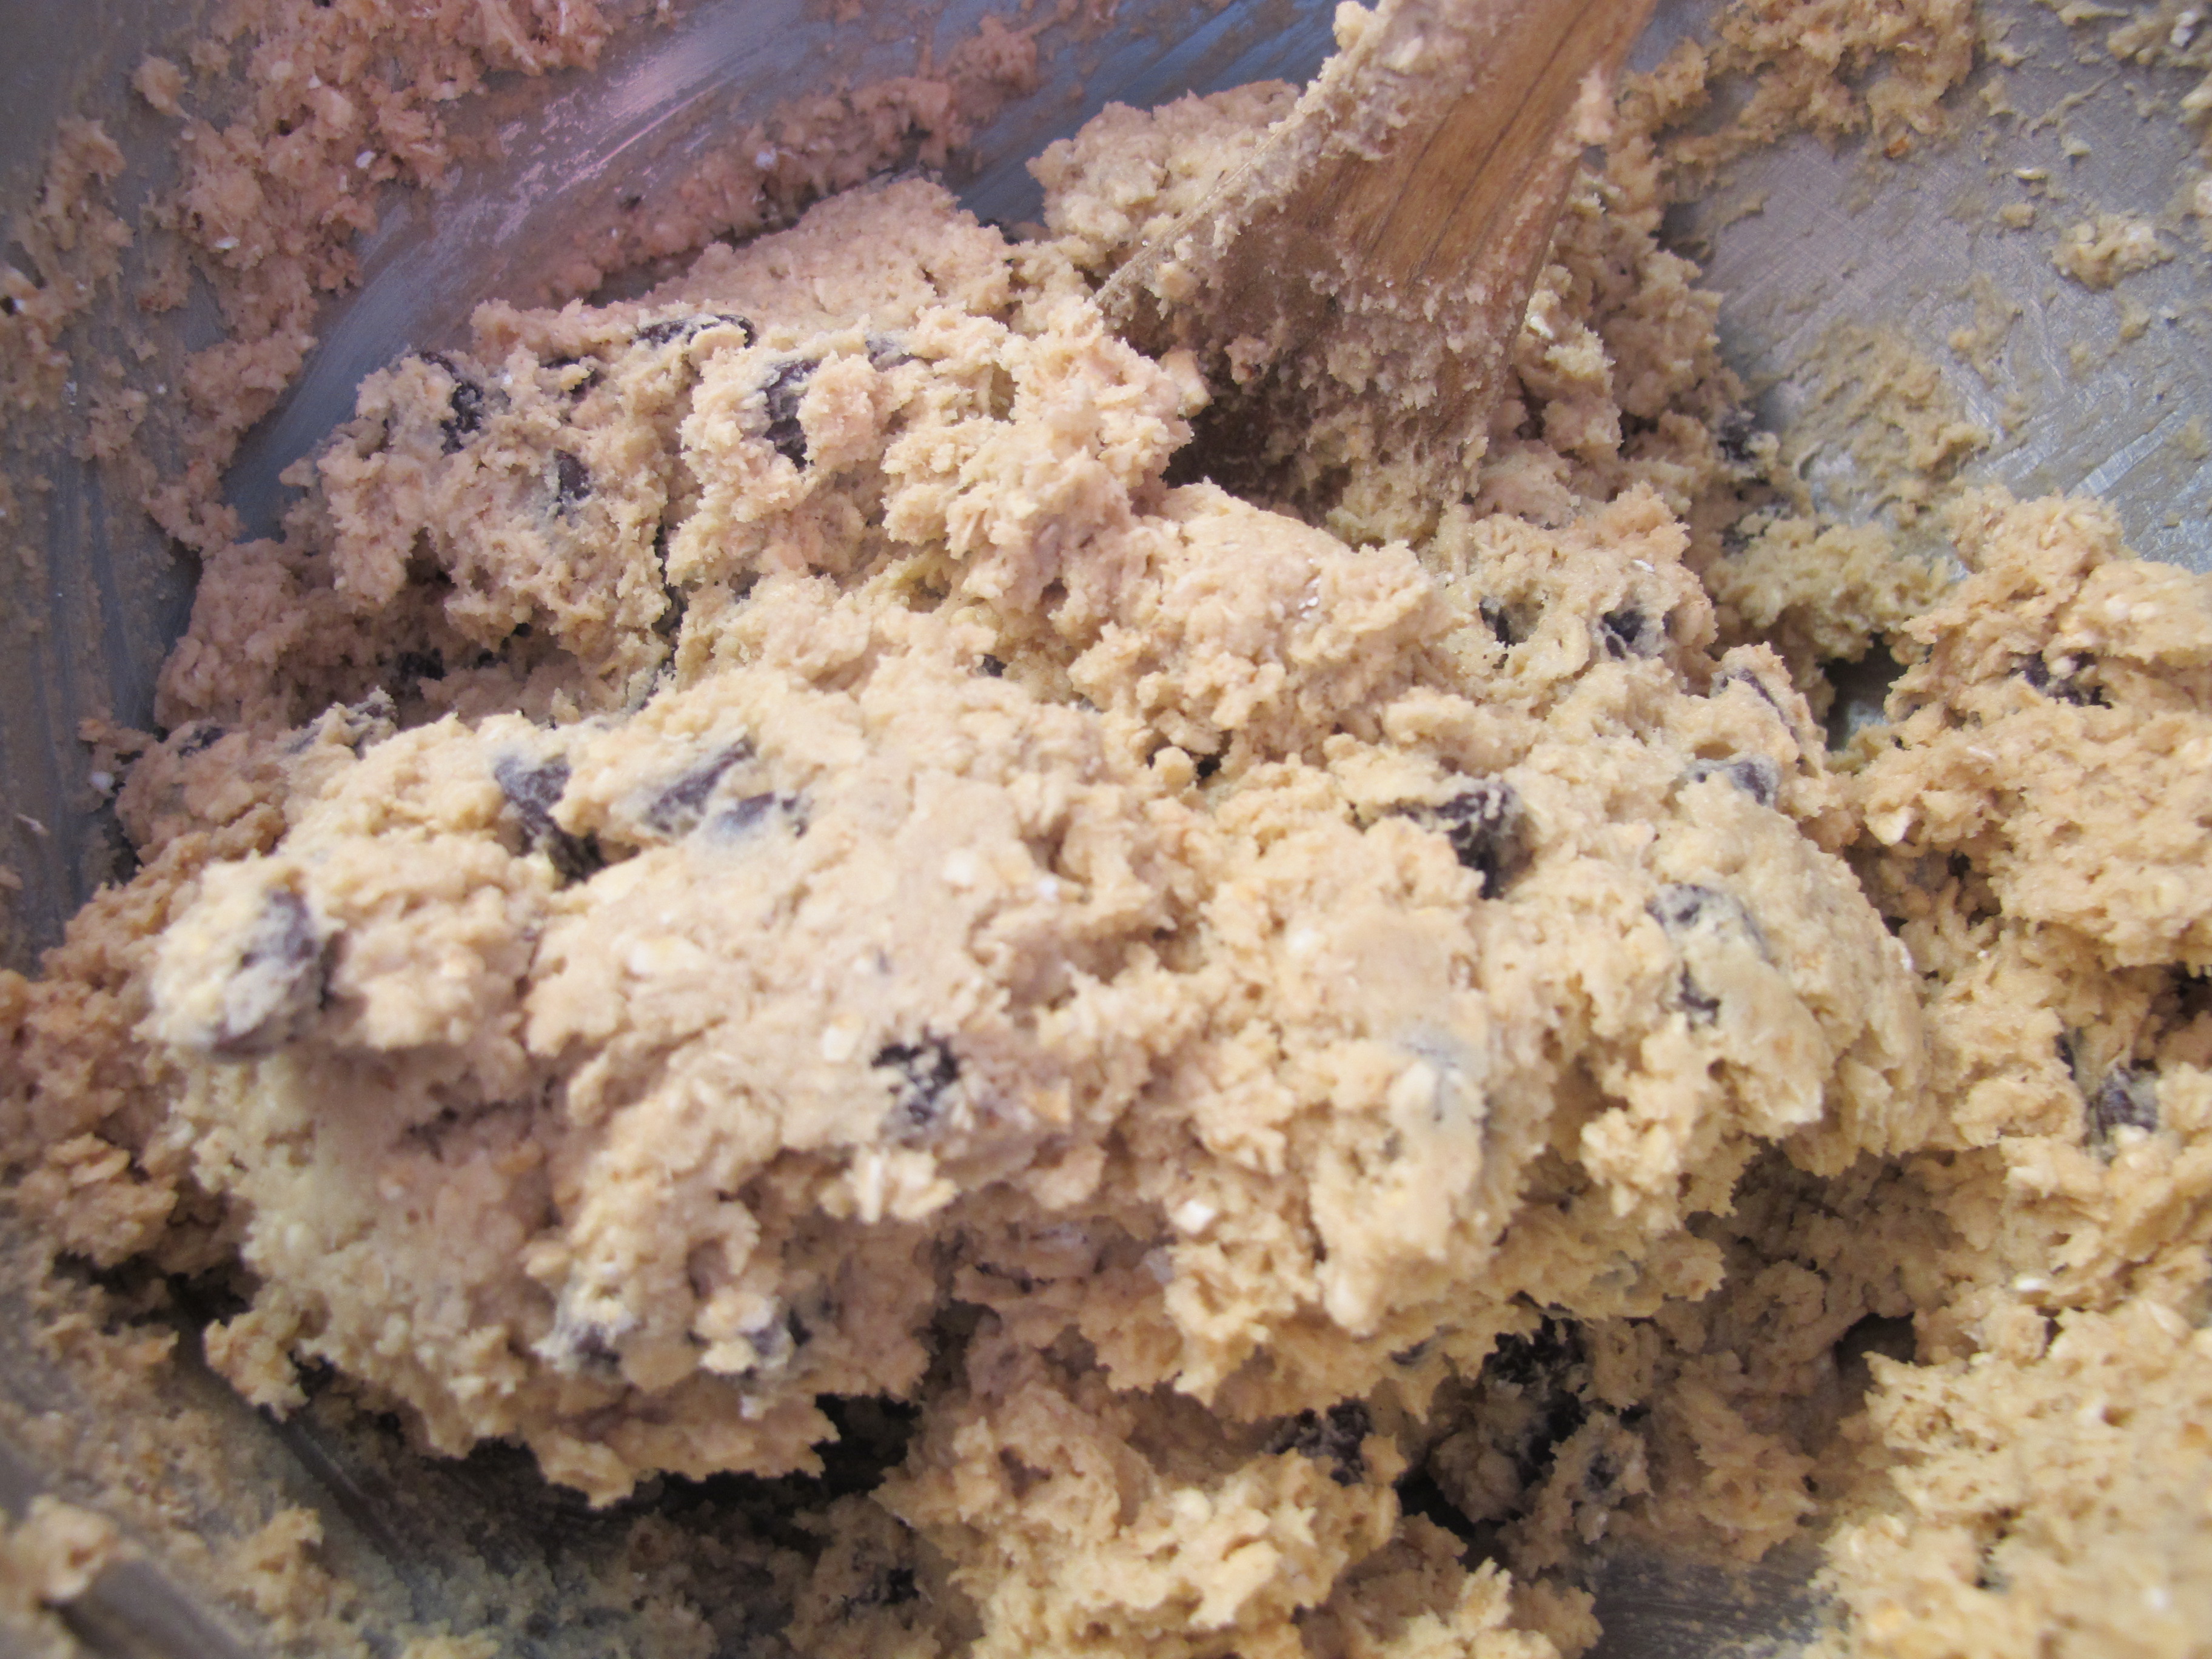
Refrigerate dough for 1 – 2 hours.
Drop dough by spoonfuls or use a cookie scoop.
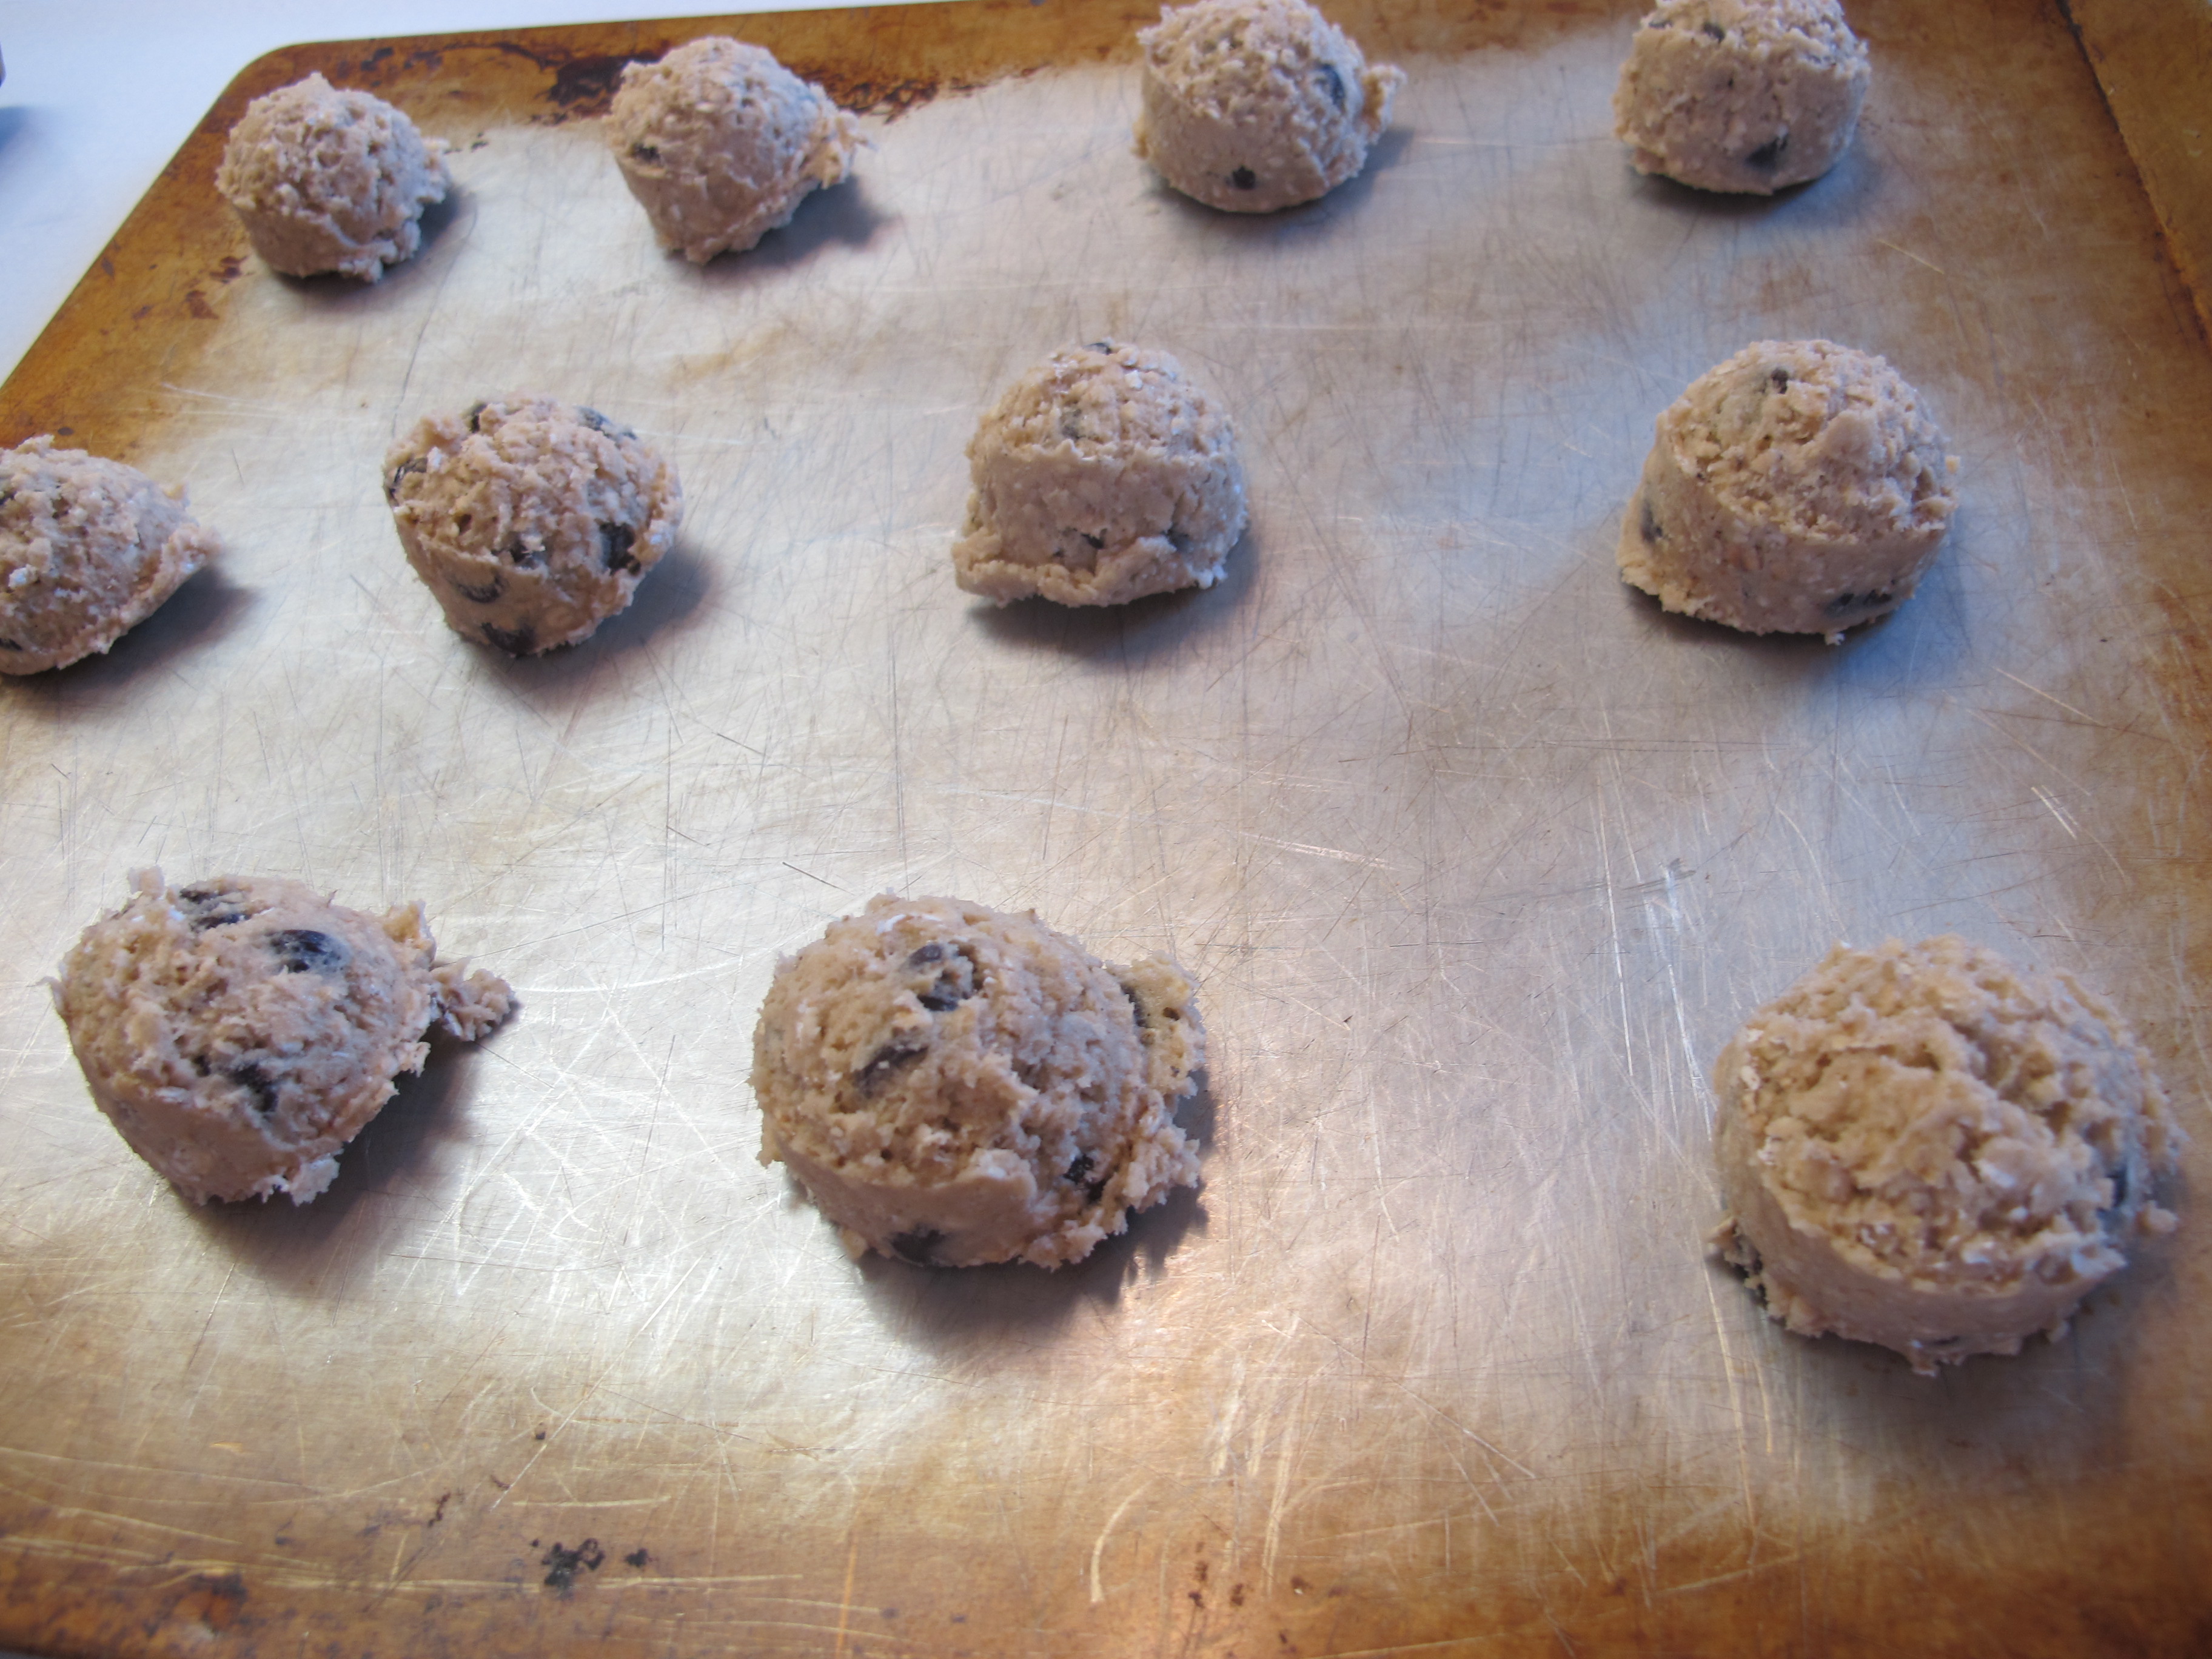
Bake cookies at 350 degrees for 12 minutes. When you take the cookies out, they should still look a bit under-cooked. Don’t over-bake them! Allow to cool on the cookie sheet for a few minutes and then transfer to a cooling rack.

FULL RECIPE WITHOUT PICTURES —
OATMEAL CHOCOLATE CHIP COOKIES
2 cups old-fashioned rolled oats
2 cups flour
3/4 tsp. baking soda
1/2 tsp. baking powder
1/2 tsp. salt
1/8 tsp. cinnamon
1 cup (2 sticks) butter, softened
1 cup packed light brown sugar
2/3 cup granulated sugar
2 eggs, at room temperature
1 tsp. vanilla extract
2 cups semisweet chocolate chips
1 cup chopped walnuts (optional)
Preheat oven to 350 degrees.
Stir together oats, baking soda, baking powder, salt and cinnamon.
In a separate bowl or your stand mixer bowl, blend the butter and sugars until smooth, about 2 minutes.
Add the eggs and continue to beat until fluffy, about 2 minutes. Blend in the vanilla extract.
Either using a wooden spoon or having your mixture on the lowest setting, add dry ingredients, half at a time.
Mix in the chocolate chips and nuts.
Refrigerate dough for 1 – 2 hours.
Drop dough by spoonfuls or use a cookie scoop. Bake cookies at 350 degrees for 12 minutes. When you take the cookies out, they should still look a bit under-cooked. Don’t over-bake them! Allow to cool on the cookie sheet for a few minutes and then transfer to a cooling rack.
Cinnamon Pull-Apart Loaf
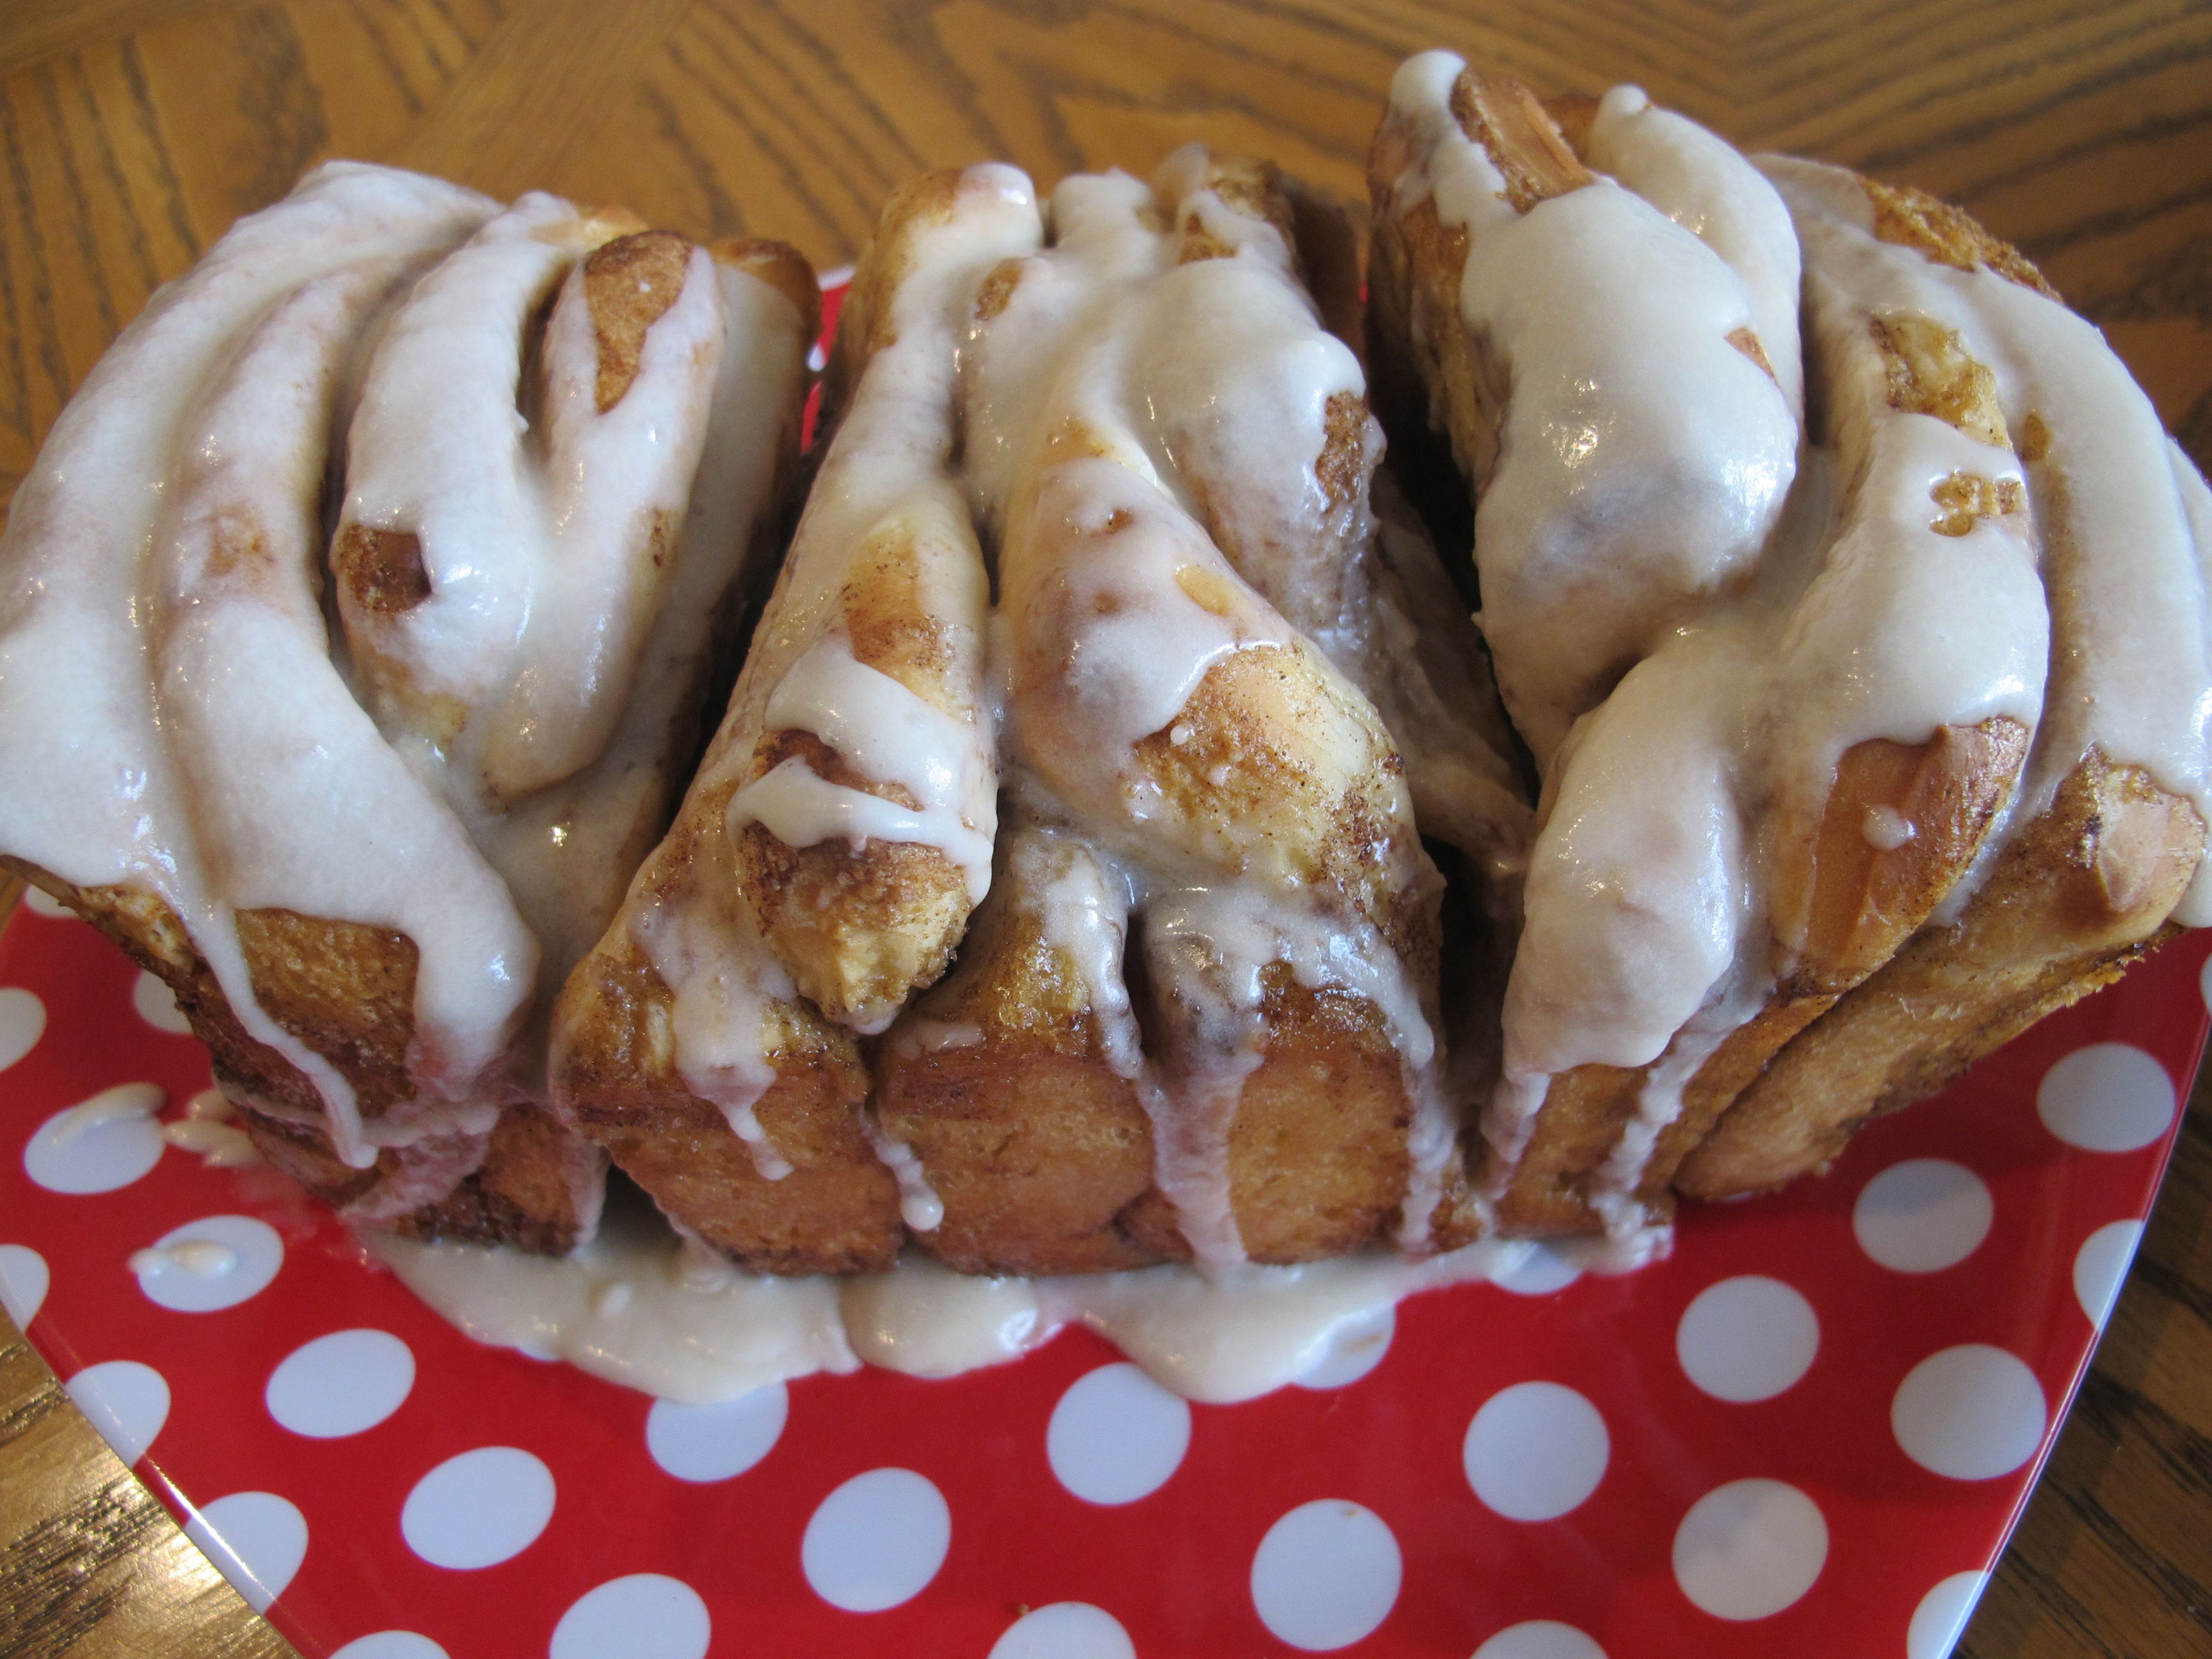
I absolutely LOVE cinnamon bread, rolls, pull-aparts, whatever! When I saw this recipe, I just had to make it! The picture just screamed delicious to me and it is!!! If you love cinnamon rolls, you will love this cinnamon loaf. The recipe makes two loaves so you can share one with a friend.

DOUGH:
1 cup hot milk
4 T. butter
5 – 6 cups flour
1/2 cup sugar
1 1/2 tsp. salt
2 eggs
3/4 cup hot water
1 T. yeast
FILLING:
8 T. butter, softened
1 cup brown sugar
cinnamon
GLAZE:
2 cup powdered sugar
3 T. milk
4 T. butter, melted
1 tsp. vanilla
Preheat oven to 170 degrees.
1 cup milk
4 T. butter
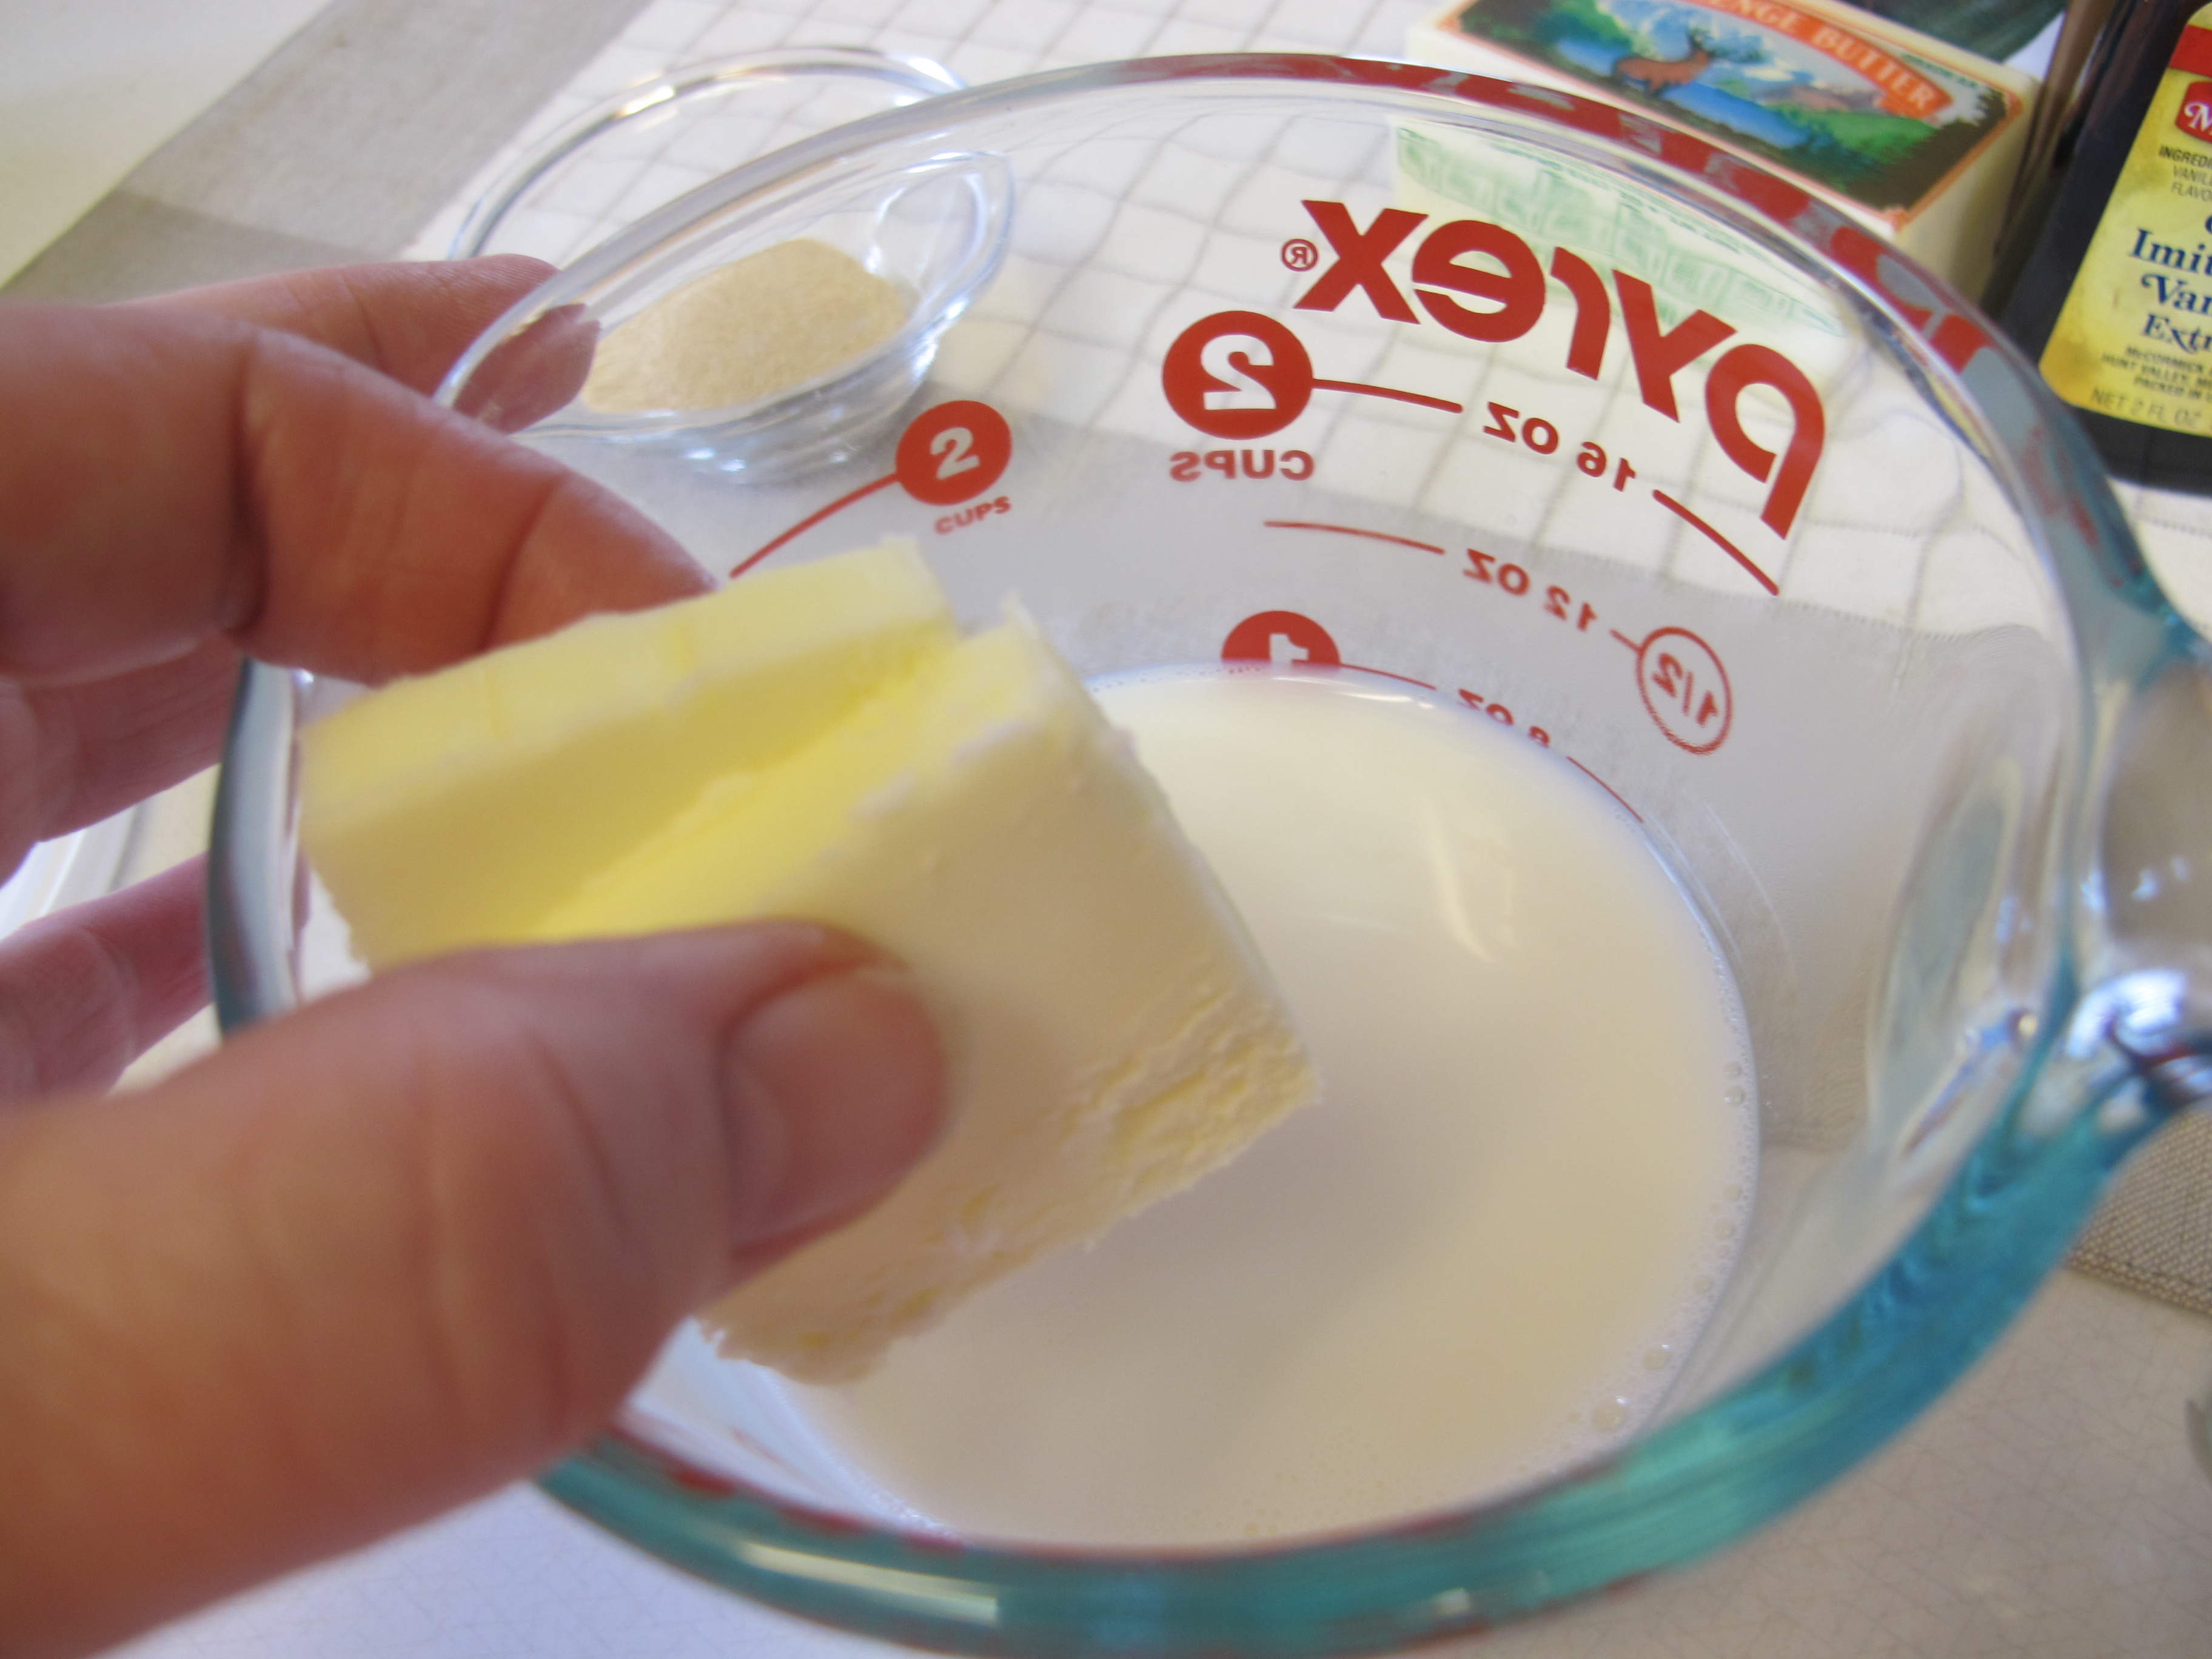
Heat milk in the microwave for 1 minute. Carefully place the butter into the hot milk.
5 – 6 cups flour
1 1/2 tsp. salt
1/2 cup sugar
2 eggs
3/4 cup hot water
1 T. yeast
Into your stand mixer, place 2 cups of flour along with the salt, sugar and eggs.
Let it mix for just a few seconds, just enough to cover the eggs.

Add the hot water.
Add the milk/butter mixture. Mix for 30 seconds.

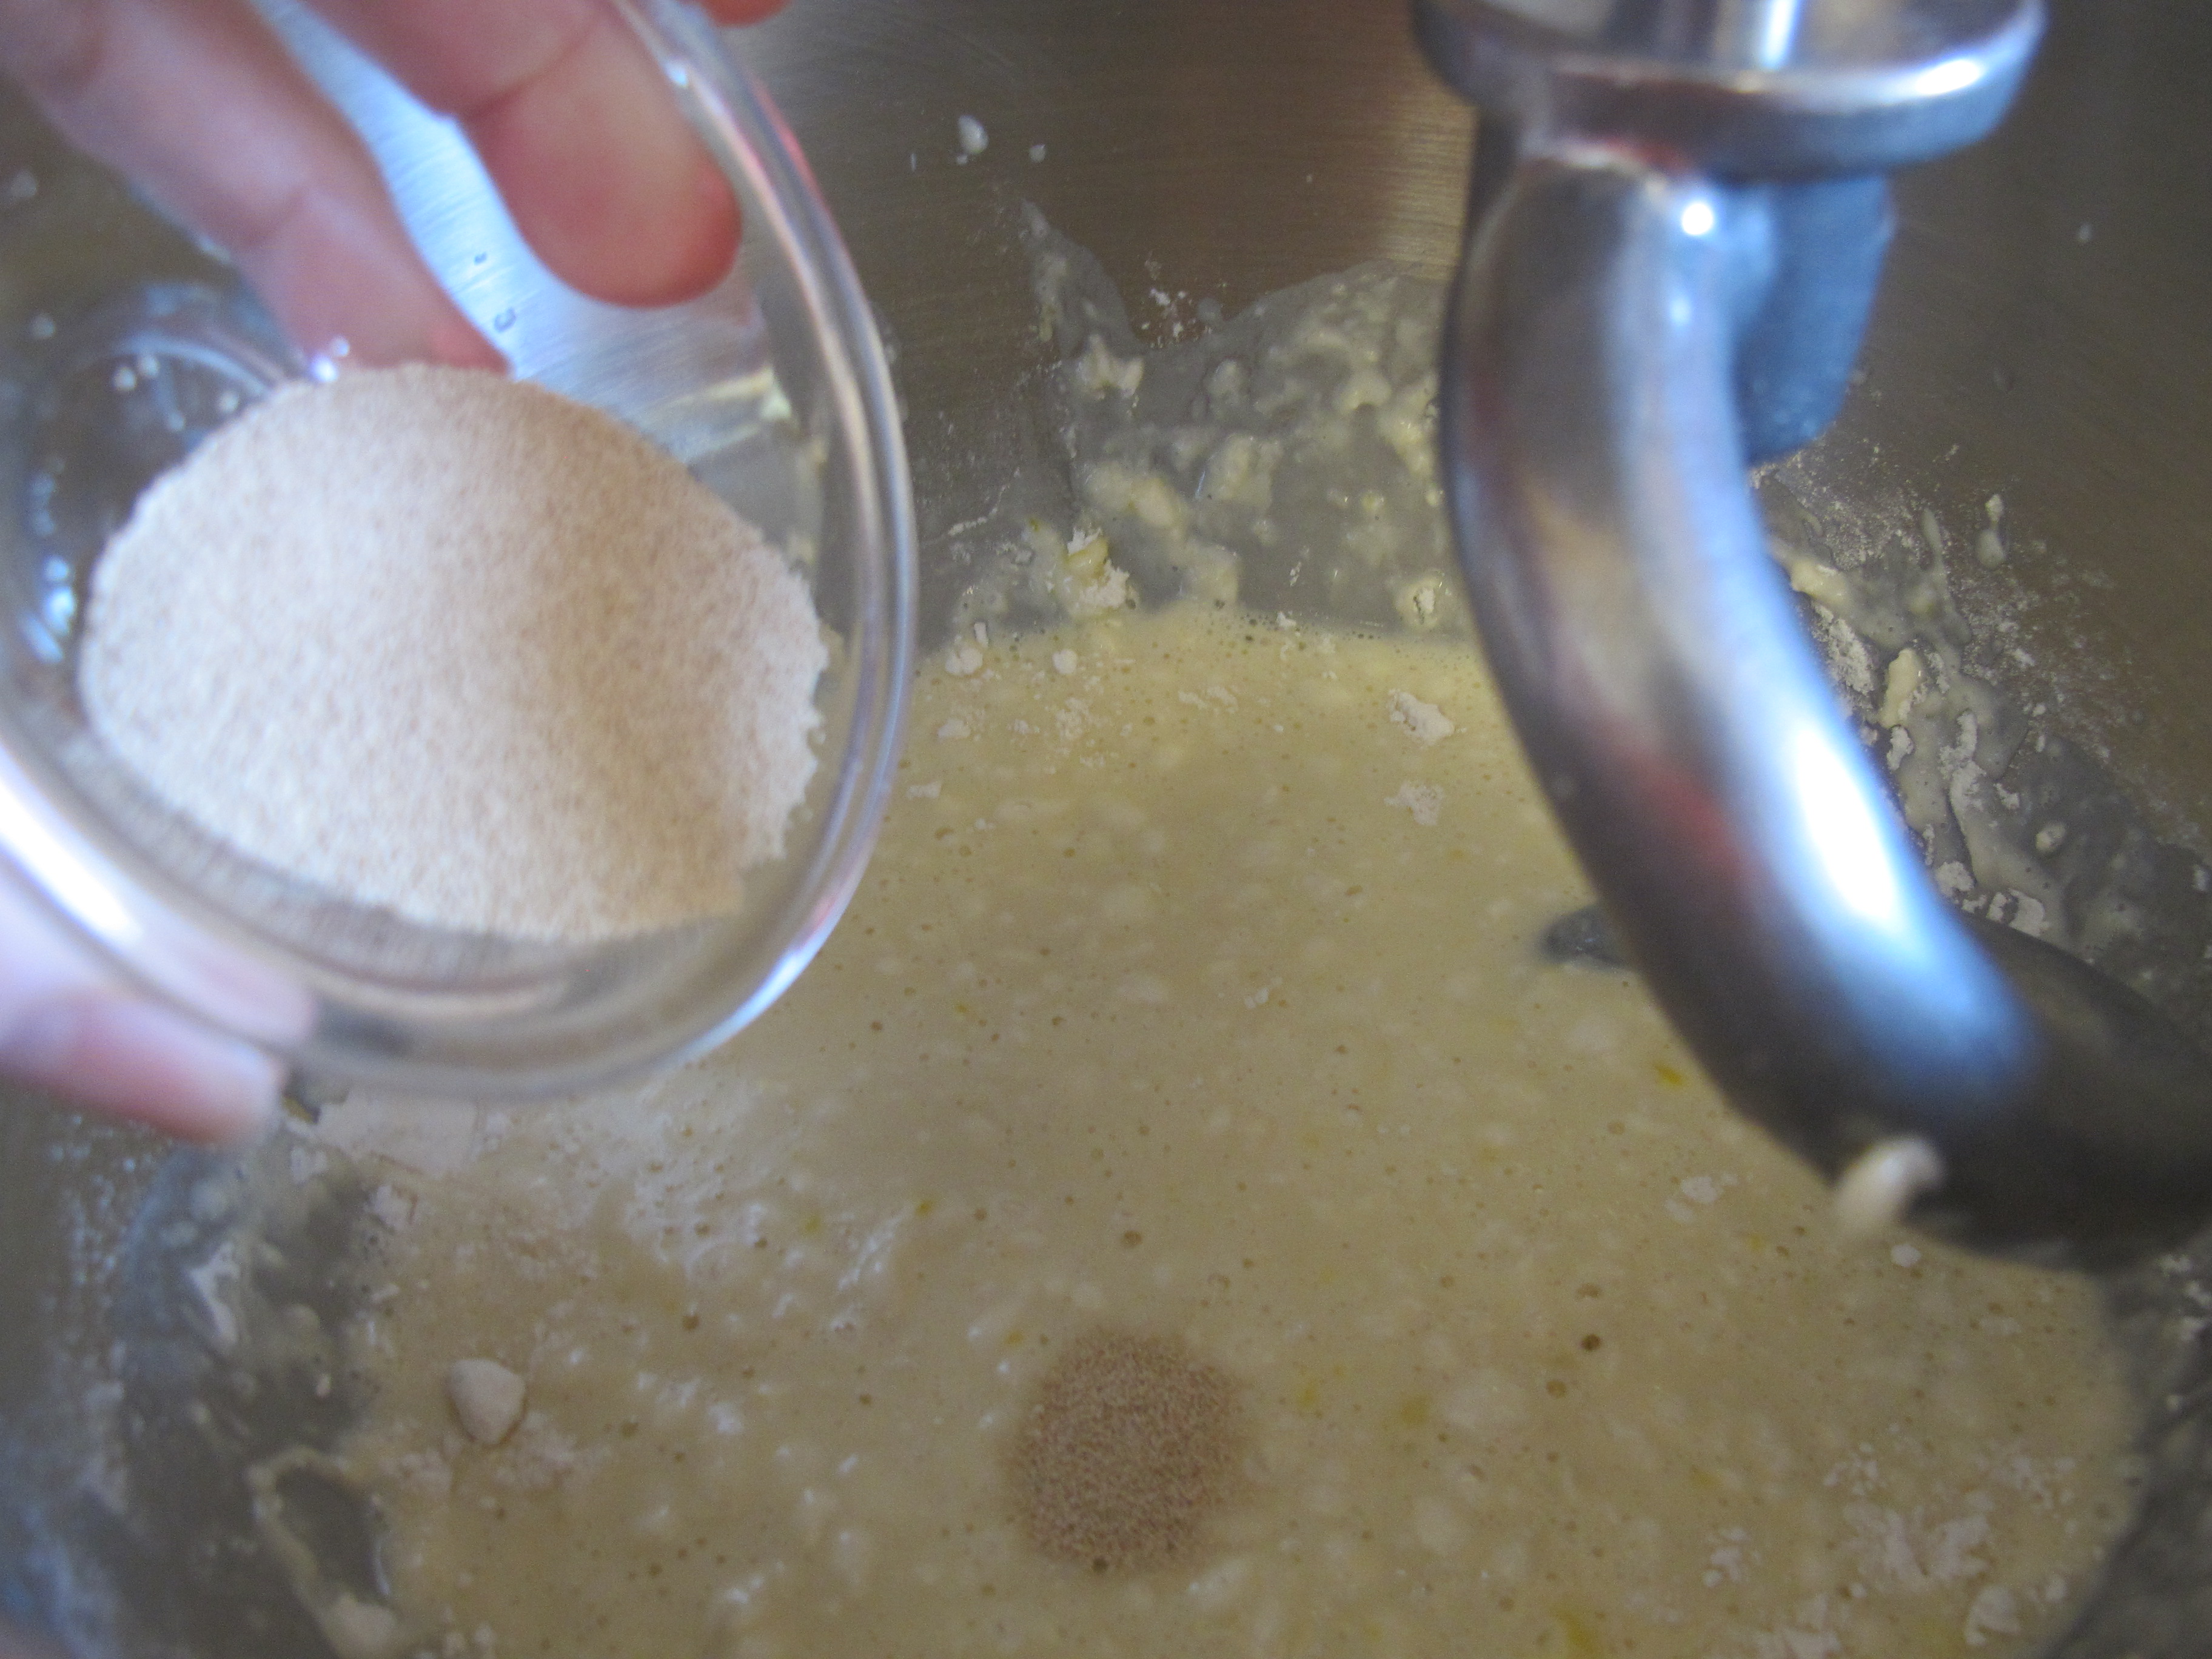
(Picture shows wrong attachment. Just do the whole thing with the dough hook.)
Add the yeast and mix until combined.
With the mixer on low, begin to add the rest of the flour. Add the flour until the dough pulls away from the side of the bowl. Once you have the right amount of flour, mix on medium speed for 5 minutes.
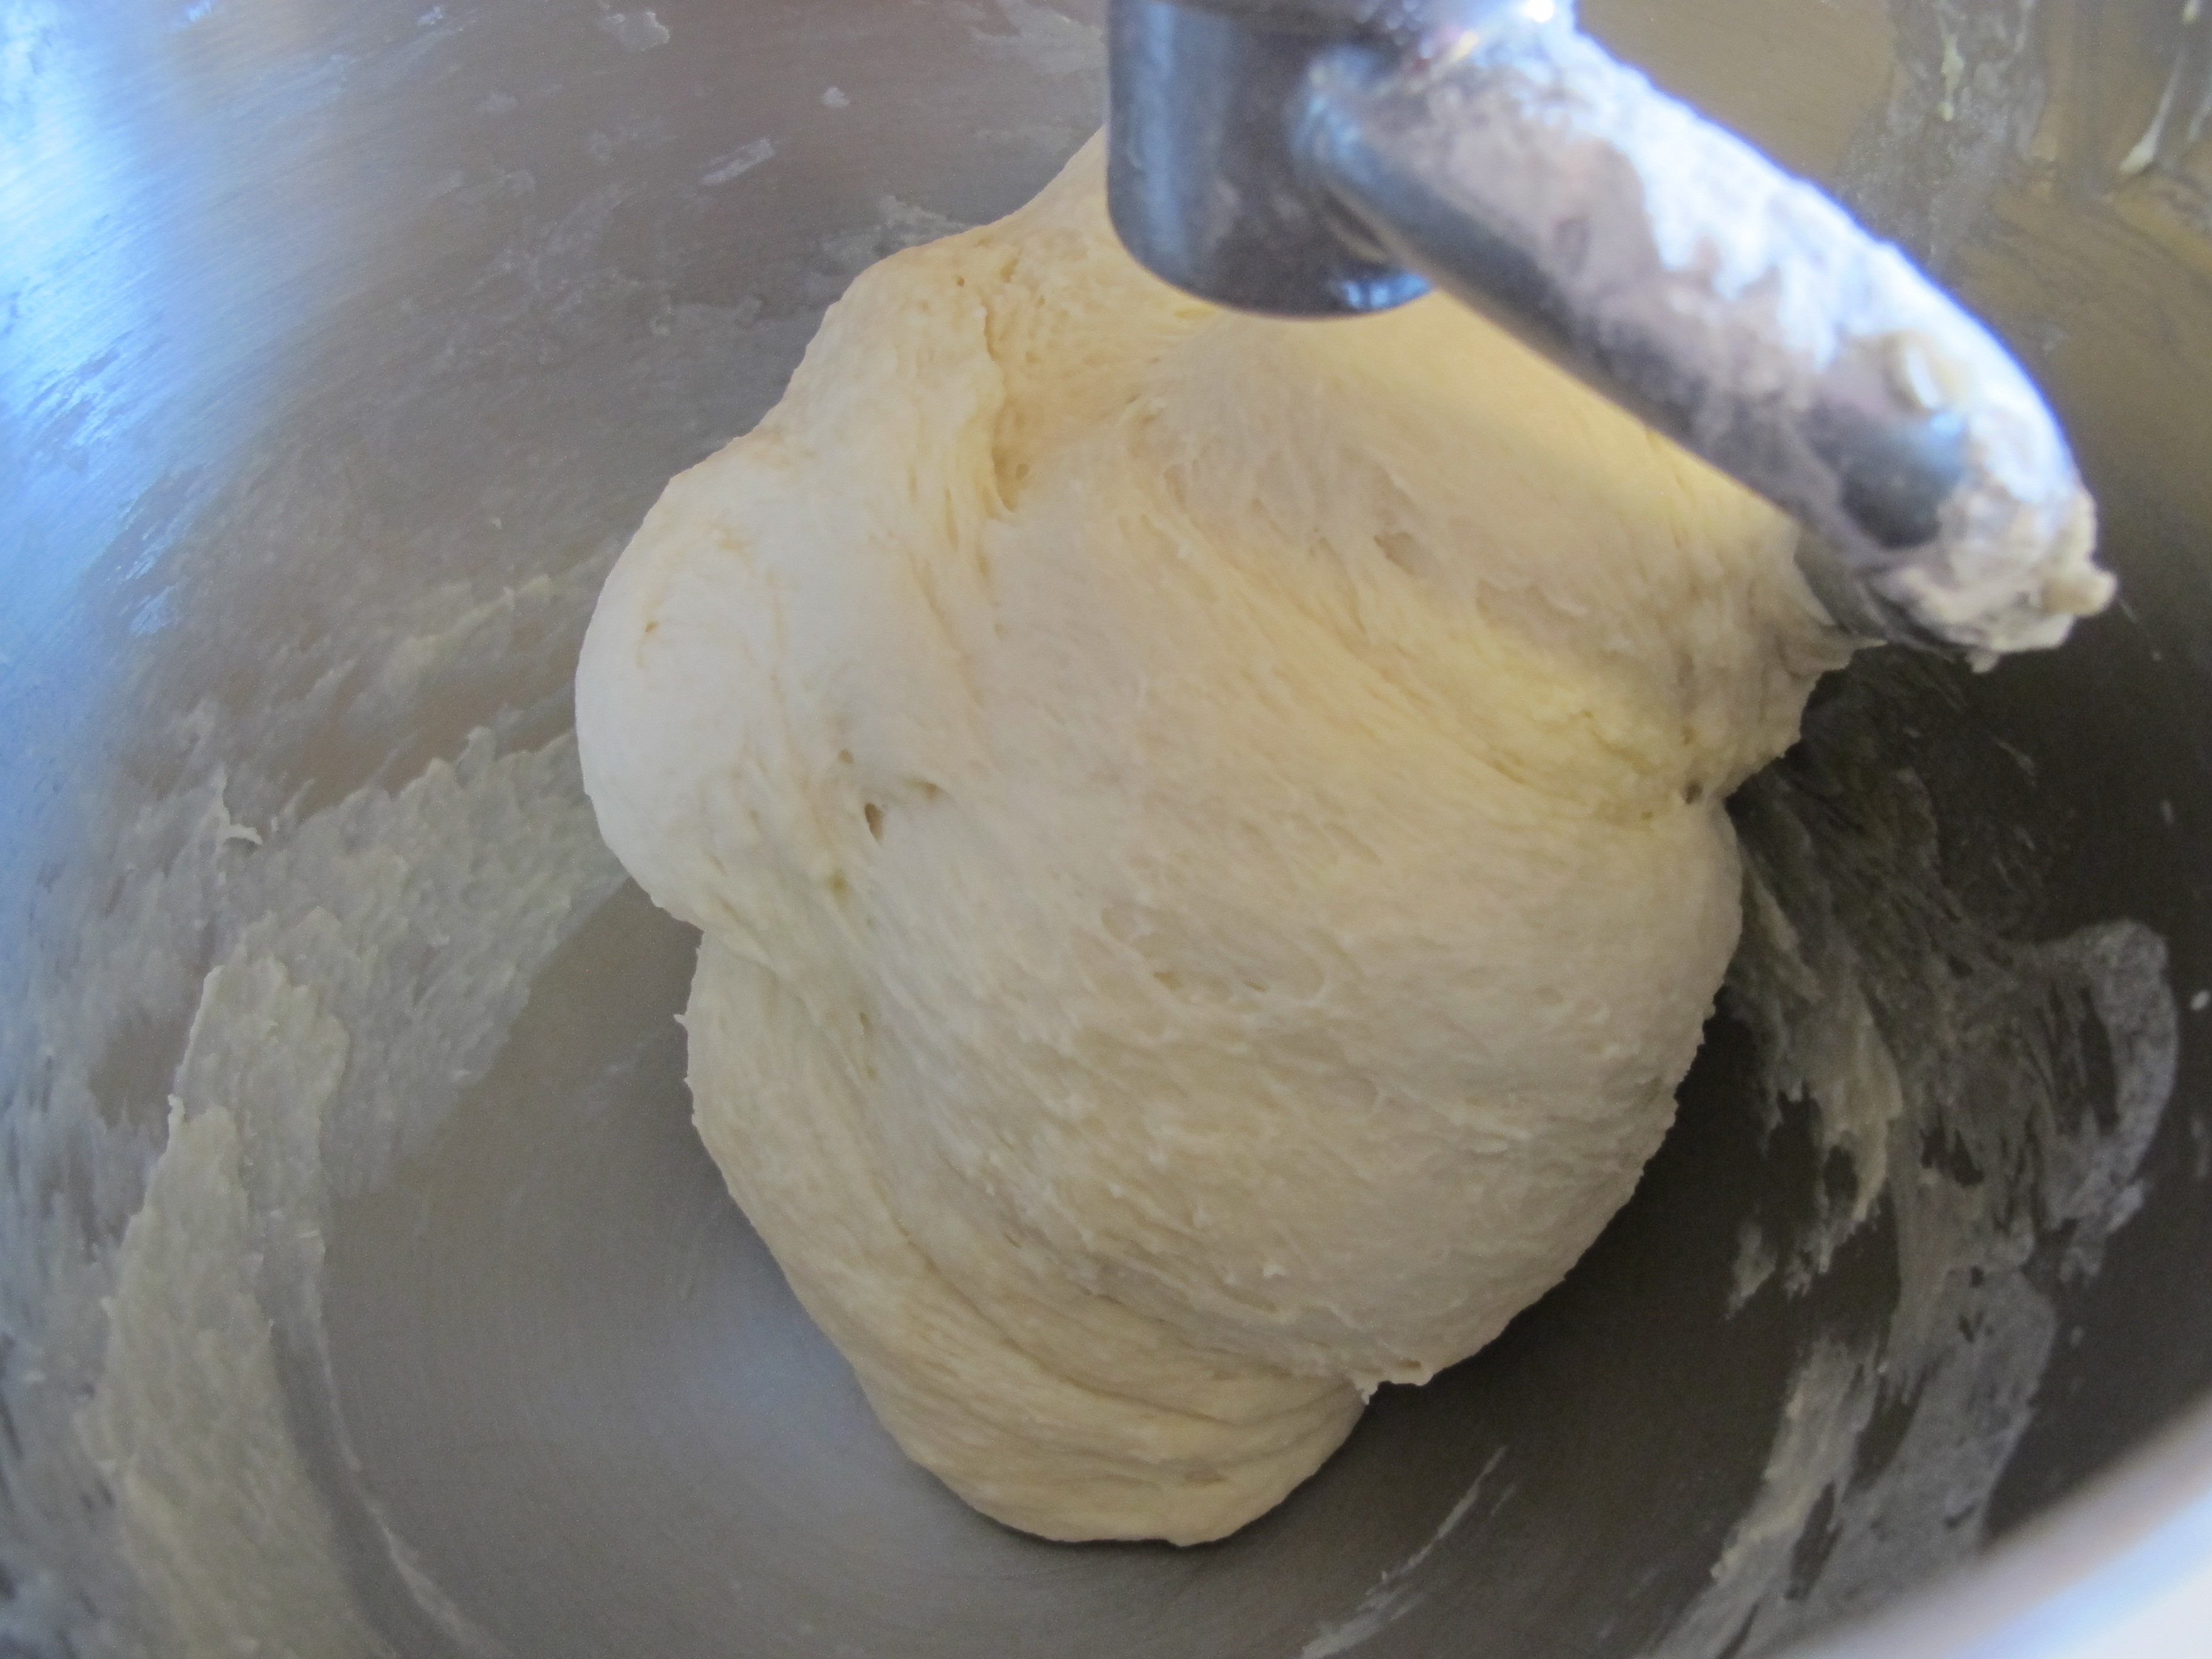
Cut the dough into two equal parts. Shape each half into a round ball and let it rest for about 5 minutes. Letting the dough rest will make it easier to roll out.

Roll each ball of dough into a large rectangle.
8 T. butter, softened
1 cup brown sugar
cinnamon
Spread 4 T. of softened butter over the top of each rectangle.
Sprinkle with 1/2 cup brown sugar and sprinkle with cinnamon. Amount of cinnamon is not indicated. Just sprinkle to your liking.
Using your loaf pan for a guide, cut the rectangle into three long strips the width of your pan. Cut each strip into 6 pieces. (I used a pizza cutter.)

Stack the pieces on top of each other. You might need to use a small spatula to help remove dough from the counter.

Spray pans with PAM. Carefully set the stacks into the loaf pans. Don’t stack them perfectly. They actually turn out better looking if they aren’t perfect.
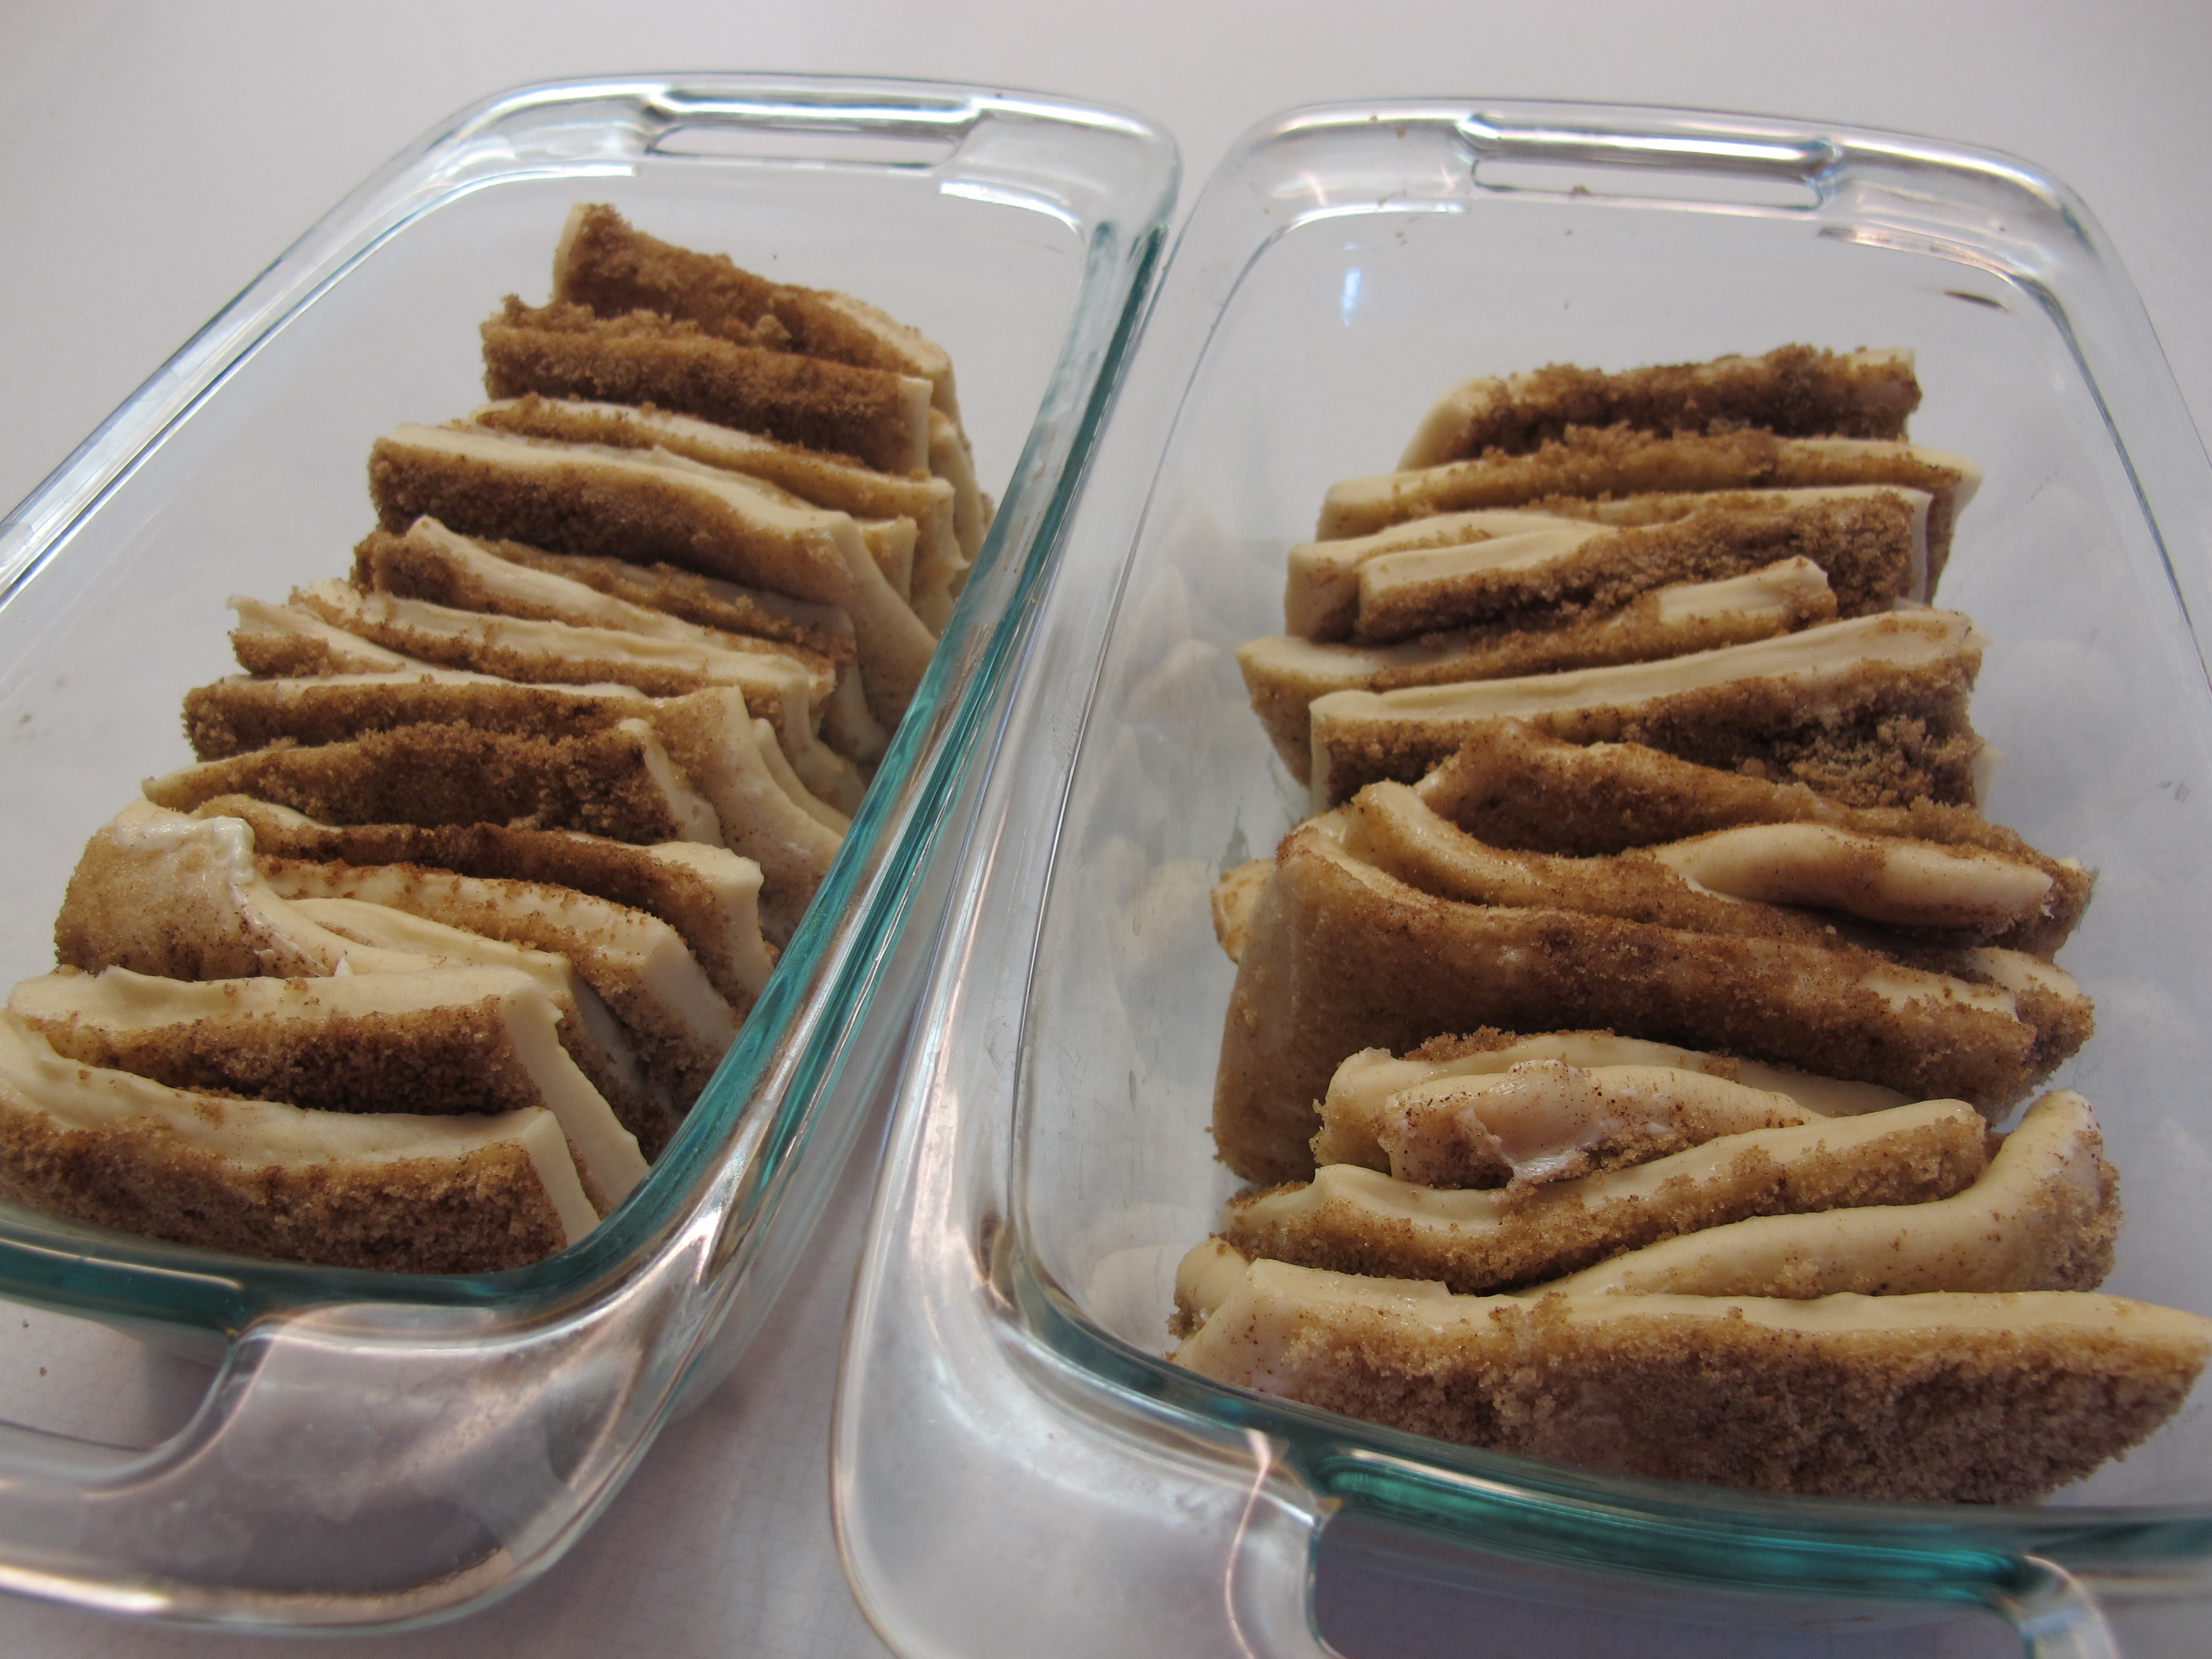
Place loaves into a 170 degree oven until the dough has risen up and over the edge of the pan about 1 to 2 inches. (The original recipe said this took about 15 – 20 minutes. Mine took about 45 mins. High altitude perhaps?)

Turn your oven temperature to 350 degrees, leaving the pans in the oven to rise a bit more as the temperature increases. Once the oven reaches 350 degrees, bake the loaves for 20 – 25 minutes, or until the top is golden brown and the loaves are cooked through. (Original recipe said 15 – 20 minutes but mine took longer).
2 cups powdered sugar
3 T. milk
4 T. melted butter
1 tsp. vanilla
While your loaves are baking, make the glaze. In a small bowl, mix the powdered sugar, milk, butter and vanilla. Whisk it all together until it’s nice and smooth.

When the loaves are done baking, take them out of the oven and let them rest for about 10 minutes. Remove the bread from the pans to a serving plate and drizzle the glaze over the tops and between a few of the layers while the loaves are still warm.

FULL RECIPE WITHOUT PICTURES —
CINNAMON PULL-APART LOAF
DOUGH:
1 cup hot milk
4 T. butter
5 – 6 cups flour
1/2 cup sugar
1 1/2 tsp. salt
2 eggs
3/4 cup hot water
1 T. yeast
FILLING:
8 T. butter, softened
1 cup brown sugar
cinnamon
GLAZE:
2 cup powdered sugar
3 T. milk
4 T. butter, melted
1 tsp. vanilla
Preheat oven to 170 degrees.
1 cup milk
4 T. butter
Heat milk in the microwave for 1 minute. Carefully place the butter into the hot milk.
5 – 6 cups flour
1 1/2 tsp. salt
1/2 cup sugar
2 eggs
3/4 cup hot water
1 T. yeast
Into your stand mixer, place 2 cups of flour along with the salt, sugar and eggs.
Let it mix for just a few seconds, just enough to cover the eggs.
Add the hot water.
Add the milk/butter mixture. Mix for 30 seconds.
Add the yeast and mix until combined.
With the mixer on low, begin to add the rest of the flour. Add the flour until the dough pulls away from the side of the bowl. Once you have the right amount of flour, mix on medium speed for 5 minutes.
Cut the dough into two equal parts. Shape each half into a round ball and let it rest for about 5 minutes. Letting the dough rest will make it easier to roll out.
Roll each ball of dough into a large rectangle.
8 T. butter, softened
1 cup brown sugar
cinnamon
Spread 4 T. of softened butter over the top of each rectangle.
Sprinkle with 1/2 cup brown sugar and sprinkle with cinnamon. Amount of cinnamon is not indicated. Just sprinkle to your liking.
Using your loaf pan for a guide, cut the rectangle into three long strips the width of your pan. Cut each strip into 6 pieces.
Stack the pieces on top of each other. You might need to use a small spatula to help remove dough from the counter.
Spray loaf pans with PAM. Carefully set the stacks into the loaf pans.
Place them into a 170 degree oven until the dough has risen up and over the edge of the pan about 1 to 2 inches. (The original recipe said this took about 15 – 20 minutes. Mine took about 45. High altitude perhaps?)
Turn your oven temperature to 350 degrees, leaving the pans in the oven to rise a bit more as the temperature increases. Once the oven reaches 350 degrees, bake the loaves for 20 – 25 minutes, or until the top is golden brown and the loaves are cooked through. (Original recipe said 15 – 20 minutes but mine took longer).
2 cups powdered sugar
3 T. milk
4 T. melted butter
1 tsp. vanilla
While your loaves are baking, make the glaze. In a small bowl, mix the powdered sugar, milk, butter and vanilla. Whisk it all together until it’s nice and smooth.
When the loaves are done baking, take them out of the oven and let them rest for about 10 minutes. Remove the bread from the pans to a serving plate and drizzle the glaze over the tops and between a few of the layers while the loaves are still warm.
Berry-licious Cobbler
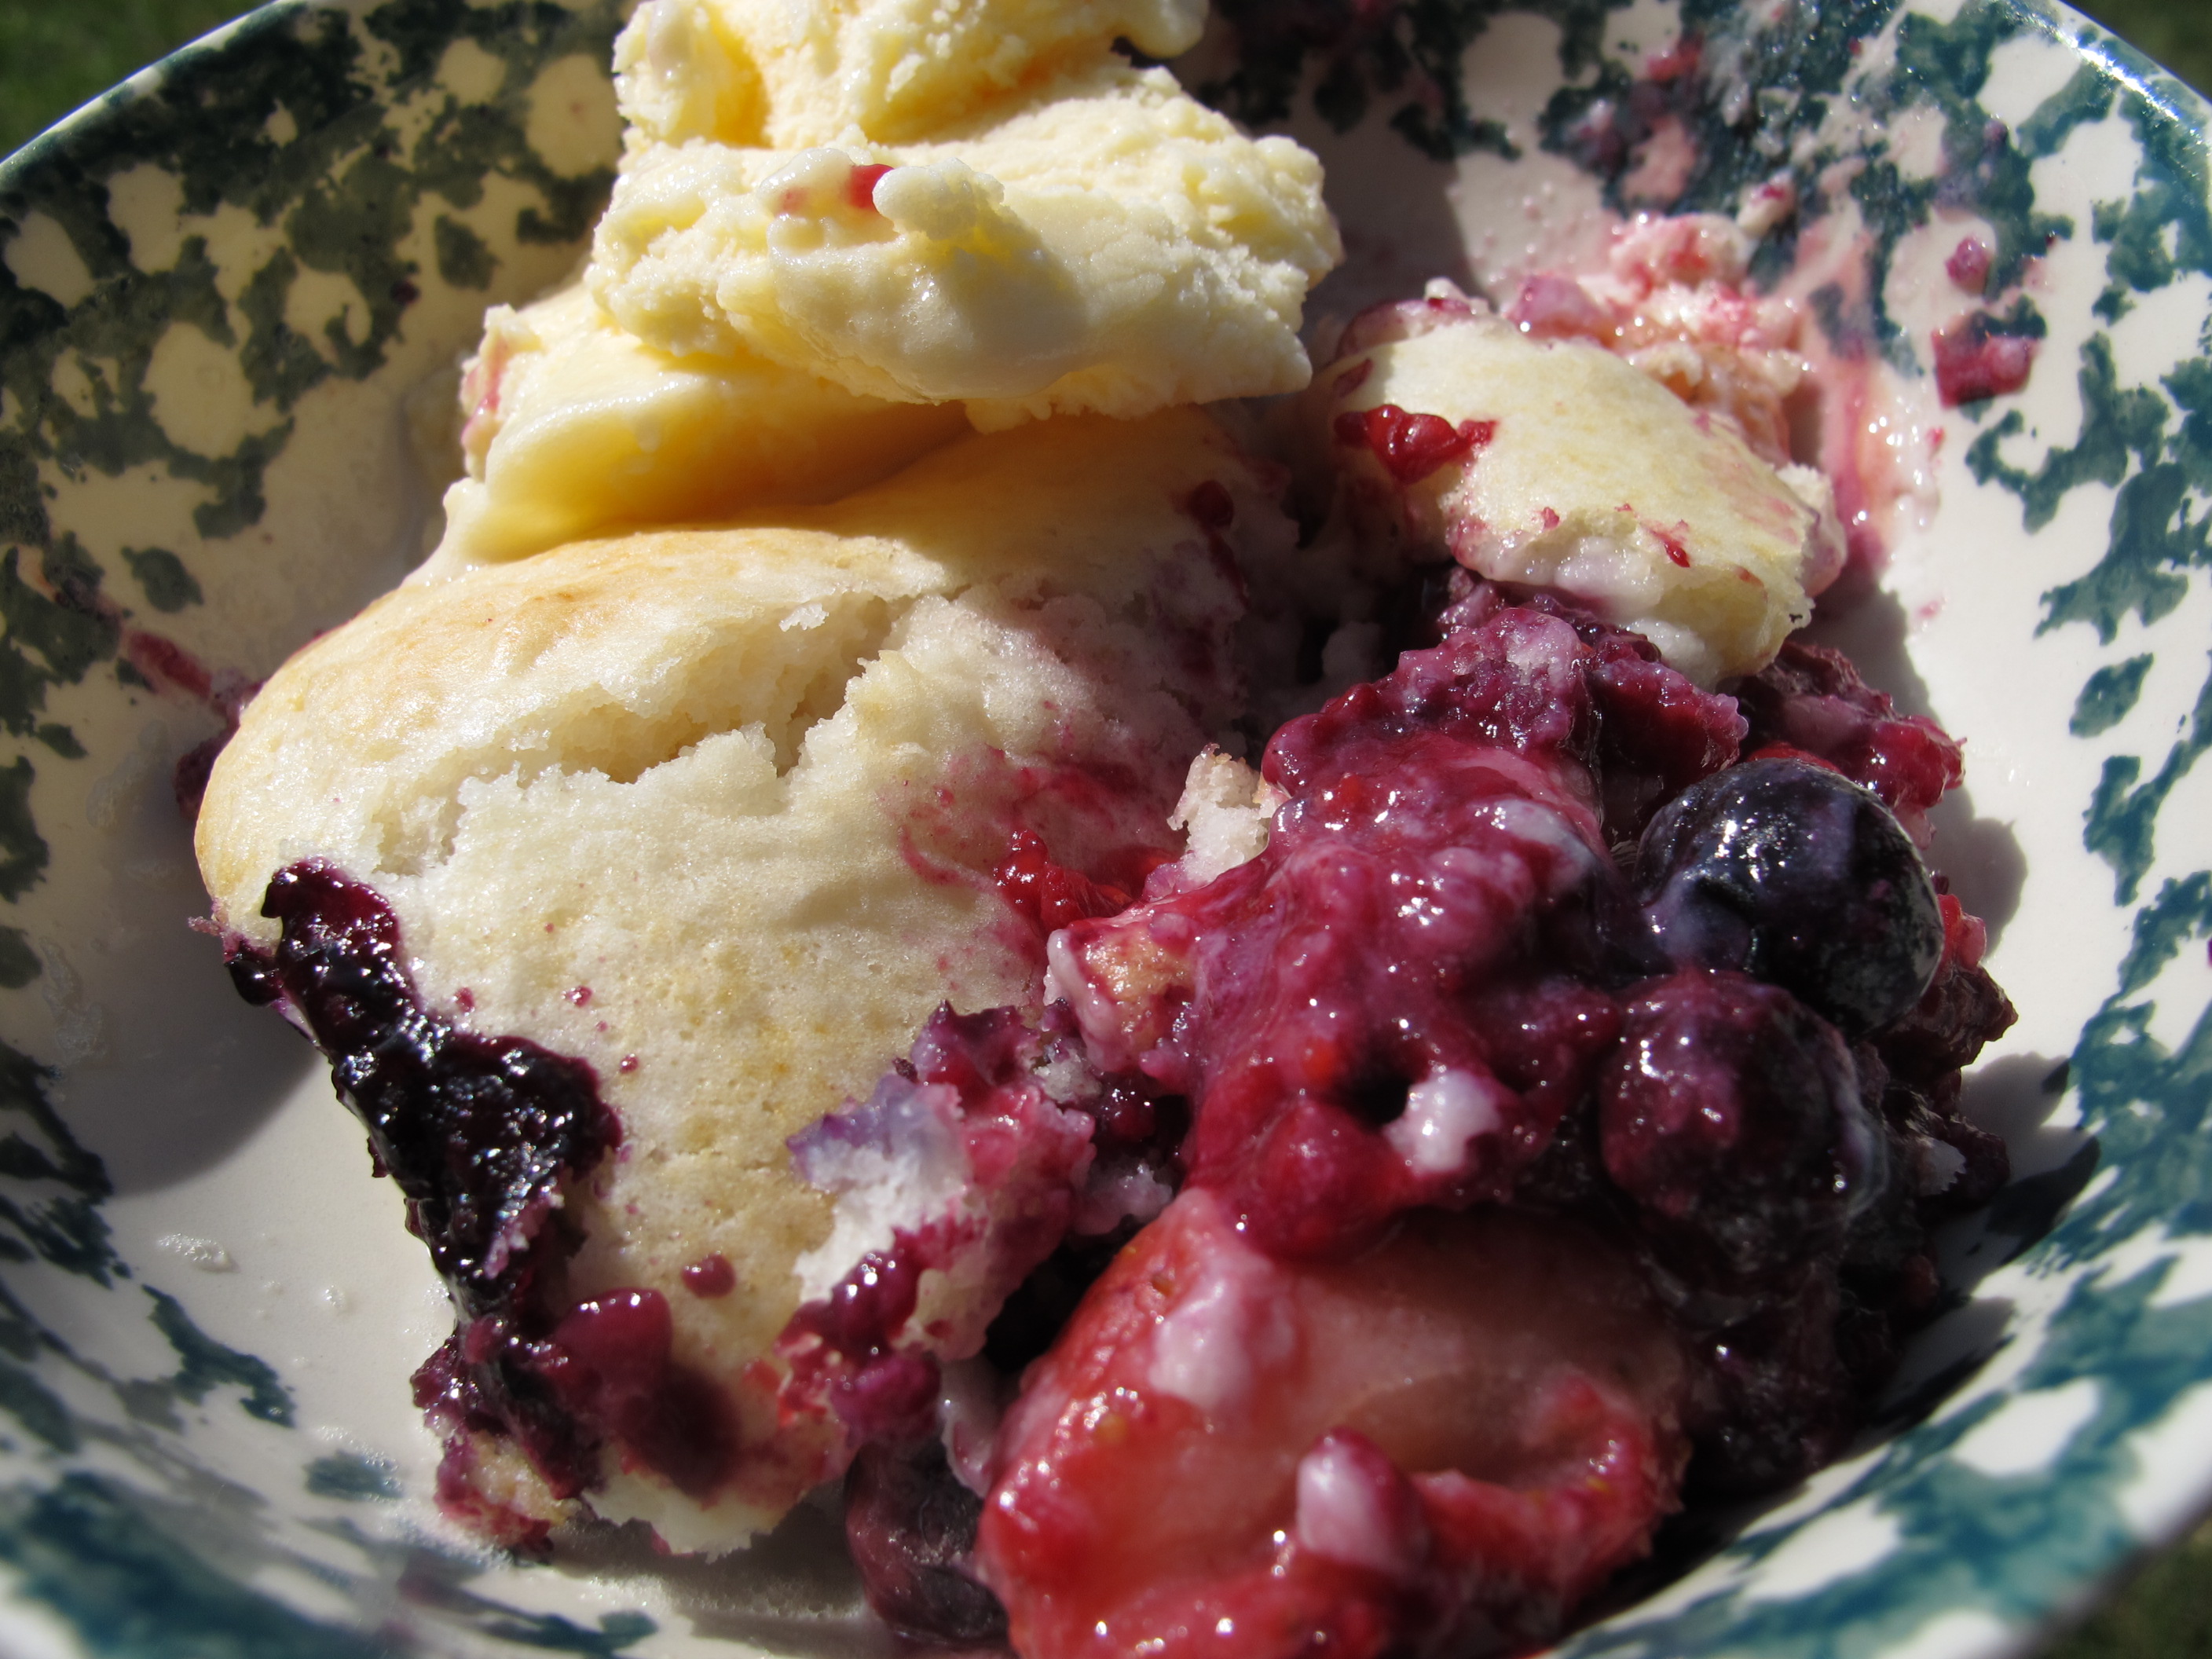
This is one of the simplest desserts you will ever make since it has only 3 ingredients and takes about 3 minutes to make – but it looks like you spent hours in the kitchen.
This berry cobbler is SO delicious!!!
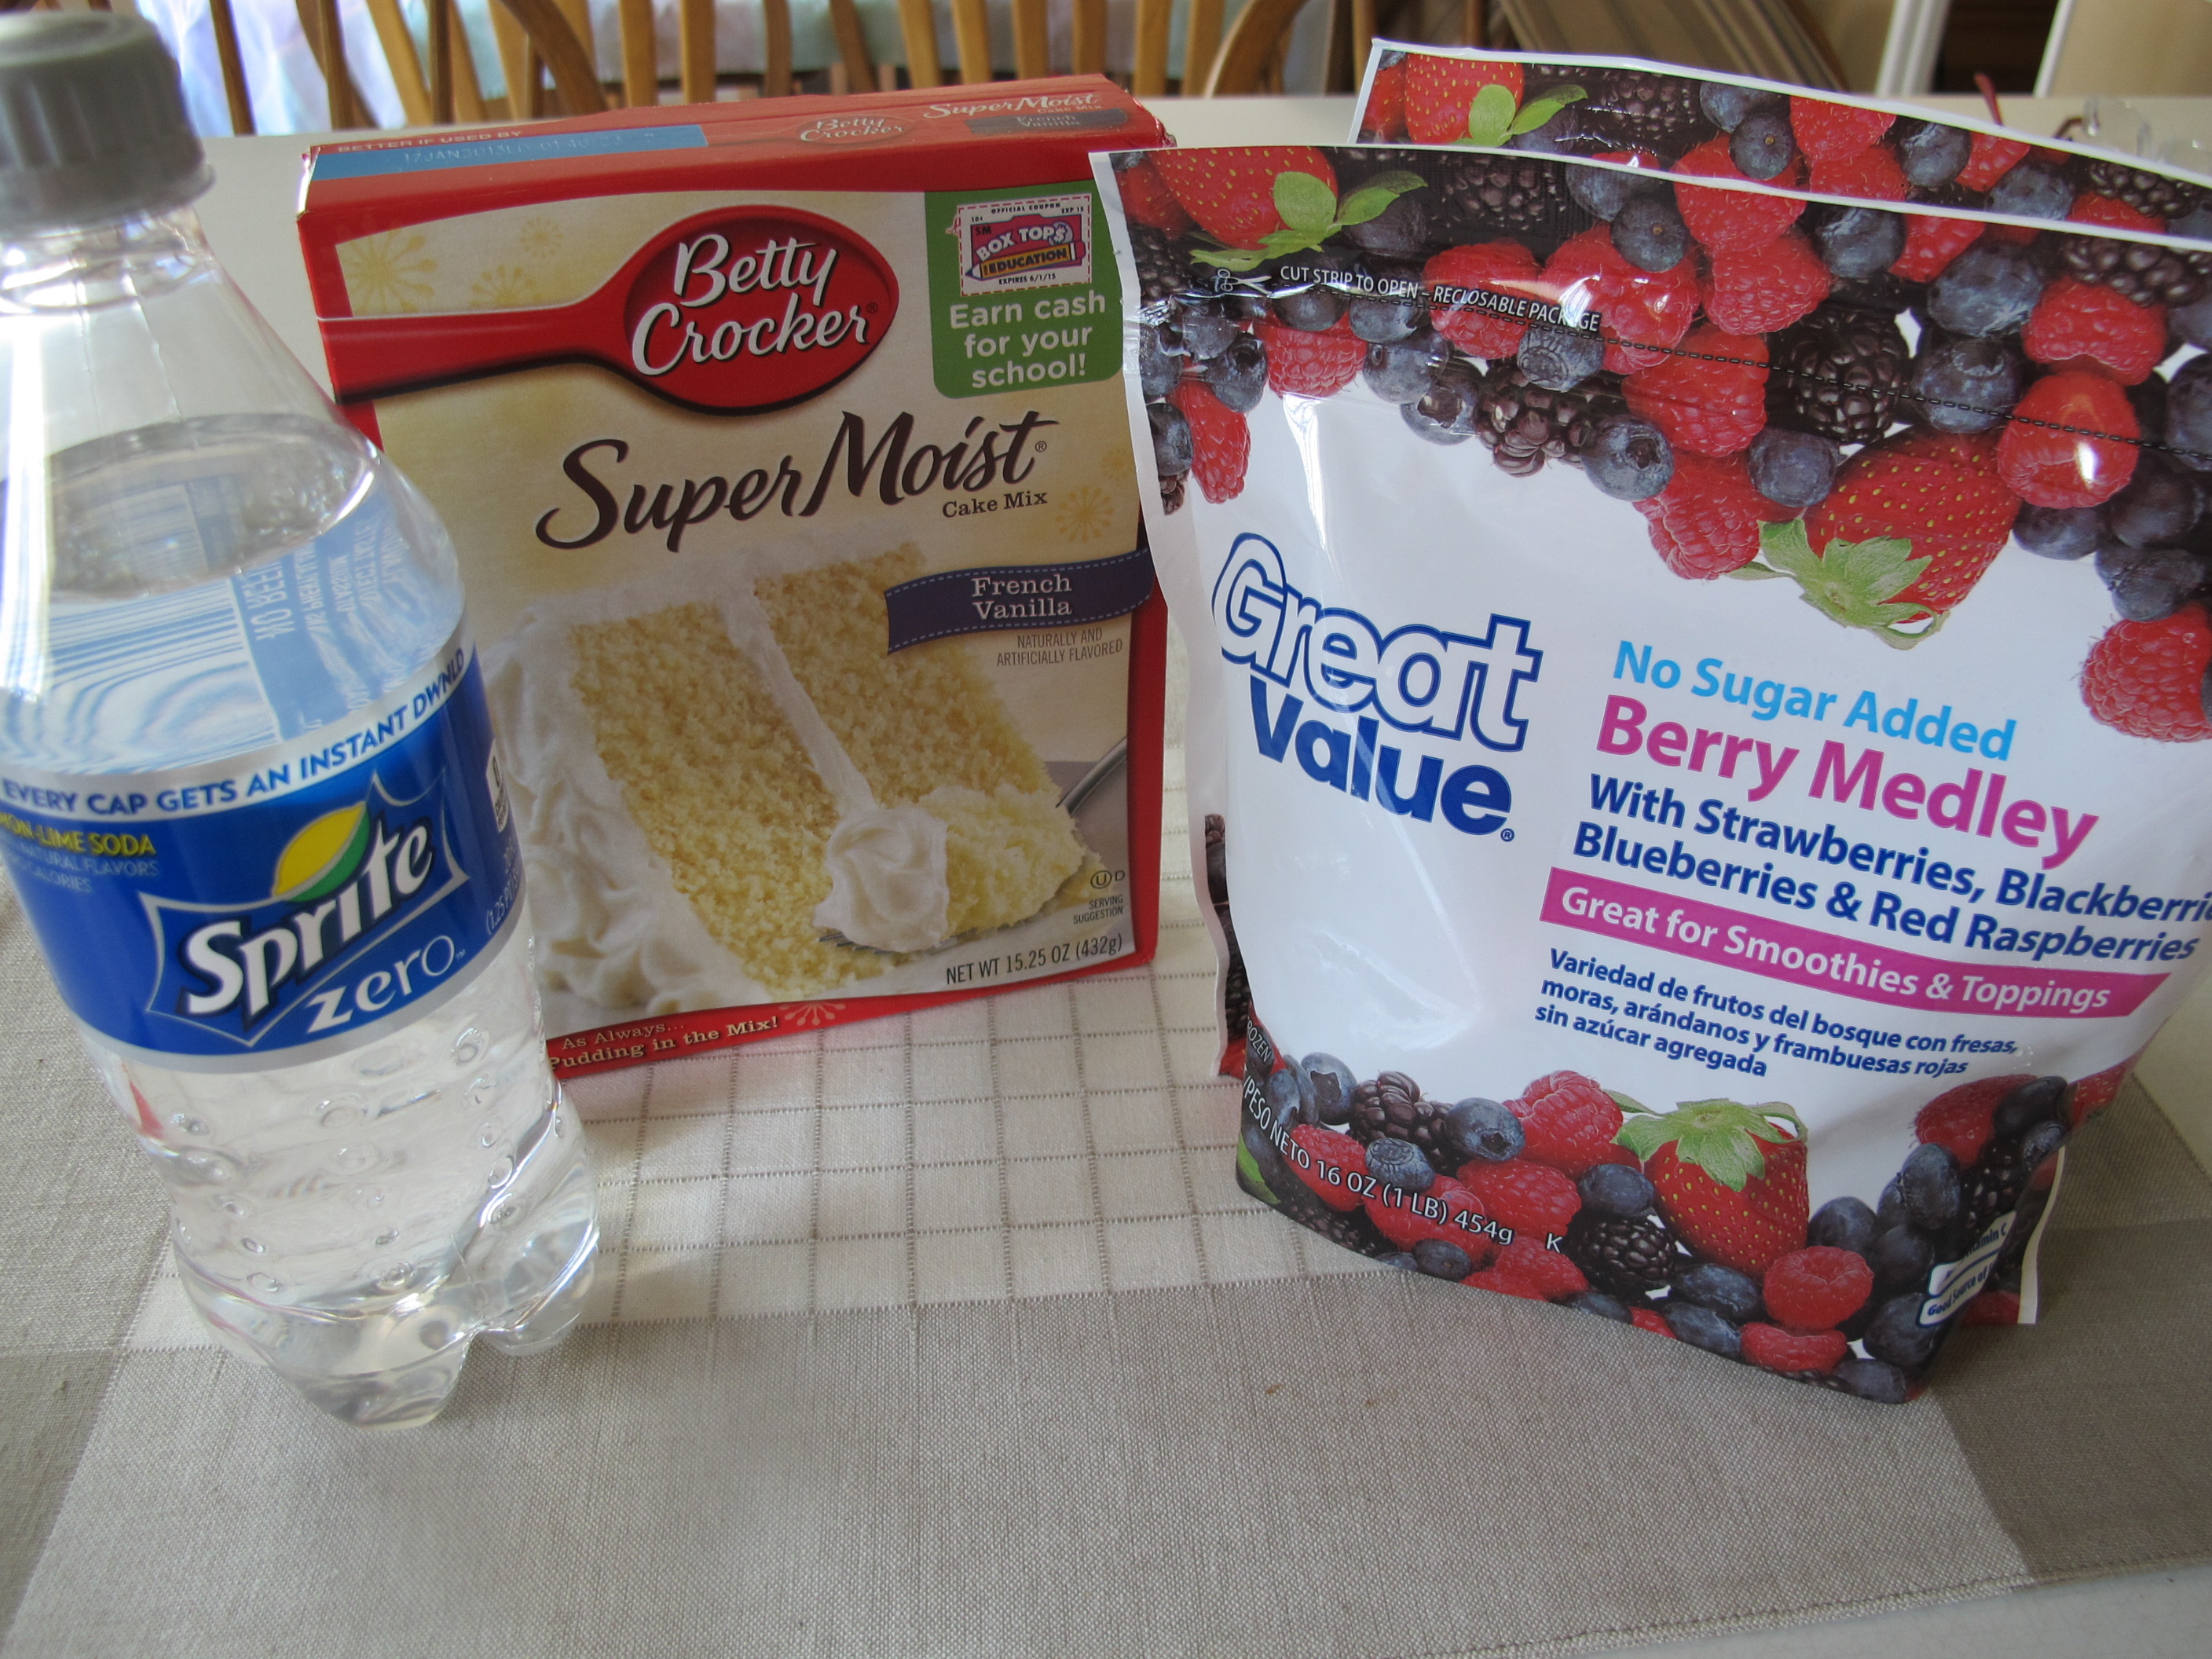
INGREDIENTS:
1 white, yellow or vanilla cake mix
2 16 oz. bags frozen unsweetened berry medley – or any of your favorite berries
12 oz. Sprite
Preheat oven to 350 degrees.
Spray a 9 x 13 casserole pan with Pam.
Spread frozen berries in the bottom of the pan.
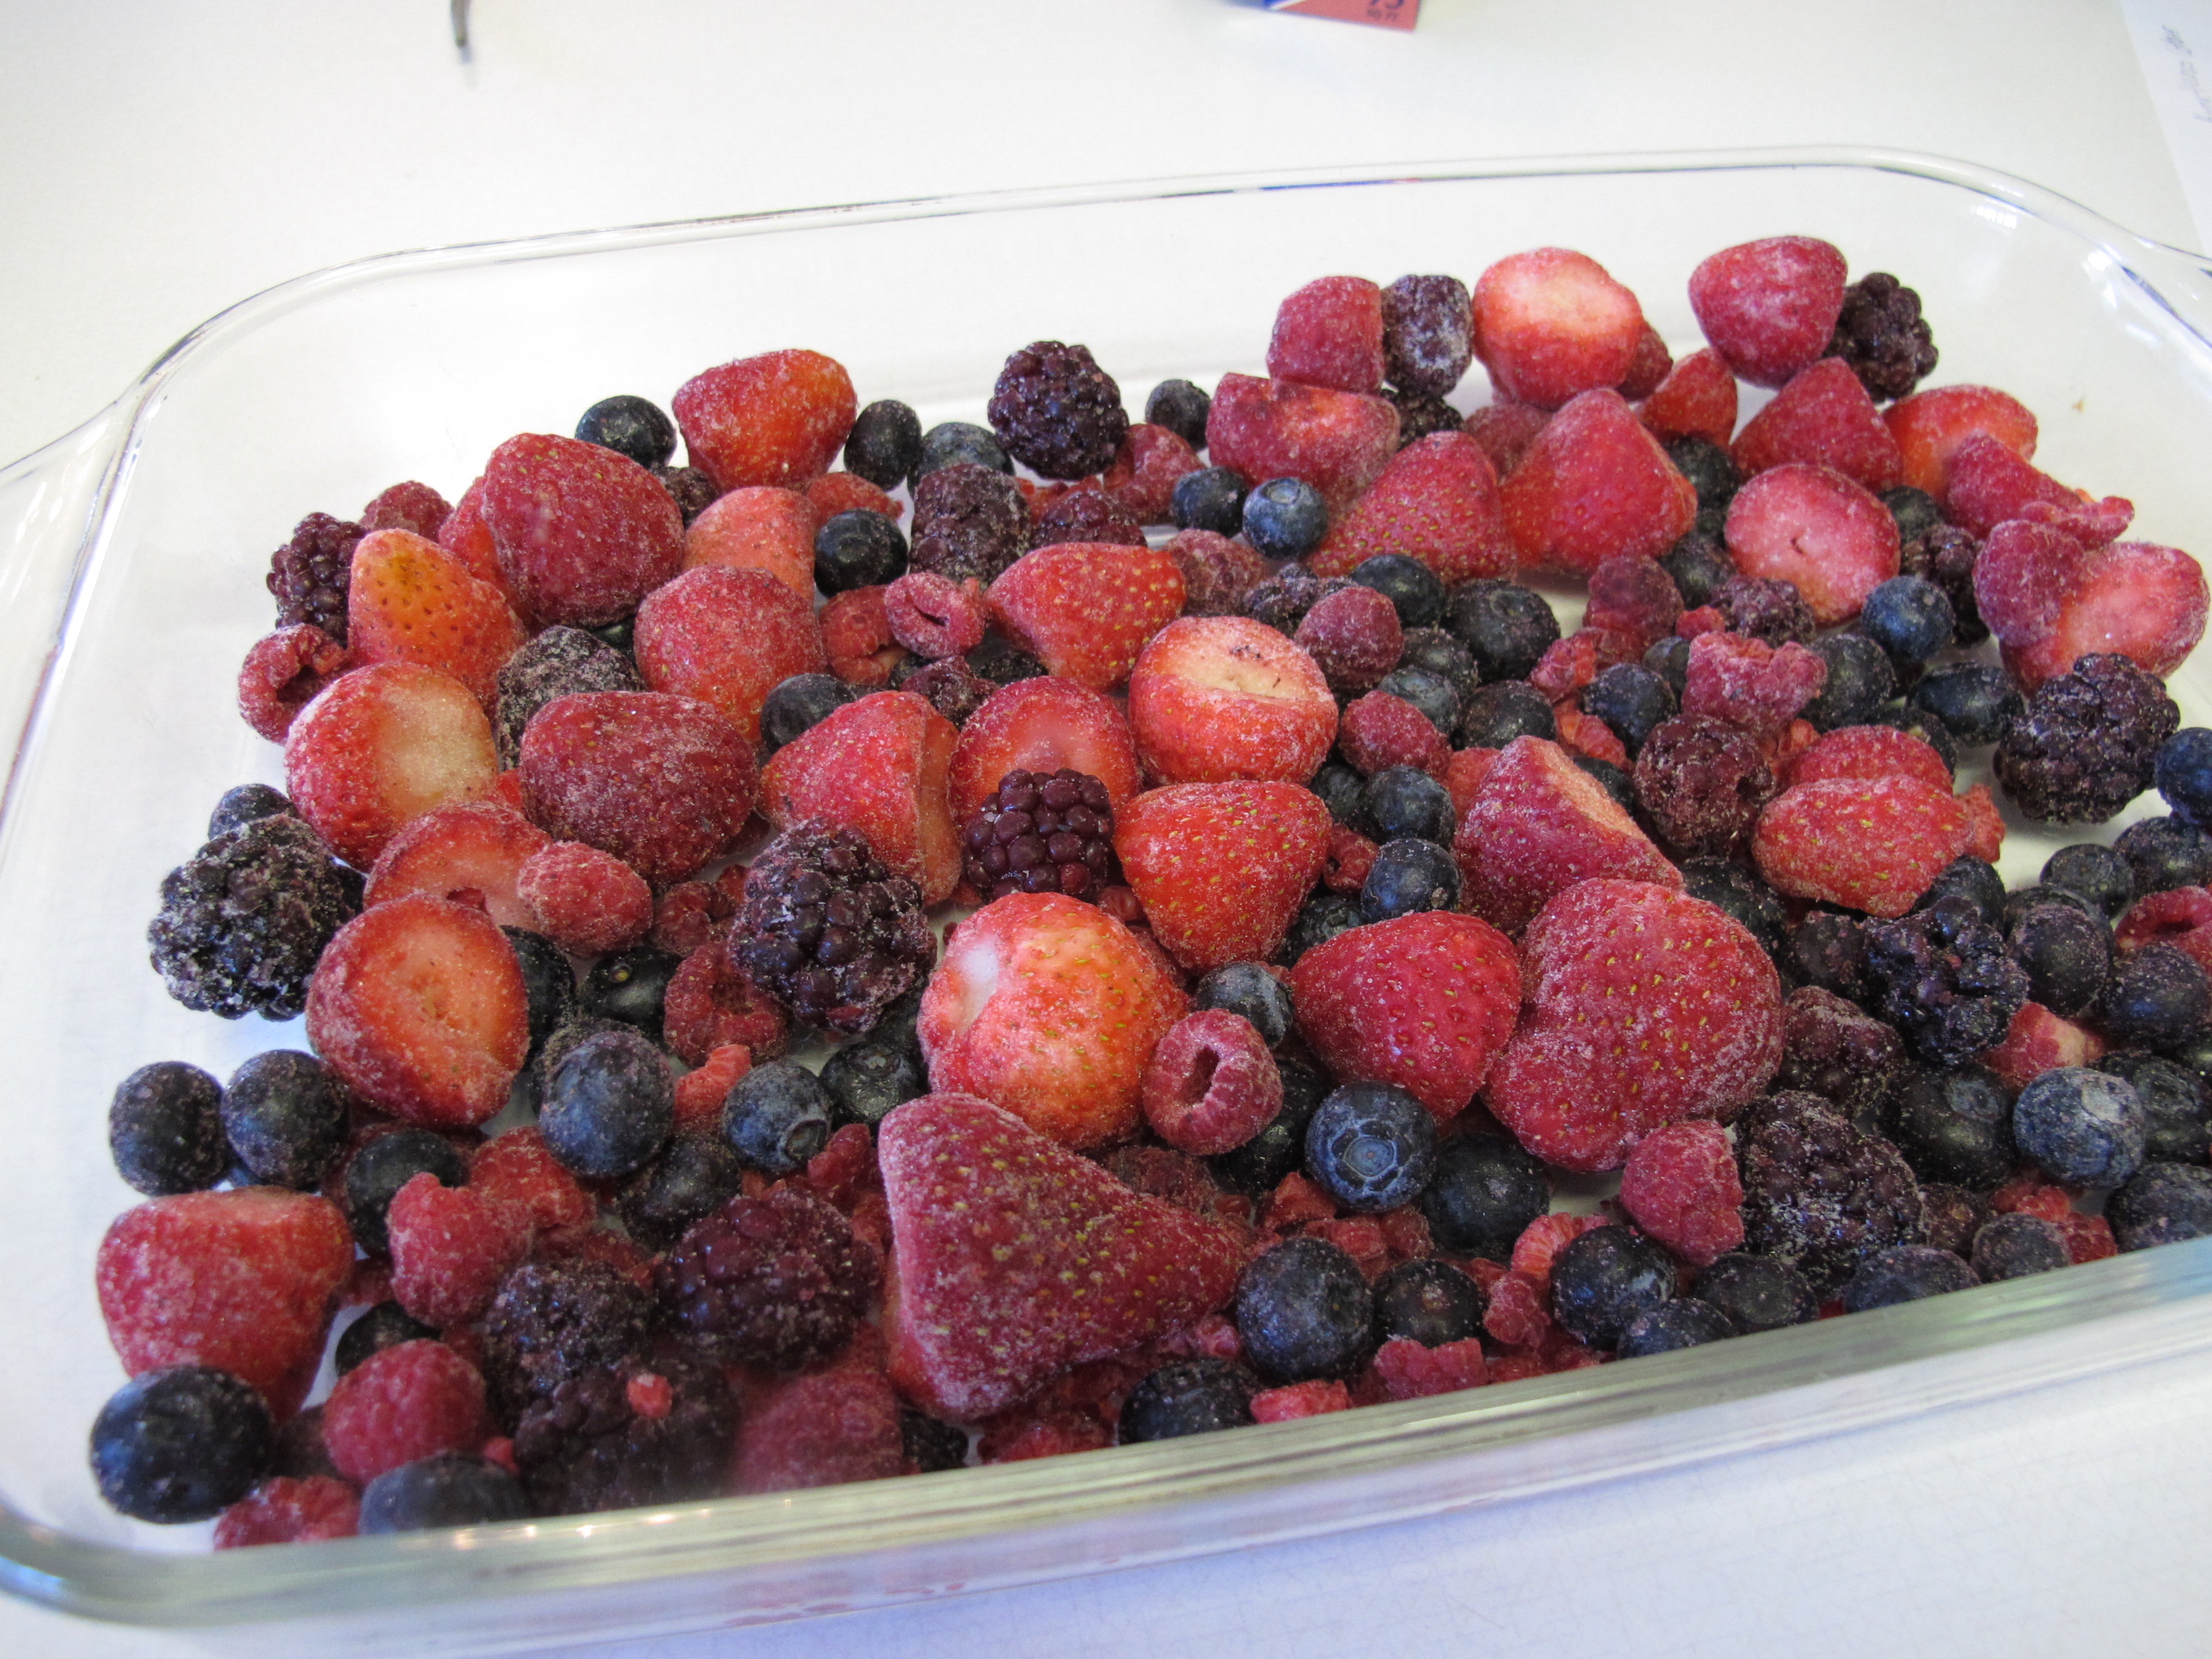
Mix cake mix and Sprite. Pour over berries.

Bake at 350 degrees for 45 – 50 minutes.
Serve with vanilla ice cream or fat free Cool Whip.
Makes 12 servings
FULL RECIPE WITHOUT PICTURES —
BERRY-LICIOUS COBBLER
1 white, yellow or vanilla cake mix
2 16 oz. bags frozen unsweetened berry medley – or any of your favorite berries
12 oz. Sprite
Preheat oven to 350 degrees.
Spray a 9 x 13 casserole pan with Pam.
Spread frozen berries in the bottom of the pan.
Mix cake mix and Sprite. Pour over berries.
Bake at 350 degrees for 45 – 50 minutes.
Serve with vanilla ice cream or fat free Cool Whip.
Makes 12 servings
Twice Baked Potatoes
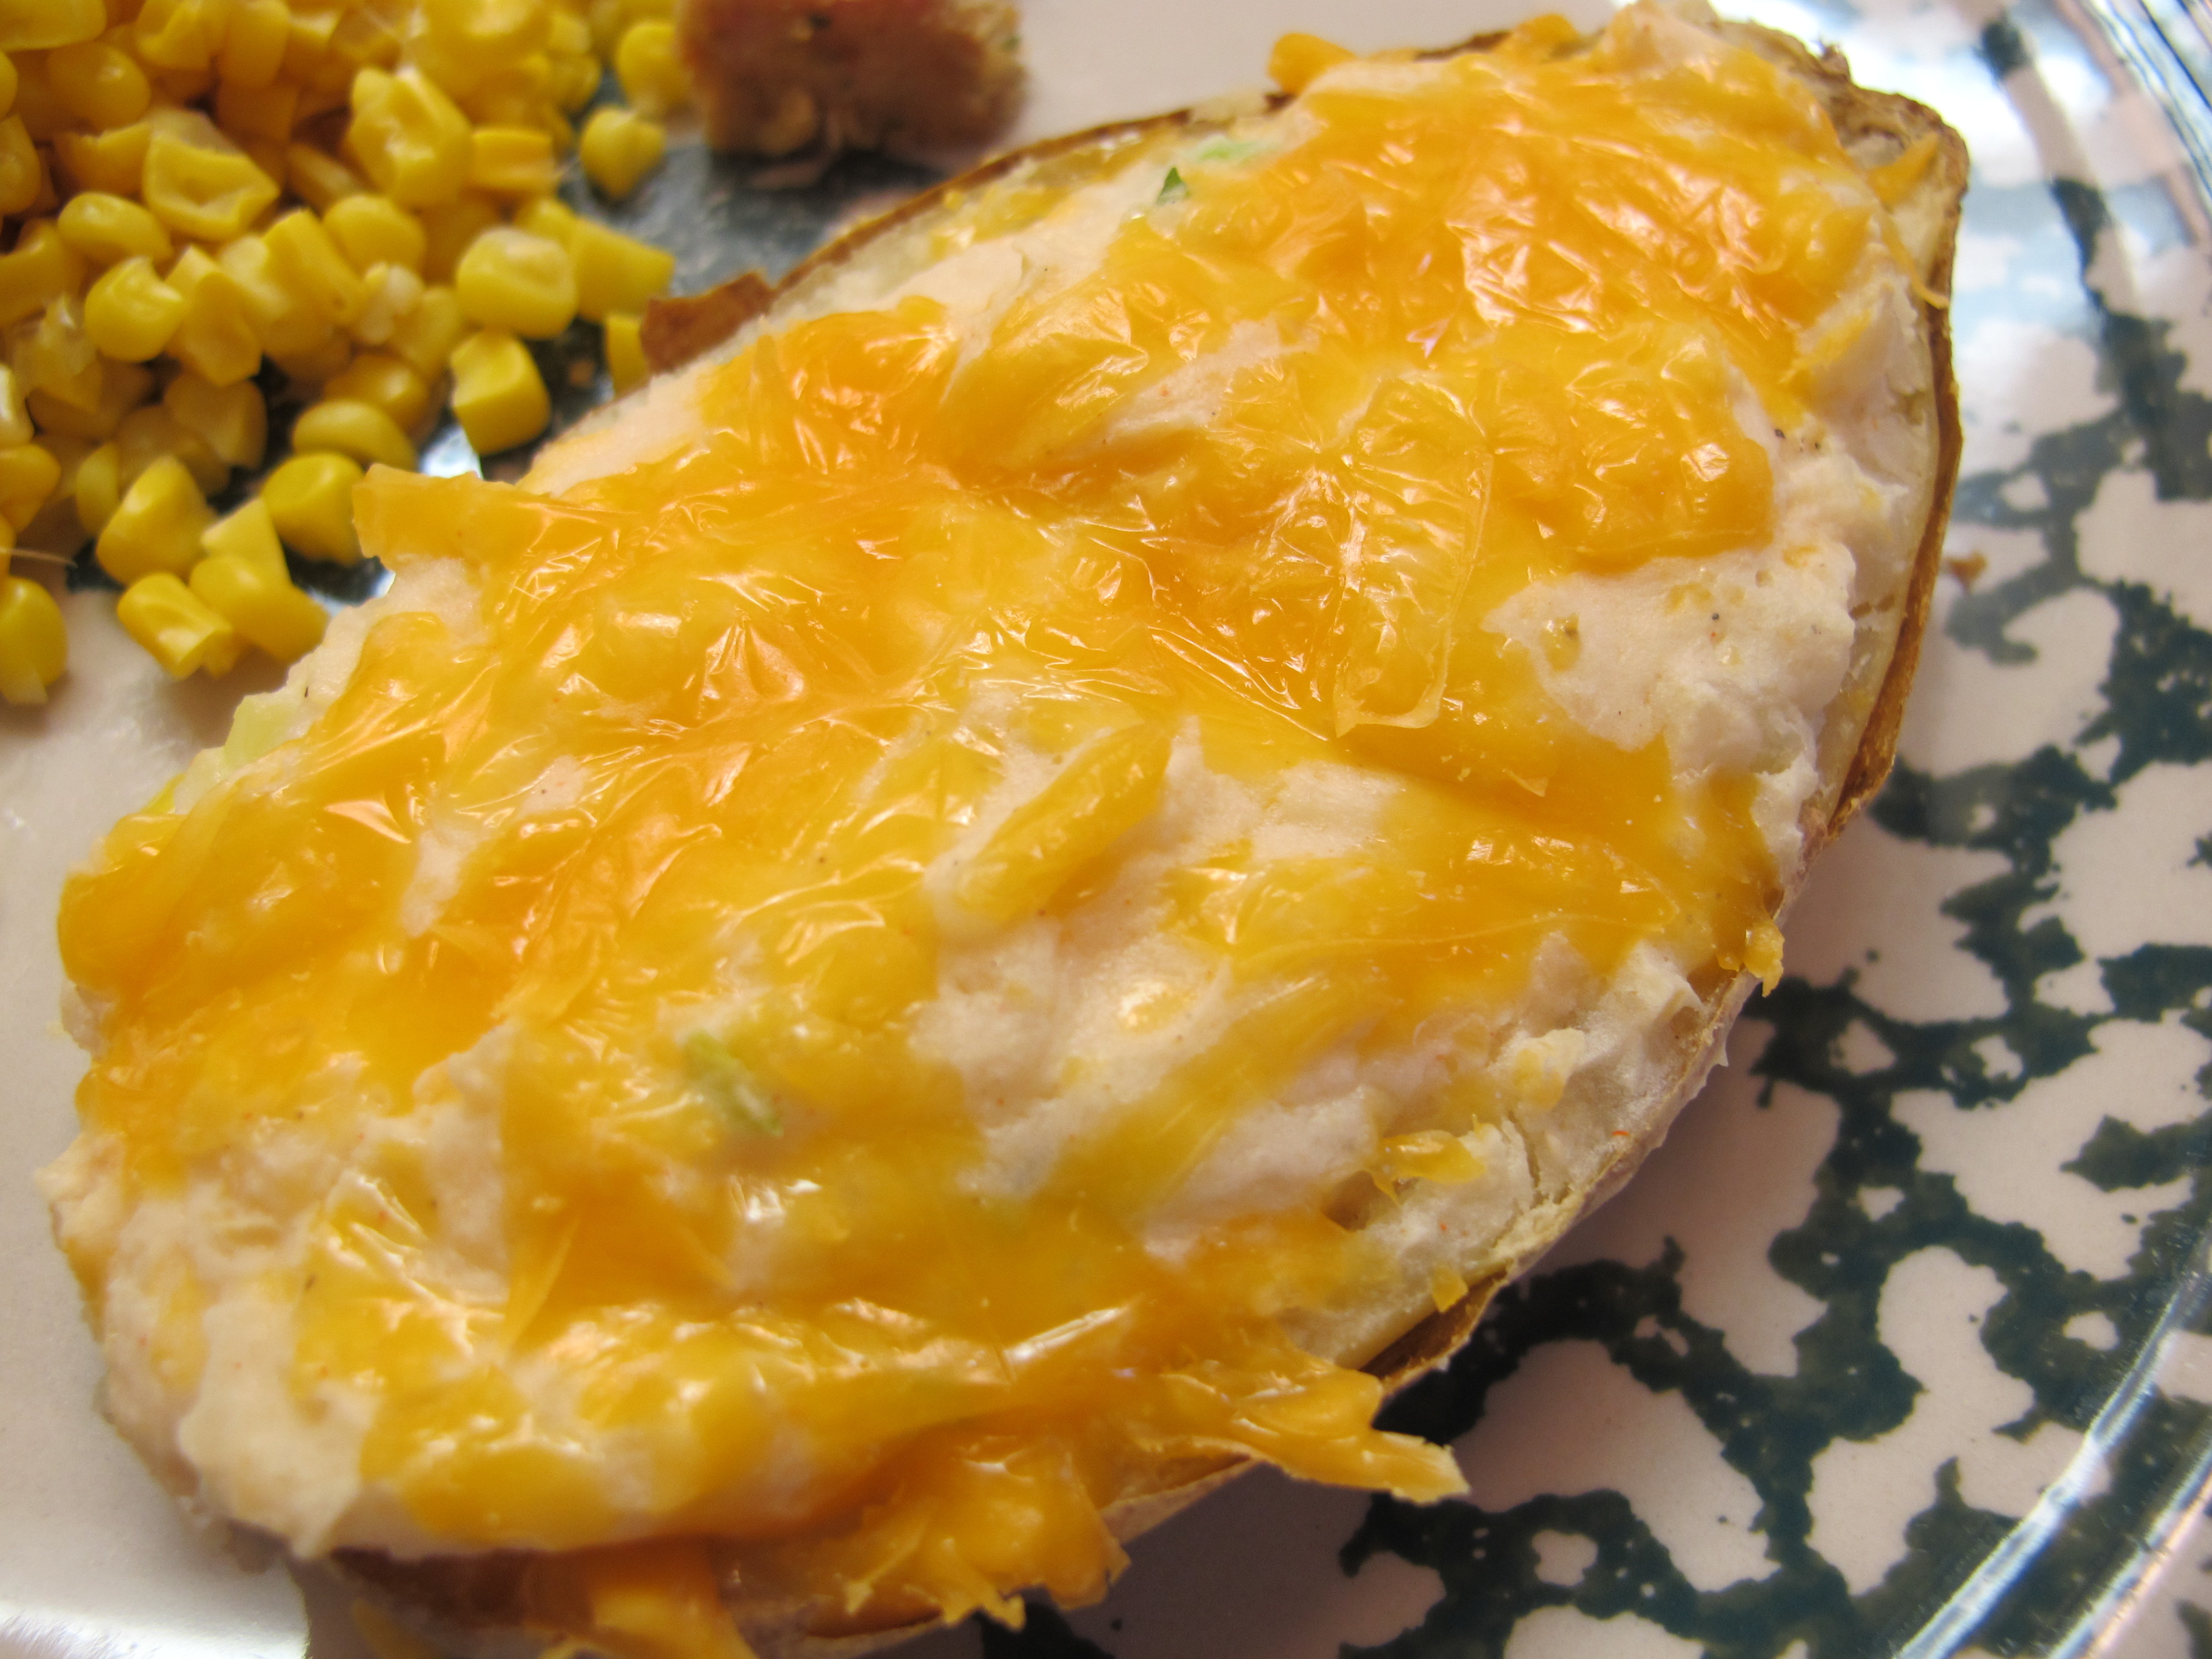
I have always loved Twice Baked Potatoes but don’t make them because of the high fat content. This recipe uses fat-free ingredients to make a wonderful tasting Twice Baked Potatoes – a great side dish to any meal.
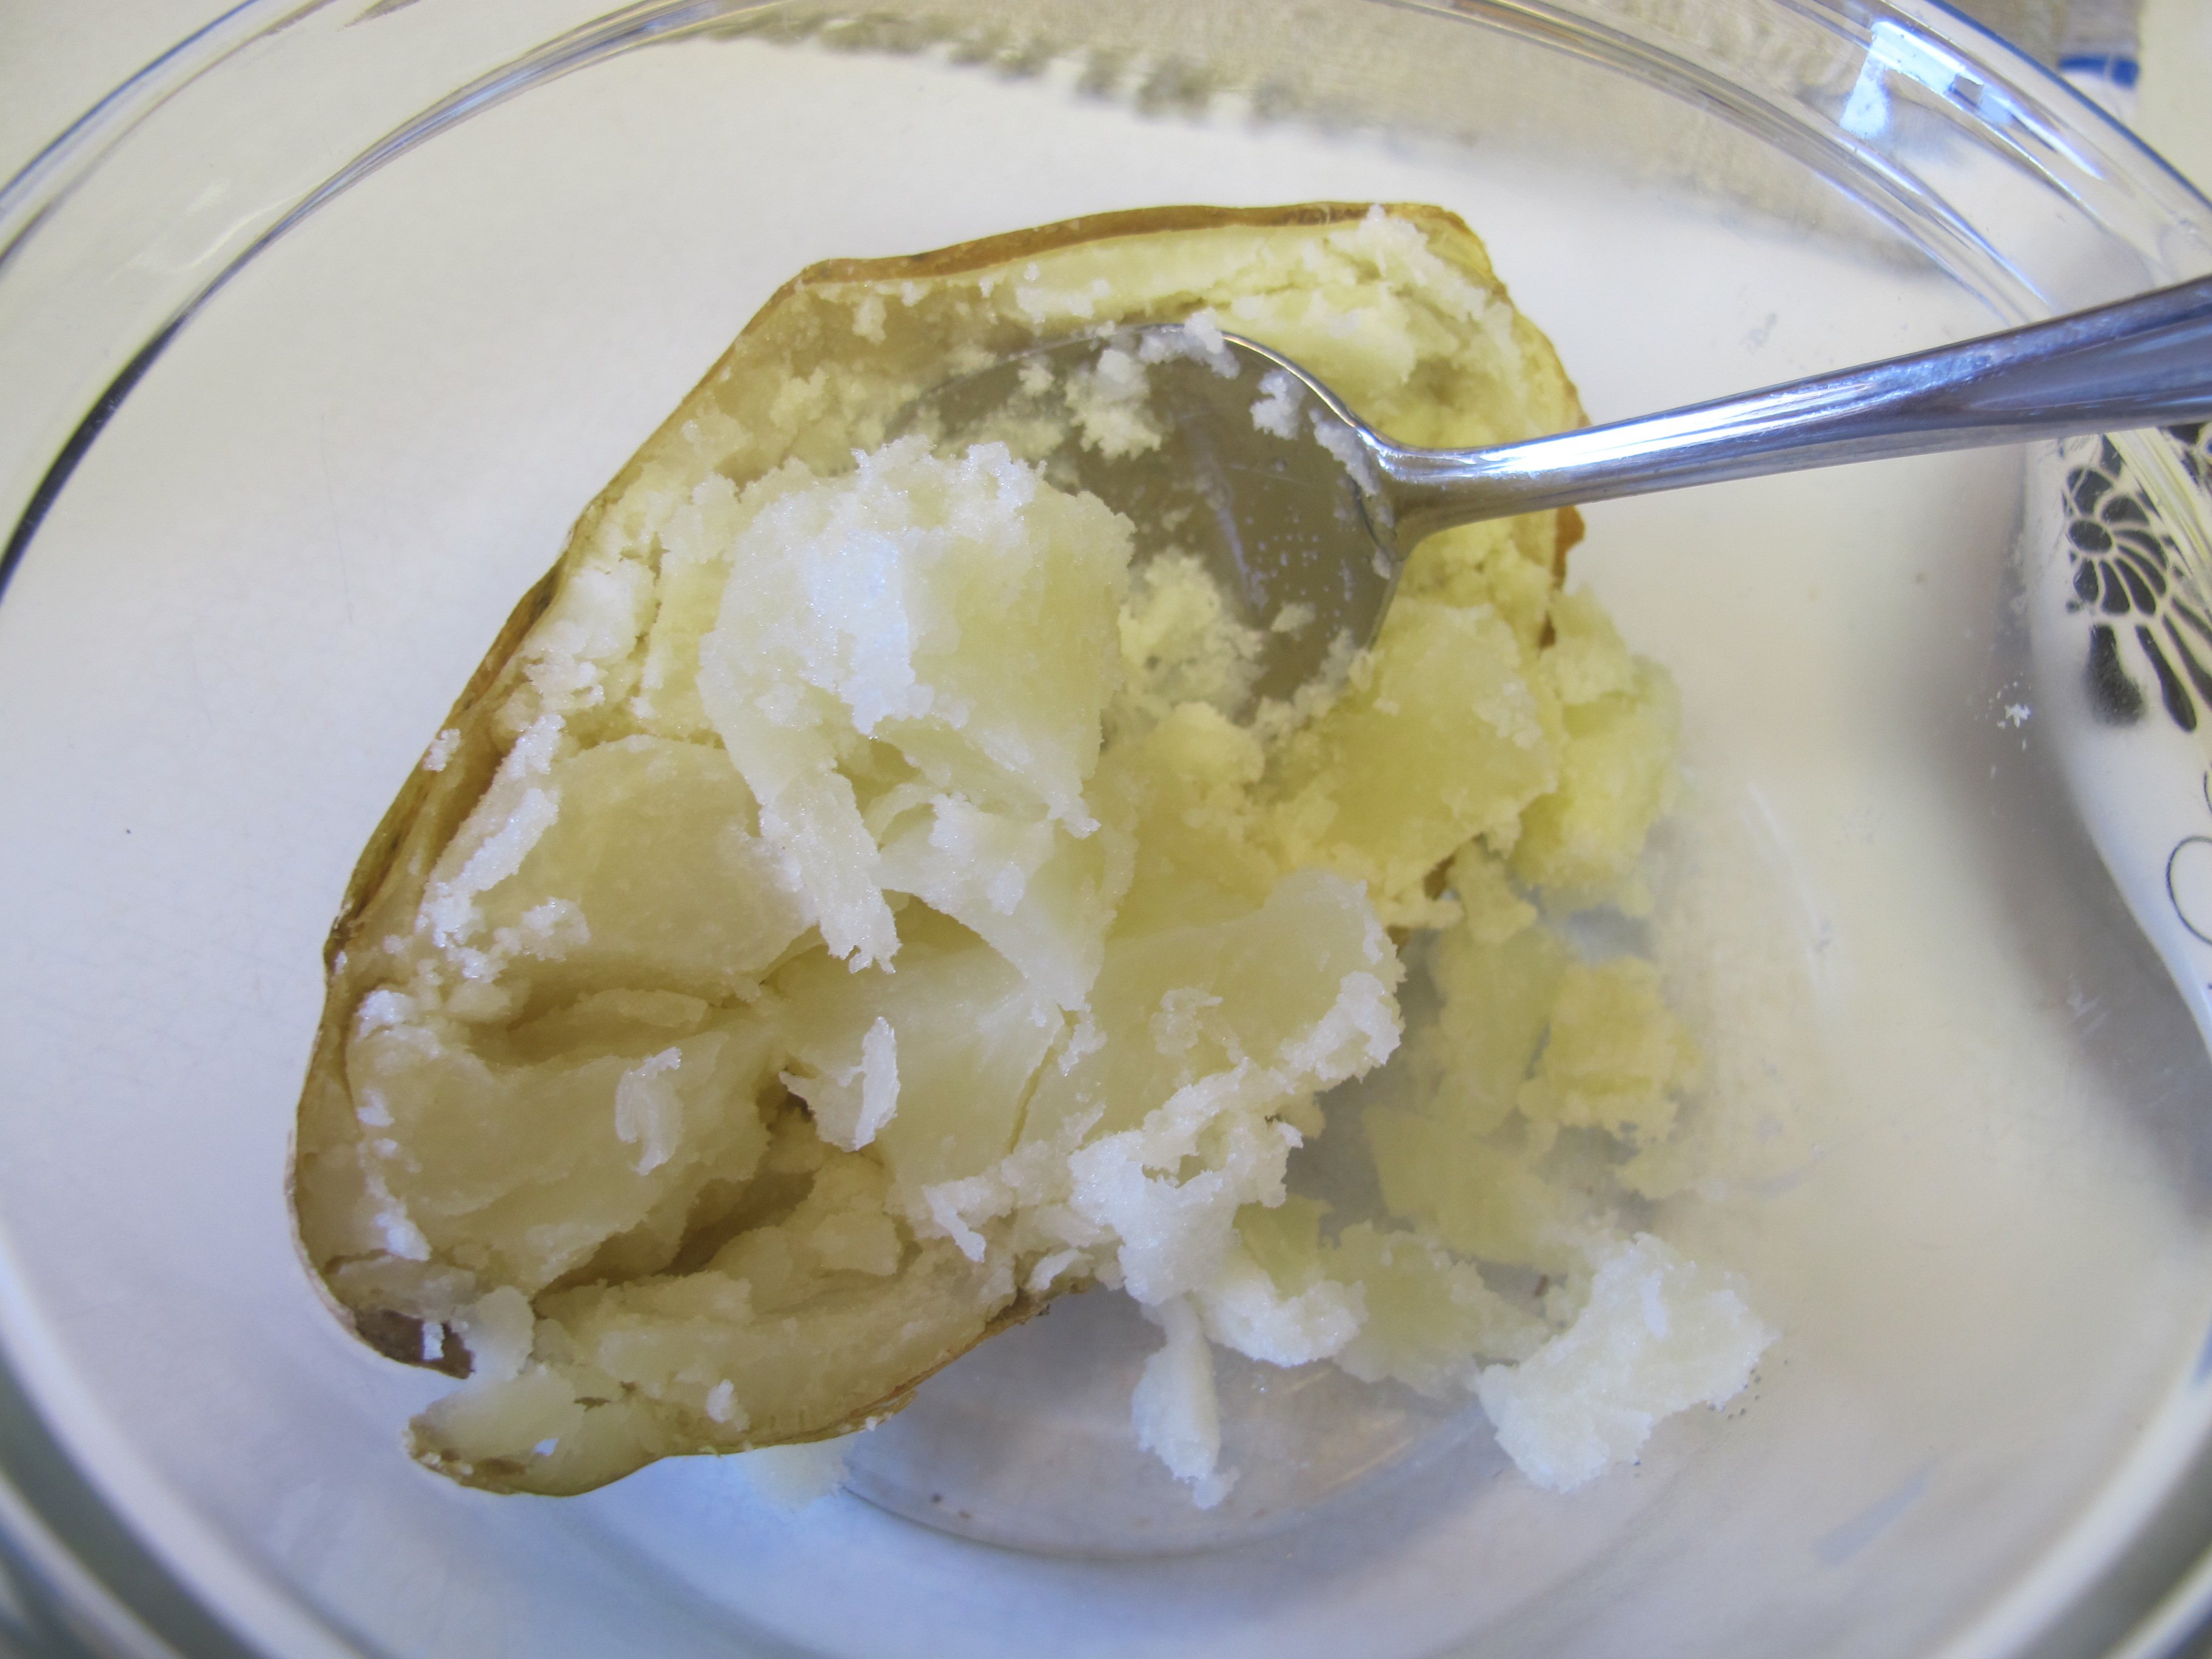
The pictures below show only one potato being made…so of course if you are making the entire recipe you will have more ingredients. Also, I added the paprika to the filling (opps)! It should have been sprinkled on top.
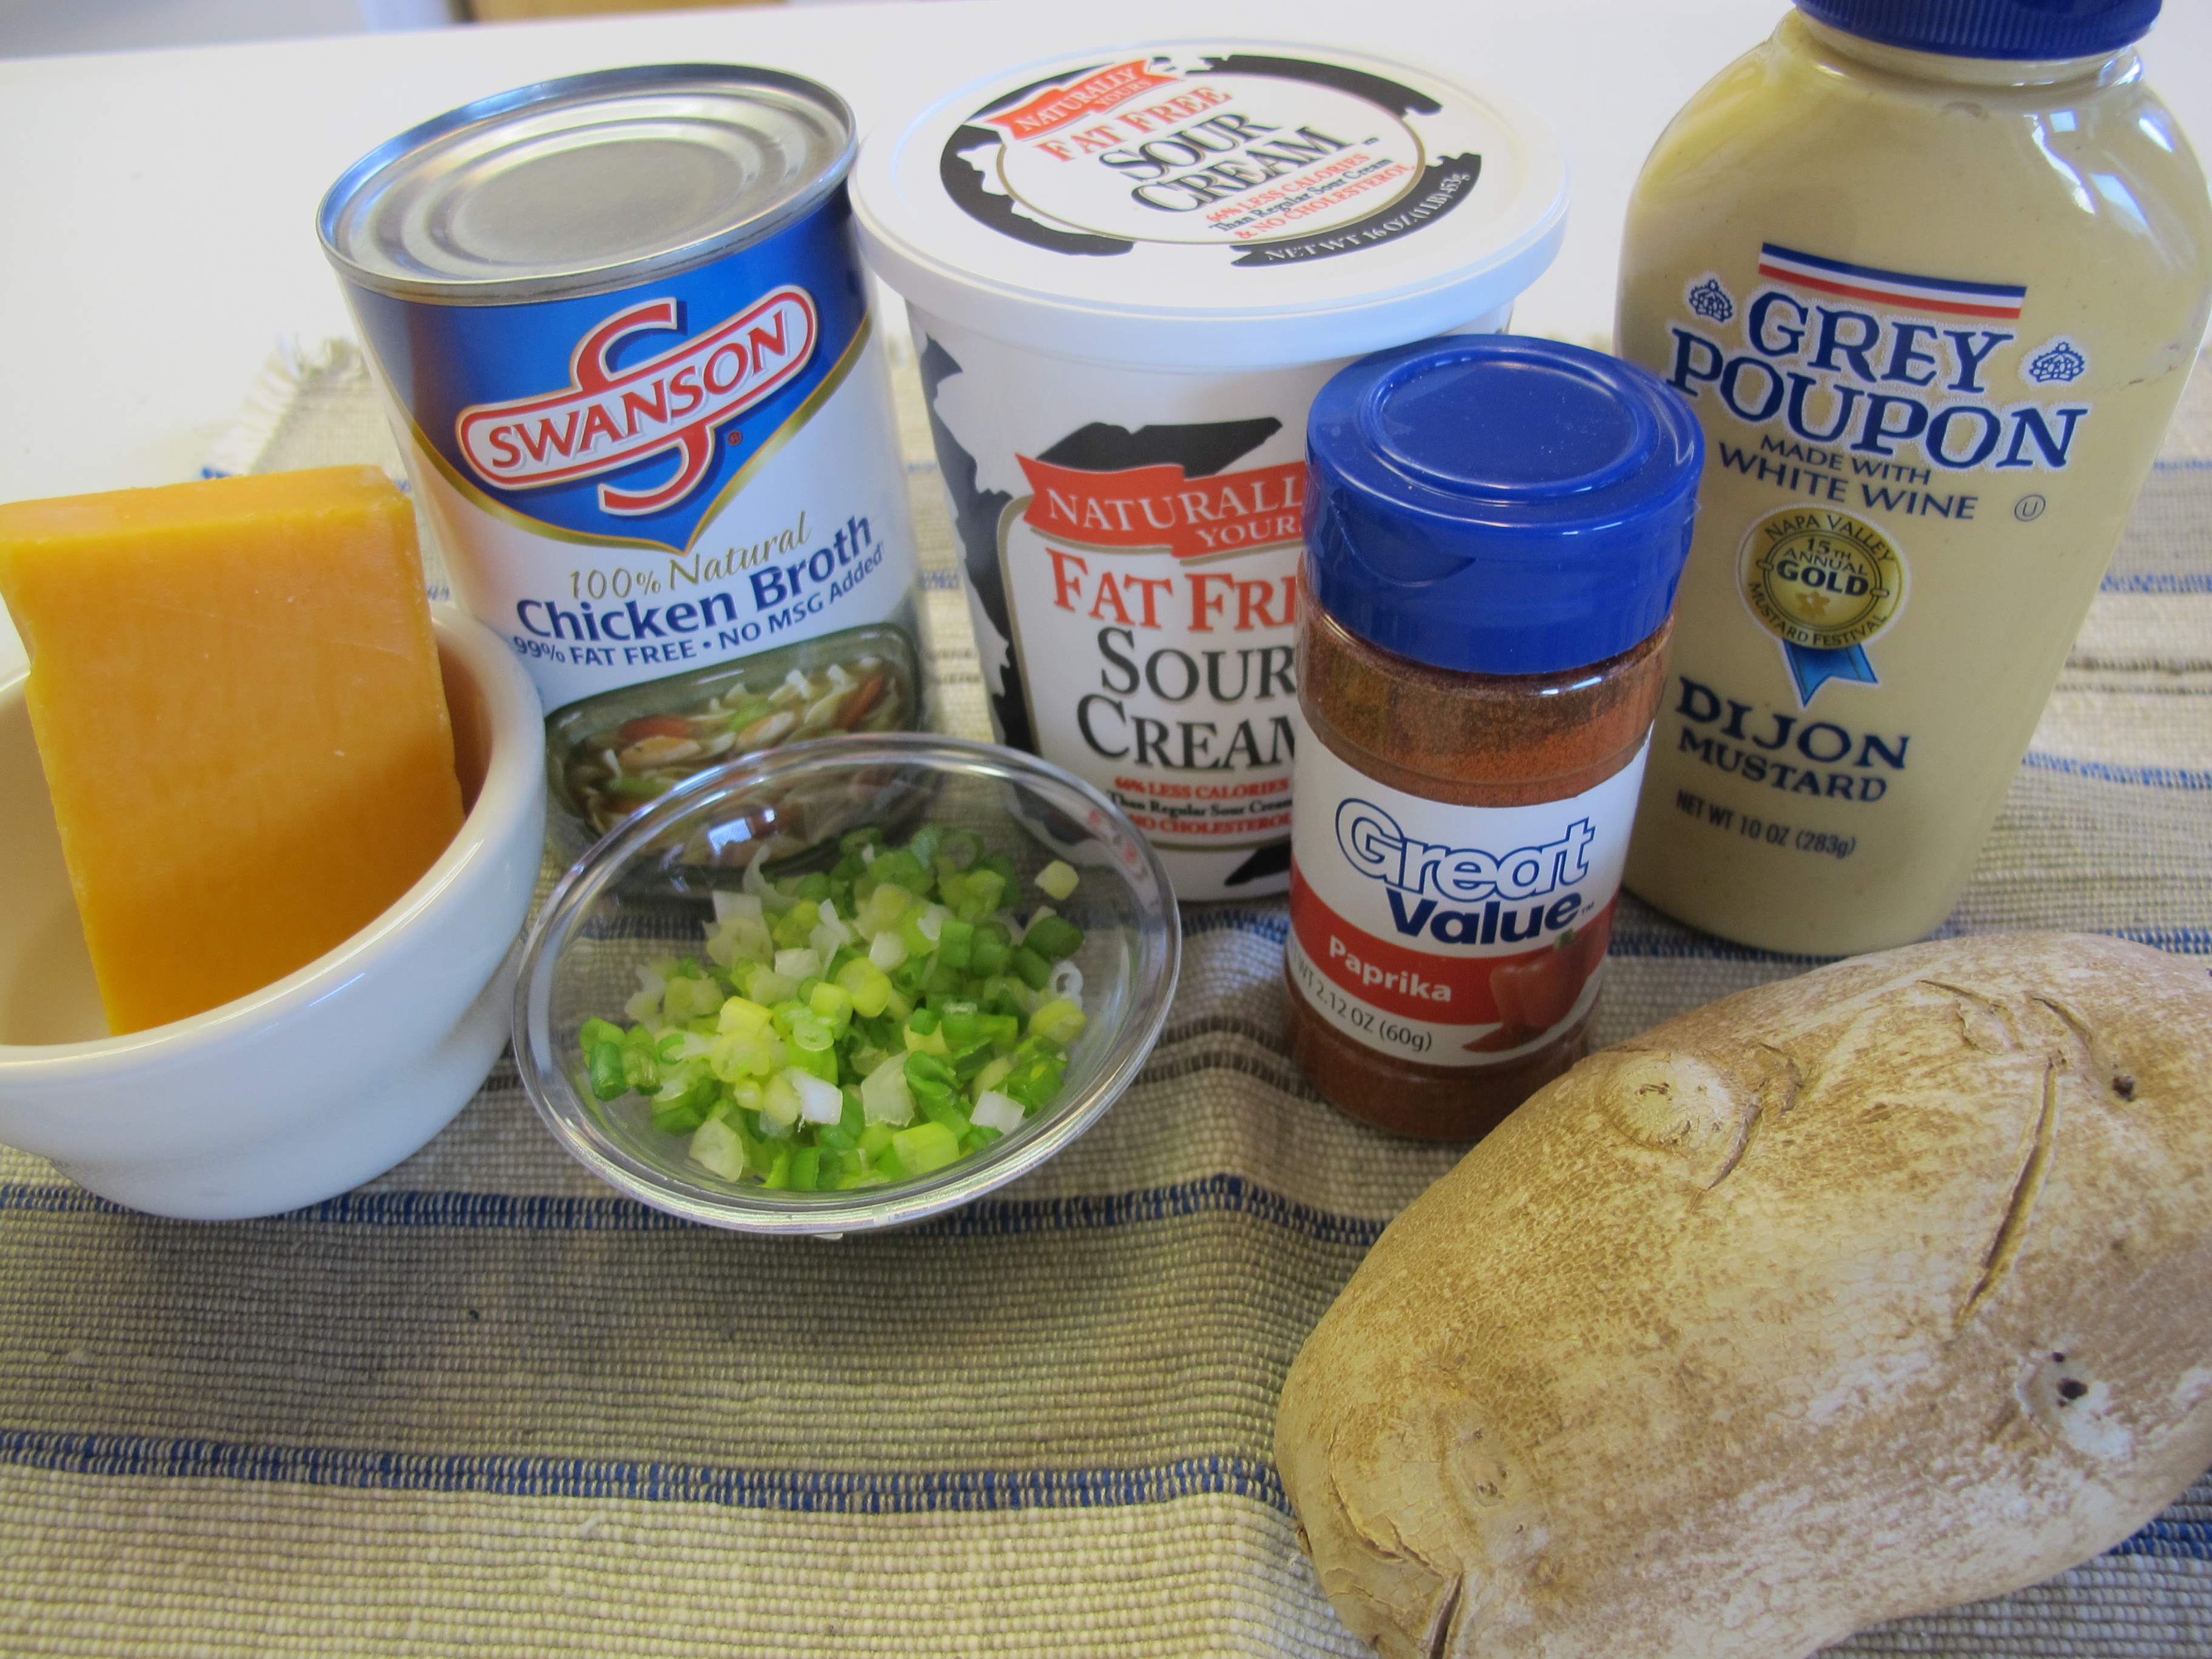
Heat oven to 400 degrees.
3 large baking potatoes
Scrub and then pierce potatoes in several places. Bake 1 – 1 1/2 hours or until tender.
As soon as you can handle the potatoes, cut lengthwise in half – scoop out centers, leaving 1/4 inch around the edges.

1/2 cup fat-free chicken broth
1 cup 2% sharp cheddar cheese, divided
1/3 cup thin sliced green onions
1/3 – 1/2 cup fat-free sour cream
1/2 – 1 tsp. Dijon mustard (optional but gives it a nice little bite)
seasonings of your choice
Beat potato pulp, broth, 1/2 cheese, onions, sour cream, mustard and seasonings with mixer until well blended.
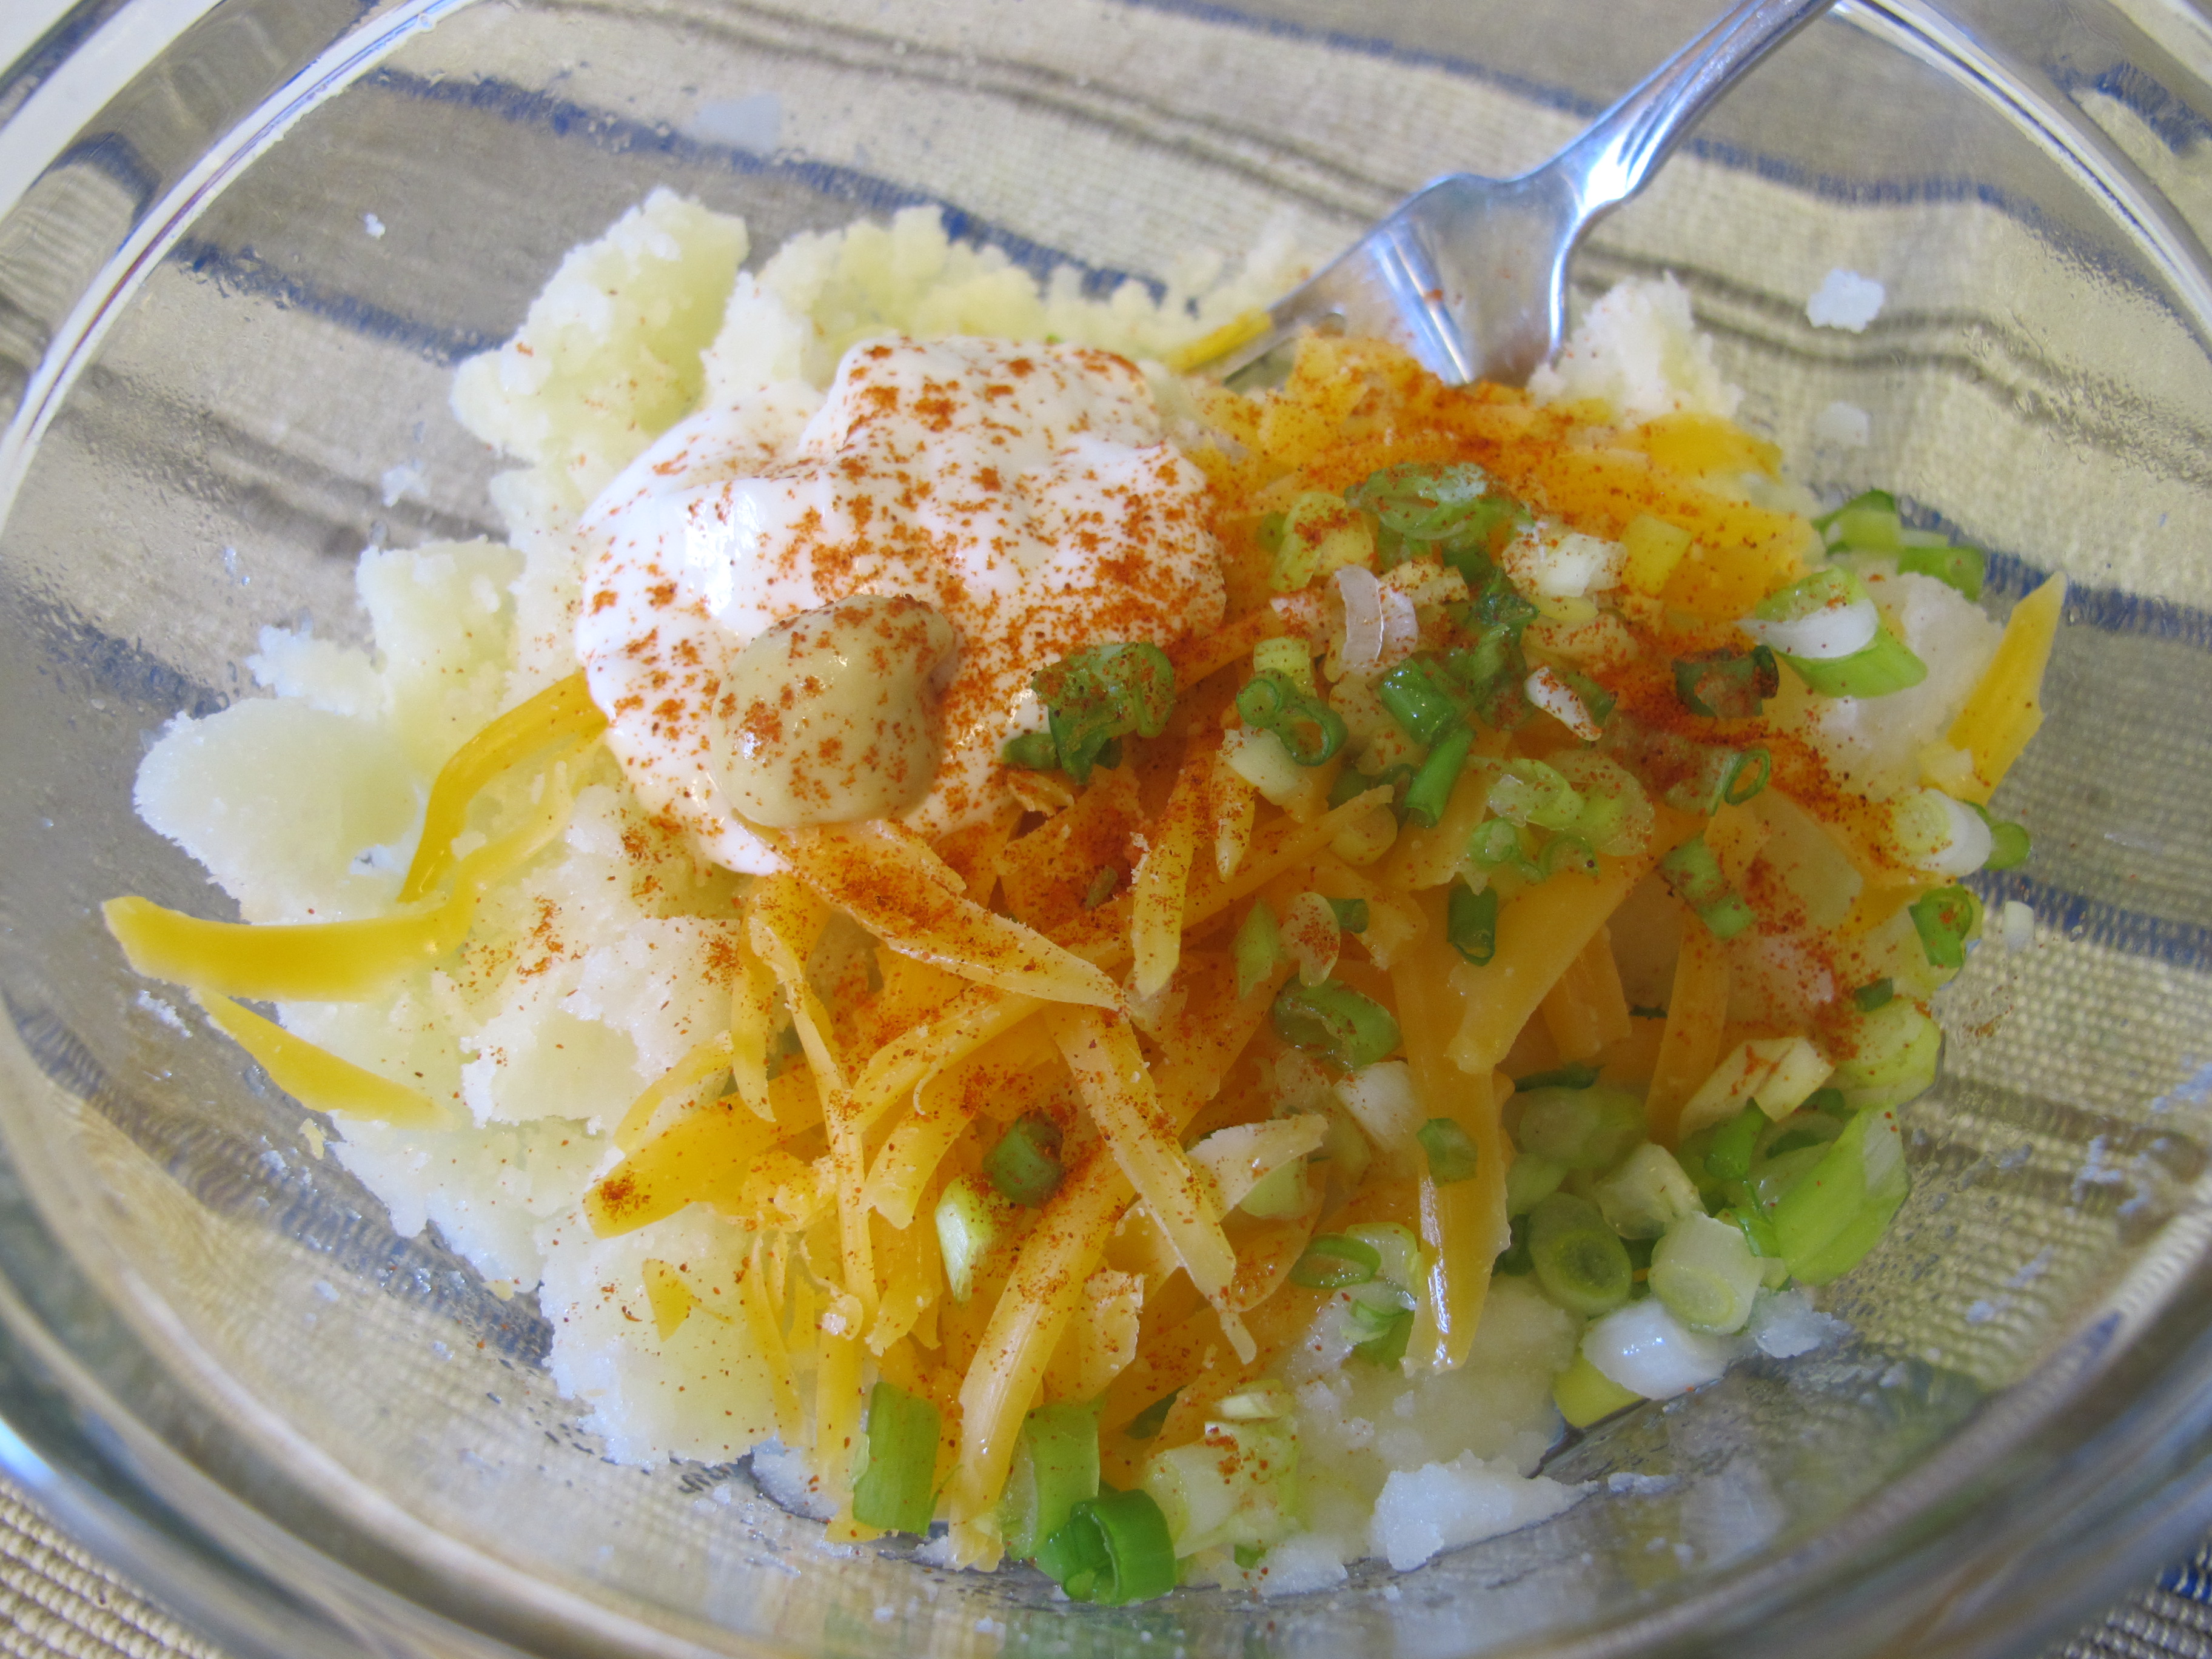
1/4 tsp. paprika
Place shells in a casserole dish. Spoon mixture into shells. Sprinkle the remainder of the cheese on top. Sprinkle with paprika. (Picture is wrong!)


Bake 20 minutes or until heated through.
Makes 6 servings.
FREEZE AHEAD: This is a great recipe to make and freeze ahead. So easy to just grab the number of potatoes that you need, thaw and heat.

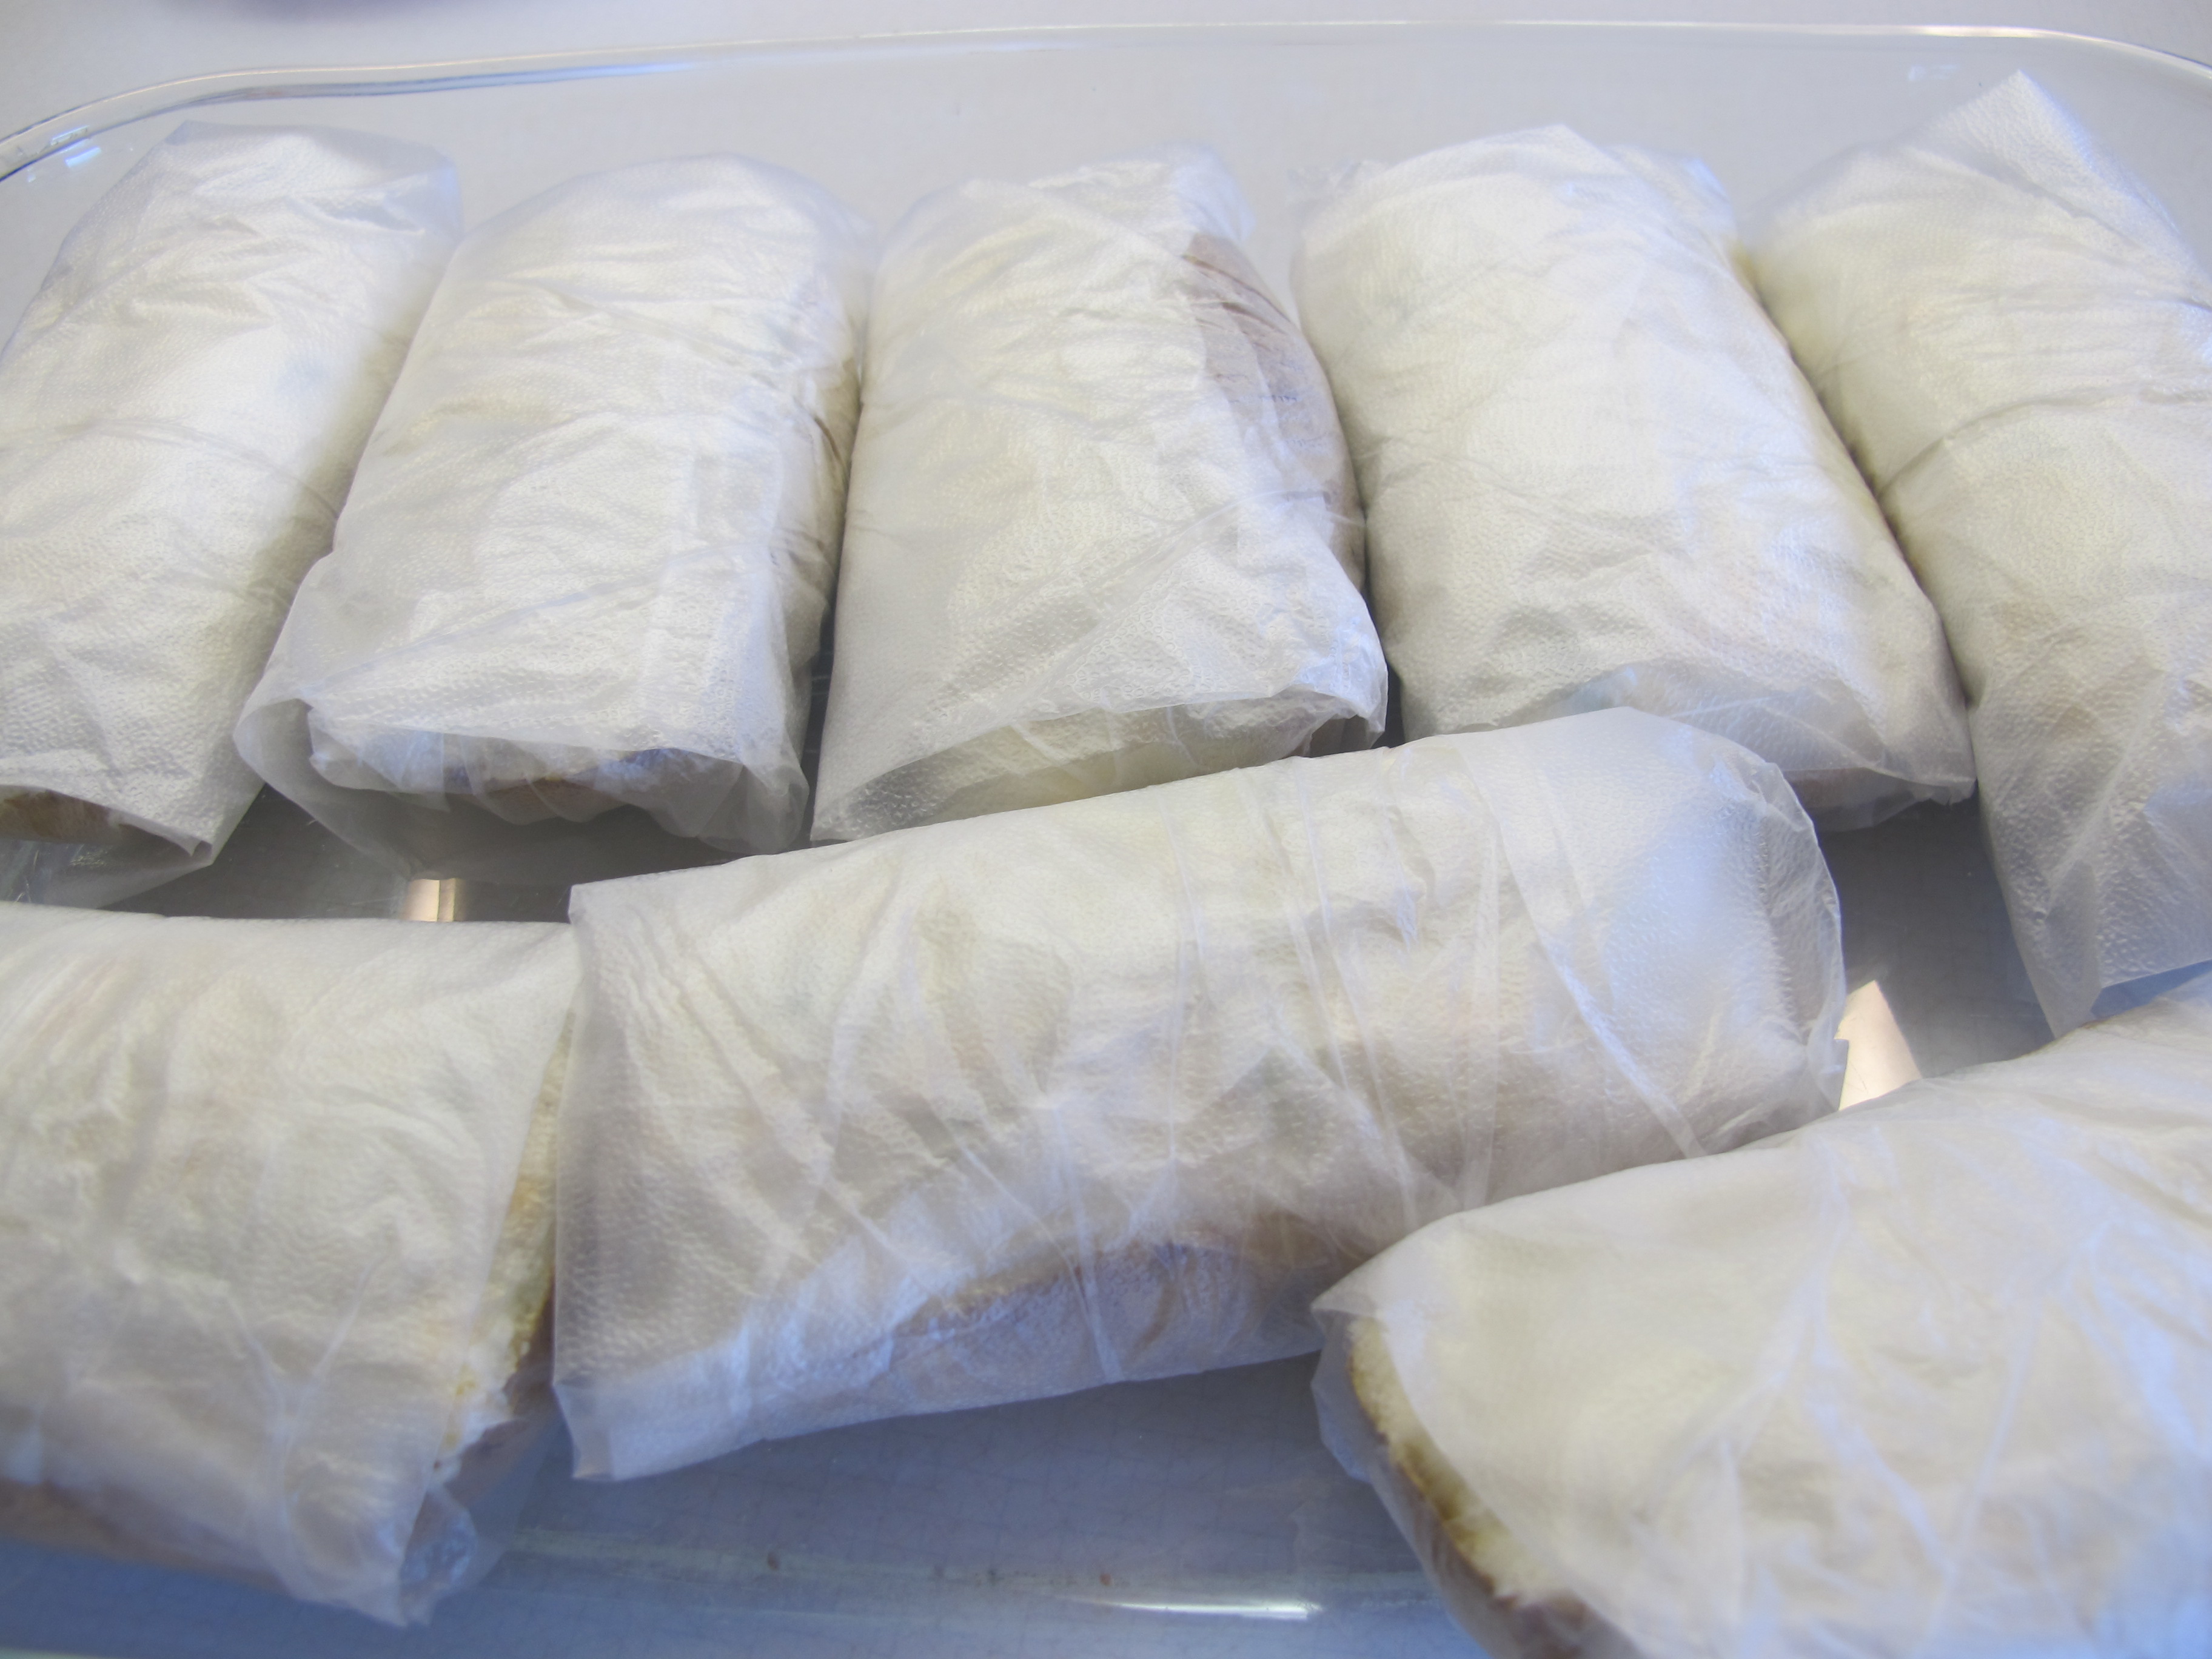
Wrap each half individually. Since they are kind of mushy, I placed them in a casserole dish and then put this in the freezer until they were frozen. After potatoes are completely frozen, put them in a zip-lock freezer bag.

To Reheat: Thaw potatoes completely. Unwrap and place on a cookie sheet or shallow casserole dish. Top with grated cheese. Bake 20 minutes at 400 degrees. If your oven is set to another temperature for something else you are cooking, the potatoes can really be cooked at any temperature – as long as they are hot all the way through and the cheese is melted. Putting them in the microwave works too!
FULL RECIPE WITHOUT PICTURES —
TWICE BAKED POTATOES
3 large baking potatoes
1/2 cup fat-free chicken broth
1 cup 2% sharp cheddar cheese, divided (I use Cabot)
1/3 cup thin sliced green onions
1/3 – 1/2 cup fat-free sour cream
1/2 – 1 tsp. Dijon mustard (optional but gives it a nice little bite)
seasonings of choice
1/4 tsp. paprika
Heat oven to 400 degrees.
Scrub and then pierce potatoes in several places. Bake 1 – 1 1/2 hours or until tender.
Immediately cut potatoes lengthwise in half – scoop out centers, leaving 1/4 inch around the edges.
Beat potato pulp, broth, 1/2 cheese, onions, sour cream and mustard with mixer until well blended.
Place shells in a casserole dish. Spoon mixture into shells. Sprinkle the remainder of the cheese on top. Sprinkle with paprika.
Bake 20 minutes or until heated through.
Makes 6 servings.
FREEZE AHEAD: This is a great recipe to make and freeze ahead. So easy to just grab the number of potatoes that you need, thaw and heat.
Wrap each half individually. Since they are kind of mushy, I placed them in a casserole dish and then put this in the freezer until they were frozen. Then I put all the potatoes in a zip-lock freezer bag.
To reheat: Thaw potatoes completely. Unwrap and place on a cookie sheet or shallow casserole dish. Top with grated cheese. Bake 20 minutes at 400 degrees. If your oven is set to another temperature for something else you are cooking, the potatoes can really be cooked at any temperature – as long as they are hot all the way through and the cheese is melted.
Chocolate Zucchini Brownies (no oil – no eggs)

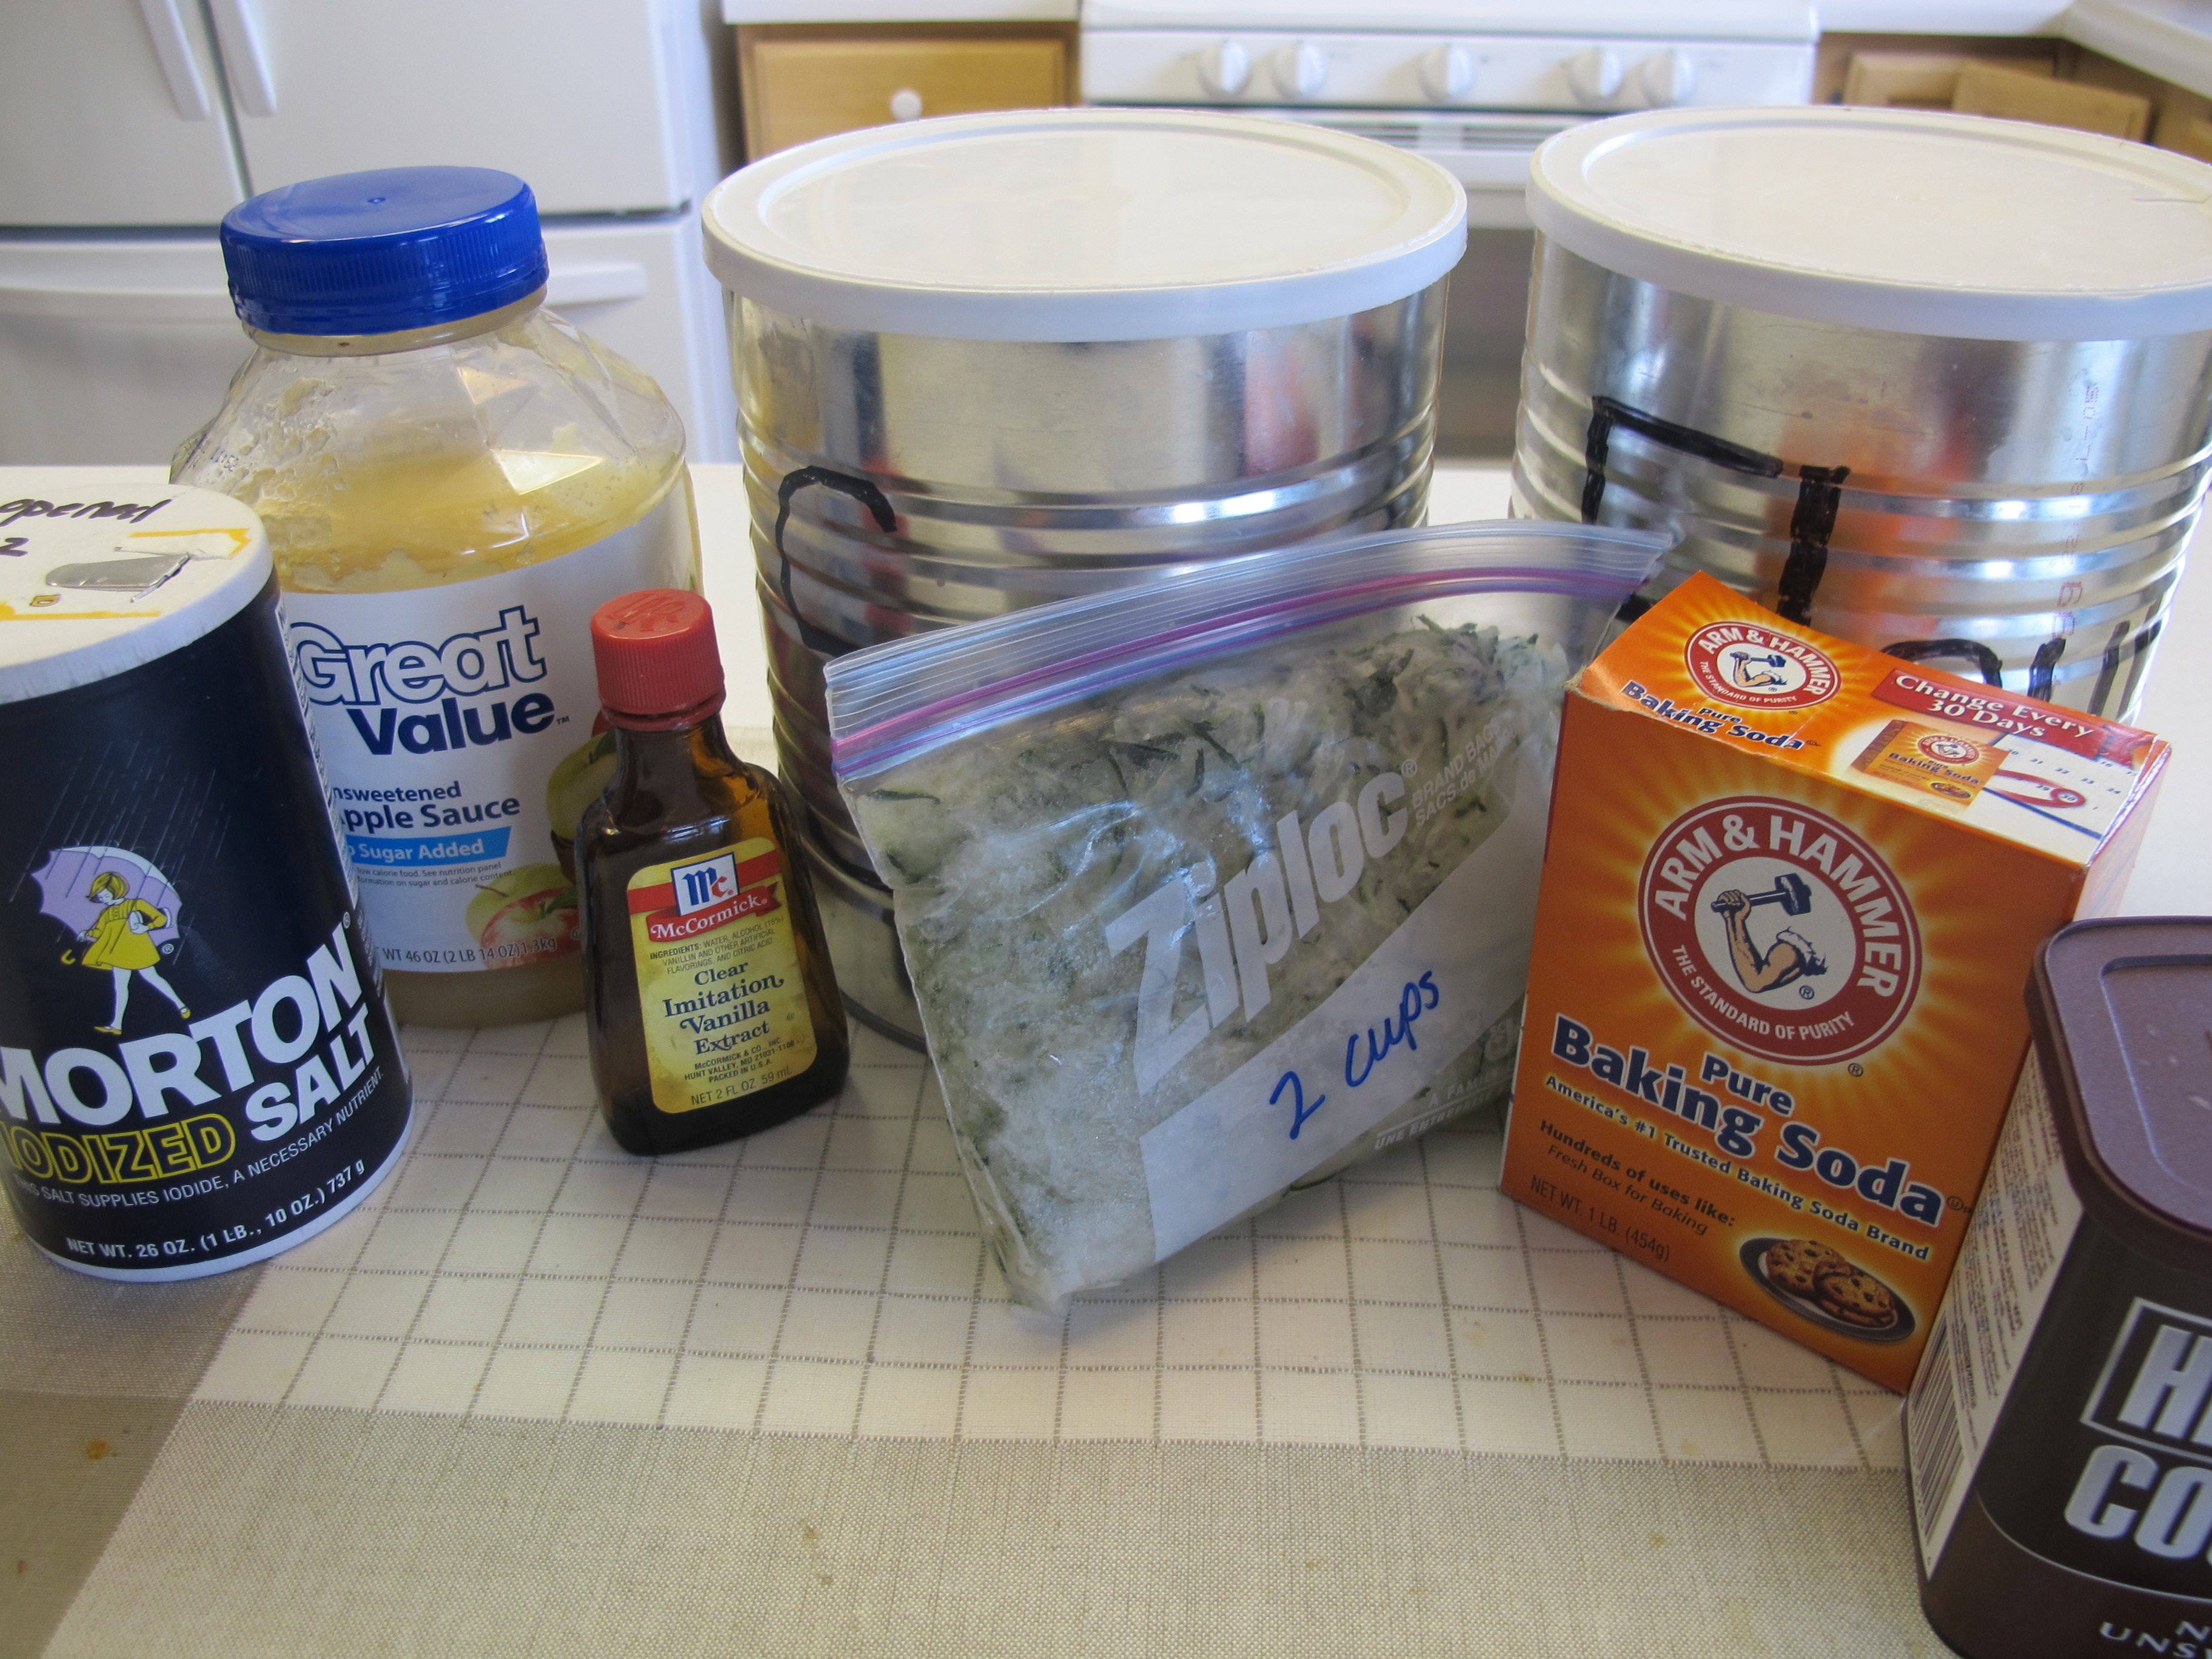
I am using shredded zucchini that I packaged and froze in the summer.
Preheat oven to 350 degrees. Grease and flour a 9 x 13 pan, or spray with Bakers Joy.
1/2 cup unsweetened applesauce
1 1/2 cups white sugar
2 tsp. vanilla extract
In a large bowl, mix together the applesauce, sugar and vanilla until well blended.
2 cups flour
1/2 cup unsweetened cocoa powder
1 1/2 tsp. baking soda
1 tsp. salt
In another bowl combine the flour, cocoa powder, baking soda and salt. Stir this into the sugar mixture a little at a time.

2 cups zucchini, shredded
1/2 cup nuts, chopped (optional)

Mix in zucchini and nuts. If you are using fresh zucchini, the batter will be dry and crumbly. This is normal. If you are using frozen zucchini, make sure to add the water that is in the bag with the shredded zucchini. If you don’t – it will be VERY dry.
Bake at 350 degrees for 23 – 25 minutes. Allow them to cool before frosting.

Recipe source: Revised from Blogchef (found on Pinterest)
FULL RECIPE WITHOUT PICTURES
CHOCOLATE ZUCCHINI BROWNIES
1/2 cup unsweetened applesauce
1 1/2 cups white sugar
2 tsp. vanilla extract
2 cups flour
1/2 cup unsweetened cocoa powder
1 1/2 tsp. baking soda
1 tsp. salt
2 cups zucchini, shredded
1/2 cup nuts, chopped (optional)
Preheat oven to 350 degrees. Grease and flour a 9 x 13 pan, or spray with Bakers Joy.
In a large bowl mix together the applesauce, sugar and vanilla until well blended.
In another bowl combine the flour, cocoa powder, baking soda and salt. Stir this into the sugar mixture a little at a time.
Mix in zucchini and nuts. If you are using fresh zucchini, the batter will be dry and crumbly. This is normal. If you are using frozen zucchini, make sure to add the water that is in the bag with the shredded zucchini. If you don’t – it will be VERY dry.
Bake at 350 degrees for 23 – 25 minutes. Allow them to cool before frosting.
Recipe source: Revised from Blogchef (found on Pinterest)
Honey Wheat Rolls

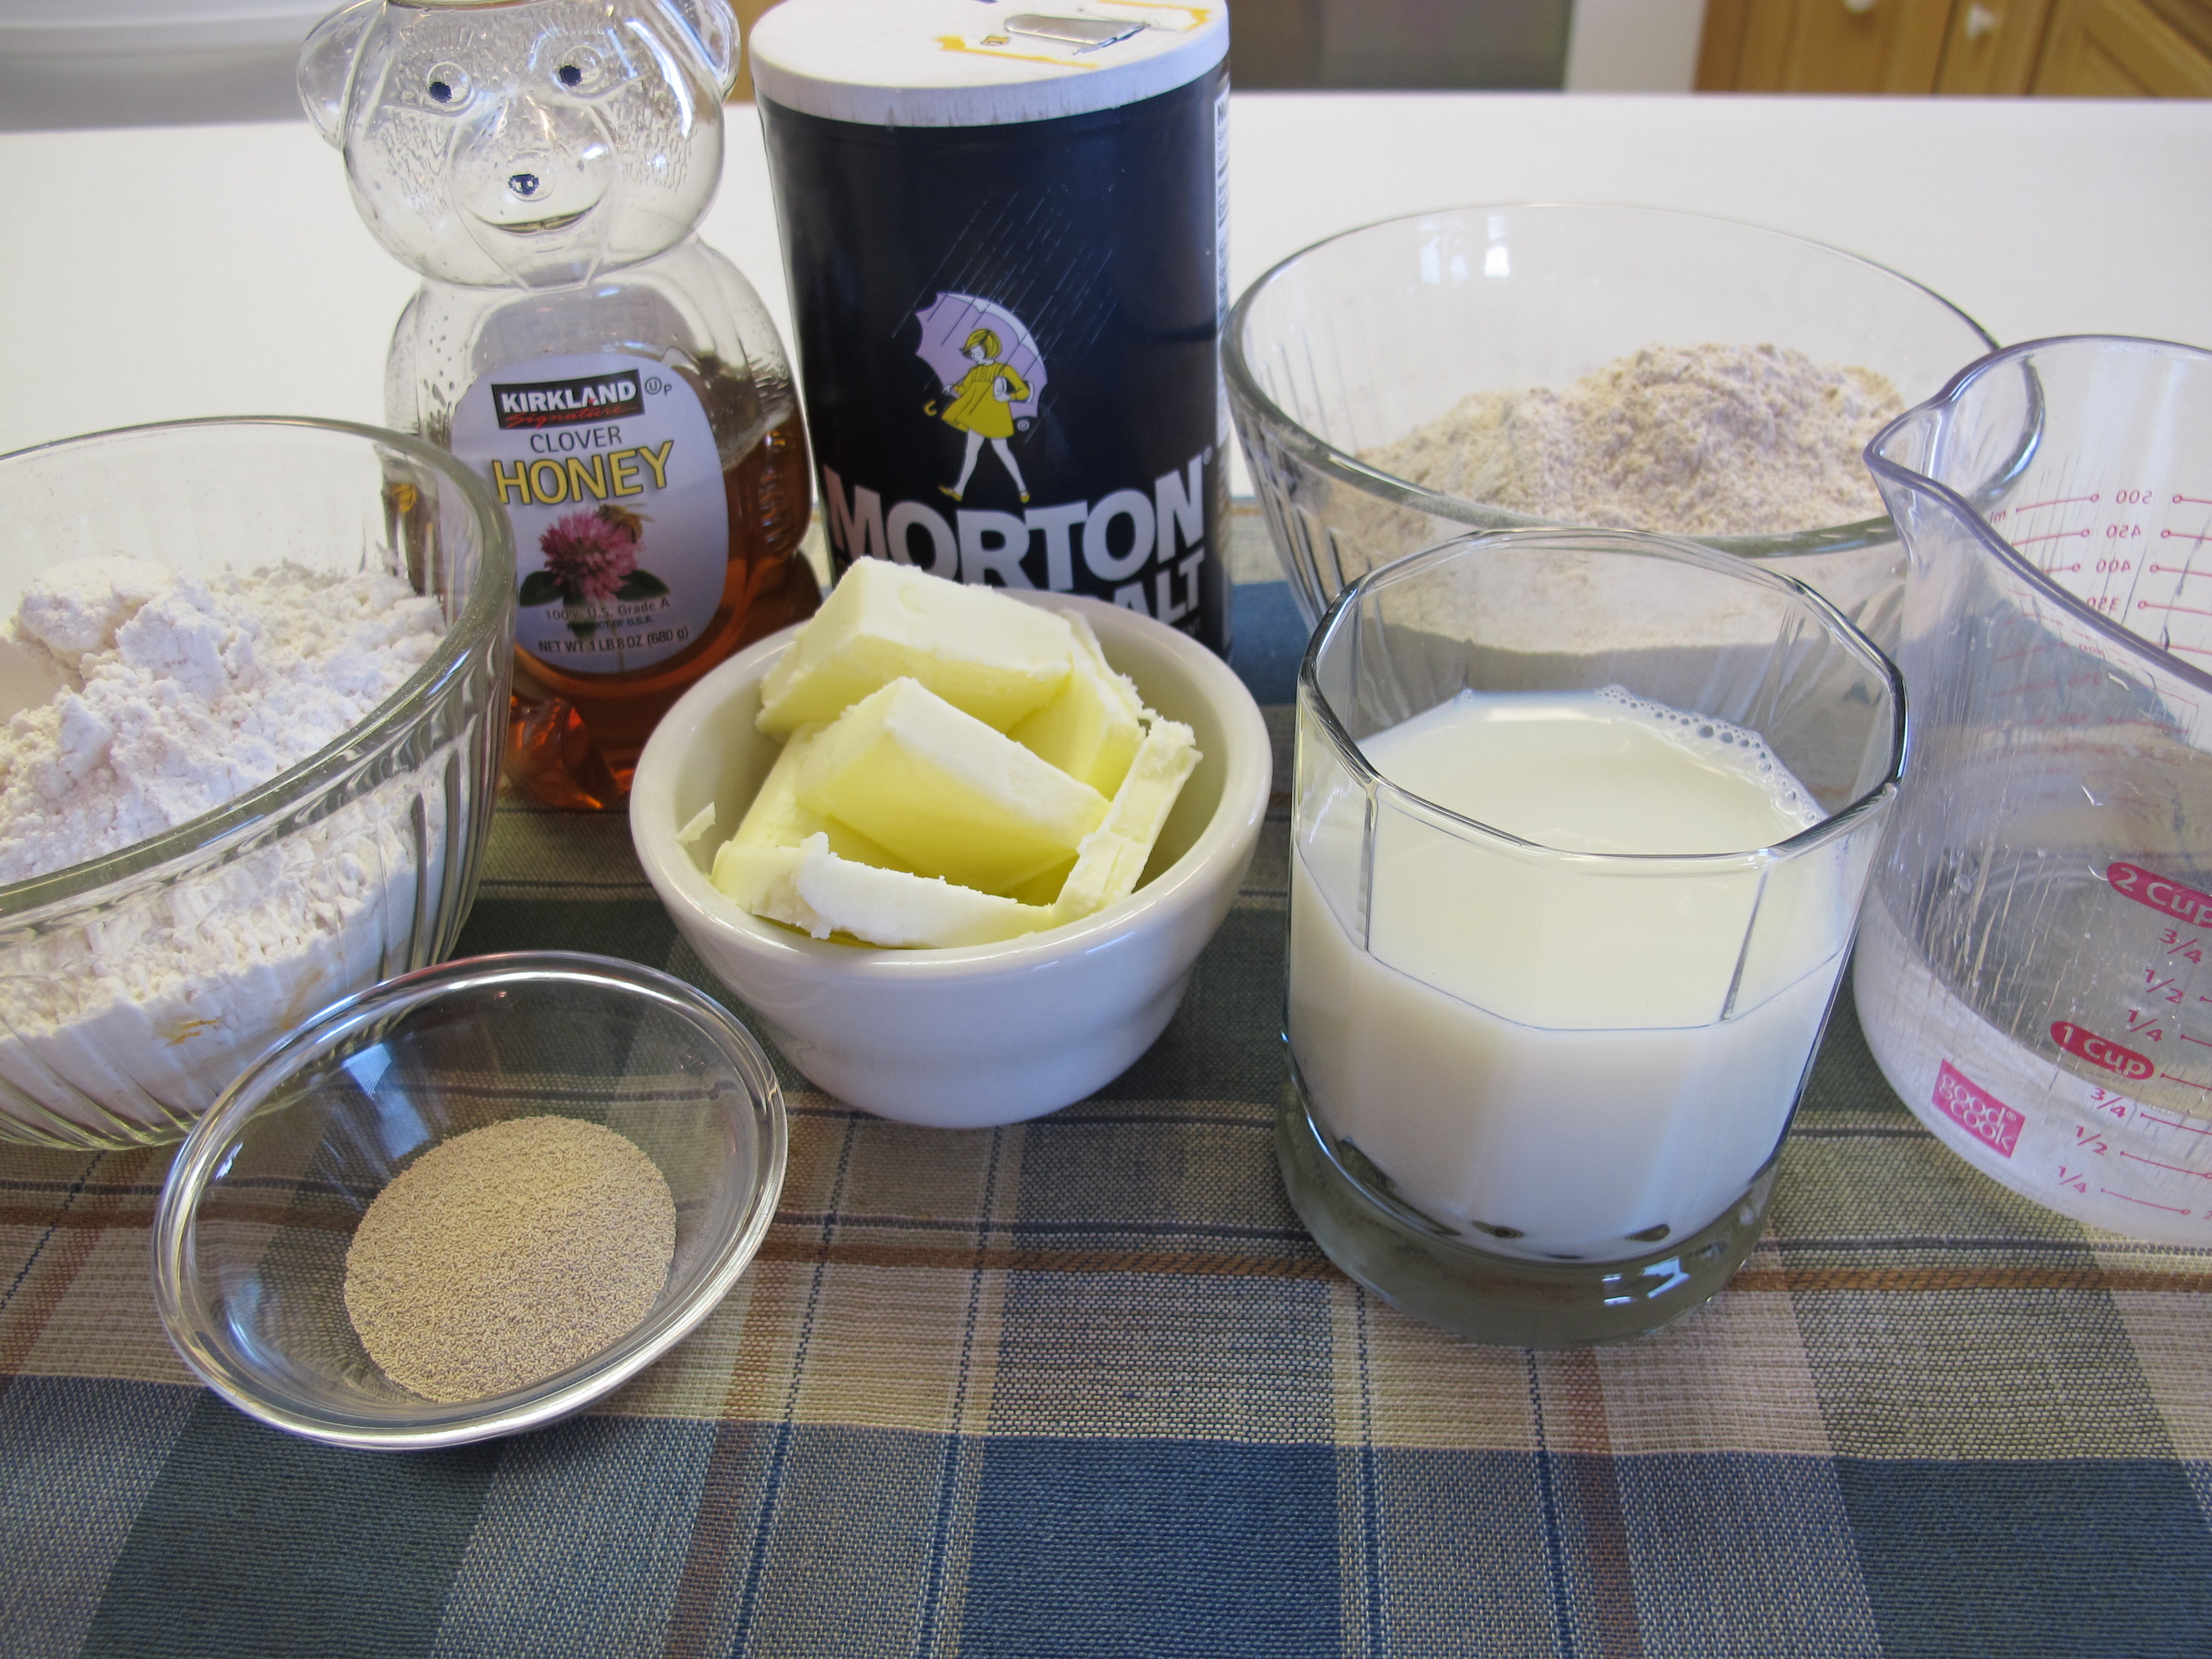
Preheat oven to 170 degrees.
2 cups wheat flour
2 cups white flour, divided
1/4 cup honey
Into the bowl of your stand mixer, place 2 cups wheat flour, 1 cup white flour and 1/4 cup honey.

3/4 cup hot milk
3/4 cup hot water
1 tsp. salt
6 T. butter, softened
Heat 3/4 cup milk in the microwave for 2 minutes. Add to the flour mixture.
Add 3/4 cup hot water. (Water should be hot to the touch, but not so hot that it burns your hand.)
Add 1 tsp. salt and 6 T. softened butter.
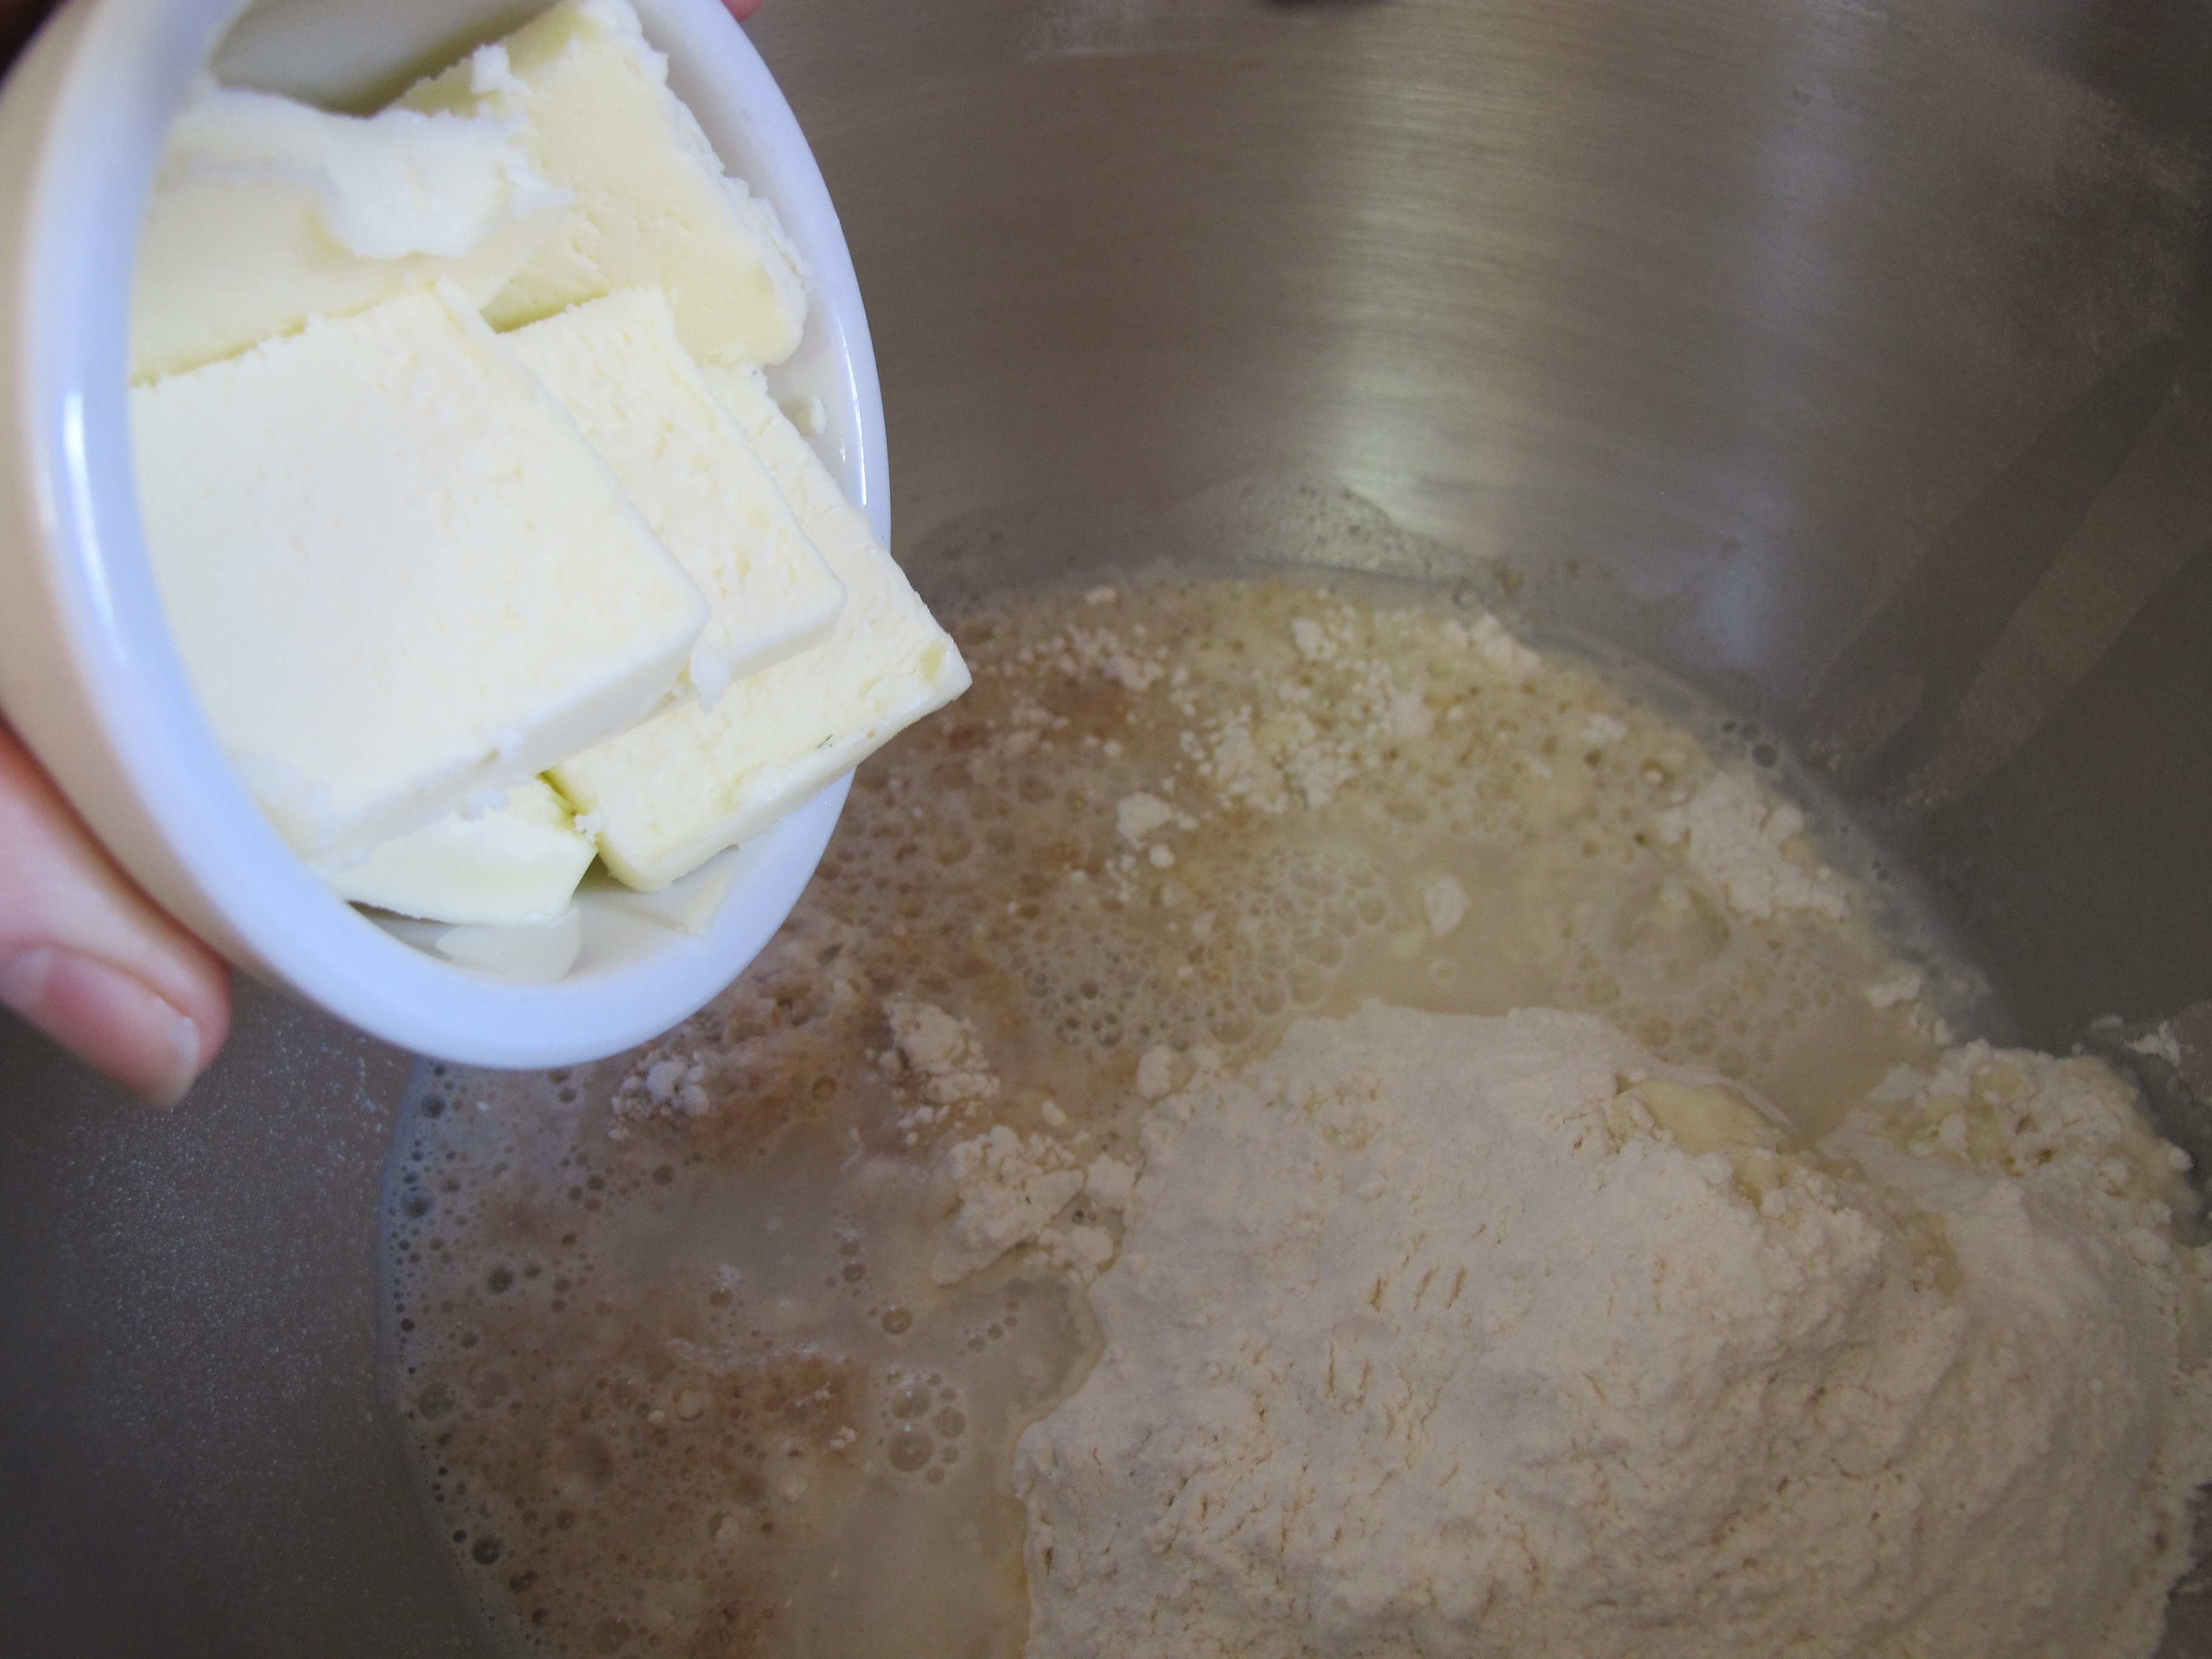
Turn mixer to low-speed and allow the ingredients to blend together for about 1 minute.
1 T yeast
Add 1 T. yeast. Mix for about 30 seconds.
While the machine is mixing, add 1 more cup of white flour. Allow the dough to mix for another minute or so. The dough should start to pull away from the sides of the bowl This is an indication that you have enough flour. If the dough remains stuck to the sides of the bowl, sprinkle a bit more flour (up to 1/2 cup) into the bowl. Once you have the correct amount of flour added, turn the mixer to medium speed and let the dough mix for 5 minutes.
While dough is mixing, coat the sides and bottom of a 9 x 13 pan with butter.
Using scissors, cut the dough into 15 equal pieces. Roll each piece into a ball. I do this by pulling the dough up and snipping off a piece, placing it in the pan. After making sure that all the pieces are pretty equal in size, roll them into a ball on your counter.
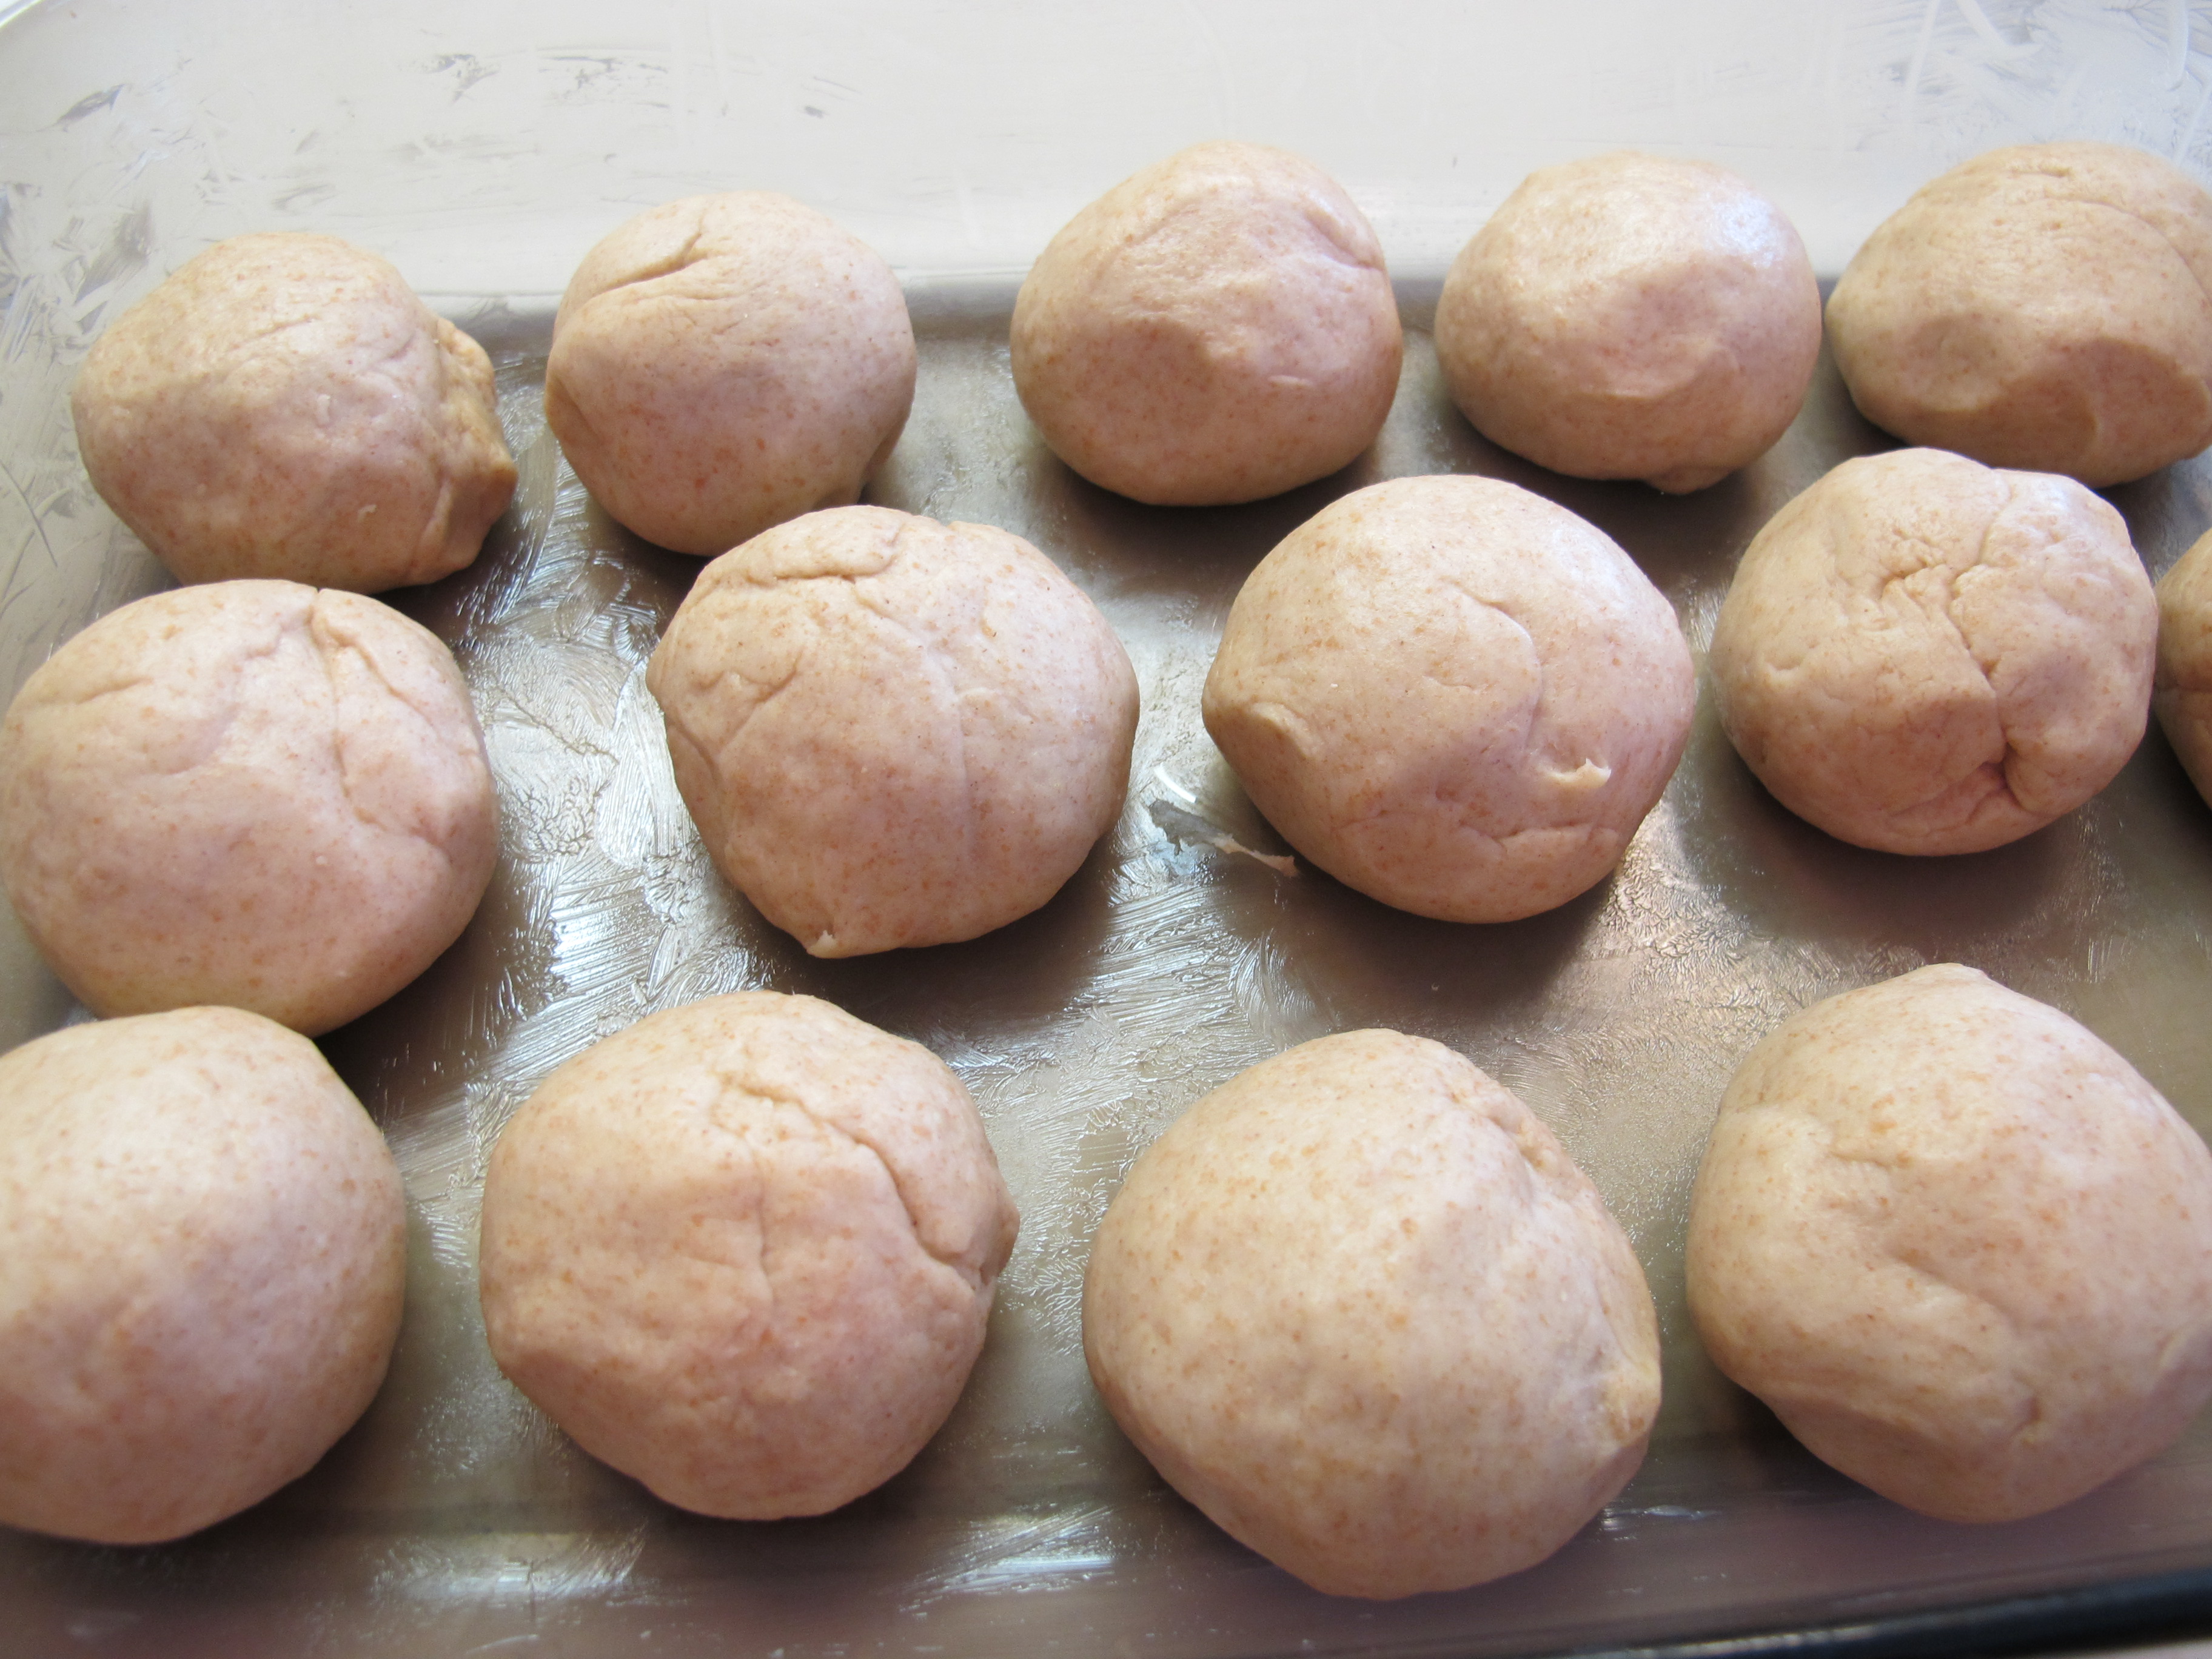
Cover rolls with plastic wrap and place in warm oven for 20 – 30 minutes, or until doubled in size.

Turn your oven up to 350 degrees, leaving the rolls in the oven as the oven heats up.
Once it is up to 350 degrees, start timing. Cook for about 13- 15 minutes.
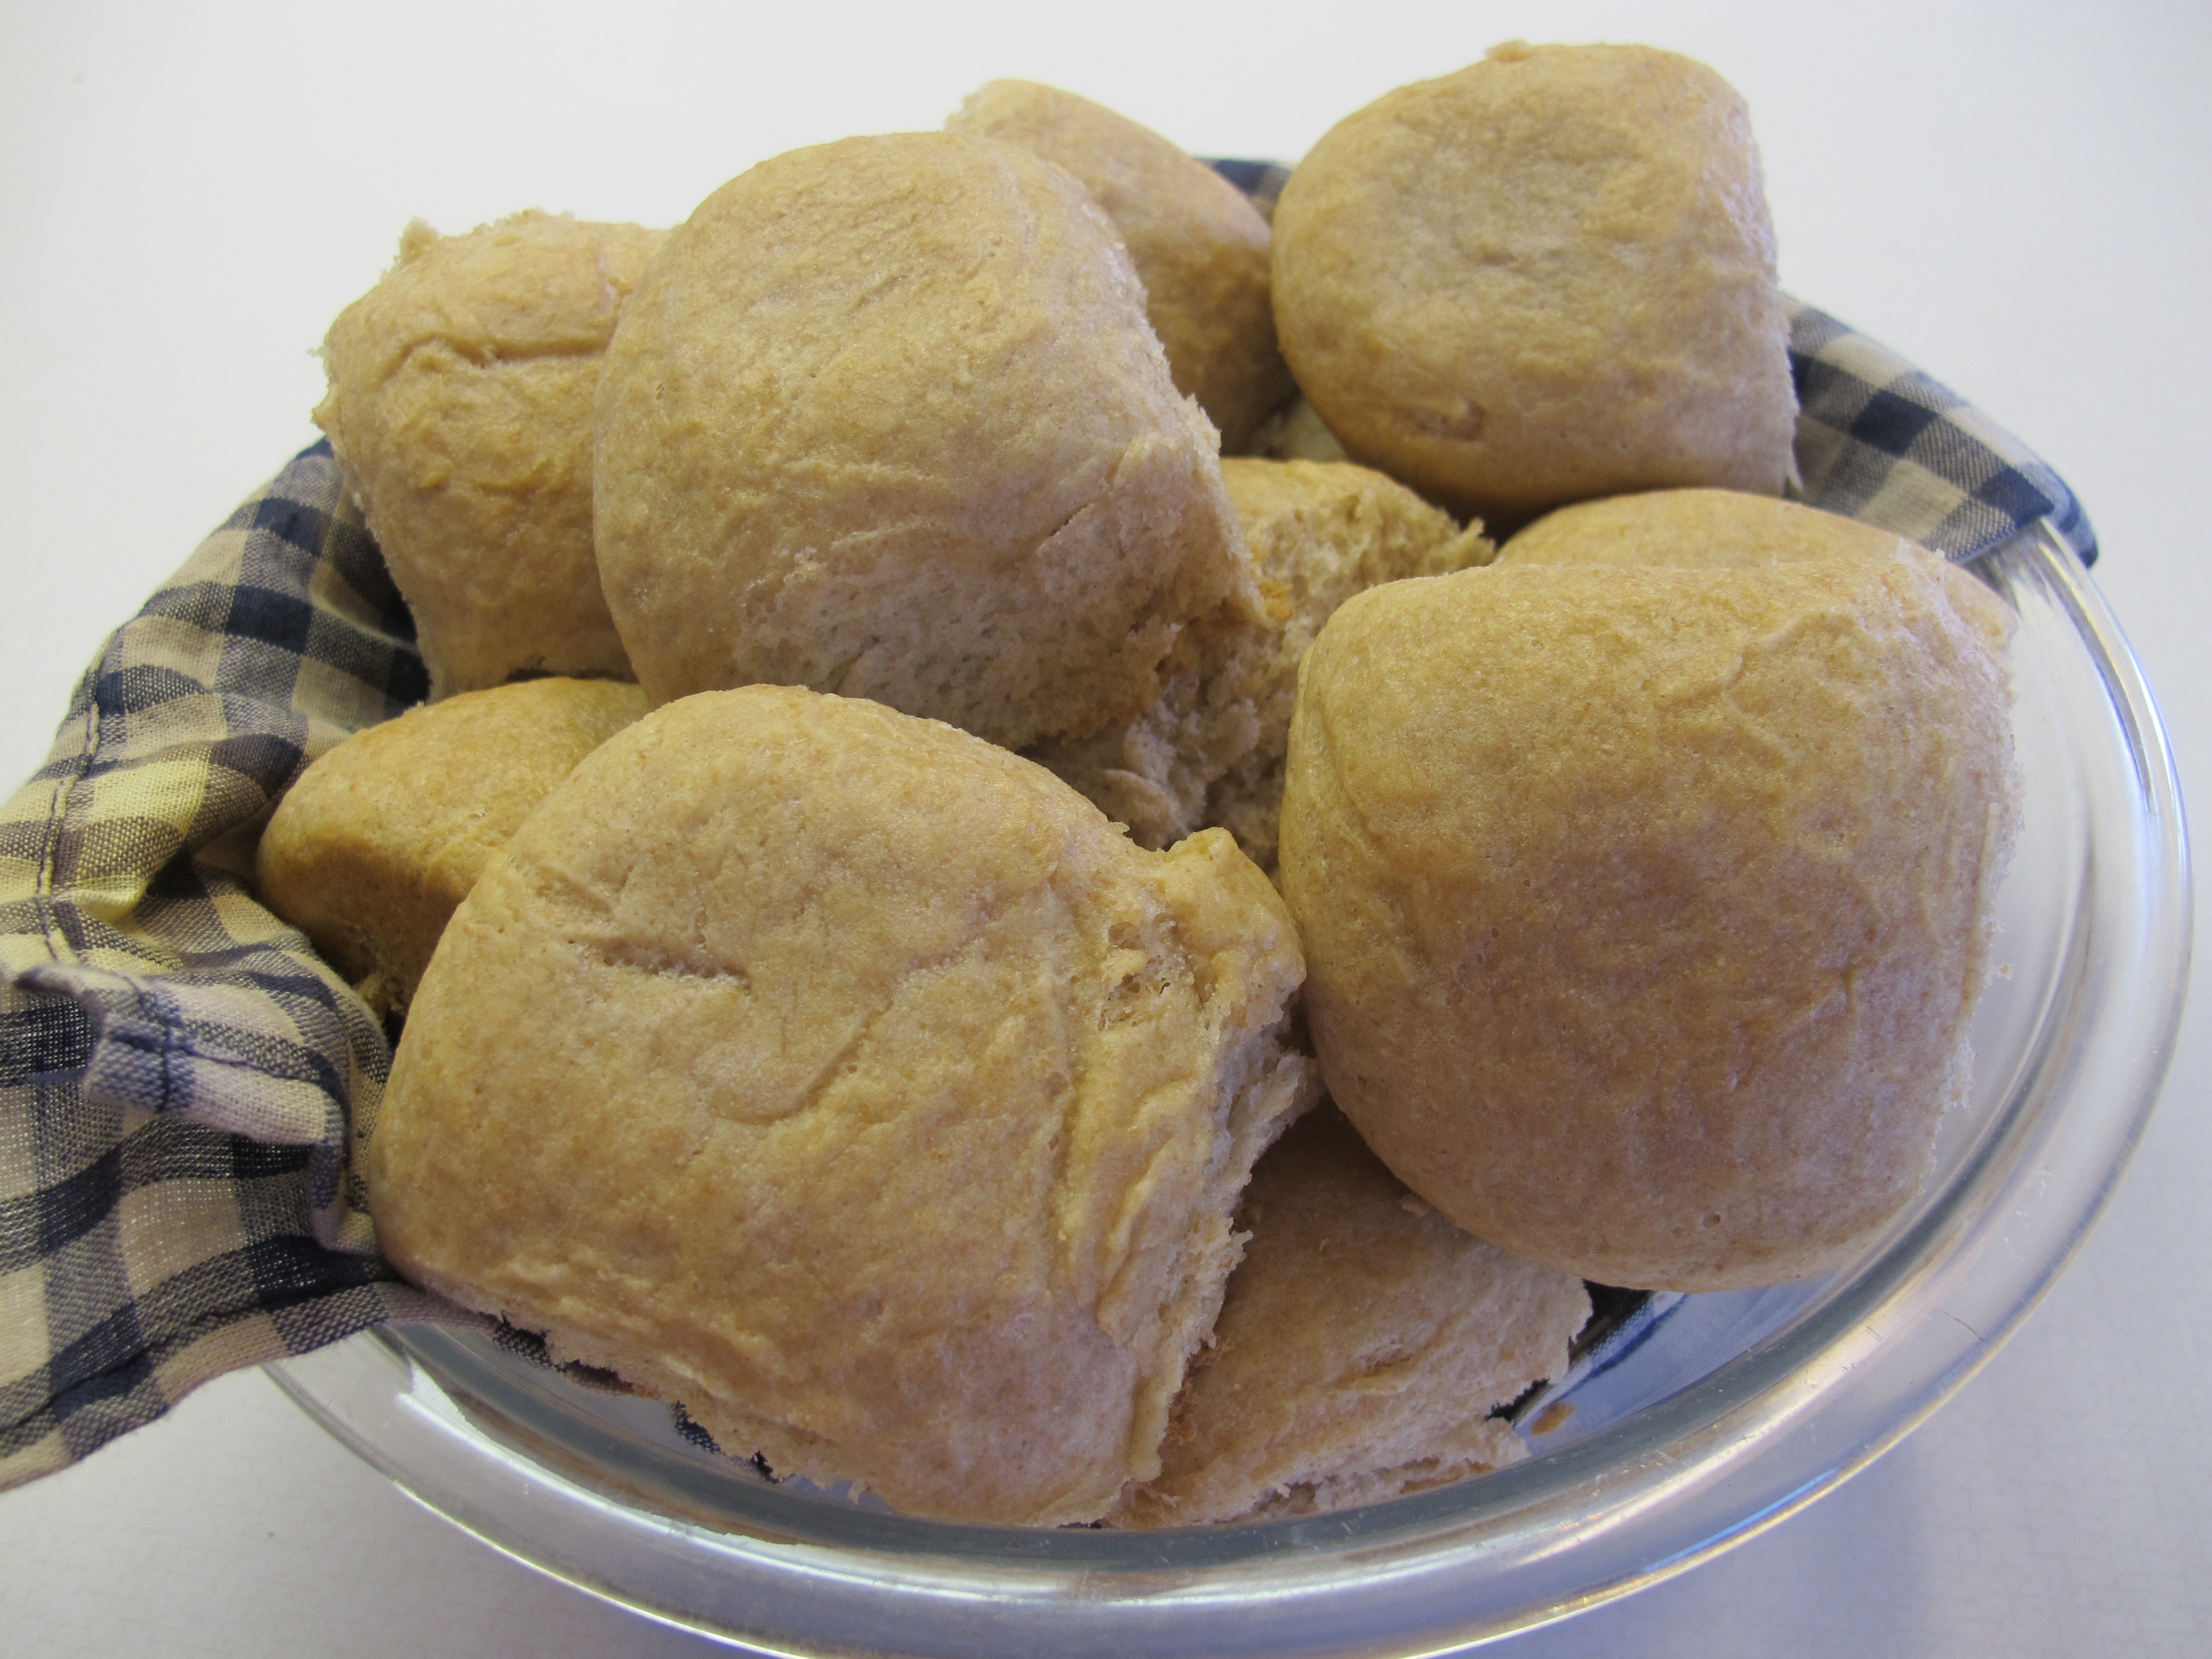
Remove the pan from the oven and let them rest for about 10 minutes and then brush them with butter.

Serve and enjoy!
Recipe Source: Jamie Cooks It Up
FULL RECIPE WITHOUT PICTURES —
HONEY WHEAT ROLLS
2 cups wheat flour
2 cups white flour, divided
1/4 cup honey
3/4 cup hot milk
3/4 cup hot water
1 tsp. salt
6 T. butter, softened
1 T yeast
Preheat oven to 170 degrees.
Into the bowl of your stand mixer, place 2 cups wheat flour, 1 cup white flour and 1/4 cup honey.
Heat 3/4 cup milk in the microwave for 2 minutes. Add to the flour mixture.
Add 3/4 cup hot water. (Water should be hot to the touch, but not so hot that it burns your hand.)
Add 1 tsp. salt and 6 T. softened butter.
Turn mixer to low-speed and allow the ingredients to blend together for about 1 minute.
Add 1 T. yeast. Mix for about 30 seconds.
While the machine is mixing, add 1 more cup of white flour. Allow the dough to mix for another minute or so. The dough should start to pull away from the sides of the bowl This is an indication that you have enough flour. If the dough remains stuck to the sides of the bowl, sprinkle a bit more flour (up to 1/2 cup) into the bowl. Once you have the correct amount of flour added, turn the mixer to medium speed and let the dough mix for 5 minutes.
While dough is mixing, coat the sides and bottom of a 9 x 13 pan with butter.
Using scissors, cut the dough into 15 equal pieces. Roll each piece into a ball. I do this by pulling the dough up and snipping off a piece, placing it in the pan. After making sure that all the pieces are pretty equal in size, roll them into a ball on your counter.
Cover rolls with plastic wrap and place in warm oven for 20 – 30 minutes, or until doubled in size.
Turn your oven up to 350 degrees, leaving the rolls in the oven as the oven heats up.
Once it is up to 350 degrees, start timing. Cook for about 13- 15 minutes.
Remove the pan from the oven and let them rest for about 10 minutes and then brush them with butter.
Serve and enjoy!
Recipe Source: Jamie Cooks It Up
Squaw Bread
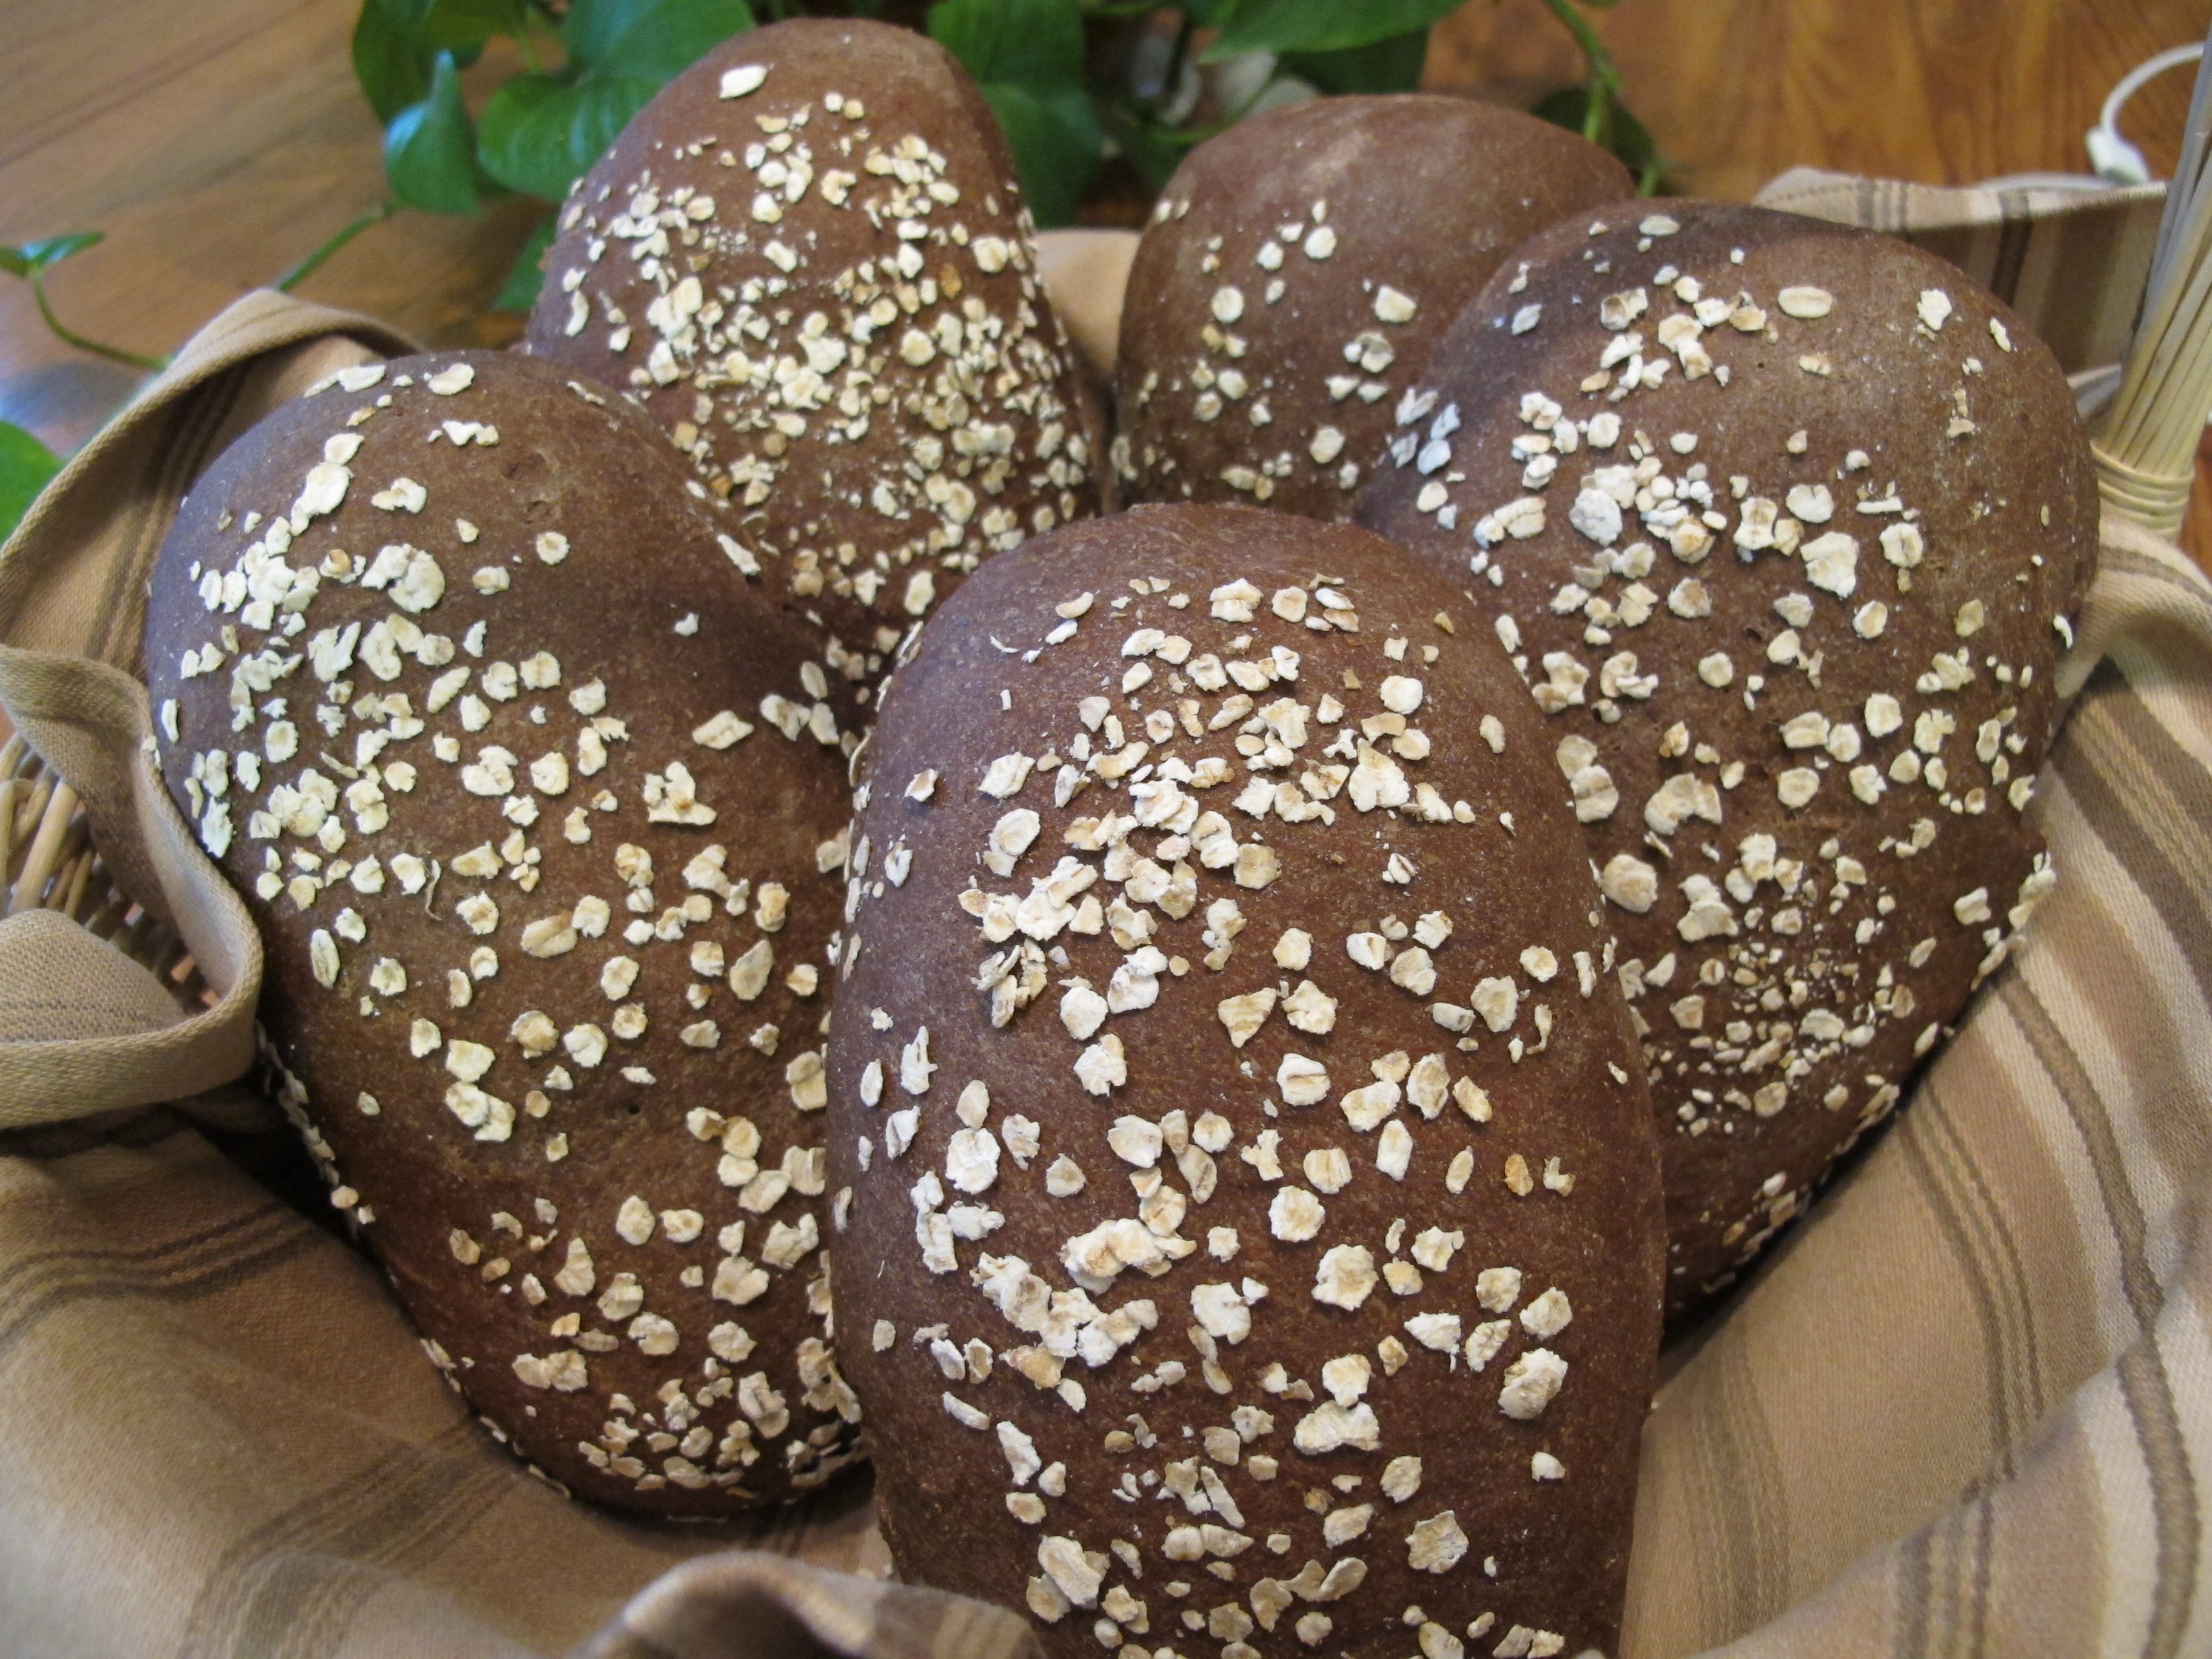

I love dark wheat bread like you get at Outback or The Cheesecake Factory. This bread is a soft, sweet, hearty whole wheat bread. The “secret” ingredient is McCormick’s Caramel Color. Caramel color is not a food coloring. It is burnt sugar. You can buy or order it at Orson Gygi, which is a restaurant supply store in Salt Lake City.
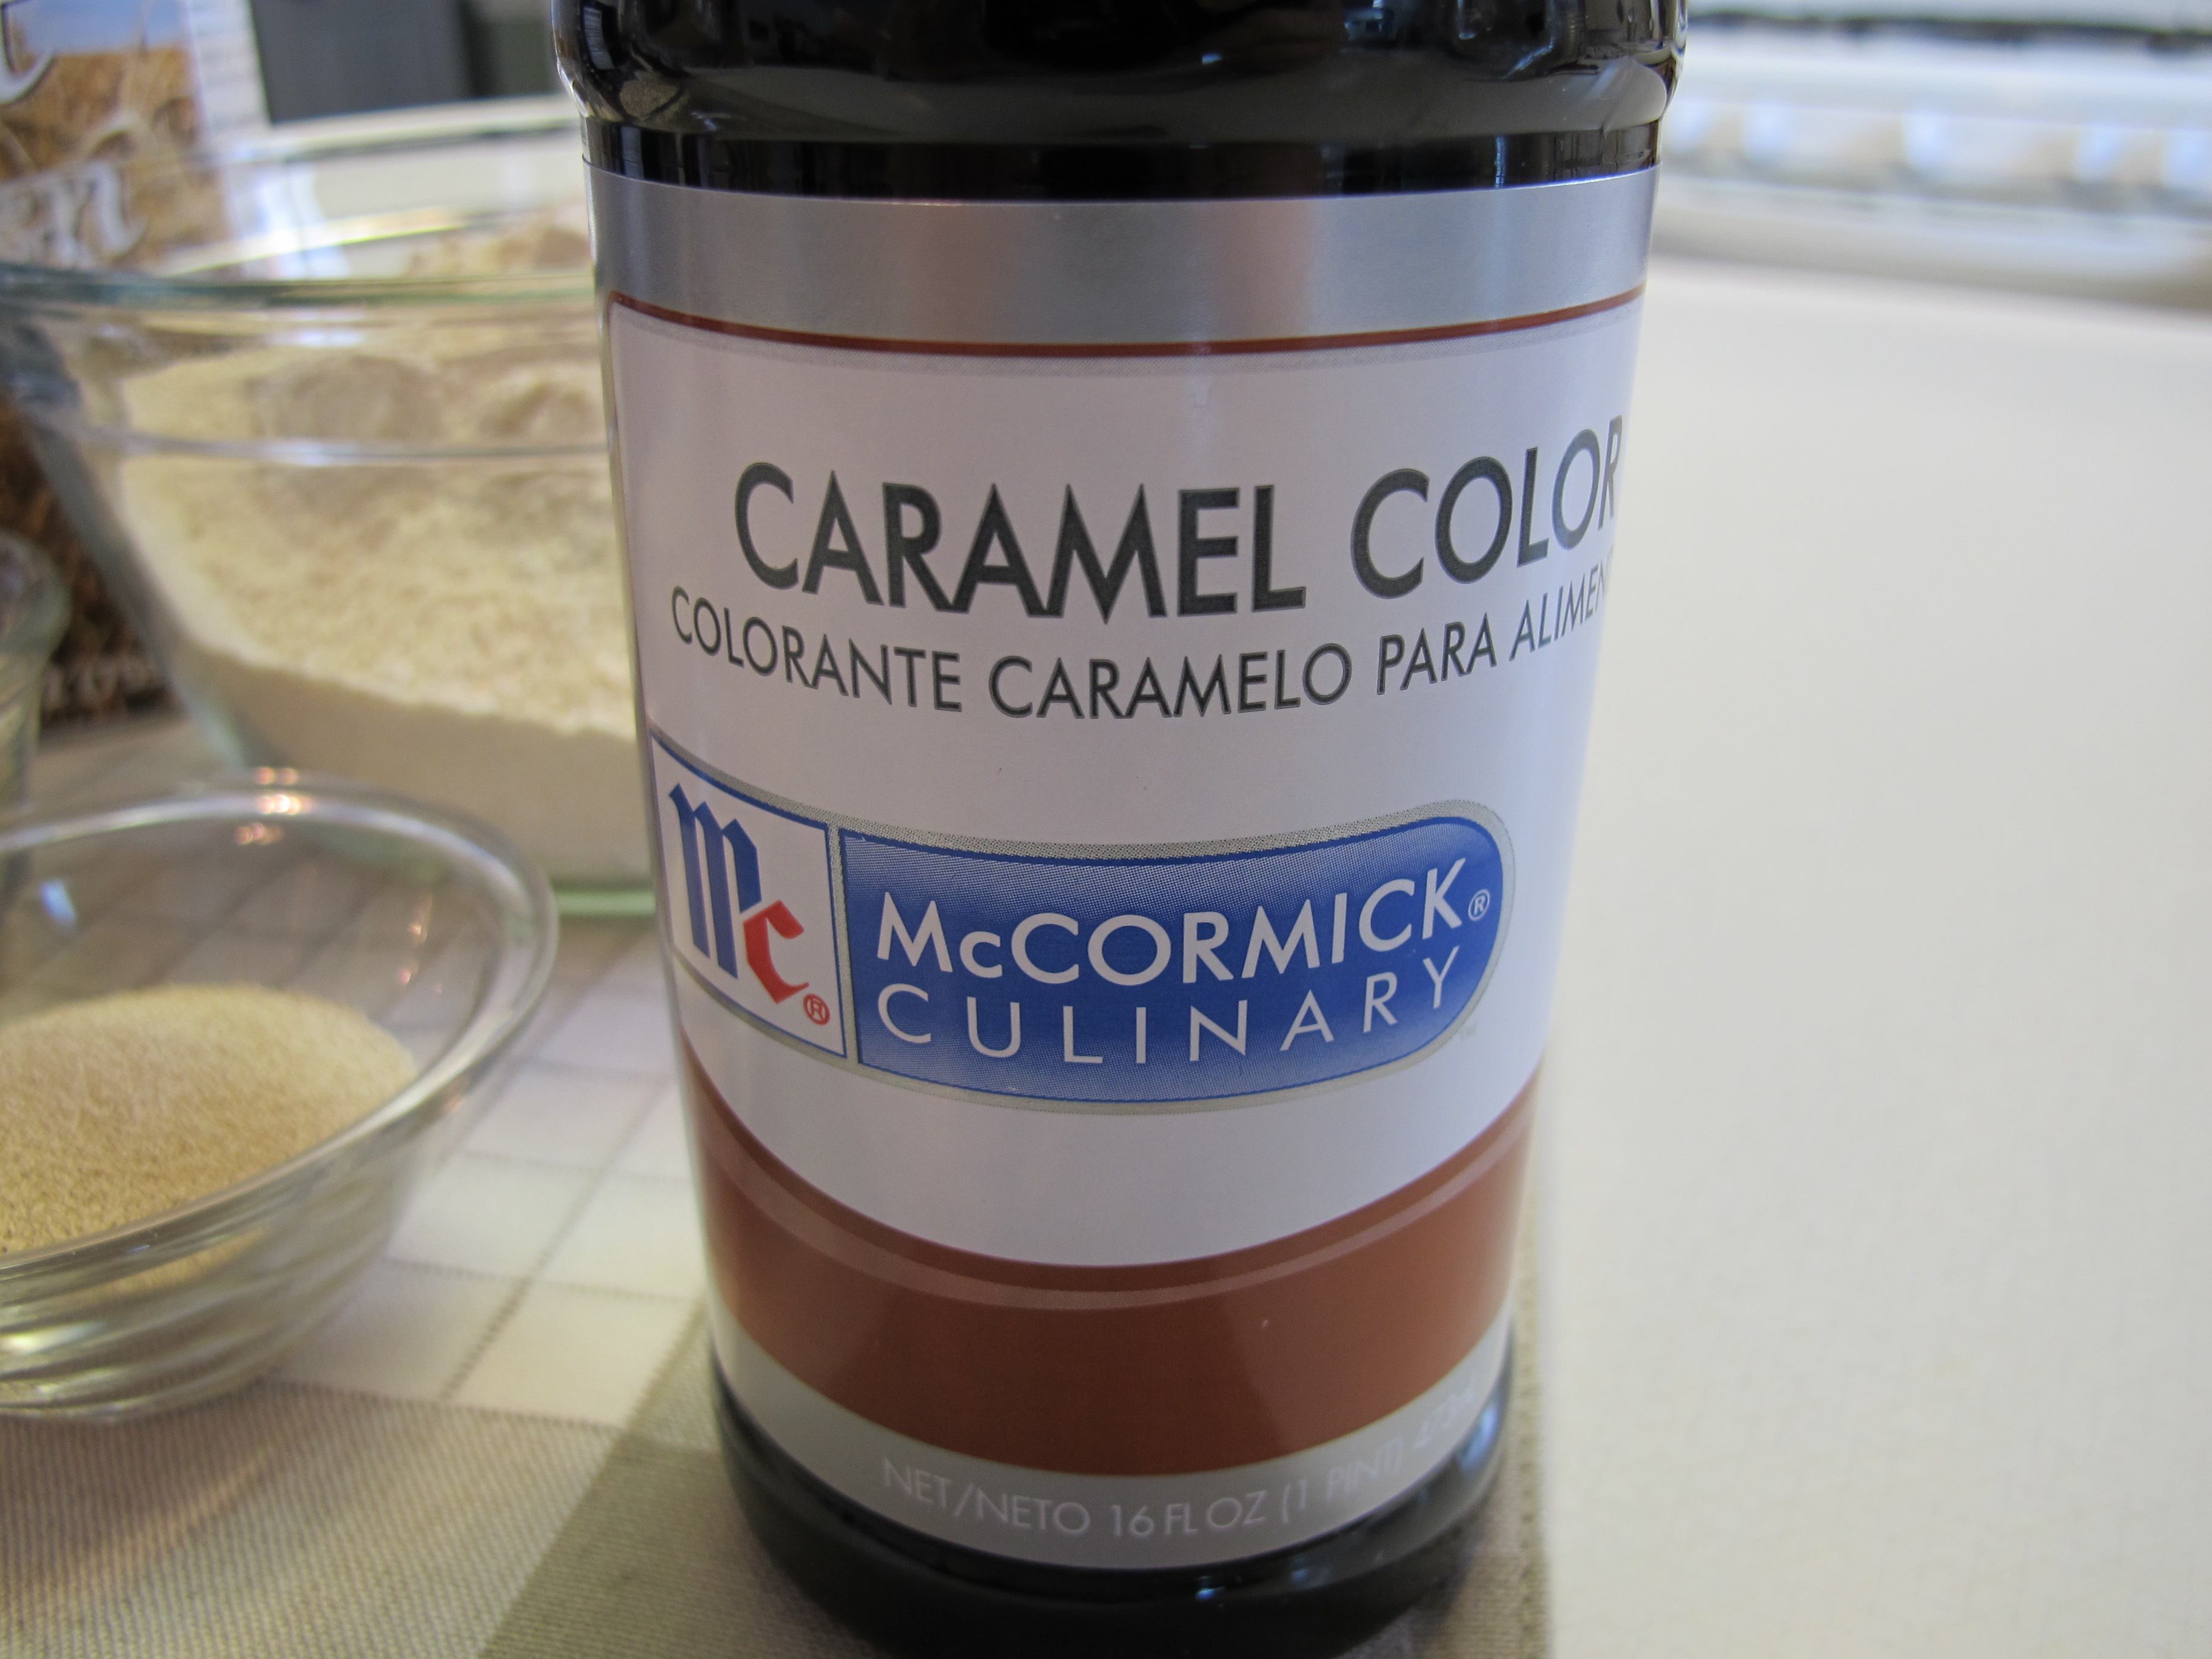
This 16 oz. bottle of caramel color will be good for 2 years. After two years, it will turn into a thick, heavy sludge that will be impossible to pour out, water down, or use. If you want a longer shelf life for your caramel color, you may want to purchase the powdered form of caramel color from King Arthur Flour.
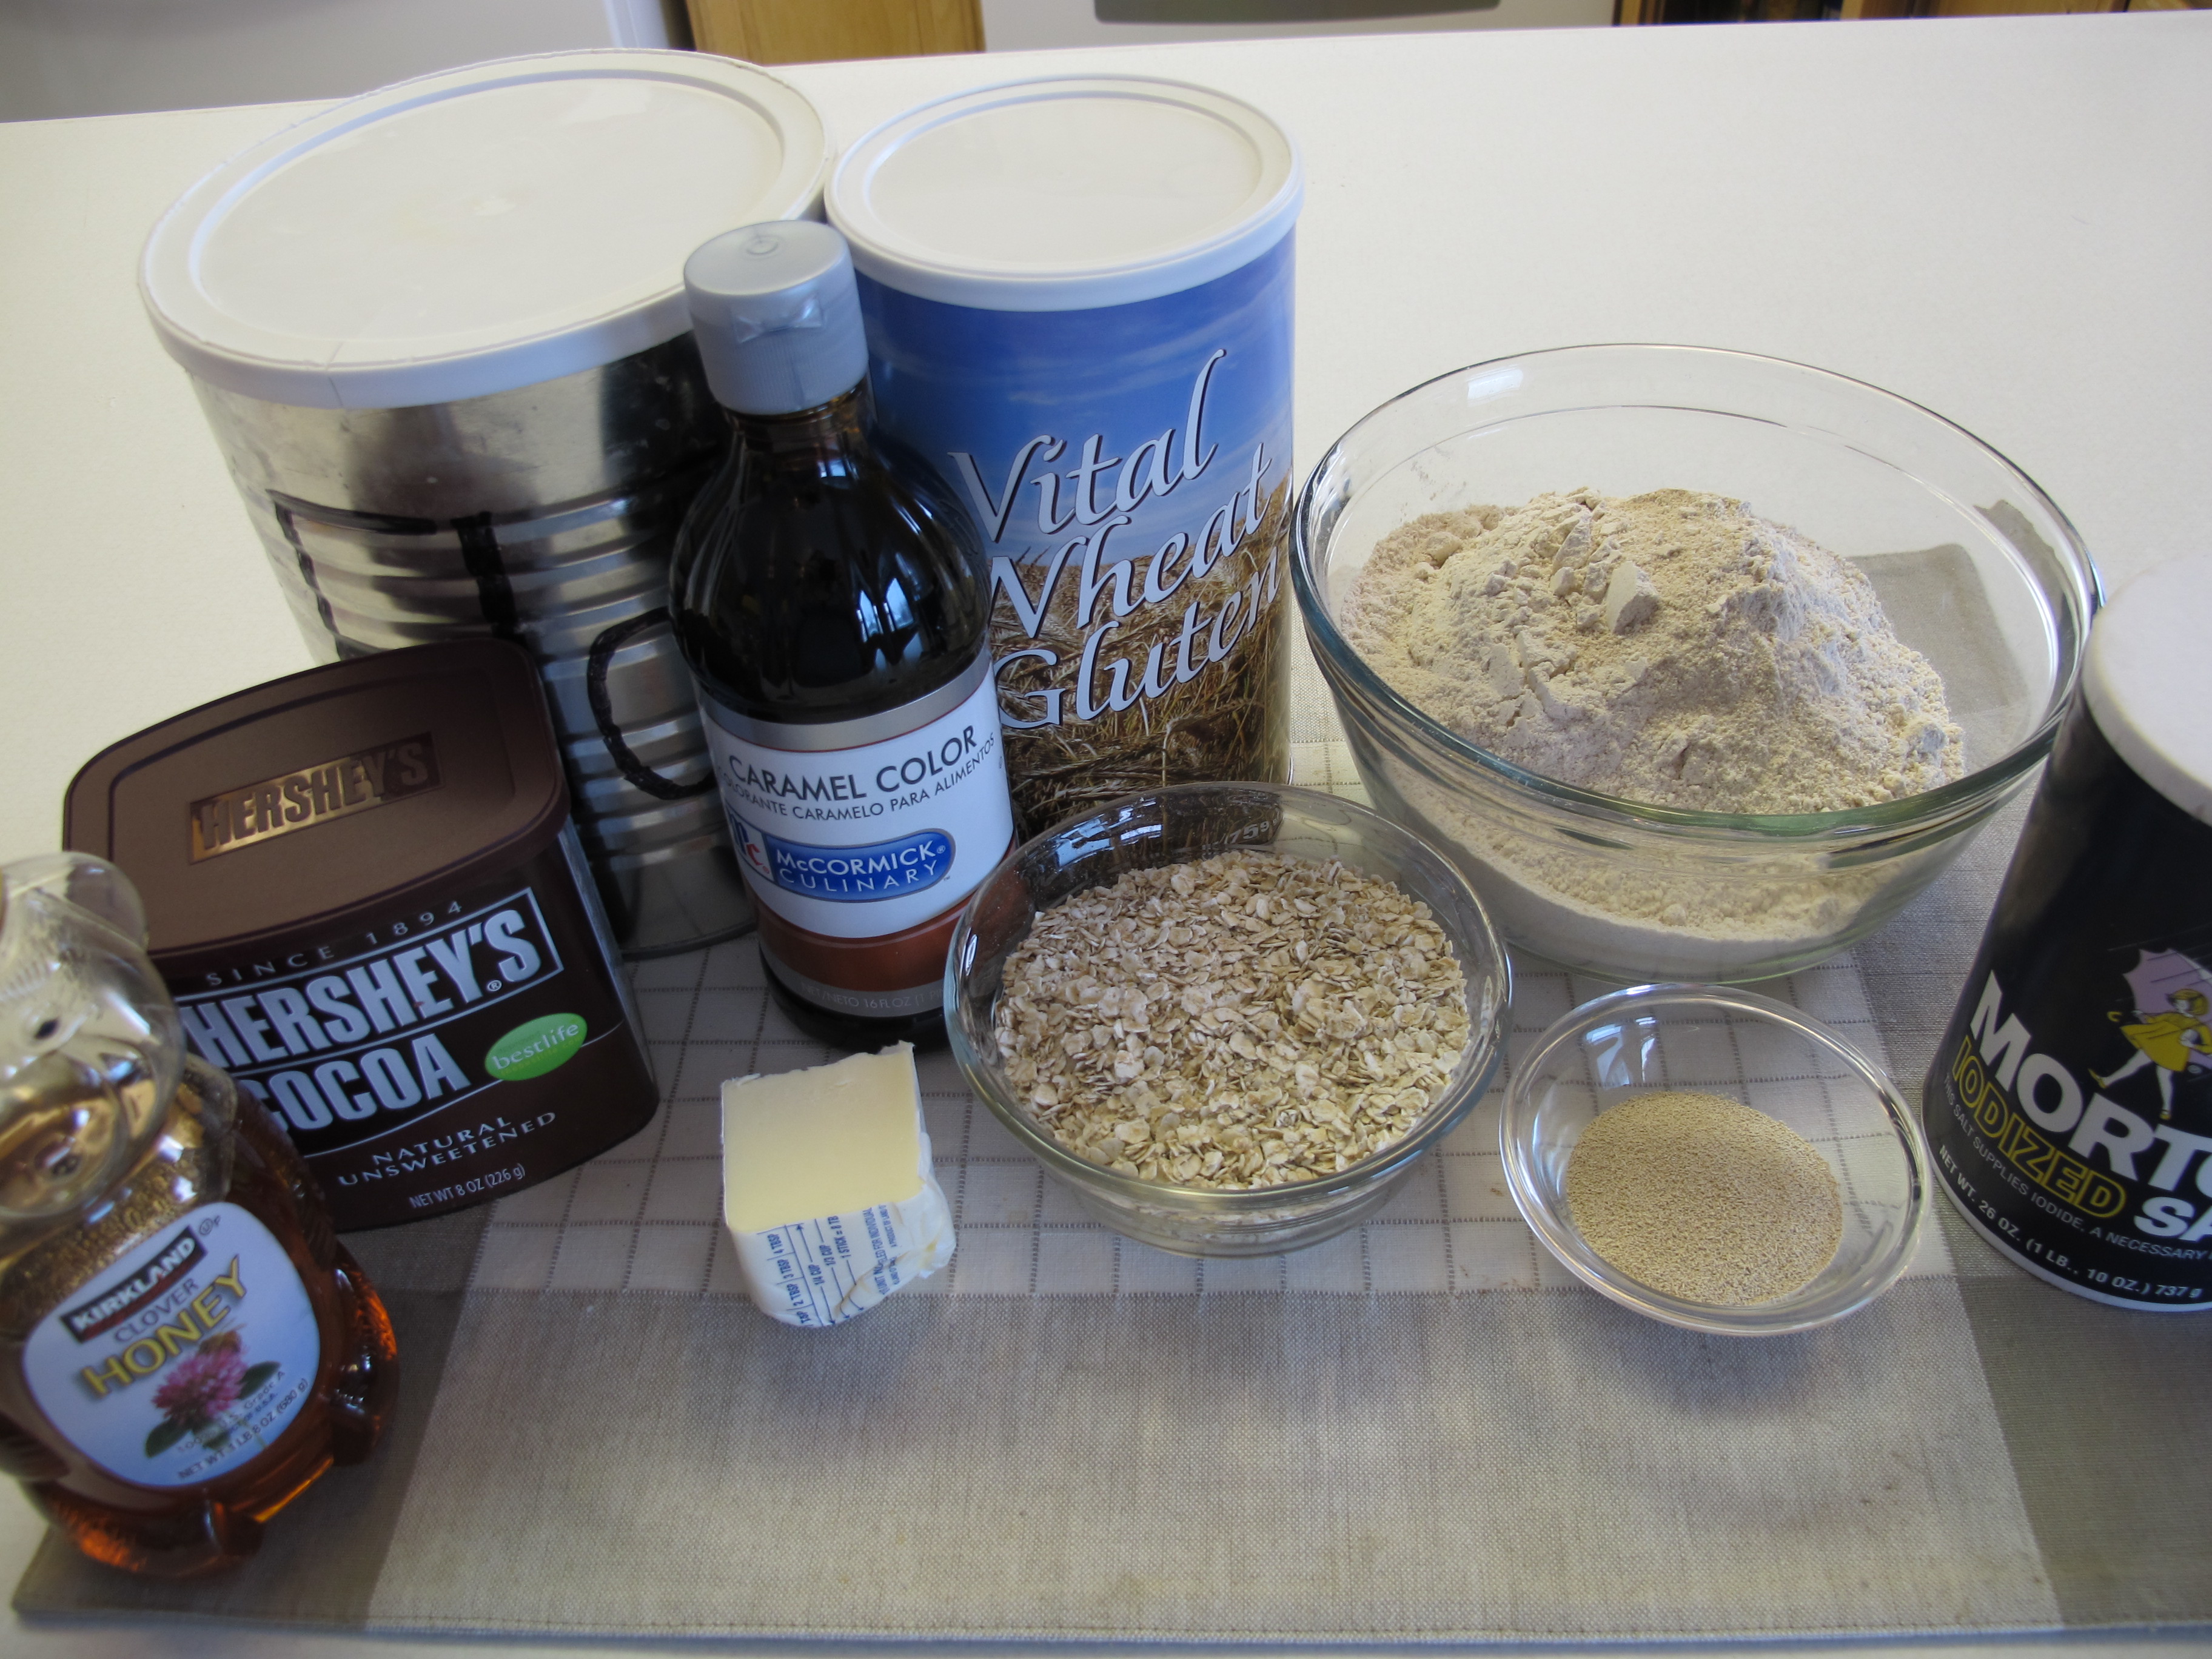
This recipe makes either 2 large loaves, 3 – 4 medium loaves, or 8 small loaves.
2 1/2 cups room temperature water* (100°-110°F)
4 T. butter, margarine or vegetable oil
2 T. caramel color
1/2 cup honey
Combine first 4 ingredients (water, oil, color, honey) and mix well.

3 1/2 cups wheat flour
Pour wheat flour on top of wet ingredients.
1 T. cocoa
2 T. active dry yeast
2 T. vital wheat gluten
2 tsp. salt
Add cocoa, yeast, gluten and salt.

Stir until well blended.
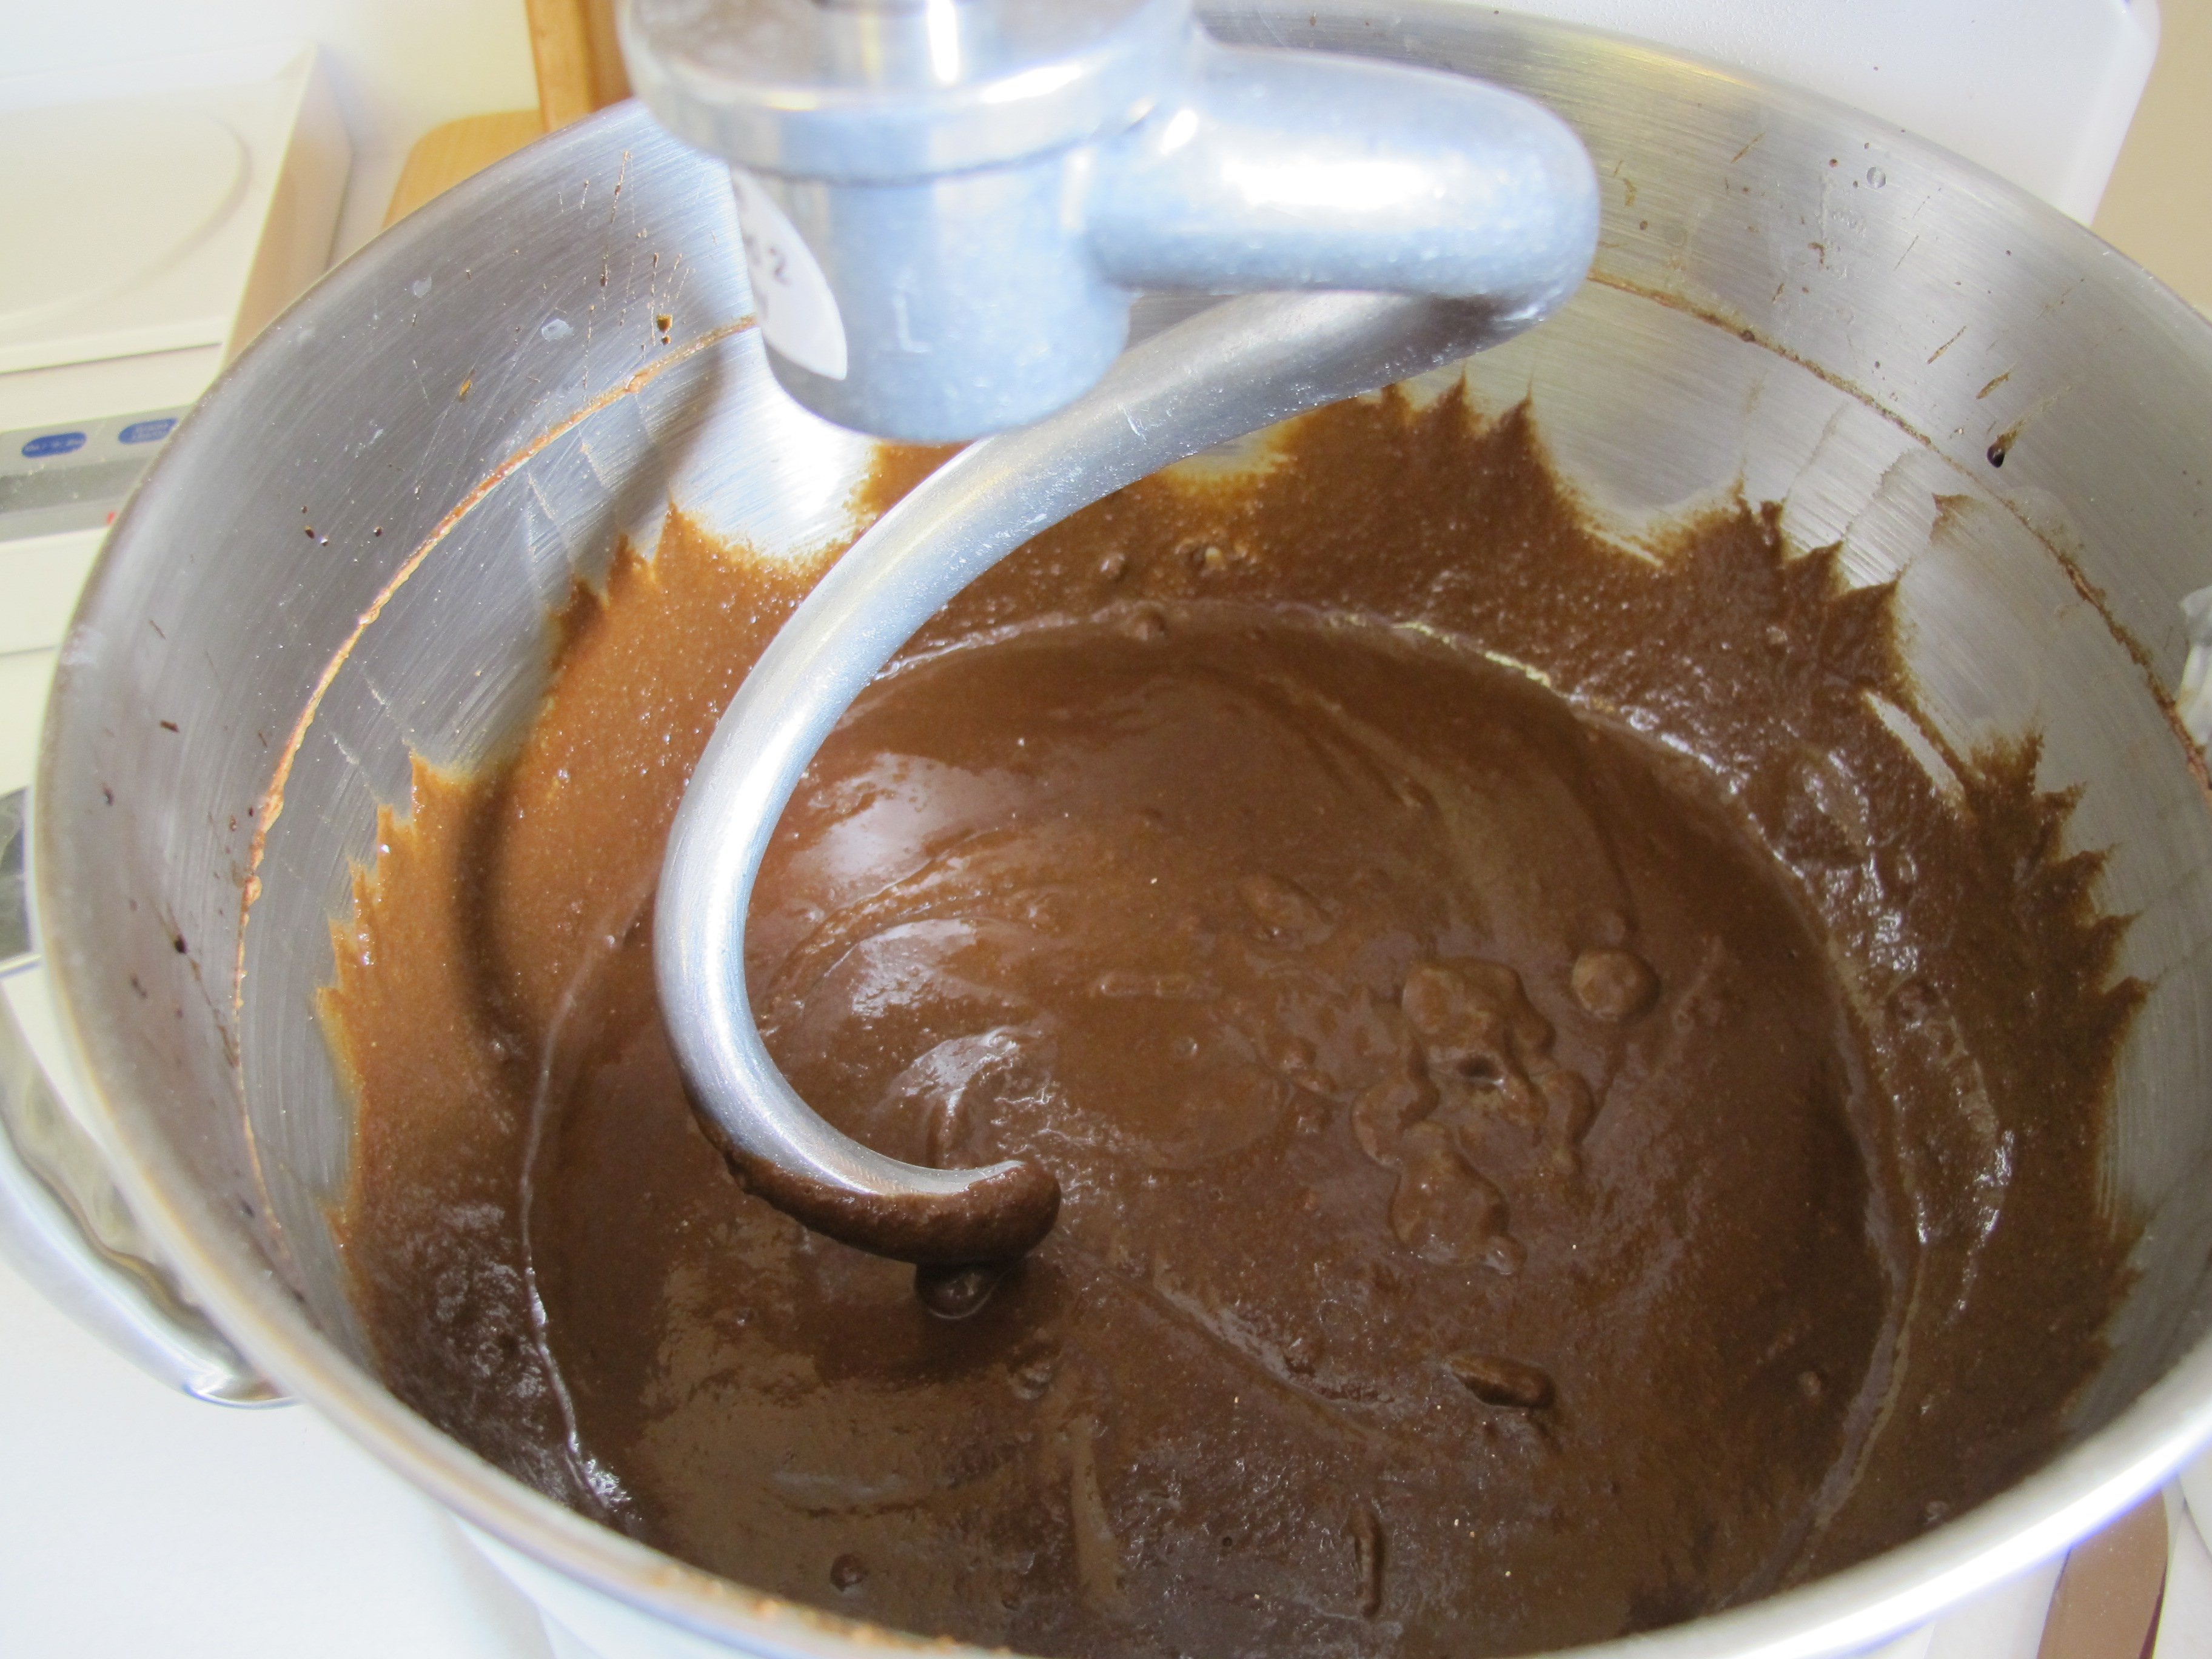
Allow mixture to sponge for 10 minutes. The sponging processes gives the bran in the wheat flour a chance to absorb the liquids, resulting in a lighter loaf of bread. You may notice bubbles, which is just the yeast at work.
In the meantime, set your oven on the Warm setting.
3 1/2 – 4 1/2 cups flour (I used 3 1/2)
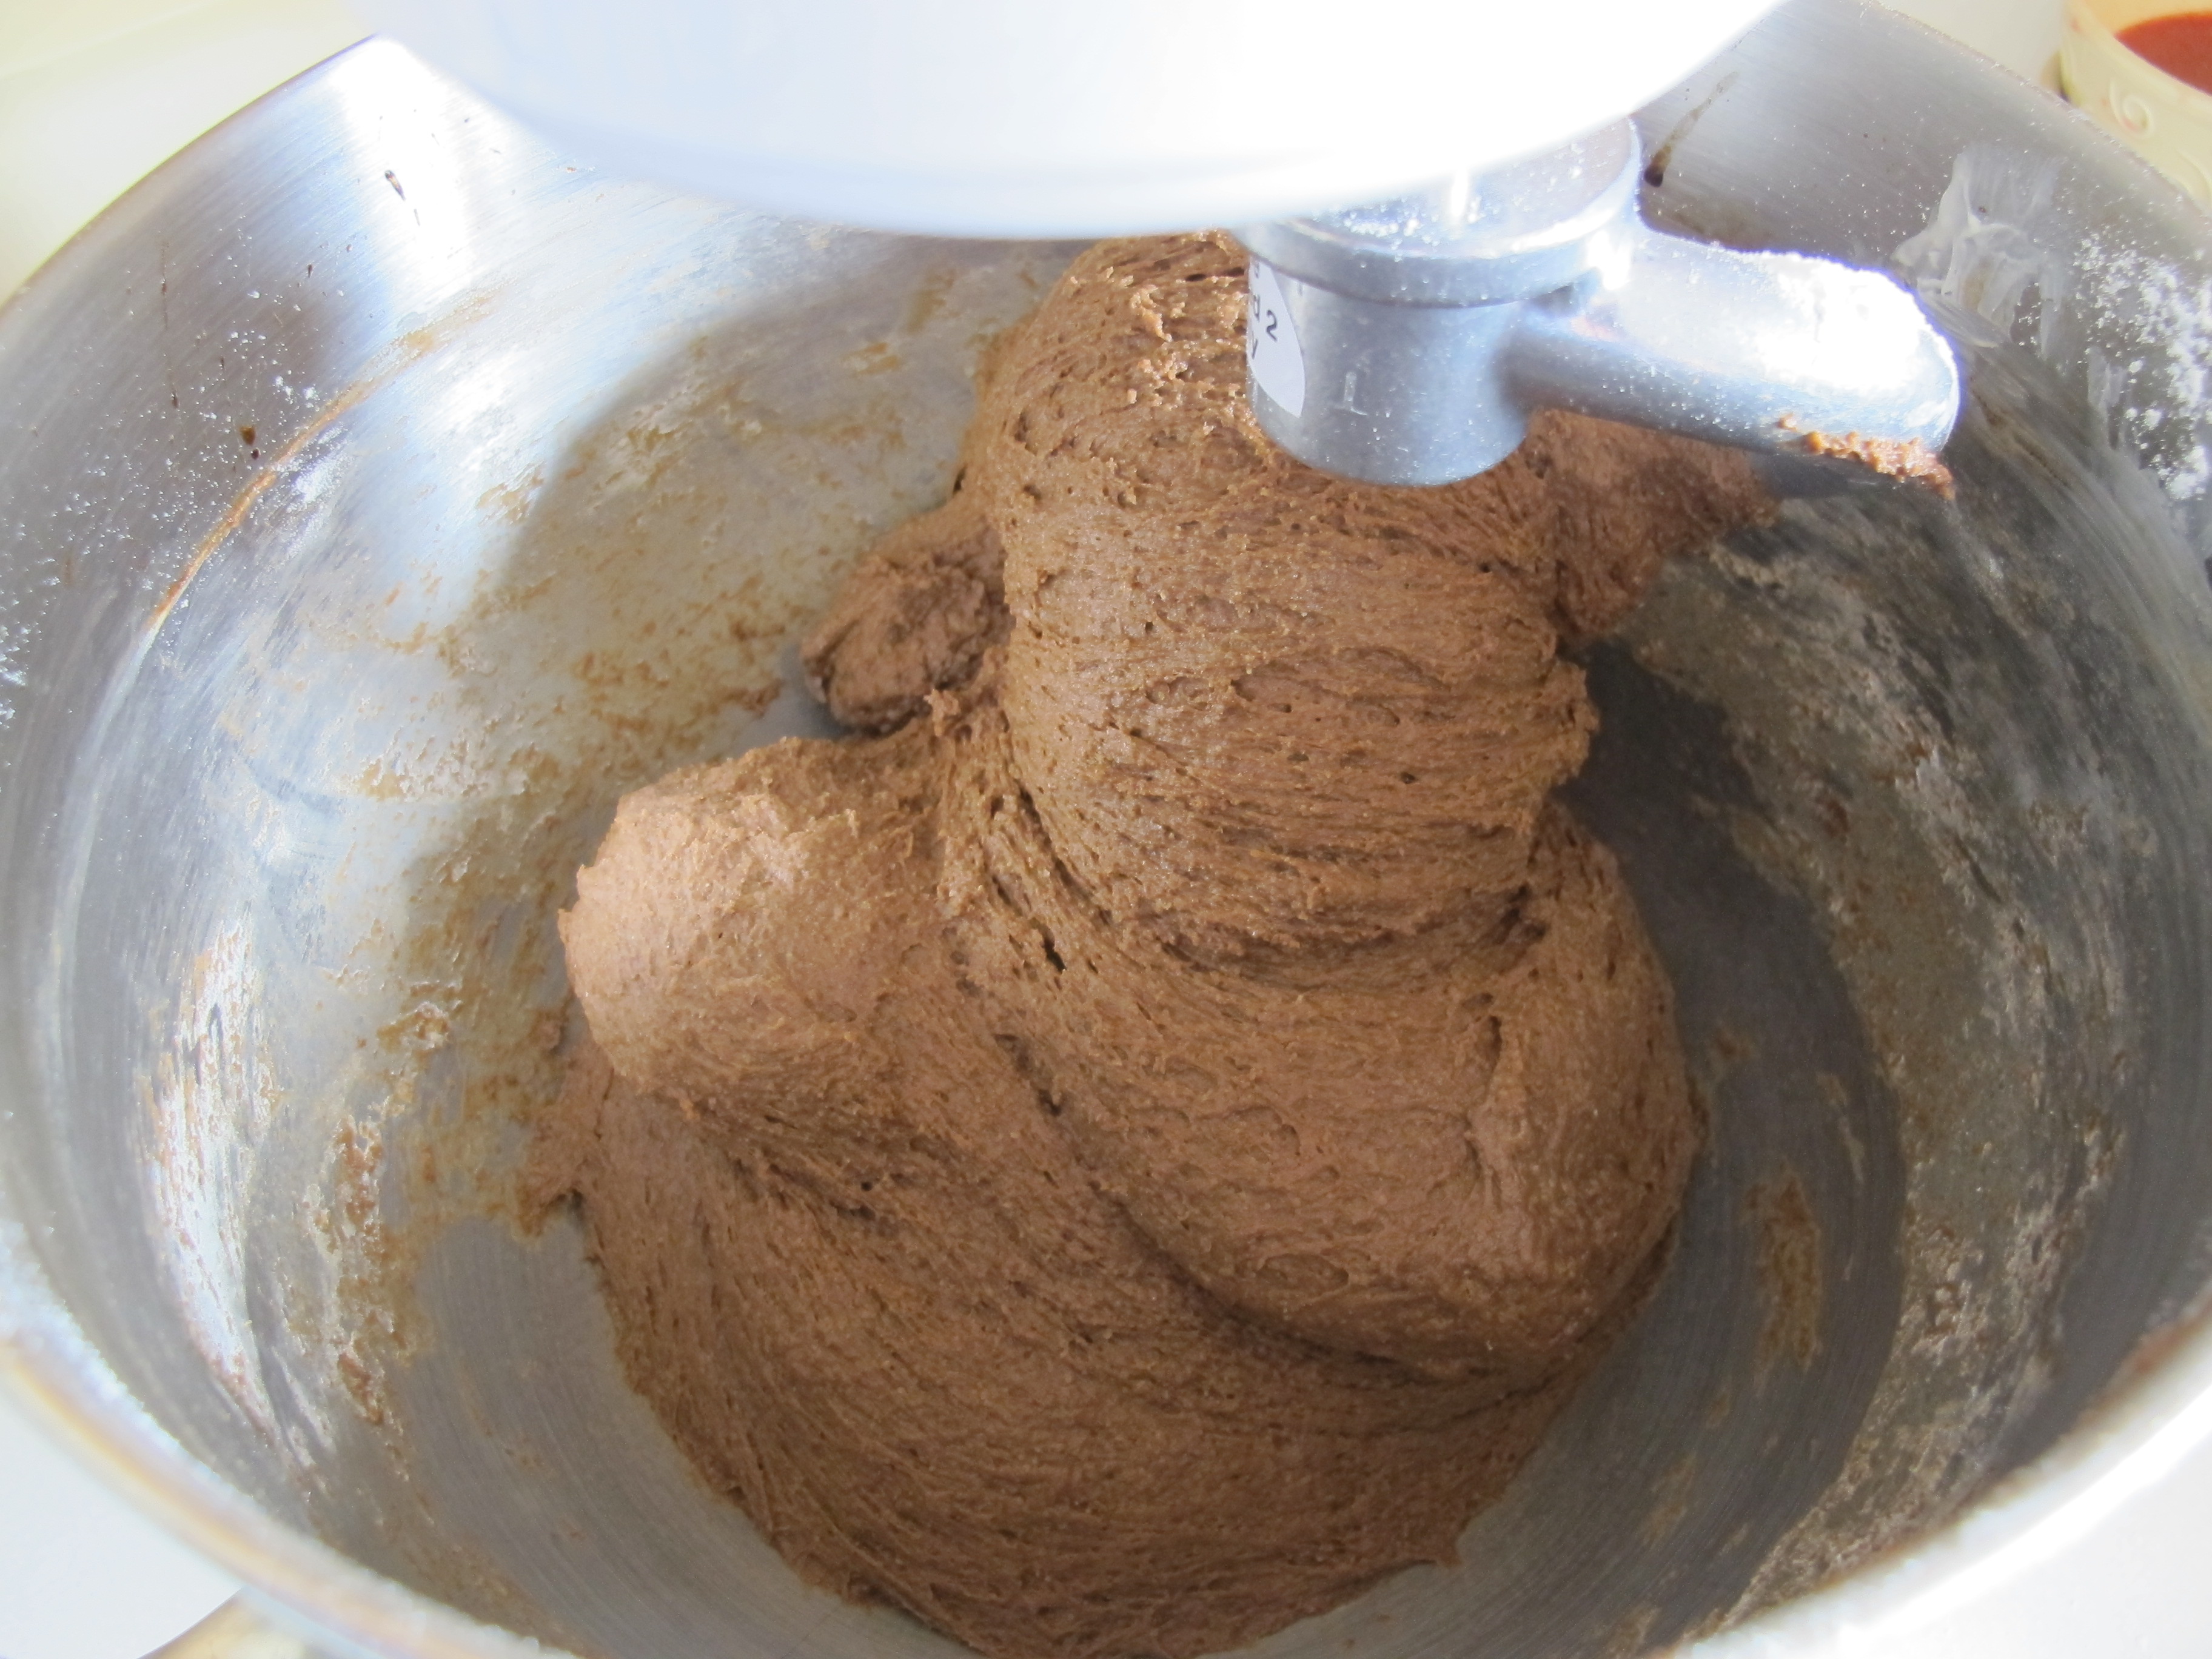
Add flour, one cup at a time, and knead until the dough clings to the hook, and cleans the sides of mixer, and is soft and elastic.
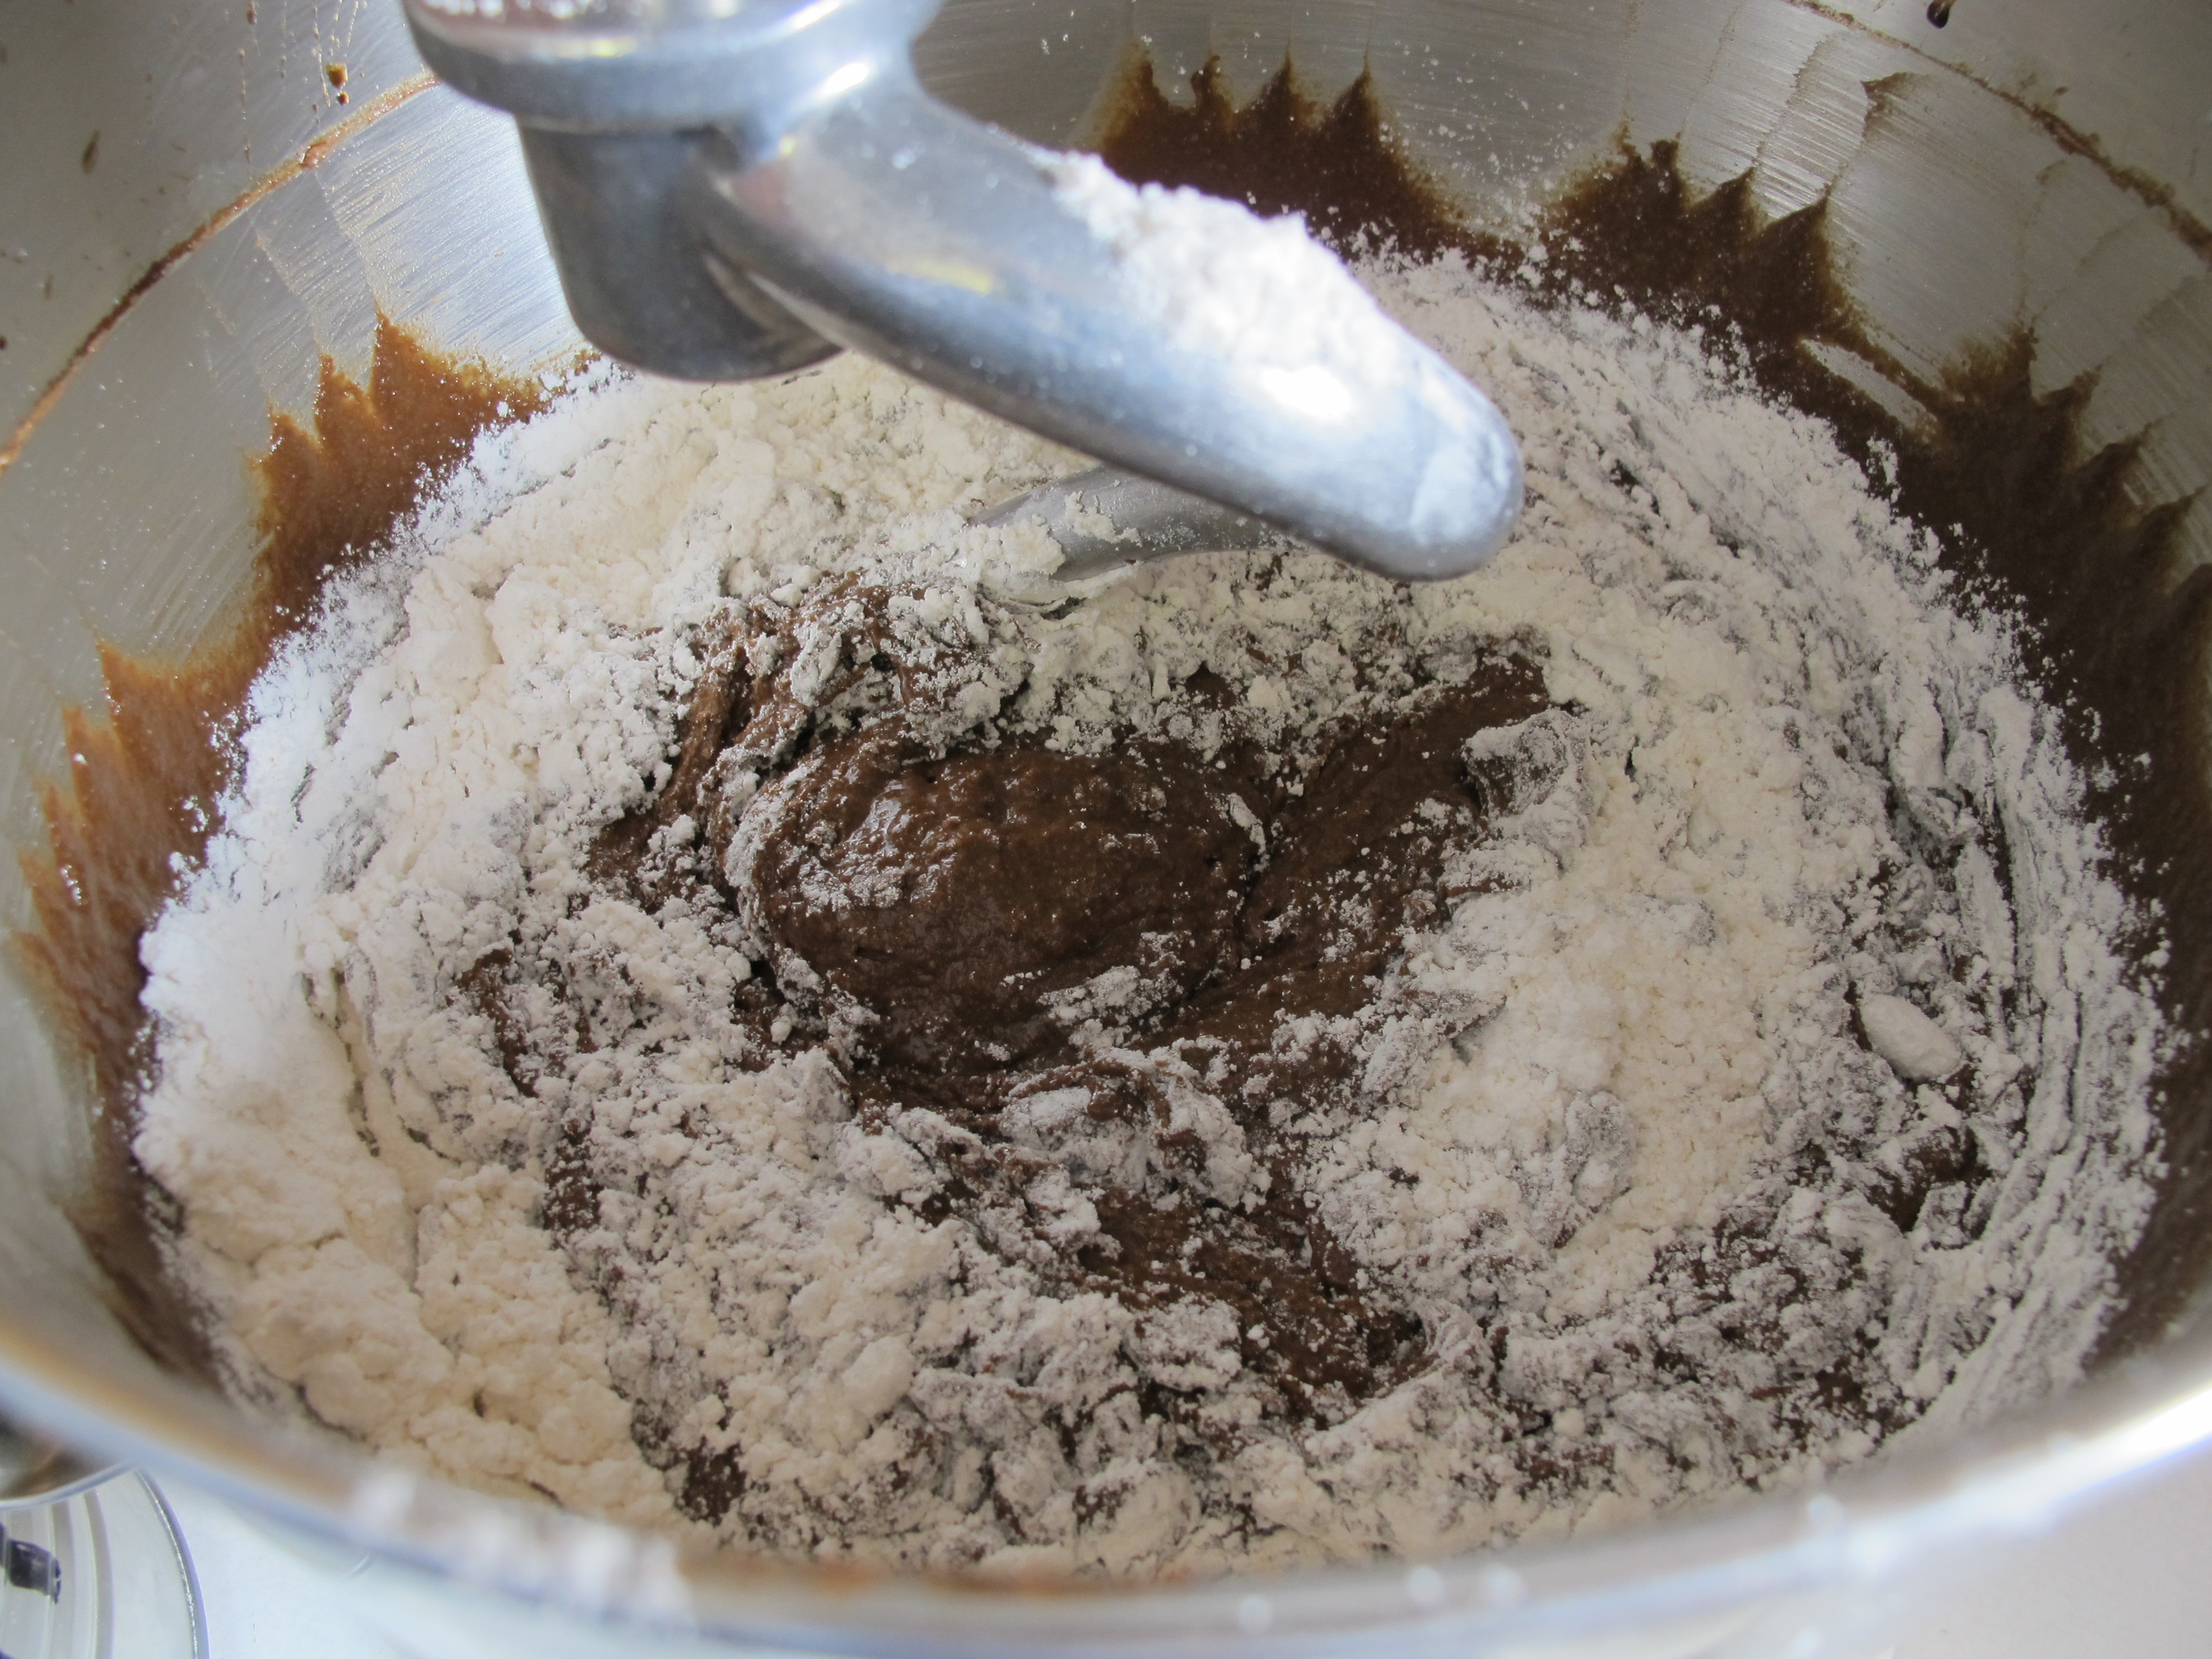
Turn oven off.
Give the top of the dough a light misting of canola oil spray and cover it with plastic wrap. Place it in the oven until doubled in size, about 20-30 minutes.

Divide dough into 3 piles (or 2 large or 8 small), cover with plastic wrap and allow to rest for 5 minutes.
Shape loaves into desired size “logs”.
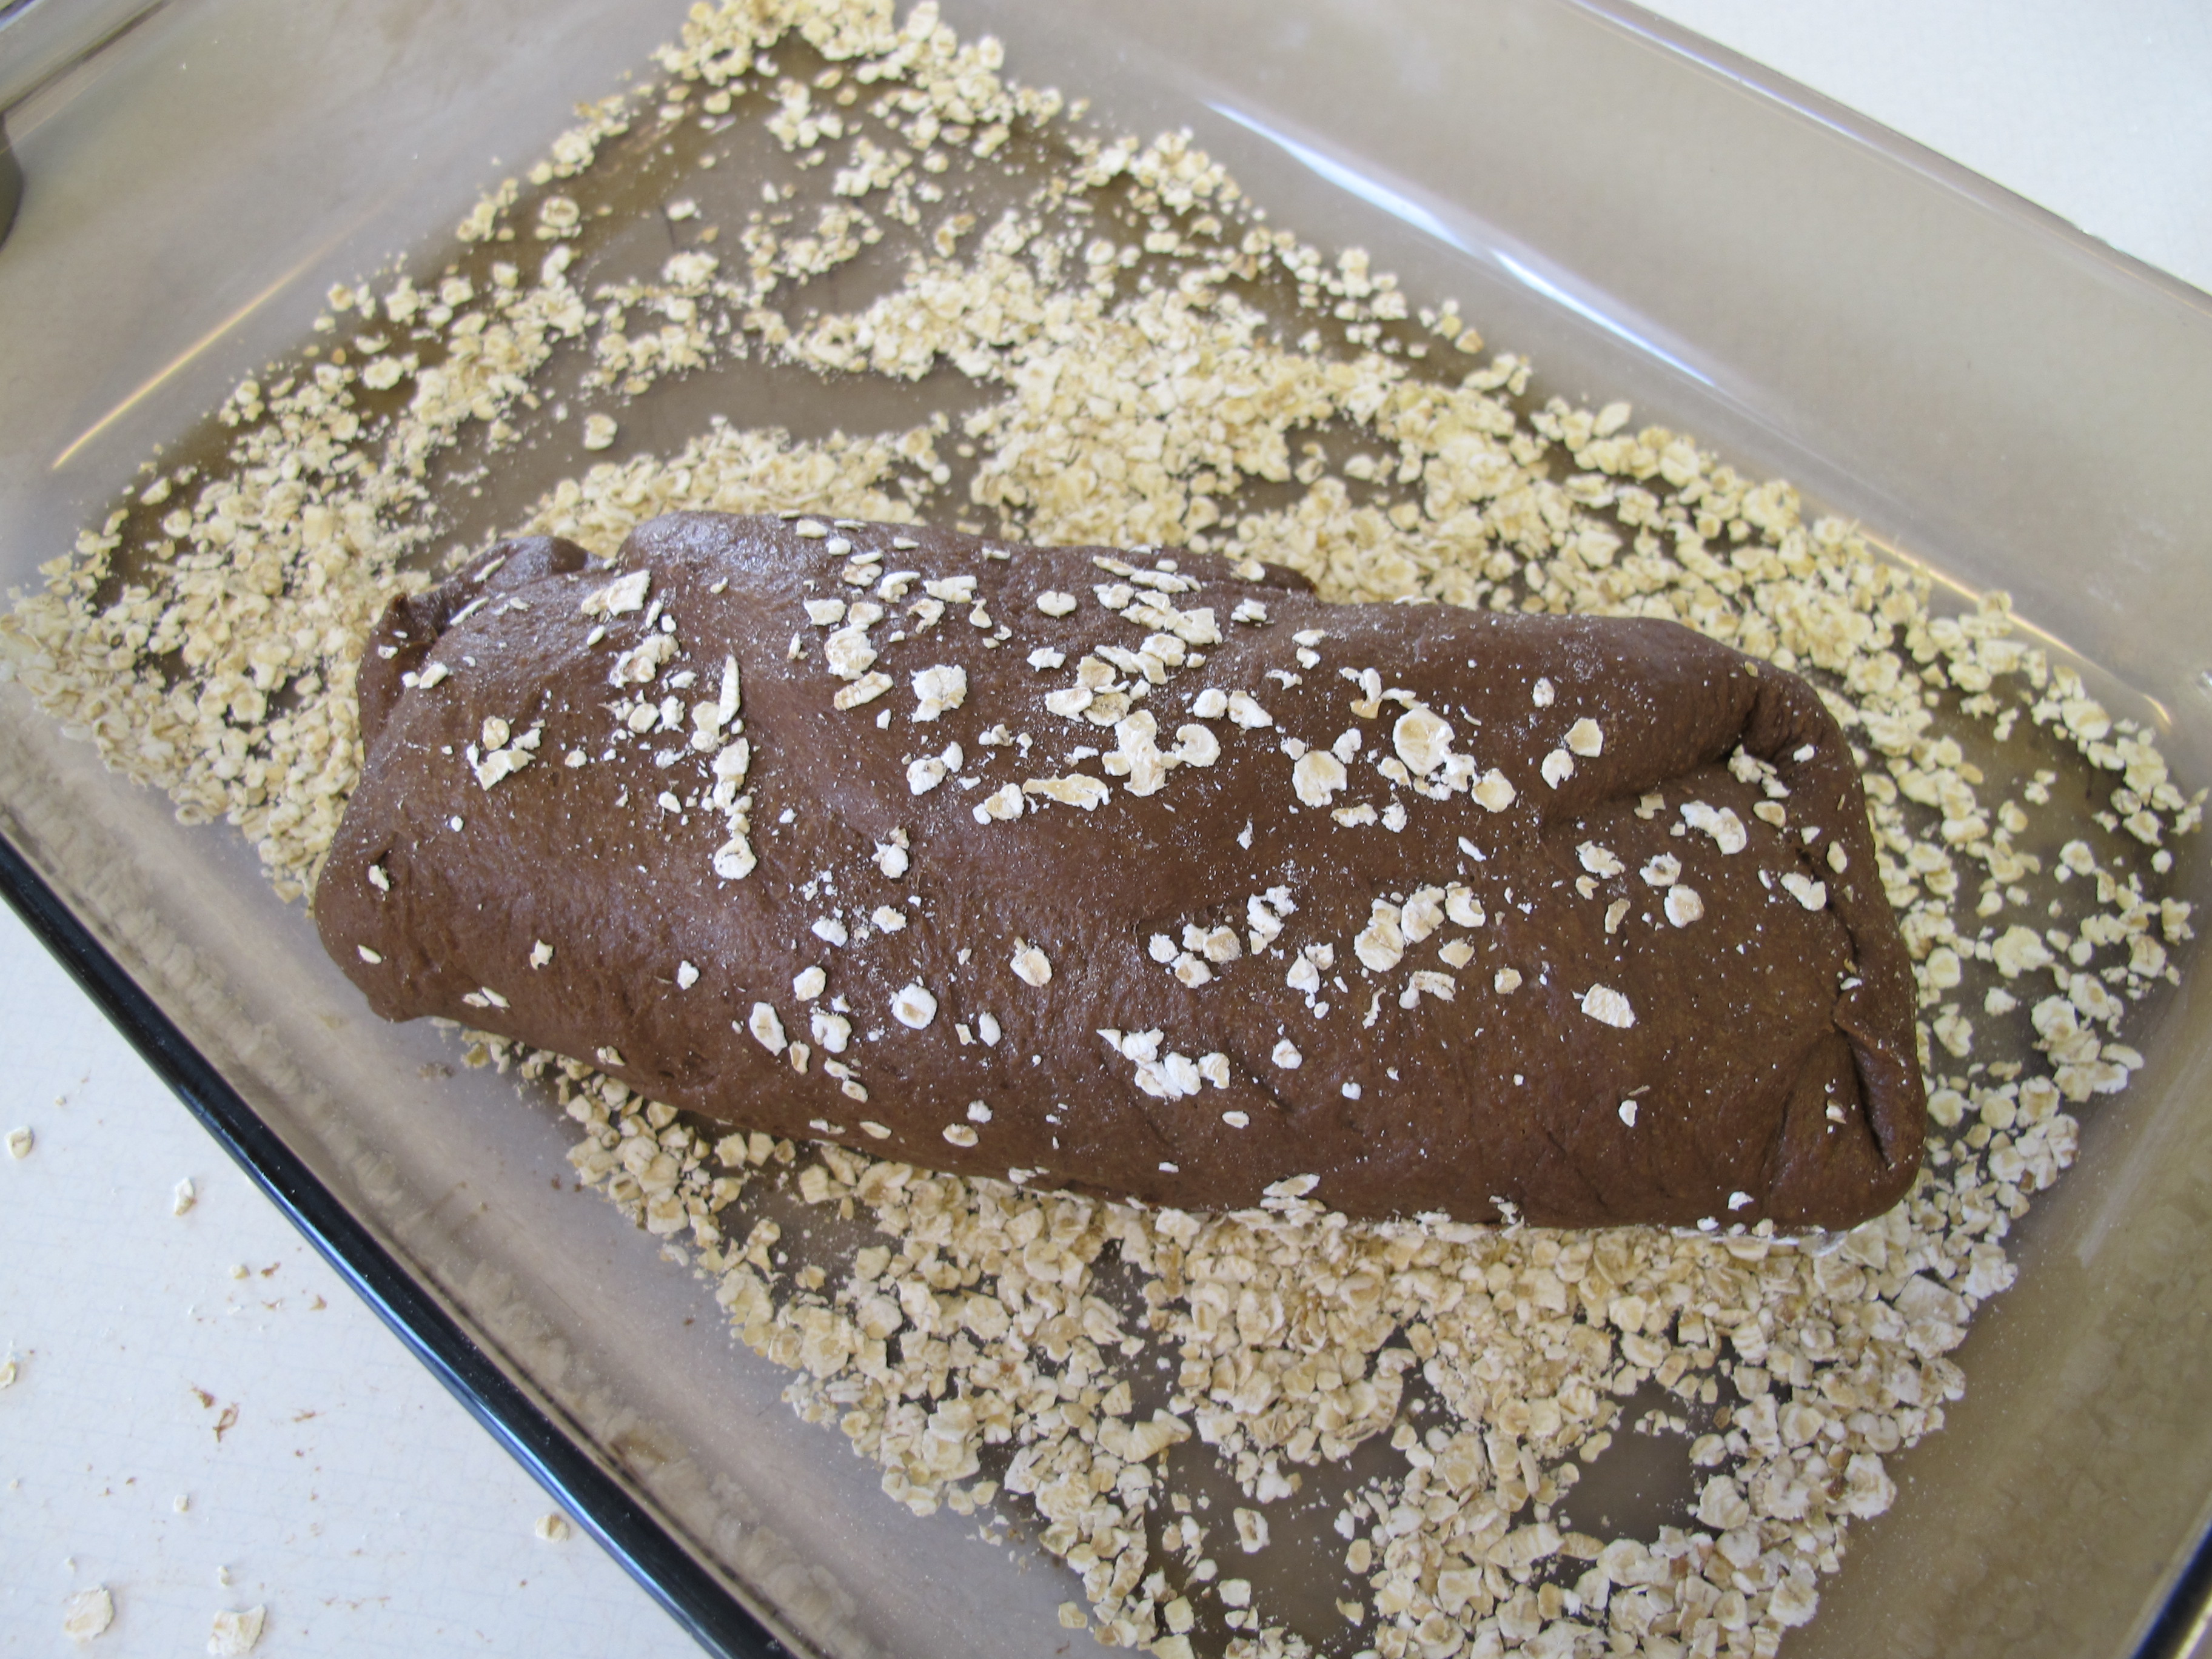
Put oats in a shallow pan.
Roll loaf in oats.
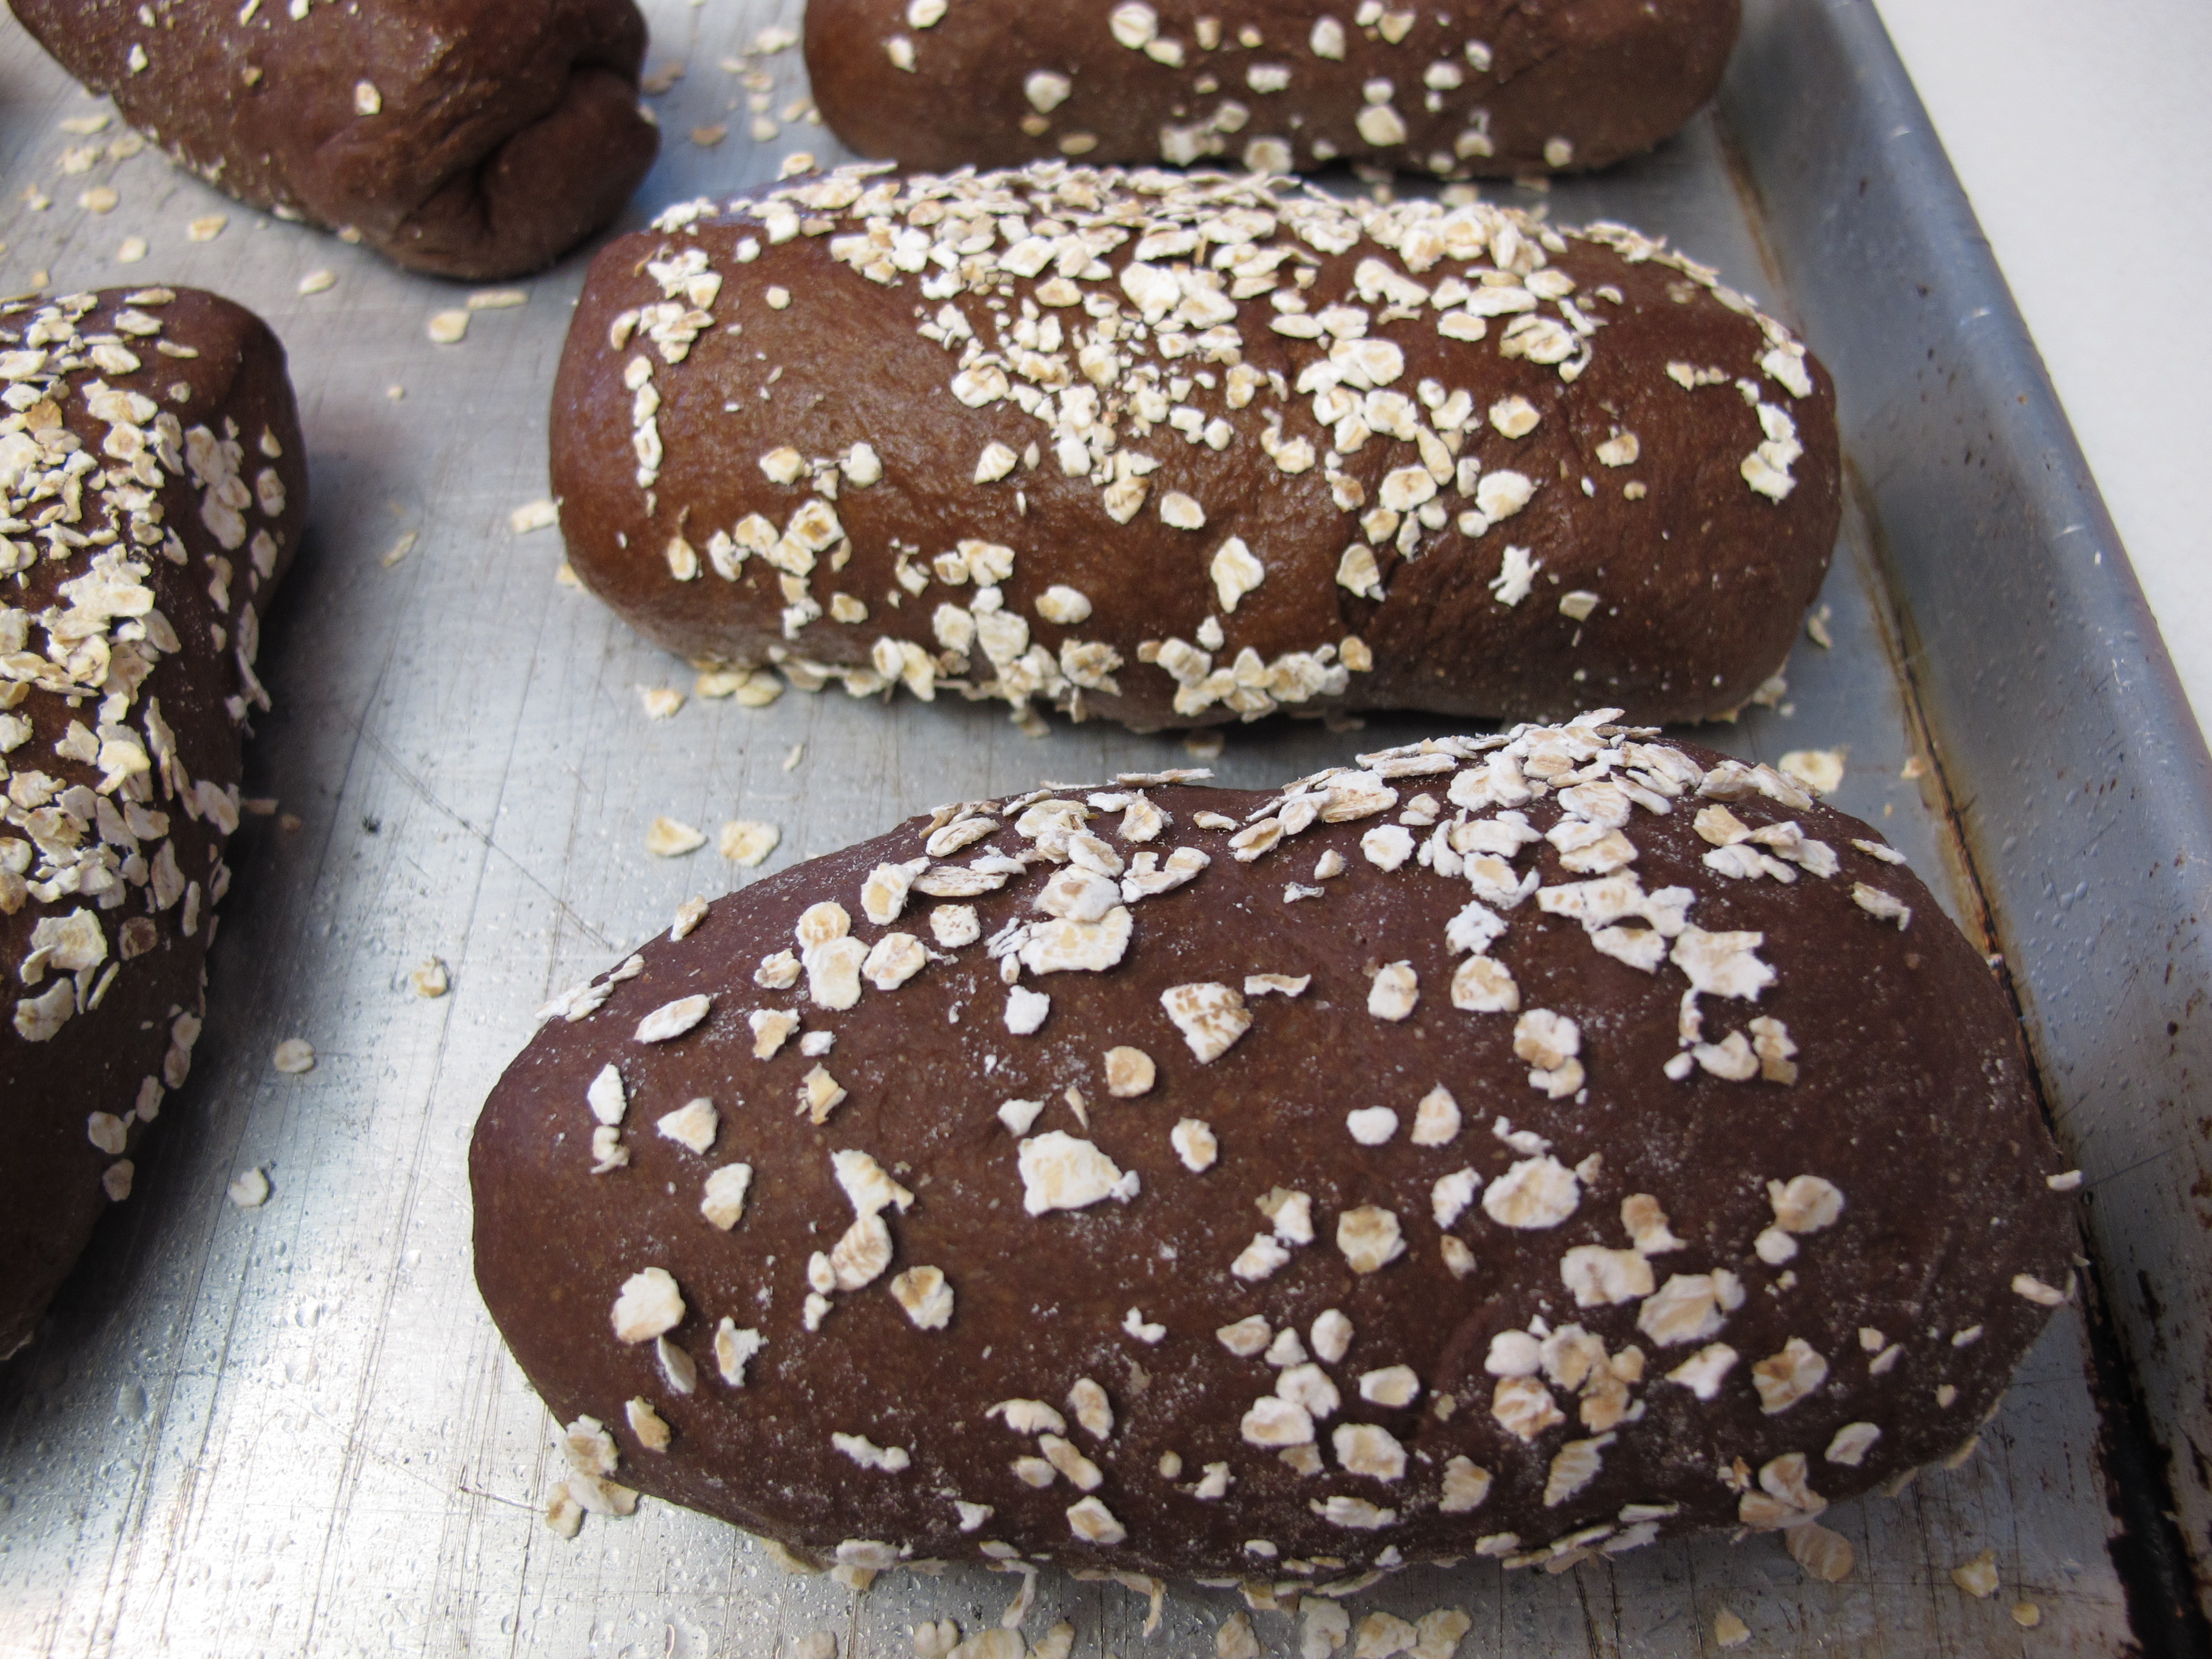
Cover loaves with plastic wrap and let rise in a warm place until desired size. Don’t have them touch each other.
2 large loaves – Bake at 350 degrees for 35 – 40 minutes
3 – 4 medium loaves – Bake at 350 degrees for 35 minutes
8 small loaves – Bake at 350 degrees for 20 – 25 minutes
After baking, immediately place loaves on a wire cooling rack.

Recipe Source: Revised from Frieda Loves Bread (found on Pinterest)
FULL RECIPE WITHOUT PICTURES —
SQUAW BREAD
I love dark wheat bread like you get at Outback or The Cheesecake Factory. This bread is a soft, sweet, hearty whole wheat bread. The “secret” ingredient is McCormick’s Caramel Color. Caramel color is not a food coloring. It is burnt sugar. You can buy or order it at Orson Gygi, which is a restaurant supply store in Salt Lake City.
This 16 oz. bottle of caramel color will be good for 2 years. After two years, it will turn into a thick, heavy sludge that will be impossible to pour out, water down, or use. If you want a longer shelf life for your caramel color, you may want to purchase the powdered form of caramel color from King Arthur Flour.
2 1/2 cups room temperature water* (100°-110°F)
4 T. butter, margarine or vegetable oil
2 T. caramel color
1/2 cup honey
3 1/2 cups wheat flour
3 1/2 – 4 1/2 cups flour
2 T. cocoa
2 T. active dry yeast
2 T. vital wheat gluten
2 tsp. salt
about 1/2 cup oats
This recipe makes either 2 large loaves, 3 – 4 medium loaves, or 8 small loaves.
Combine first 4 ingredients (water, oil, color, honey) and mix well.
Pour wheat flour on top of wet ingredients.
Add cocoa, yeast, gluten and salt. Stir until well blended.
Allow mixture to sponge for 10 minutes. The sponging processes gives the bran in the wheat flour a chance to absorb the liquids, resulting in a lighter loaf of bread. You may notice bubbles, which is just the yeast at work.
In the meantime, set your oven on the Warm setting.
Add flour, one cup at a time, and knead until the dough clings to the hook, and almost cleans the sides of mixer, and is soft and elastic.
Turn oven off.
Give the top a light misting of canola oil spray and cover it with plastic wrap. Place it in the oven until doubled in size, about 20-30 minutes.
Divide dough into 3 piles (or 2 large or 8 small), cover with plastic wrap and allow to rest for 5 minutes.
Shape loaves into desired size “logs”.
Put oats in a shallow pan.
Roll loaves in oats.
Cover loaves with plastic wrap and let rise in a warm place until desired size. Don’t have them touch each other.
2 large loaves – Bake at 350 degrees for 35 – 40 minutes
3 – 4 medium loaves – Bake at 350 degrees for 35 minutes
8 small loaves – Bake at 350 degrees for 20 – 25 minutes
After baking, immediately place loaves on a wire cooling rack.
Recipe Source: Revised from Frieda Loves Bread (found on Pinterest)
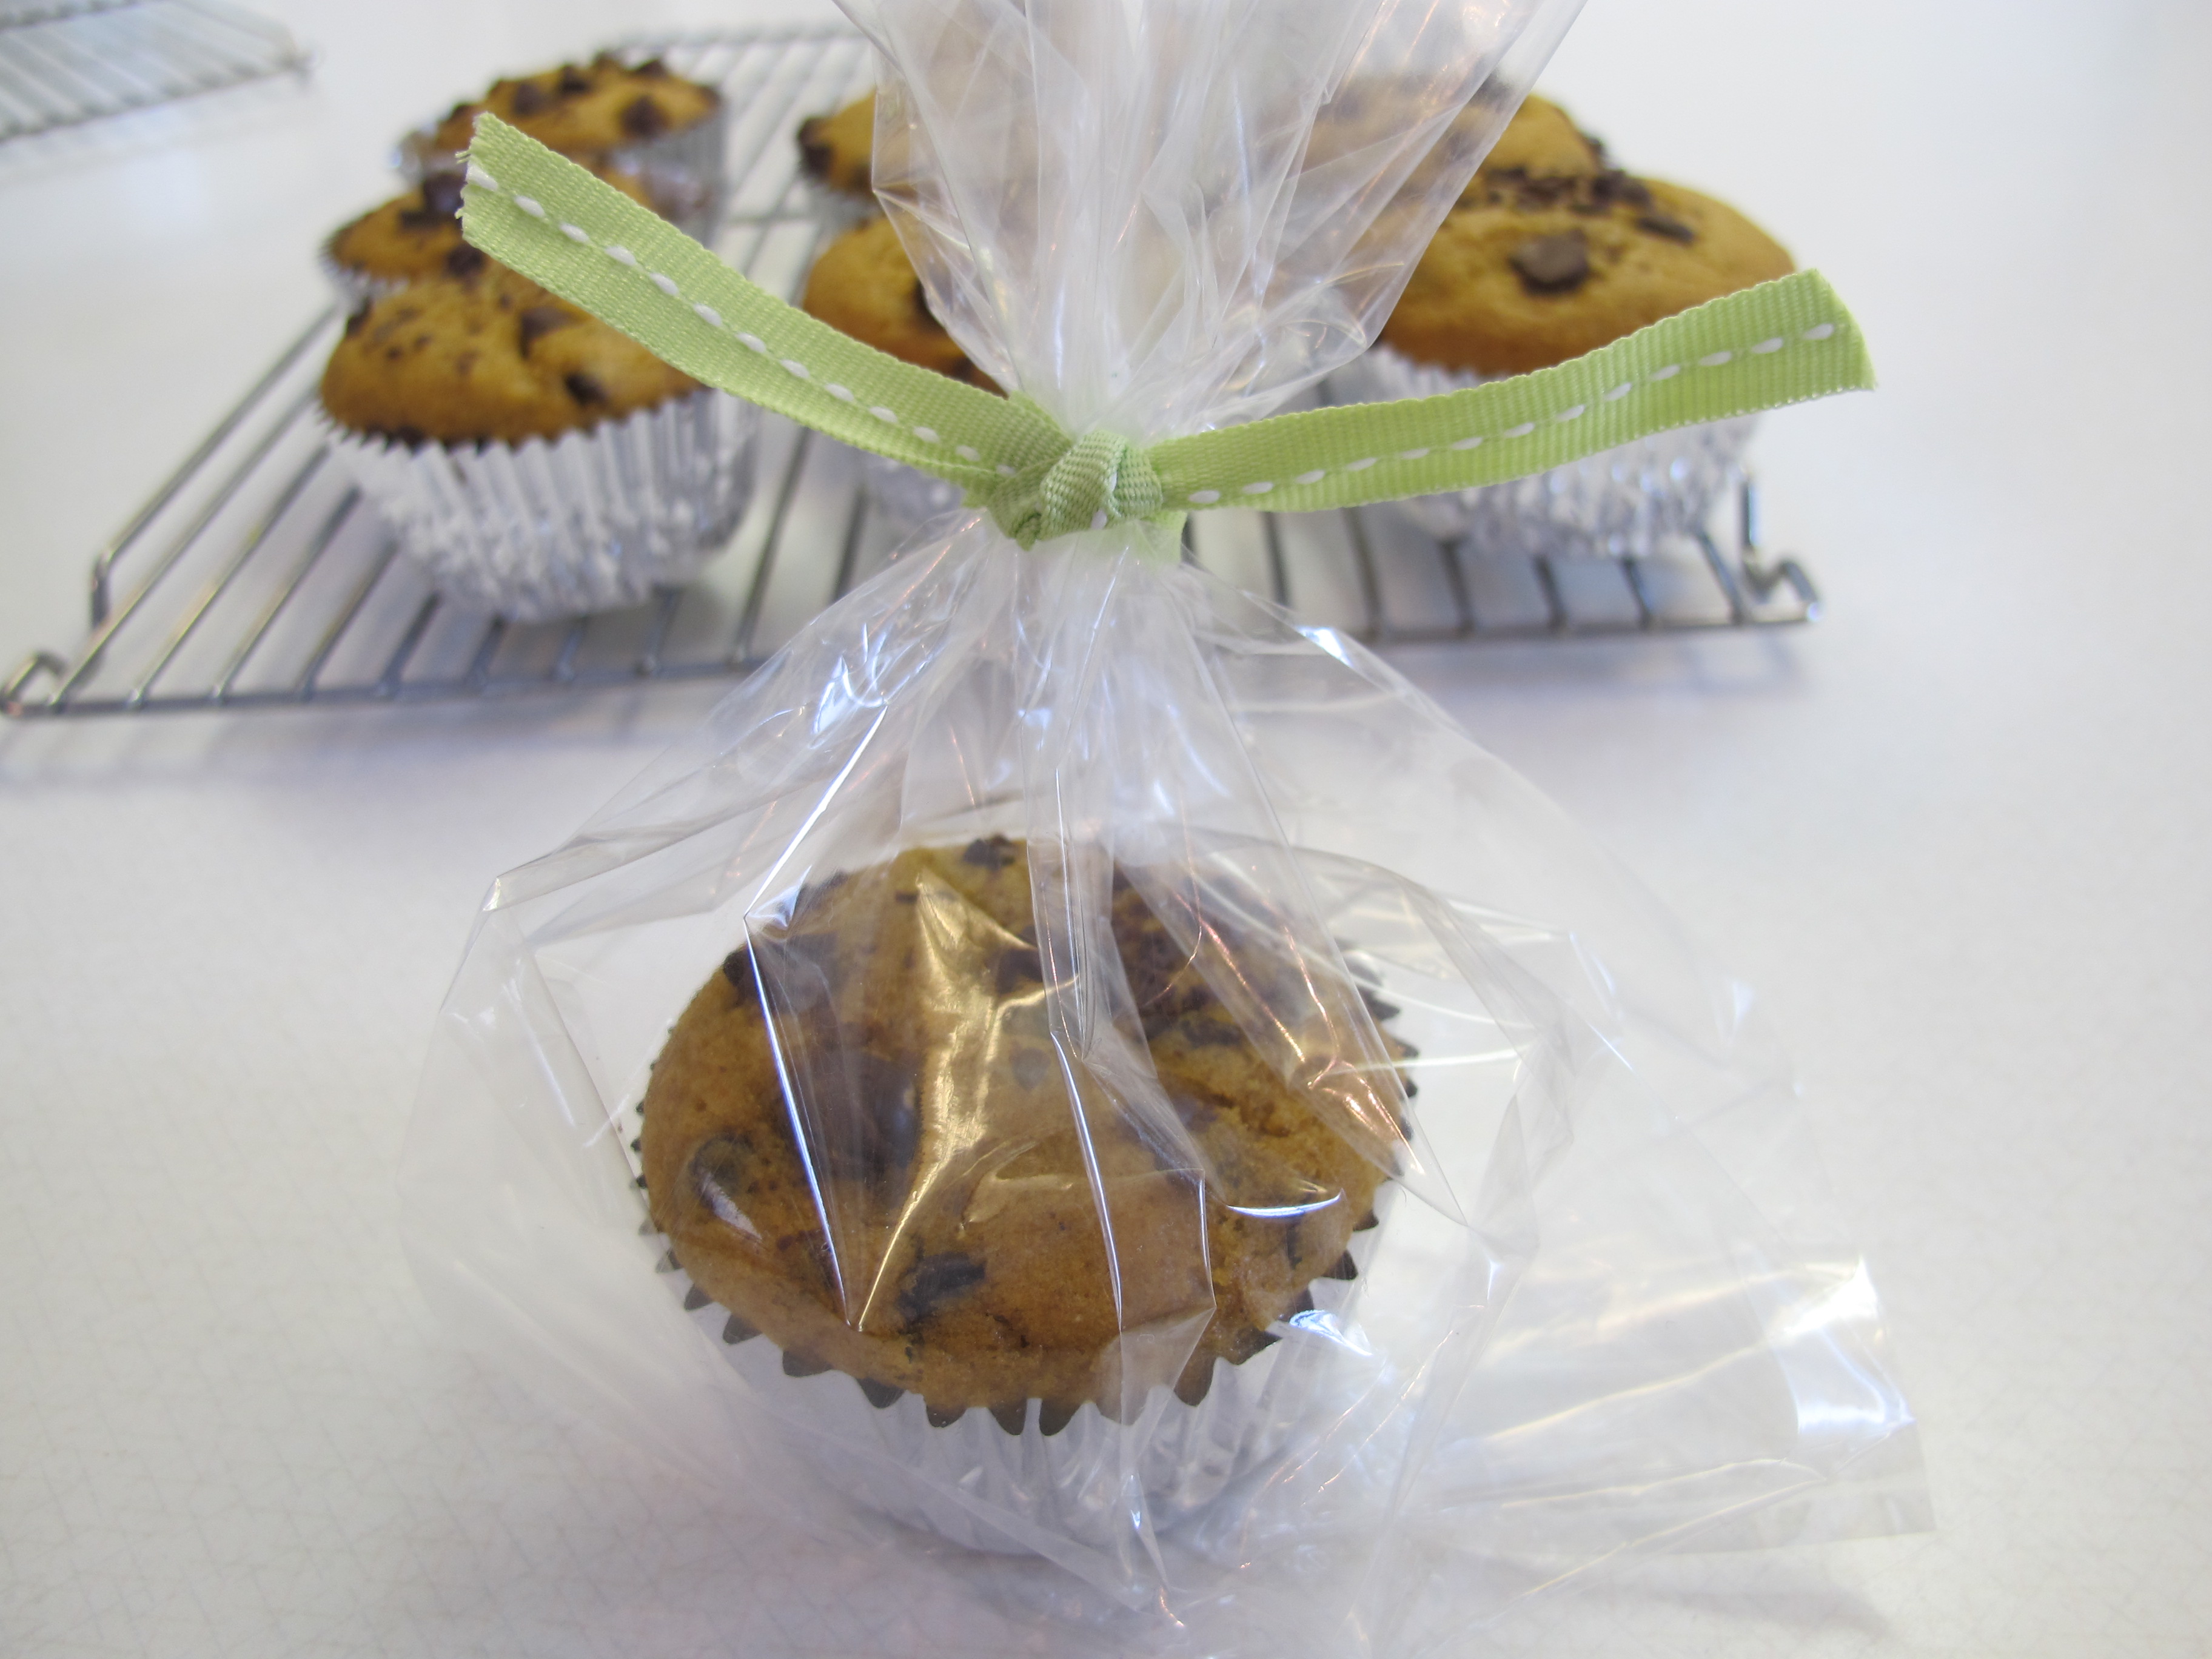
Pumpkin Chocolate Chip Bread or Muffins

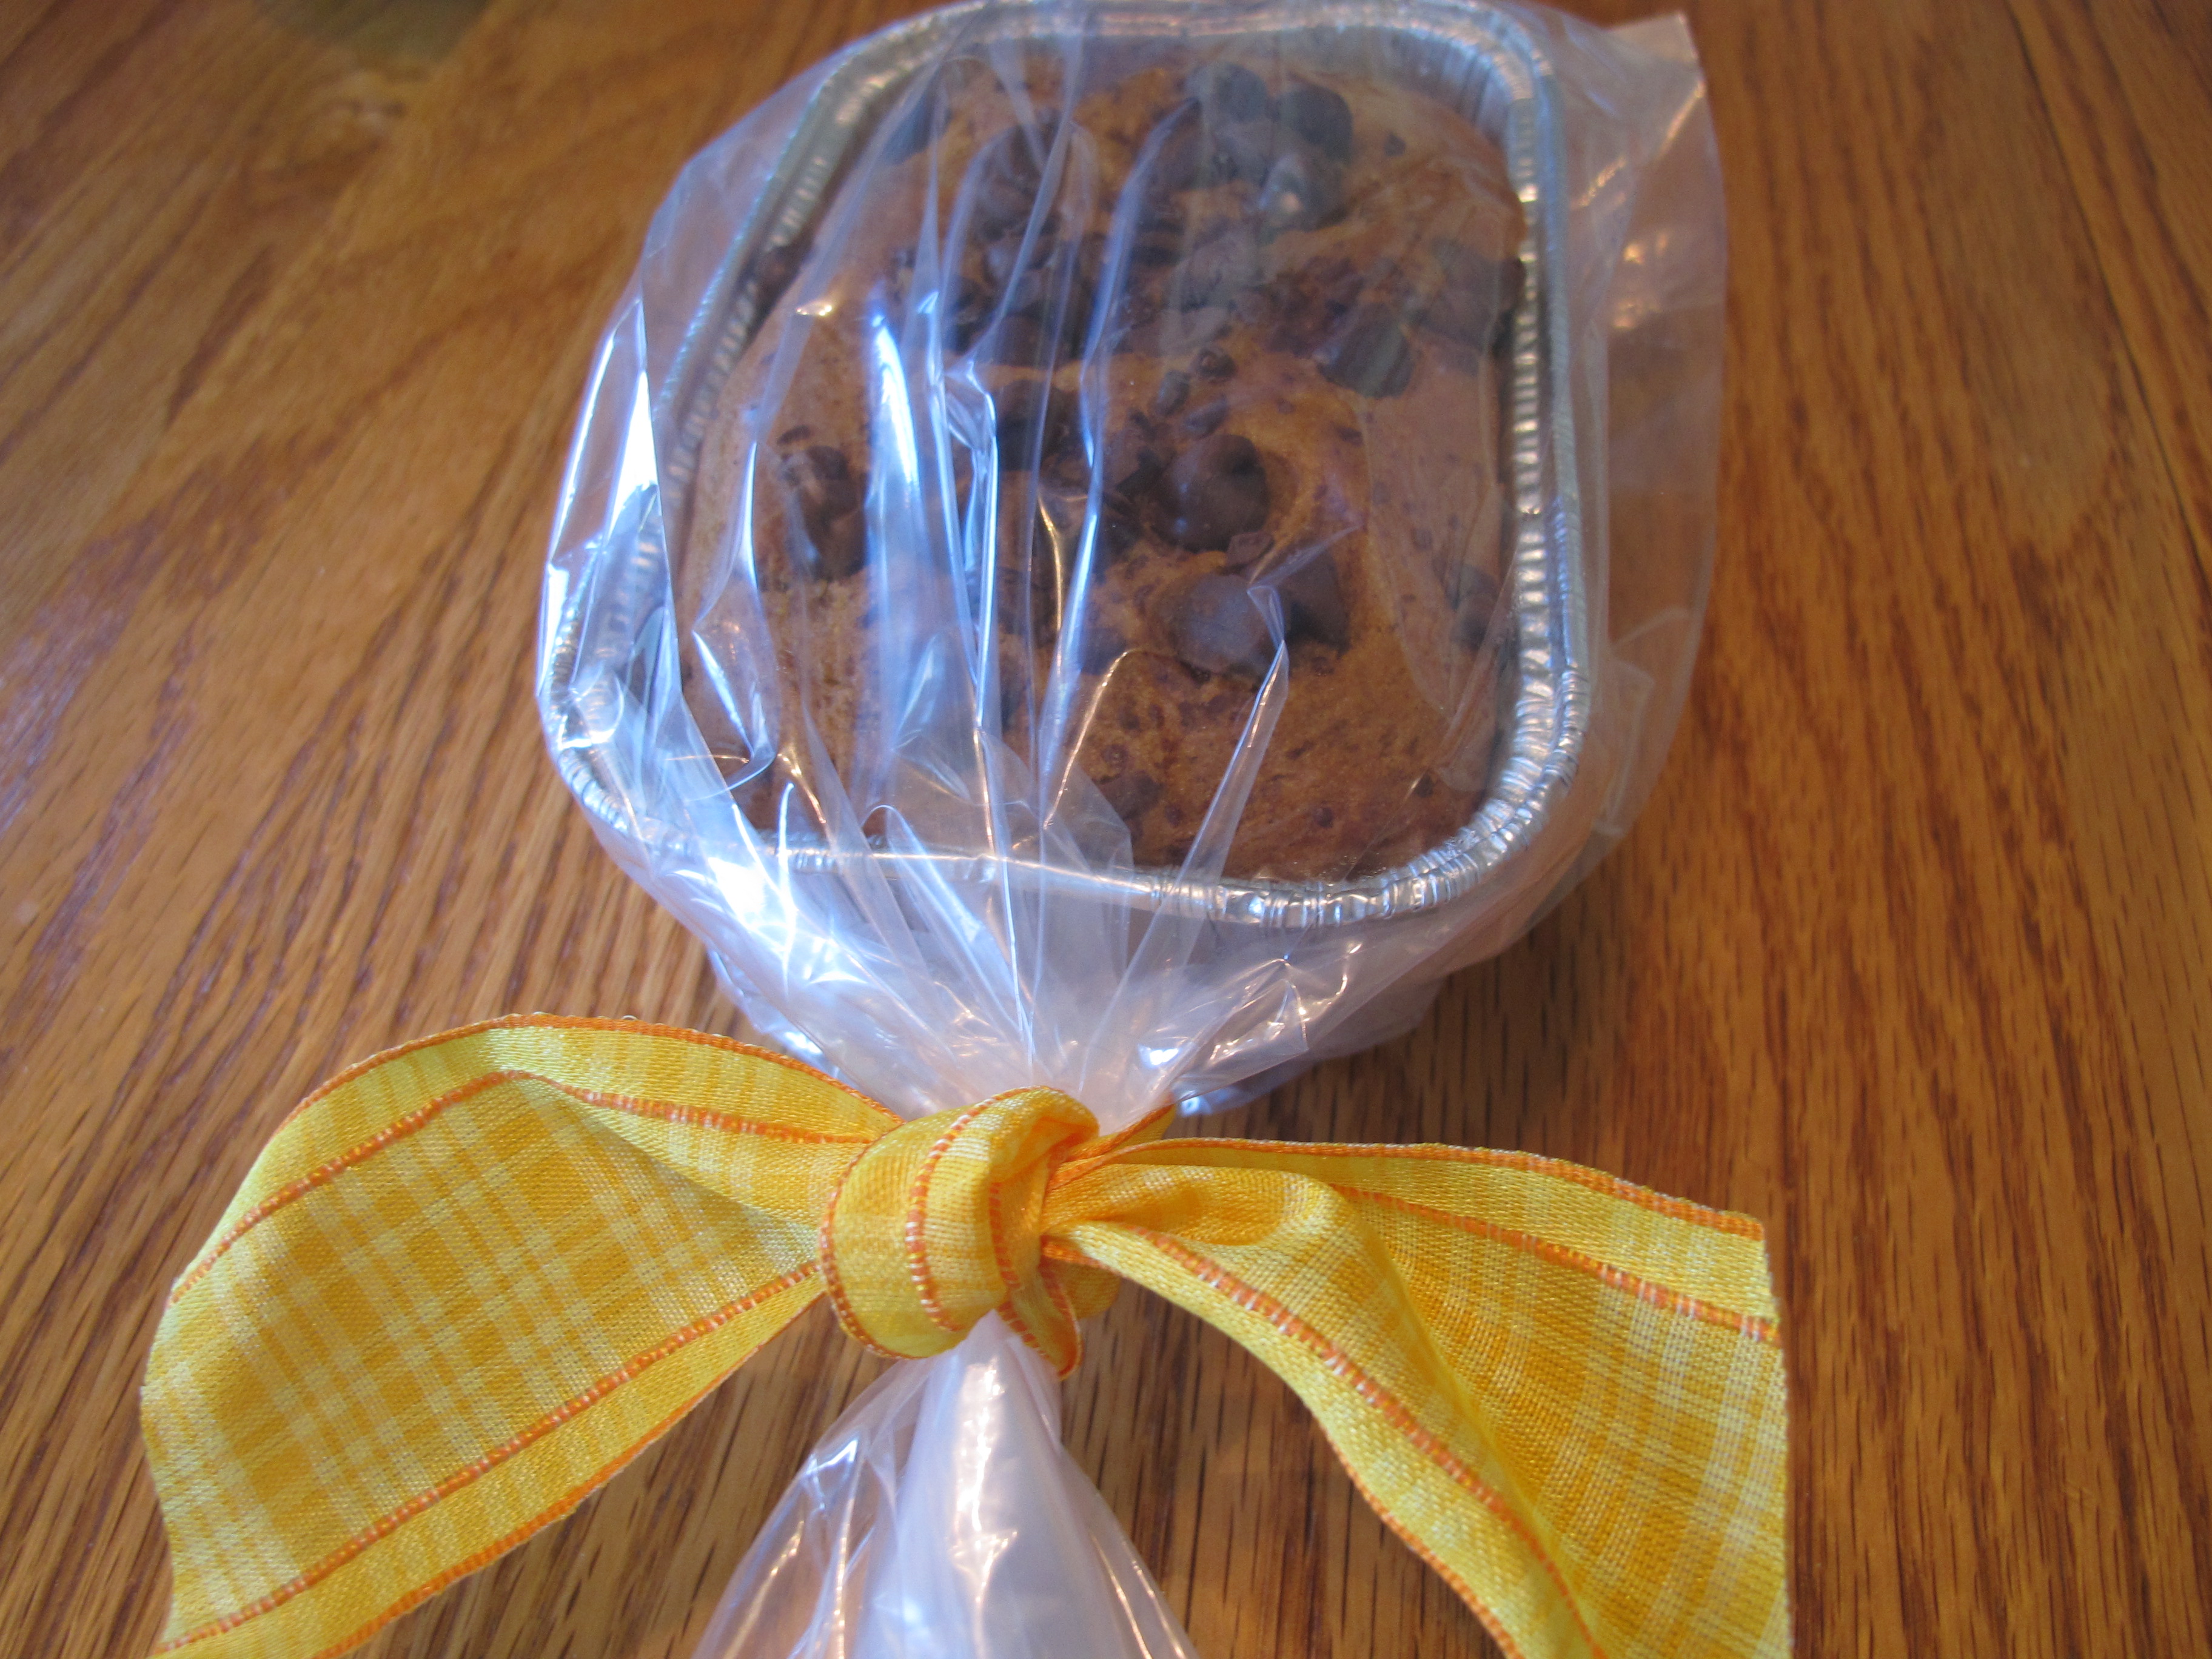
I absolutely LOVE LOVE LOVE Pumpkin Chocolate Chip bread or muffins. This recipe is the best! It is sweet enough, but not too sweet. The yogurt makes it so nice and moist. They absolutely smell like autumn!
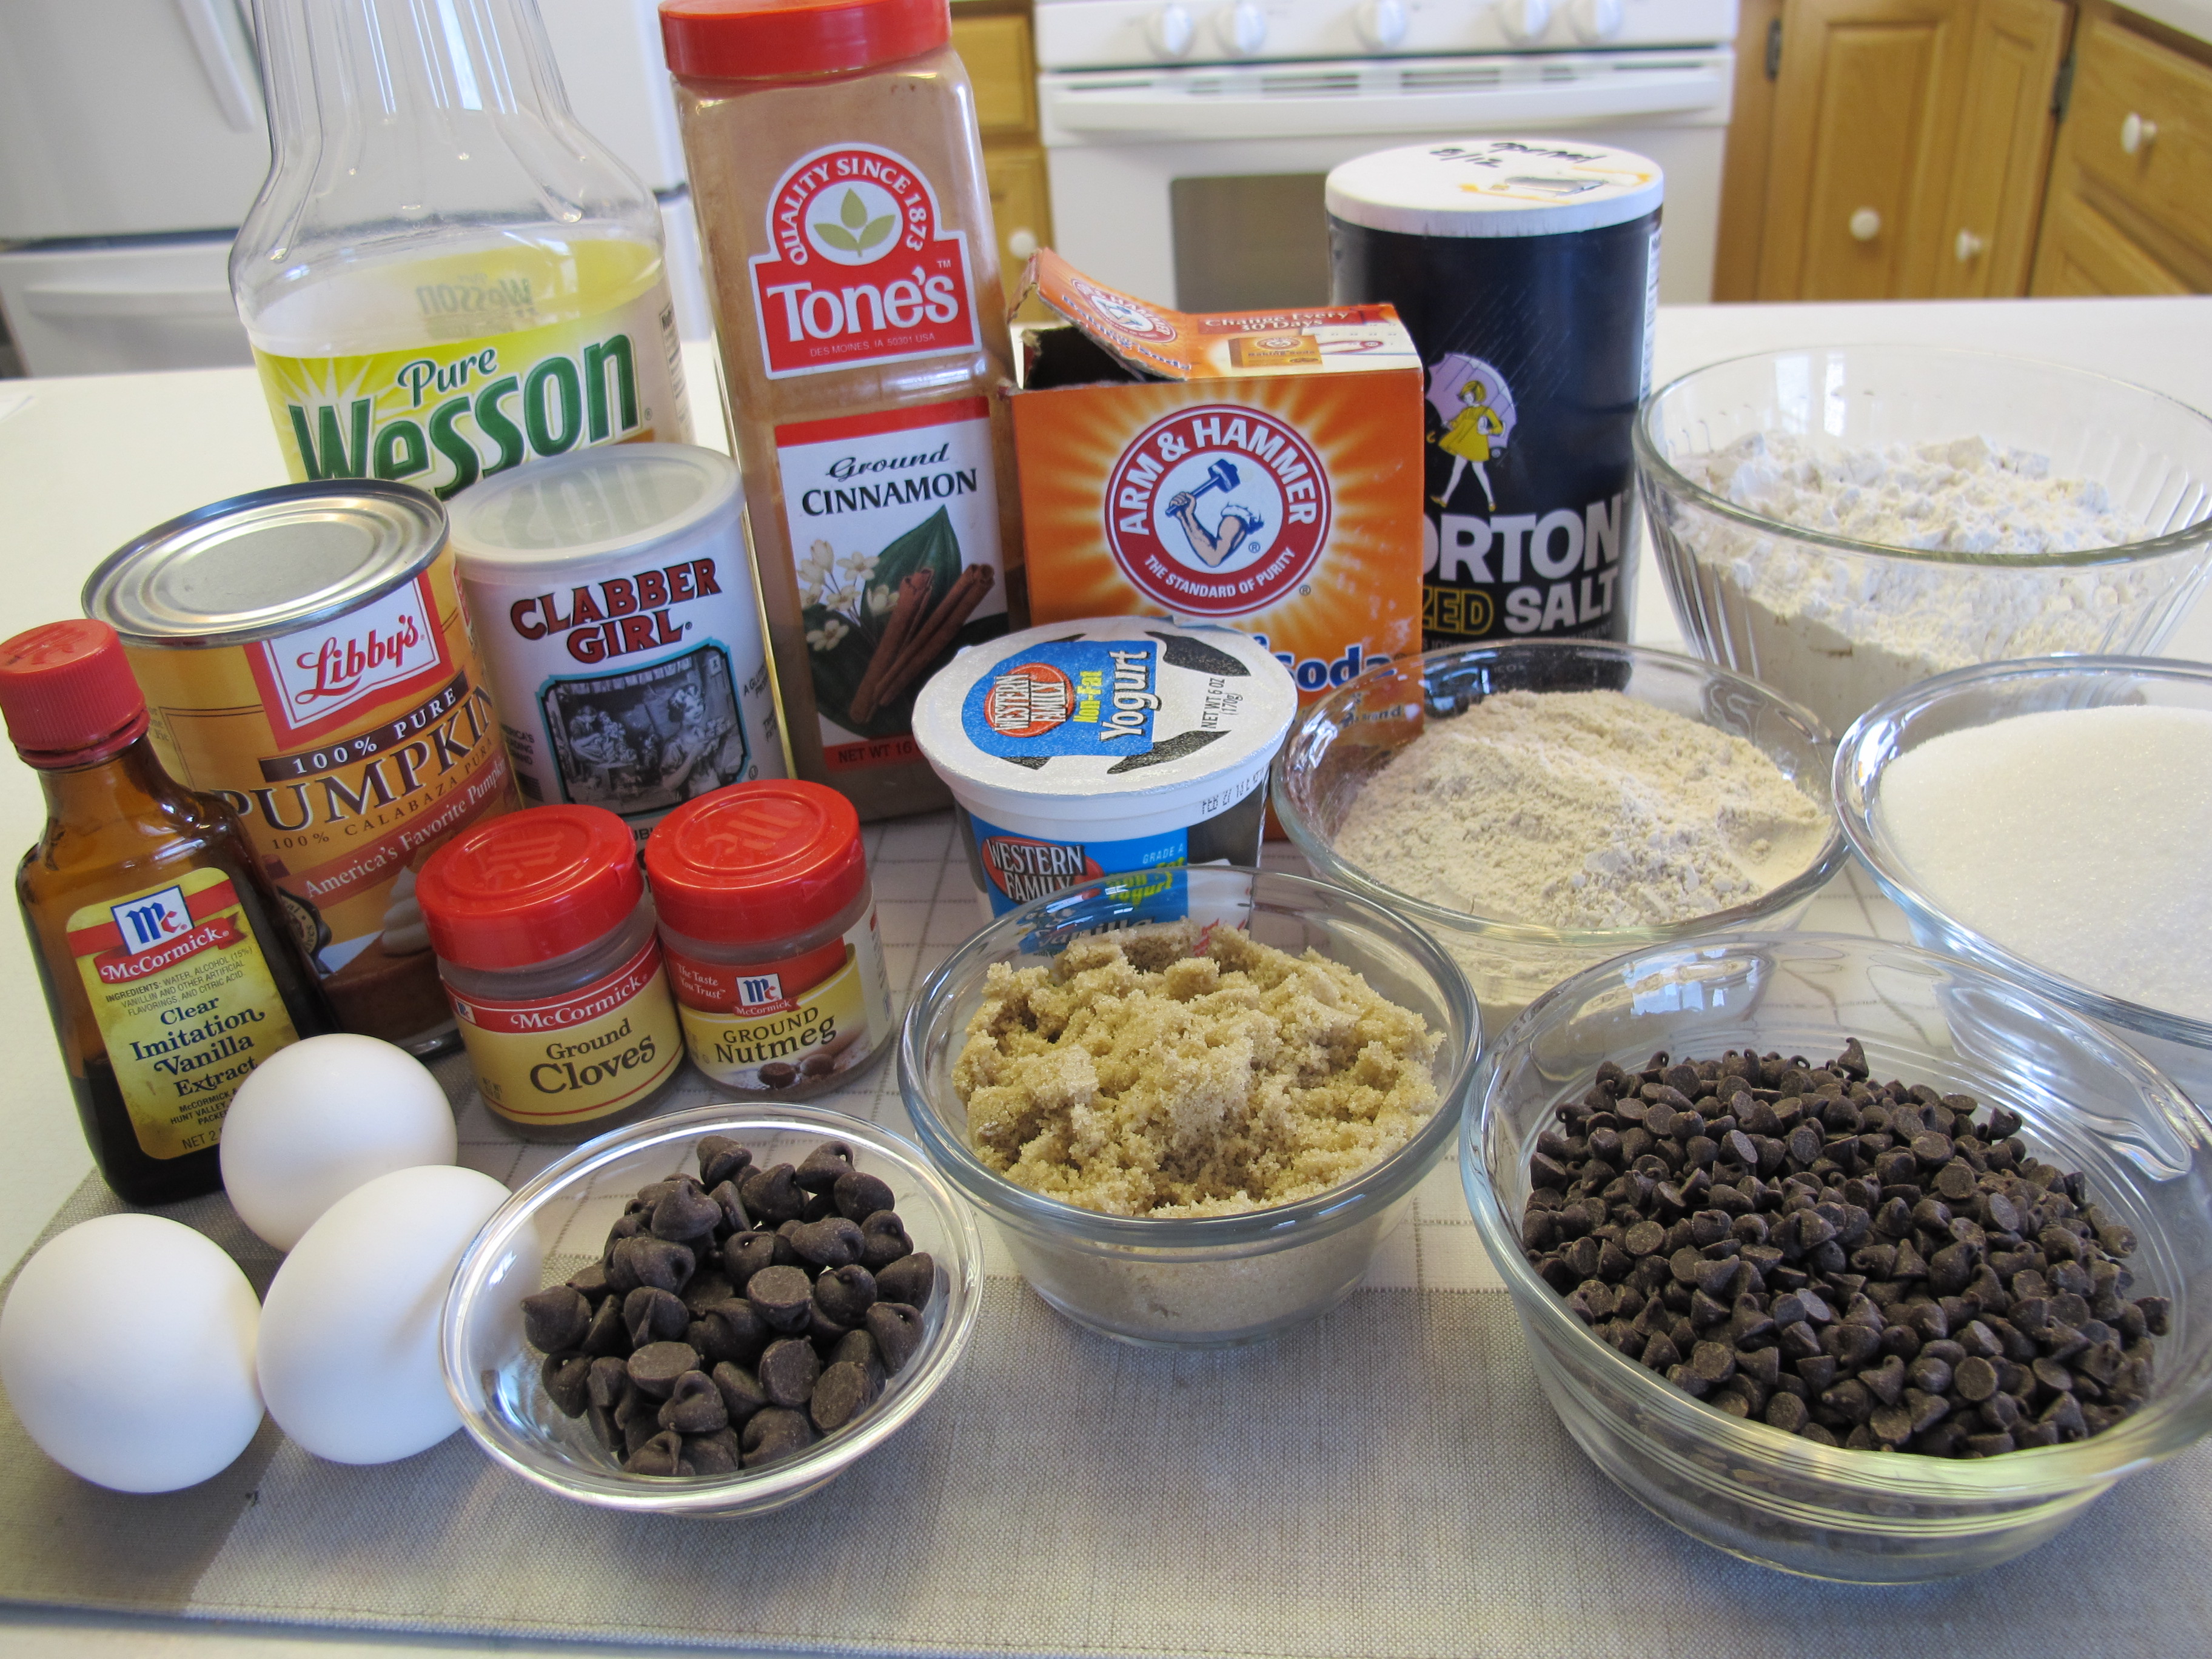
Preheat oven to 350 degrees.
Spray loaf pans with cooking spray – I like using Baker’s Joy for baked goods.
2 – 9 x 5 loaf pans
3 – tin loaf pans
6 small mini bread pans.
32 cupcakes (if using cupcake liners, you do not need to spray these).
2 cups all purpose flour (spooned into measuring cup and leveled)
1 cup whole wheat flour (again, don’t scoop) (NOTE: if you don’t have any whole wheat flour – you can just use all white flour – but don’t use all whole wheat)
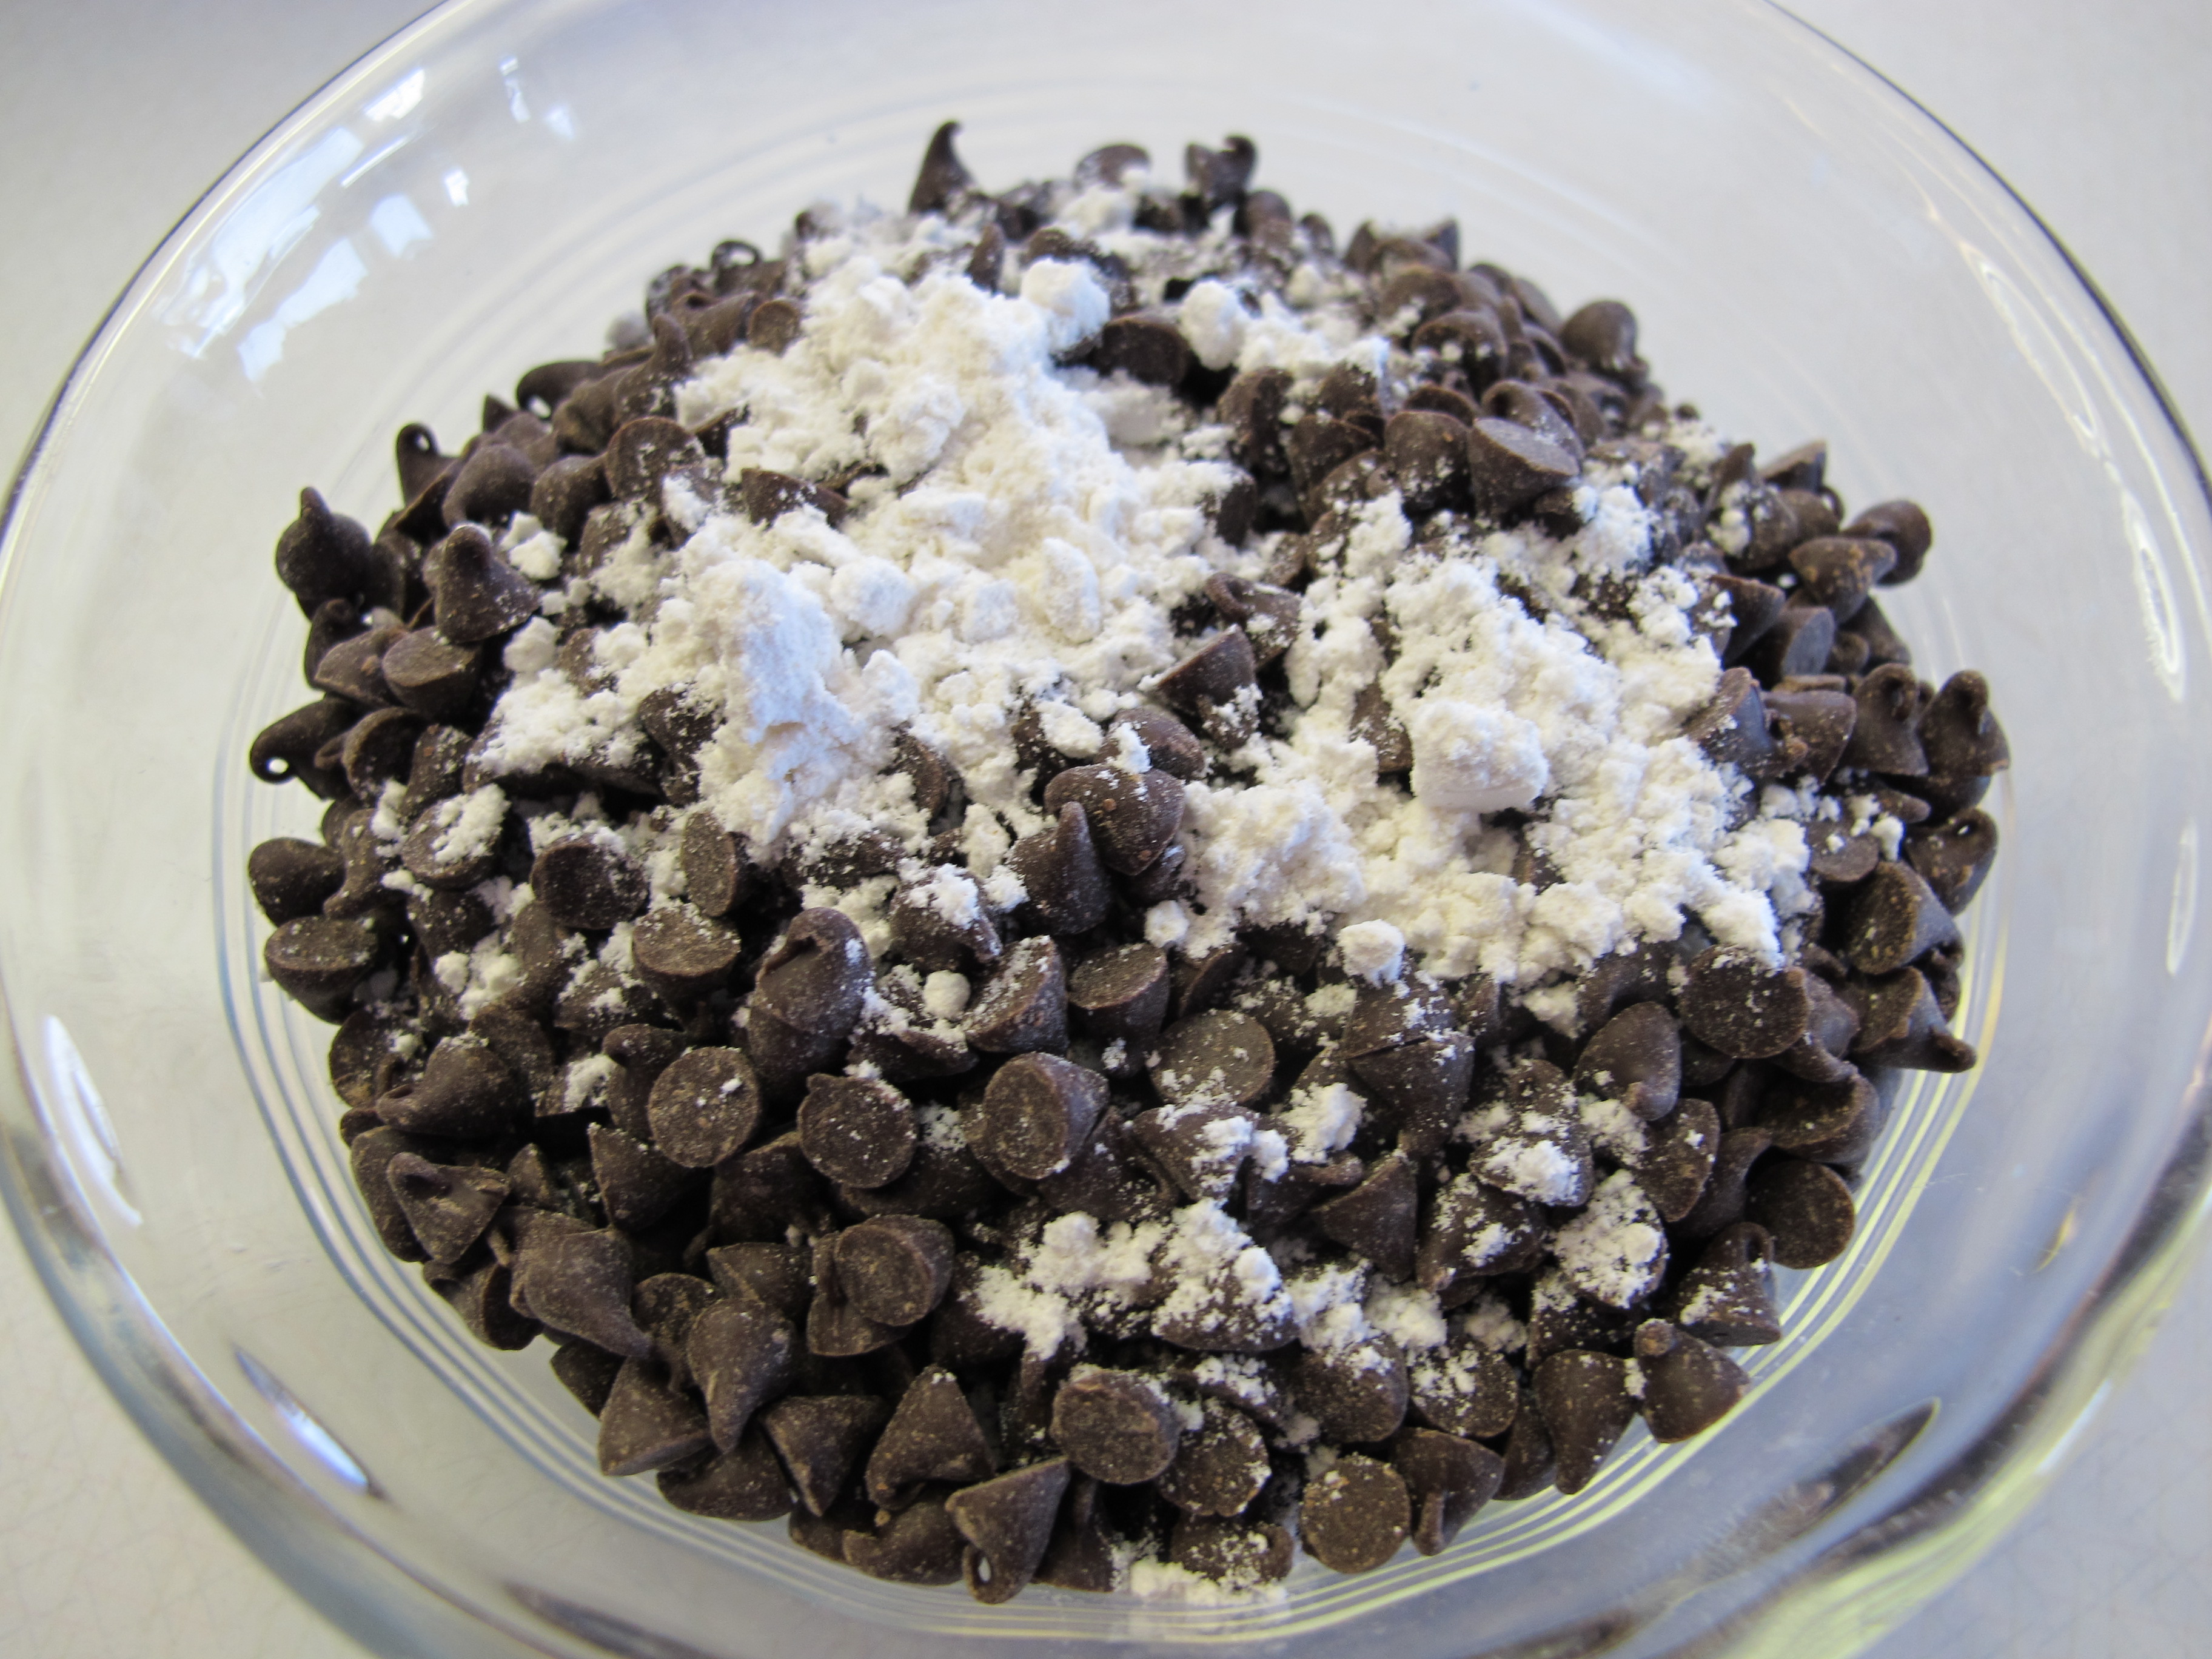
Combine flours in a medium size bowl.
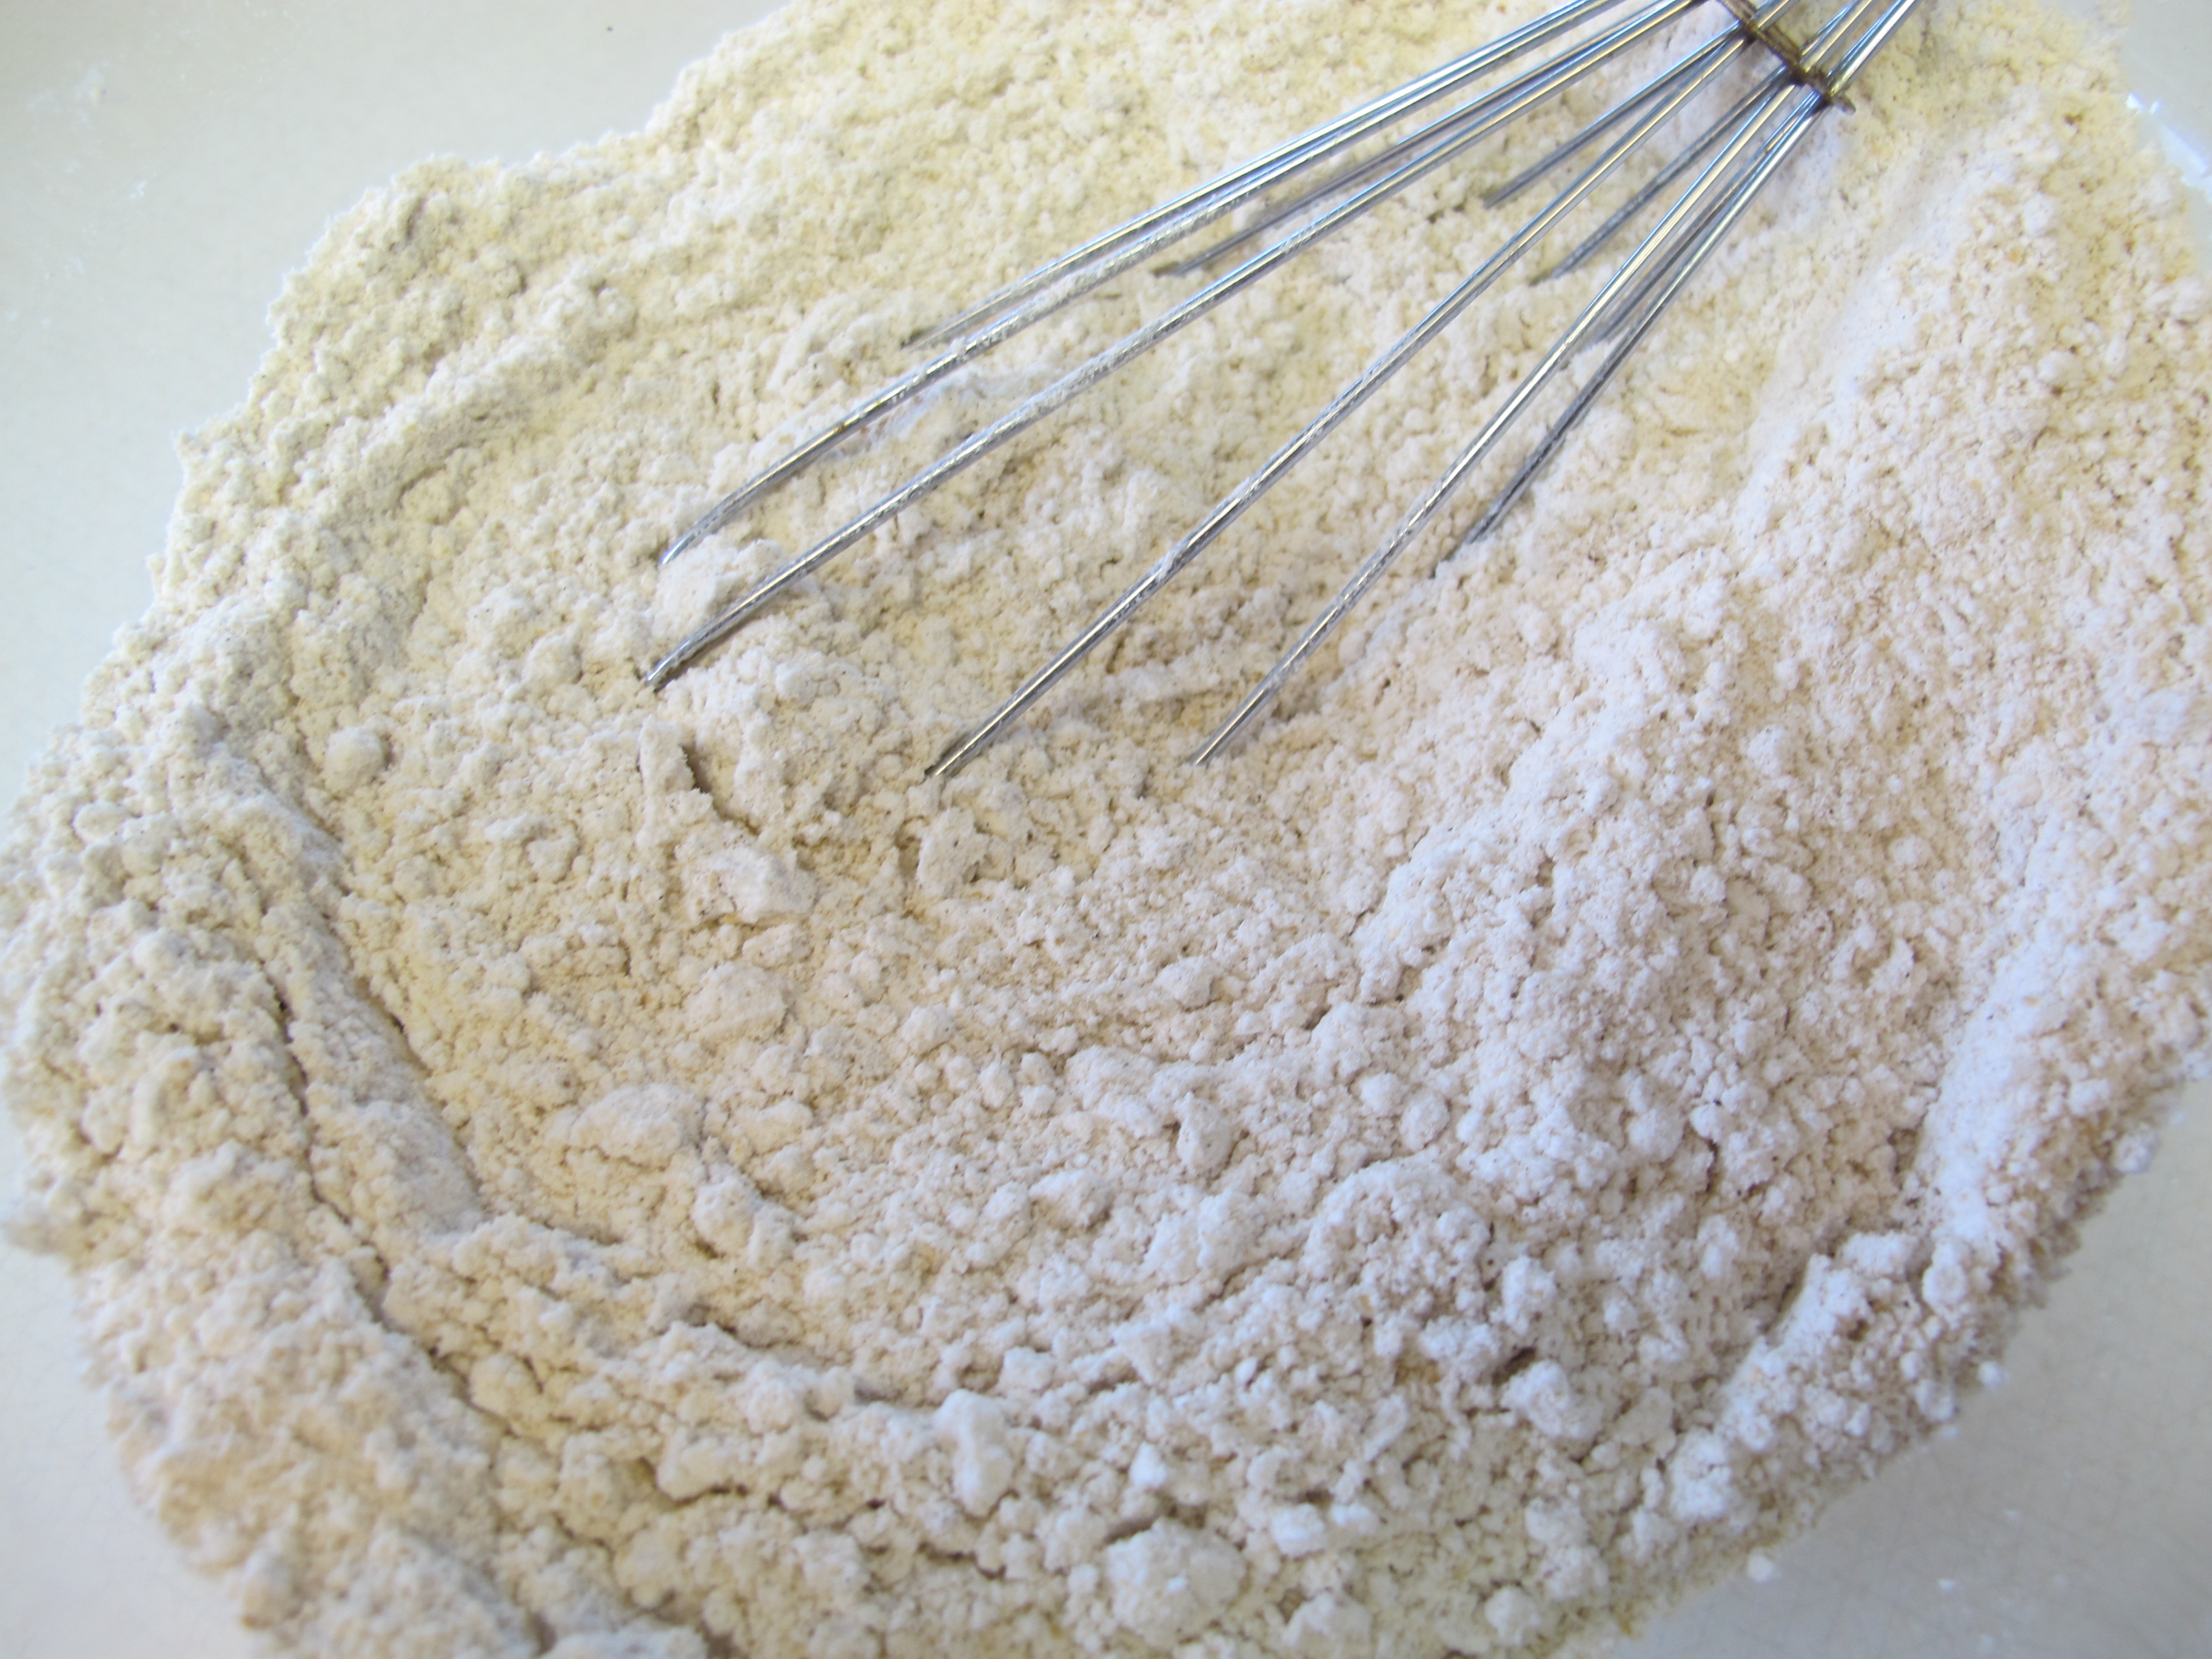
1 cup chocolate chips (plus a few extra for the top). I like using mini inside and regular for the top.
Add a teaspoon or two of this flour to the chocolate chips. Doing this helps keep the chips suspended within the batter and keeps them from sinking to the bottom.
Give the regular chocolate chips a rough chop. These will be used for the top. Set aside.
2 tsp. cinnamon
1/2 tsp. nutmeg
1/4 tsp. ground cloves
1 tsp. baking soda
1 1/2 tsp. baking powder
1 tsp. salt
Add cinnamon, nutmeg, cloves, baking soda, baking powder, and salt. Whisk gently to combine and set aside.

1/2 cup brown sugar
1 1/2 cups white sugar
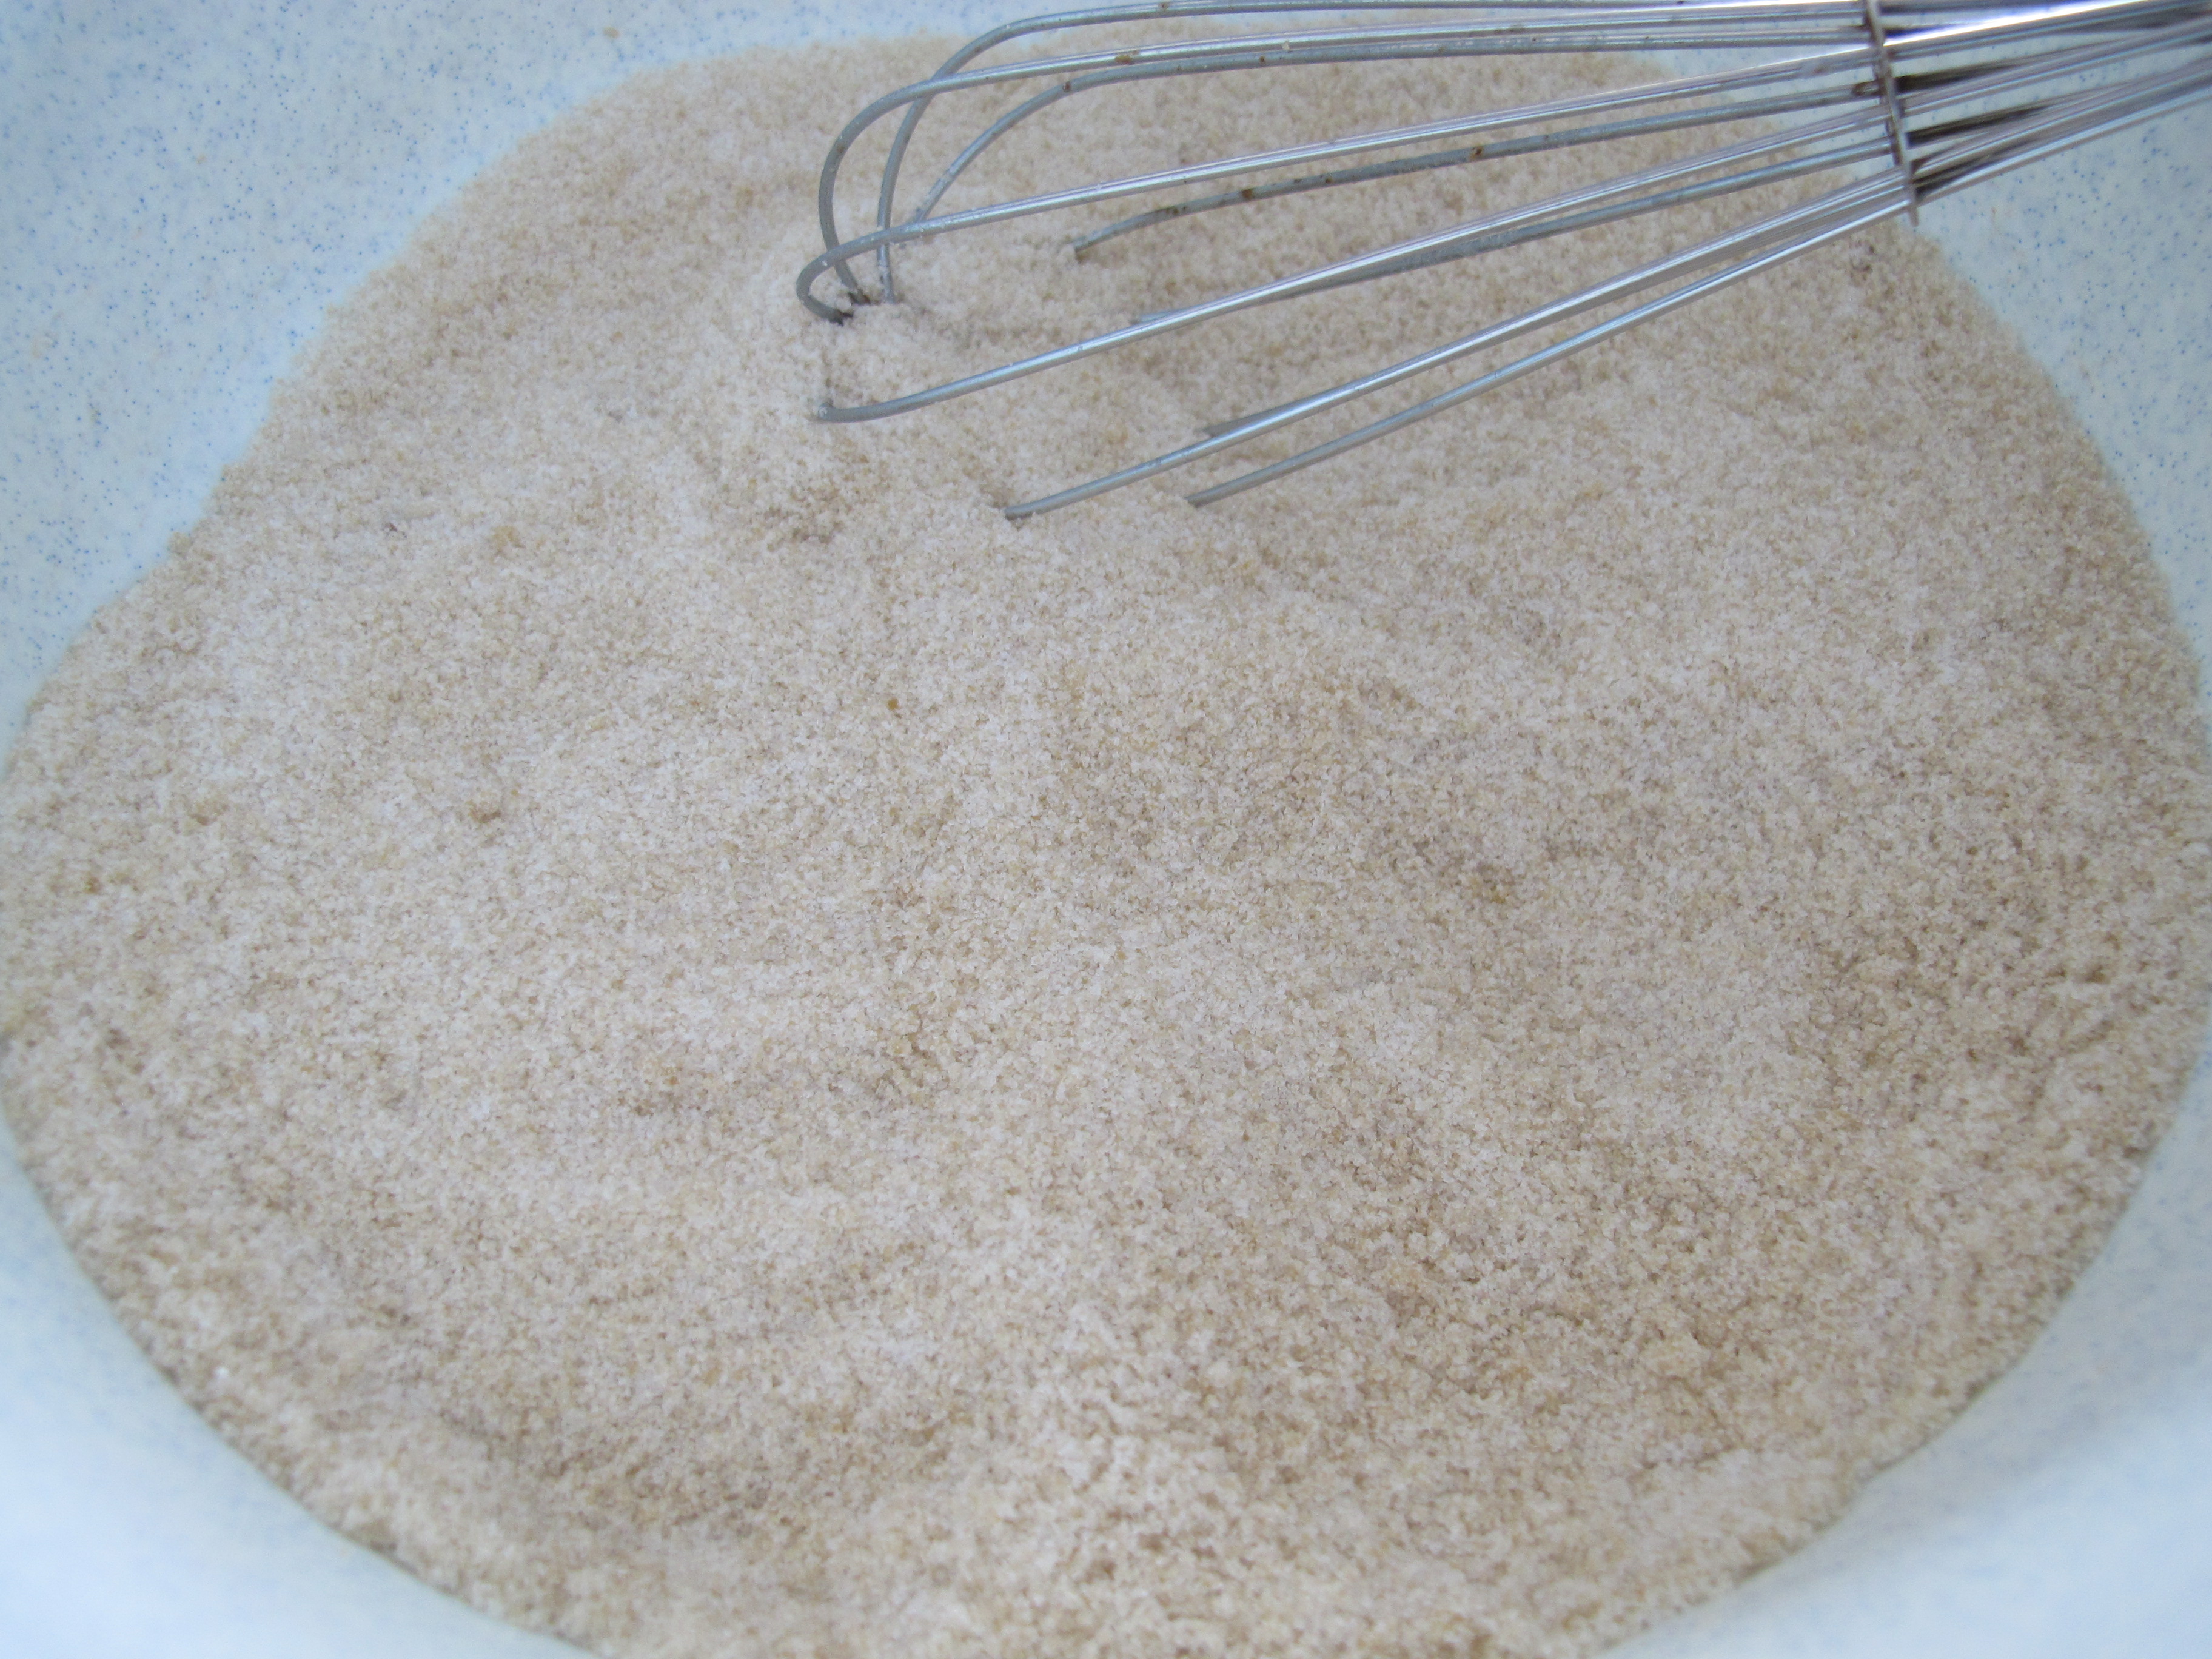
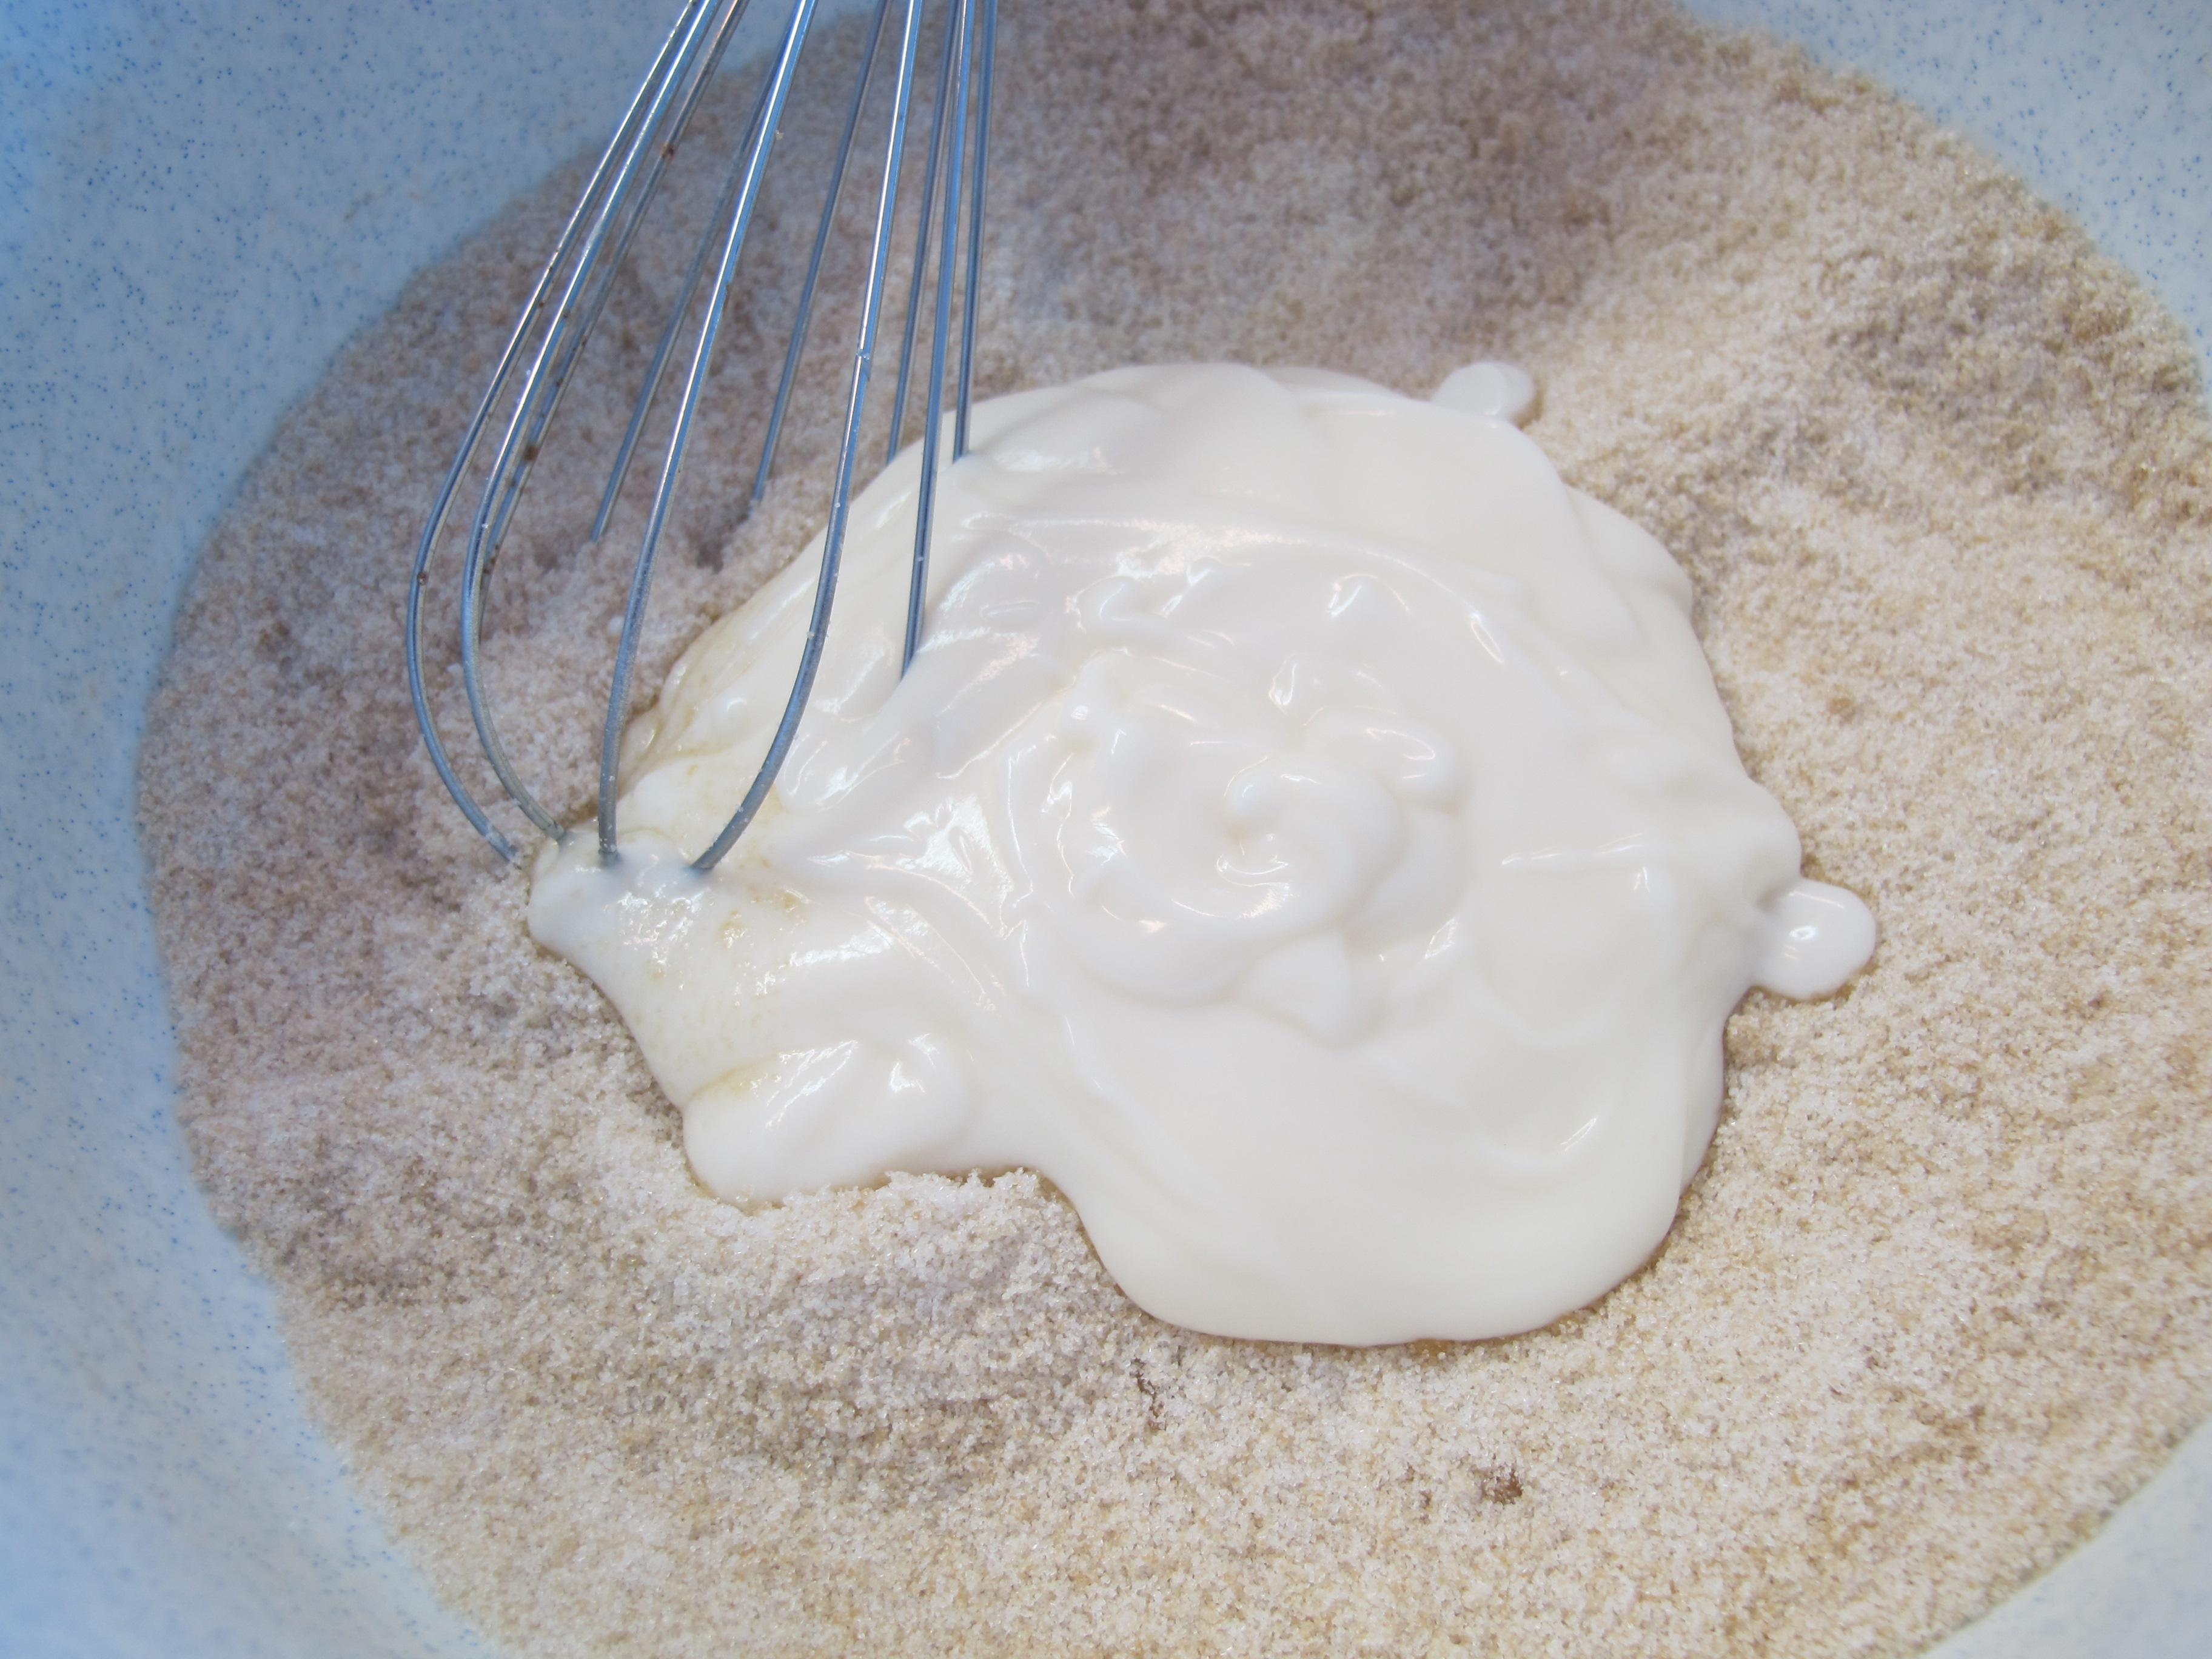
In a separate larger bowl, combine brown sugar and white sugar and whisk to combine, breaking up any clumps of brown sugar.
6 oz. container vanilla yogurt (any type)
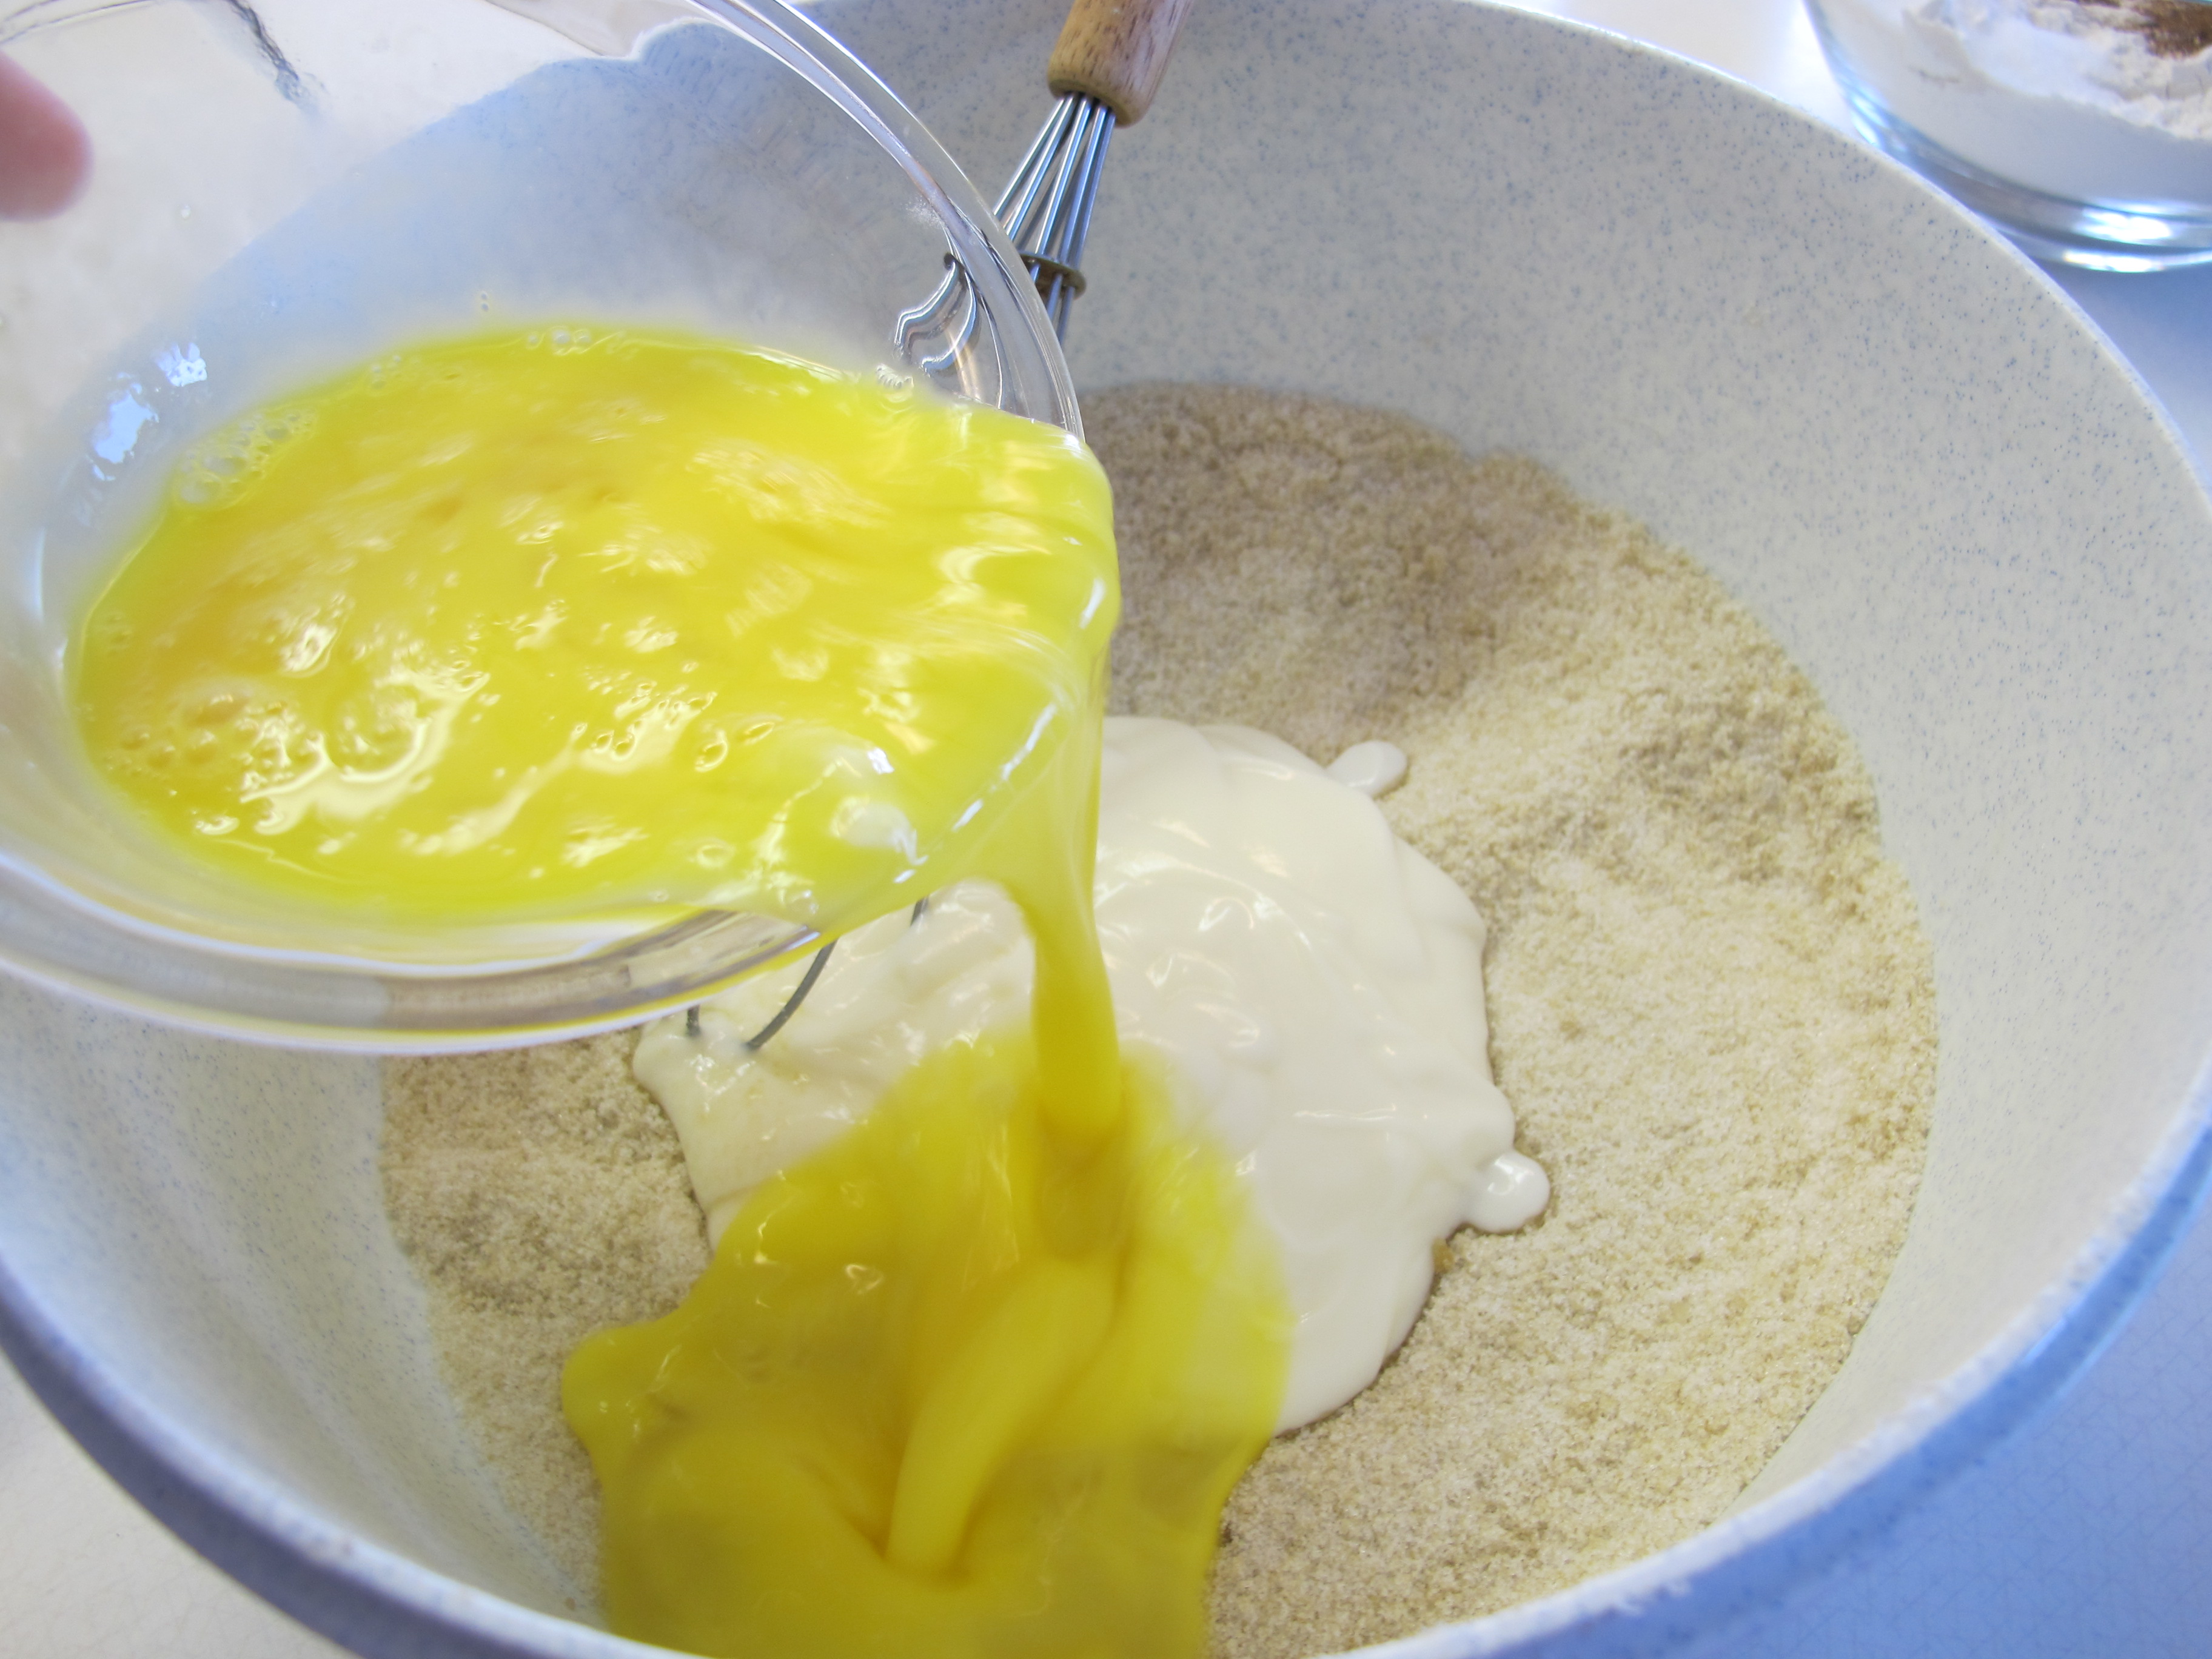
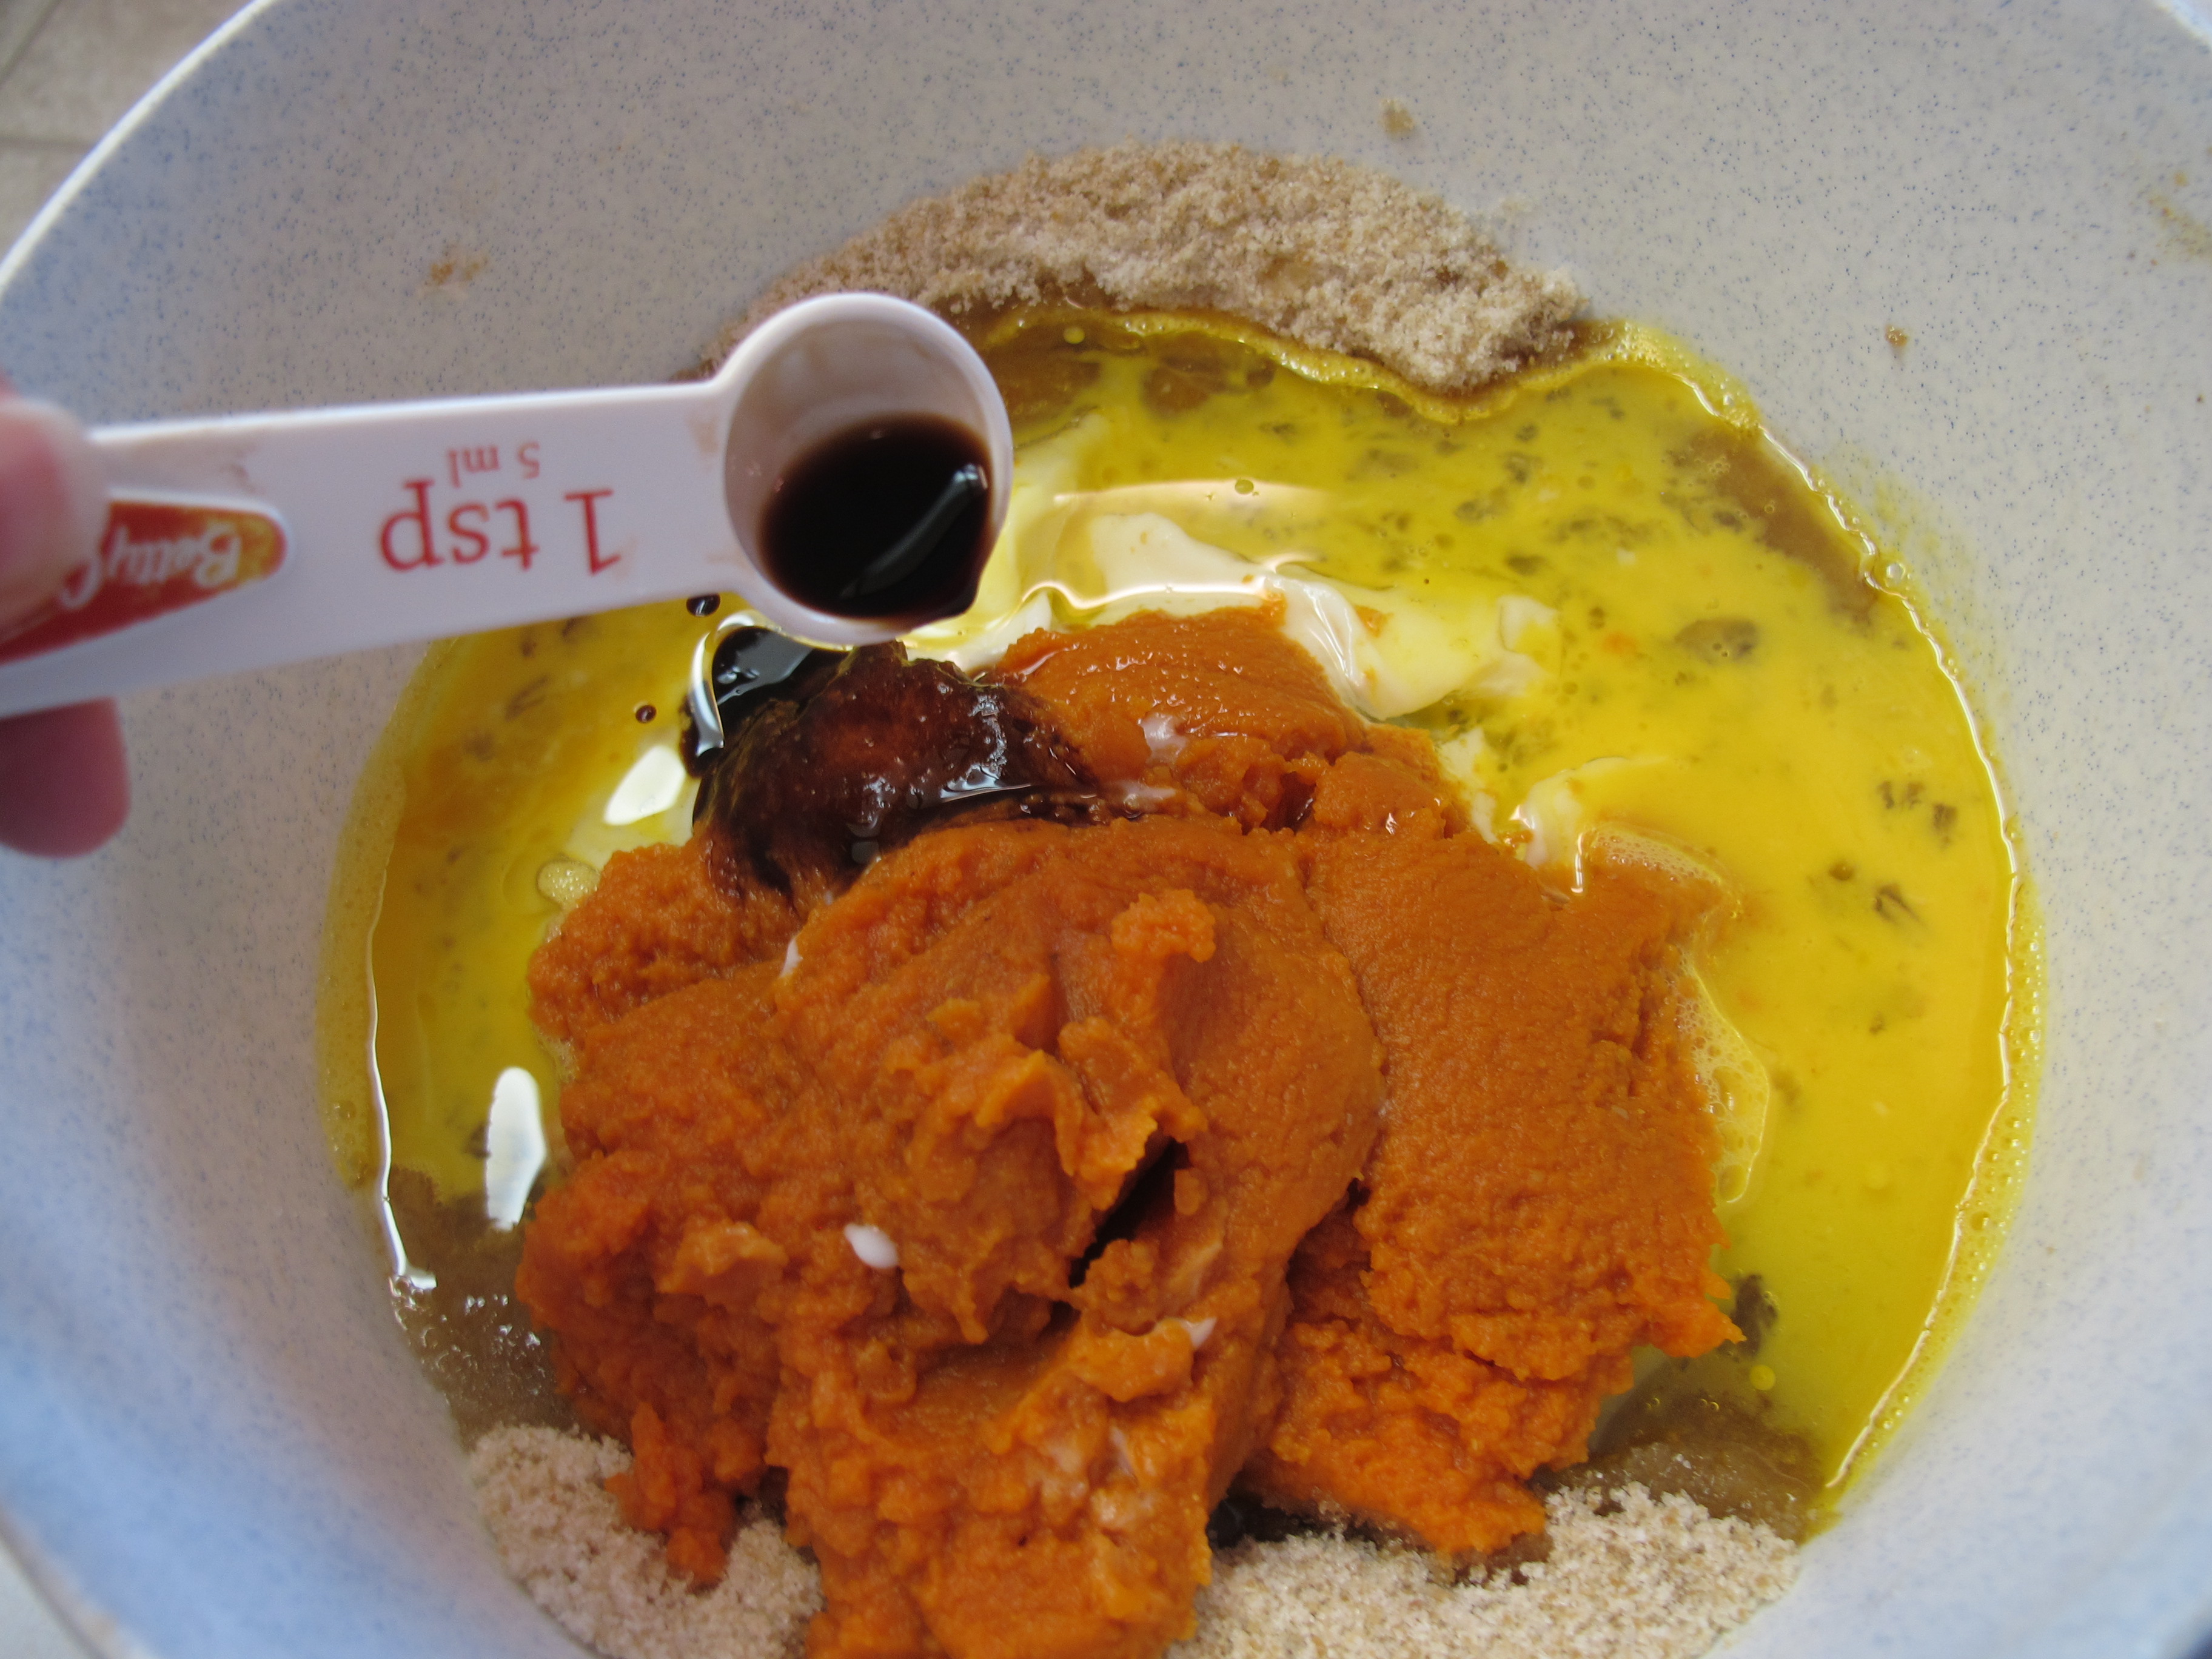
Add yogurt, eggs, pumpkin, oil, and vanilla extract. Whisk until smooth.
3 eggs, slightly beaten
15 oz. can pumpkin puree

1/2 cup canola oil

1 tsp. vanilla extract
Slowly add dry ingredients and mix together, being careful not to over mix.

When combined, stir in chocolate chips.

Divide batter between the pans or fill muffins cups.. Sprinkle rough chopped regular chips on the top.

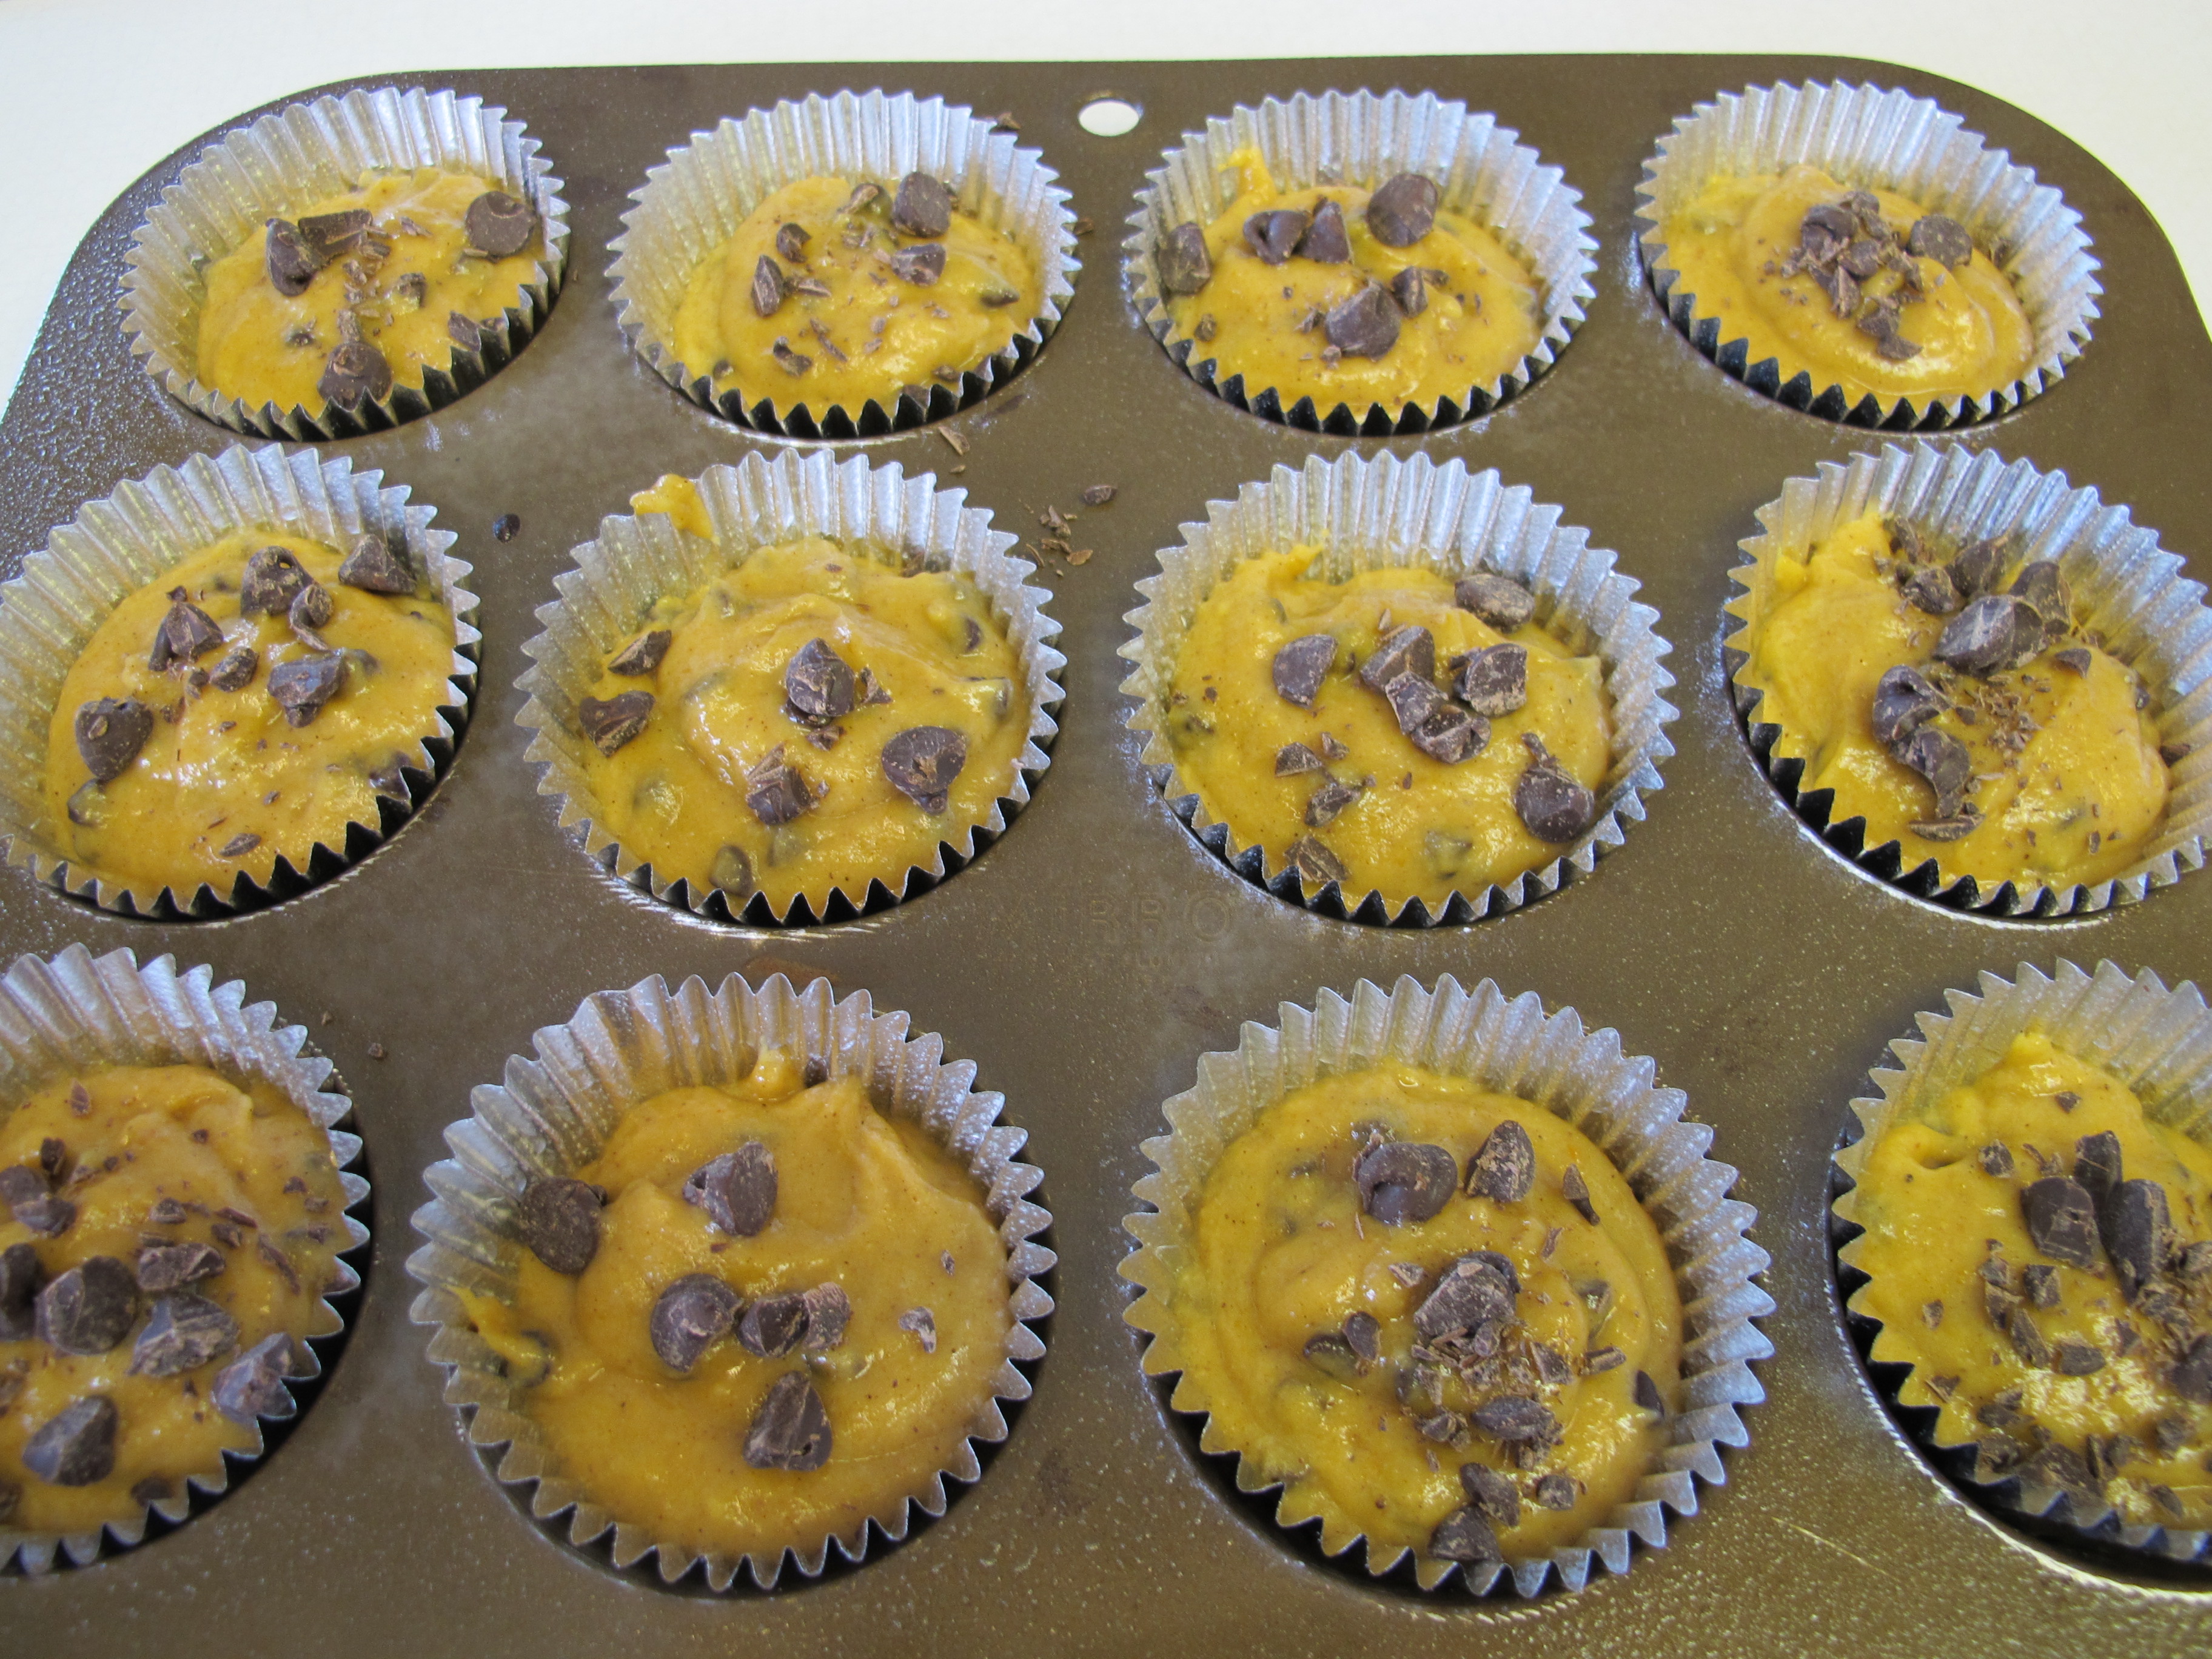
Bake:
Large loaves – 55 – 60 minutes or until a toothpick comes out clean. Make sure you insert the toothpick in the very middle of the loaf, as this is the part that bakes last.
Tin loaves – 50 minutes
Mini loaves – 38 – 40 minutes
Muffins – 24 minutes.
Let cool for 10 minutes before removing from the pan.
Recipe Source: Our Best Bites
FULL RECIPE WITHOUT PICTURES —
PUMPKIN CHOCOLATE CHIP BREAD or MUFFINS
2 cups all purpose flour (spooned into measuring cup and leveled)
1 cup whole wheat flour (again, don’t scoop) (NOTE: if you don’t have any whole wheat flour – you can just use all white flour – but don’t use all whole wheat)
2 tsp. cinnamon
1/2 tsp. nutmeg
1/4 tsp. ground cloves
1 tsp. baking soda
1 1/2 tsp. baking powder
1 tsp. salt
1/2 cup brown sugar
1 1/2 cups white sugar
6 oz. container vanilla yogurt (any type)
3 eggs, slightly beaten
15 oz. can pumpkin puree
1/2 cup canola oil
1 tsp. vanilla extract
1 cup chocolate chips (plus a few extra for the top). I like using mini inside and regular for the top.
Preheat oven to 350 degrees.
Spray loaf pans with cooking spray – I like using Baker’s Joy for baked goods.
2 – 9 x 5 loaf pans
3 – tin loaf pans
6 small mini bread pans.
32 cupcakes (if using cupcake liners, you do not need to spray these).
Spray pans with cooking spray, and set aside.
Rough chop a handful of chocolate chips. These will be used for the top. Set aside.
Combine flours. Add a teaspoon or two of this flour to the chocolate chips. Doing this helps keep the chips suspended within the batter and keeps them from sinking to the bottom.
Add cinnamon, nutmeg, cloves, baking soda, baking powder, and salt. Whisk gently to combine and set aside.
In a separate larger bowl or a stand mixer, combine brown sugar and white sugar and whisk to combine, breaking up any clumps of brown sugar.
Add yogurt, eggs, pumpkin, oil, and vanilla extract. Mix until smooth.
Slowly add dry ingredients and mix together, being careful not to over mix.
When combined, stir in 1 cup chocolate chips.
Divide batter between the pans. Sprinkle rough chopped chocolate chips on the top.
Bake:
Large loaves – 50 – 60 minutes or until a toothpick comes out clean. Make sure you insert the toothpick in the very middle of the loaf, as this is the part that bakes last.
Tin loaves – 50 minutes
Mini loaves – 38 – 40 minutes
Muffins – 24 minutes.
Let cool for 10 minutes before removing from the pan.
Recipe Source: Our Best Bites
Pretzel-Crusted Chicken Nuggets

These tasty little chicken nuggets make a great appetizer or meal. Choose your favorite sauce to dip them in.

Preheat oven to 400 degrees.
Coat a large cookie sheet with cooking spray.

2 cups salted pretzels (about 3 oz.)
It is easier to weigh the pretzels, rather than measuring them.

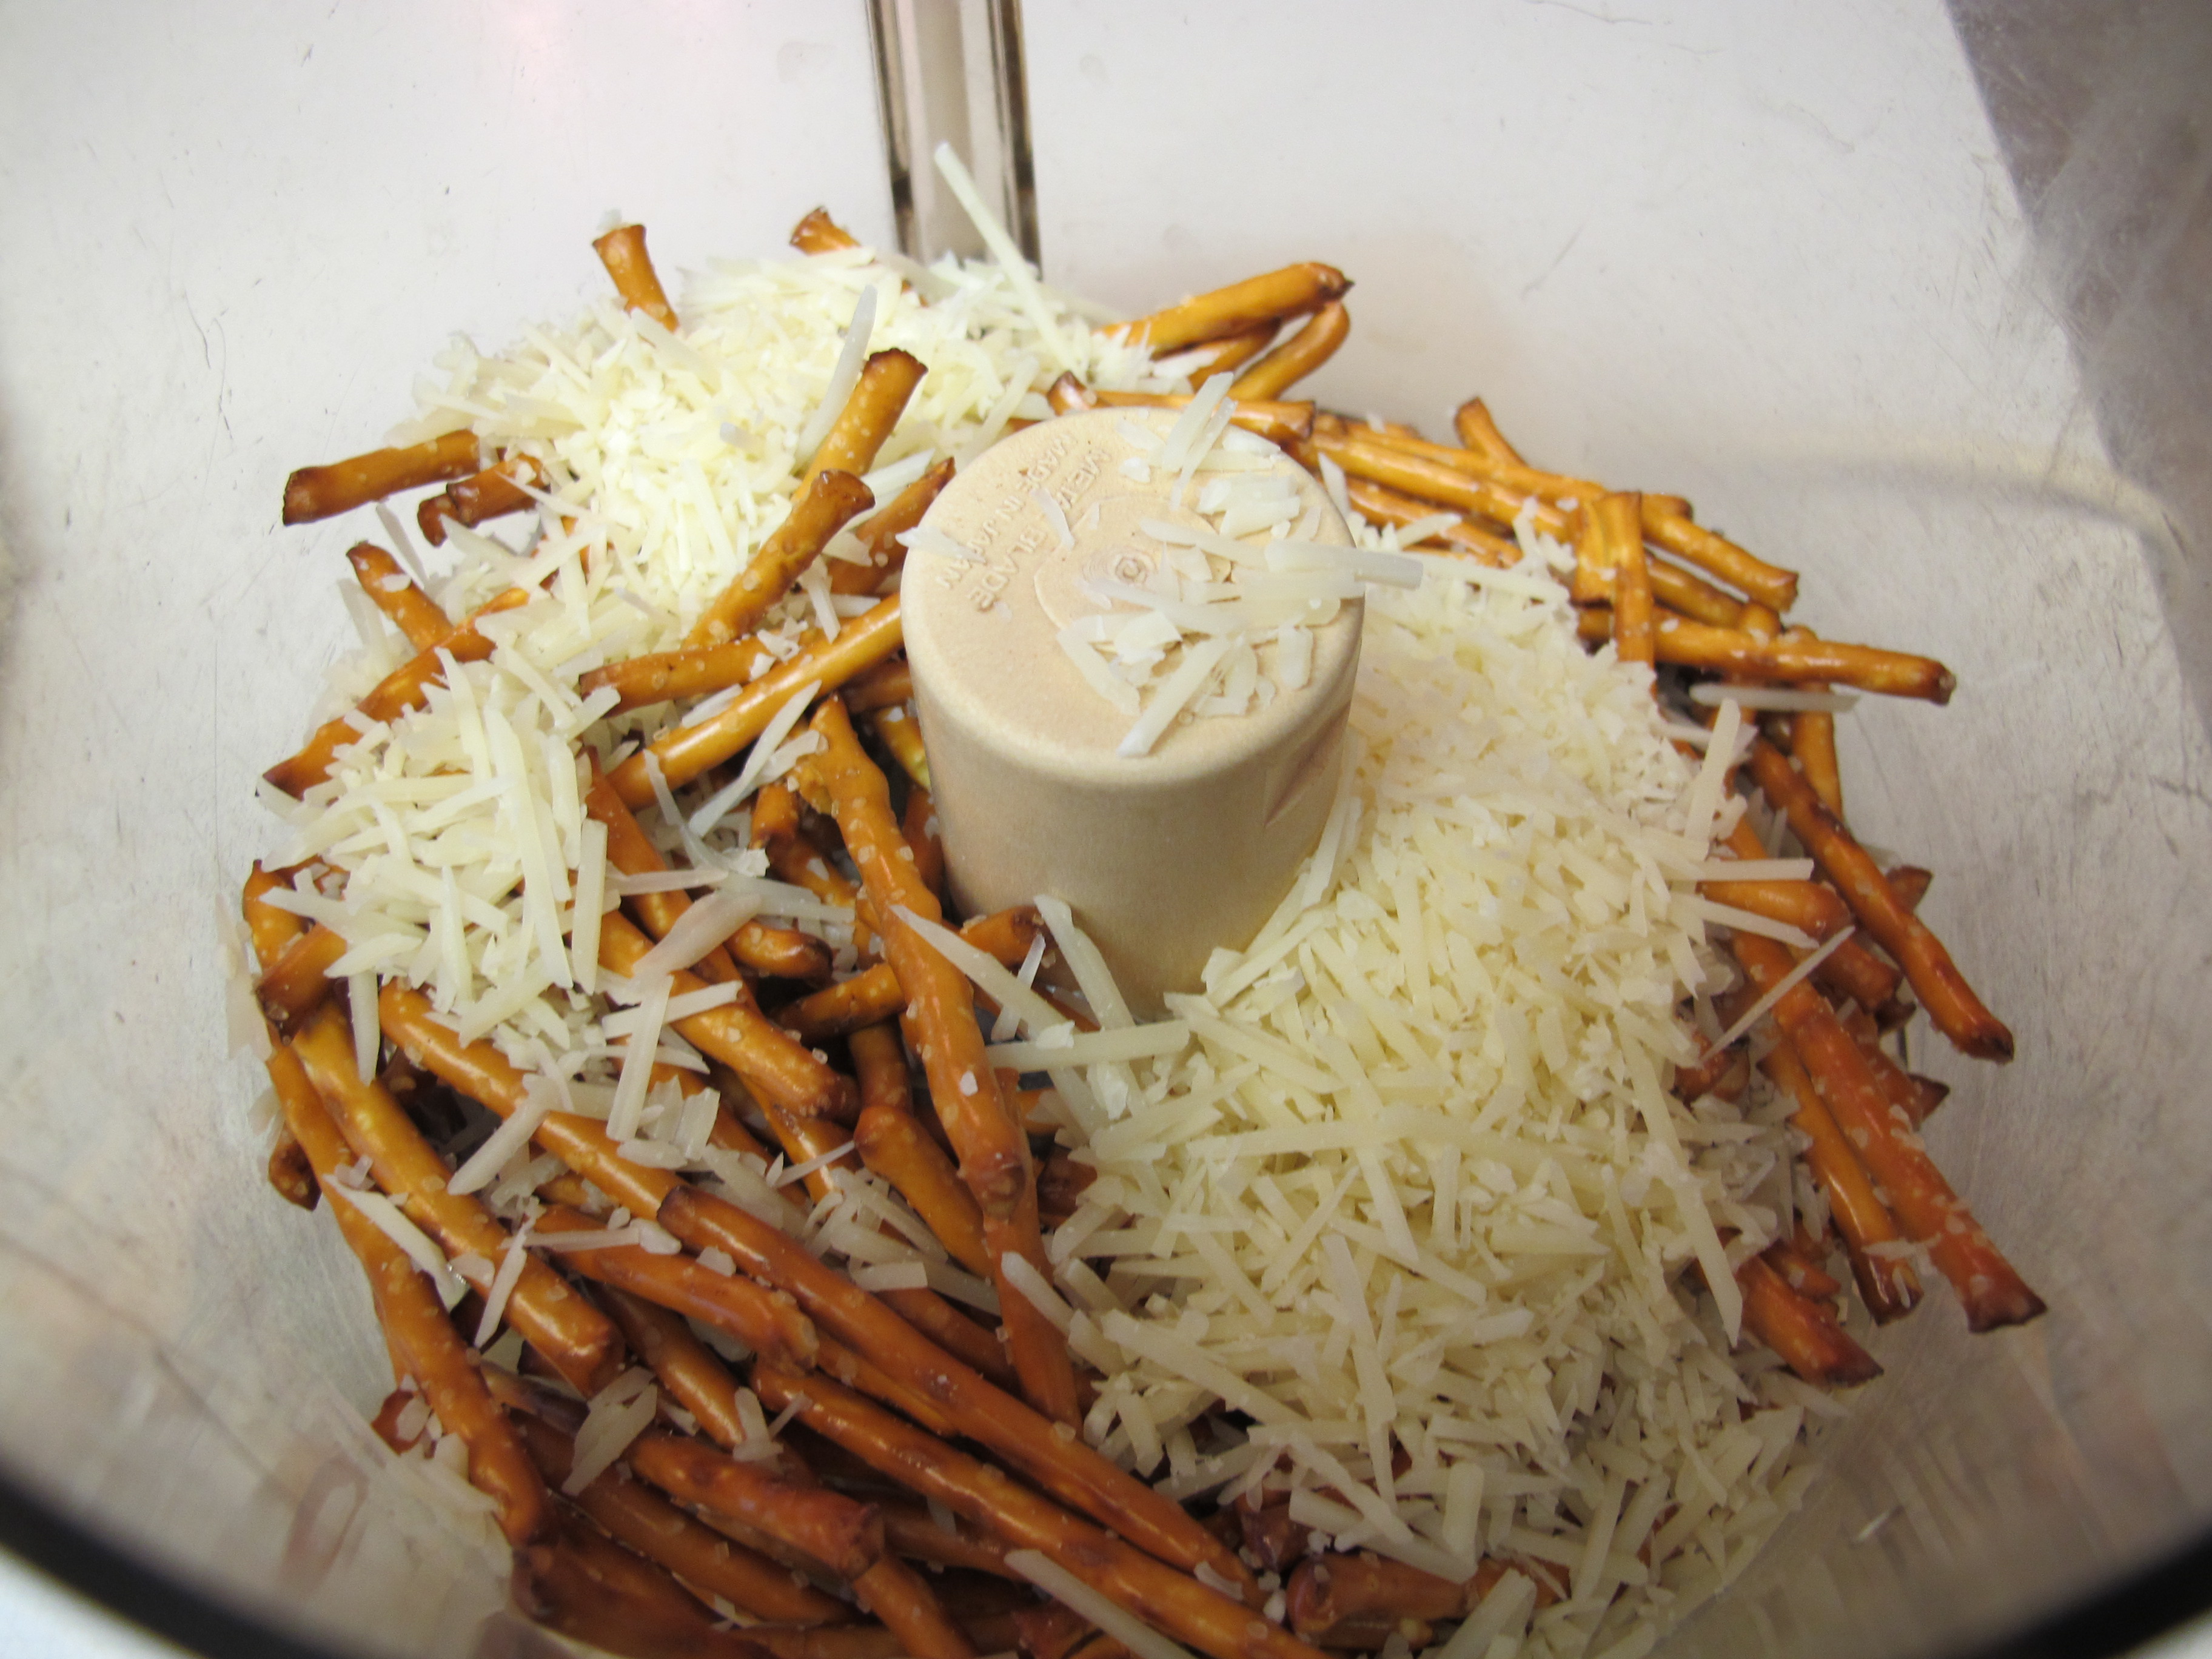
1/2 cup grated Parmesan cheese
Place pretzels and Parmesan cheese in a food processor and pulse until coarsely ground and well mixed. Transfer to a bowl.
1/4 cup flour
1/4 cup Hidden Valley dry salad dressing mix
1/4 tsp. pepper
Combine flour, dressing mix and pepper in a separate bowl.
2 eggs
Beat eggs with 1 tsp. water in a third bowl.
1 lbs. (2 breasts) boneless, skinless chicken breasts, cut into 2-inch pieces
Line up bowls in an assembly line.
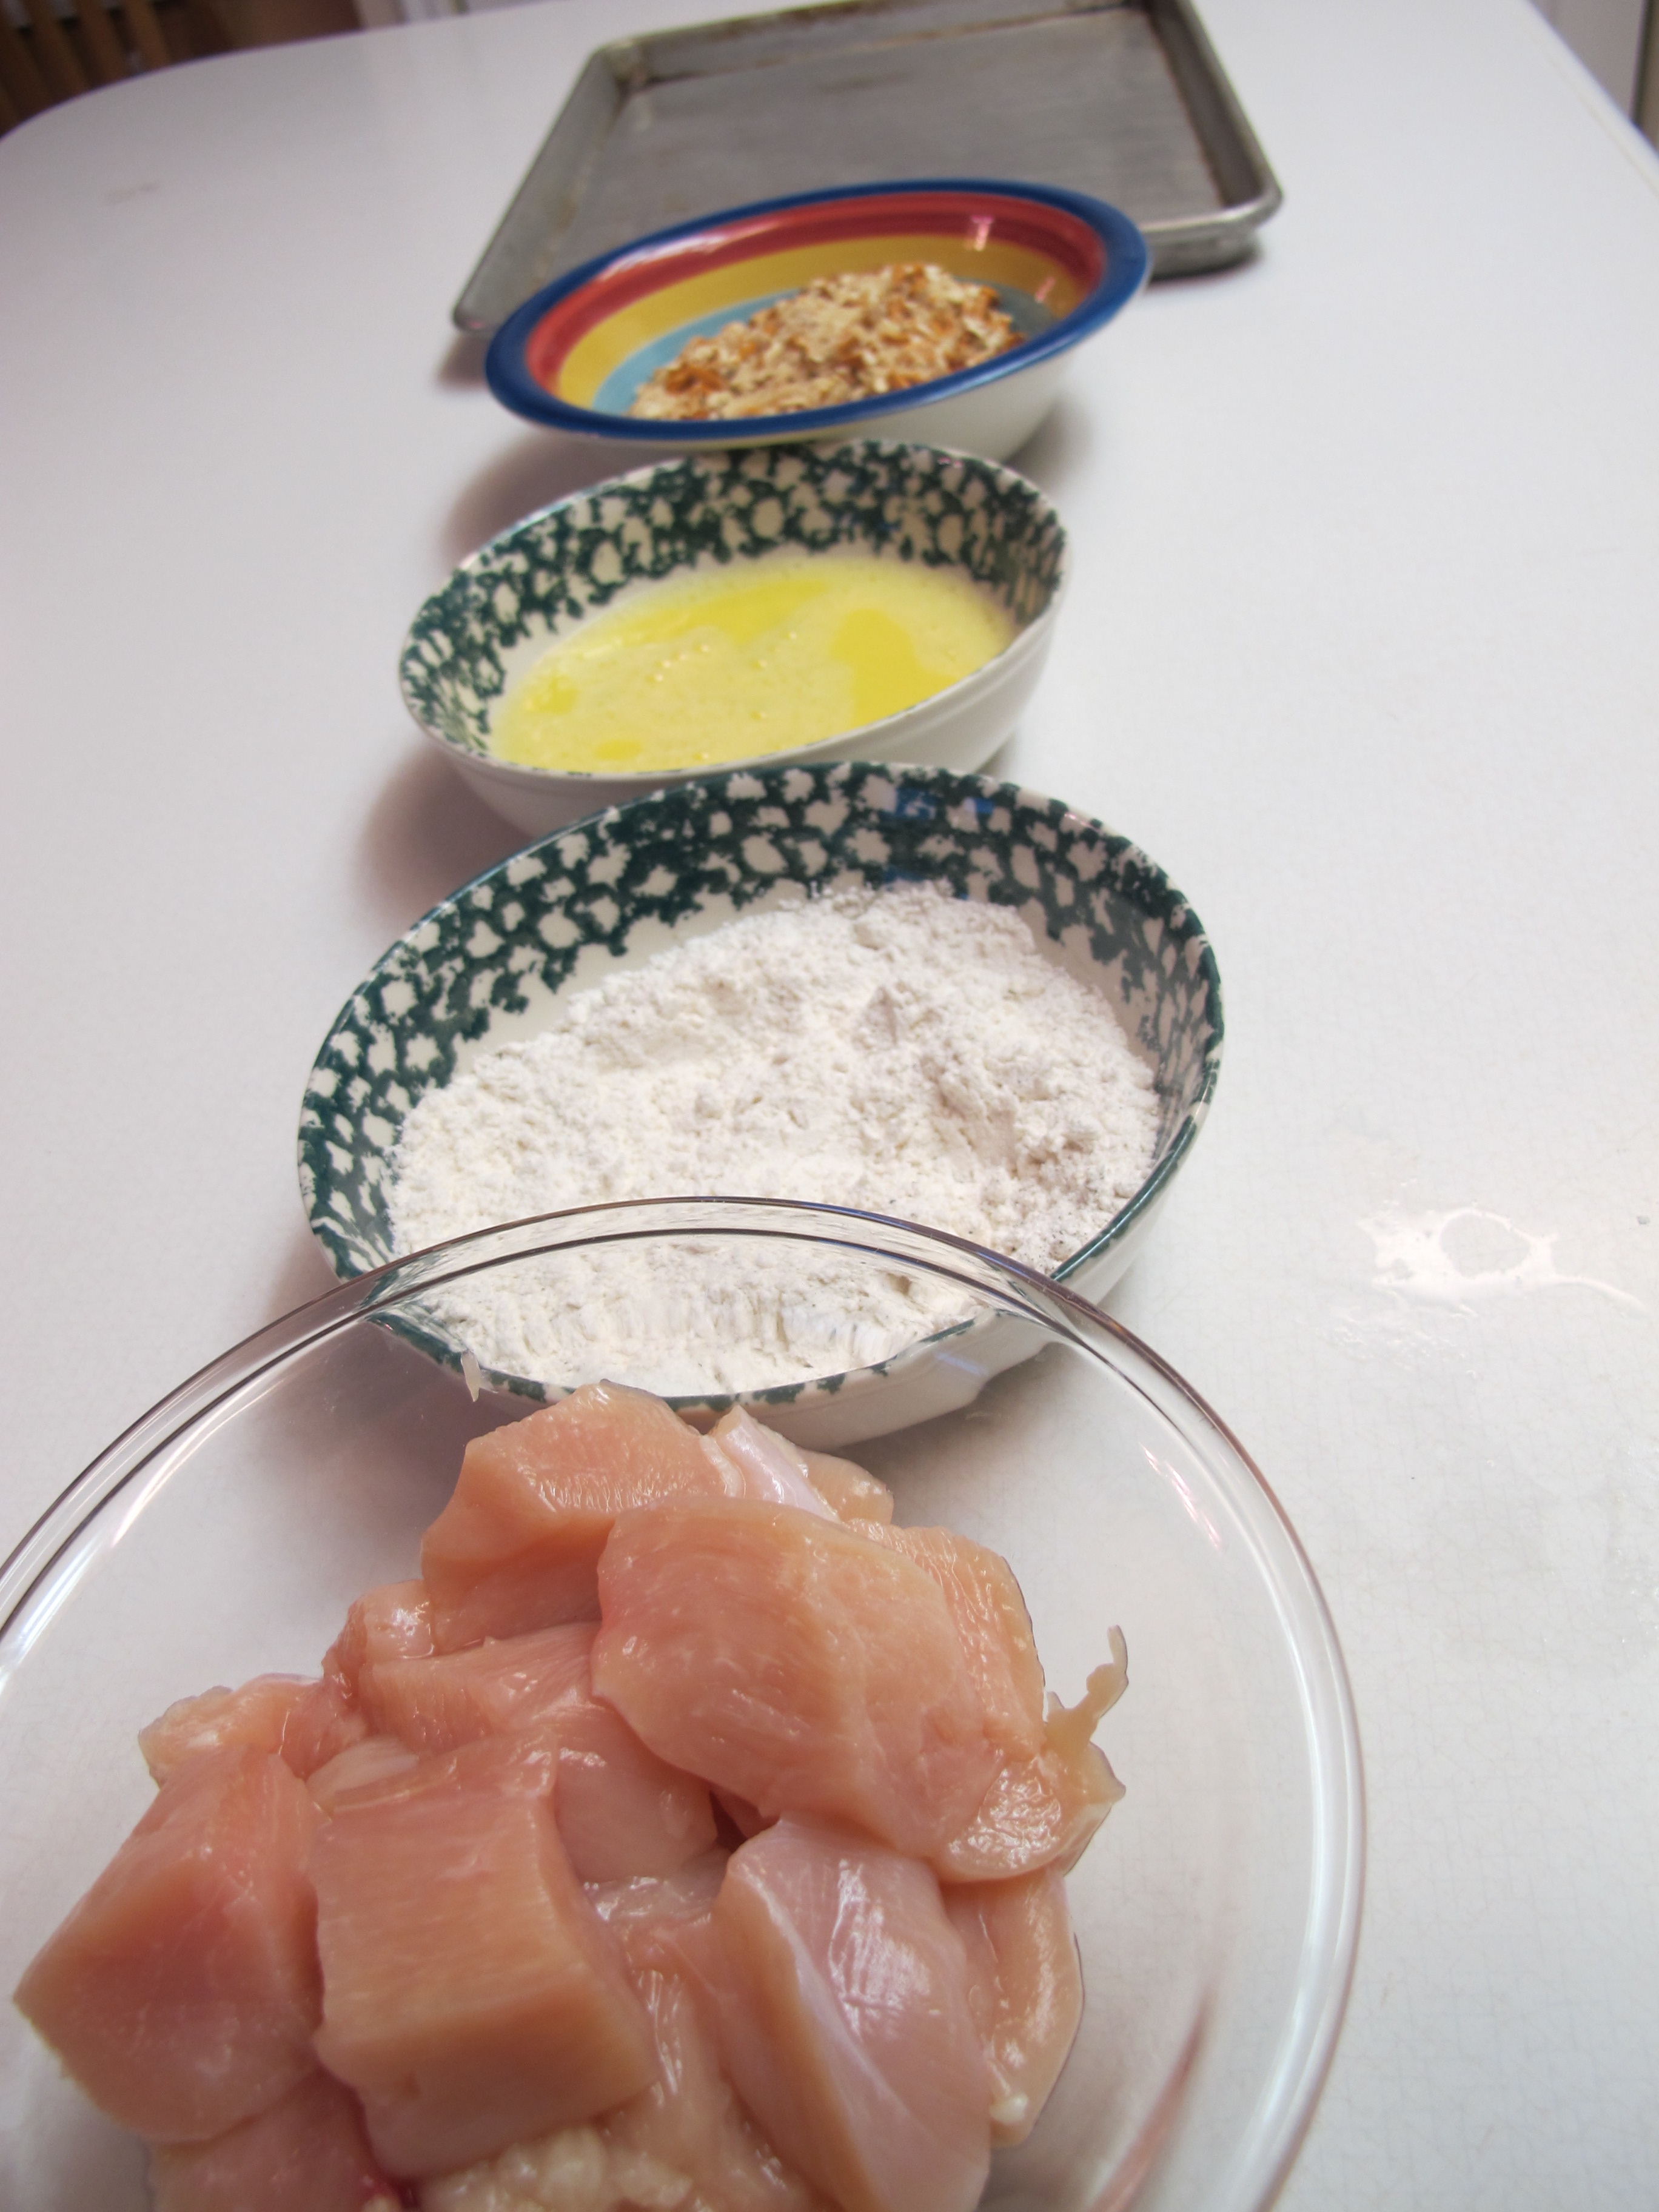
Roll a chicken piece in flour mixture until thoroughly coated.

Dip in egg, allowing excess to drip off.

Transfer to pretzel mixture and turn until thoroughly coated.
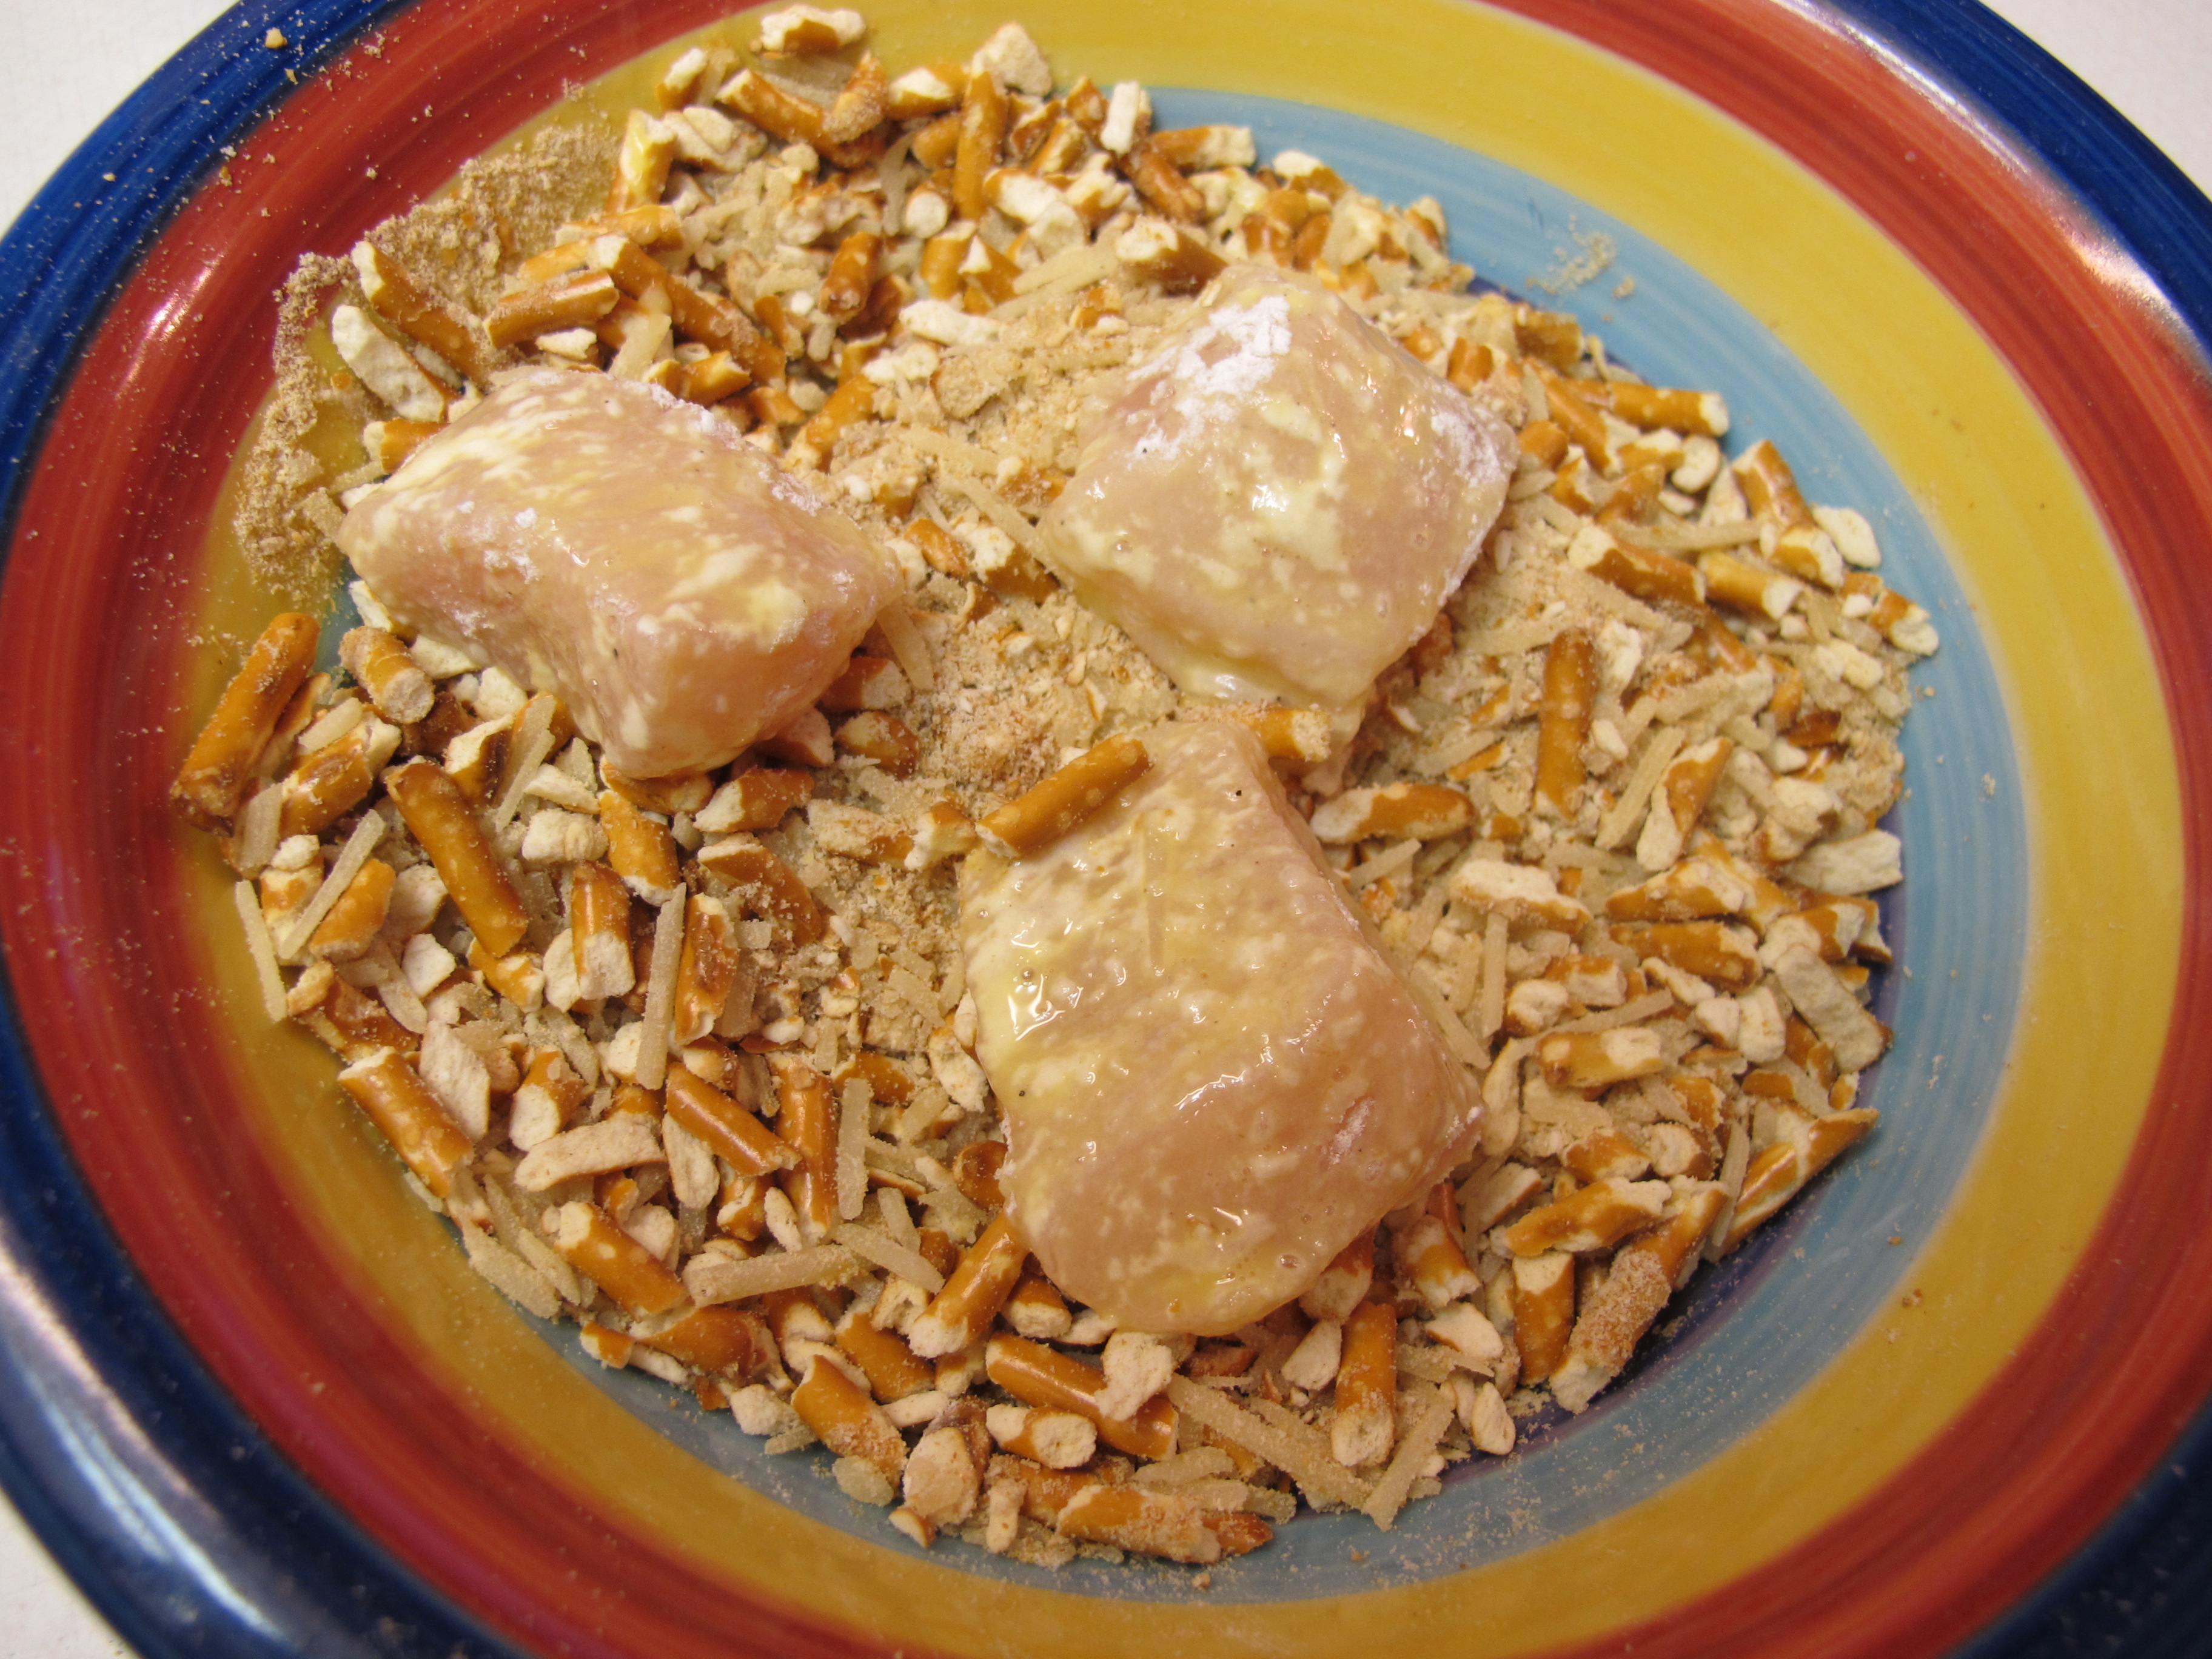
Place on baking sheet. Repeat with remaining pieces of chicken.

Bake until lightly browned – about 20 – 25 minutes.
Makes 4 servings
Nutrition: 355 Cal., 8g Fat, 1g Fiber, 37g Pro., 30g Carb.
Recipe Source: Revised from Dinner on a Dime cookbook
FULL RECIPE WITHOUT PICTURES —
PRETZEL-CRUSTED CHICKEN NUGGETS
2 cups salted pretzels (about 3 oz.)
1/2 cup grated Parmesan cheese
1/4 cup flour
1/4 cup Hidden Valley dry salad dressing mix
1/4 tsp. pepper
2 eggs
1 lbs. (2 breasts) boneless, skinless chicken breasts, cut into 2-inch pieces
Preheat oven to 400 degrees.
Coat a large cookie sheet with cooking spray.
Place pretzels and Parmesan cheese in a food processor and pulse until coarsely ground and well mixed. Transfer to a bowl.
Combine flour, dressing mix and pepper in a separate bowl.
Beat eggs with 1 tsp. water in a third bowl.
Roll a chicken piece in flour mixture until thoroughly coated. Dip in egg, allowing excess to drip off. Transfer to pretzel mixture and turn until thoroughly coated. Place on baking sheet. Repeat with remaining pieces of chicken.
Bake until lightly browned – about 20 – 25 minutes.
Makes 4 servings
Nutrition: 355 Cal., 8g Fat, 1g Fiber, 37g Pro., 30g Carb.
Recipe Source: Revised from Dinner on a Dime cookbook
Pork Lo Mein


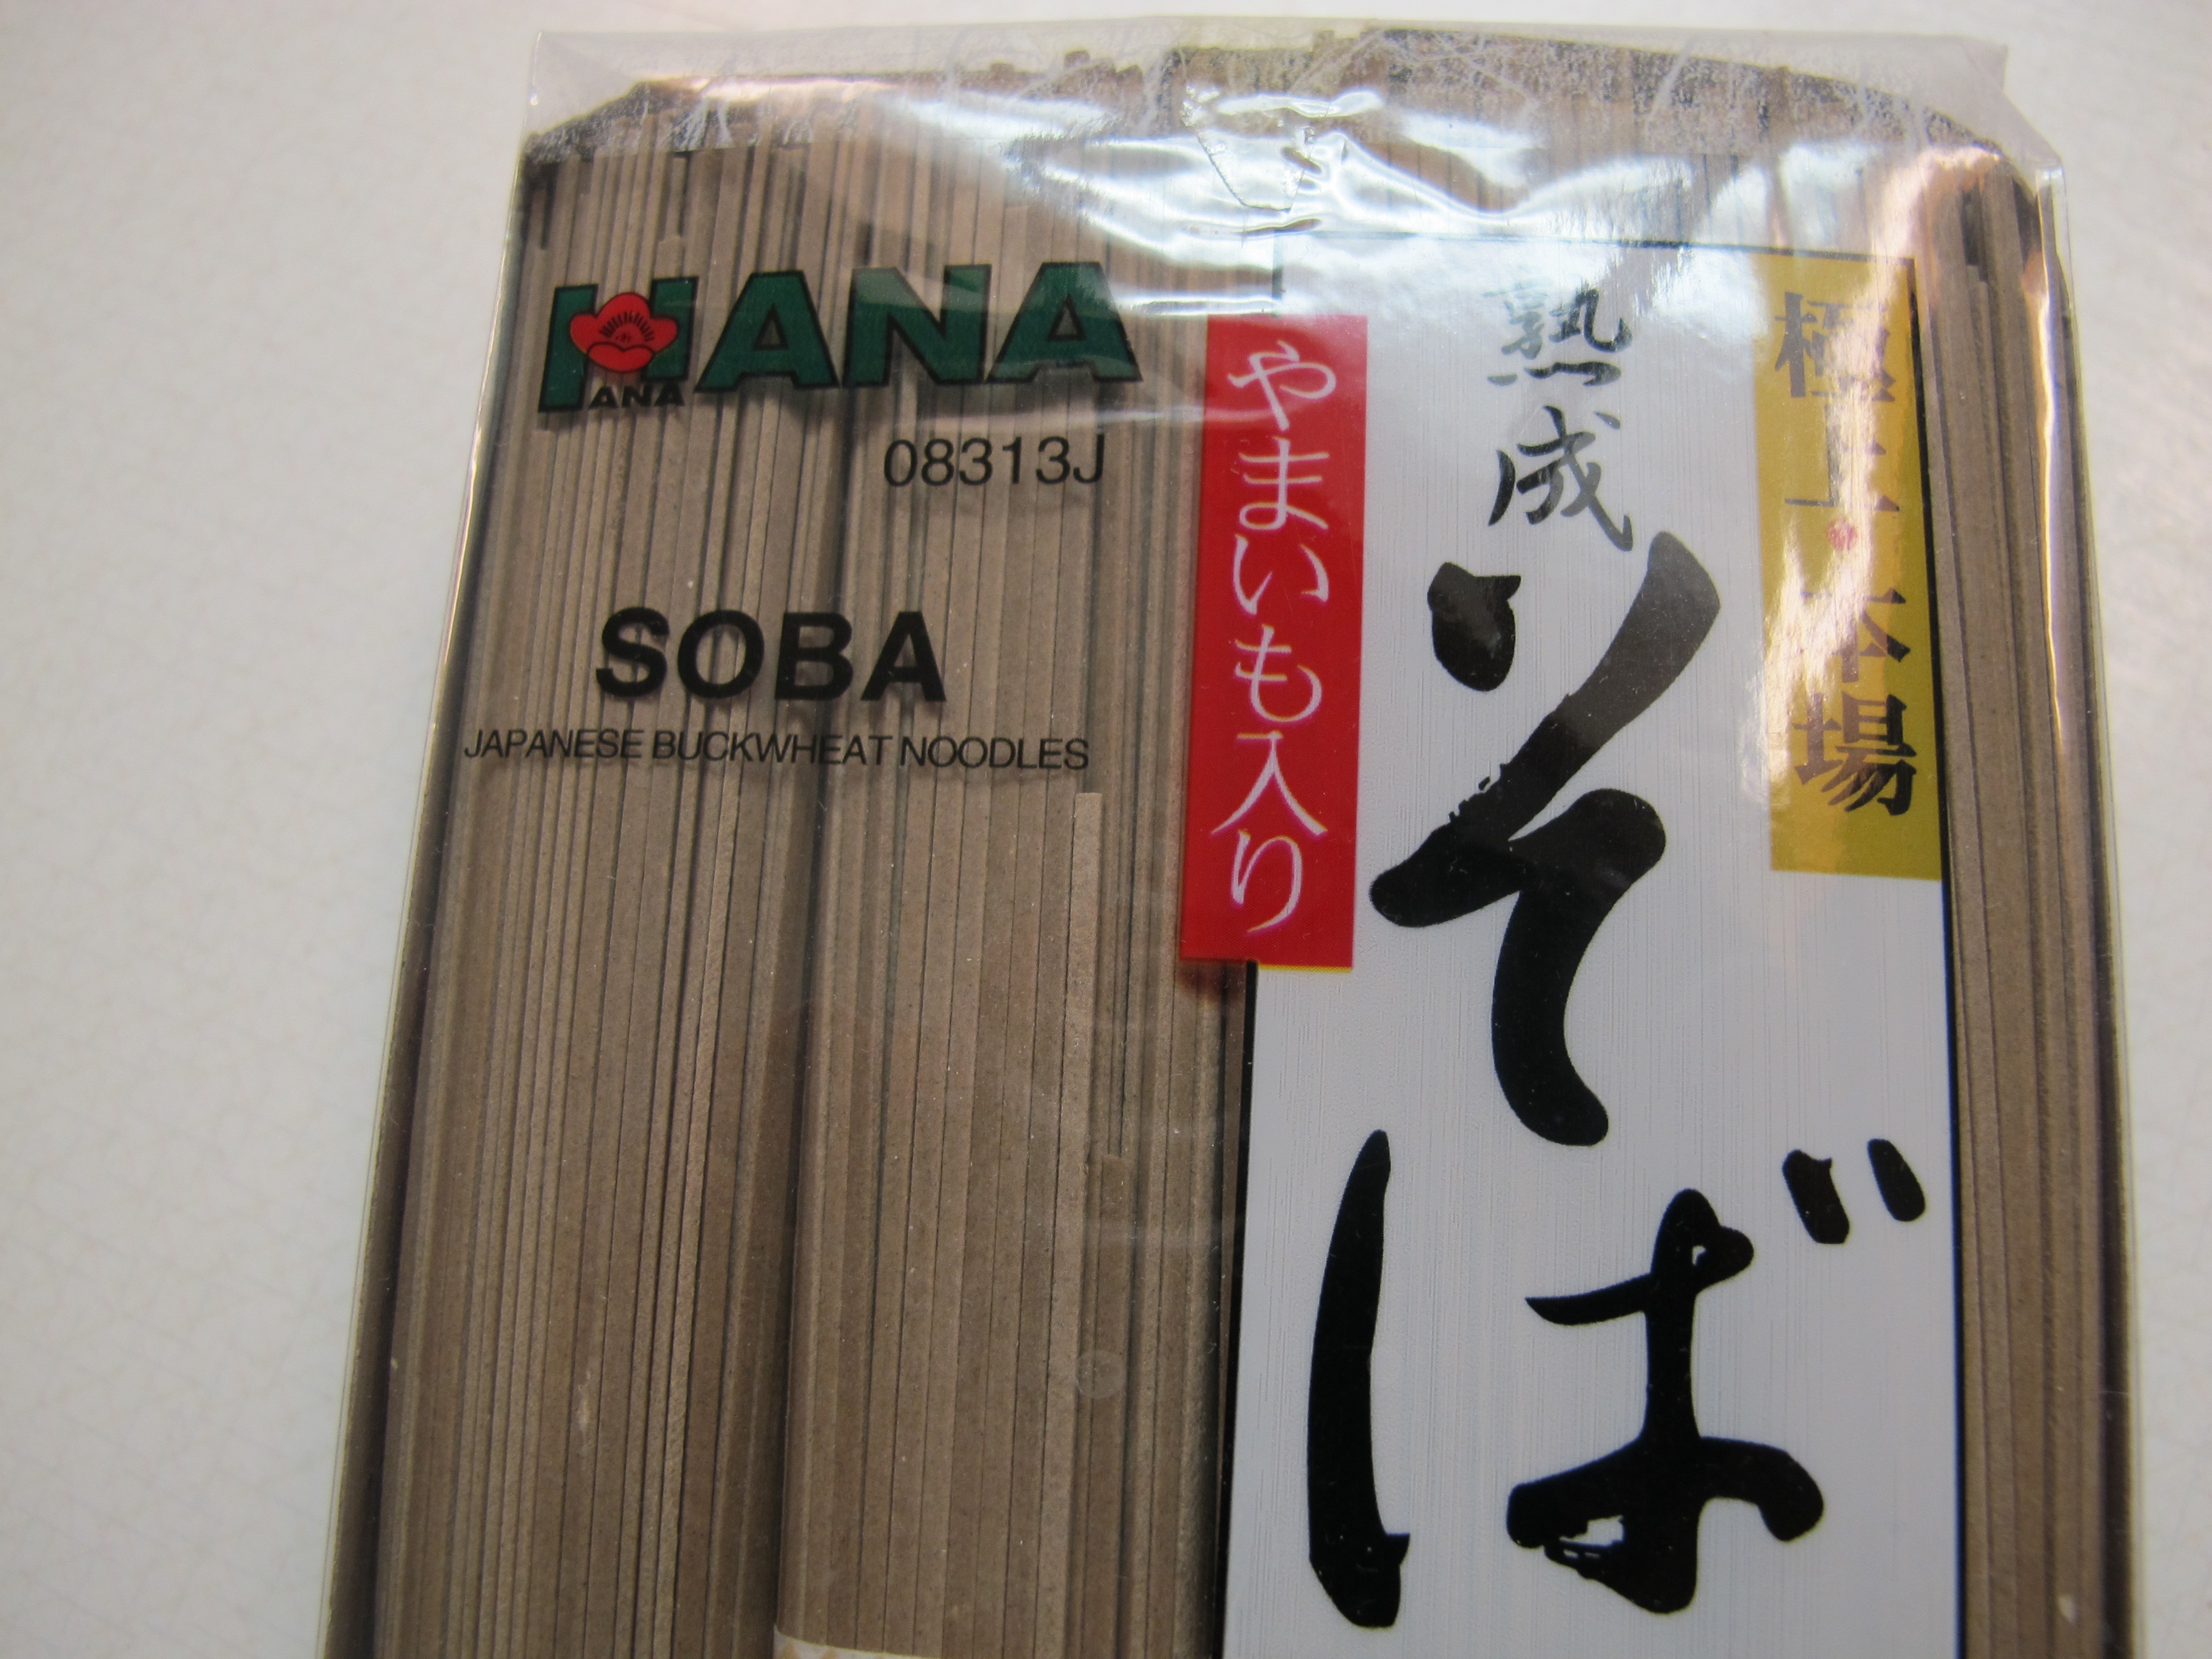
Soba noodles are Asian noodles, similar to spaghetti noodles. They can be purchased at an Asian market. I bought them at Ocean Mart on 90th South, just east of the freeway. There are many varieties. The ones I purchased were whole wheat.
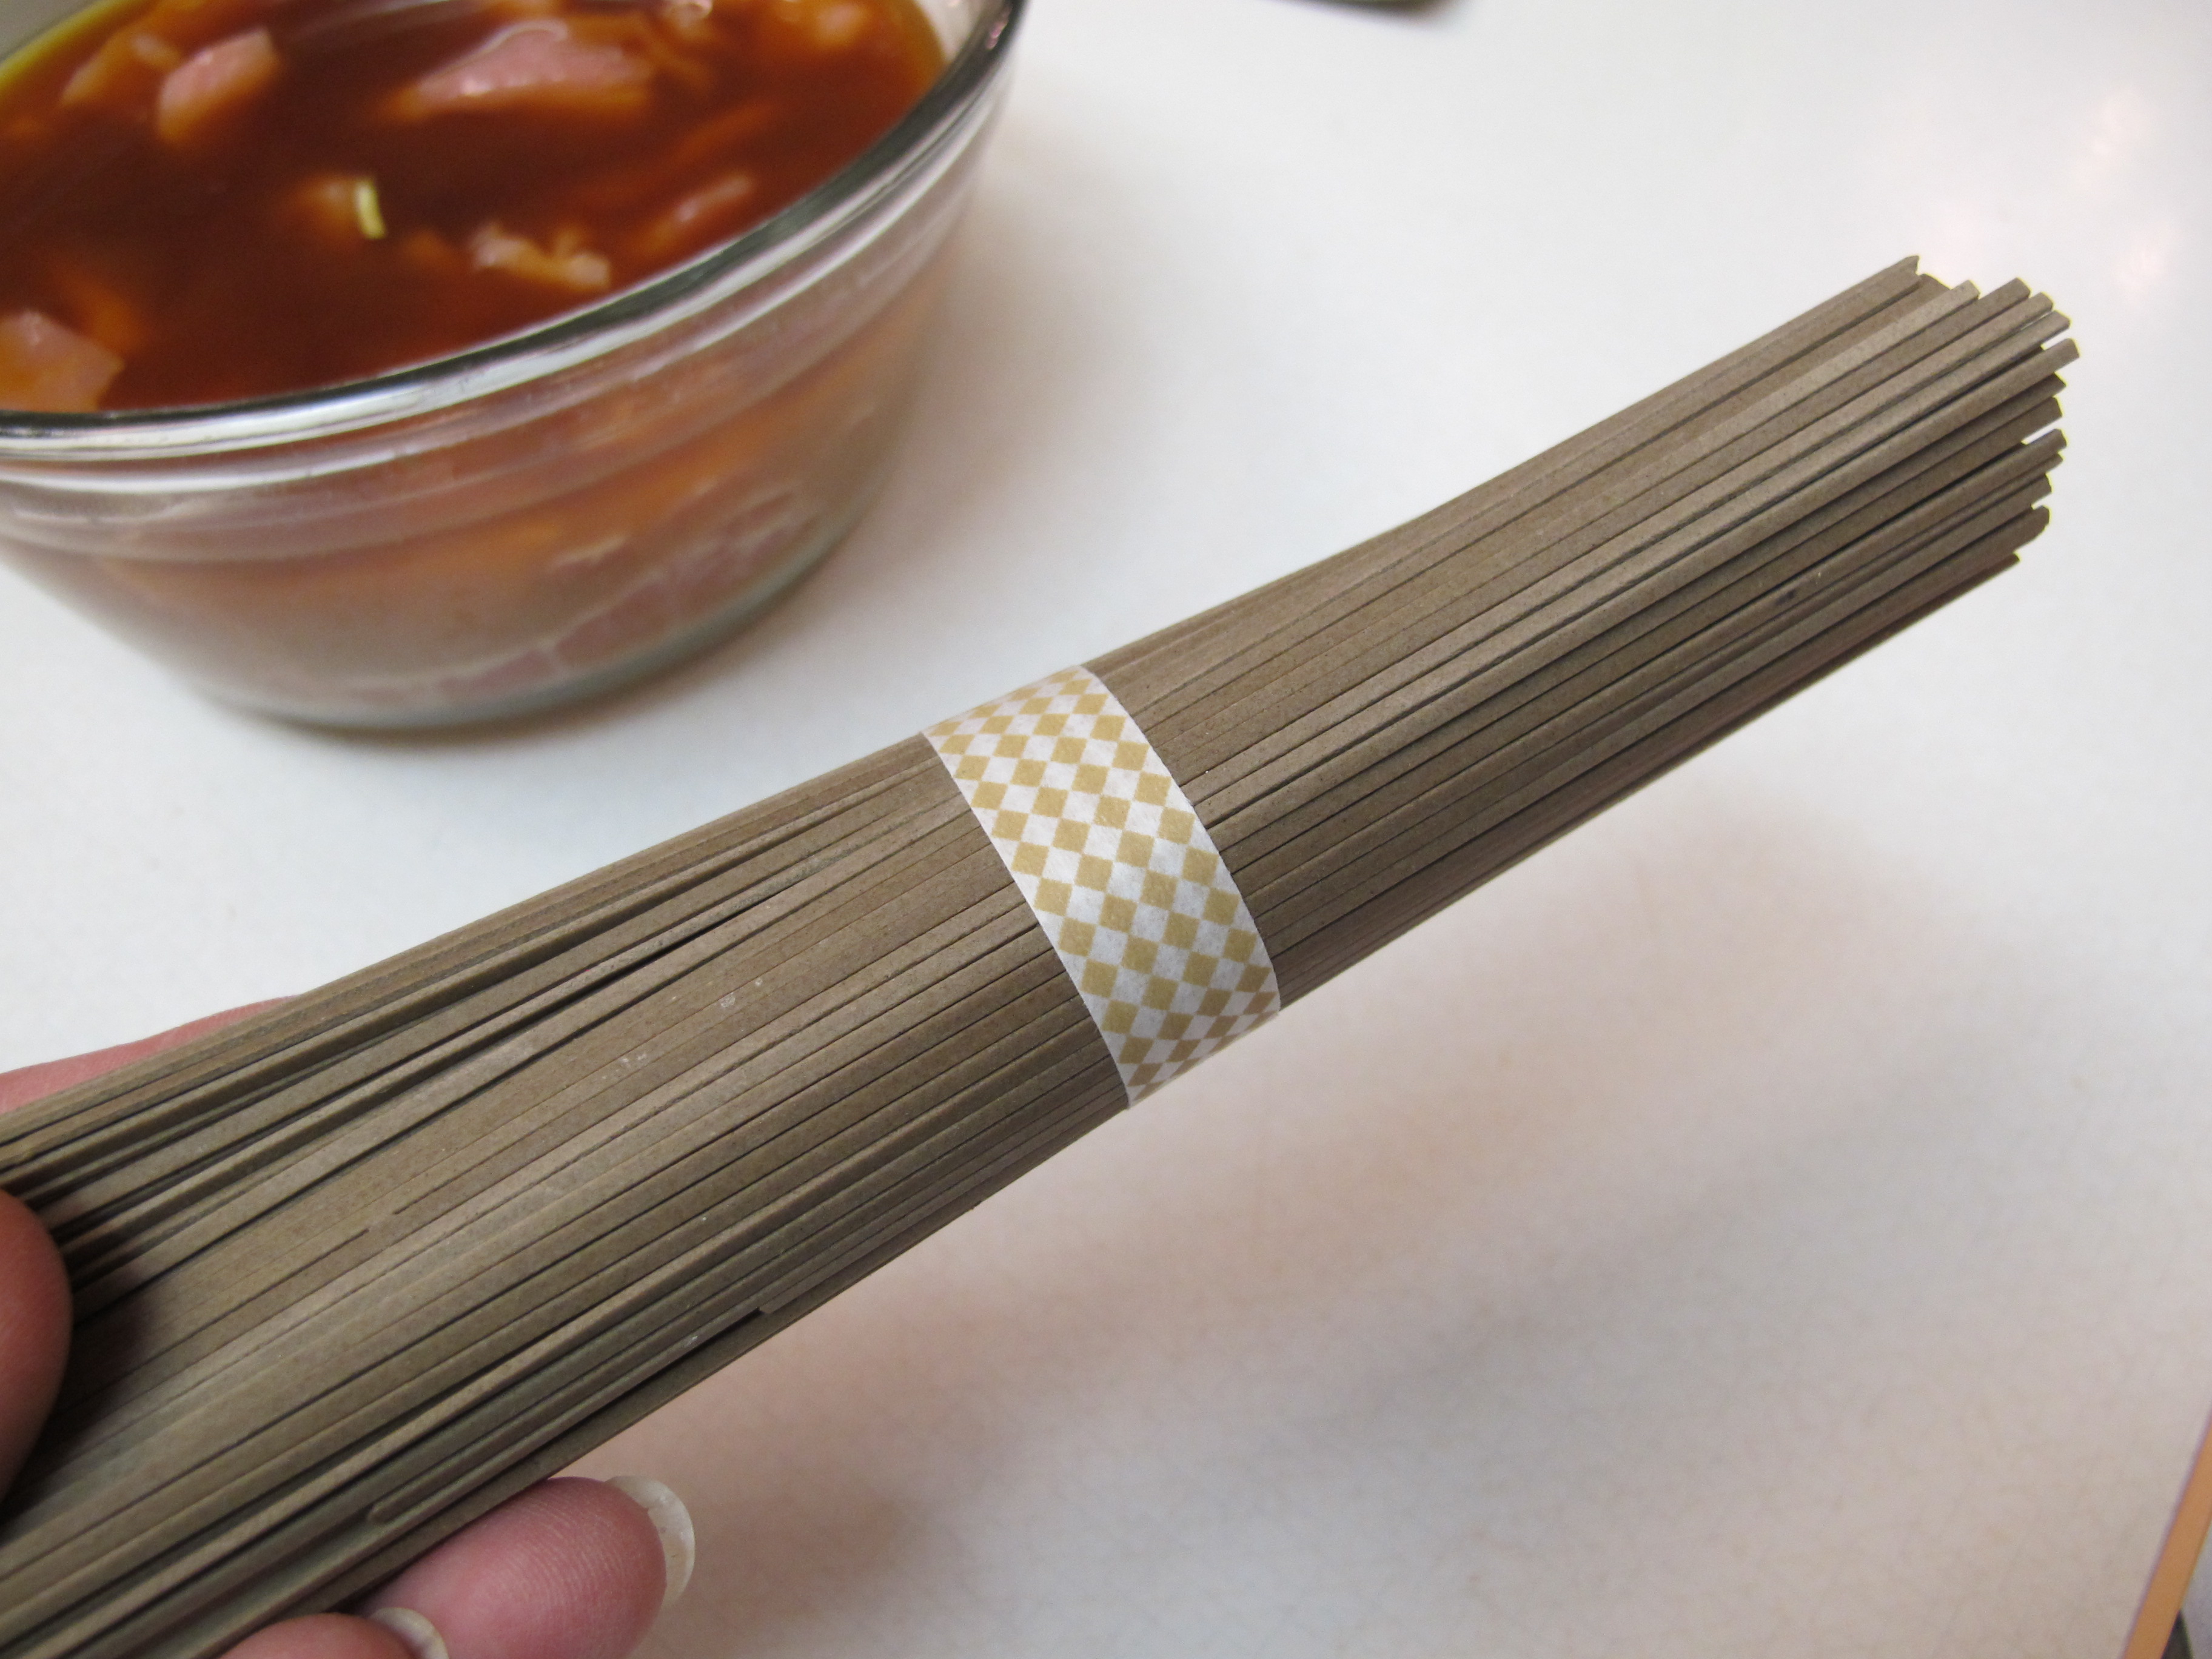
6 oz. soba noodles or whole wheat spaghetti
Bring a large pot of water to boil Cook soba noodles until tender. Check them often as soba noodles cook very quickly. Spaghetti will take a bit longer.

1/4 cup reduced sodium soy sauce
1 T. plus 1 tsp. cornstarch
2 tsp. sugar
2 T. rice vinegar
1 cup chicken broth
2 lean, boneless center-cut pork chops, cut into thin strips
Whisk together soy sauce, cornstarch, sugar, vinegar and broth. Add pork and toss to coat. Set aside to marinate for 10 minutes at room temperature.
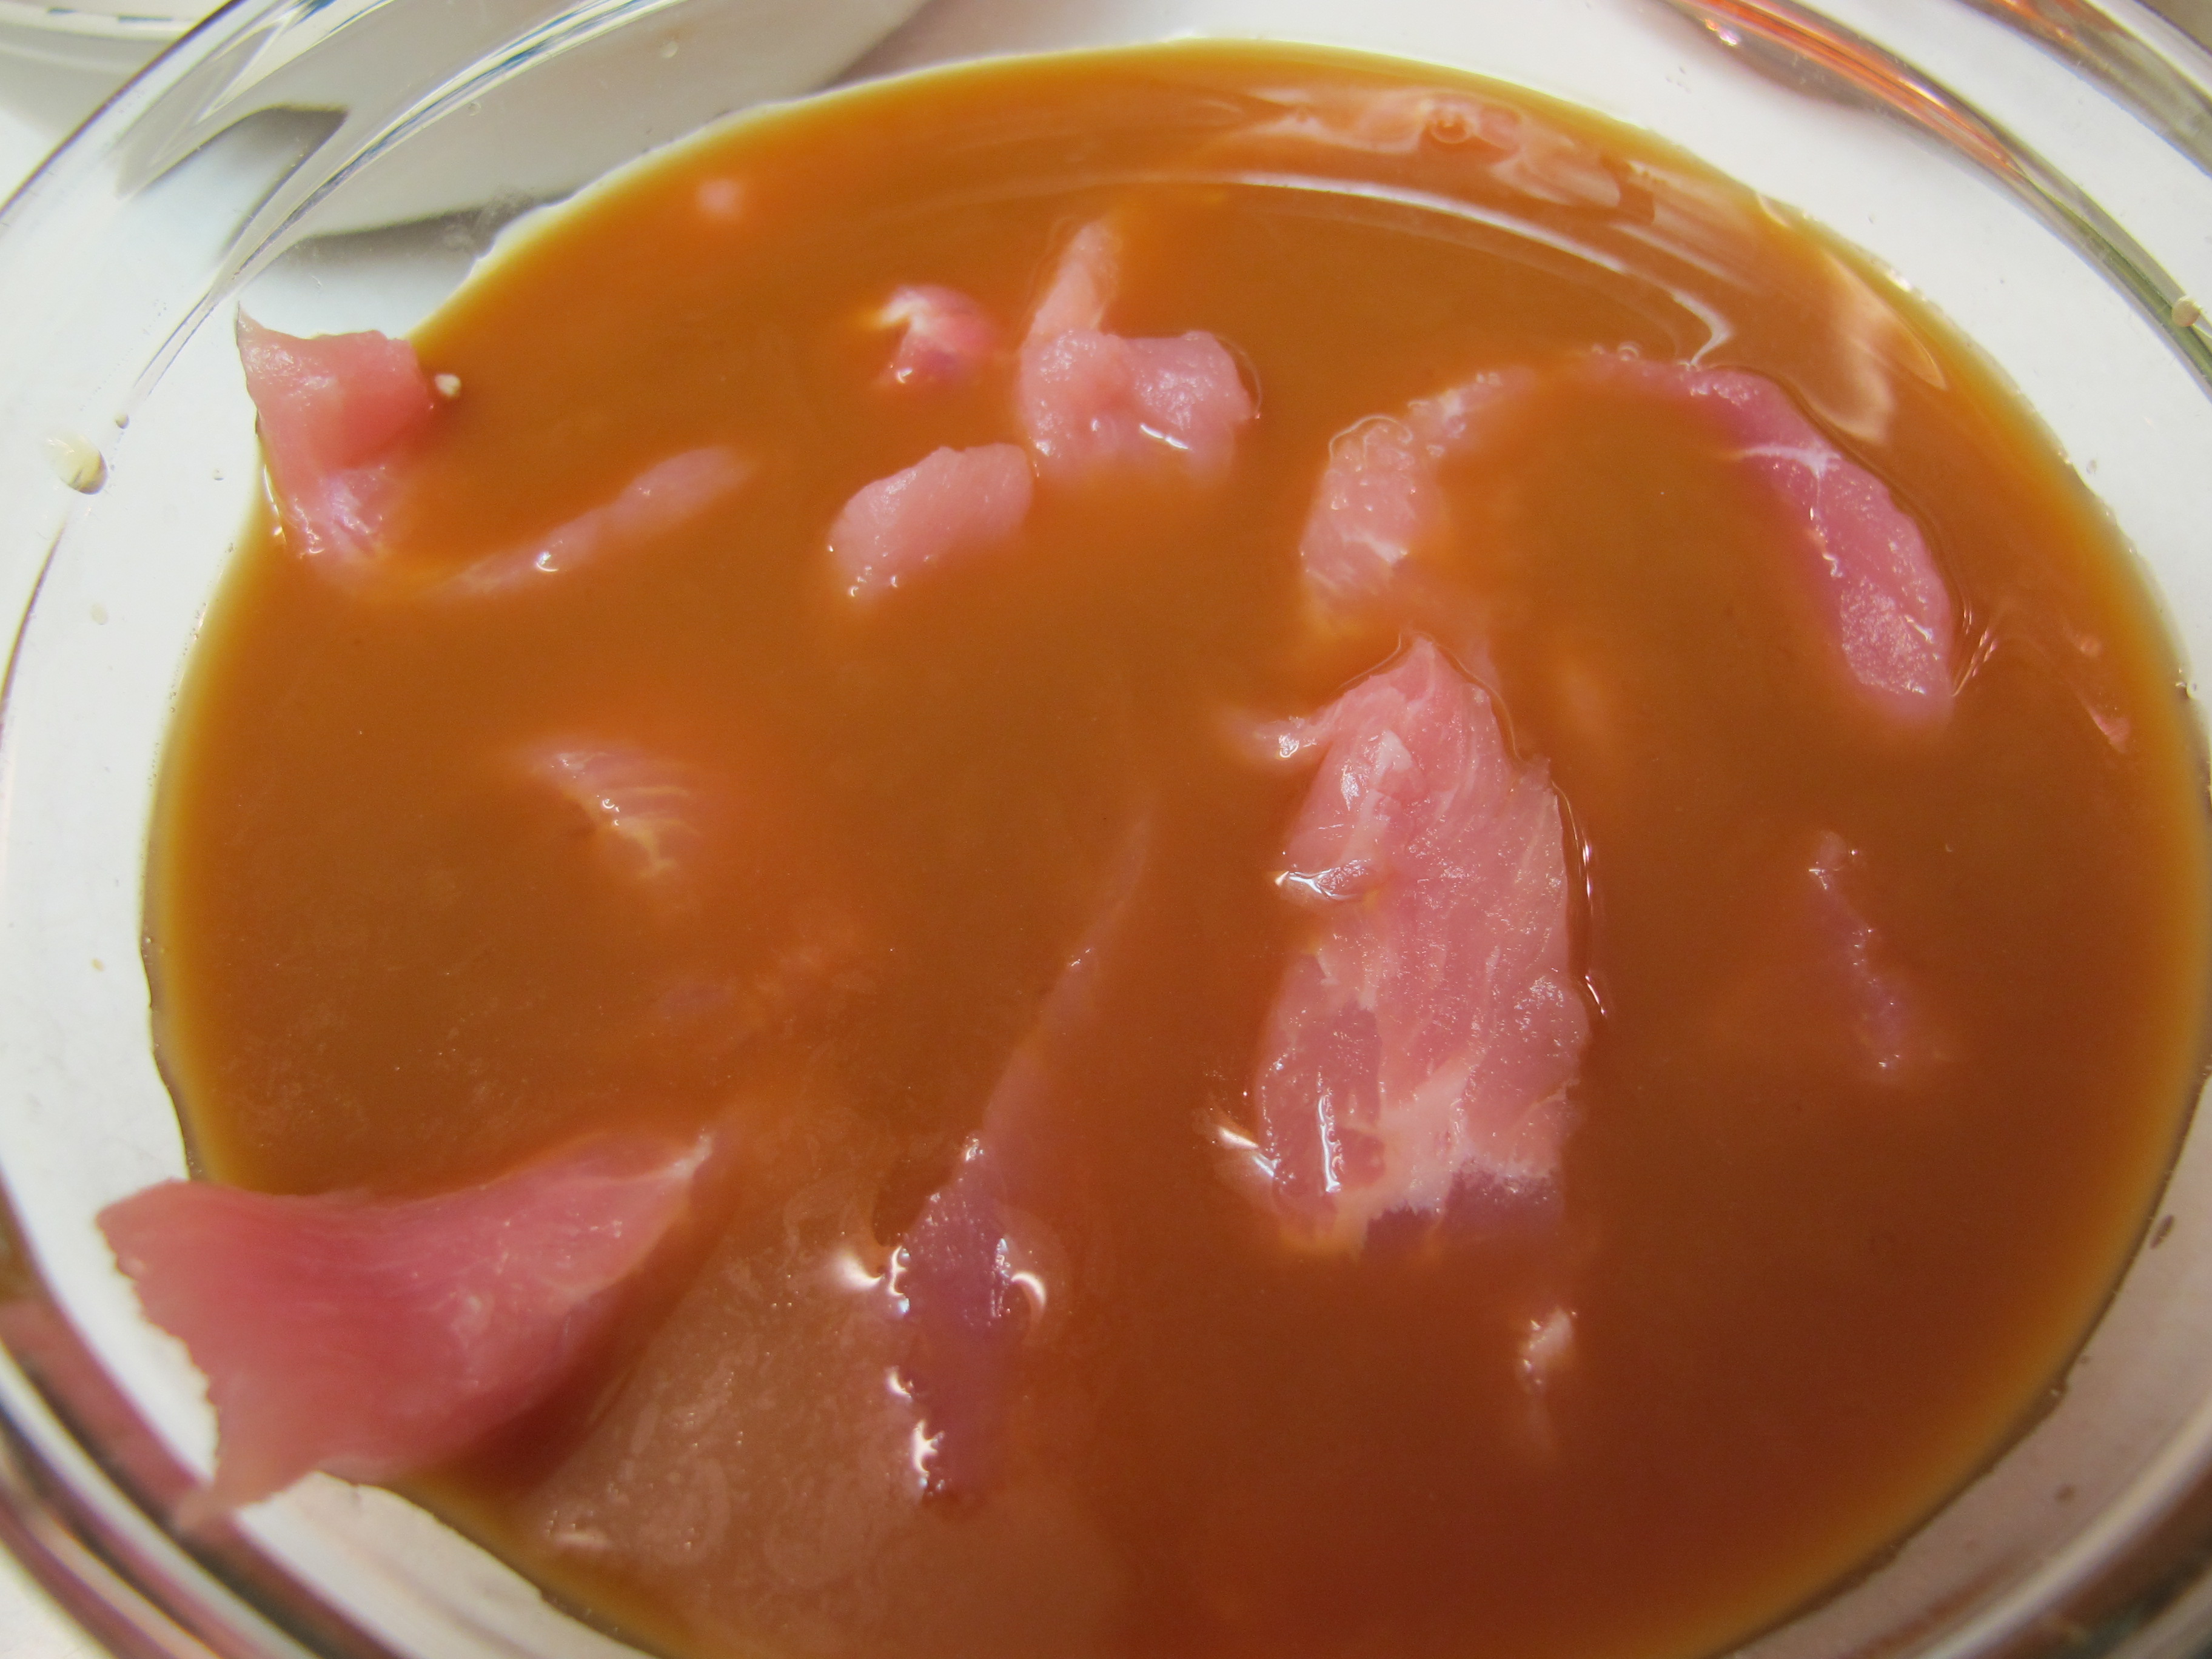
Heat a large non-stick skillet. Add pork and marinade; stir-fry until meat is no longer pink, about 3 minutes.
4 cups thinly sliced cabbage (from about 1/2 head)
Add cabbage and stir-fry until just wilted, about 2 minutes.

1 medium carrot, grated
1 cup snow peas, about 3 oz.
1 cup mushrooms, roughly chopped
Stir in carrots, snow pea and mushrooms. Cook until snow peas are slightly softened yet firm, about 2 minutes.

2 scallions, thinly sliced
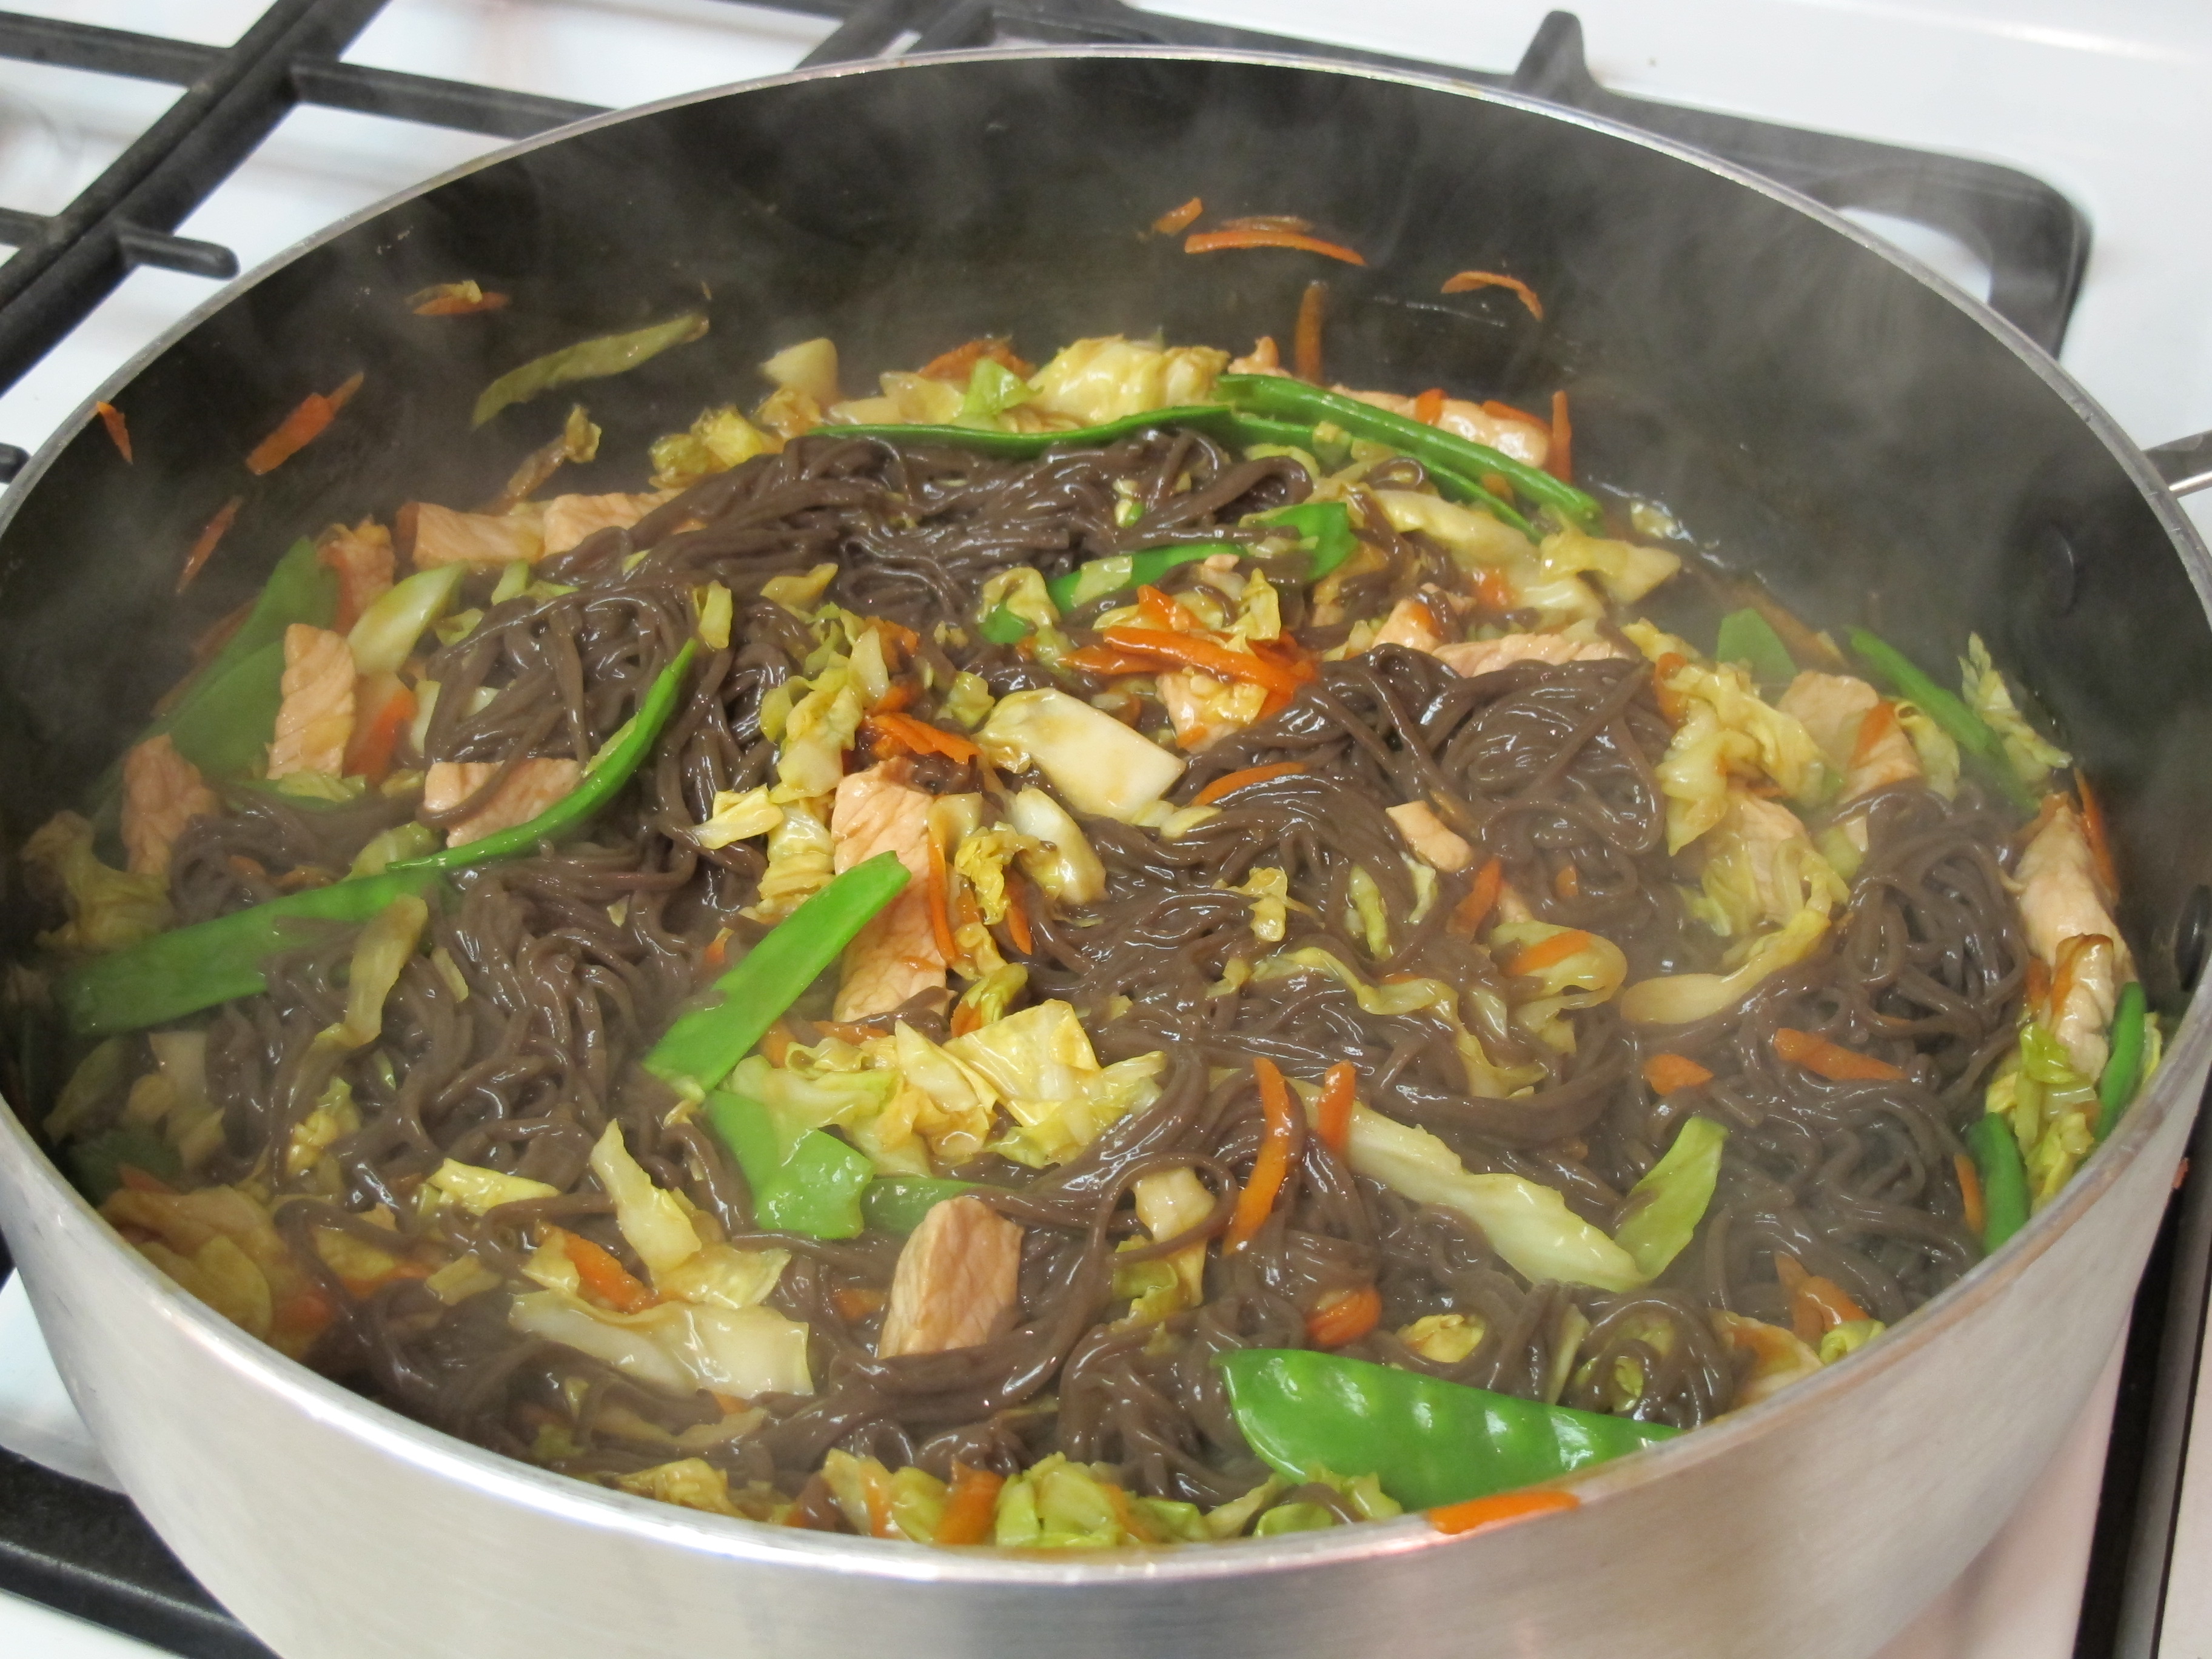
Stir in noodles and toss to coat with sauce and warm through, about 1 minute.
NOTE: If you can’t fit the noodles in the skillet along with the pork mixture, remove the meat and vegetables to a large bowl using tongs or a slotted spoon. Add the noodles to the skillet with the sauce. Toss for 1 minute, then add to the bowl and toss again.
Divide mixture among 6 bowls, sprinkle with scallions and serve immediately.
Recipe Source: Dinner on a Dime Cookbook – page 83
FULL RECIPE WITHOUT PICTURES —
PORK LO MEIN
6 oz. soba noodles or whole wheat spaghetti
1/4 cup reduced sodium soy sauce
1 T. plus 1 tsp. cornstarch
2 tsp. sugar
2 T. rice vinegar
1 cup chicken broth
2 lean, boneless center-cut pork chops, cut into thin strips
4 cups thinly sliced cabbage (from about 1/2 head)
1 medium carrot, grated
1 cup snow peas, about 3 oz.
1 cup mushrooms, roughly chopped
2 scallions, thinly sliced
Bring a large pot of water to boil Cook soba noodles until tender. Check them often as soba noodles cook very quickly. Spaghetti will take a bit longer.
Whisk together soy sauce, cornstarch, sugar, vinegar and broth. Add pork and toss to coat. Set aside to marinate for 10 minutes at room temperature.
Heat a large non-stick skillet. Add pork and marinade; stir-fry until meat is no longer pink, about 3 minutes.
Add cabbage and stir-fry until just wilted, about 2 minutes.
Stir in carrots, snow pea and mushrooms. Cook until snow peas are slightly softened yet firm, about 2 minutes.
Stir in noodles and toss to coat with sauce and warm through, about 1 minute.
NOTE: If you can’t fit the noodles in the skillet along with the pork mixture, remove the meat and vegetables to a large bowl using tongs or a slotted spoon. Add the noodles to the skillet with the sauce. Toss for 1 minute, then add to the bowl and toss again.
Divide mixture among 6 bowls, sprinkle with scallions and serve immediately.
Recipe Source: Dinner on a Dime Cookbook – page 83

