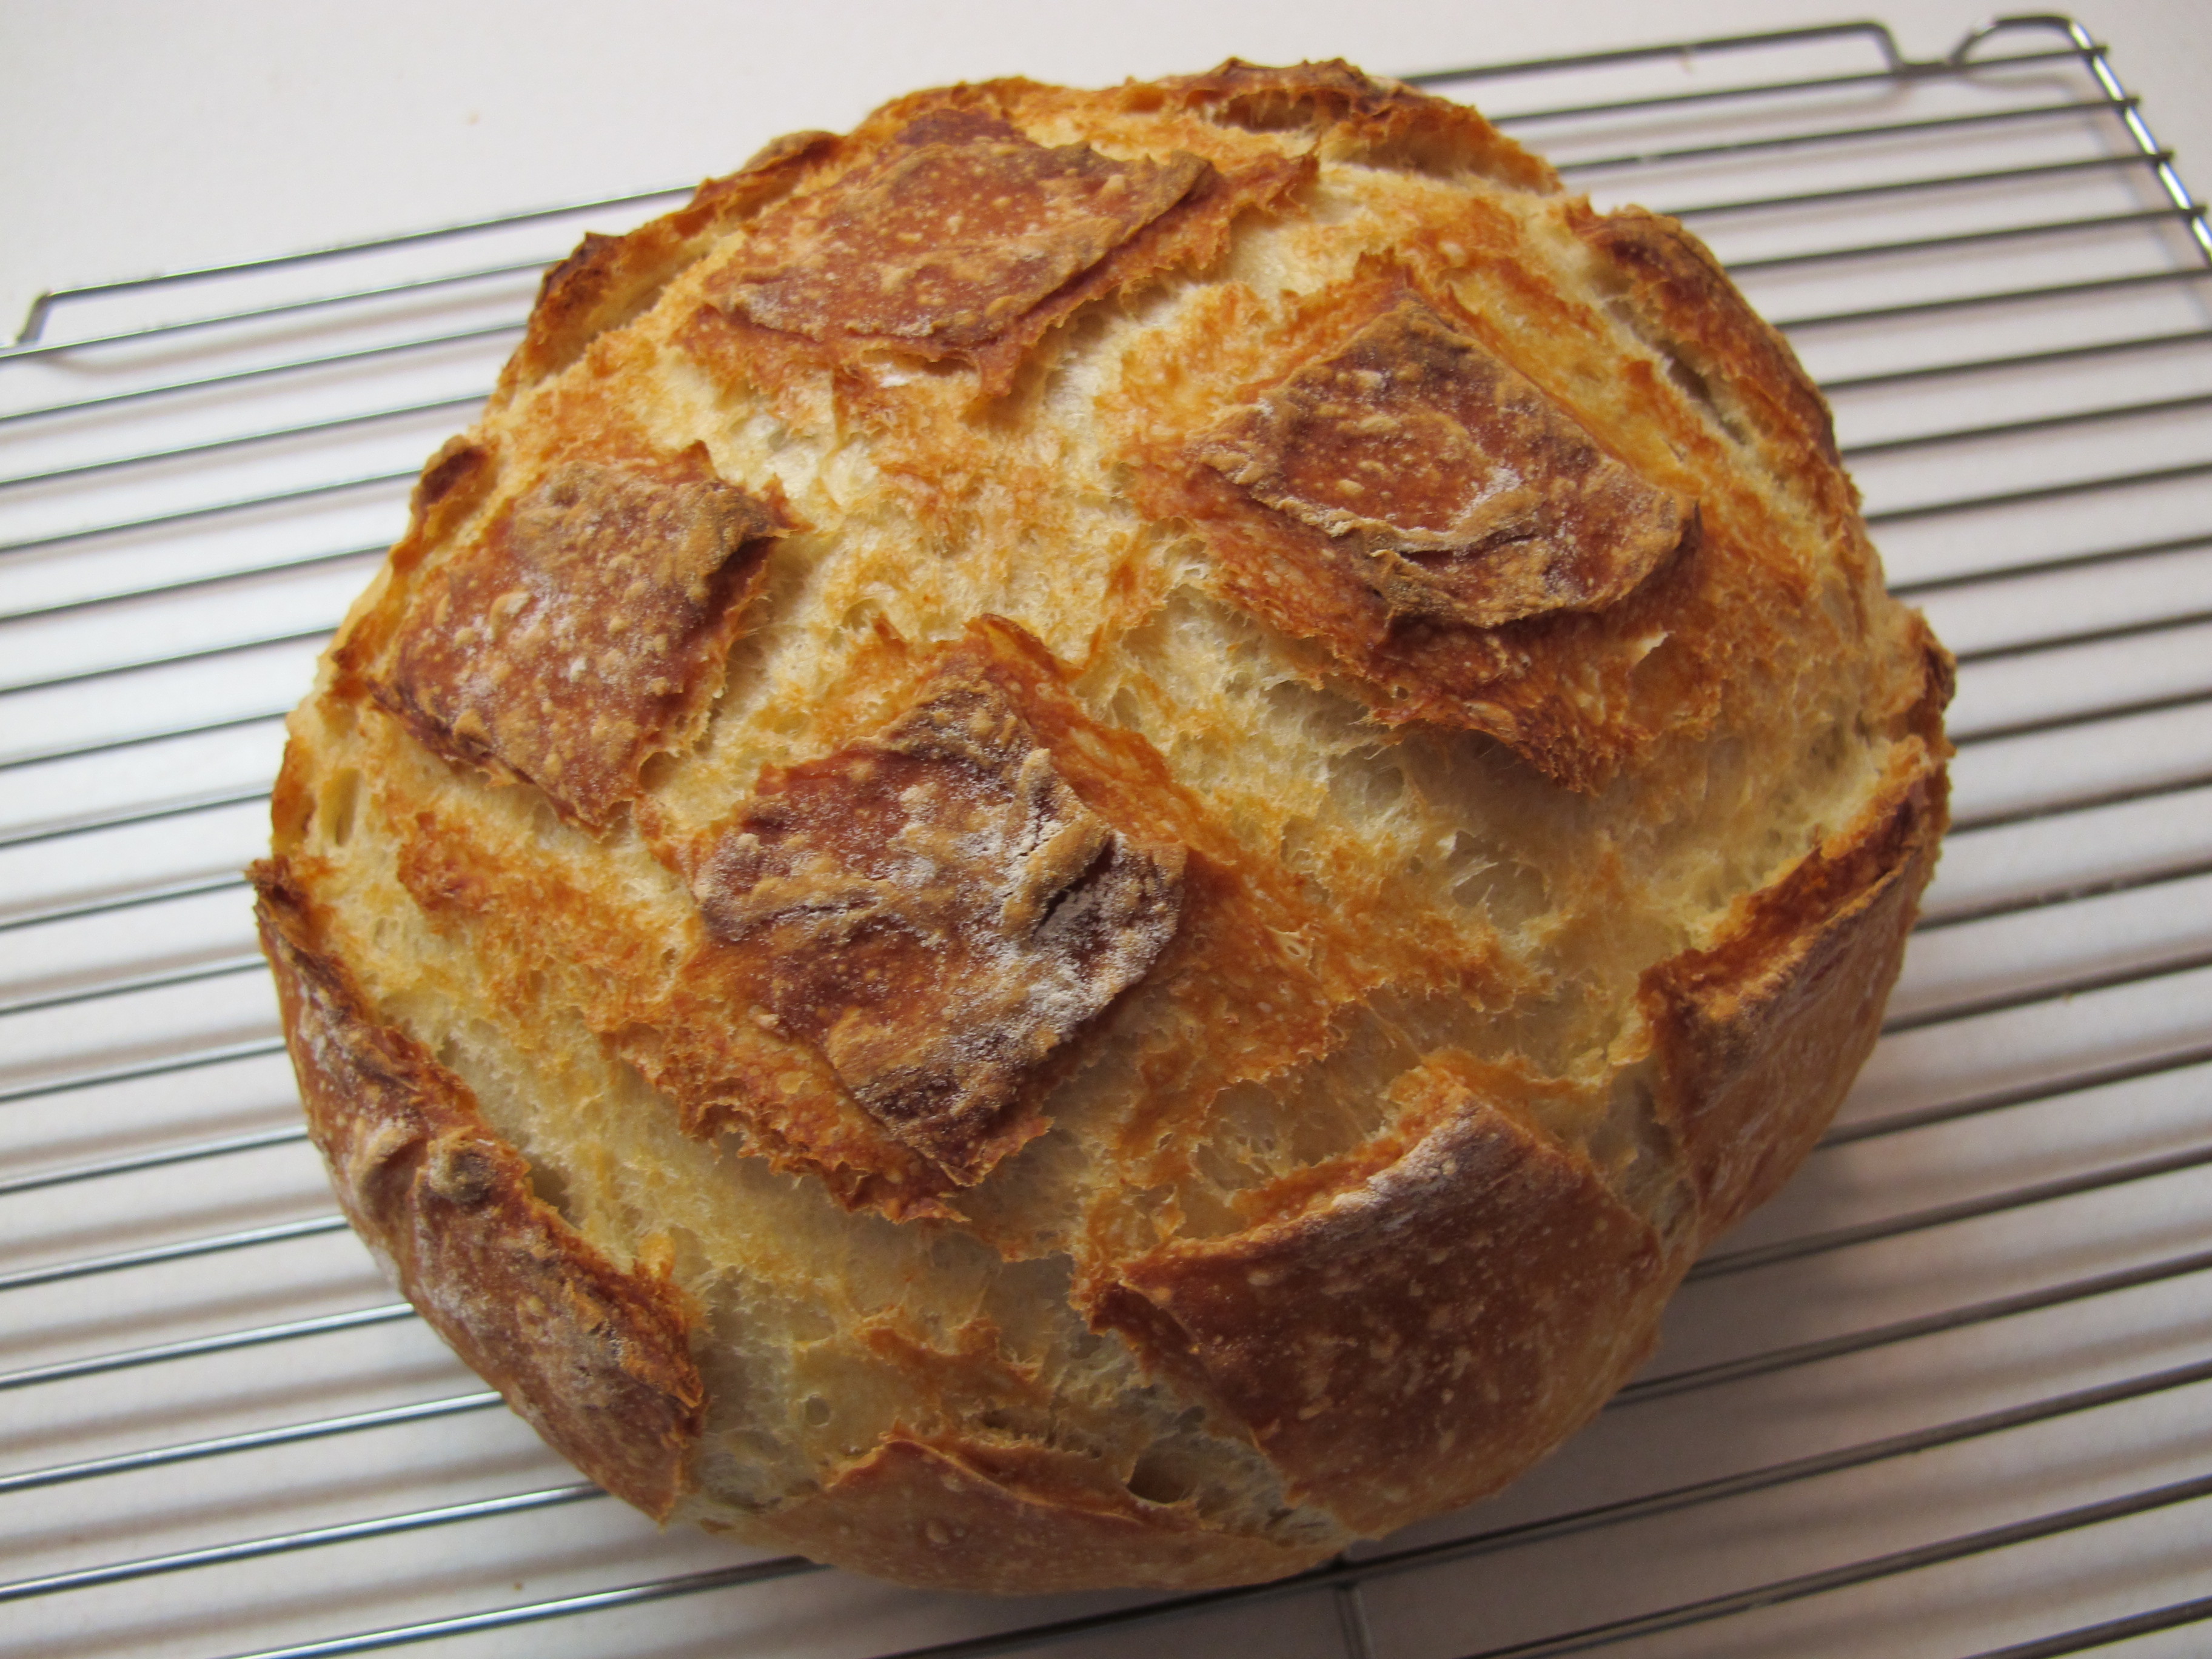
Crusty Artisan Bread
I have loved buying Artisan bread in the past and now I can make it myself. It is so easy, but does take some time because it has to sit for 12 – 18 hours – so you need to plan ahead – but is so worth it!
Note: I tried making this bread in a regular camping type Dutch oven and because oil seeps into the porous of the cast iron, when heating it to 450 degrees – I set the fire alarms off in the house!! Not a good pot to use.
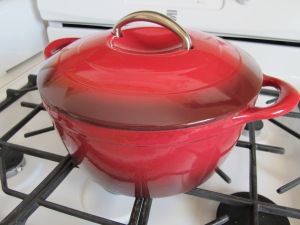
You do not need to oil the pot.
A large mixing bowl is needed because the dough will rise.
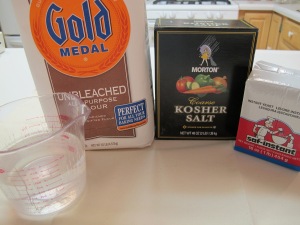
Only 4 ingredients –
In a large mixing bowl, add:
3 cups + 2 T white flour (you MUST use regular flour – Bread Flour is too sticky)
1 3/4 tsp. salt
1/2 tsp. yeast
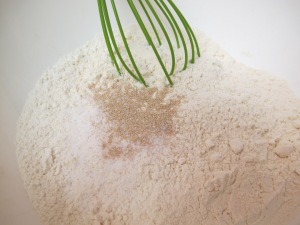
Whisk the flour, salt and yeast together.
* If you are adding any additional ingredients, this is when you would do that. Stir into dry ingredients.
Mix in:
1 1/2 cups warm water 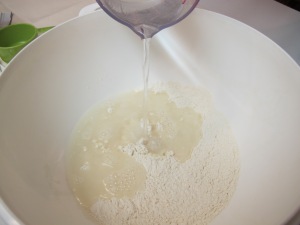
Mix well.
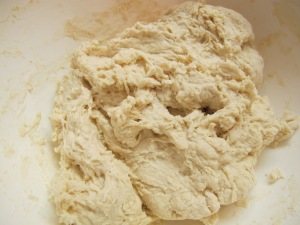
That’s it! Cover the bowl with plastic wrap and let it set for 12 – 18 hours on the counter top. This is not optional. It takes that much time to proof the dough. DO NOT REFRIGERATE!!!
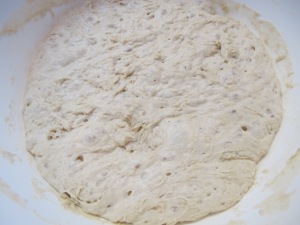
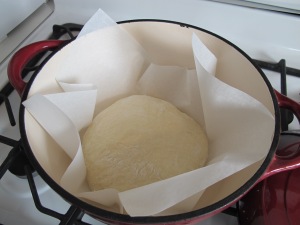
This is what the dough looks like after the 12 – 18 hours.
Preheat your oven to 450 degrees. As soon as it is heated to 450 degrees, place your pot with the lid on, in the oven and pre-heat the pot for 30 minutes.
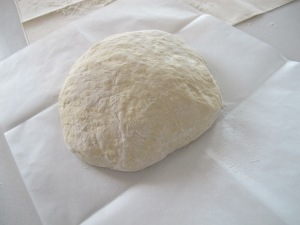
Right after you put the pot in the oven, cover your hands with flour and lift the dough out of the bowl. Shape it into a round ball. Place the dough ball on a floured surface. I put my dough ball on a piece of parchment paper to make it easier to lift in and out of the pot. This is not necessary – I am just afraid that I will burn myself on the hot pot when removing the loaf.
Cover dough ball with the plastic wrap you used to cover the bowl (dry it off if necessary or turn it over), and let it sit for 30 minutes while the pot is heating.
You can take your chance and just put your dough in the pot, cover it and be surprised when it comes out (picture at the very top) or you can score (cut) slightly into the dough before cooking it to plan your design – such as the picture below. At this point, the dough kind of bounces back when you try to cut into it. I found it easiest to use a sharp floured knife to cut a design into the dough. Just “dip” or “stab” your knife into your flour container before each slice. You can also use a sharp razor blade.
Remove the pot from the oven. I like to fold a piece of parchment paper to put in the bottom of the pot to prevent the bottom from getting too hard. Carefully pick up the ball of dough and place it in the pot, or lift the edges of the parchment paper. If not using parchment paper, you may want to have flour on your hands since it is a bit sticky. Remember, your pot is 450 degrees, so be very careful. Put the lid on the pot and return it to the oven and bake for 40 minutes.
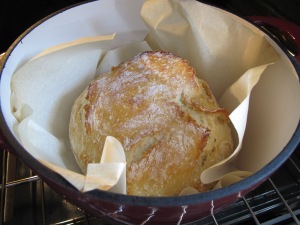
This is the bread after the 40 minutes of baking. Is this beautiful or what??!!!
But it is not done yet.
Remove the lid from the pot and continue to bake for another 10 -12 minutes. (I put a piece of parchment over the top to prevent burning.
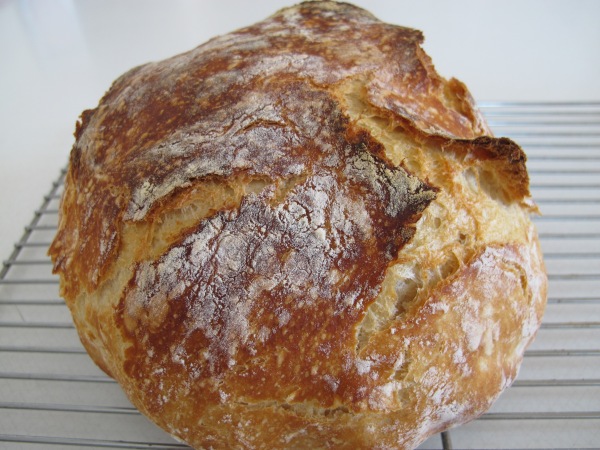
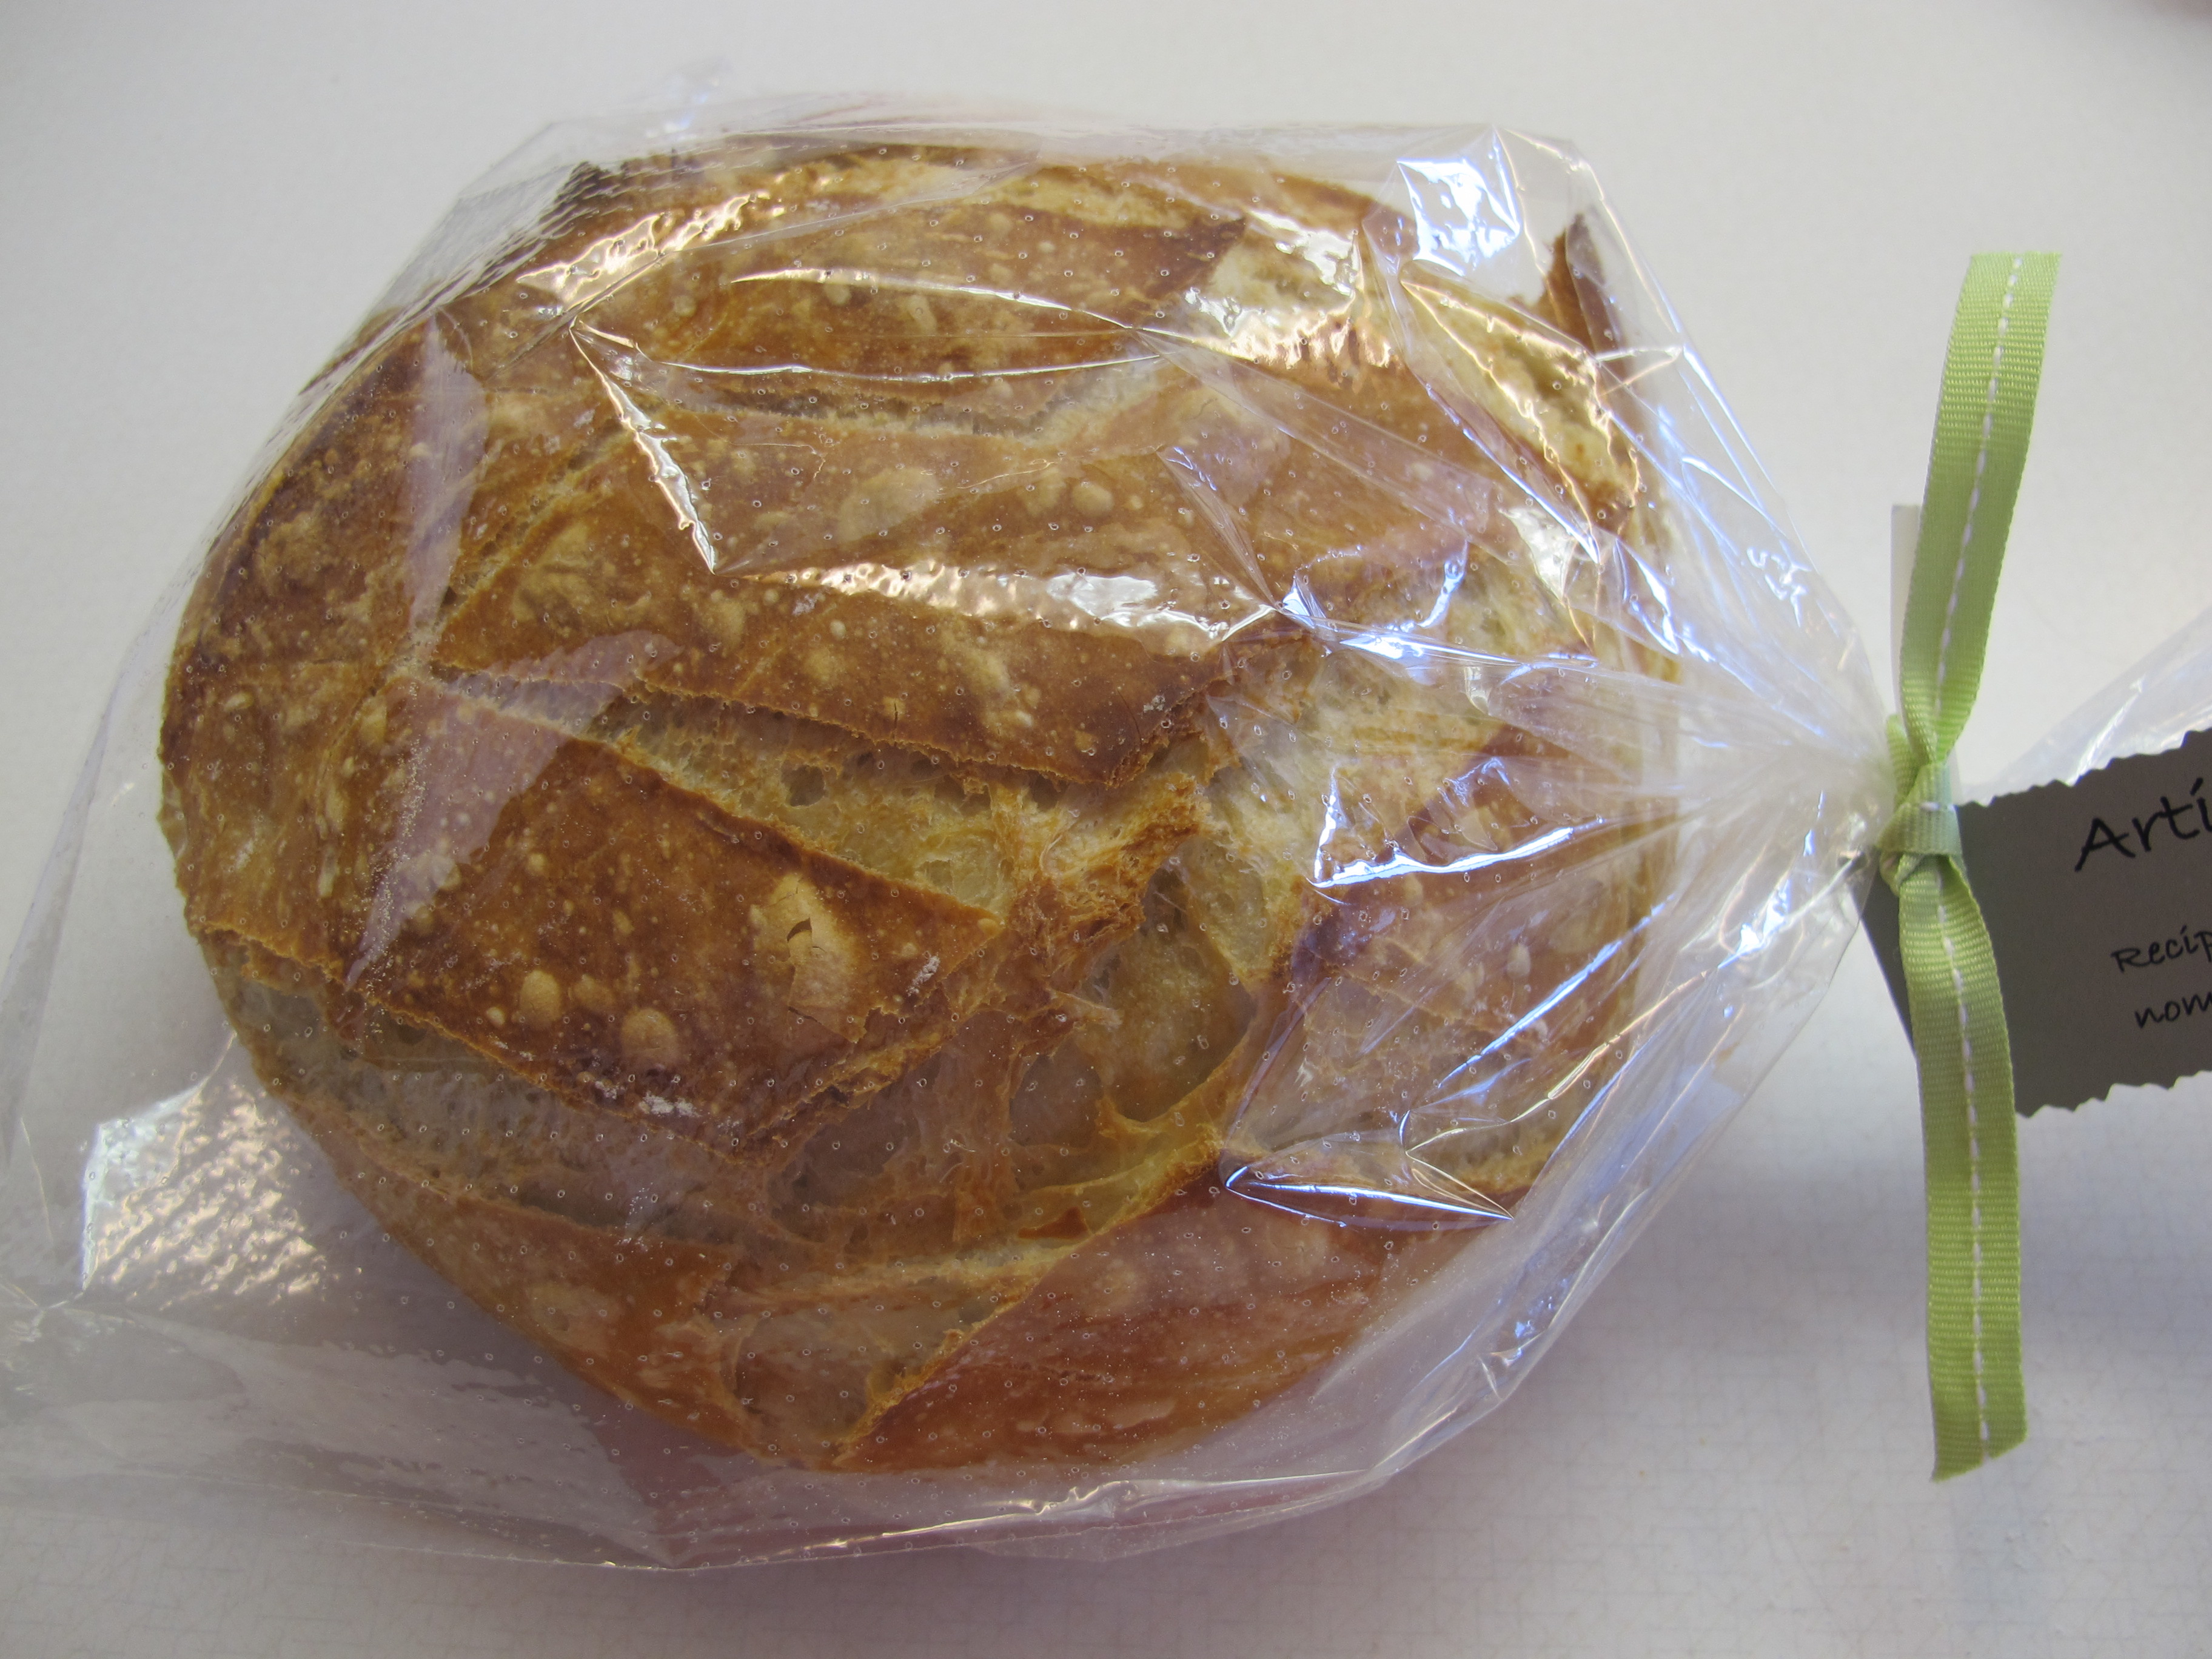
This is the finished product.
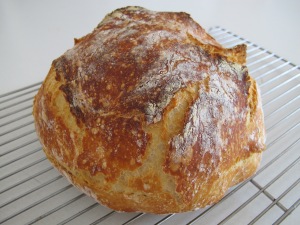
Place the bread on a cooling rack until completely cooled.
If you put an Artisan loaf of bread in a regular plastic bag, it will soften the crust. To keep the crust crunchy, it needs to be put in a bag that has perforations in it.
NOTE: When making bread that has any candy chips in it – fold about 5 pieces of parchment paper into a square and place it in the bottom of the dutch oven. Also, place one folded sheet on top. This helps prevent burning. Also, increase the baking time (with the lid on) by about 5 – 10 minutes or so. Take the lid off and only bake another 2-3 minutes – only if needed. Anything with sugar in it tends to burn very easily.
* Now that you have mastered Artisan Bread making – try some of these variations:
Roasted garlic, pepper jack cheese – cheddar cheese – raisin, nut, cinnamon – sunflower seeds, poppy seeds – rosemary, lemon, Gruyère – lemon, thyme, Asiago – rosemary chives, thyme.
Use your imagination – please leave me a comment on what you tried and what you liked. The possibilities are endless!
Recipe Source: Revised from Simply So Good (found on Pinterest)
FULL RECIPE WITHOUT PICTURES —
CRUSTY ARTISAN BREAD
I have loved buying Artisan bread in the past and now I can make it myself. It is so easy, but does take some time because it has to sit for 12 – 18 hours so you need to plan ahead – but is so worth it!
If you do not have an enamel covered cast iron pot, you can use anything with a lid that can be put in the oven.
You do not need to oil the pot if it is an enamel covered cast iron or regular cast iron pot.
A large mixing bowl is needed because the dough will rise as it sets.
In a large mixing bowl, add
3 cups + 2 T. white bleached flour.
To the flour add:
1 3/4 tsp. salt
1/2 tsp. yeast
Whisk the flour, salt and yeast together.
* If you are adding any additional ingredients, this is when you would do that. Stir into dry ingredients.
Mix in:
1 1/2 cups water
That’s it! Cover the bowl with plastic wrap and let it set for 12 – 18 hours on the counter top. DO NOT REFRIGERATE!!! This is not optional. It takes that much time to proof the dough.
Preheat your oven to 450 degrees. As soon as it is heated to 450 degrees, place your pot with the lid on, in the oven and pre-heat the pot for 30 minutes.
Right after you put the pot in the oven, cover your hands with flour and lift the dough out of the bowl. Shape it into a round ball. Place the dough ball on a floured surface. I put my dough ball on a piece of parchment paper to make it easier to lift out of the pot. This is not necessary – I am just afraid that I will burn myself on the hot pot. It also keeps the loaf in a nice round shape.
Cover dough ball with the plastic wrap you used to cover the bowl, dry it off if necessary or turn it over, and let it sit for 40 minutes while the pot is heating.
You can take your chance and just put your dough in the pot, cover it and be surprised when it comes out or you can score (cut) slightly into the dough before cooking it to plan your design. At this point, the dough kind of bounces back when you try to cut into it. I found it easiest to use a sharp floured knife to cut a design into the dough. Just “dip” or “stab” your knife into your flour container before each slice. You can also use a sharp razor blade.
Remove the pot from the oven. I like to fold a piece of parchment paper to put in the bottom of the pot to prevent the bottom from getting too hard. Carefully pick up the ball of dough and place it in the pot. You may want to have flour on your hands since it is sticky. Remember, your pot is 450 degrees, so be very careful. Put the lid on the pot and return it to the oven for 35 minutes.
Remove the lid from the pot and continue to bake for another 10-12 minutes.
Place the bread on a cooling rack until completely cooled.
NOTE: When making bread that has any candy chips in it – fold about 5 pieces of parchment paper into a square and place it in the bottom of the dutch oven. Also, place one folded sheet on top. This helps prevent burning. Also, increase the baking time (with the lid on) by about 5 – 10 minutes or so. Take the lid off and only bake another 2-3 minutes – only if needed. Anything with sugar in it tends to burn very easily.
Now that you have mastered Artisan Bread making – try some of these variations:
Roasted garlic (you can buy garlic already roasted at Harmons grocery store), pepper jack cheese – cheddar cheese – raisin, nut, cinnamon – sunflower seeds, poppy seeds – rosemary, lemon, Gruyère – lemon, thyme, Asiago – rosemary chives, thyme.
Use your imagination – please leave me a comment on what you tried and what you liked. The possibilities are endless!
Recipe Source: Revised from Simply So Good (found on Pinterest)

I made this bread and it was so easy and delicious! Thank you for your tasty recipes. I appreciate having a great source for new ideas.
So glad you liked the Artisan bread. If you were like me, I felt very proud of myself for making such a “fancy” looking bread. If you try any add ins, let me know how it turned out. Thanks for checking our my blog.
Happy Cooking – Cheryl